The Temptress is the Arcana card held by the Succubus, a boss in Castlevania Belmont’s Curse who waits at the bottom of a long, maze-like optional area. She becomes available only after you break the Four Seals of the Sage. With 8,000 health and 50 attack, she is one of the harder fights in Evil Empire’s game. Beating her gives you the Life Drain spell.
Quick answer: Clear four Mirror of Life challenges, find the Queen in the Main Hall’s Mirror Rooms, then go through the Hall of Mirrors to Belmont Manor, where the Succubus fight begins.
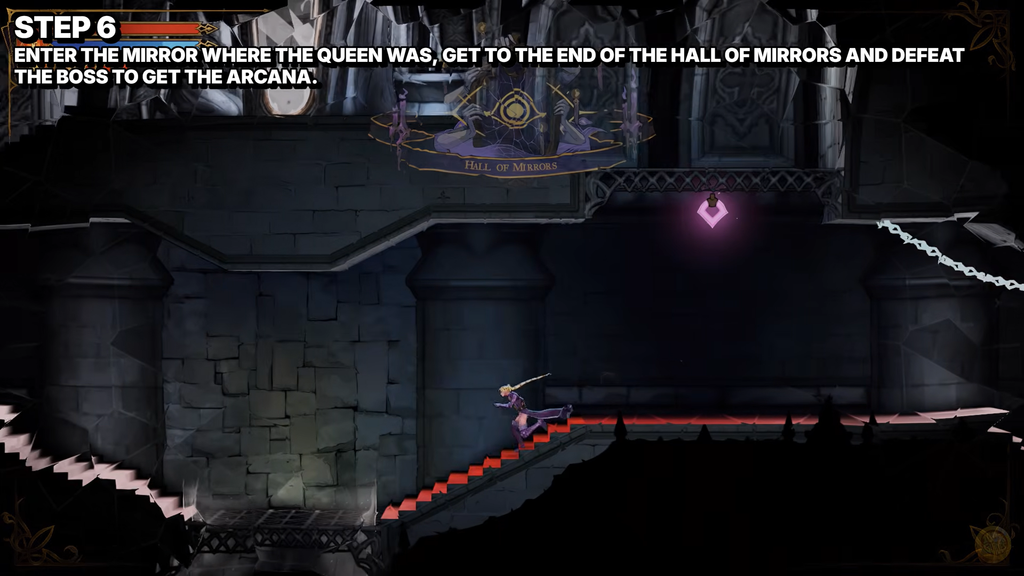
Succubus boss stats and rewards
| Stat | Value |
|---|---|
| Area | Hall of Mirrors (Dracula’s Castle) |
| District | Belmont Manor |
| Health | 8000 |
| Attack | 50 |
| XP | 1200 |
| Arcana card | 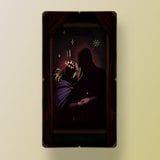 The Temptress The Temptress |
| Reward |  Life Drain Life Drain |
Her 1,200 XP matches Dracula’s payout. She also ignores most crowd control. Freeze, petrify, launch into the air, slam down, Chains of Justice root and stun, Chronomantic Dive slow, Freezing Path link, and Infernal Pyre launch all do nothing to her. Bleed and burn are not on that list, so your damage-over-time effects still land.

Unlock the Hall of Mirrors: four Mirror of Life challenges
Mirrors of Life are the game’s save points, and they fully heal you. Four of them also hold a combat gauntlet. Crouch in front of the mirror to start it, then clear the waves. You need to beat all four before the route to the Temptress opens.
| Challenge | Area | District | When it opens |
|---|---|---|---|
| 1 | Paris Streets | Prison Tower | Early game |
| 2 | Main Hall | Servants’ Hall | After reaching Dracula’s Castle |
| 3 | Clock Tower | Mechanic’s Ascent | Elevator past Path of the Clock Keeper |
| 4 | Notre-Dame | East Gallery | Past the Main Hall |
Find the Queen in the Main Hall
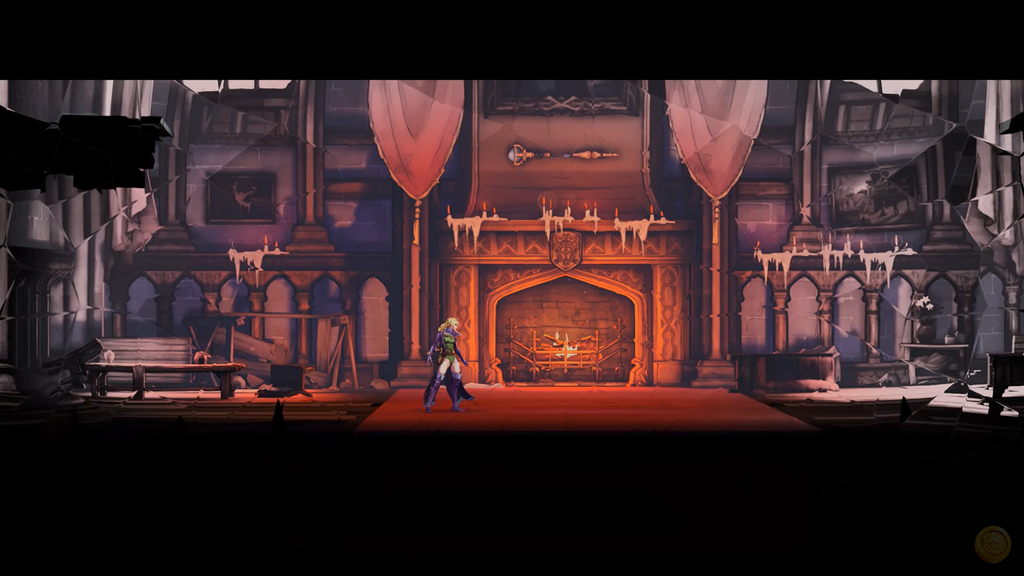
Once the four challenges are done, the entrance to the Hall of Mirrors is a mirror inside the Main Hall, where the Queen appears.
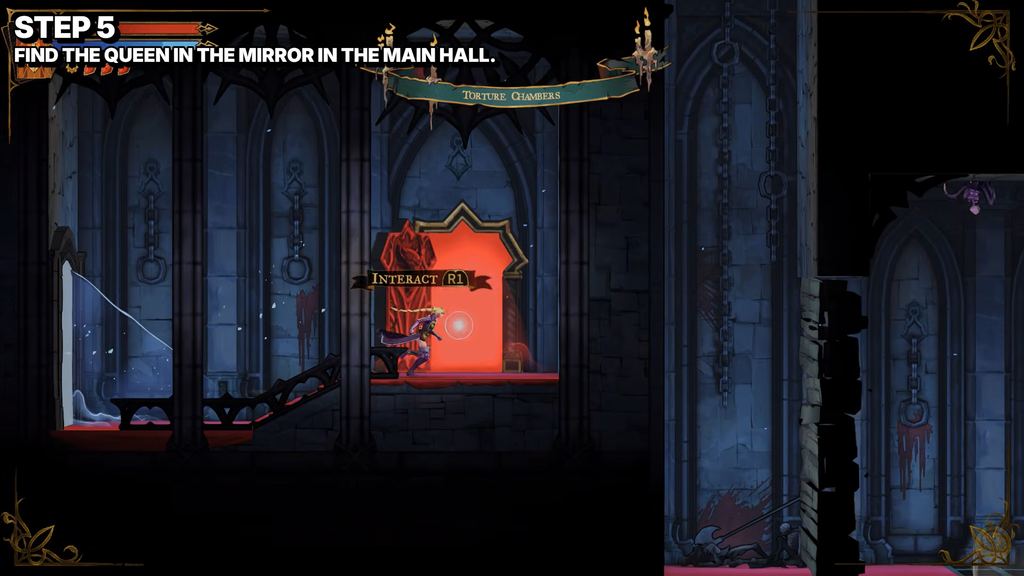
Hall of Mirrors route to Belmont Manor
The Hall of Mirrors is a twisting area full of loops and teleporting mirrors. The route to the boss crosses several districts and four mirror jumps. Follow it in order.
From the entrance to the first mirror
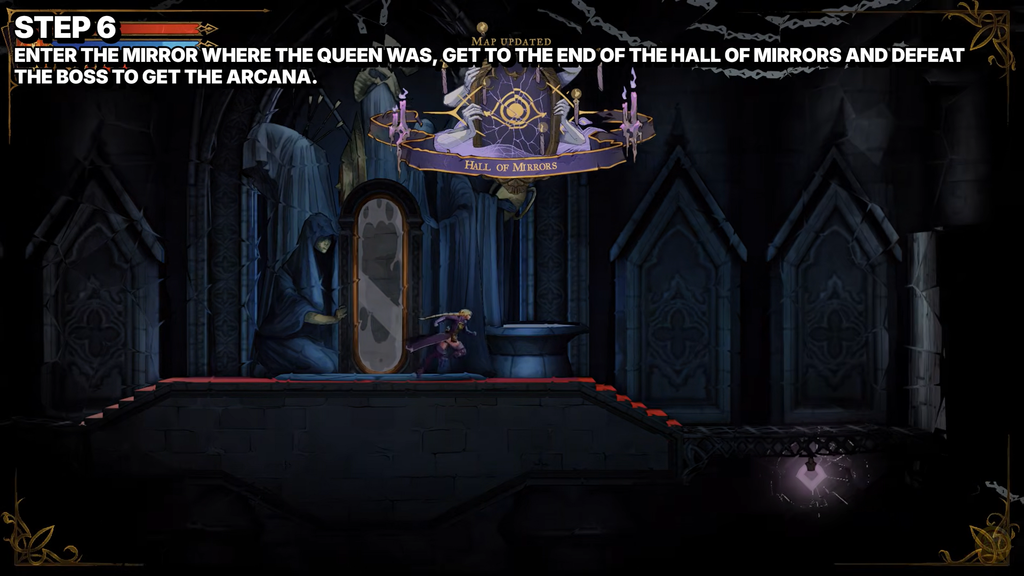
Glass Gallery, Dead-end Tower, and Familiar Way
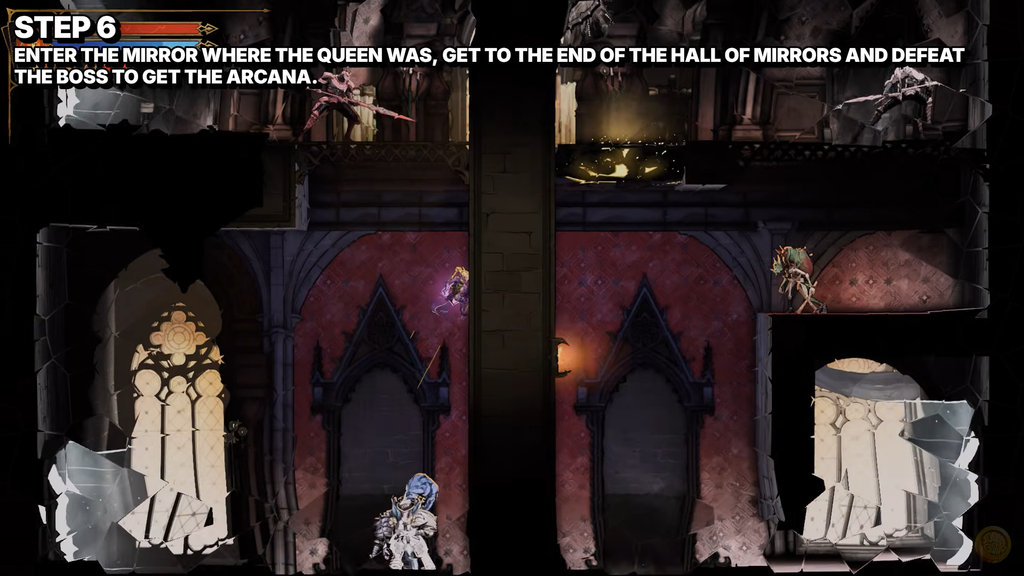
Chamber of Secrecy and Passage of Perplexity
Recurring Belfry to the boss door
How to beat the Succubus
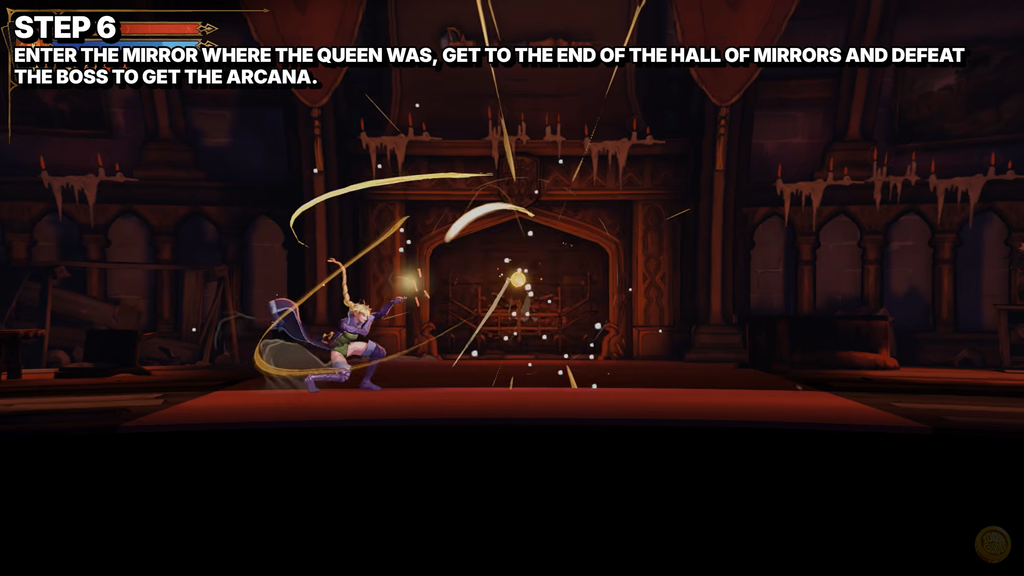
The Succubus is fast and hits hard, so a few mistakes add up quickly. Her kit comes down to four patterns, plus a final phase near the end of her health bar.
- Melee strikes: claws and kicks at close range. Switch between her left and right sides to stay out of them.
- Teleport: she jumps around the arena, sometimes into the air, so you have to close the gap each time.
- Dash strike: clearly telegraphed dashes in several directions, including diagonals. Watch for the windup and move.
- Clones: she hides among copies that fire projectiles. Pick one and attack. Finding her is a guess.
At low health she raises a shield that blocks all damage and fires dense waves of projectiles across the arena. Damaging her directly doesn’t work here. Destroy her clones instead, and she drops to the ground, open to a finishing combo.
Rushing the shield phase is how most hits land. Clear clones one at a time and keep moving between barrages.
The Temptress Arcana: Life Drain and Works of Mercy
After the fight, the Absorption phase starts. Hold the prompted interaction button to take The Temptress, Arcana number 12. You know it worked when the card appears in your collection and Life Drain is added to your spells. Absorbing it also fills the one Arcana slot in the Hall of Mirrors’ completion tally.
The card has three Works of Mercy tied to Life Drain and the area you just cleared:
- Drain one enemy for 5 seconds without being interrupted.
- Explore every room in the Hall of Mirrors.
- Kill 25 enemies with Life Drain.
The exploration task will take the longest. The Hall of Mirrors has 114 exploration zones, and the boss route above skips many of them. Because the area has five Mirrors of Life, you can save often while you fill in the rest of the map.