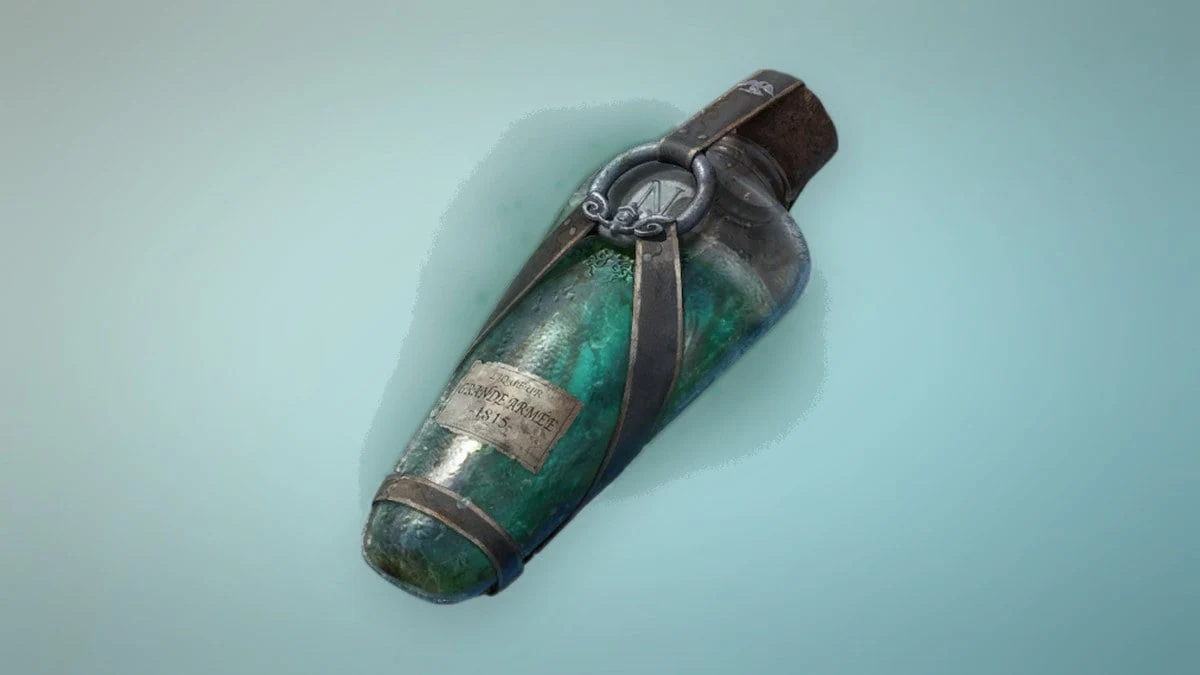
The Quarry at the end of Valor Mortis’ Chapter 2 hides a Ferrofluid Flask Power Upgrade on its upper cliffs. You can see the scaffolding from the Lantern, but you can’t reach it on your first pass through the Valley of Ashes. The route runs across crane hooks and hanging crates that only respond to the grapple. That ability arrives at the end of Chapter 3, so this upgrade is something you come back for once Chapter 4 is underway.
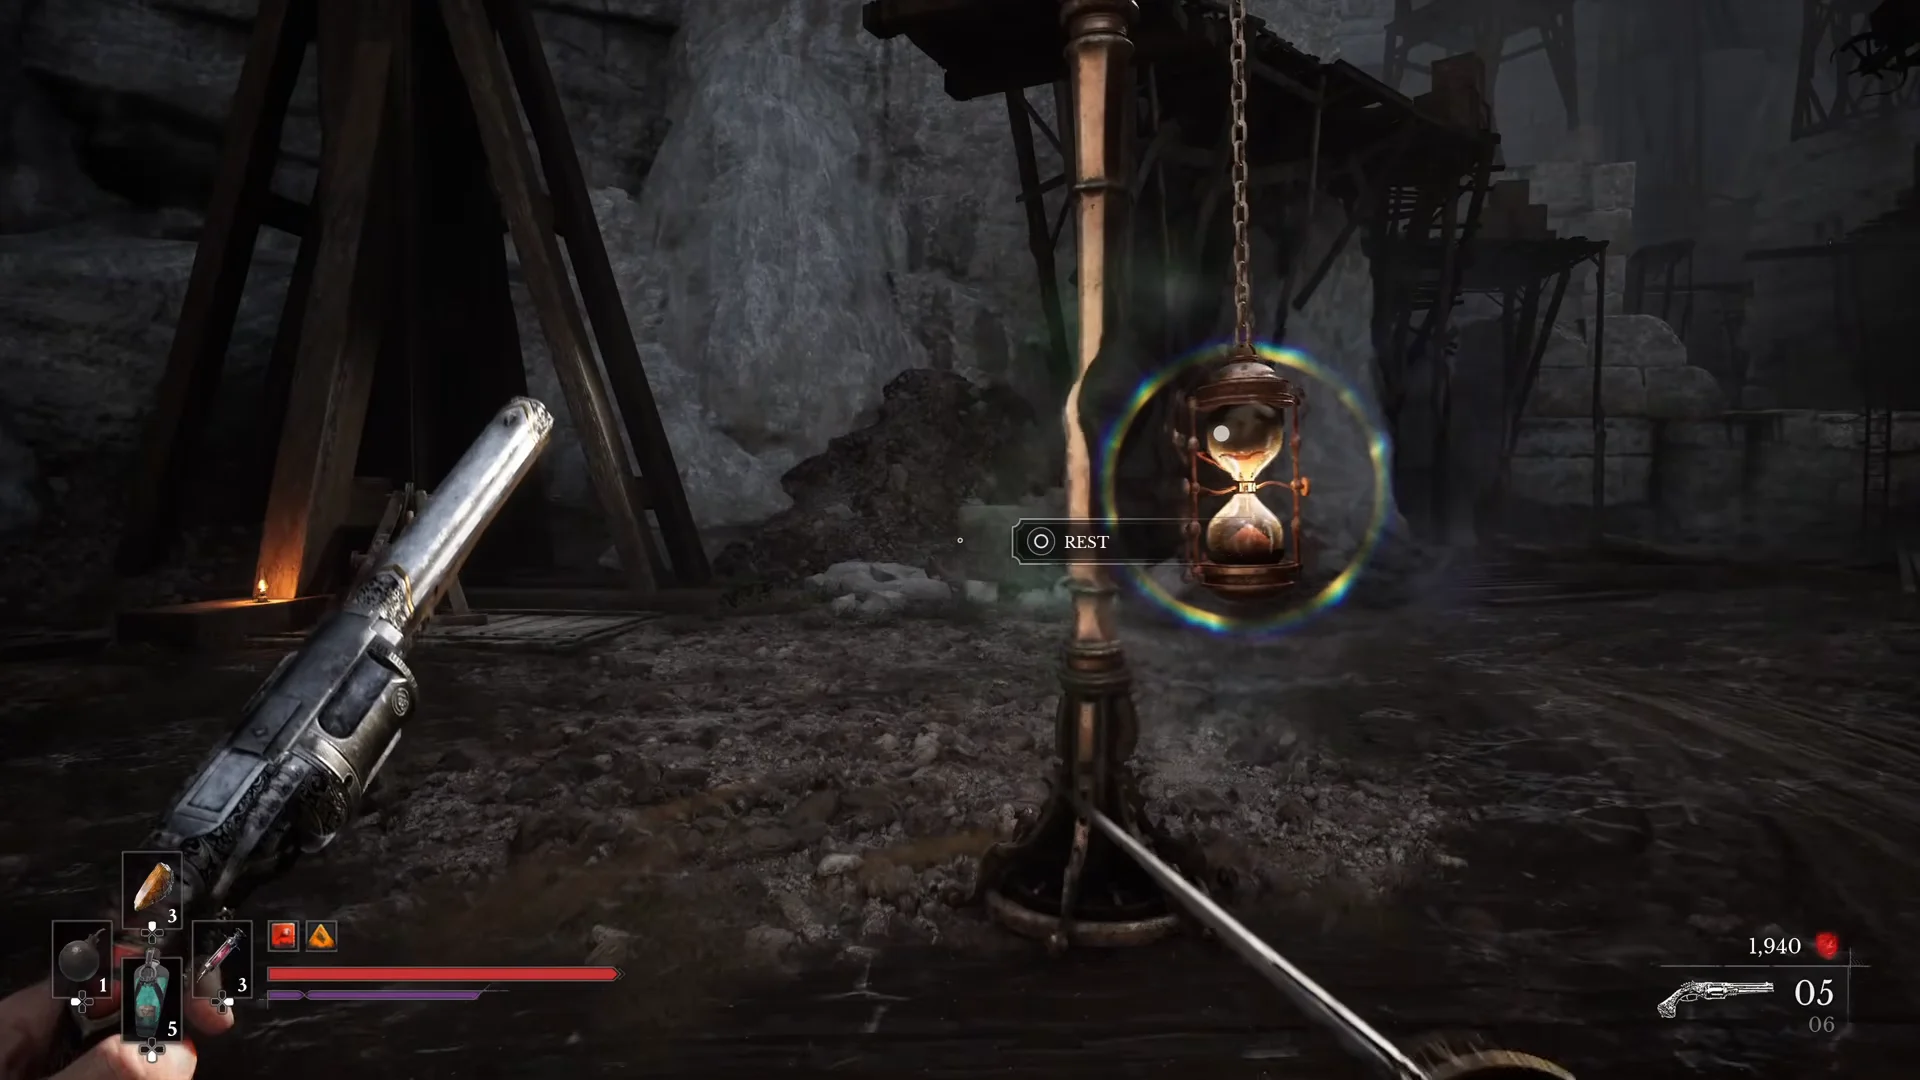
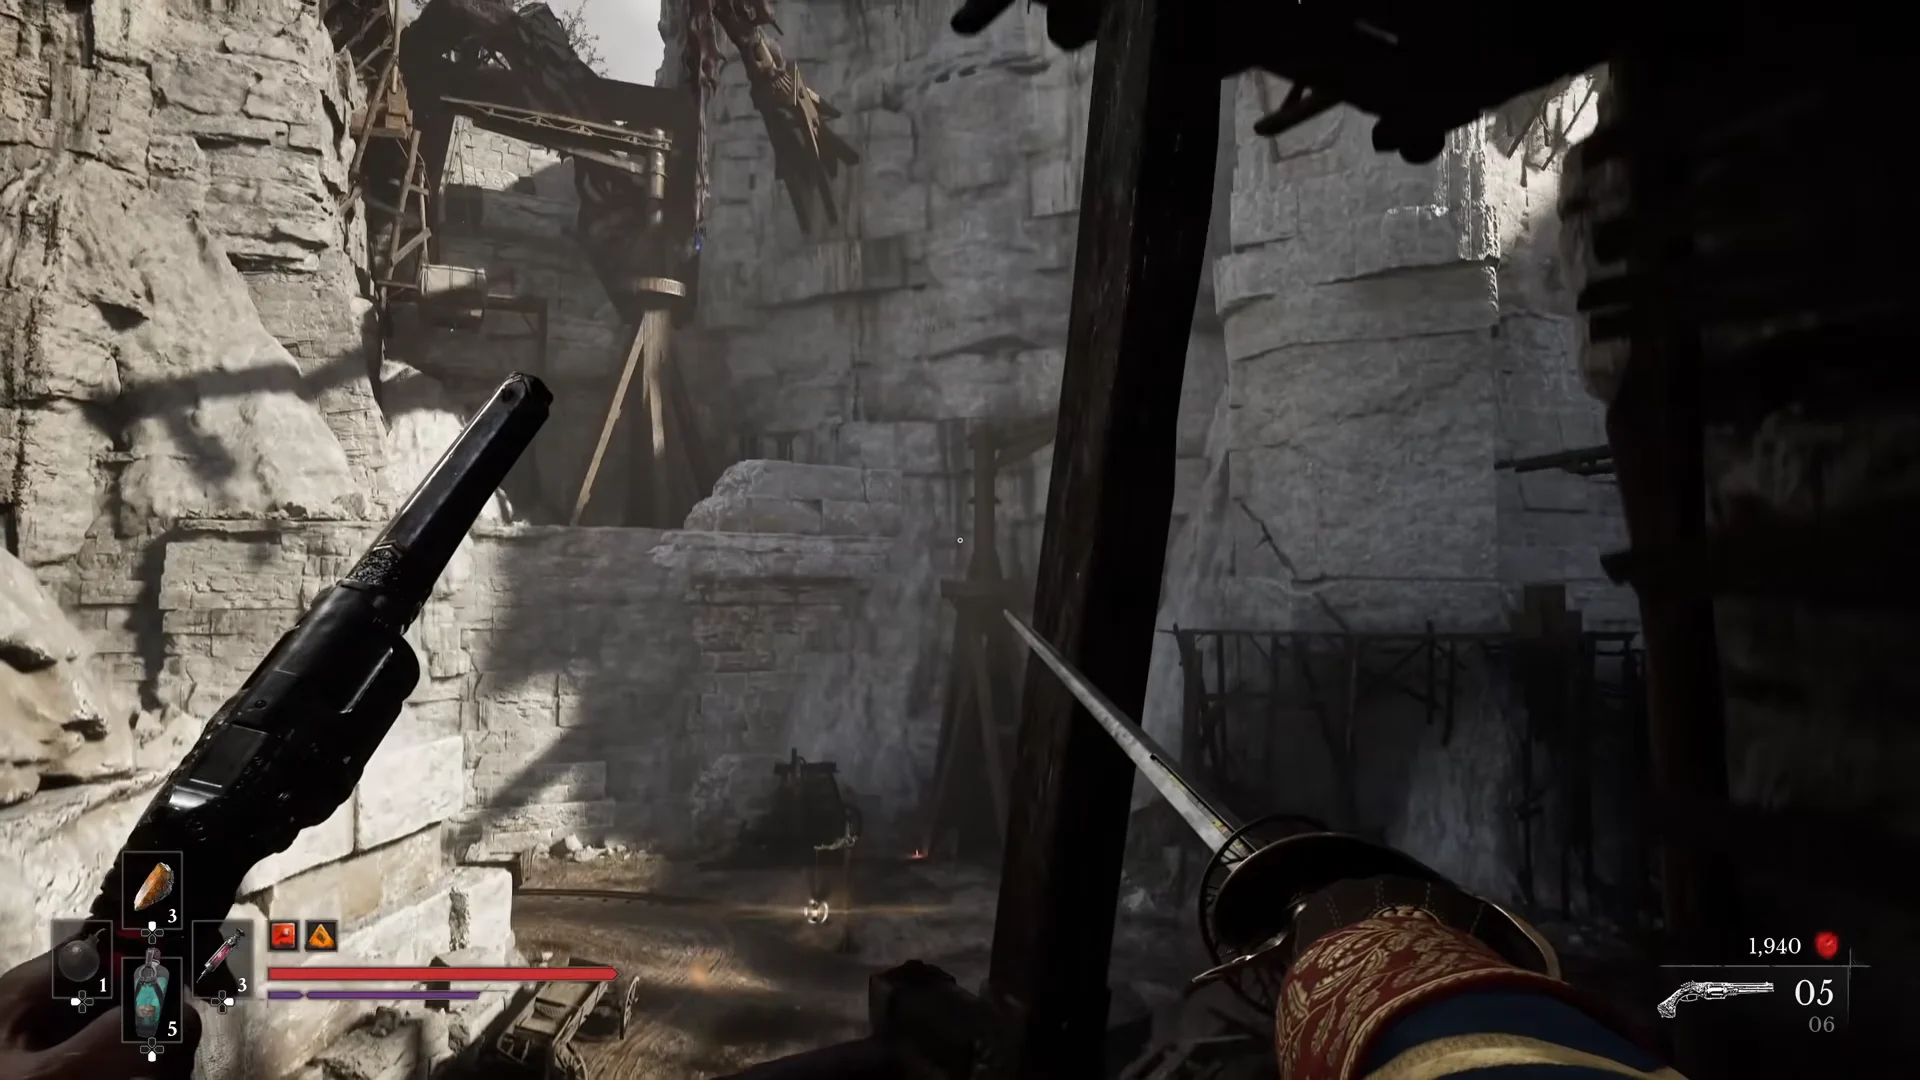
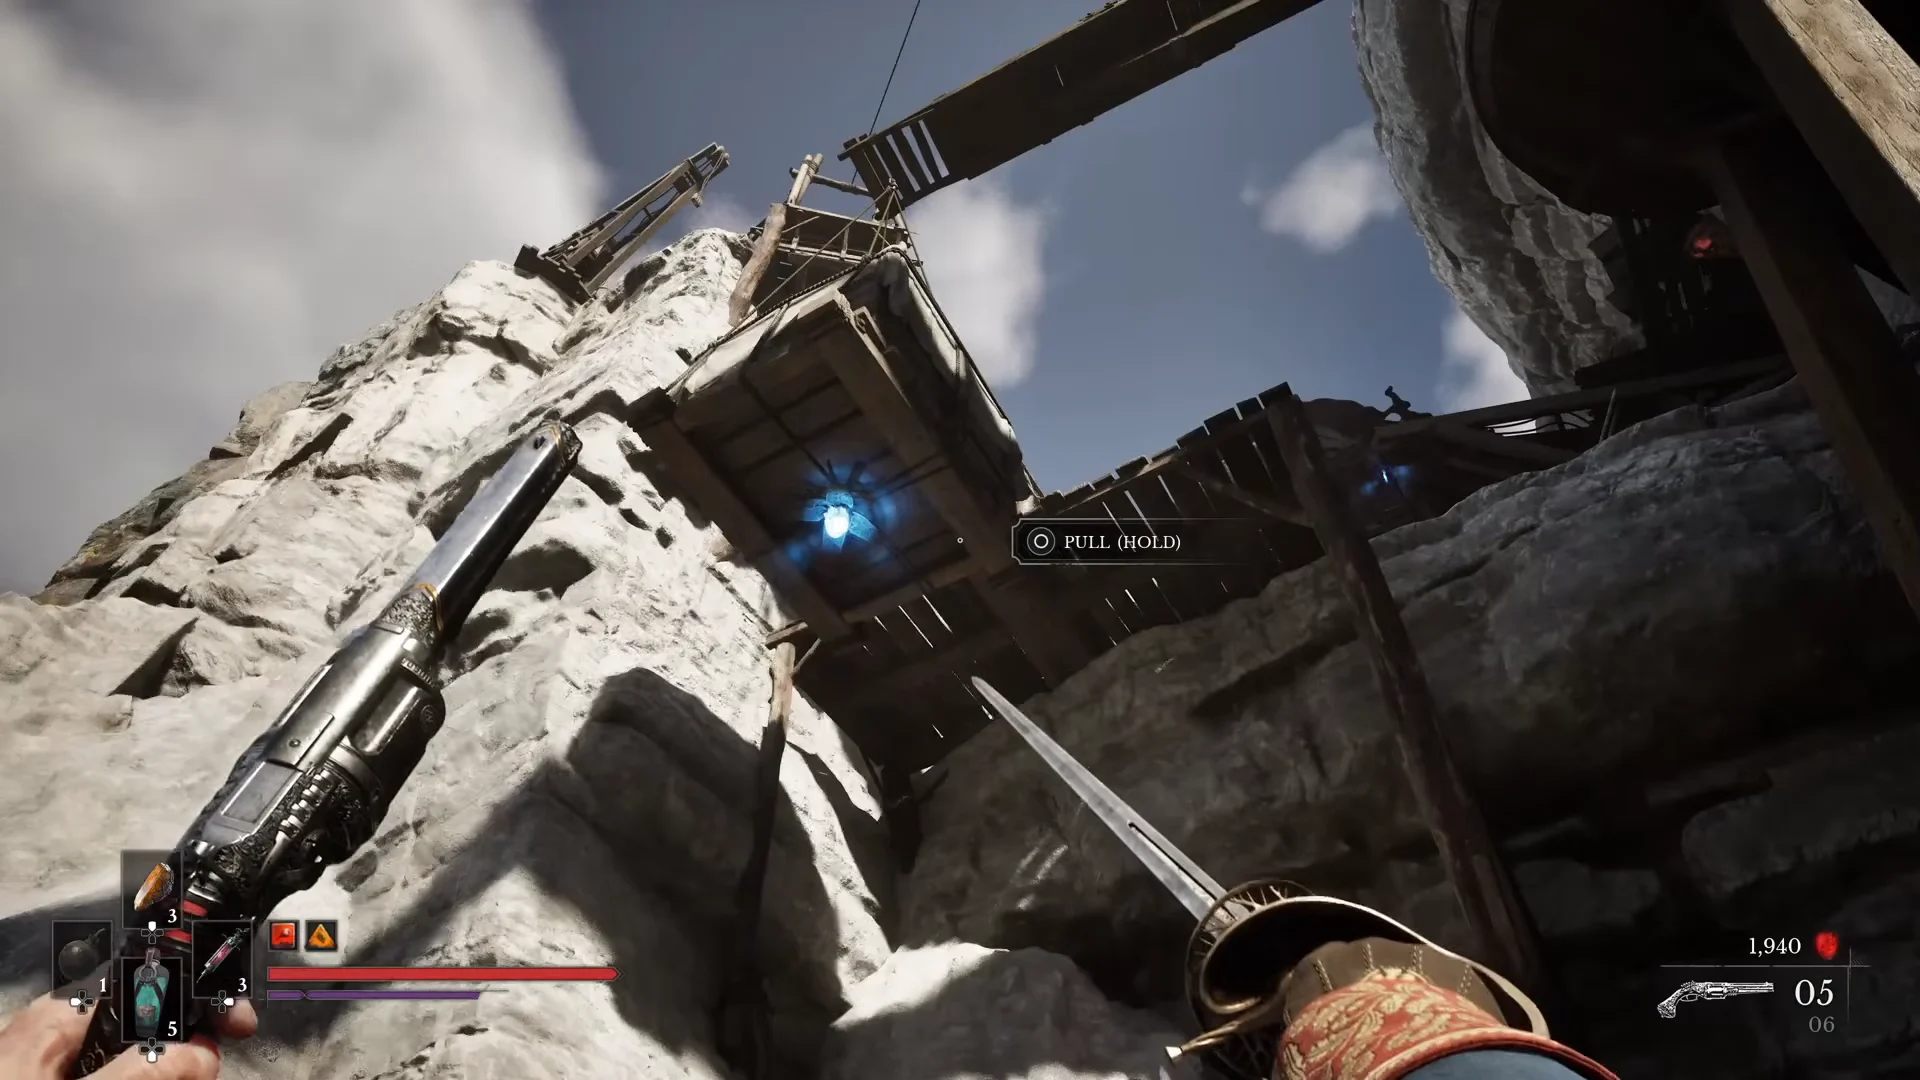
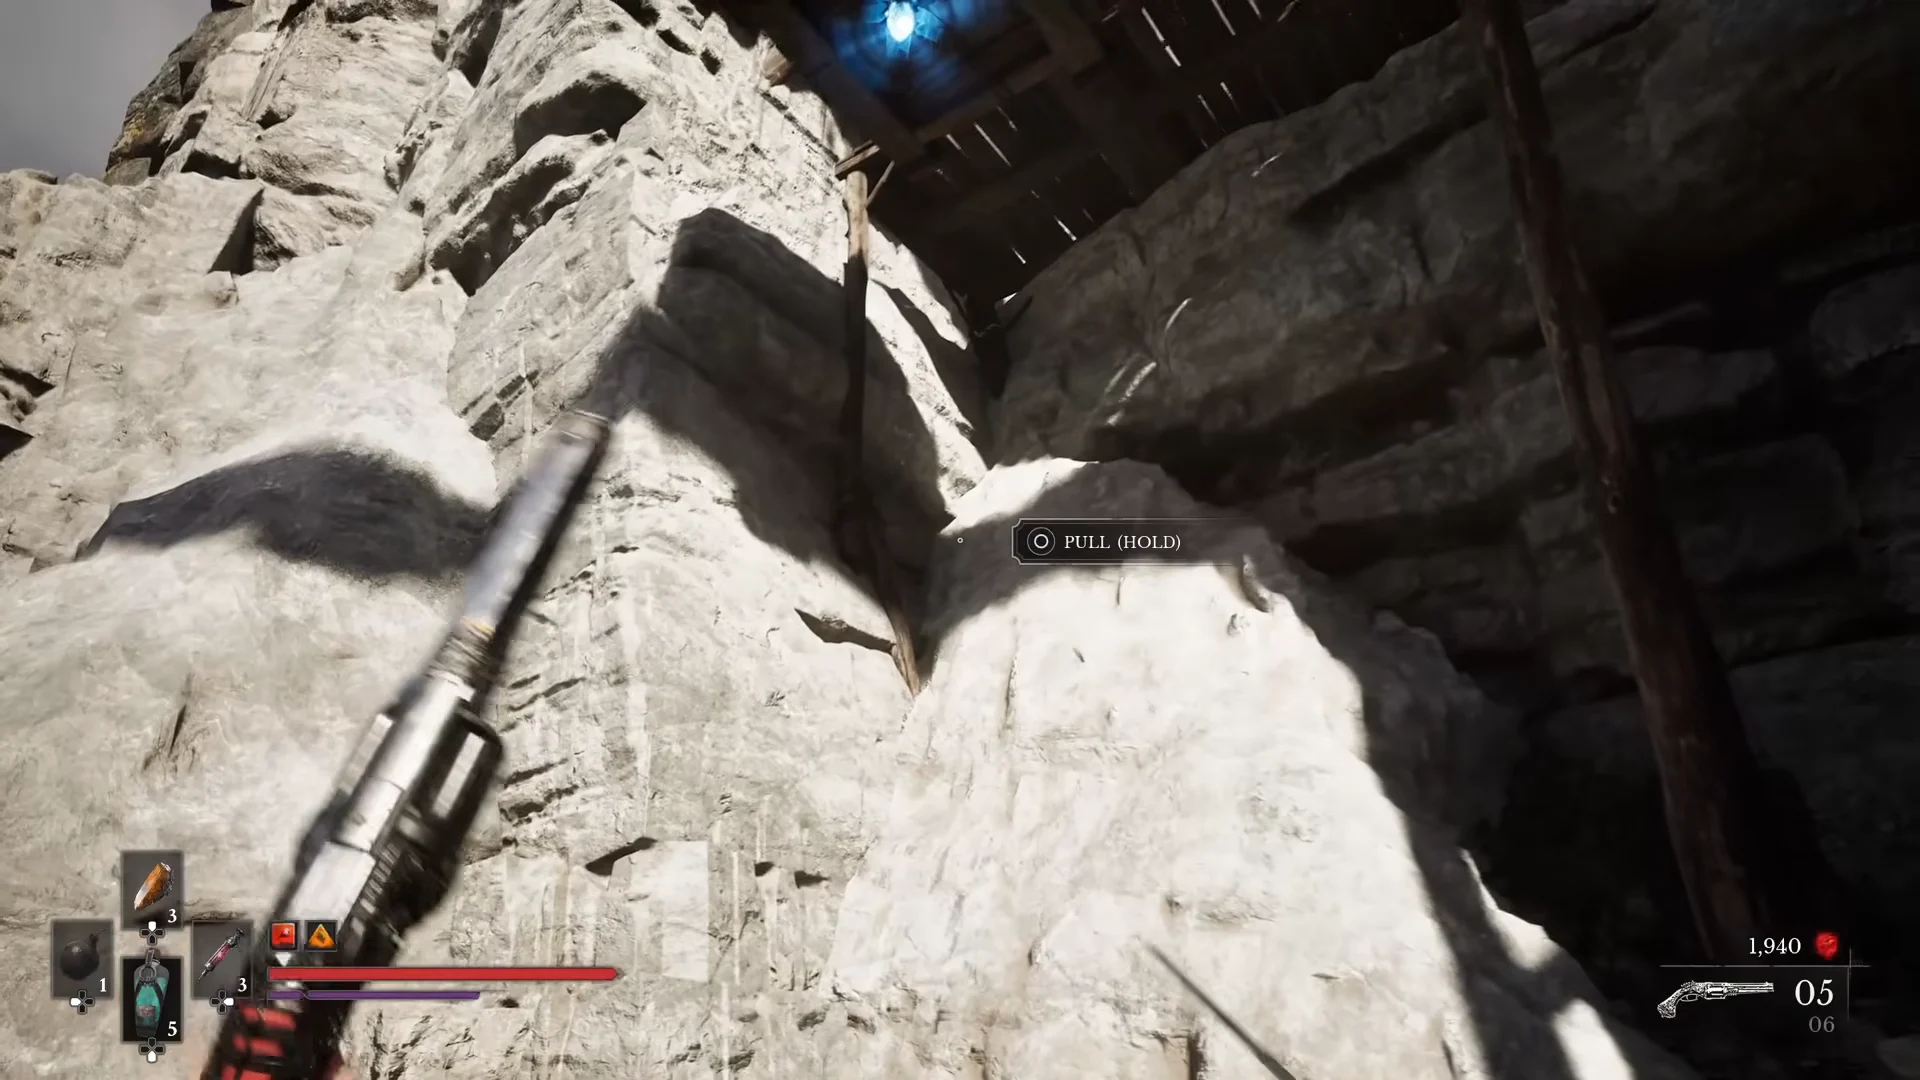
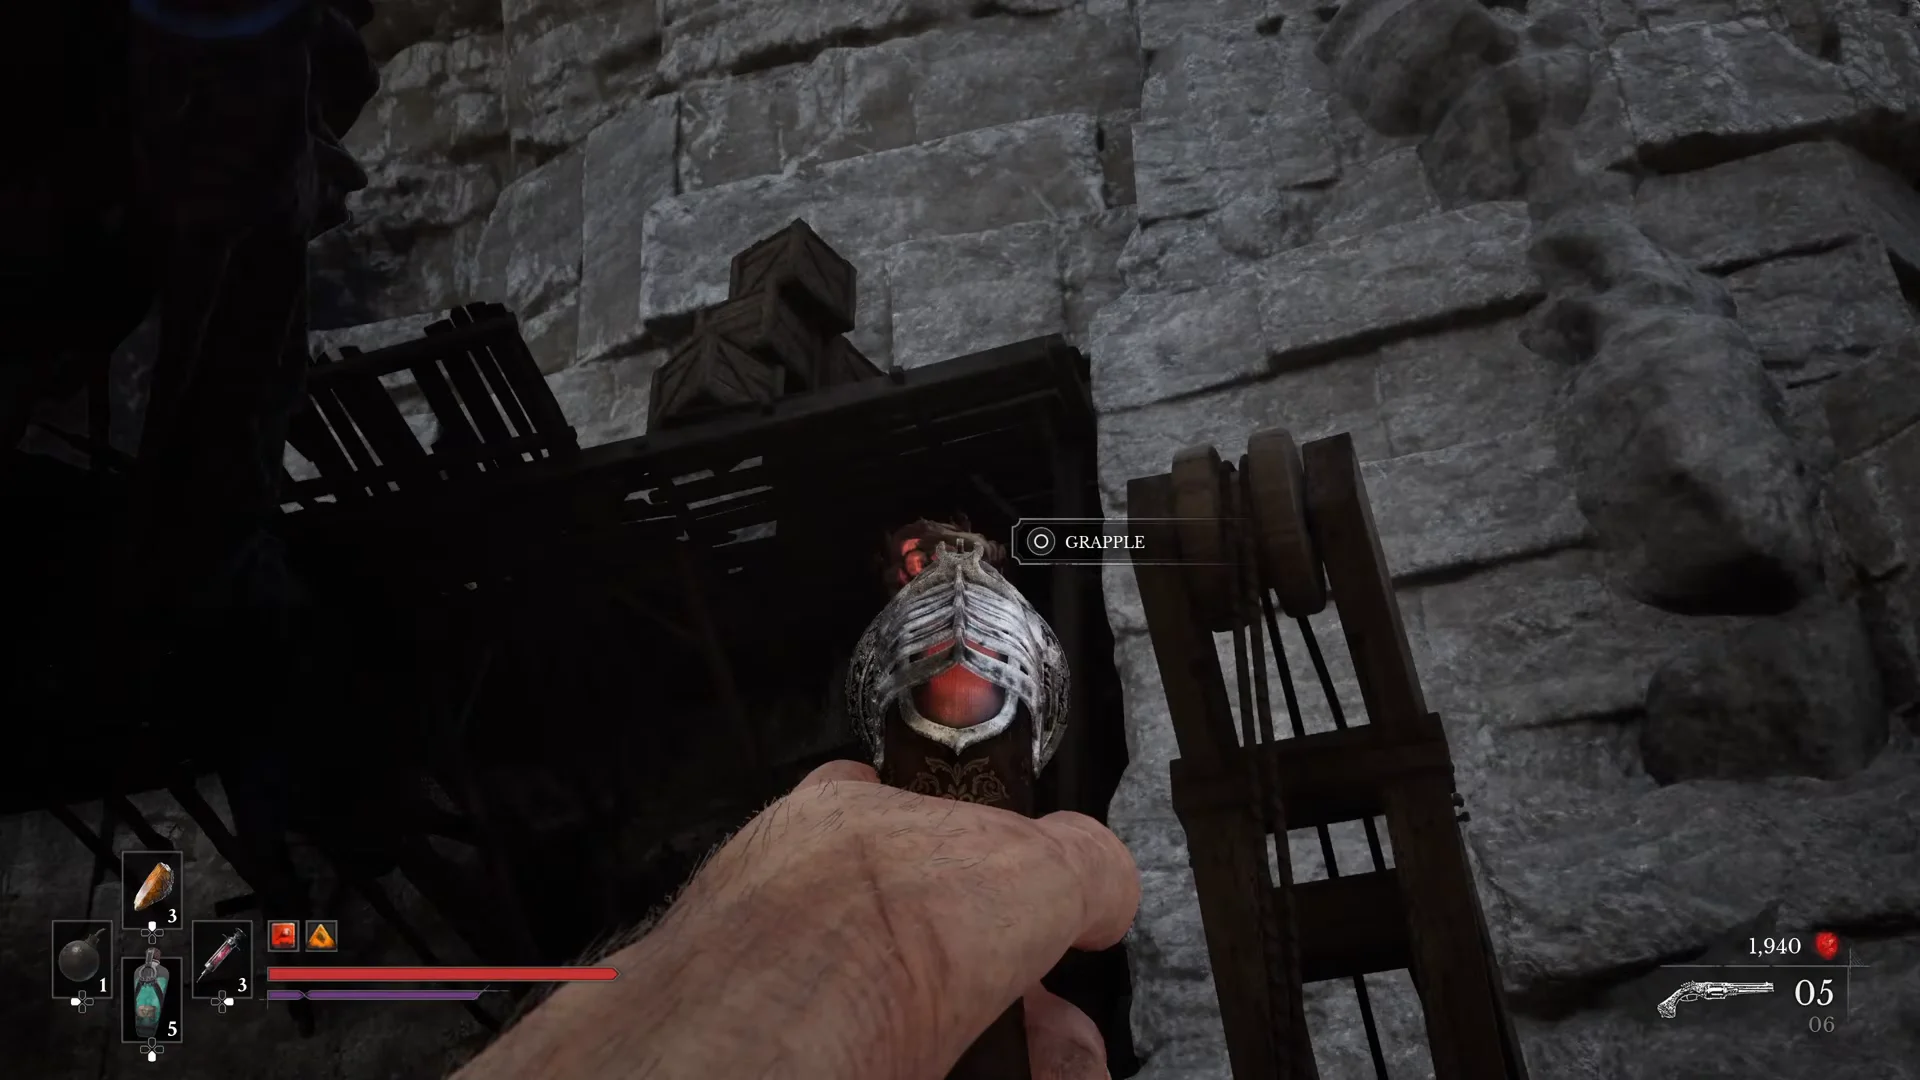
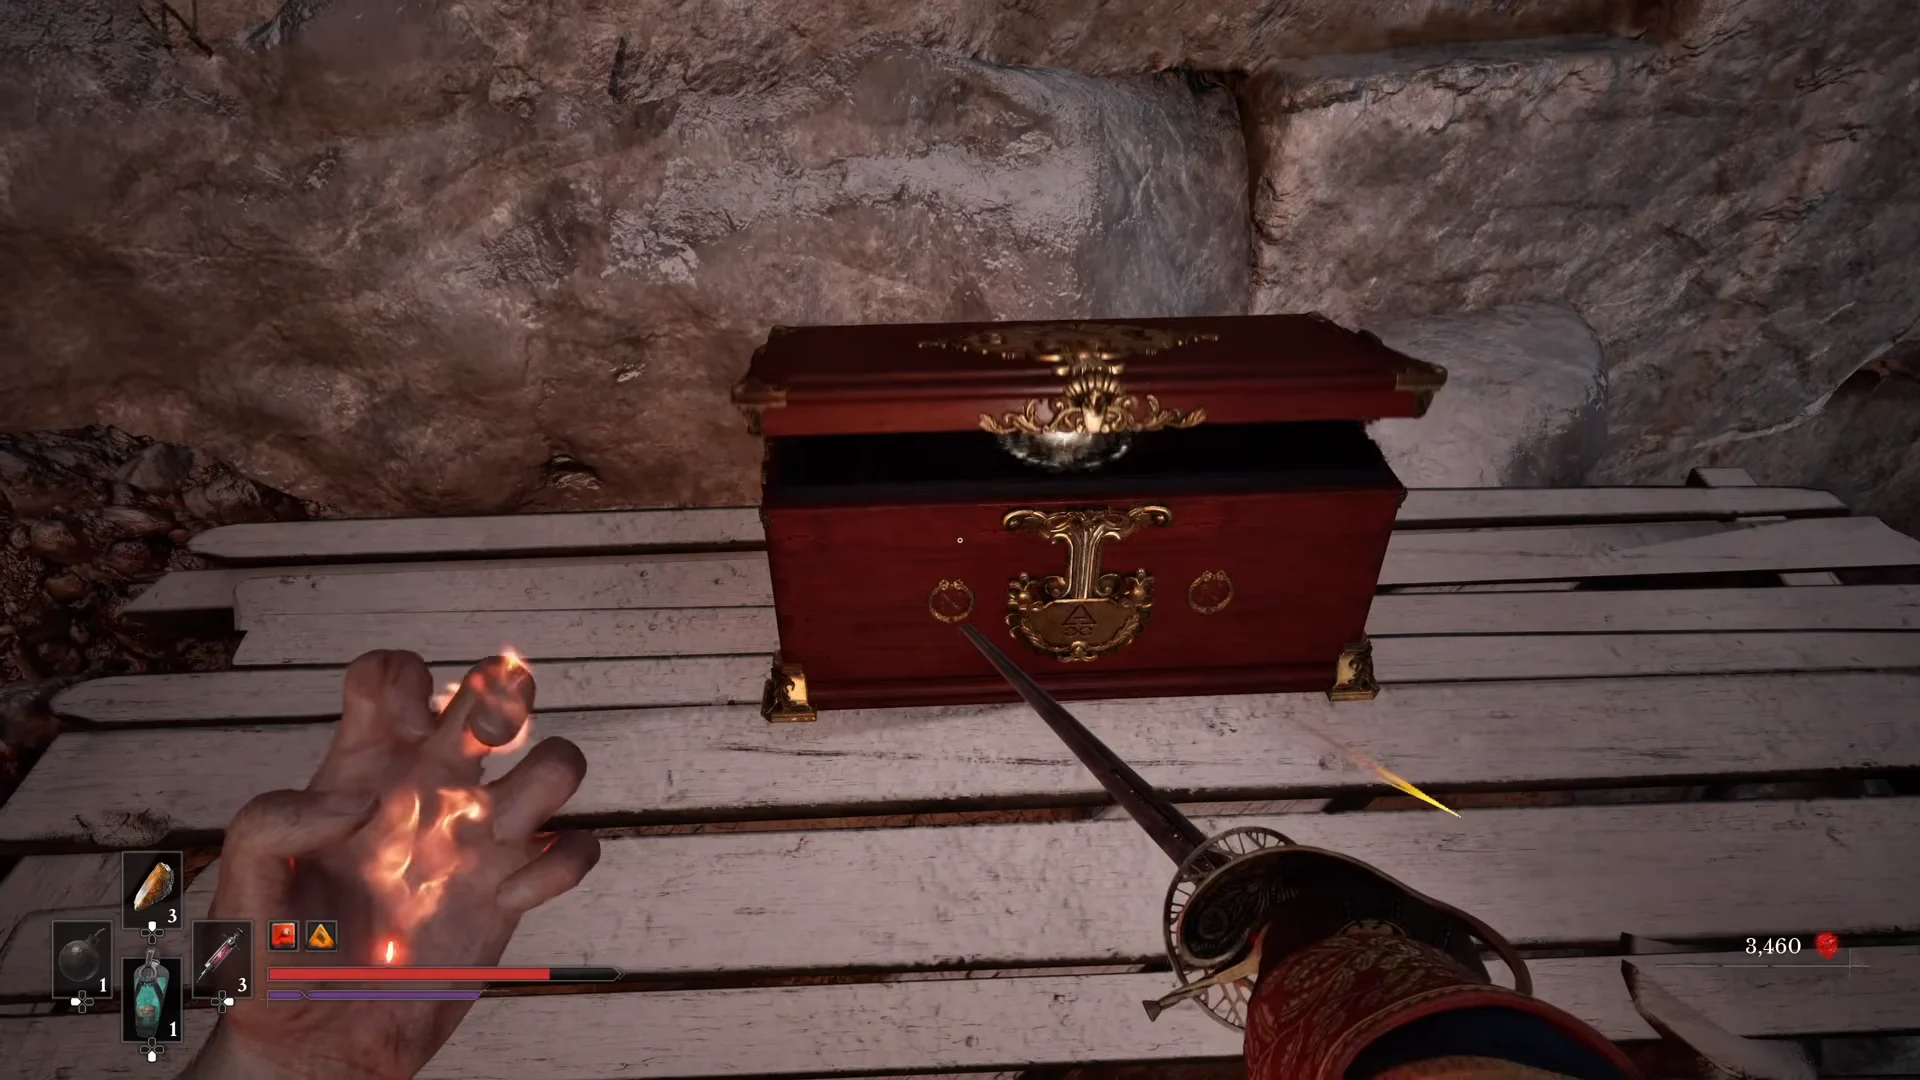
Quick answer: Once you’re in Chapter 4, rest at the Quarry Lantern and ride the elevator up. Then grapple and pull your way up the cliff to a red chest guarded by an armored swordsman.
Requirements for the Quarry Ferrofluid Flask Power Upgrade
Every part of the climb depends on the grapple. Get these in place before you fast-travel back.
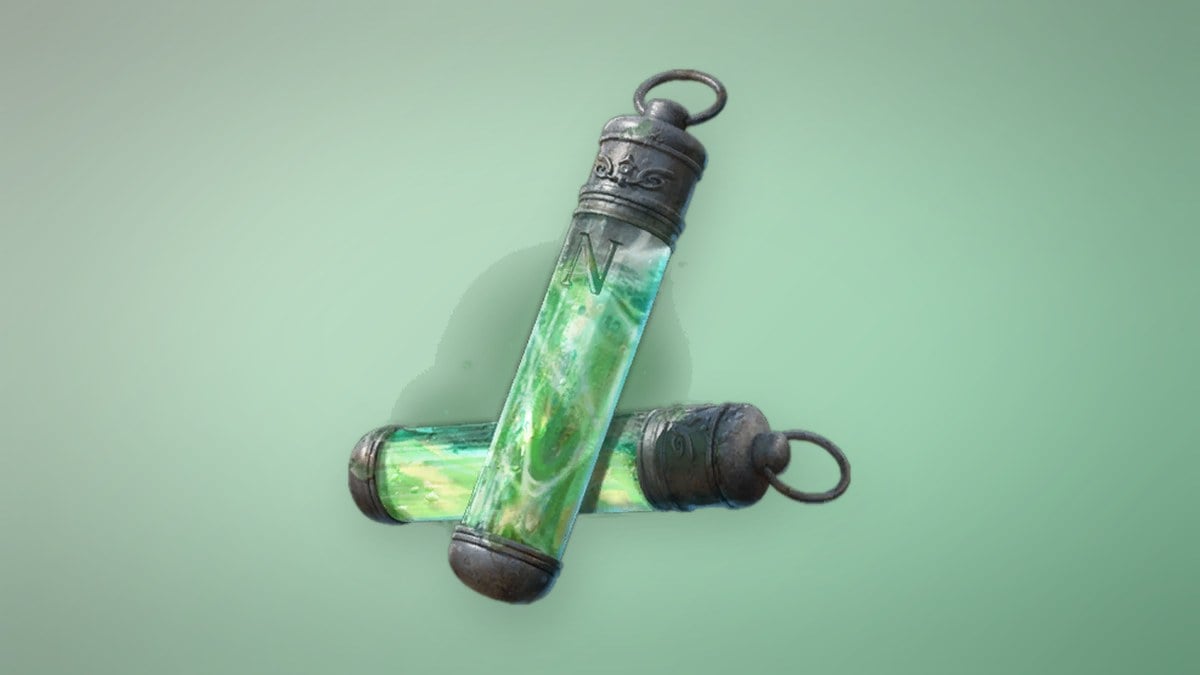
- Finish Chapter 3, which unlocks the grapple. It becomes usable from Chapter 4 onward.
- Activate the Quarry Lantern in the Valley of Ashes to make it a direct travel destination.
- Open the Quarry elevator shortcut. It isn’t strictly required, but it saves you the first climb.
- Be ready for snipers, riflemen, wall-crawling monsters and one heavily armored melee enemy along the way.
Quarry route to the hidden flask upgrade chest
The route is a straight vertical climb with a few fights along the way. Grapple points show up as blue rings, and the hanging crates display a PULL (HOLD) prompt when you aim at the node underneath them.
Confirming the pickup and applying it at a Lantern
After opening the chest, the pickup notice displays Ferrofluid Flask Power Upgrade and a count of 1. The item has no effect just by carrying it. Rest at any Lantern, then enter the Upgrade Ferrofluid Flasks menu to spend it on flask potency. The healing increase takes effect there.
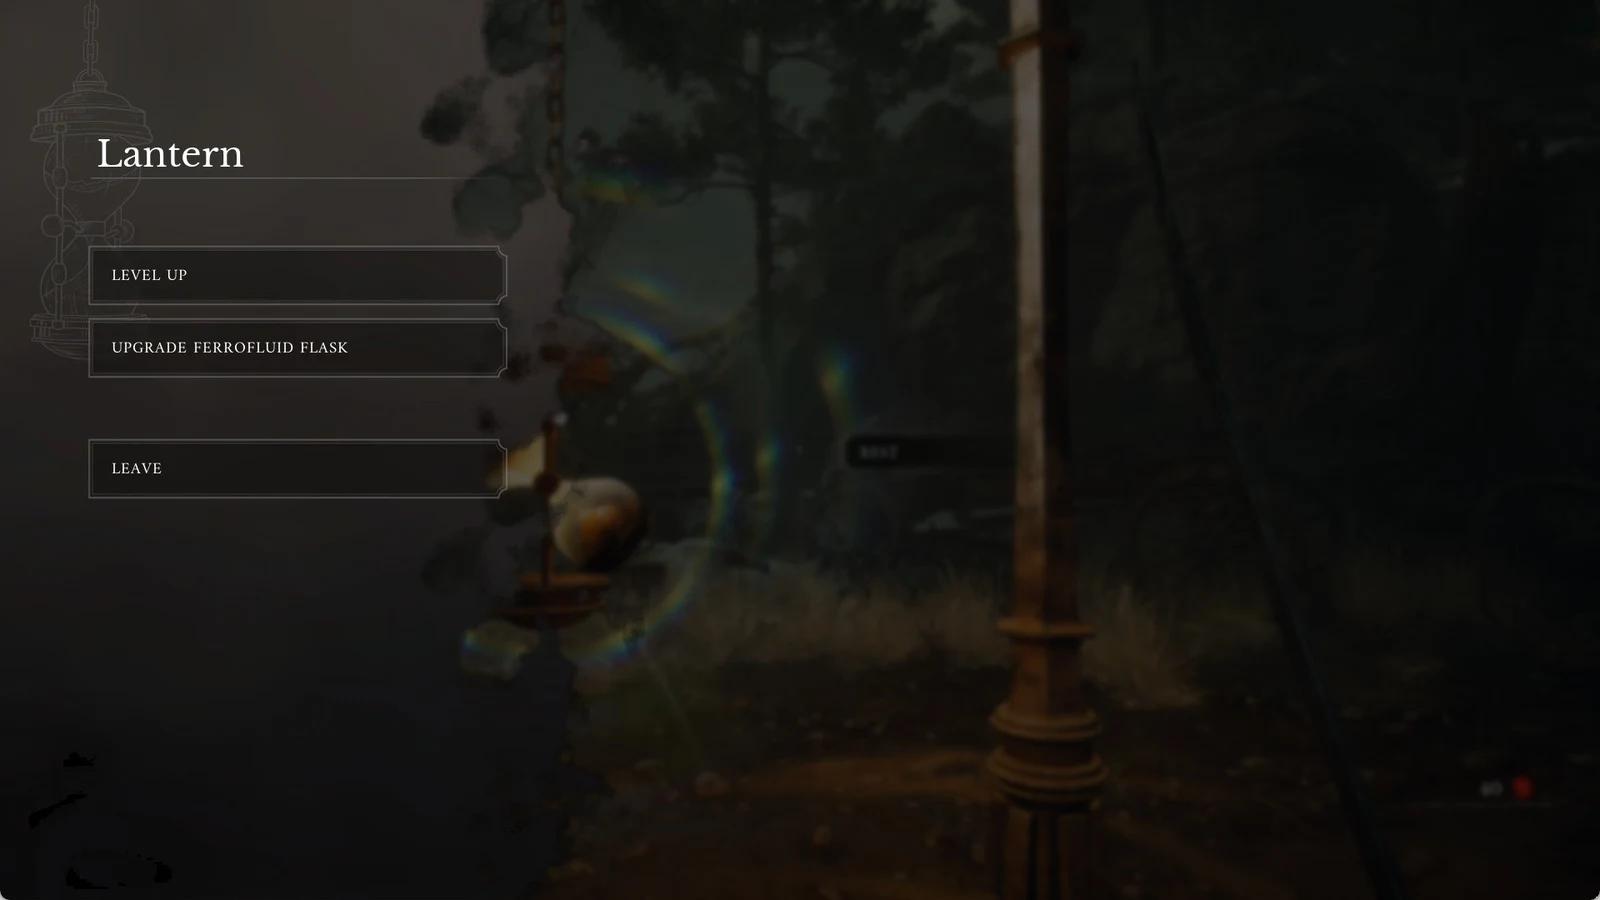
Power Upgrades raise how much each flask heals, and Empty Ferrofluid Flasks add extra charges. The two use separate materials and don’t stand in for each other.
Ferrofluid Flask potency levels and upgrade costs
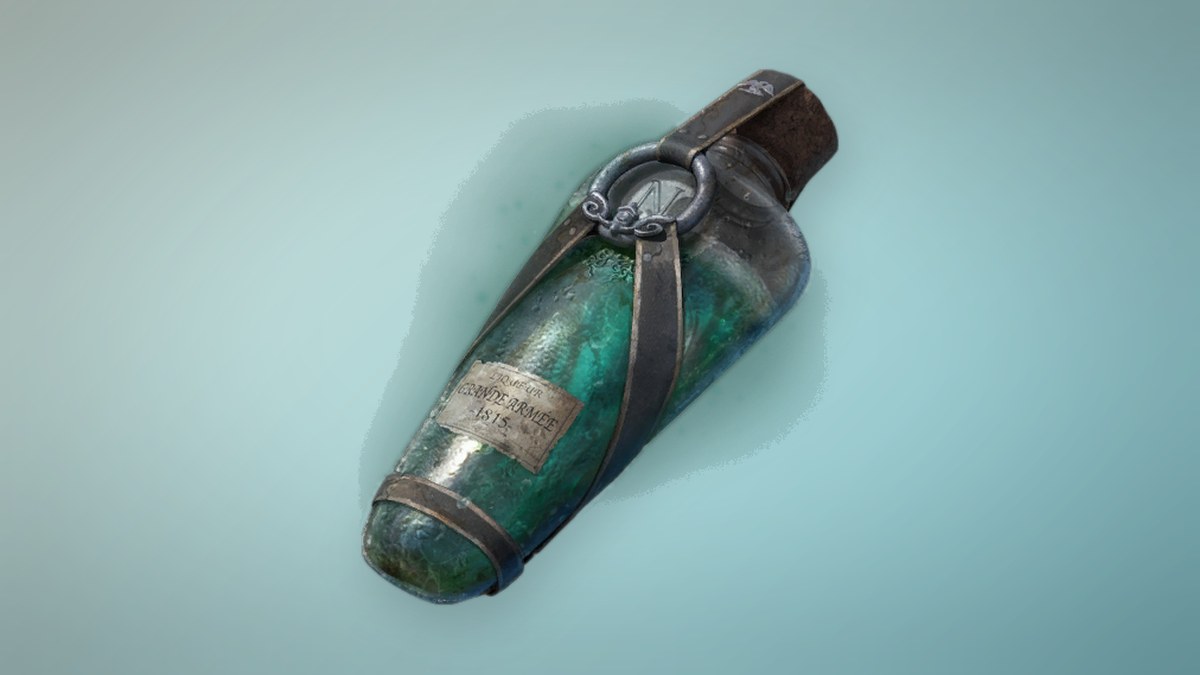
A base Ferrofluid Flask restores 50 Health, and every potency level adds 10 more. The first level takes one Power Upgrade. After that, each level costs more, so this Quarry chest carries more weight than a single item suggests.
| Potency upgrade | Healing per flask | Power Upgrades needed | Running total |
|---|---|---|---|
| Base | 50 | — | 0 |
| Upgrade 1 | 60 | 1 | 1 |
| Upgrade 2 | 70 | 2 | 3 |
| Upgrade 3 | 80 | 2 | 5 |
| Upgrade 4 | 90 | 2 | 7 |
| Upgrade 5 | 100 | 3 | 10 |
| Upgrade 6 | 110 | 3 | 13 |
| Upgrade 7 | 120 | 3 | 16 |
| Upgrade 8 | 130 | 4 | 20 |
| Upgrade 9 | 140 | 4 | 24 |
Chapter 2 already gives you two Power Upgrades in chests, one near the Guidepost Lantern and one in the Military Camp. Adding the Quarry one brings you to three, which is exactly enough for Upgrade 2 and 70 Health per flask. Reaching the cap of 140 takes 24 in total.
Chests aren’t the only source. Louis’s Laboratoire stocks one Power Upgrade from the start of the game for 3,000. It adds another to stock from Chapter 5 (Crime) and a third from Chapter 9 (In Ruins). Two more come from conversations. Chests holding them are spread across the Fortress, City of Orphans, University, Valley of Ashes, Fallen Village, Caverns, Vale of Wrath, Cursed Hollow and The Outskirts.
Other loot on the Quarry climb
The route also hands out a handful of supplies and one weapon material. All of it is on the path you’re already taking.
| Item | Where on the climb | Use |
|---|---|---|
 Nephtoglobin Vial Nephtoglobin Vial | Ledge after the first crate | Refills Nephtoglobin |
 Pure Blade Material Pure Blade Material | First red chest | Blade upgrades |
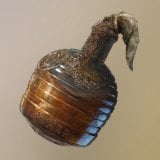 Oil Grenade Oil Grenade | Wooden beams to the right | Throwable |
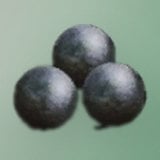 Pistol Ammunition Pistol Ammunition | Along the route | Pistol rounds |
You can carry up to three Nephtoglobin Vials, so a full reserve leaves this one behind. Pure Blade Material goes into the Saber, Rapier and Claymore from weapon level 5 upward. Each blade needs one at level 5, two at level 6 and three at level 7.
Once the Quarry chest is open and the upgrade is spent at a Lantern, you’ll see the new healing value every time you drink a flask. The zip line back down means the whole detour takes only a few minutes from the Lantern.