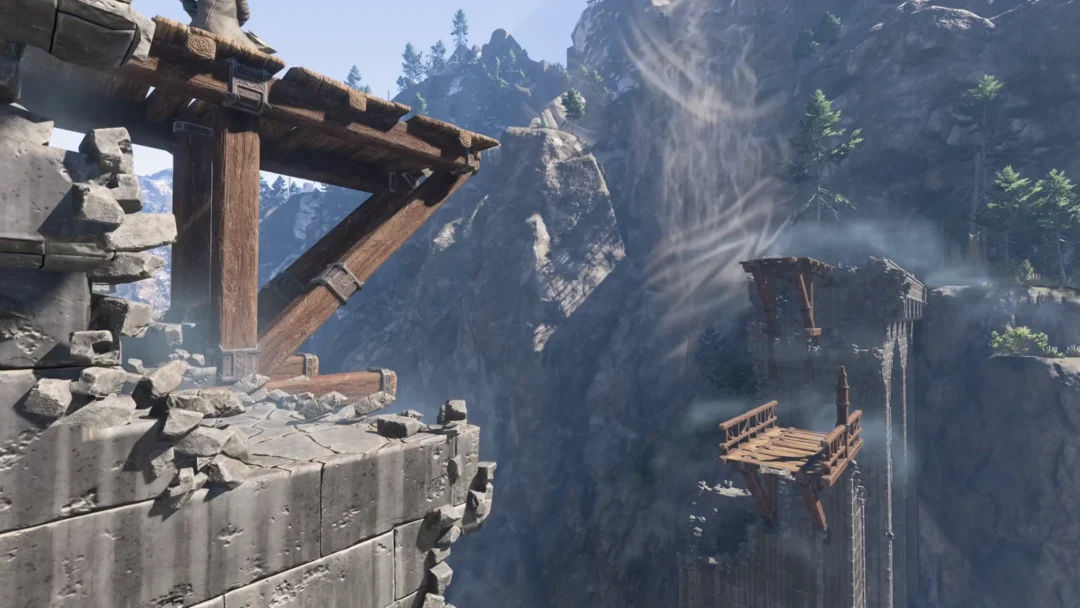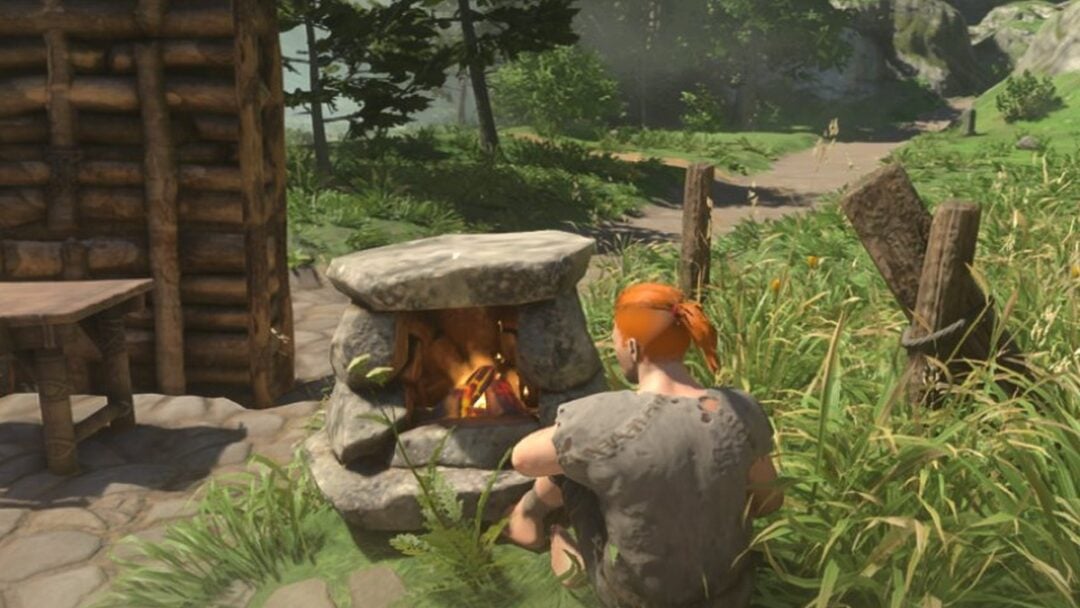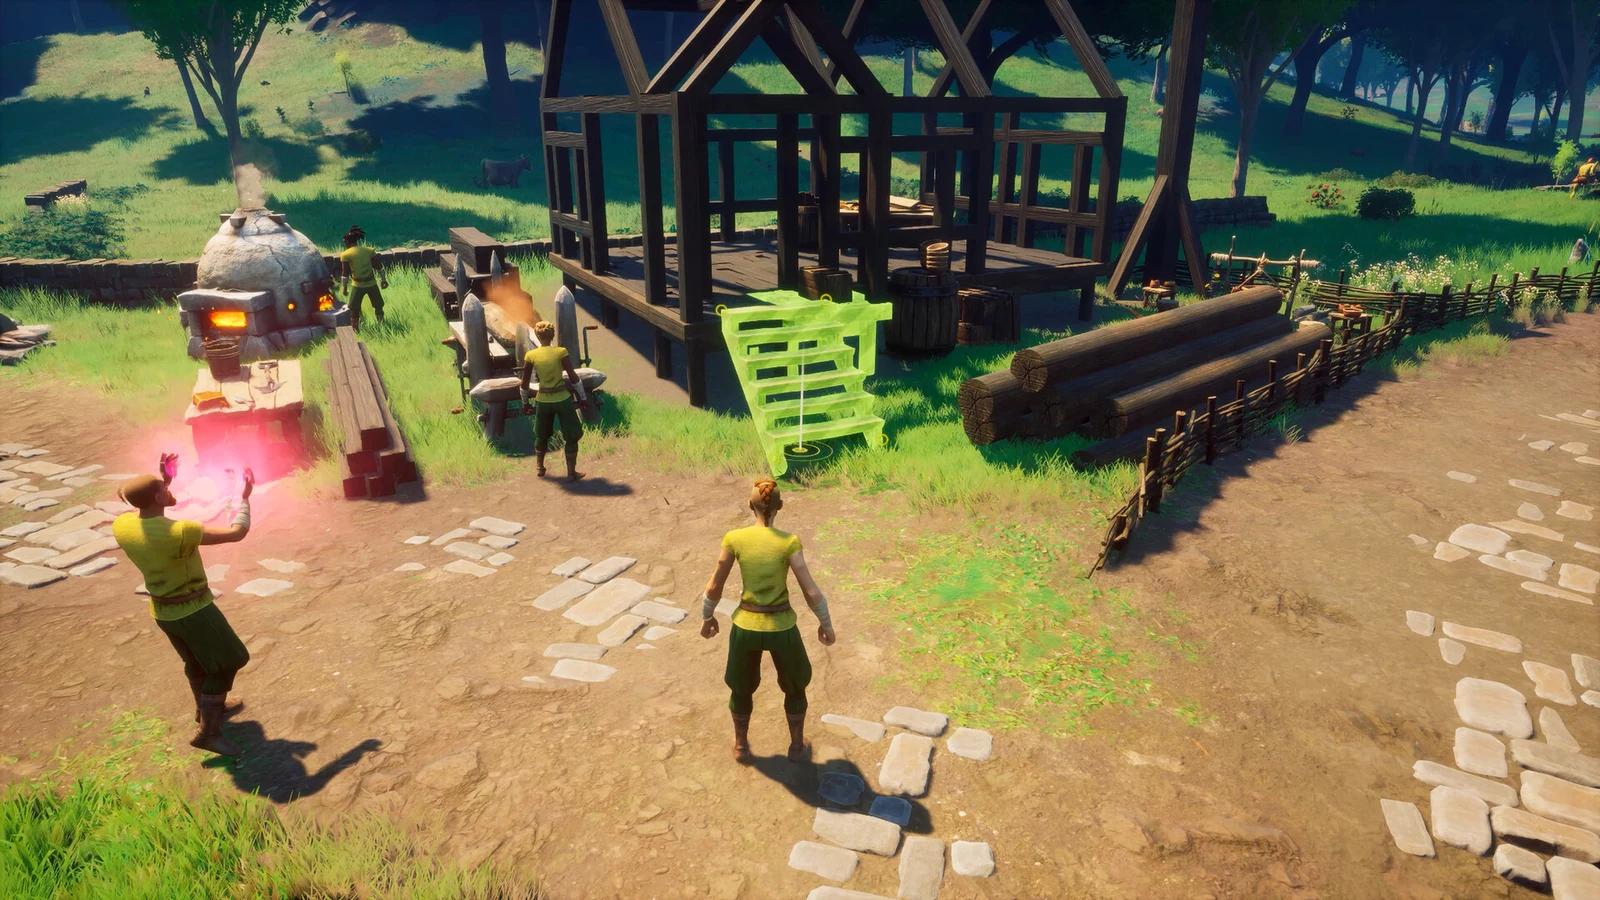
The Zanik micro build is a small player base built directly into an existing stone ruin in Fellhollow’s Bleakfields Valley, right where the goblin adventurer Zanik stands. It reuses the world’s broken walls instead of replacing them. The second episode finishes the job. The ruin goes from a rough frame to a furnished two-story outpost with a working garden, a crafting loft, a relocated lodestone, and wraparound balconies. It also shows several building rules in RuneScape: Dragonwilds that matter once you build against native terrain instead of open ground.
Quick answer: The finished build packs a tannery, Mystic Forge, Rune Altar, spinning wheel, loom, and loom harness into two floors of an existing Fellhollow ruin. It also has a pumpkin garden, beds, storage, and a lodestone upstairs.
Zanik micro build location: The Fellhollow ruins
The base sits inside the Fellhollow ruins in Bleakfields Valley. Zanik shows up in Fellhollow asking for help putting the area’s restless spirits to rest. Building around her turns a quest stop into a home base, which is the whole premise of a “micro” build. You don’t clear land. You take a footprint the game already drew, add only what is needed to make it livable, and leave the original stonework doing most of the visual work.
An existing palisade fence wraps the courtyard, and a broken stone archway marks the entrance. The ruined structure has enough height for a ground floor and an upper loft. Dragon Wolves roam the area. One wanders into the courtyard partway through the build and has to be fought off before work continues, so the spot is not a safe zone.
Building against native ruins: What snaps and what doesn’t
Most of the useful information in the episode comes from friction with the ruin itself. The world’s stone walls look like building pieces, but the game does not treat them as player structures. That changes what you can attach to them.
Wall fixtures need a player-built wall
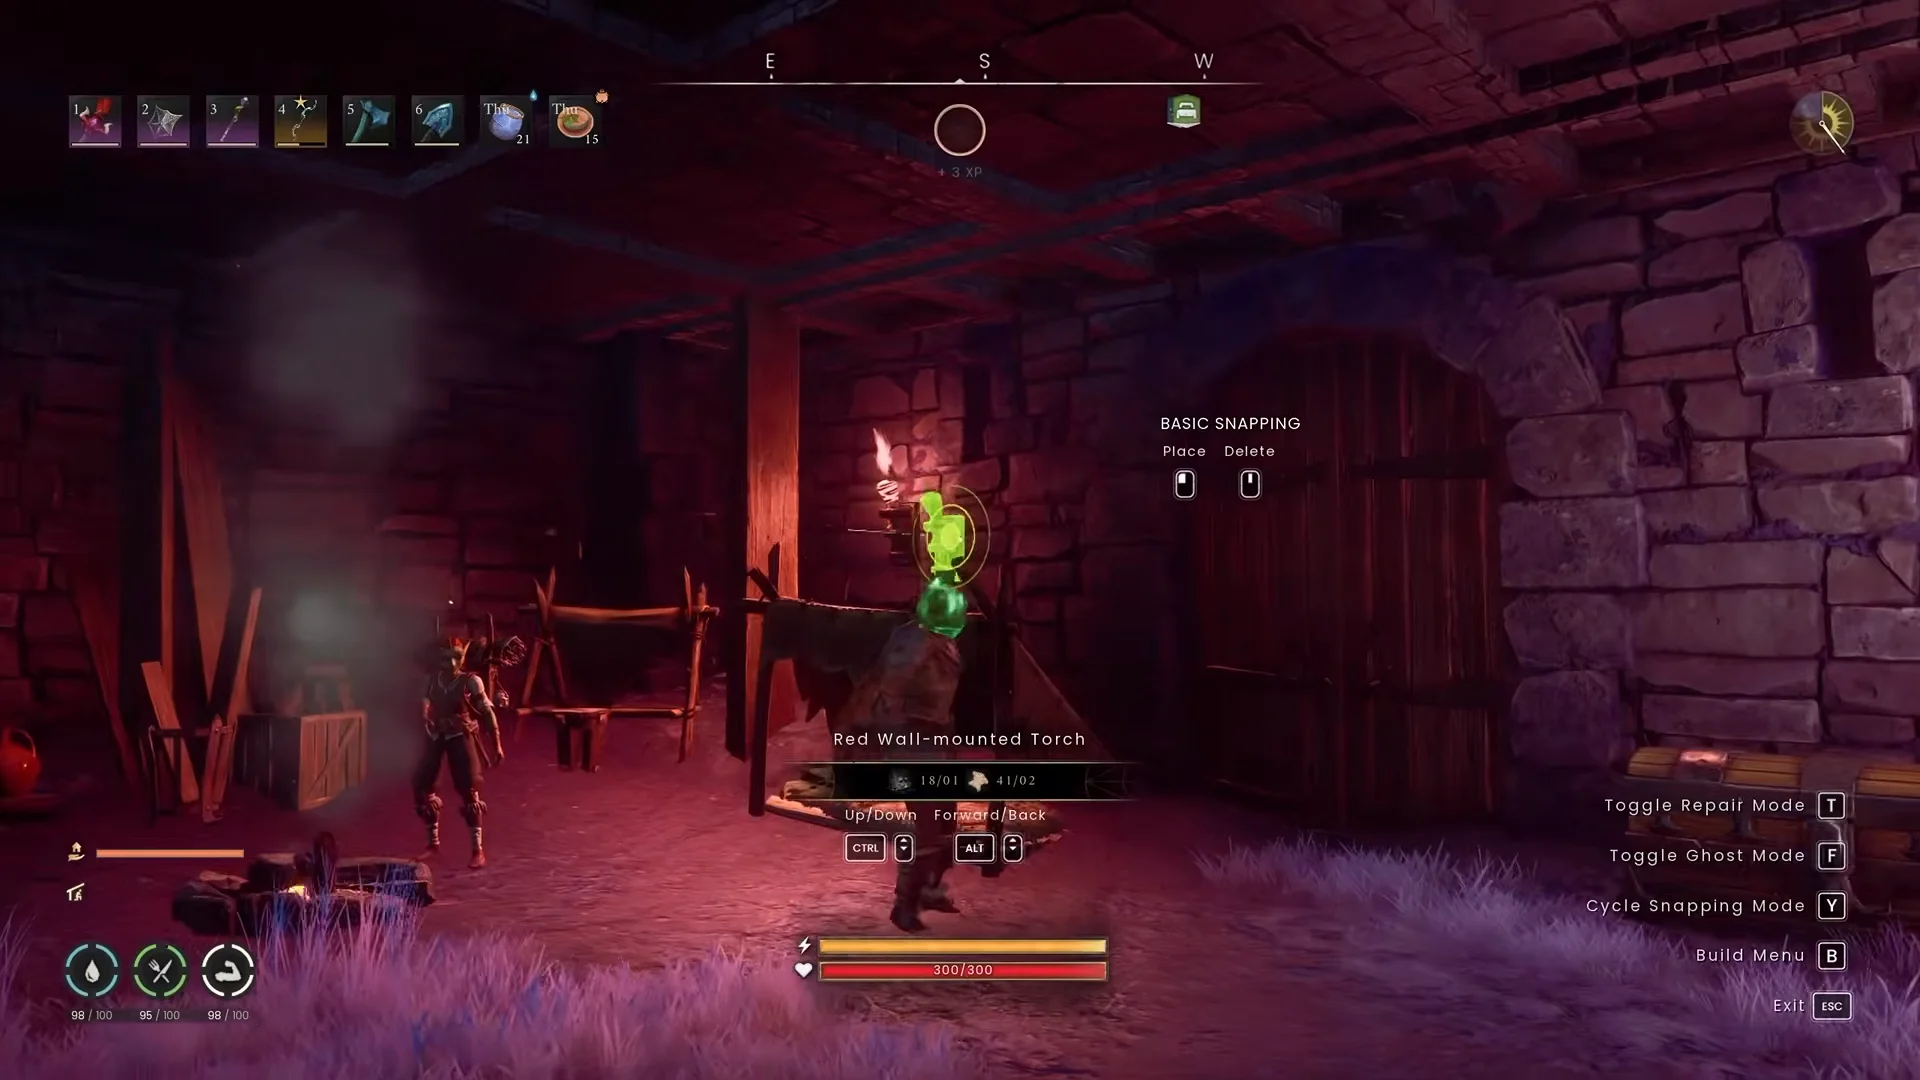
Wall-mounted torches won’t snap to the native ruin walls at all. The workaround is to place a player-built stone wall flush against the ruin, effectively embedding it, and then mount the red torch on that new surface. From a normal viewing angle the added wall disappears into the old masonry. The fixture gets the anchor it needs.
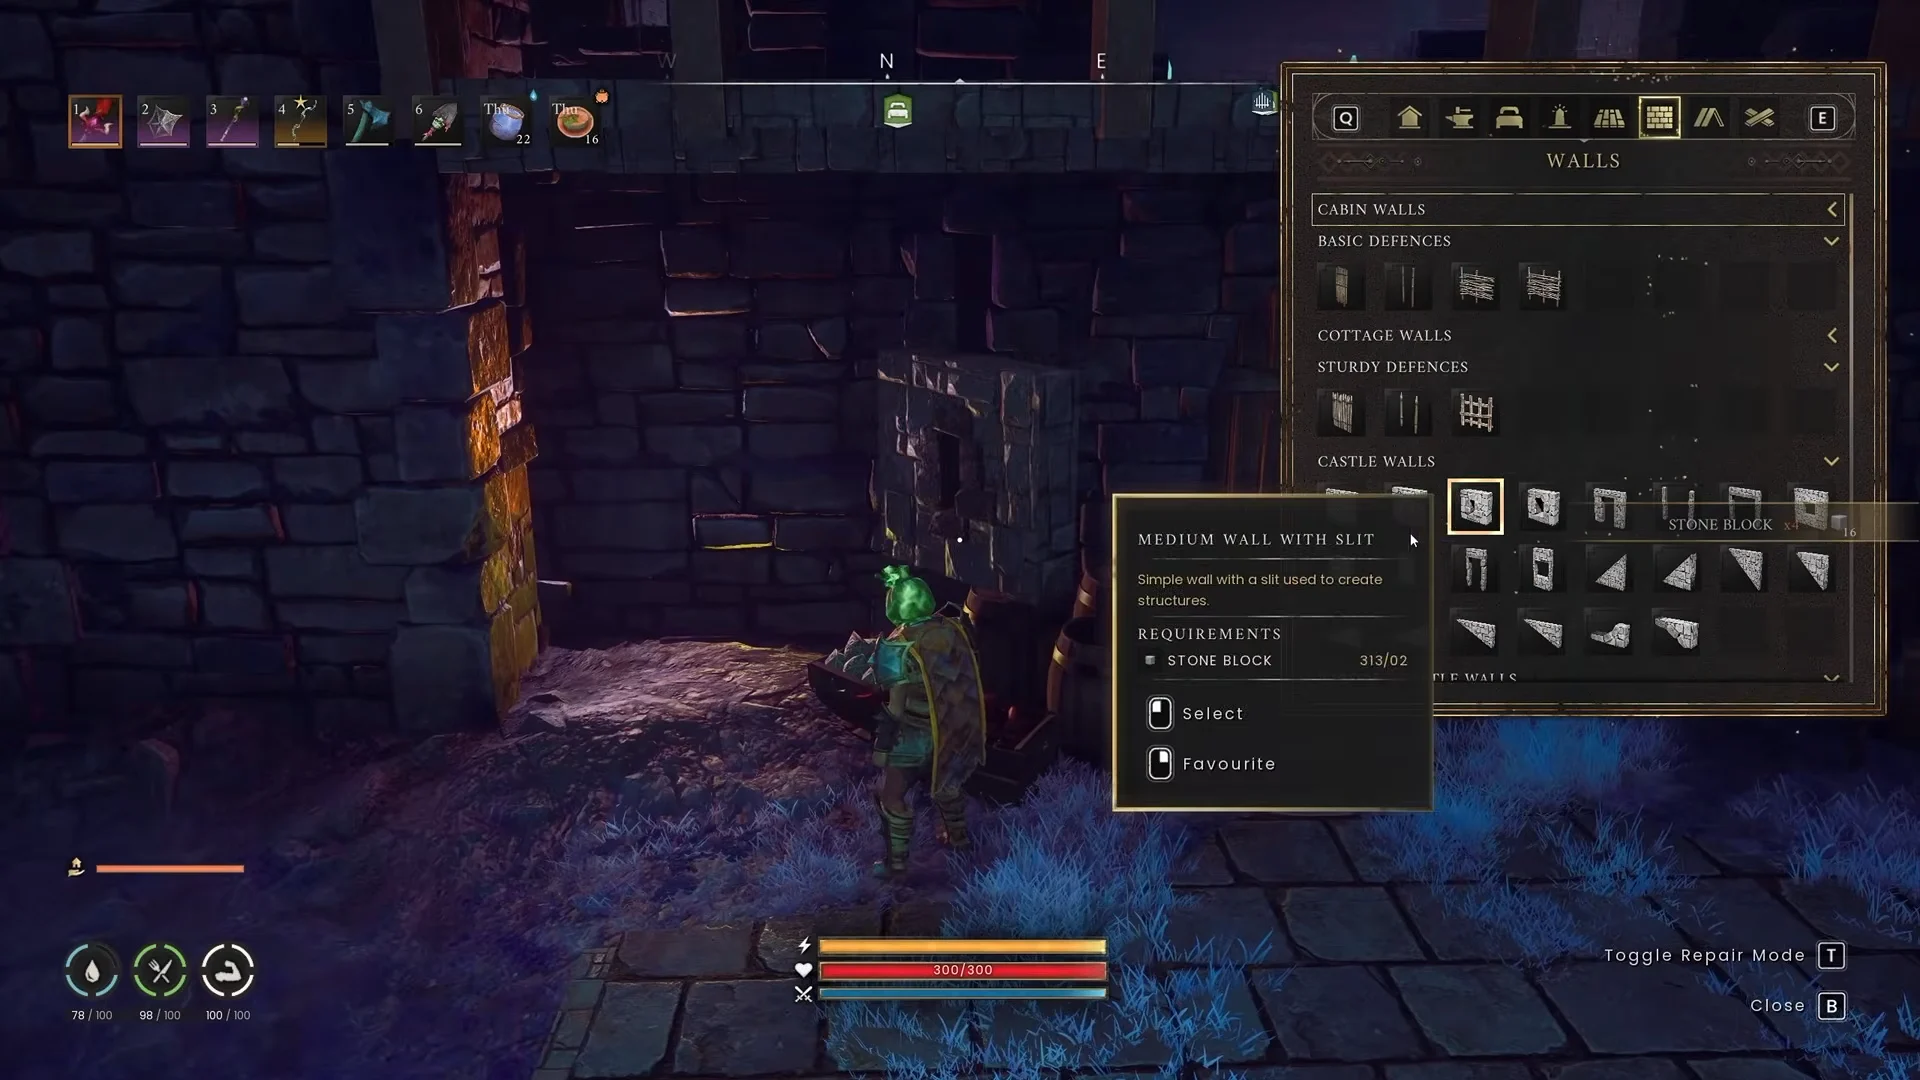
Floor tiles extend the threshold
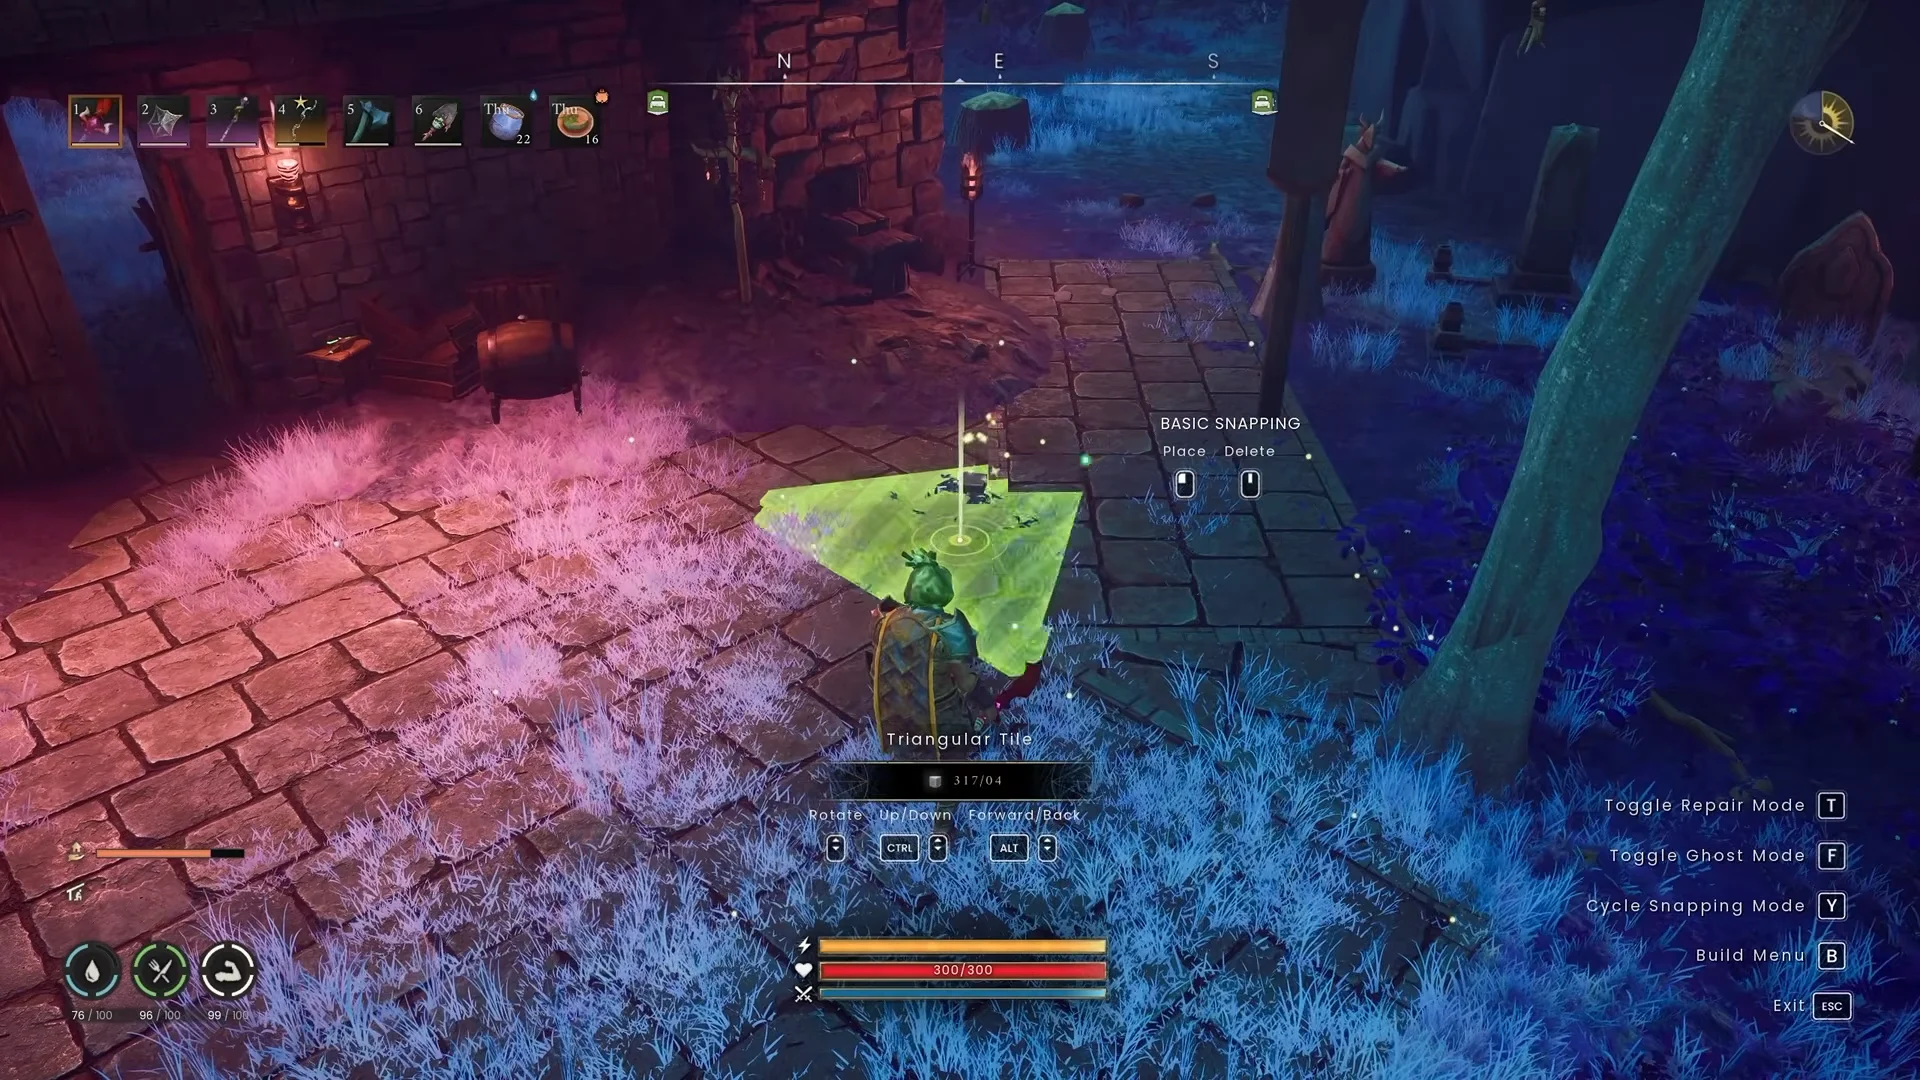
Stone square and triangular foundation tiles snap outward from the entrance to create a path. The triangle pieces let the walkway follow the ruin’s irregular edges, so it doesn’t end in a jagged square grid. Wooden tile foundations do the same job along the inner palisade wall, where they form the base for the garden.
Small props need furniture surfaces
Certain small decorations, like the Vault Core, won’t sit on a barrel or bare floor. They need a table or a specific shelf unless the snapping mode is changed. An attempt to perch a Vault Core on a barrel stack fails, which leads straight into testing how tables snap. Decorative barrel piles also show some texture glitches near the palisade, so not every prop looks clean in every spot.
Thin beams stand in for fences
Standard fences don’t line up with the ruin’s stone ledges, so the balcony railings are built from horizontal and vertical thin beams, some rotated at angles to follow the edge. Thin beams also form a framework across the broken archway out front, and the build tests them as hanging points for Garou ornaments. Beams count among the strongest anchors in the game’s stability system, so they are structural pieces that double as trim.
Room-by-room layout of the finished base
The final walkthrough moves from the entrance through the garden and ground floor, then up to the loft and balconies. Here is what ends up in each area.
| Area | Contents |
|---|---|
| Entrance | Stone tile path, crates, barrels, red torches, banners |
| Courtyard garden | Wooden tile base, willow farming plots, pumpkins |
| Ground floor | Tannery, wooden chests, storage, torches, tables |
| Upper loft | Bedroom, study, bookcases, rugs, lighting, Mystic Forge |
| Upper deck | Spinning wheel, loom, loom harness, Rune Altar, lodestone |
| Balconies | Thin-beam railings, round tables, chairs |
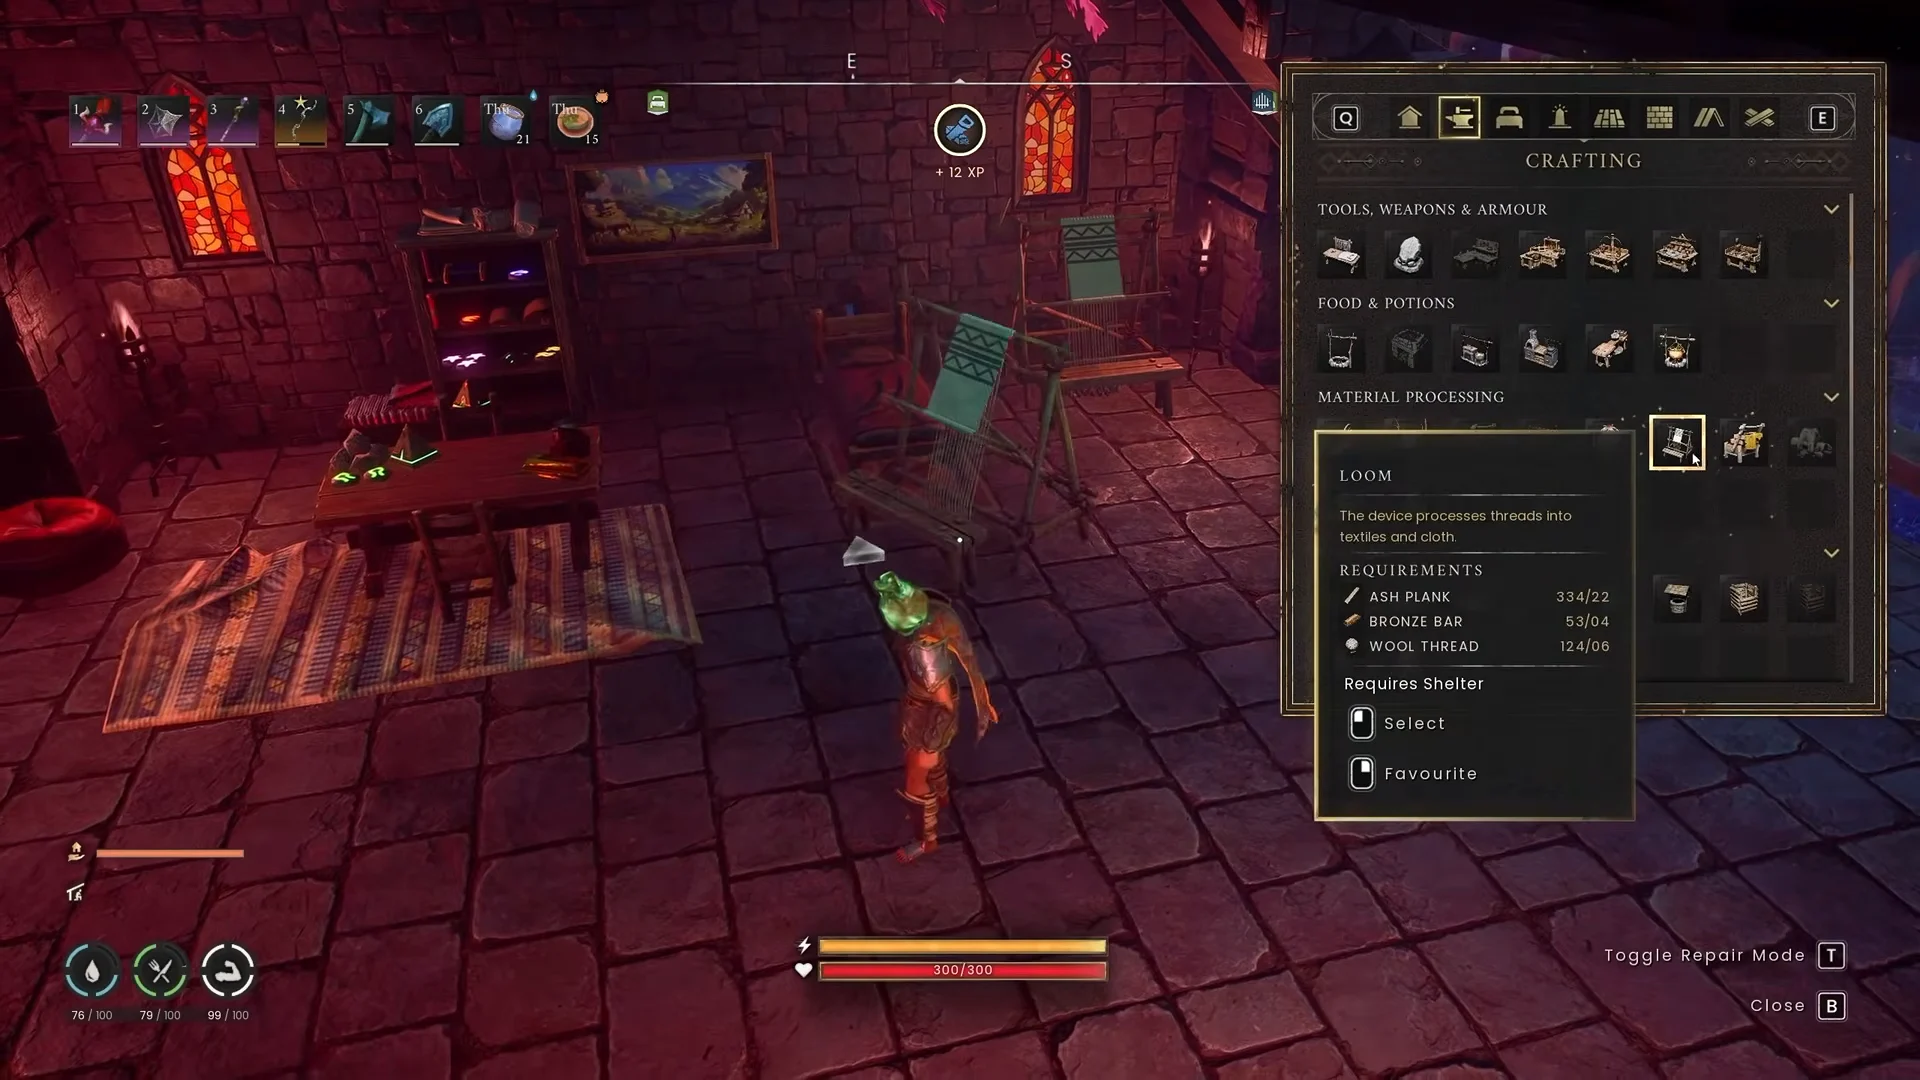
The ground floor is the working level, with the tannery, wooden chests, and tables. Red wall-mounted torches light the space, mounted on the same kind of player-built wall backing used outside.
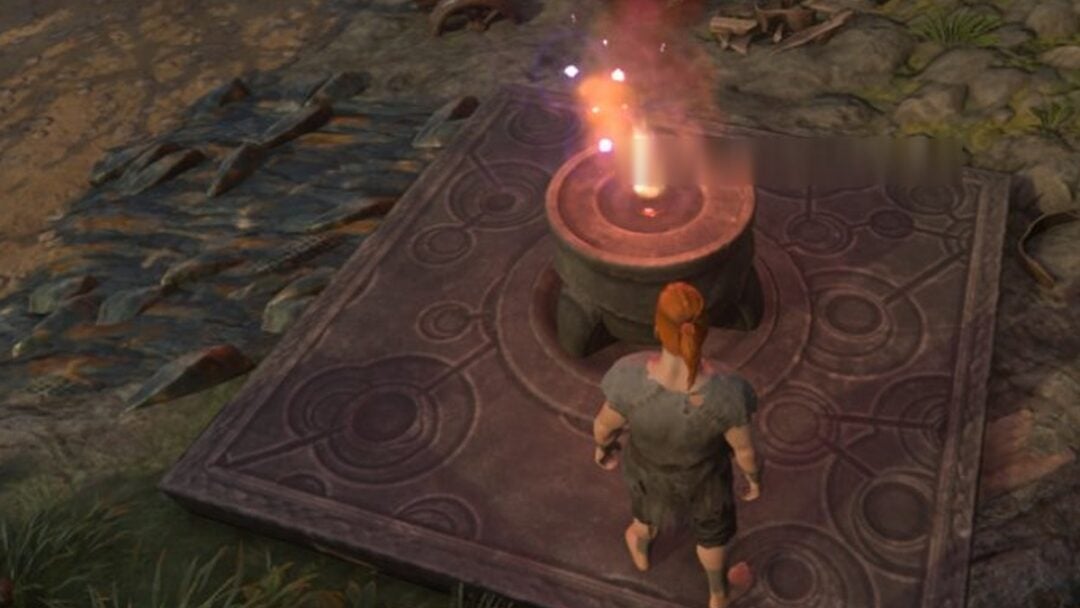
Upstairs, the loft splits into a bedroom and a study with bookcases, rugs, and lights, with a Mystic Forge nearby. The open upper deck holds the textile and rune equipment. The central teleportation lodestone moves up here too, so fast travel drops you into the loft instead of the courtyard.
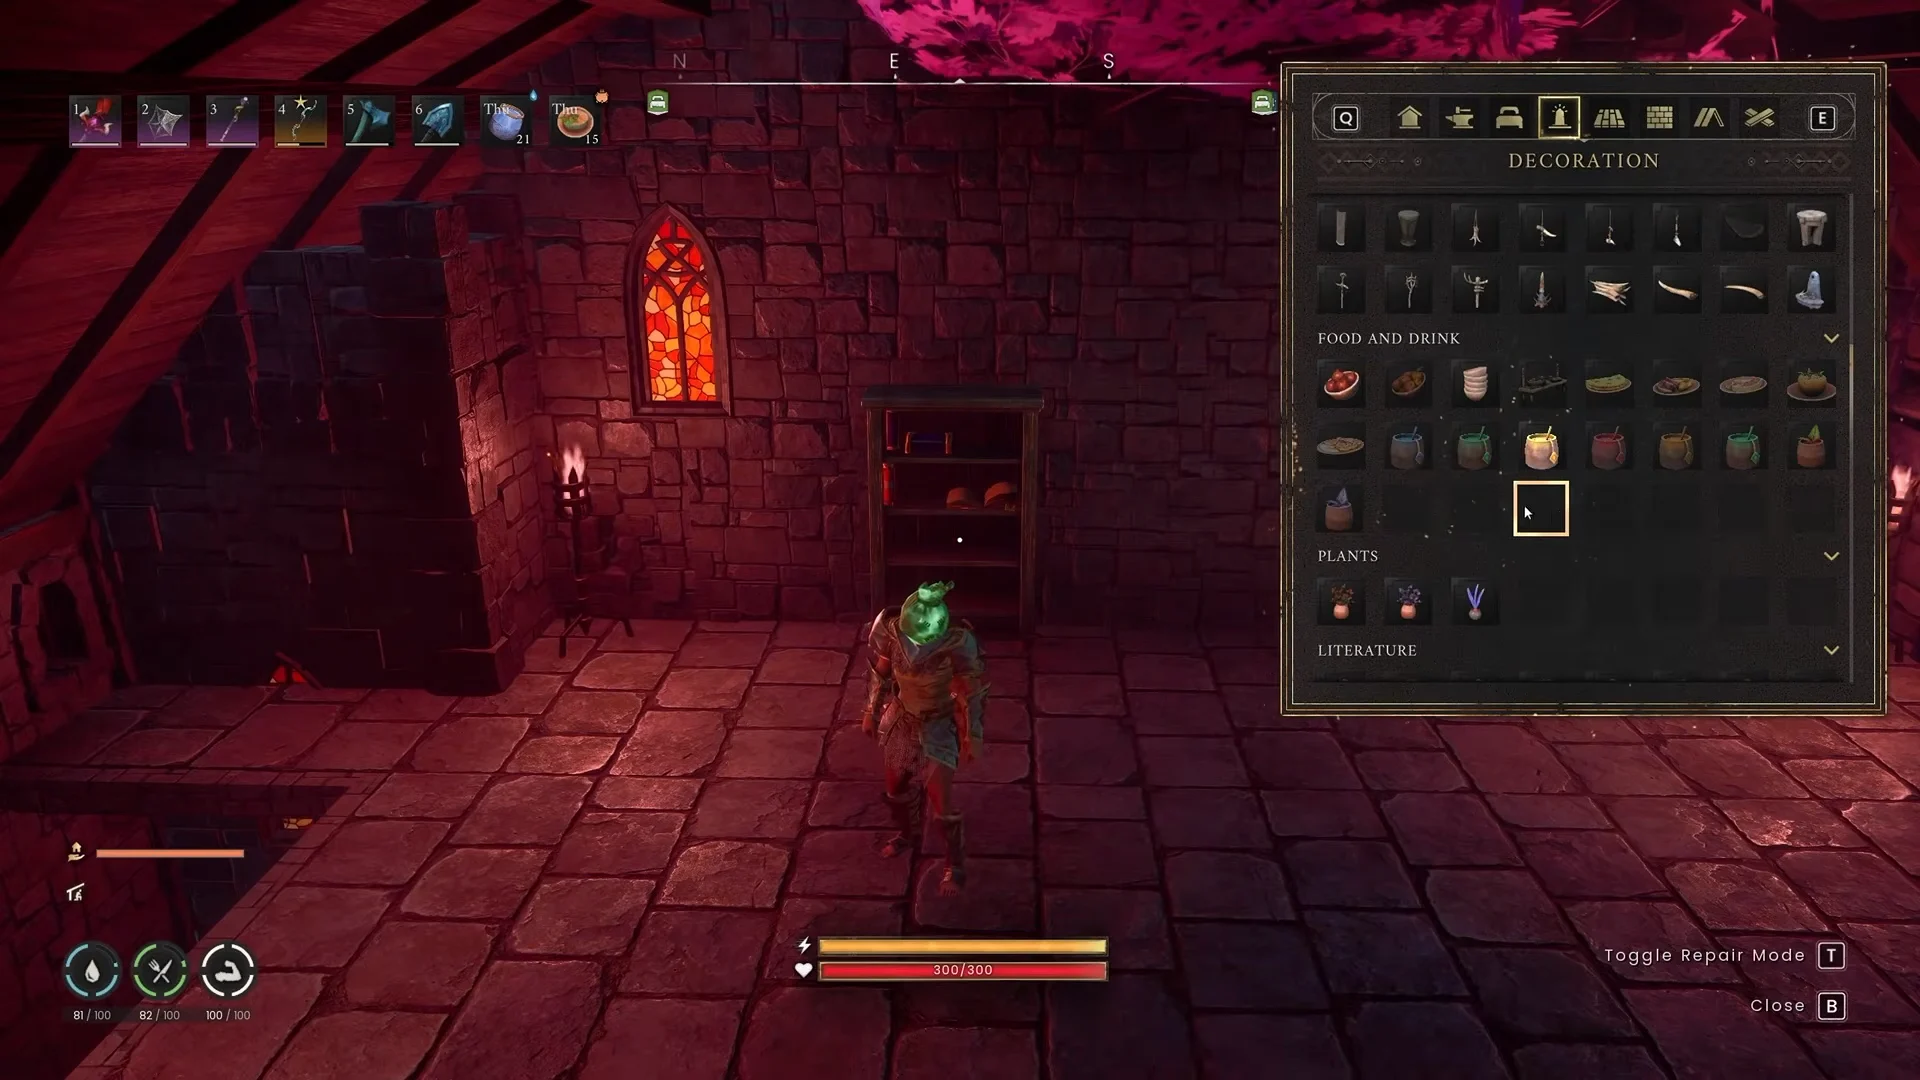
Across both floors the base runs a full set of working stations, including the tannery, a stone range, the Mystic Forge, the Rune Altar, the spinning wheel, the loom, and the loom harness. An oak tree that clipped through the exterior wall was cut down to clean up the silhouette. Both the front and side balconies got seating.
The pumpkin garden and the Humidify spell
The garden uses willow farming plots laid on the wooden tile base. New plots start overgrown with weeds and have to be tilled with a spade before anything can be planted. Here that’s a Runite Spade, showing 750 durability. Pumpkin seeds go in once the plots are clear.
Watering is handled by Humidify, a spell that drops a rain cloud over the crops and irrigates every planted plot at once, so no watering can is needed. It gets cast twice during the episode, once after sowing and again later before harvest. Harvested pumpkins can be dropped straight from the inventory as static decorations on the ground, so the crop doubles as autumn set dressing around the plots.
Exterior decorations and their materials
The outside walls carry Guthix and Zamorak flags, and a dragon head trophy sits by the entrance. Garou trophies and Garou hanging ornaments round out the theme, alongside stacked crates, barrel piles, and pots on a bench near the gate.
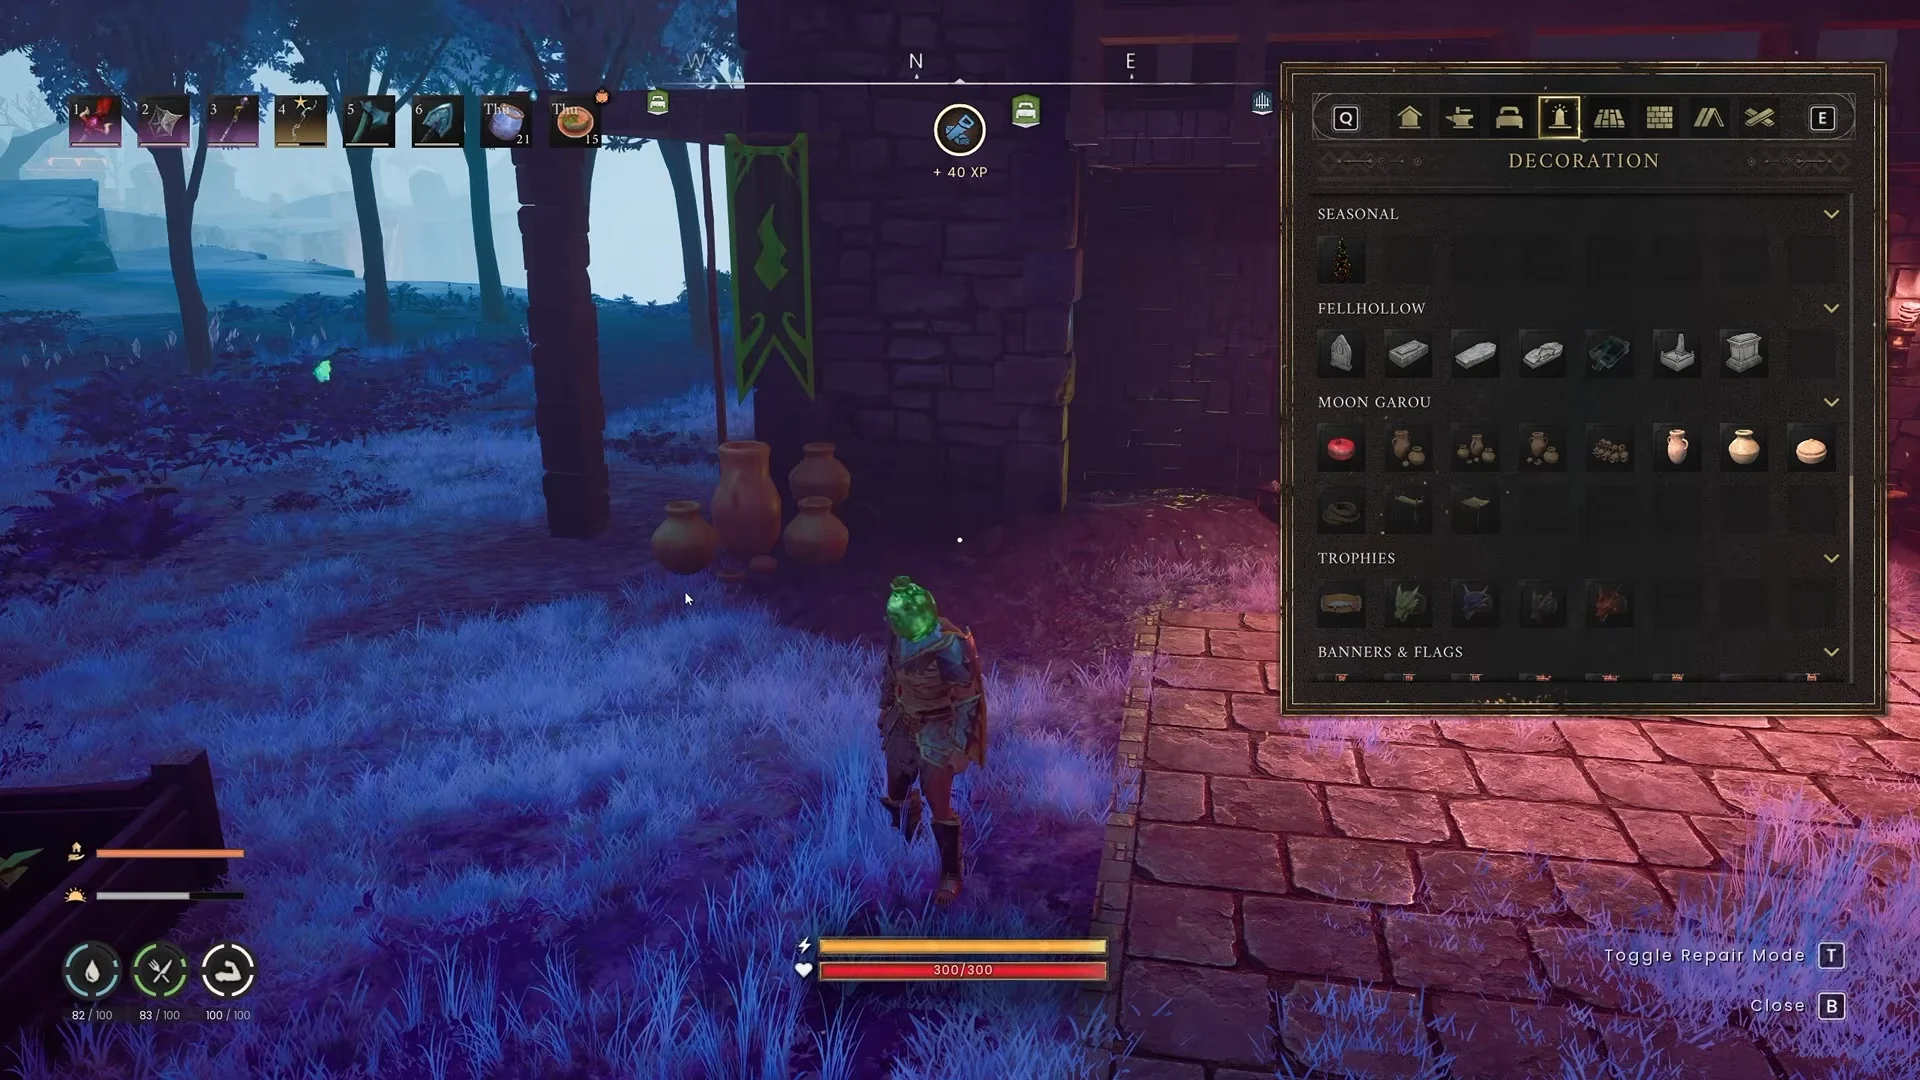
Most of these pieces come from a small pool of materials. The table below lists what each recipe calls for.
| Item | Materials |
|---|---|
| Vertical / 45° thin beam | Ash logs |
| Garou hanging ornament | Animal bone, coarse thread |
| Stacked wooden crates | Ash logs |
| Pots on a bench | Ash logs, clay |
| Bandos / Zamorak flag | Padded cloth, ash logs |
| Red wall-mounted torch | Black salvage pile, soft animal fur |
| Lougrim Memorial Shrine | Granite, ash logs, animal bone, clay decoration, dragon tooth |
| Lodestone | Stone, rune essence, vault core |
The Lougrim Memorial Shrine comes up while reviewing recipes. It’s the heaviest decoration on the list because it needs a dragon tooth on top of the bulk materials.
Eye of Oculus and the build controls
Much of the fine placement happens through Eye of Oculus, a Construction spell that detaches a free-floating build camera from your character. It unlocks at level 11 Construction, costs 3 astral runes, has a 3-second cooldown, and the camera can travel up to 30 metres away. The episode uses it to drop props and trophies from above, and closes with an aerial flyover of the finished base using the same camera.
The on-screen prompts throughout the build map to these keys:
| Key | Function |
|---|---|
| B | Build Menu |
| F | Toggle Ghost Mode |
| V | Cycle Snapping Mode |
| T | Toggle Repair Mode |
| Q | Select Spell |
| C | Open Spell Book |
| E | Exit Eye of Oculus |
Snapping mode does the most work in a ruin build like this one. It switches between no snapping, basic snapping, and advanced snapping. That choice decides whether a small prop locks onto a surface, and it’s the setting behind the Vault Core placement problem. Only house structures show contact points, so decorations like barrels give no snap feedback at all. Ghost Mode lets you preview pieces for free before spending materials, which is handy when you’re guessing whether a wall will sit cleanly against old stone.
Nothing in the finished base needs new land, and nearly every workaround comes back to one fact. Ruin walls aren’t player structures, so anything that has to attach to them needs a player-built piece between the two. Once that clicks, Zanik’s corner of Fellhollow holds a surprising amount: a full crafting suite, a garden, a bedroom, and a lodestone, all inside walls the game already put there.