Chapter 3 of Valor Mortis, Rendezvous, drops William into Fallen Village, a soaked and burning farm town where six upgrade chests sit just off the main road. The game has no map, so every route here starts at a named Lantern and follows landmarks you can see from it. All six chests are red with gold trim and surrounded by lit candles, which makes them easy to spot once you know which corner to check.
Quick answer: Rest at the Fields, Marketplace, and Orchard Lanterns in Fallen Village. Those three starting points cover all six chests: two Power Upgrades, one Empty Ferrofluid Flask, and three Ambers.
Chapter 3 upgrade locations by Lantern
Fallen Village has four Lanterns: Fields, Marketplace, Orchard, and Path of Fire. You only need the first three for these chests.
| Upgrade | Type | Start point | Chest spot |
|---|---|---|---|
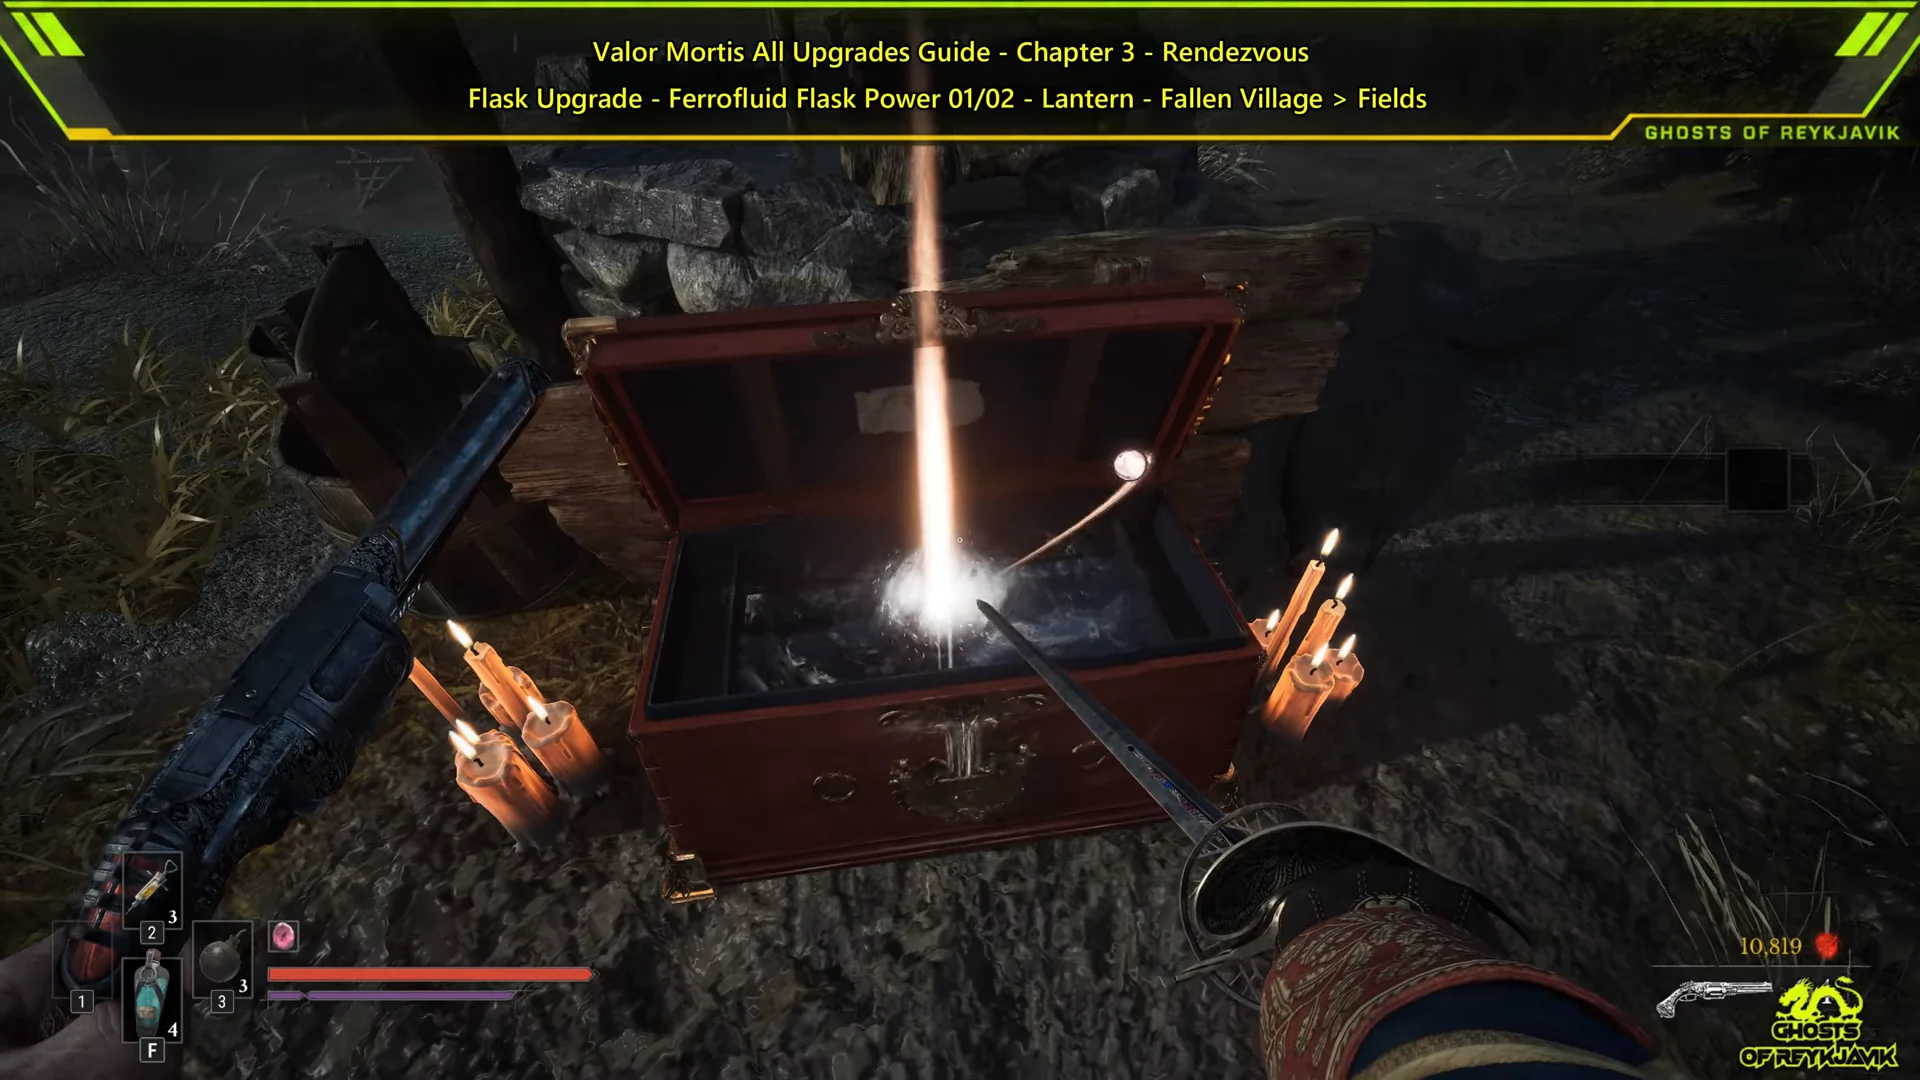
 Ferrofluid Flask Power Upgrade Ferrofluid Flask Power Upgrade | Flask upgrade | Fields | Candlelit well |
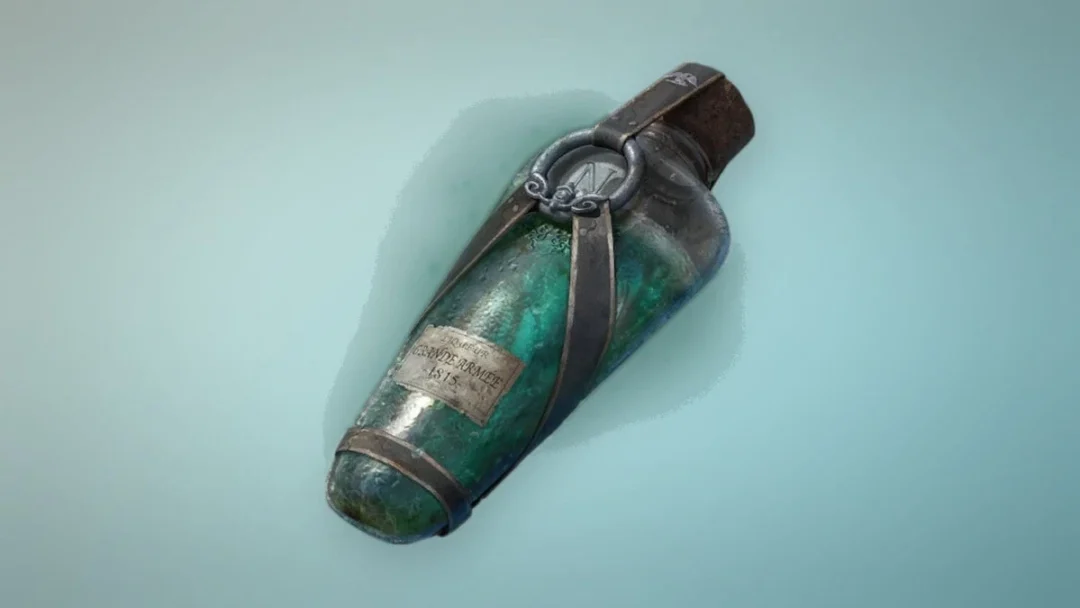
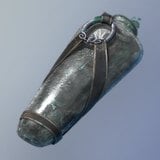 Empty Ferrofluid Flask Empty Ferrofluid Flask | Flask upgrade | Fields route, via grapple | Rooftop scaffolding |
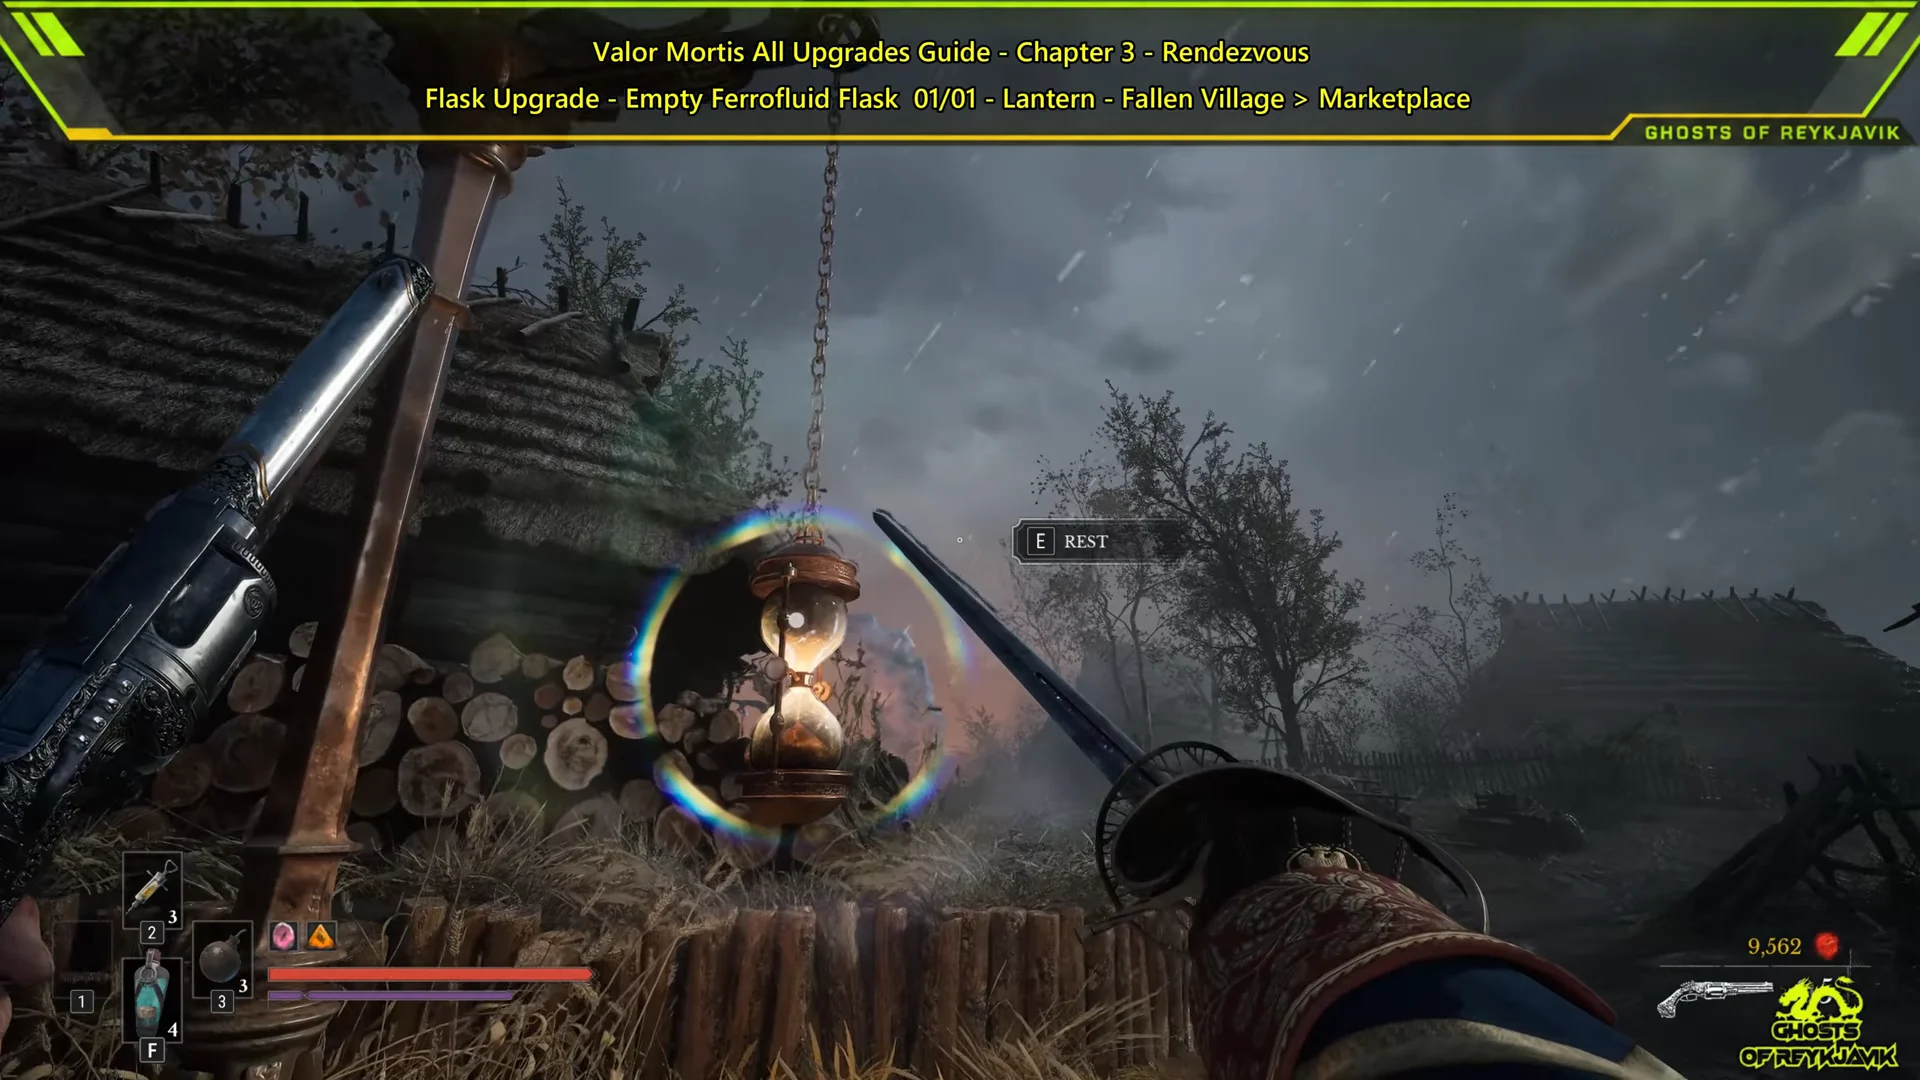
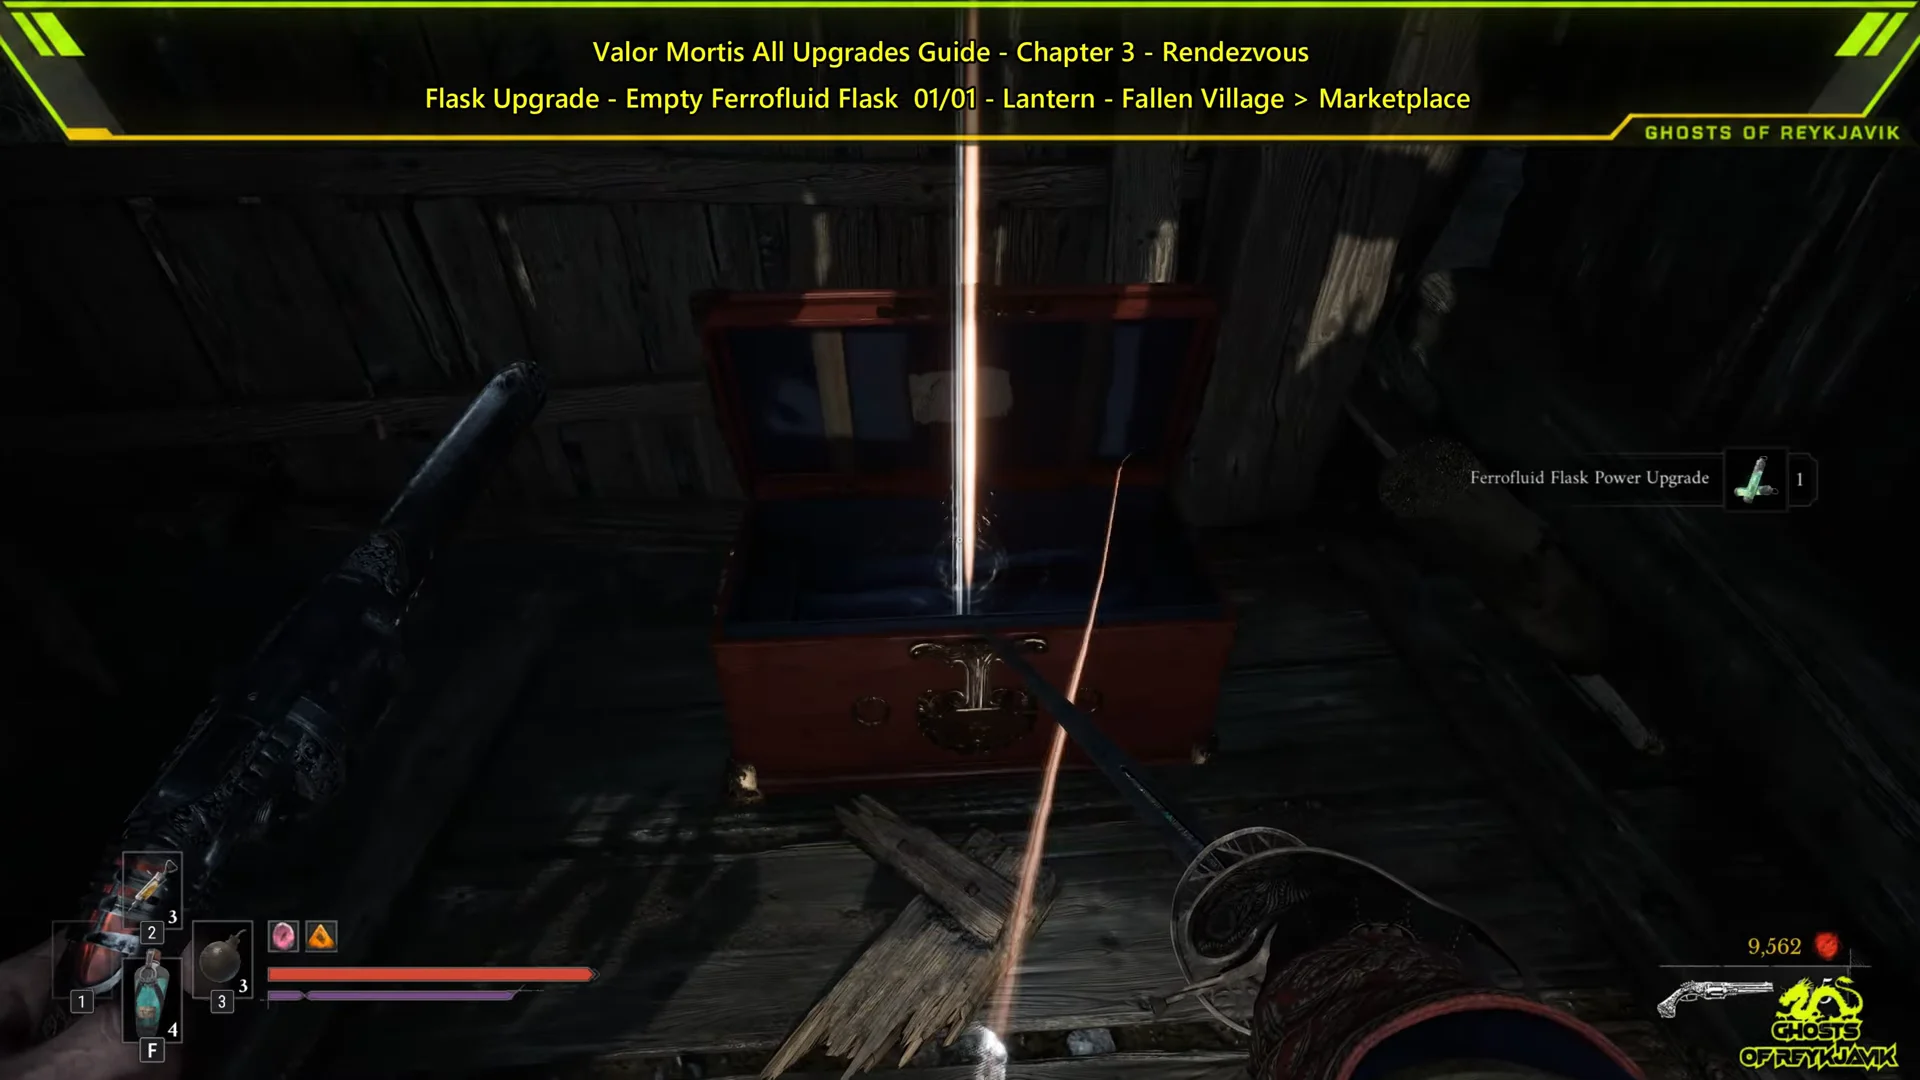
| Ferrofluid Flask Power Upgrade | Flask upgrade | Marketplace | Behind crates in an alcove |
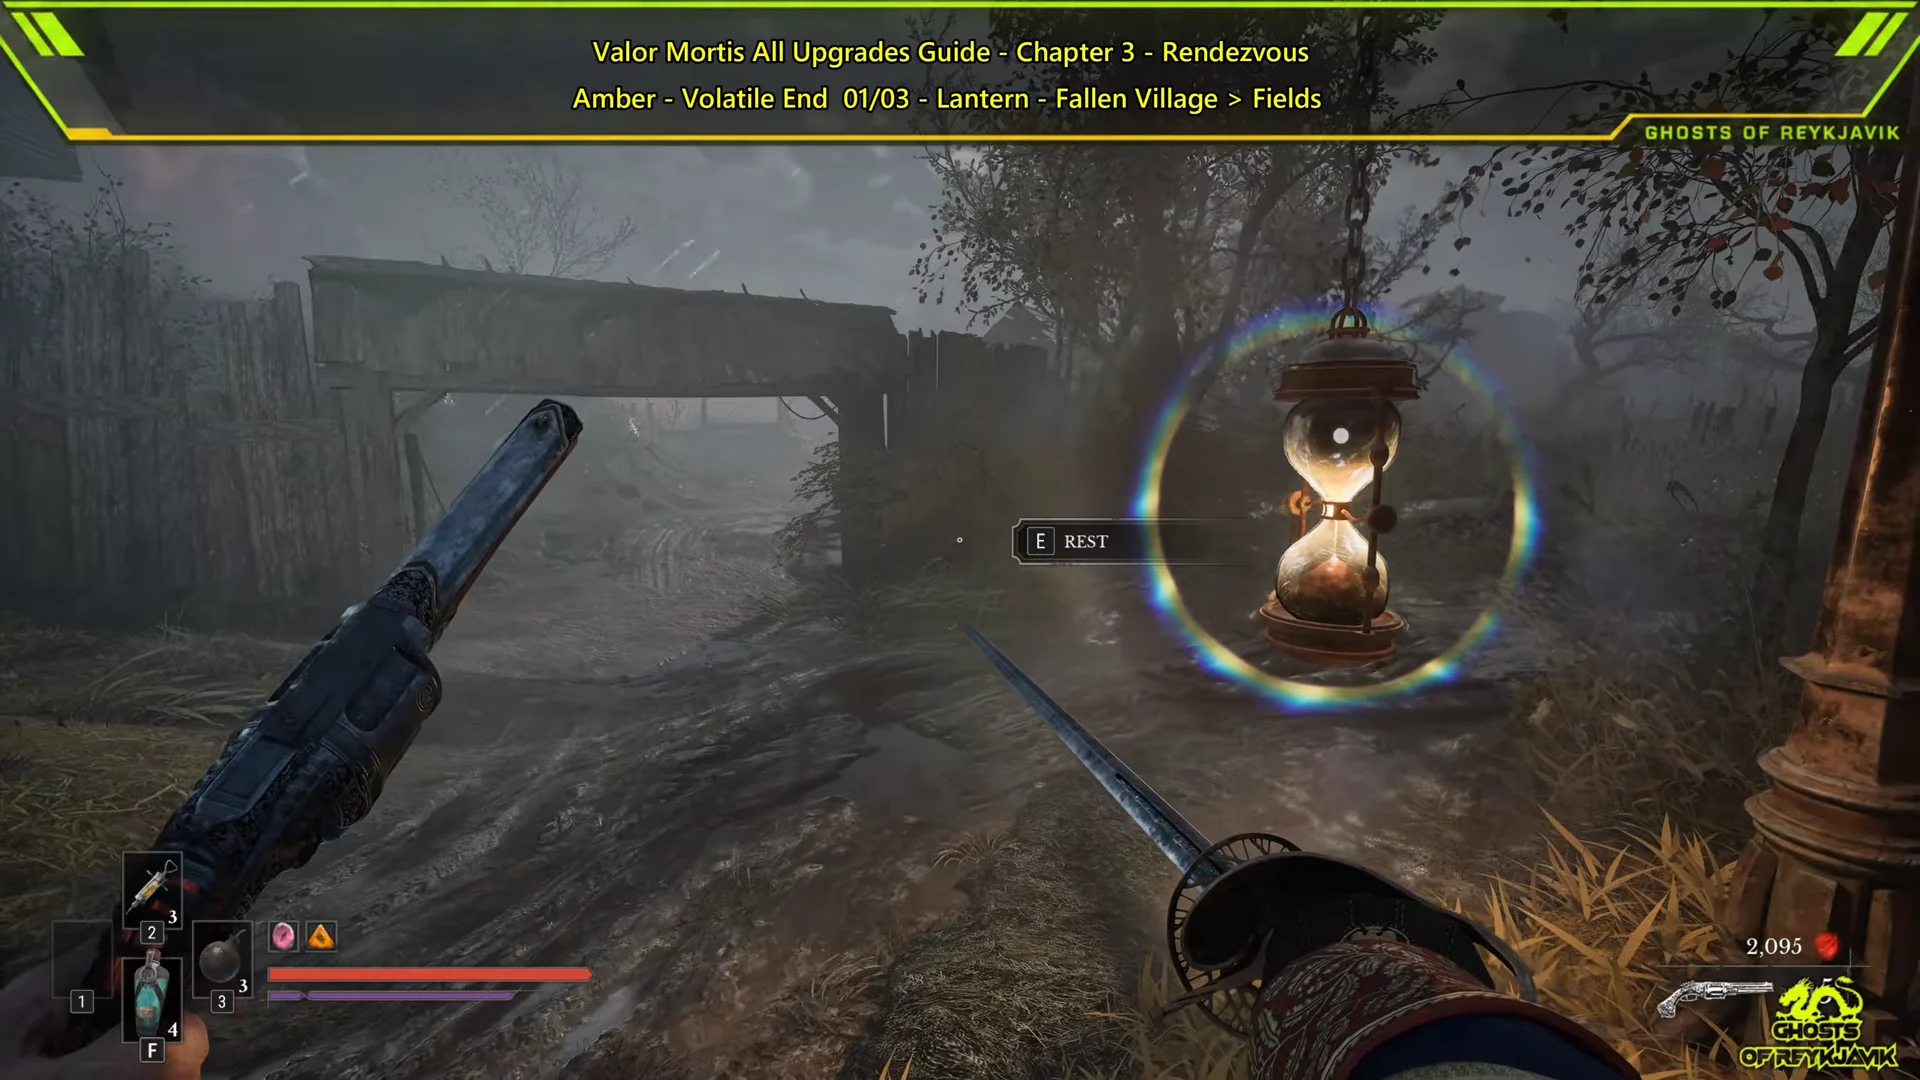
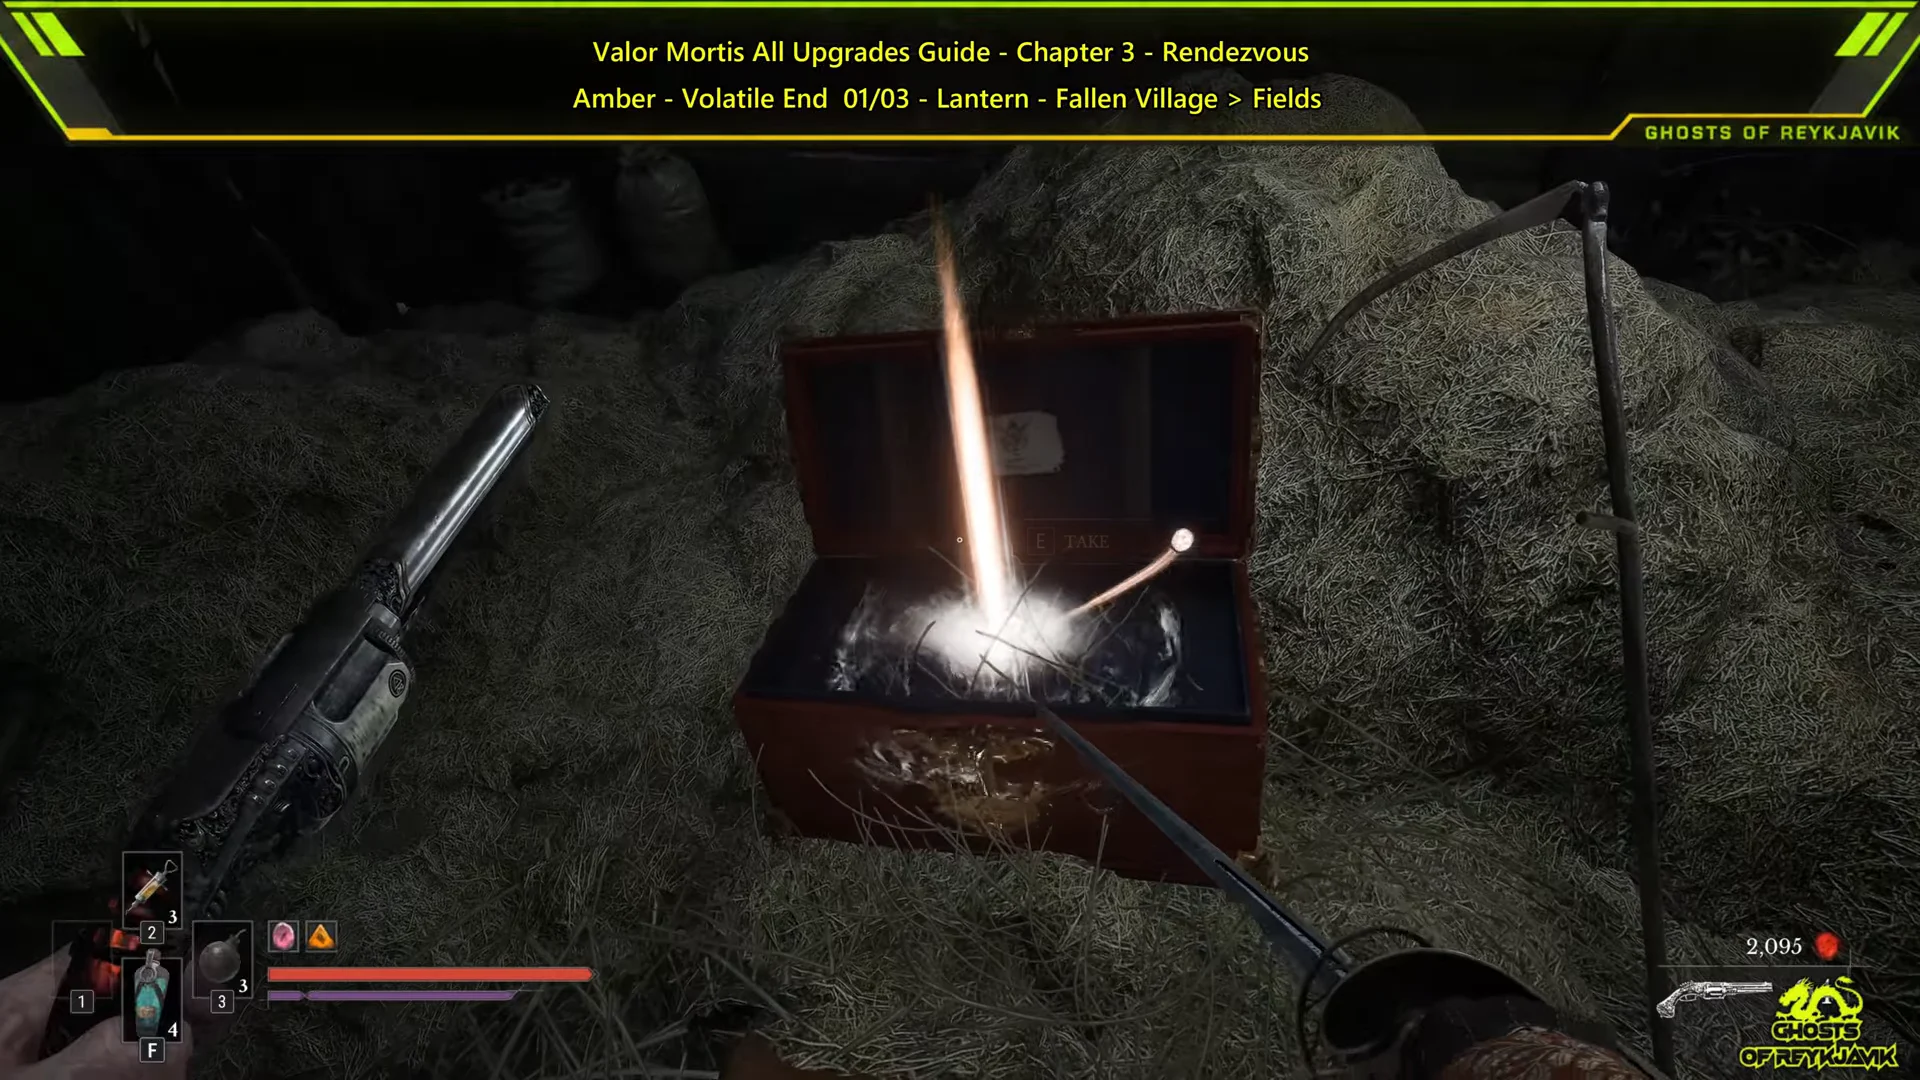
 Volatile End Volatile End | Amber | Fields | Shed in the crop fields |
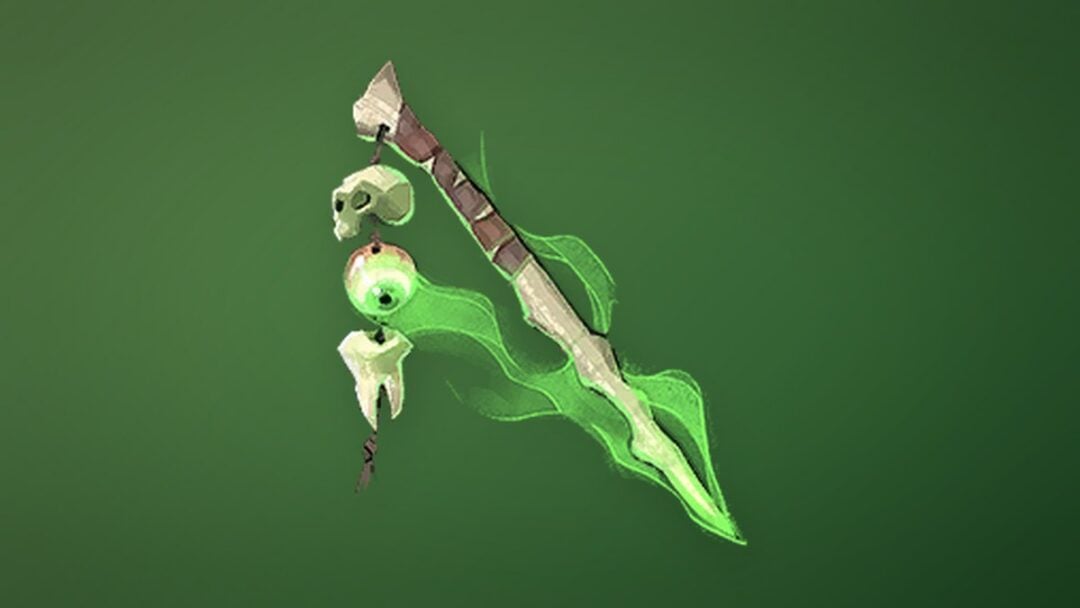
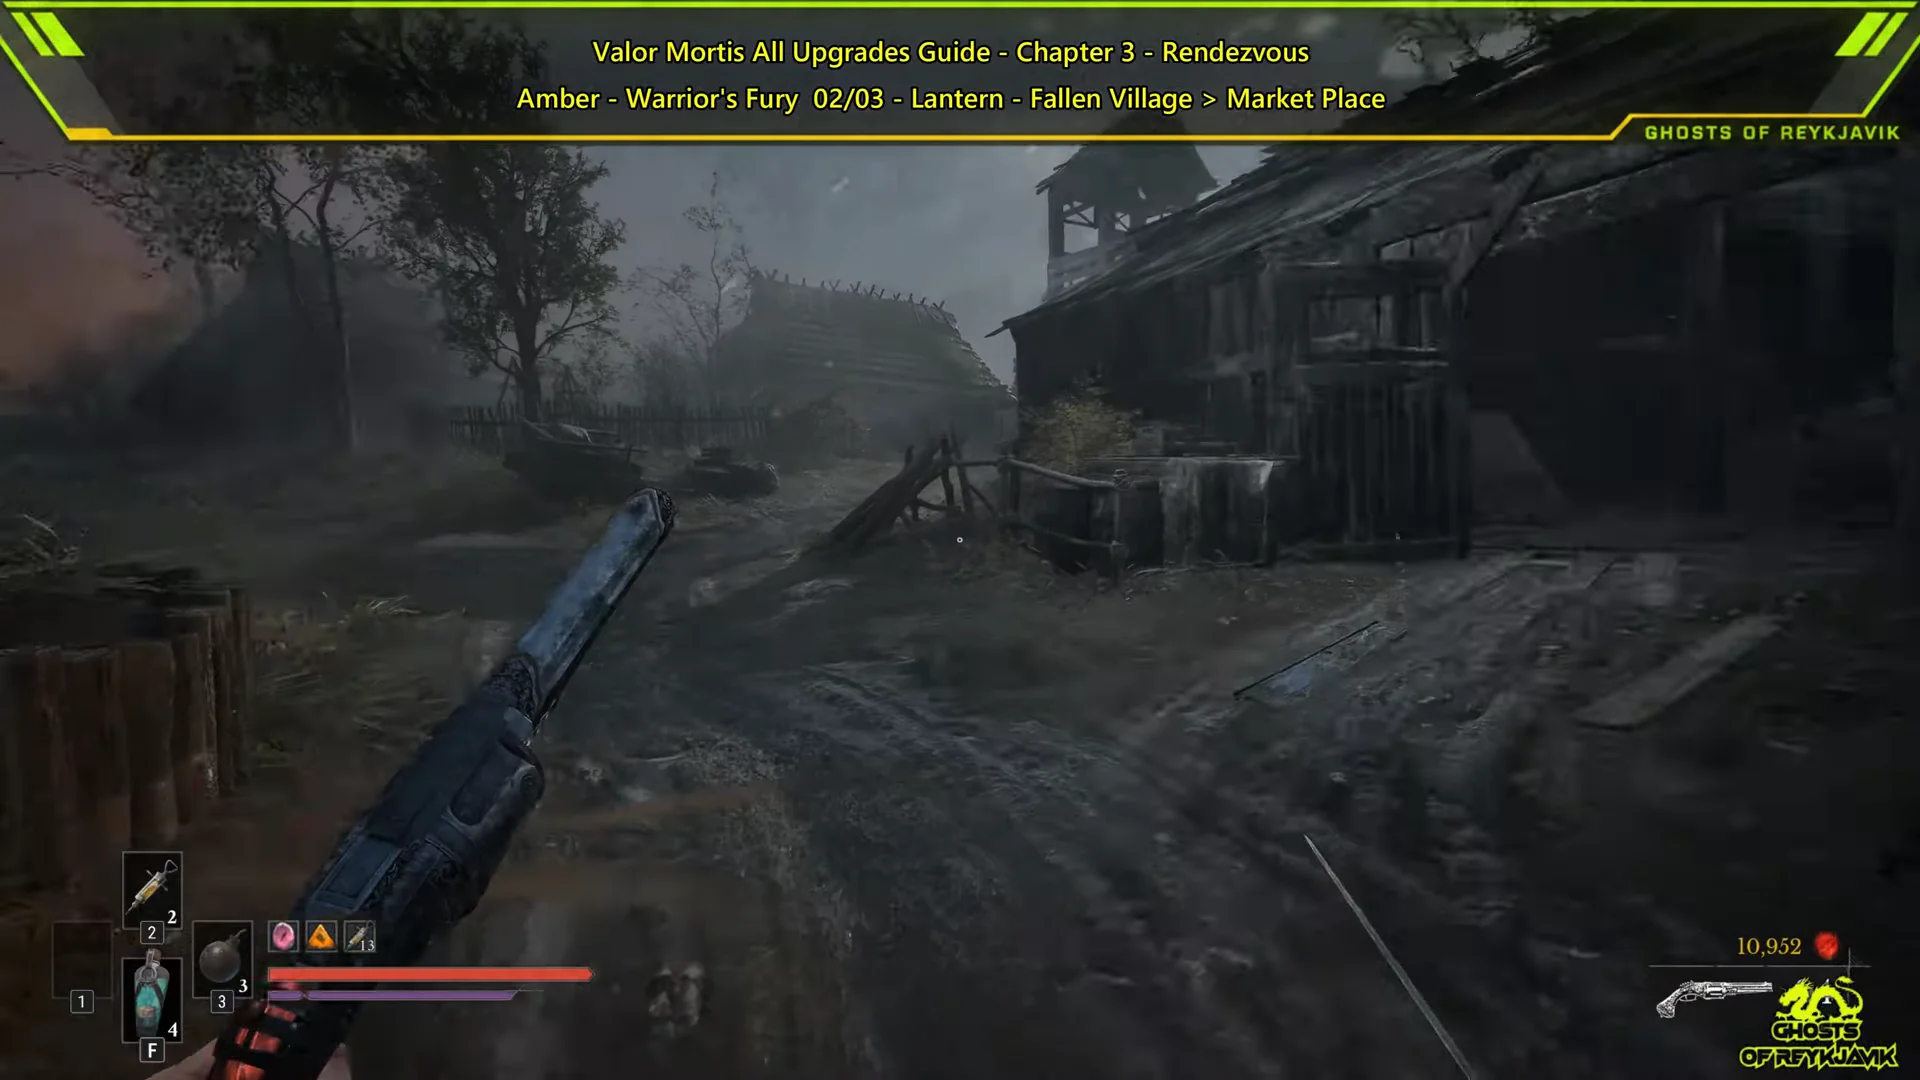
 Warrior’s Fury Warrior’s Fury | Amber | Marketplace | Ledge below a balcony |
 Glass Soldier Glass Soldier | Amber | Orchard | Fenced yard behind a manor |
Two side quests in the village, The Scarecrow and Nana, also give out rewards. They are separate from the six chests listed above.
Ferrofluid Flask upgrade locations in Fallen Village
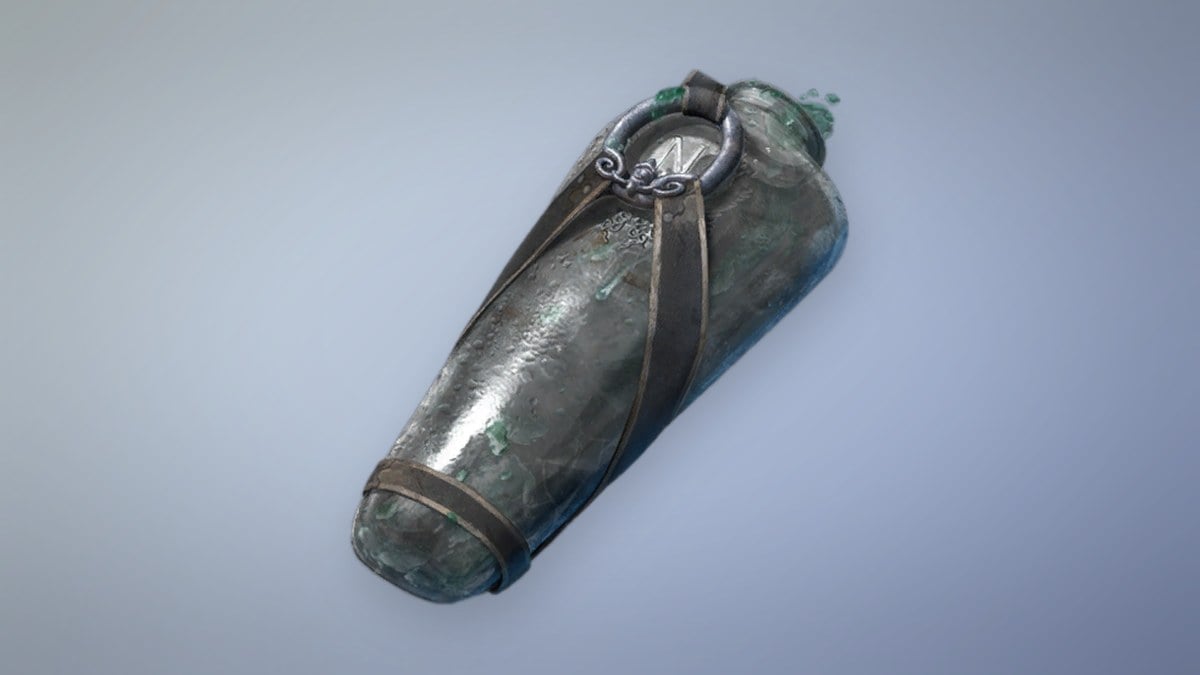
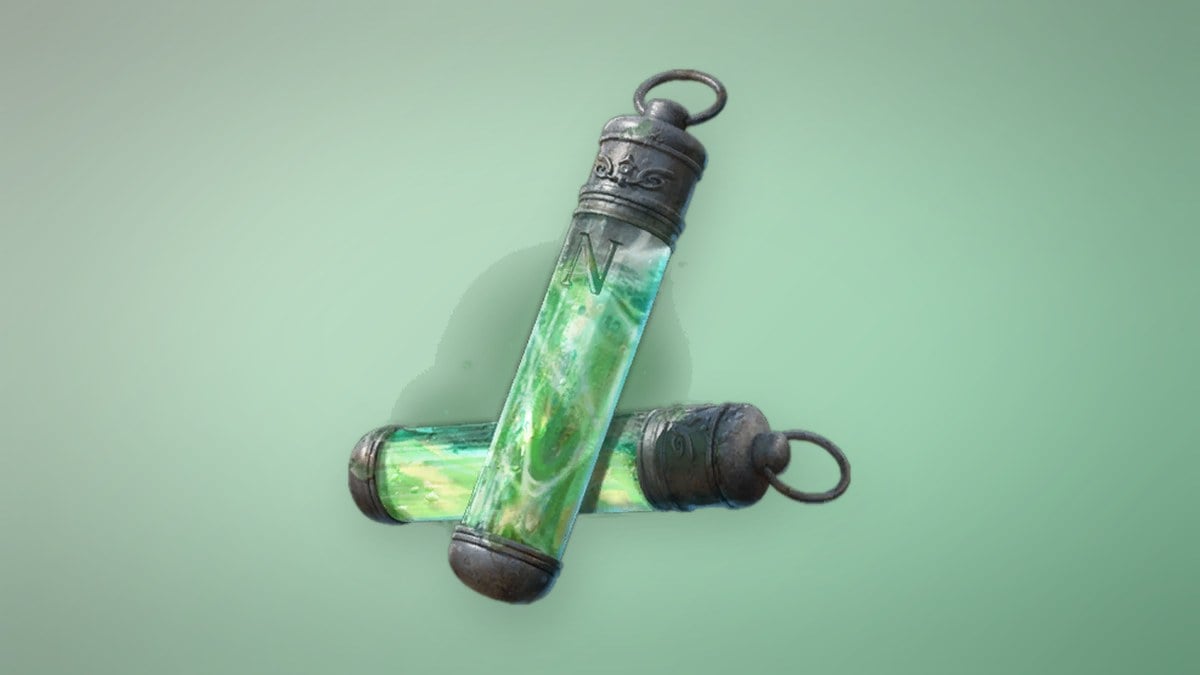
Chapter 3 holds two Ferrofluid Flask Power Upgrades and one Empty Ferrofluid Flask. The first Power Upgrade and the Empty Flask can be picked up in one run from the Fields Lantern, because the grapple you need for the Flask is found right after the well.
Ferrofluid Flask Power Upgrade at the Fields well
Empty Ferrofluid Flask on the rooftop route
This chest is out of reach until William has the grapple, which you get from a corrupted corpse close to the well.
Ferrofluid Flask Power Upgrade behind the Marketplace crates
Amber locations in Fallen Village
The three chest Ambers are spread across all three Lanterns, one per Lantern. None of them need the grapple.

Volatile End in the crop field shed

Warrior’s Fury below the Marketplace balcony

Glass Soldier behind the Orchard manor

Ferrofluid Flask healing by upgrade level
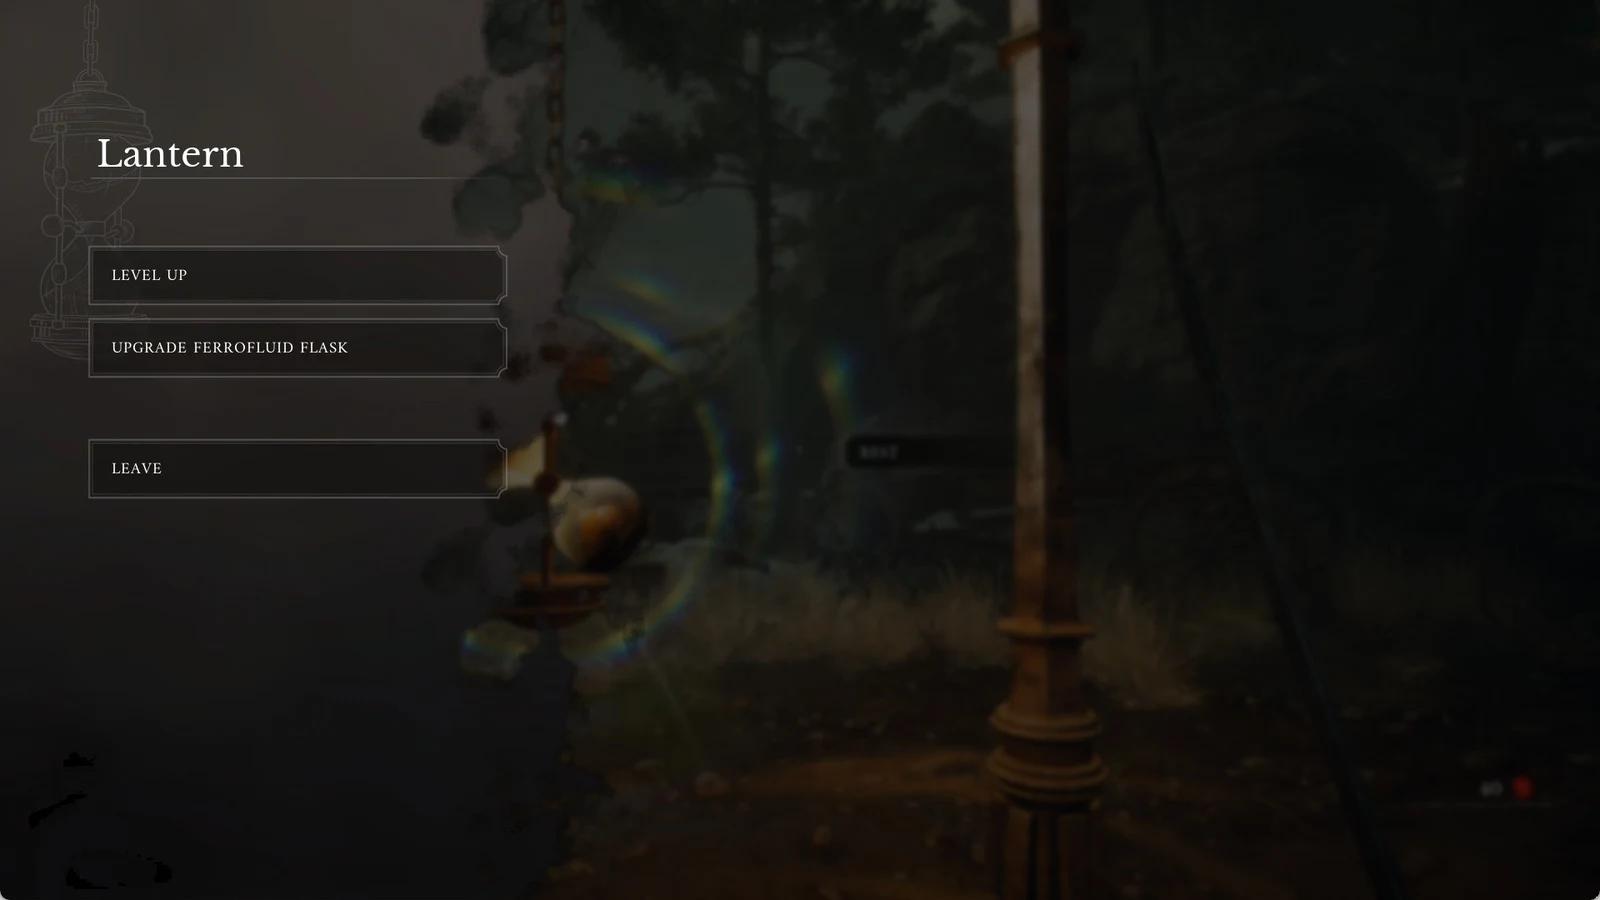
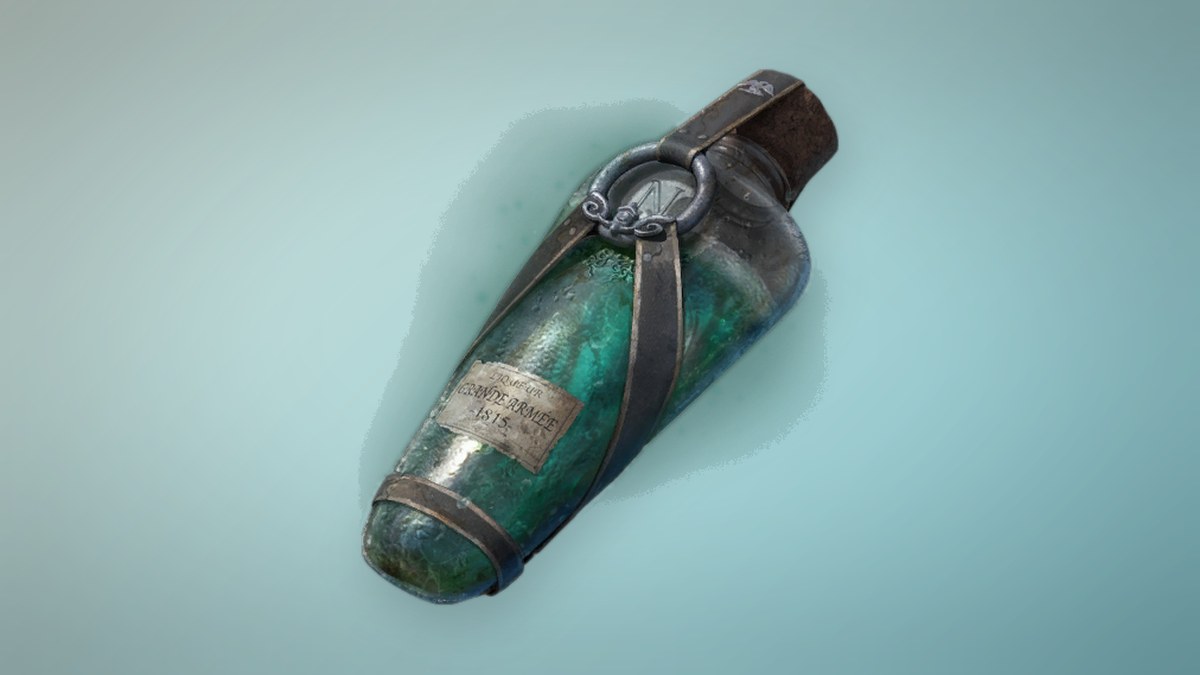
Neither Flask pickup does anything until you spend it at a Lantern. Power Upgrades raise how much Health each Flask restores. Each Empty Ferrofluid Flask adds one more Flask charge, and you can carry up to five Flasks. An unupgraded Flask heals 50 Health, and every potency level adds 10 more. The cost per level climbs as you go.
| Potency level | Healing | Power Upgrades needed |
|---|---|---|
| Base | 50 | 0 |
| 1 | 60 | 1 |
| 2 | 70 | 2 |
| 3 | 80 | 2 |
| 4 | 90 | 2 |
| 5 | 100 | 3 |
| 6 | 110 | 3 |
| 7 | 120 | 3 |
| 8 | 130 | 4 |
| 9 | 140 | 4 |
Chapter 2 has one Power Upgrade of its own. With it and the two from Fallen Village, you have three in total, which pays for level 1 and level 2 and brings each Flask to 70 healing.
If you miss a chest, Louis’s Laboratoire stocks one Ferrofluid Flask Power Upgrade for $3,000 and one Empty Ferrofluid Flask for $5,000 from the start of the game.
Chapter 3 Amber effects and ranks
Finding another copy of an Amber increases its rank instead of adding a separate Amber. Volatile End has only one rank. Warrior’s Fury and Glass Soldier can each reach rank 3, and copies found later in the game make them stronger.
| Amber | Effect | Max rank | Copies in game |
|---|---|---|---|
| Volatile End | Weak Point hits explode for 50 damage | 1 | 2 |
| Warrior’s Fury | Kills boost speed and damage for 8 seconds | 3 | 3 |
| Glass Soldier | More melee damage, more damage taken | 3 | 4 |
The Warrior’s Fury buff always lasts 8 seconds. What scales with rank is its size. Movement speed rises by a factor of 1.05, 1.1, or 1.2, and extra damage is 10%, 20%, or 30% at ranks 1, 2, and 3.
Later copies of each Amber come from these places:
- Volatile End: a chest on The Battlefield
- Warrior’s Fury: Howler drops in Cursed Hollow and the University
- Glass Soldier: a chest in The Outskirts, plus drops from Volunteers in The Outskirts and the Eternal Guardsman in the Fortress
How to confirm each upgrade is collected
Hold [E] on a chest to open it. When it opens, a pickup notification appears with the item’s name, such as Ferrofluid Flask Power Upgrade or Glass Soldier. Ambers then show up as options in your Amber slots at any Lantern. Flask pickups only take effect after you spend them at a Lantern. Once you do, your Flask heals more or you have an extra charge.