The Outpost in ARC Raiders arrived with the Frozen Trail update, and its furniture is more than decoration. Some pieces hold items. Anything you place on them leaves your Speranza stash, and it doesn’t count toward the 328-slot stash limit. Used well, this lets you keep spare guns, Augmented Weapons, trinkets, and Scrappy’s food without selling them.
Quick answer: Place furniture that shows an “Attached Slots” tag, right-click it, choose Decorate, and assign items from your stash. Loaded racks can then go into Furniture Storage with their weapons still attached.
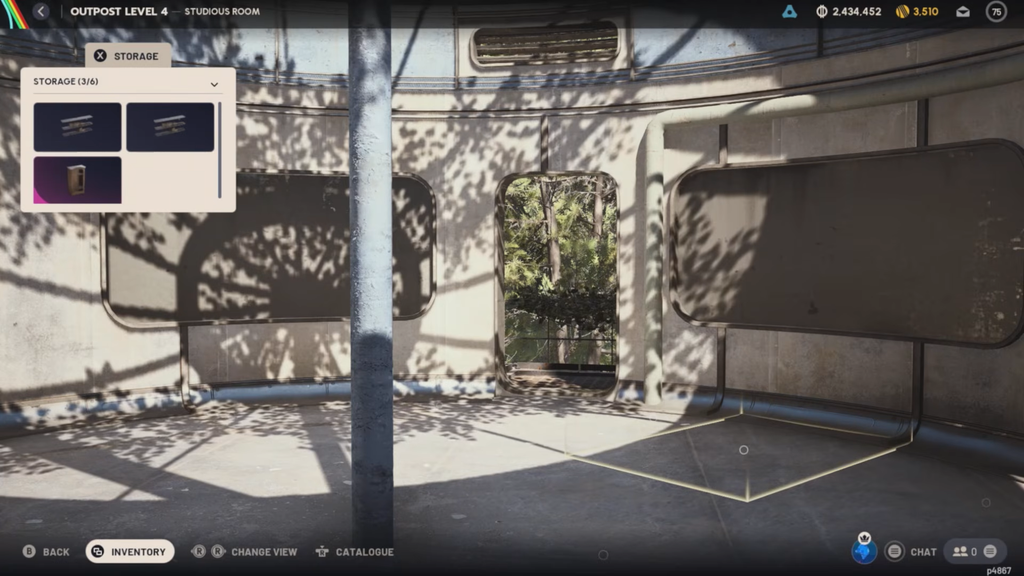
Which Outpost furniture stores items
The Outpost is a prerequisite. At level 18, start the three-stage Sheltered Retreat Project in the Outpost tab; completing it unlocks Outpost access from Speranza’s main menu.
Not every piece of furniture has storage. Look for the “Attached Slots” tag under a piece’s name when you build or place it. The number on that tag is how many items it holds. Pieces without the tag are decoration only, so check before you spend Planks or Sheet Metal.
| Furniture | Holds | Crafting cost |
|---|---|---|
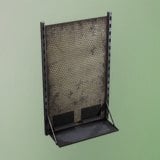 Sturdy Weapon Rack | 4 weapons | 10 Sheet Metal |
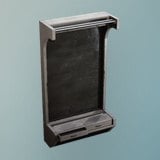 Polished Weapon Rack | 4 weapons | 20 Sheet Metal, 10 Plastic Parts |
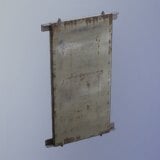 Battered Weapon Rack | 3 weapons | 10 Sheet Metal |
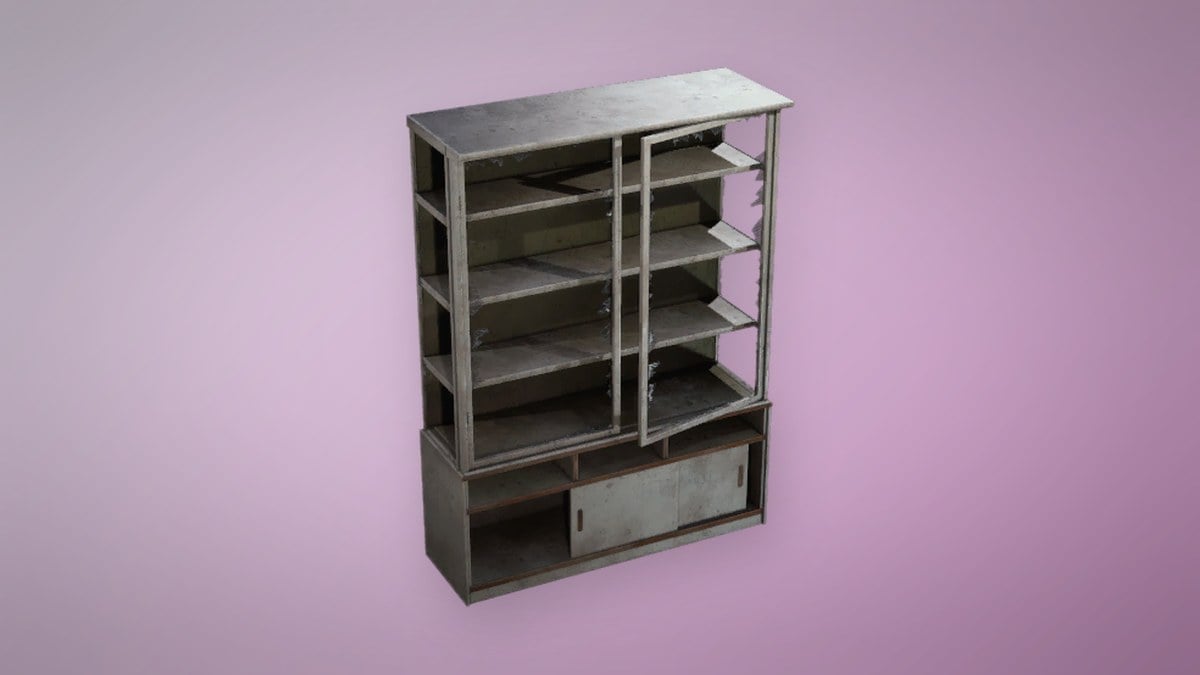
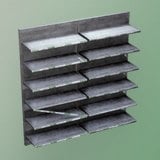 Sturdy Shelf | Trinkets, collectibles | 25 Sheet Metal, 5 Plastic Parts |
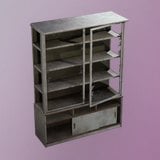 Diner Cupboard | Scrappy food, trinkets | 20 Planks, 1 Metal Brackets |
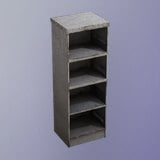 Warehouse Dresser | Trinkets, collectibles | 20 Sheet Metal, 4 Plastic Parts |
The Sturdy and Polished racks hold the same four weapons. The Sturdy version costs half the Sheet Metal and no Plastic Parts. The Battered rack costs the same as the Sturdy one but holds one gun fewer. Weapon rack designs are available once the Outpost is unlocked. The larger shelf, cupboard, and dresser designs drop Topside, or you can research them once your Research Station reaches level II.
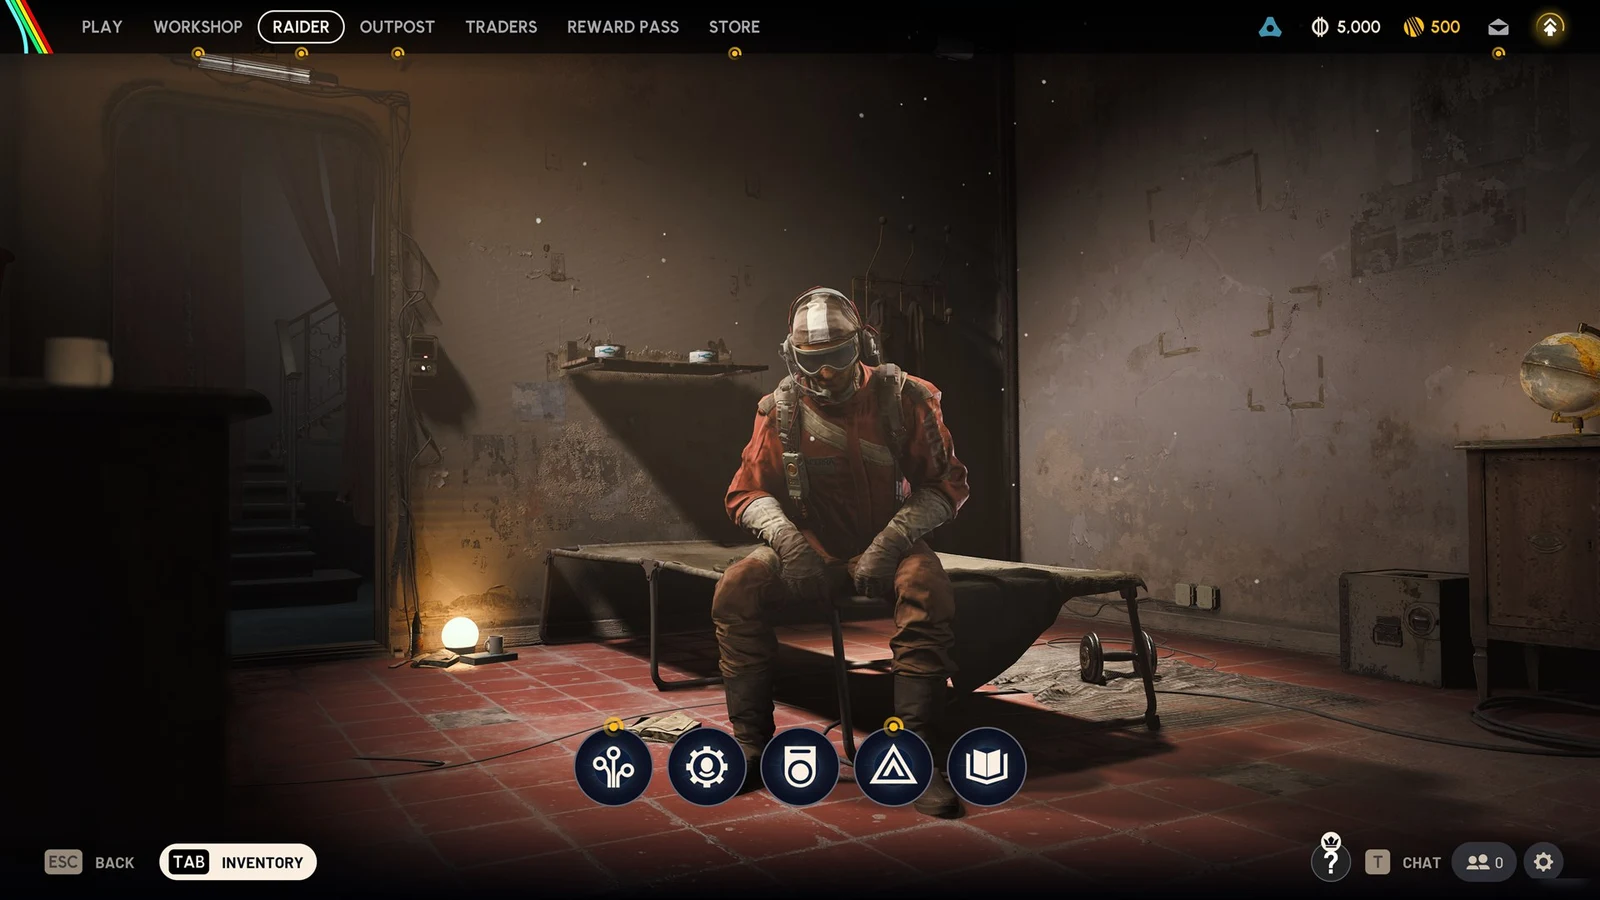
Store weapons on an Outpost weapon rack
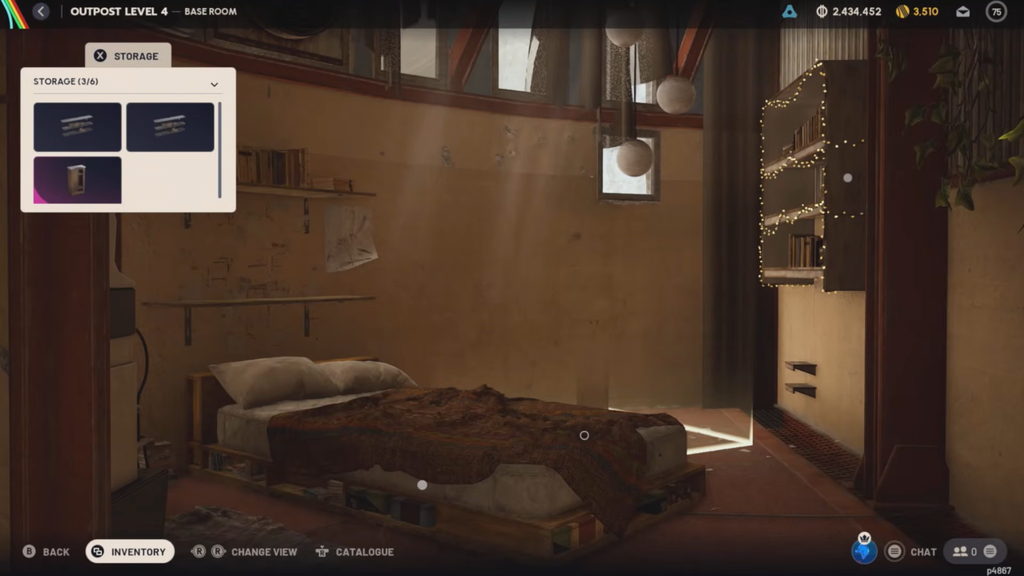
Fill every attachment slot on each gun before you rack it. Attachments stay on the weapon, so each fully kitted gun also clears several mod parts out of your stash. To check that it worked, open your Stash. The racked guns should be gone from the grid, and each rack you fill frees as many slots as it holds weapons.
Store loaded racks in Furniture Storage
Wall space runs out quickly. Furniture Storage holds furniture pieces rather than loose loot. A rack moved into Furniture Storage keeps the weapons attached to it, which frees the wall for another rack.
Furniture Storage has six spaces, and any other furniture you store uses them too. When you need a stored rack’s guns, swap it with one on the wall by putting the displayed rack into storage and placing the stored one.
Loaded-rack storage is an undocumented interaction, and weapons have gone missing from racks, including ones left on the wall. Test with a cheap duplicate first. Keep irreplaceable guns in your regular stash.
Outpost weapon capacity by room layout
How many guns you can hold depends on how many wall positions you have. The Base Room has six. Four are grouped together and two are in the bedroom area, and one of those is easy to miss, so cycle through every camera view. Each of the three expansion rooms adds one more wall position.
| Layout | Four-weapon racks | Weapons held |
|---|---|---|
| Base Room only | 6 displayed | 24 |
| Base Room plus three rooms | 9 displayed | 36 |
| Full layout plus Furniture Storage | 9 displayed, 6 stored | 60 |
These totals assume a four-weapon rack in every position. Battered racks lower them. The 60-weapon figure also depends on the loaded-rack interaction working.
Expansion rooms come from four types: Panoramic, Timeless, Chalet, and Studious. You install three of them. Once a room is built, you can’t swap or remove it. The Panoramic Room does have a usable rack position, on the wall by its door. If the build menu covers it, change the view.
Store trinkets and Scrappy food on shelves
Shelves, cupboards, and dressers use the same Decorate menu. Select the placed piece, choose Decorate, and pick from the eligible items it lists. What the furniture accepts depends on its type:
- Trinkets, including Rubber Ducks, radios, and toasters
- Instruments and other collectibles
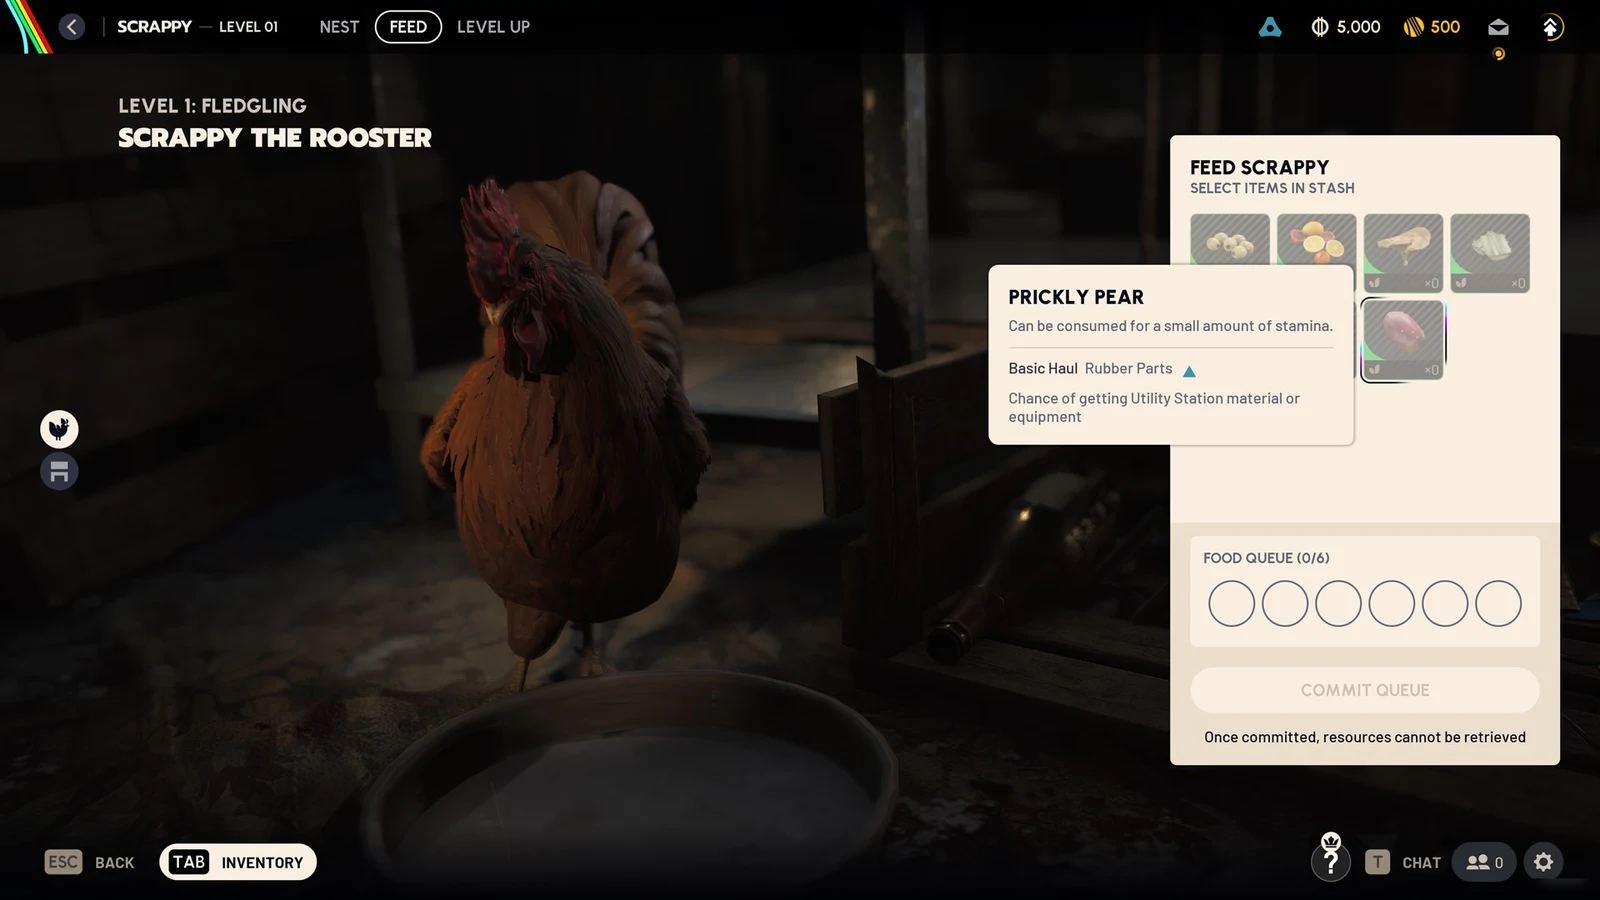
- Food items for Scrappy, on the Diner Cupboard
- Not accepted: ammunition, healing supplies, keys, or quest items
Food stored in Outpost furniture is drawn for Scrappy automatically, so you don’t need to move it back to your stash first. If you plan to recycle a trinket later, consider putting it on a shelf whole. Loose recycled materials won’t fit on furniture.
If you can’t find an item in the Decorate list, remember that Furniture Storage only shows stored furniture, not loose items. If the item still doesn’t appear on the furniture’s own Decorate menu, that piece doesn’t accept it.
Take items back out of Outpost furniture
Racked weapons can’t be equipped or modified while they’re on display, so you have to return to the Outpost to pull them off before a raid. You can remove items one at a time through the furniture’s item menu. To empty a piece in one go, place it, open its pop-up menu, and press Clear All Attached Items. Everything on it goes back to your inventory.
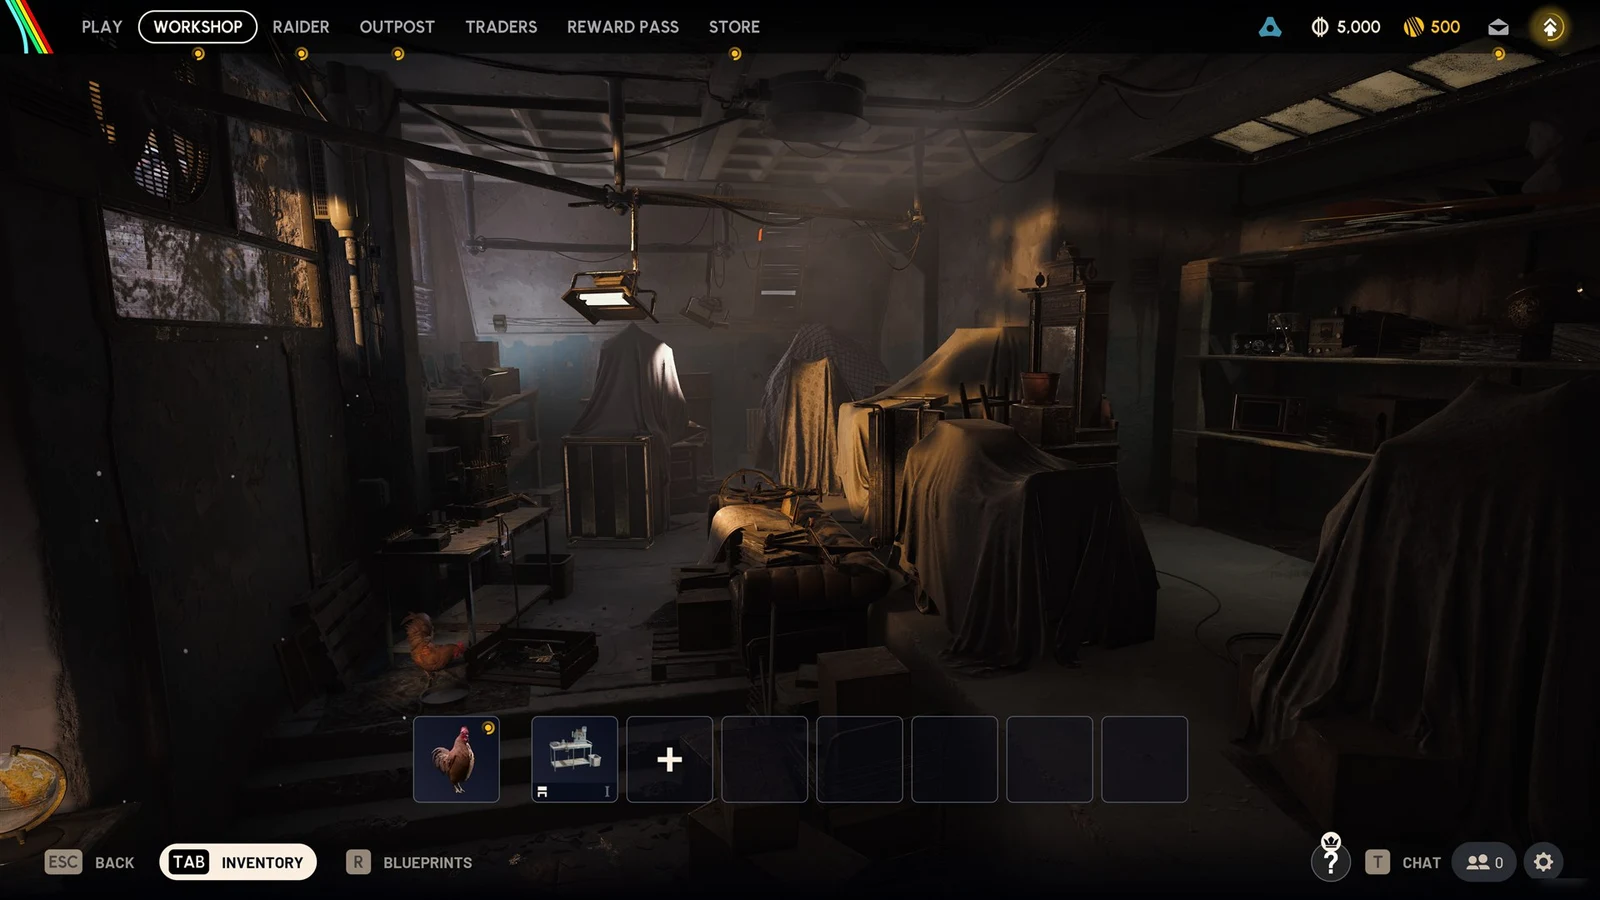
A practical split is to keep guns on racks, trinkets and food on shelves, and use your regular stash for crafting materials and consumables. That way the 328 stash slots go to the items furniture won’t hold.