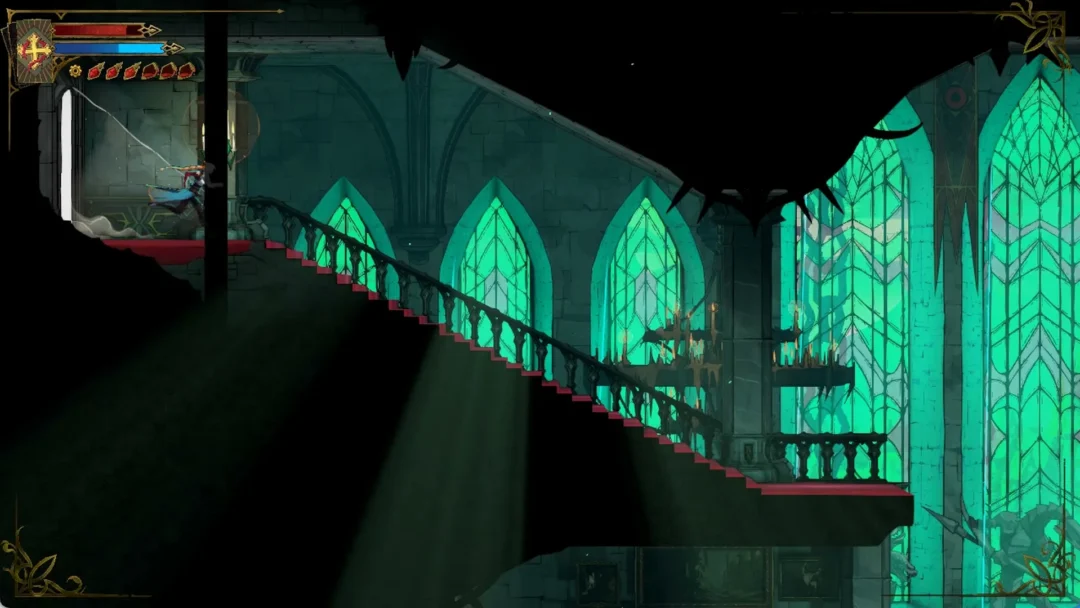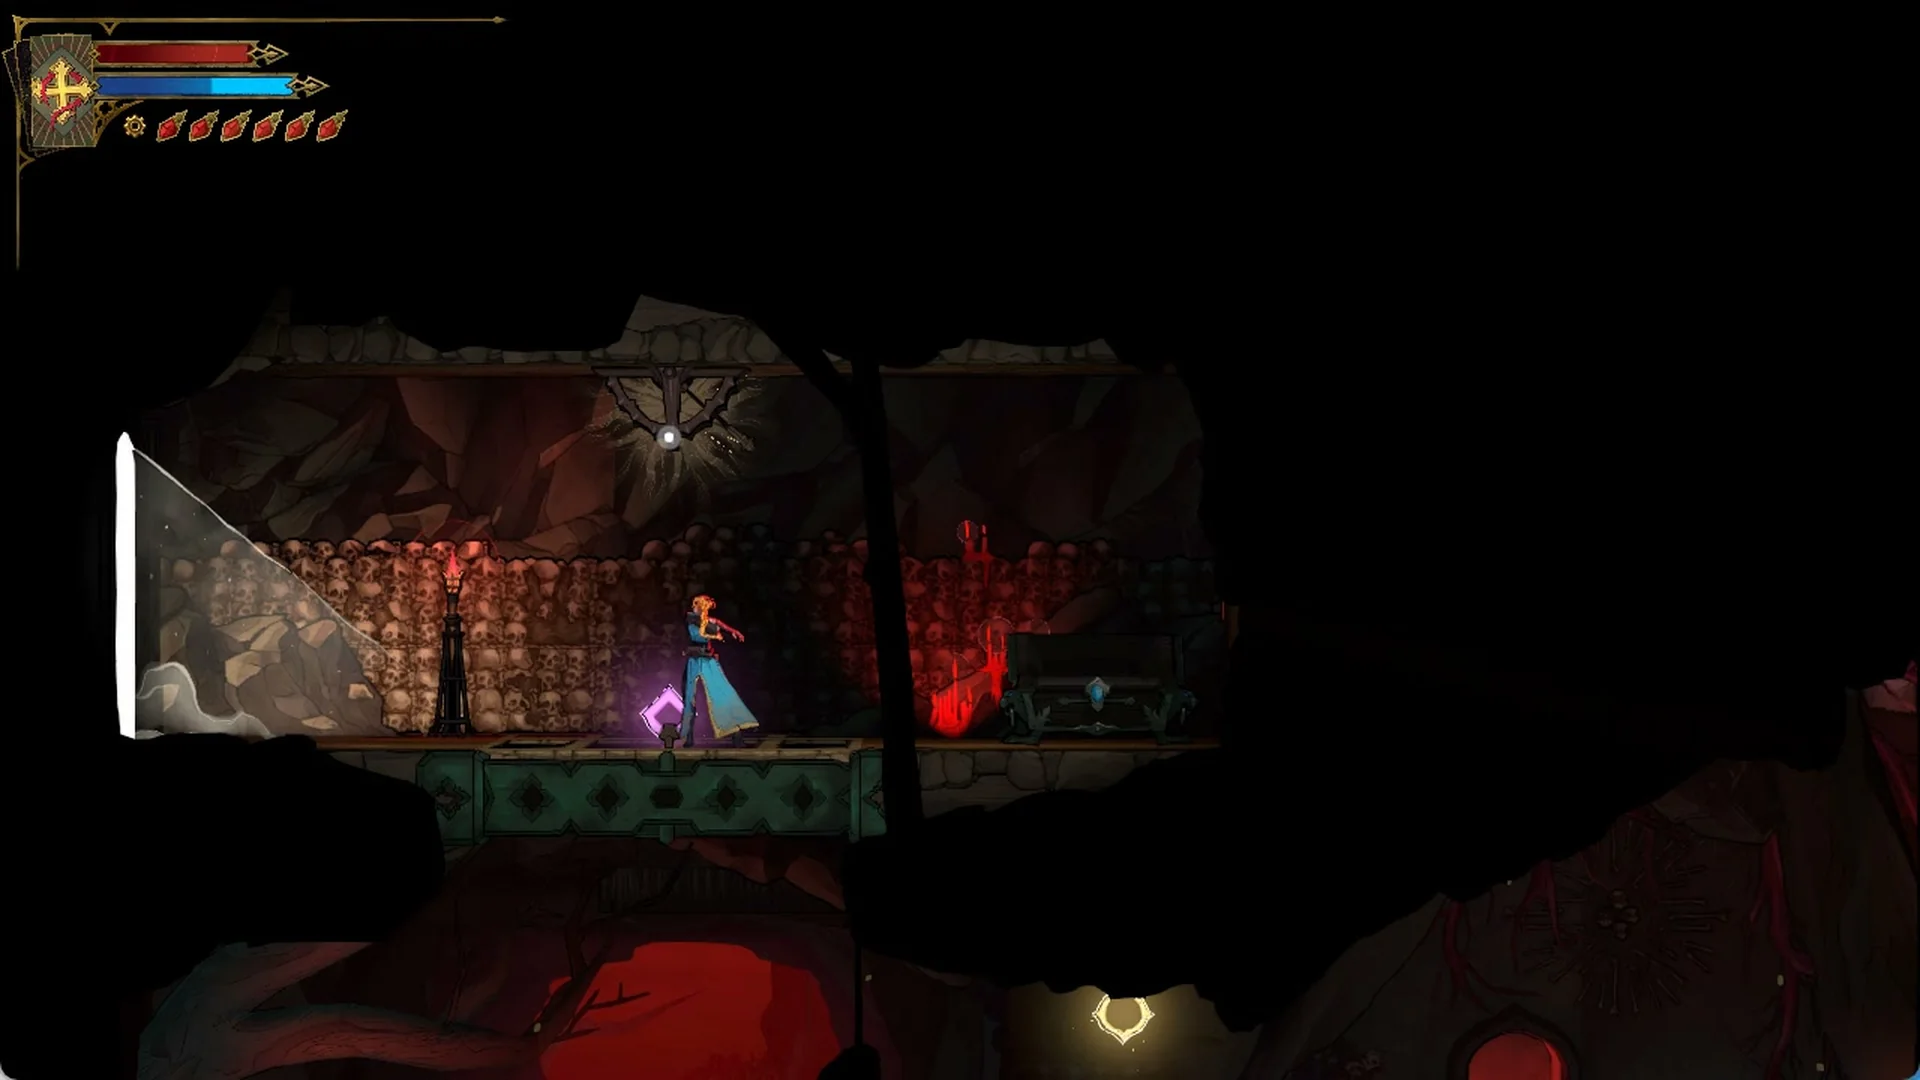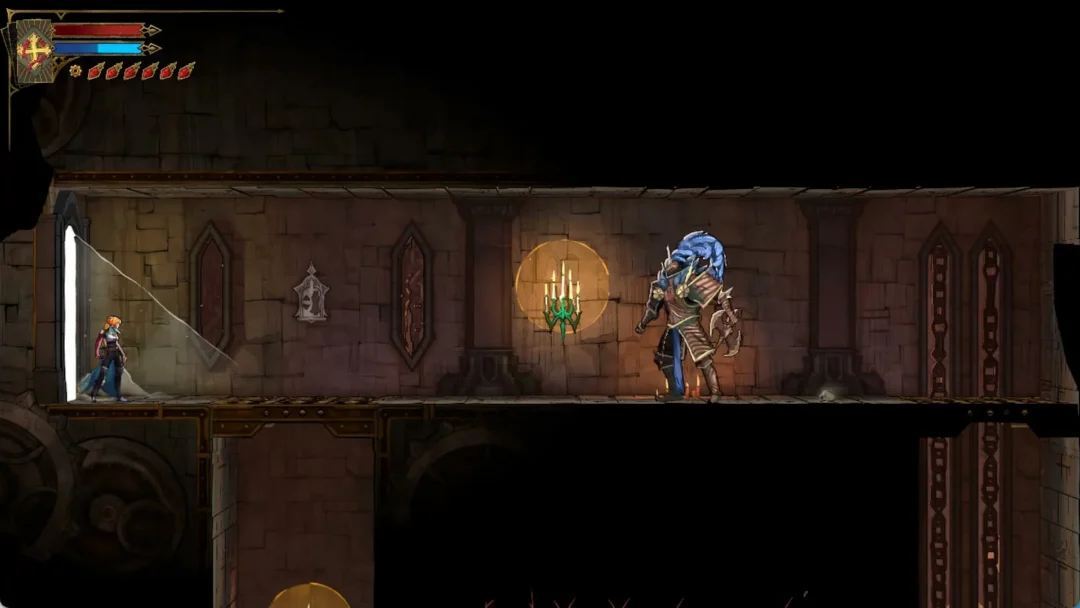
Stupid Never Dies is a fast action RPG about Davy, a low-ranking zombie in a pink jacket who still has his wits. He dives into monster-ruled dungeon layers to recover Overtechnology from KOM and save Julia, the frozen human girl he loves. Each run is built from short arena fights, quick level-ups, and card picks that change Davy’s moveset partway through a dive. By the deeper layers, the game also has you blowing up walls with cannons and turning into monsters.
Quick answer: Every dive starts at Doc’s toilet in the mall. The first dive always ends in a loss to Bob Dullahan. The second dive unlocks Werewolf Style. Later layers add cannons, Zombie Skill transformations, and boss waves.
Stupid Never Dies story setup: Davy, Doc, and the toilet gateway
The game opens with a storybook prologue drawn in crayon. In this world, humans once lived alongside monsters. Then KOM used Overtechnology to lead an invasion that pushed zombies to the bottom of the order and drove away 98 percent of humanity. After the prologue, the game drops you into an abandoned shopping mall. This mall is the hub you come back to between runs.
The opening mission, Explore the Mall, sends Davy to locate Doc in a restroom. Doc—Dr. Frank Steiner—has converted the shabby bathroom into a laboratory. He tells Davy that monster-packed layers stretch beneath the surface, accessible through his altered toilet. Davy enters the toilet capsule and slides down a chute. Doc and the gargoyle Goyle keep contact with him during the exploration via a teddy bear monitor.
The mall has more to uncover after the first dive. Doc pushes the story forward inside the Jupiter Target store, accompanied by Acelino, his assistant dog. The Growth Rate tutorial is introduced during this stretch as well. Dr. Frank’s upgraded robot cleaner makes getting around the mall faster. To start the next dive, climb into the toilet rig and press Cross.
Combat systems in The Domains of Medieval Europe
The first layer is The Domains of Medieval Europe. It works as one long tutorial, and most of the enemies are Lizard Troopers. A tutorial card appears right before each new system matters. On a PlayStation controller, Square is the Regular Attack and Triangle is the Special Attack.
| Tutorial | What it teaches |
|---|---|
| Basic Controls | Regular and special attacks |
| Stupid Parries | Blocking enemy hits |
| Recoverable Damage | Health you can earn back |
| Stupid Counters | Counterattacks |
| Heat Attacks | Heavy finishers |
| Biting | Eating enemy cores |
| Leveling Up | EXP and Level-Up Bursts |
| Style Skills | Skills and Level-Up Receipts |
| Pumpkin Bombs | Explosive ground hazards |
| Time Limit | The miasma countdown |
Biting underpins the game’s systems. Once Davy’s Bite Gauge fills, he can chomp an enemy and consume its core, restoring health and potentially gaining skills. The early mission Chomp enemies and defeat them only registers enemies killed by biting.
Leveling up happens fast and has a payoff. Each level-up sets off a burst that damages enemies nearby and knocks them back. After you go through the first Next Floor portal, the game shows Level-Up Receipts. These are perks you pick from a menu each time you level up, and Boss Enemy Hunt is one of the first ones offered.
Bob Dullahan: the gatekeeper fight you lose
A flaming Next Floor portal triggers the Gatekeeper Battle with Bob Dullahan. This headless motorcyclist wields an electric guitar like a spear. Although the mission banner reads Defeat the headless enemy, the encounter is designed for Davy to lose. In the ensuing cutscene, Dullahan knocks him down and questions why a corpse would risk permanent destruction to save a girl frozen in place. He then batters Davy once more with guitar blows and flames.
Bessie comes to Davy’s rescue, riding up on a motorcycle fitted with a shopping cart sidecar and hauling him out of the dungeon. This is how the dive ends, regardless of your performance. The first run also adds the Headless Highway music track to the results screen.
Phoenix egg, Style Eat, and Werewolf Style in The Fall of Molten Rome
When the first dive ends, zombies mock Davy at the mall entrance, prompting a flashback. He had discovered the frozen girl in a walk-in freezer. Later, he slipped beneath the security gate at Jupiter Target, came across a glowing Phoenix egg, and ate it. A burst of color transformed his appearance. Doc says the egg granted Davy powers, including Style Eat, and tells him to defeat KOM.
Style Eat becomes important during the second dive, The Fall of Molten Rome. This layer features lava streams and burning ruins. The opening tutorial covers Instant Skills, gained by biting weak enemies’ cores and activated with Cross. Flying Harpy Amp enemies appear next, followed by a Werewolf elite and the Elite Enemy Cores tutorial. Bite the Werewolf’s core to acquire Werewolf Style, which unlocks Claw Strike and Upward Kick for Davy.
A purple warp pad on the ground takes Davy over the lava cliffs. Once across, he faces successive mixed waves of Harpies, Werewolves, and Lizard Troopers. A Next Floor portal marks the end of the dive, with Bessie waiting on her bike to extract him. Doc compliments Davy on his Style Eat progress.
Deeper layers: how a later Stupid Never Dies run plays out
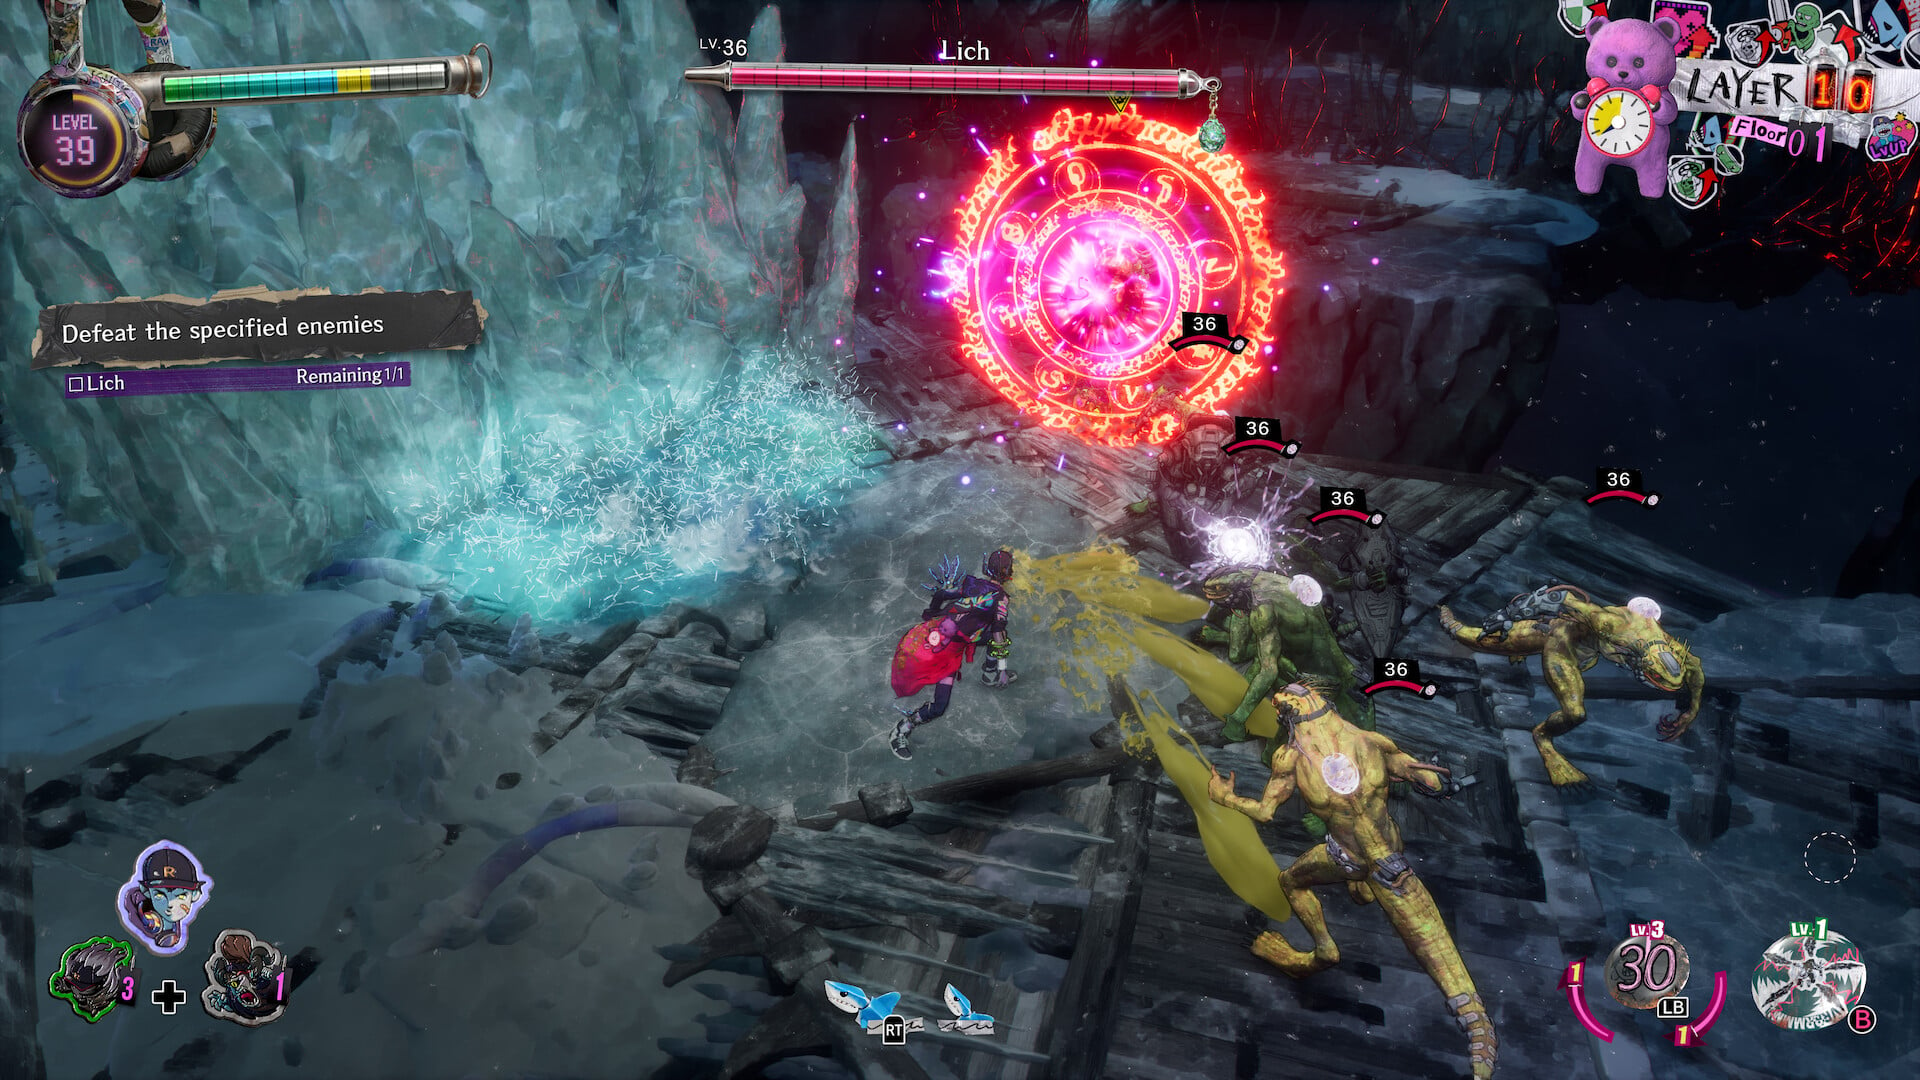
Later dives drop most of the tutorials and run as a chain of locked arenas. Each arena shows an objective in the upper left, usually Defeat all the enemies or Defeat the specified enemies, and the exit stays closed until you clear it. Yellow road-sign arrows on the floor point the way forward. Loot drops show up as blue, purple, or gold beams of light. Even early fights on Layer 1 throw fairies and skeletons at Davy, and the way out is a swirling rift.
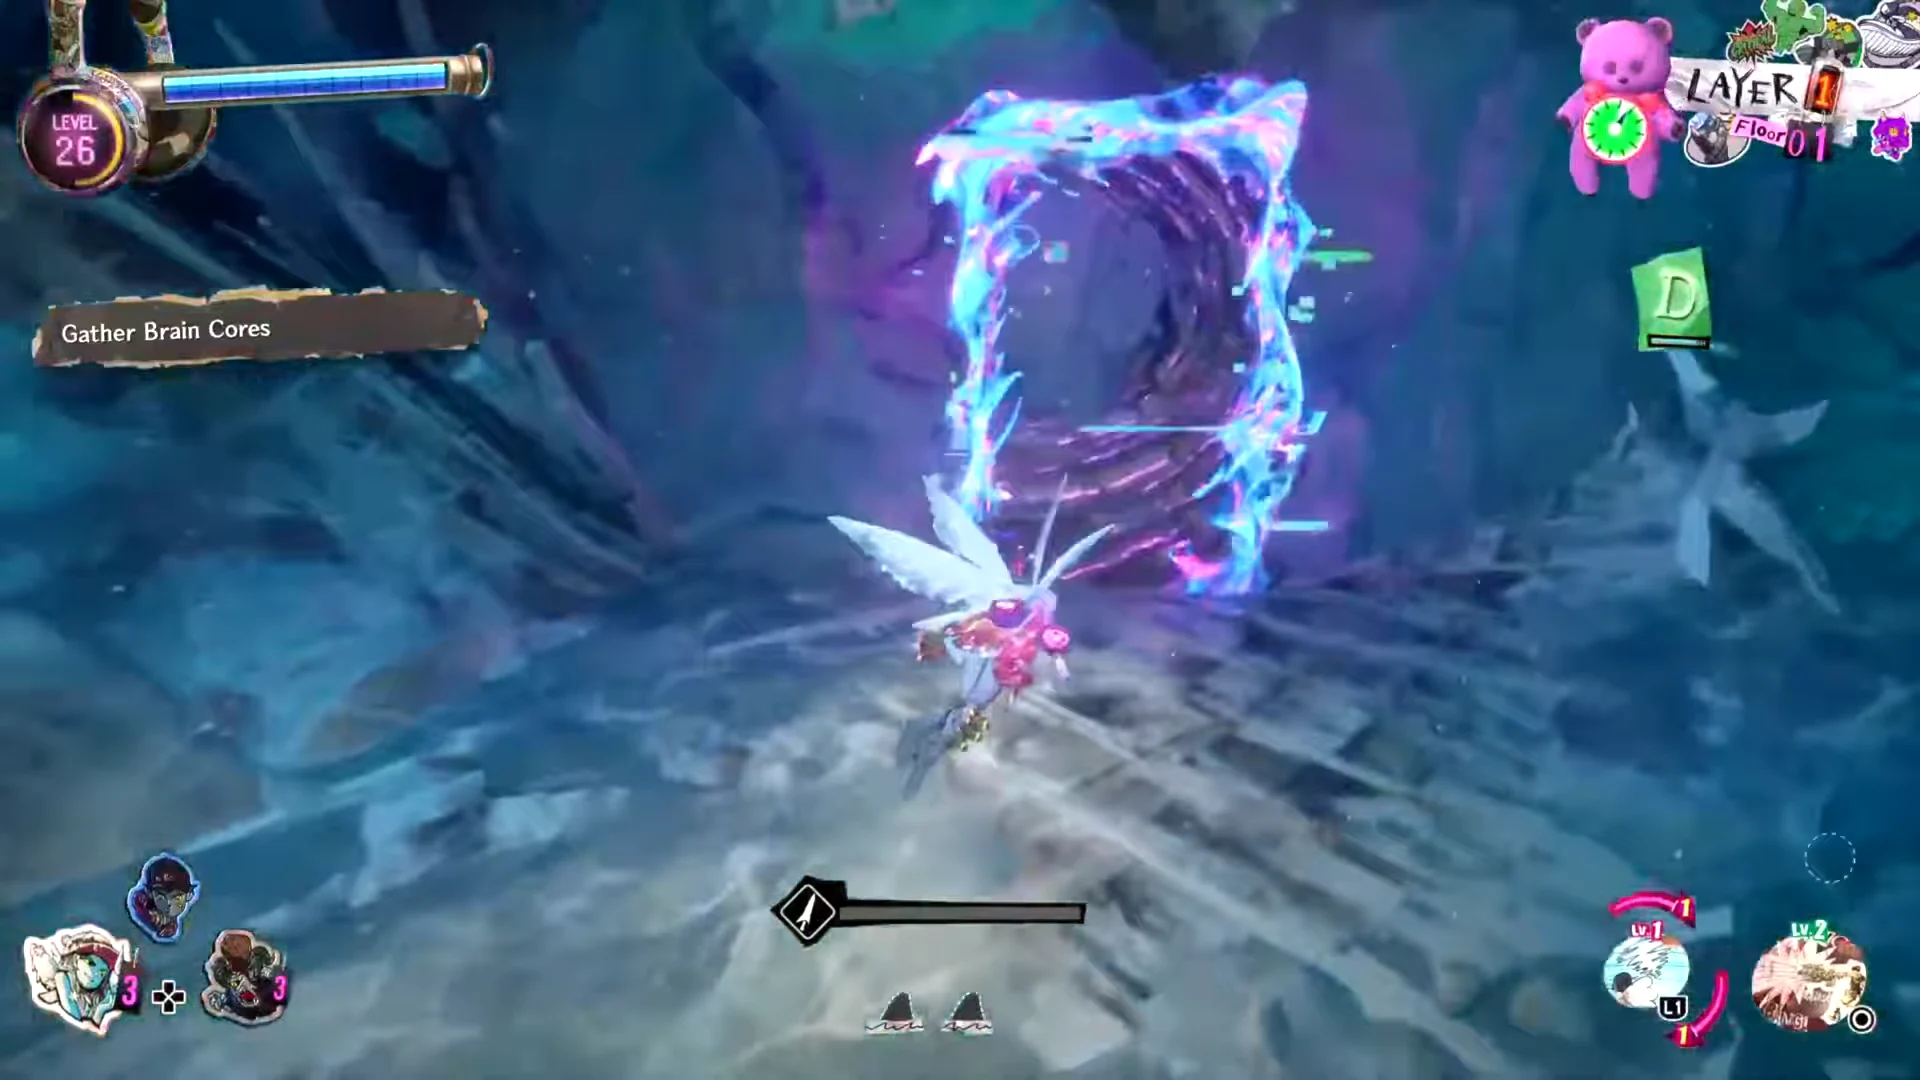
Layer numbers jump around within a single run. In one full playthrough, Davy goes from Layer 1 to Layer 20, then back to Layer 6, then to Layer 22 and Layer 21, and ends with a final room on Layer 22. The Will-o’-the-Wisp wave on Layer 1 shows the basic pattern. Once the wave is cleared, the objective is marked COMPLETE and a portal opens farther into the dungeon.
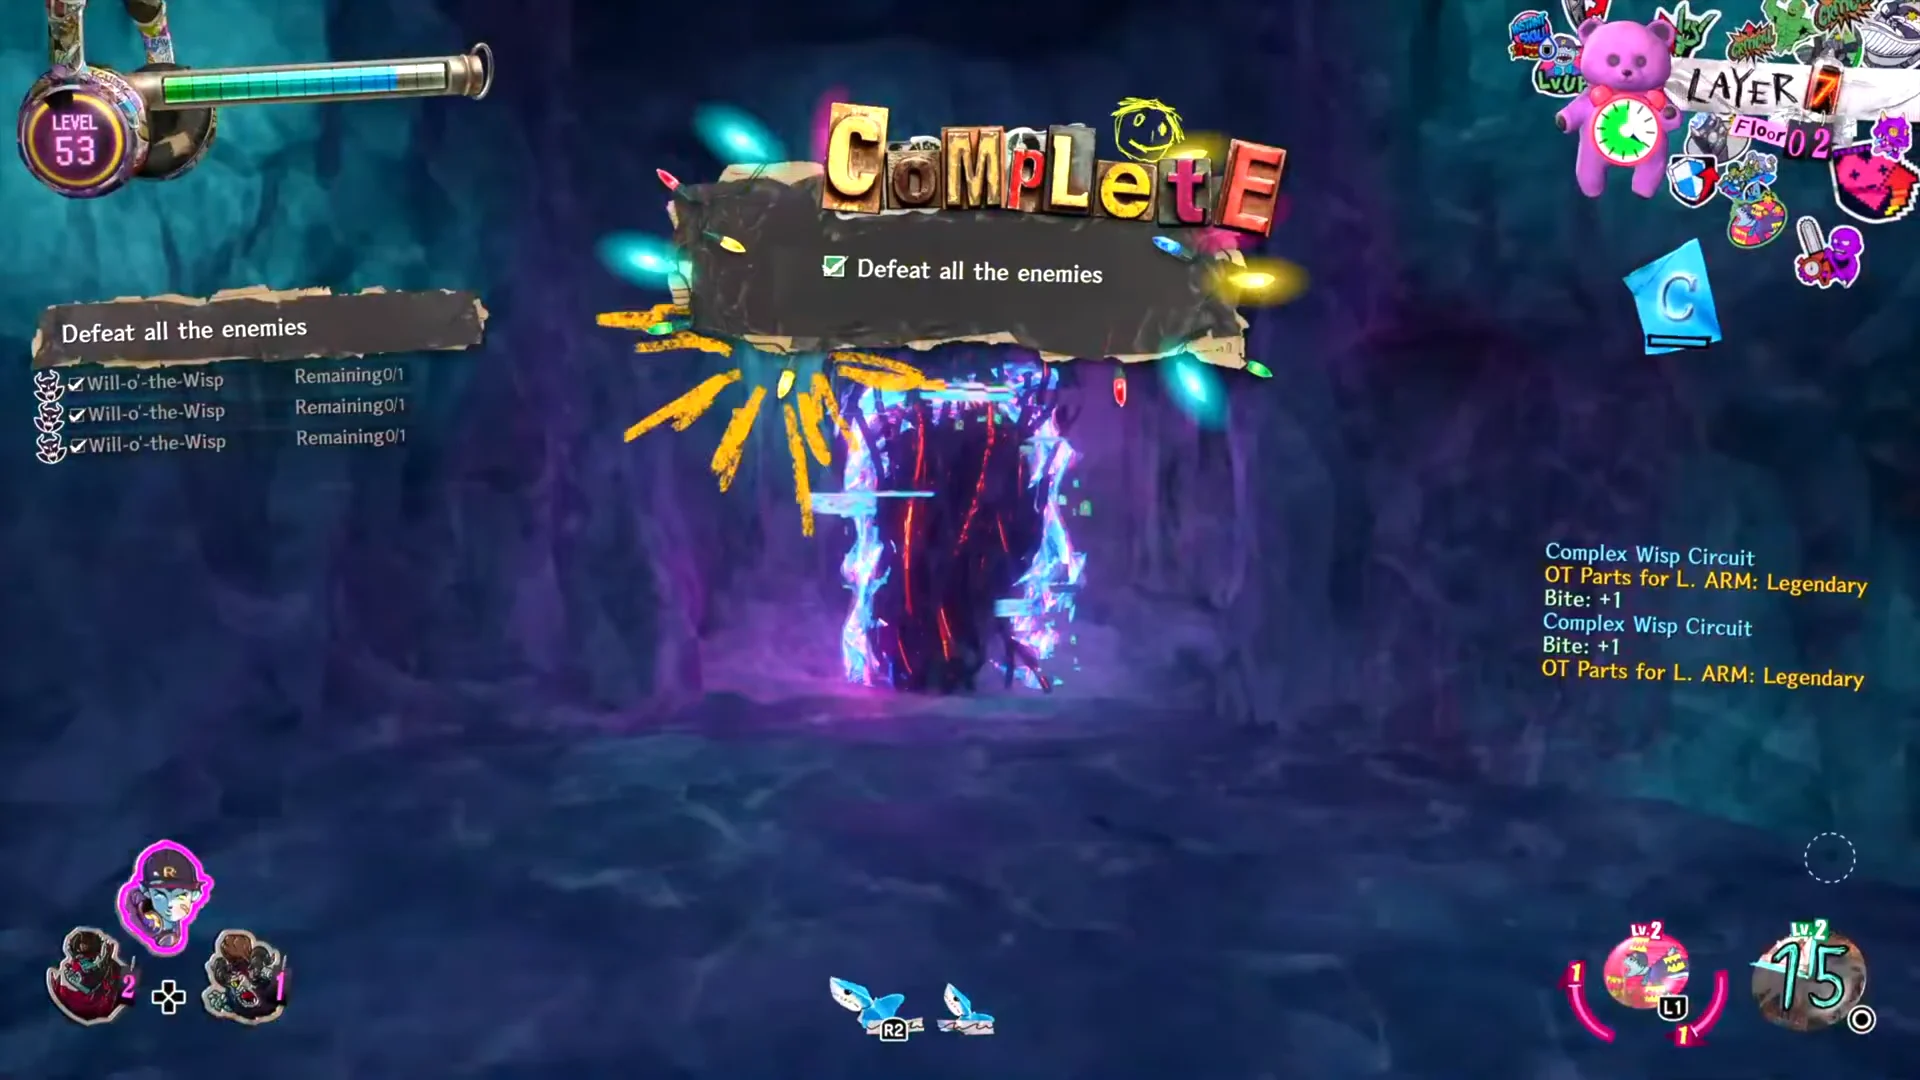
| Layer | Setting | Enemies in missions |
|---|---|---|
| Layer 1 | Caverns | Fairies, skeletons, Will-o’-the-Wisp |
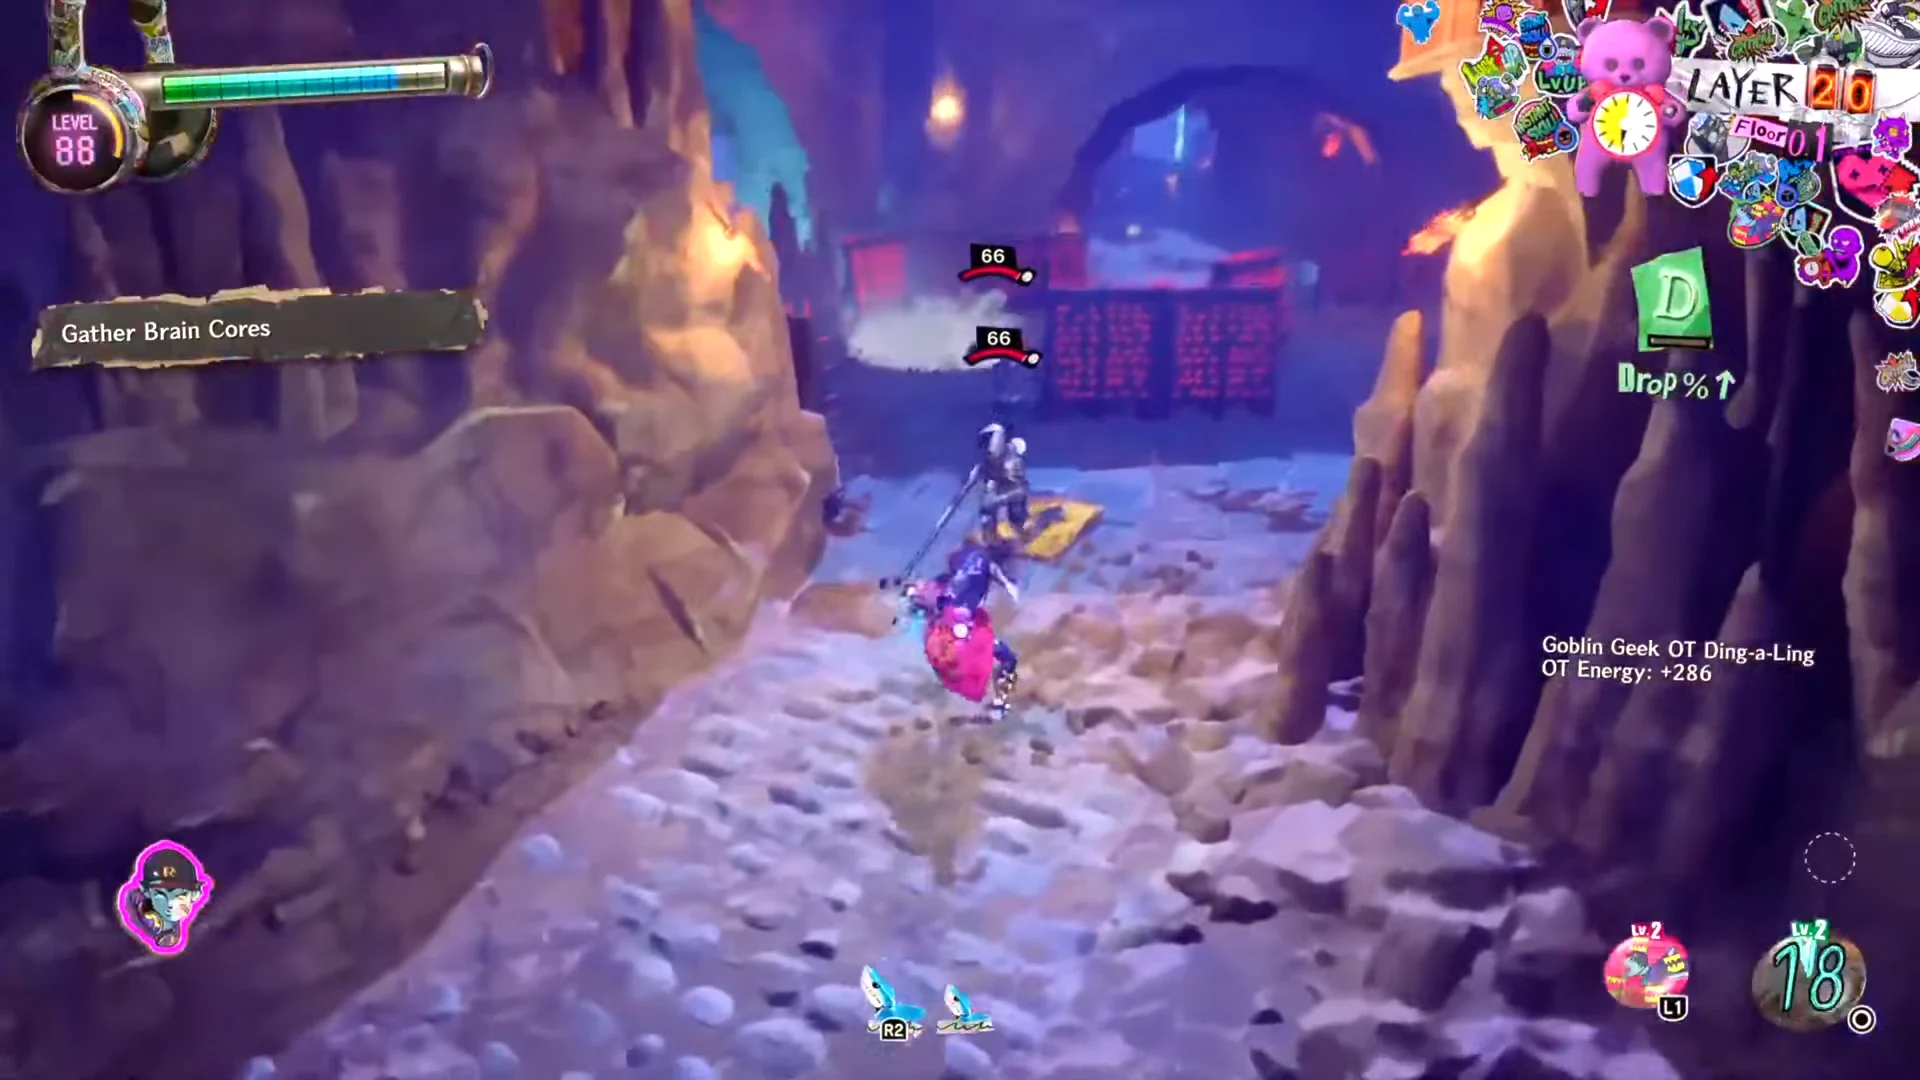
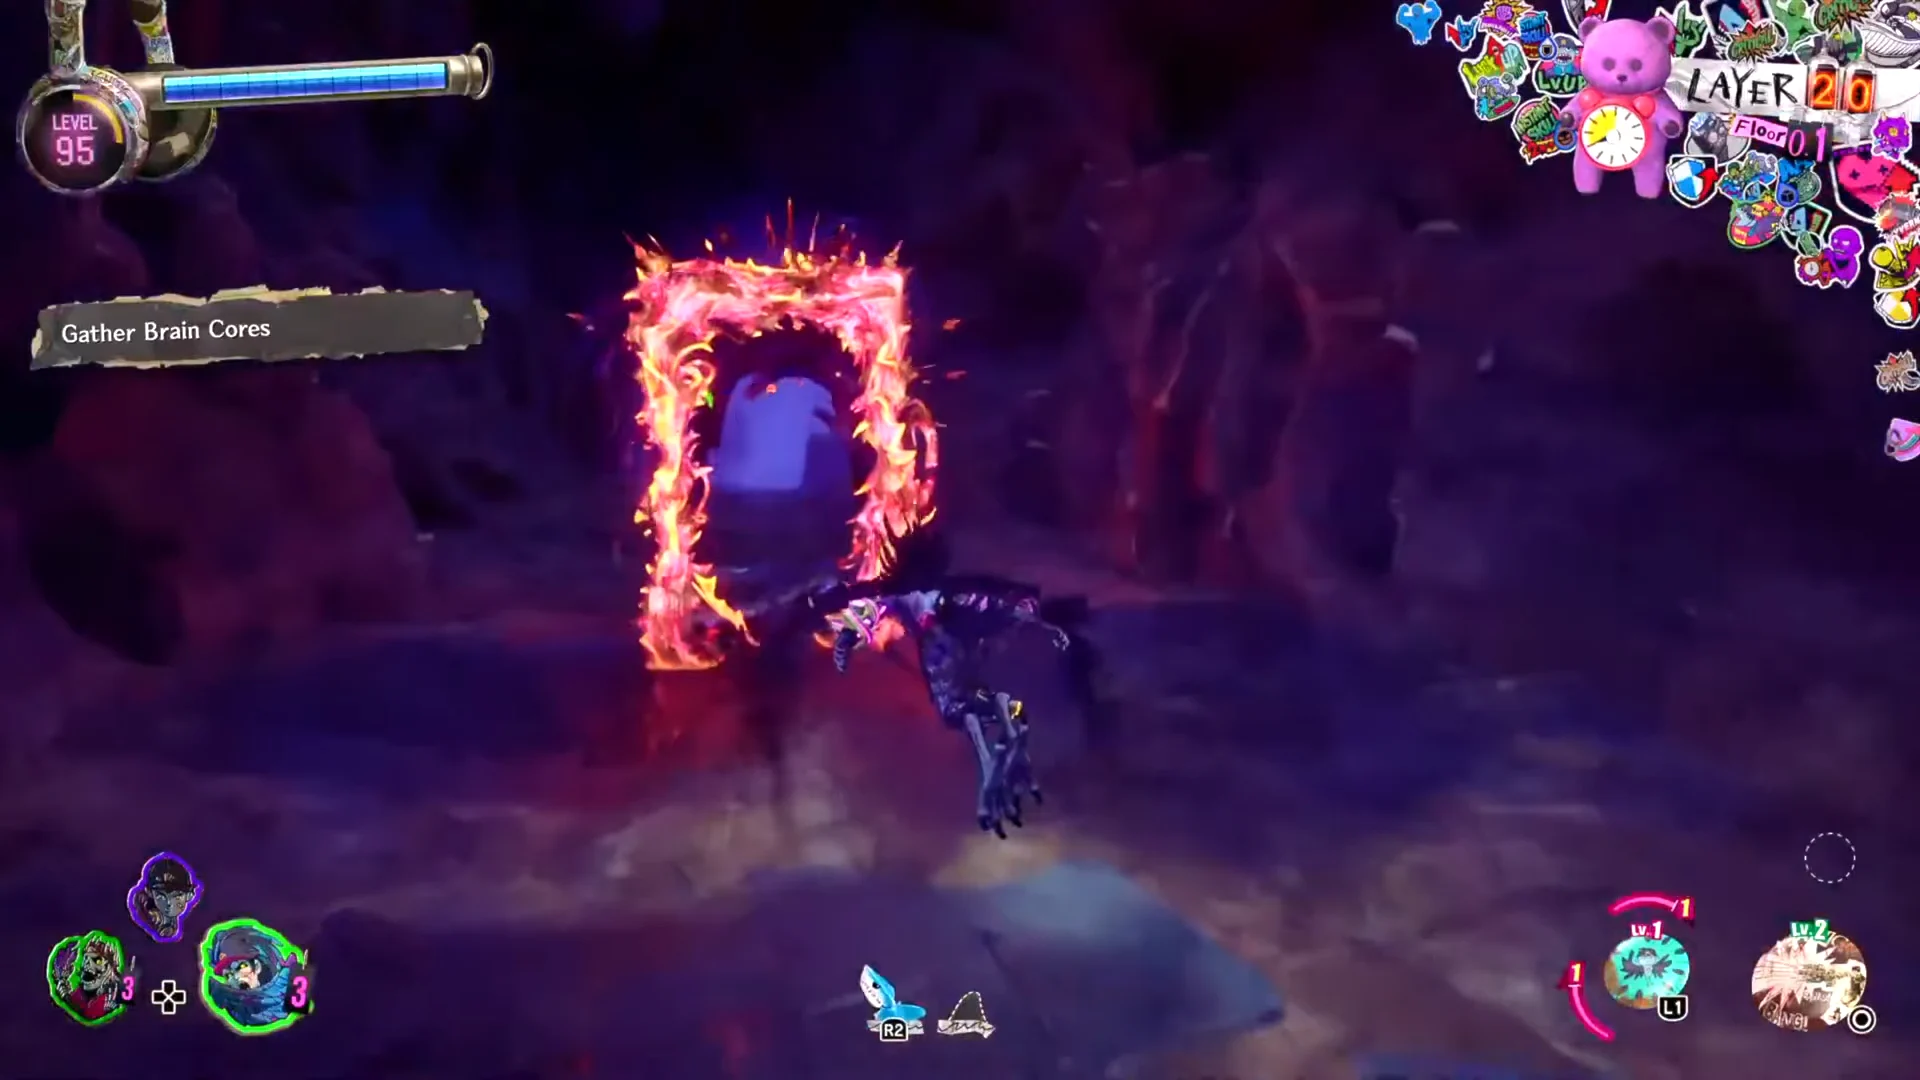
| Layer 20 | Stone ruins, briar forest | Armored foes, Harpy, Werewolves, Wisps |
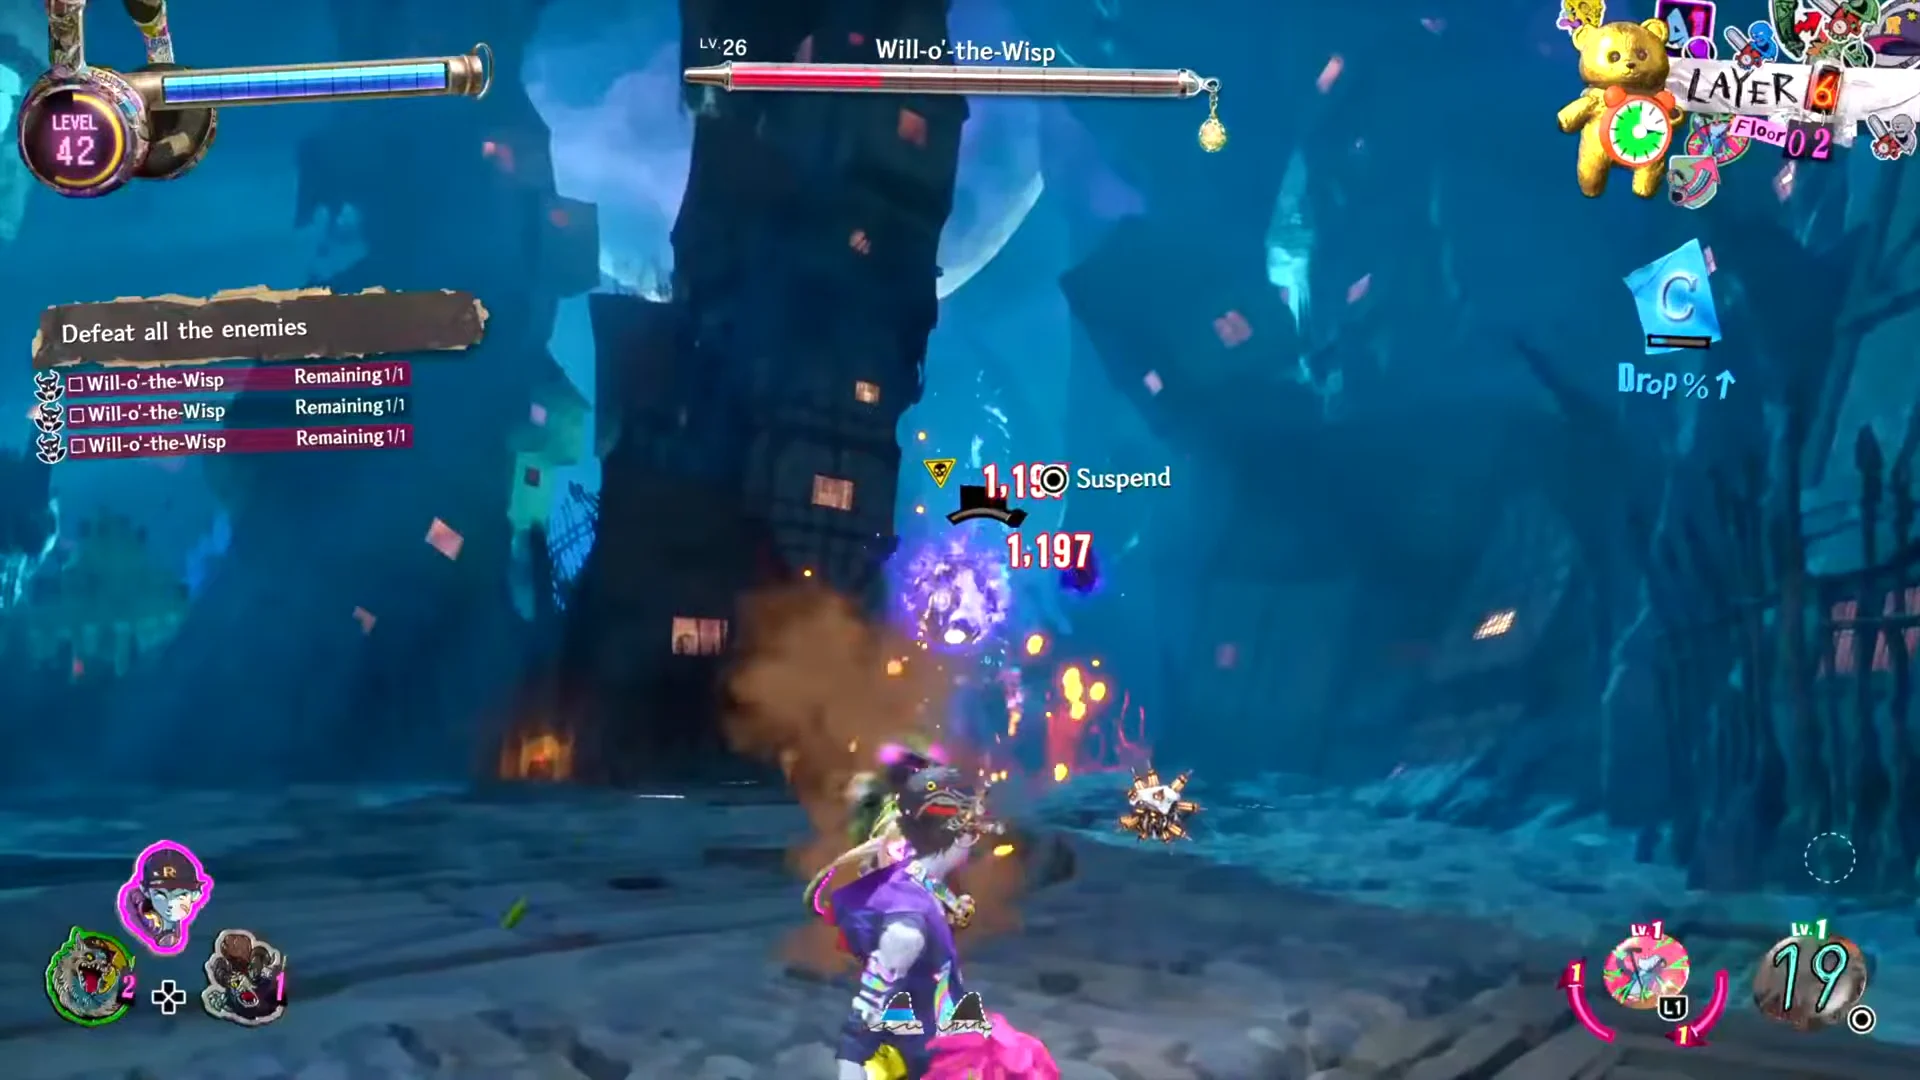
| Layer 6 | Bone-strewn caves | Werewolf, Harpy Amp, Ogre Brute, Skeleton Warrior |
| Layer 22 | Ice and crystal, watery cavern | Vampire, Armor Knights, Bigfoot Gelid, Lizard Troopers |
| Layer 21 | Hanging rock platforms | Mixed waves along cliff ridges |
Layer 20
Layer 20 starts on a stone path through ruins, where you fight armored enemies. Next comes a Defeat the specified enemies mission with Harpy as the target. An orange fire portal leads out to a briar forest arena, where you have to clear Werewolves and Wisps.
Layer 6
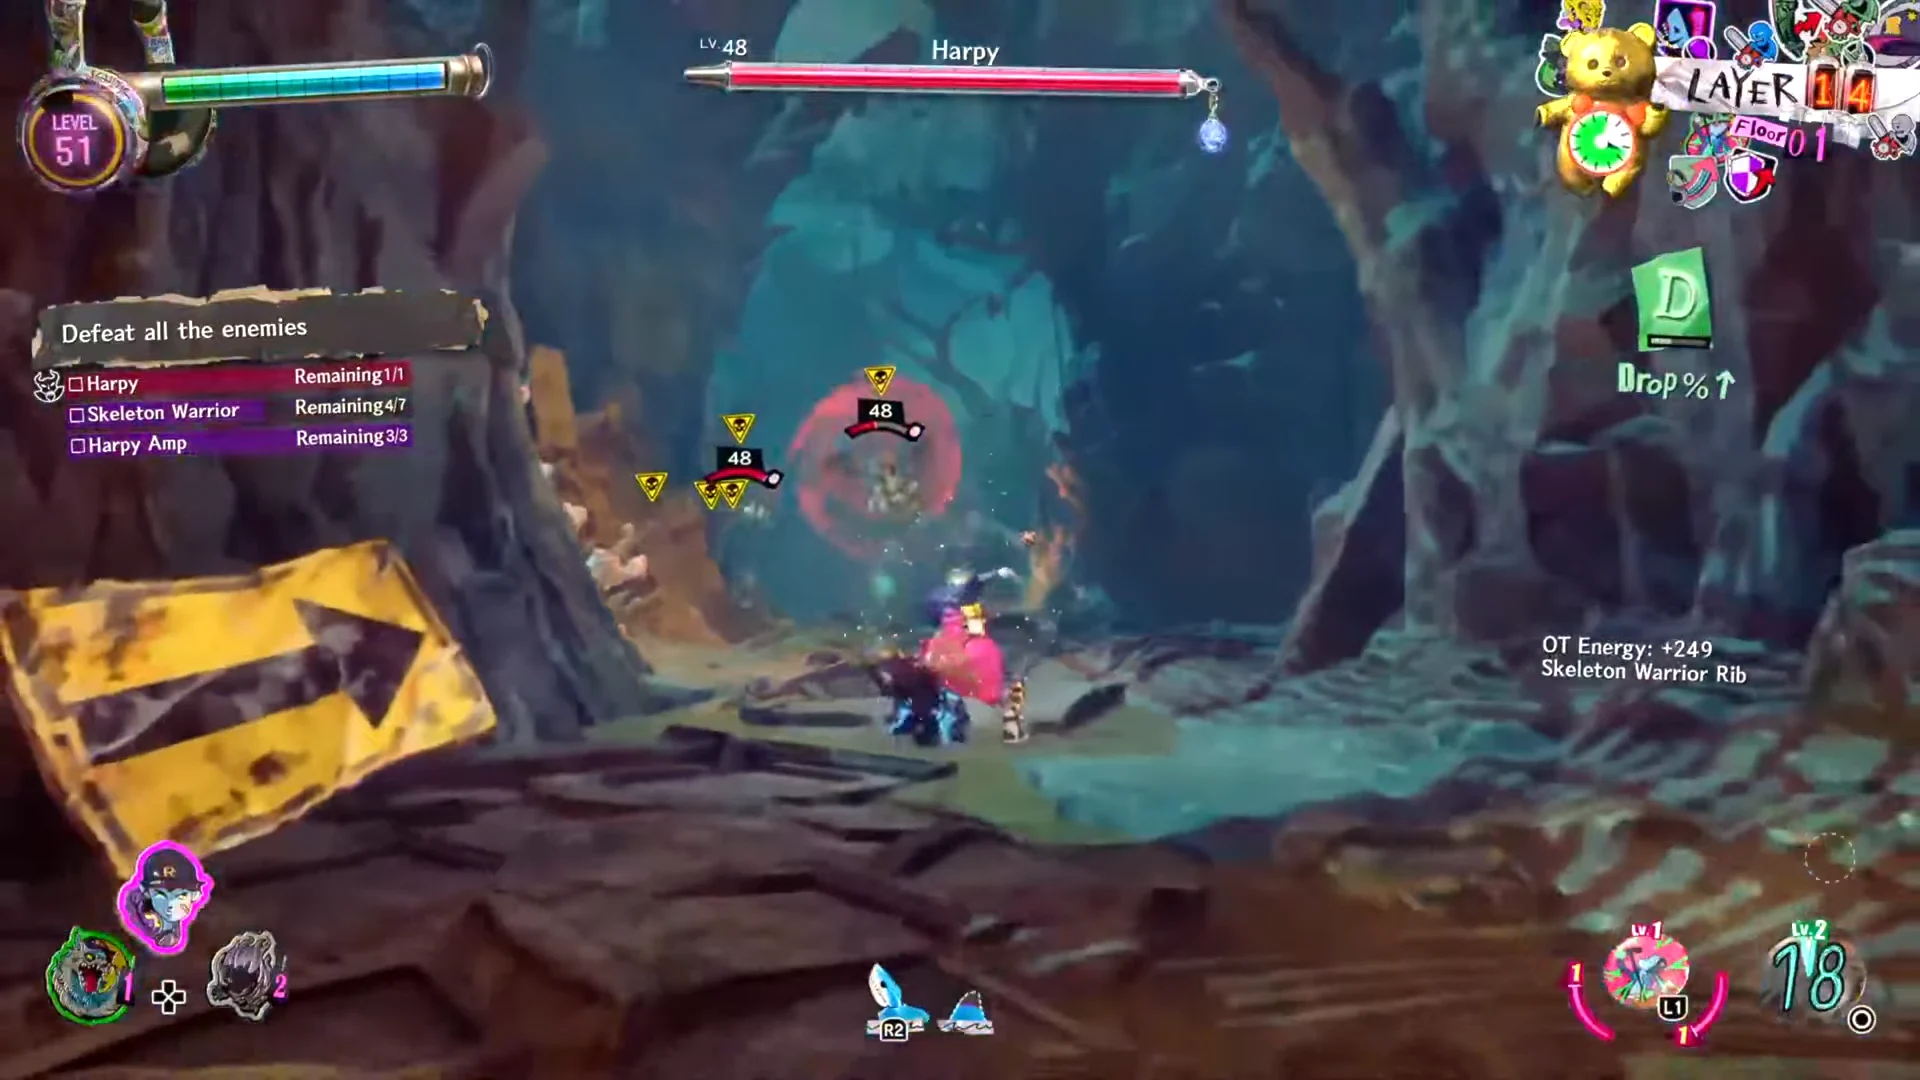
The NEXT FLOOR portal sends Davy to Layer 6. Right away, a mission asks for a Werewolf, a Harpy Amp, and an Ogre Brute. After that, the path runs through caves full of bones to a room of Will-o’-the-Wisps. The next fight mixes a Harpy, a Skeleton Warrior, and a Harpy Amp, and then the route ends at a teleporter gate.
Layers 22 and 21
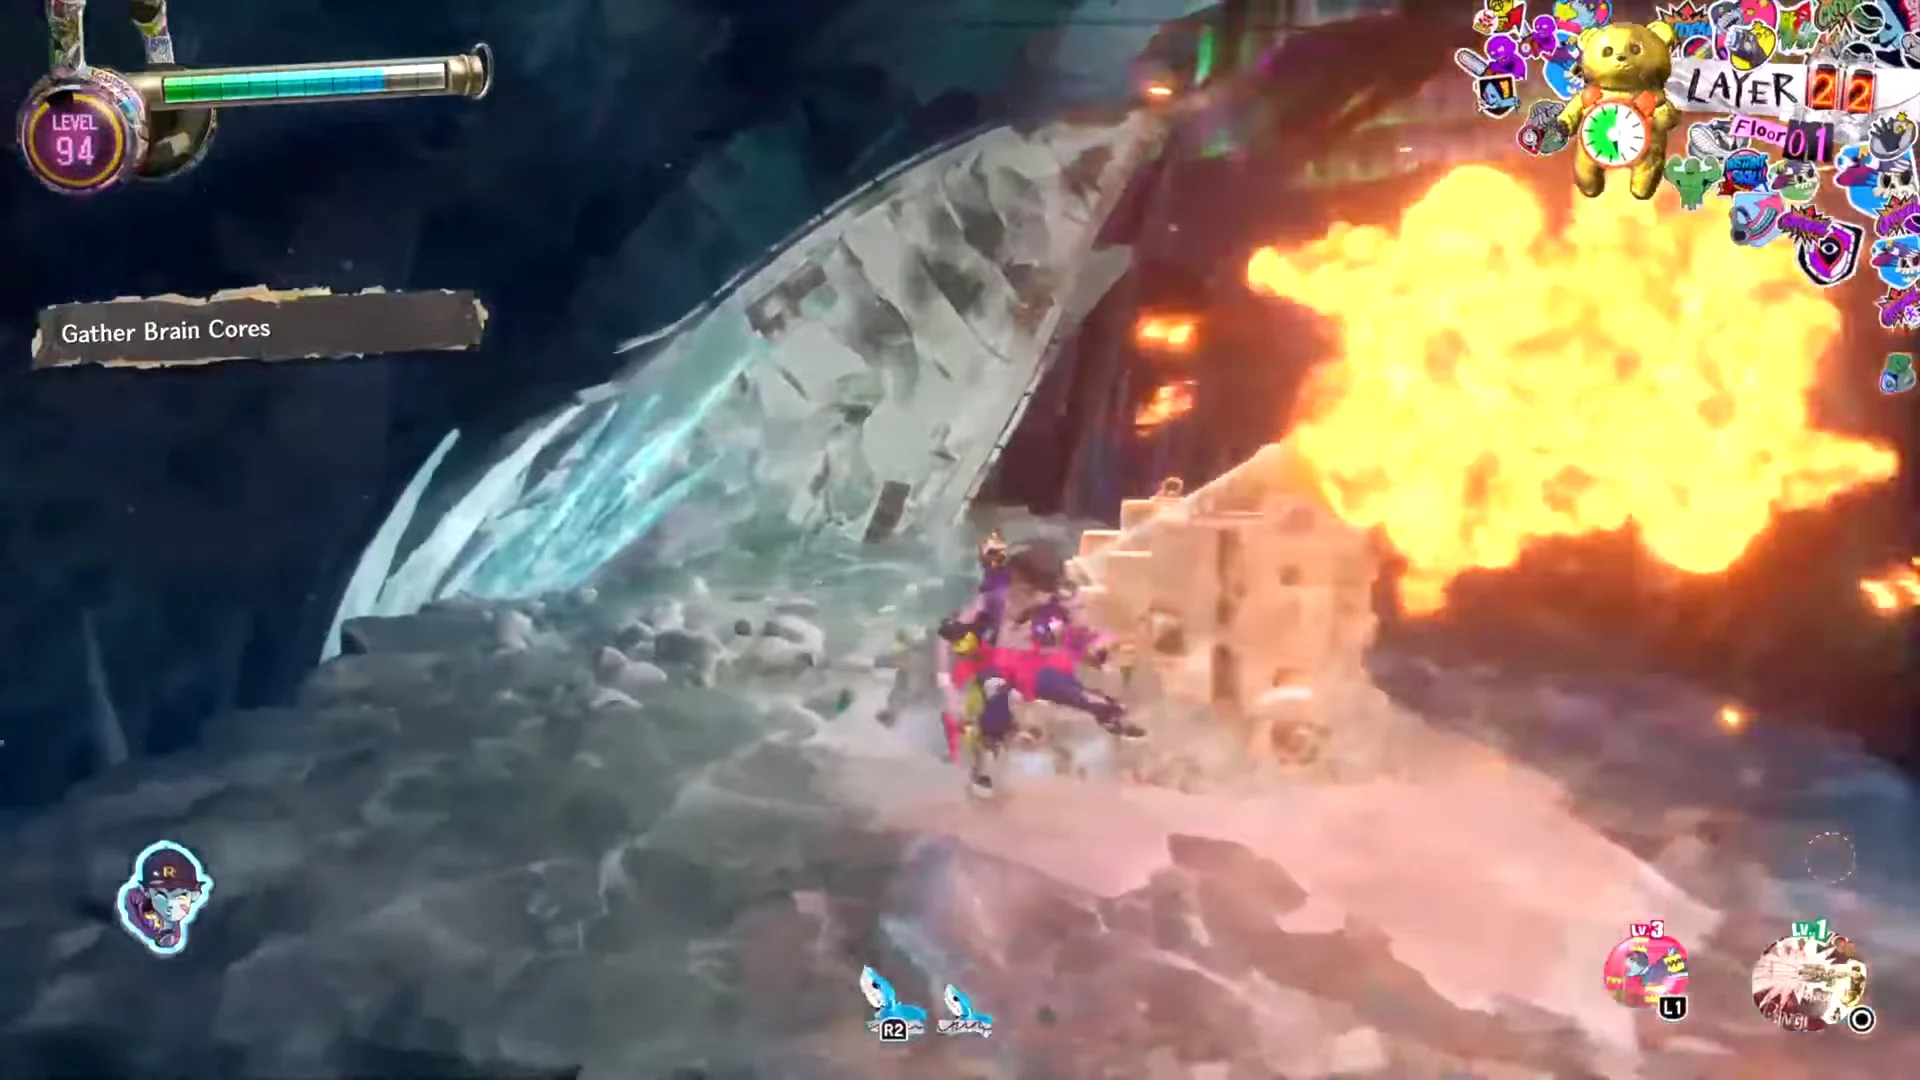
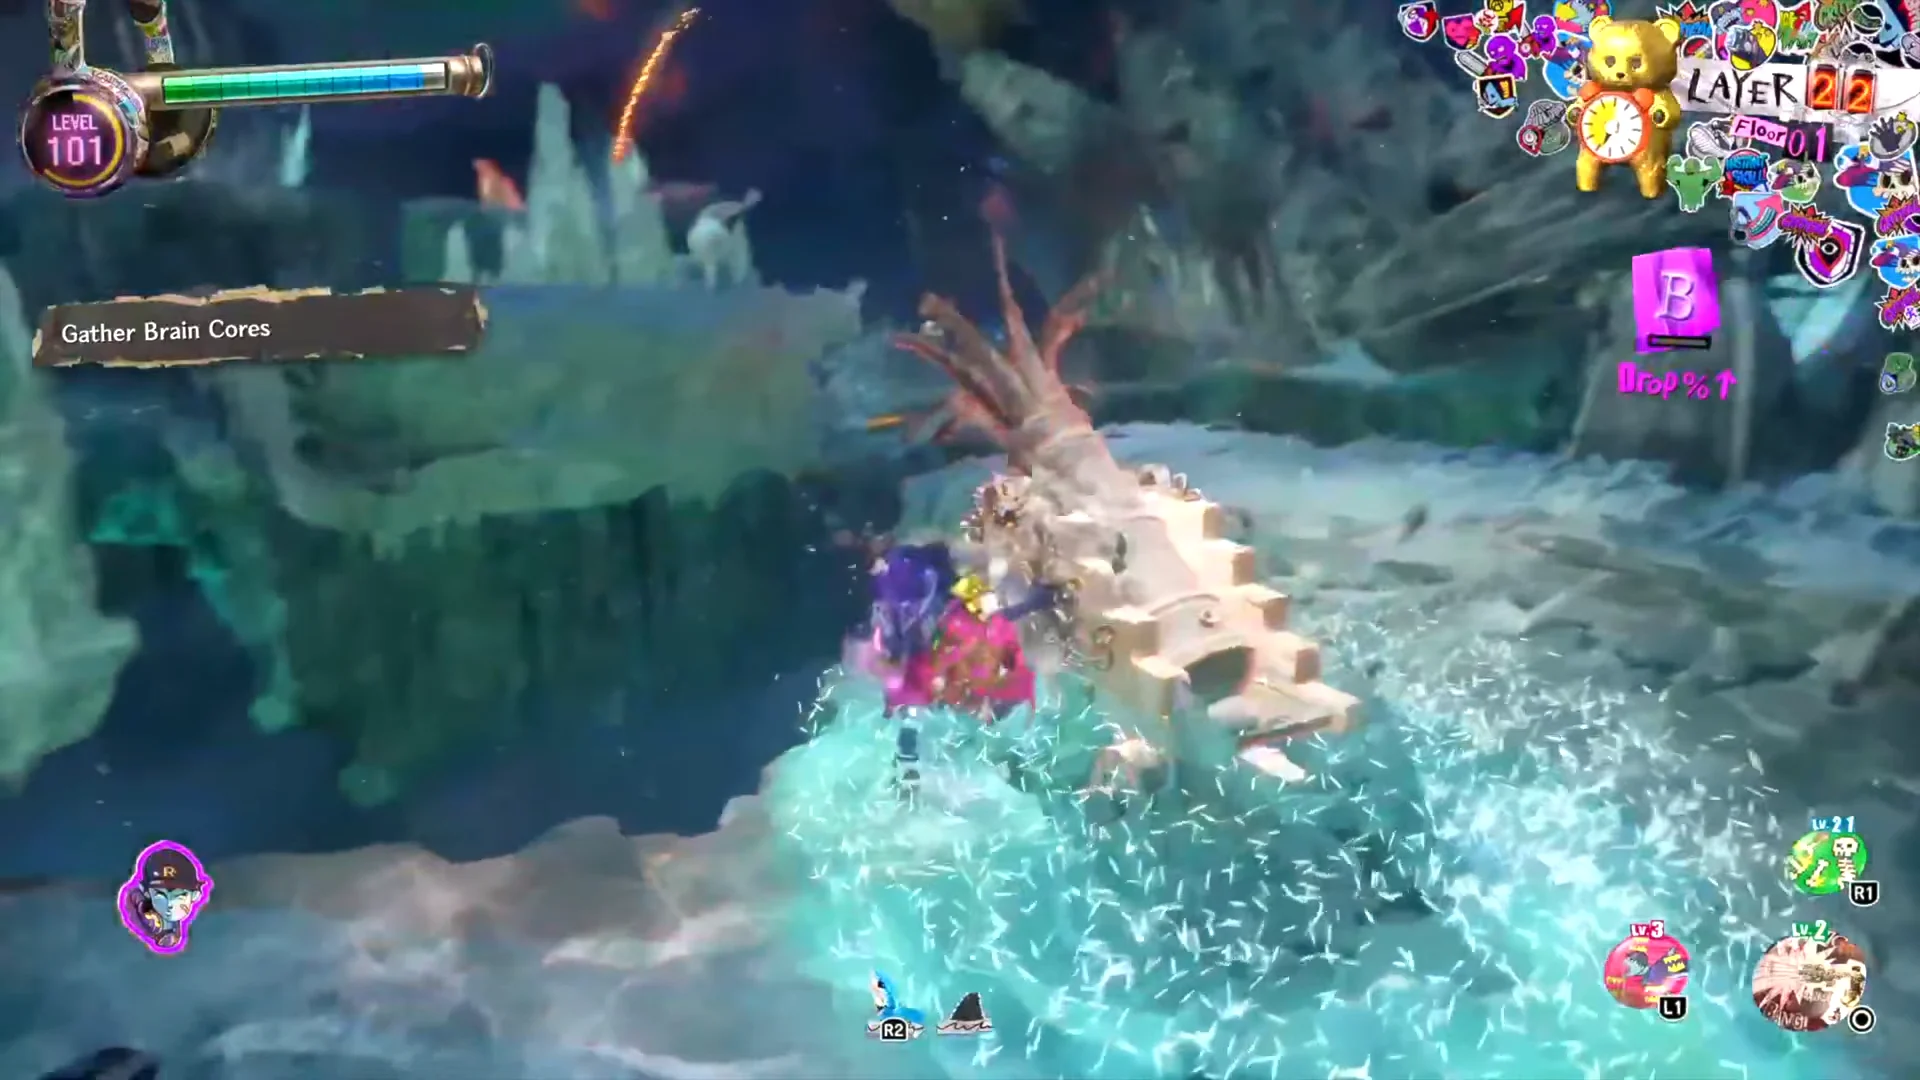
Layer 22 has the most cannon use of any layer. It also has an arena where you fight a Vampire, Will-o’-the-Wisps, and Armor Knights, followed by a watery cavern that leads to the exit. Layer 21 puts the fighting on hanging rock platforms and icy ridges. The run ends back on Layer 22 with a boss wave against a Vampire, a Bigfoot Gelid, and Lizard Troopers. Beating the floating Vampire opens the rift out of the level.
Field cannons and destructible barriers
On later layers, the way forward is often blocked by walls of ice or crystal rock that you can’t break by hitting them. Each one has a cannon placed nearby that faces it. Walk up to the cannon and press the interact button (Triangle on PlayStation) to fire it. The shot clears the wall. The first cannon shows up early, where it blasts open an icy barrier inside an ice cave.
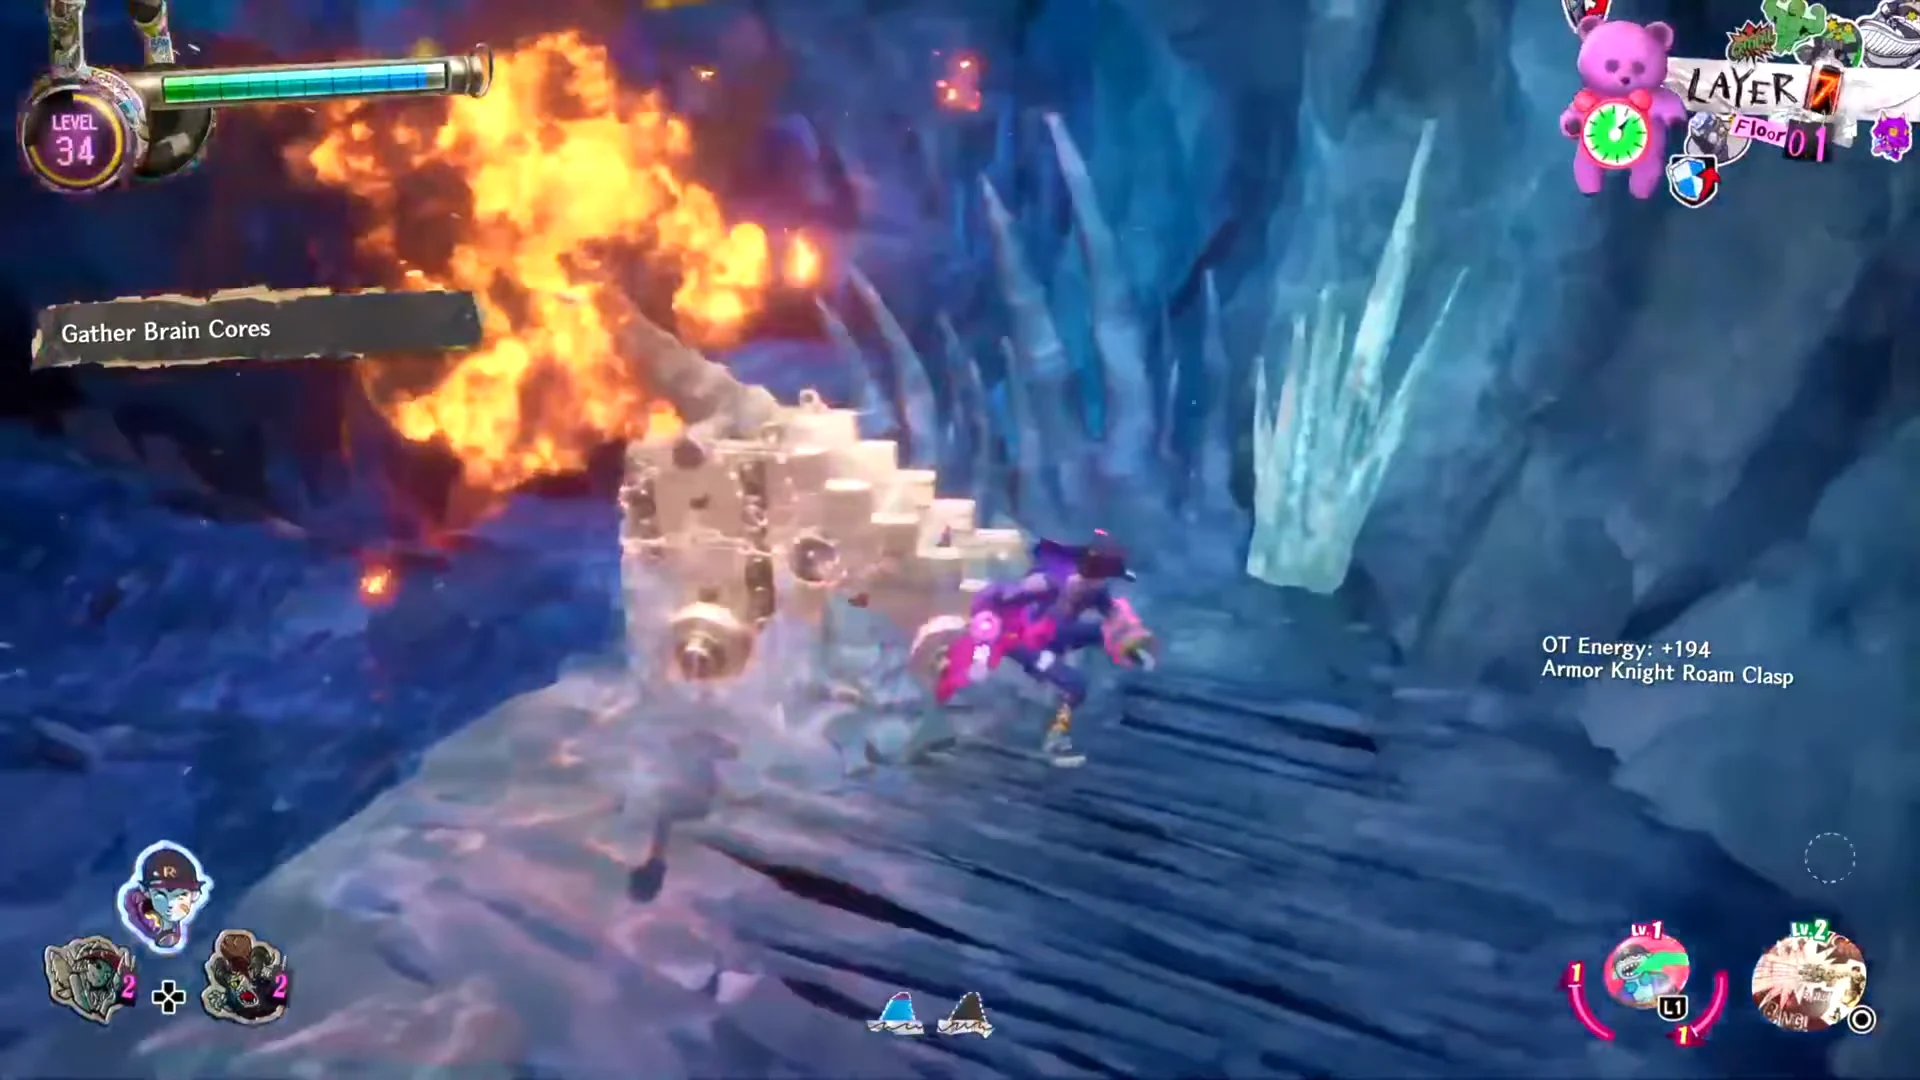
Layer 22 uses four cannons one after another. The first clears crystal blockages. The second breaks an ice wall. The third fires across a gap to open a path. The fourth, on a cliff, clears the last barricades. Layer 21 has a wooden cannon on an icy ridge that blasts the far cliff, and another cannon on a cliff edge that destroys a structure in the way.
Style Selection and Zombie Skill Selection cards
Beyond Level-Up Receipts, there are two kinds of random card menus that come up at certain points during a run. They work differently from each other.
- Style Selection gives active Style Skills along with passive bonuses. Examples include Blizzard Step, Anvil Strike, and Spirit Mine.
- Zombie Skill Selection gives active abilities, shorter cooldowns, or full transformations, such as a Werewolf form or a giant cyclops brute.
- Card options seen later in a run include OT Active Skill Amped Charge (Uncommon), Max Shark Critical Bias, Style Skill Attack Drive, and Zombie Style Level Up.
Transformations last only a short time and hit very hard. Davy’s Behemoth form is a huge one-eyed brute that flattens groups of enemies. On Layer 21, an armored giant cyclops version of the same idea smashes through enemies on the cliff platforms. Other forms include a winged fairy and a winged vampire. Enemies also drop parts named after them, such as All-Piercing Vampire Fang, Highly Elastic Harpy Lung, Treasured Lich Staff Fragment, and Lich the Empower Crystal.
Miasma time limit, dive results, and the Security Room
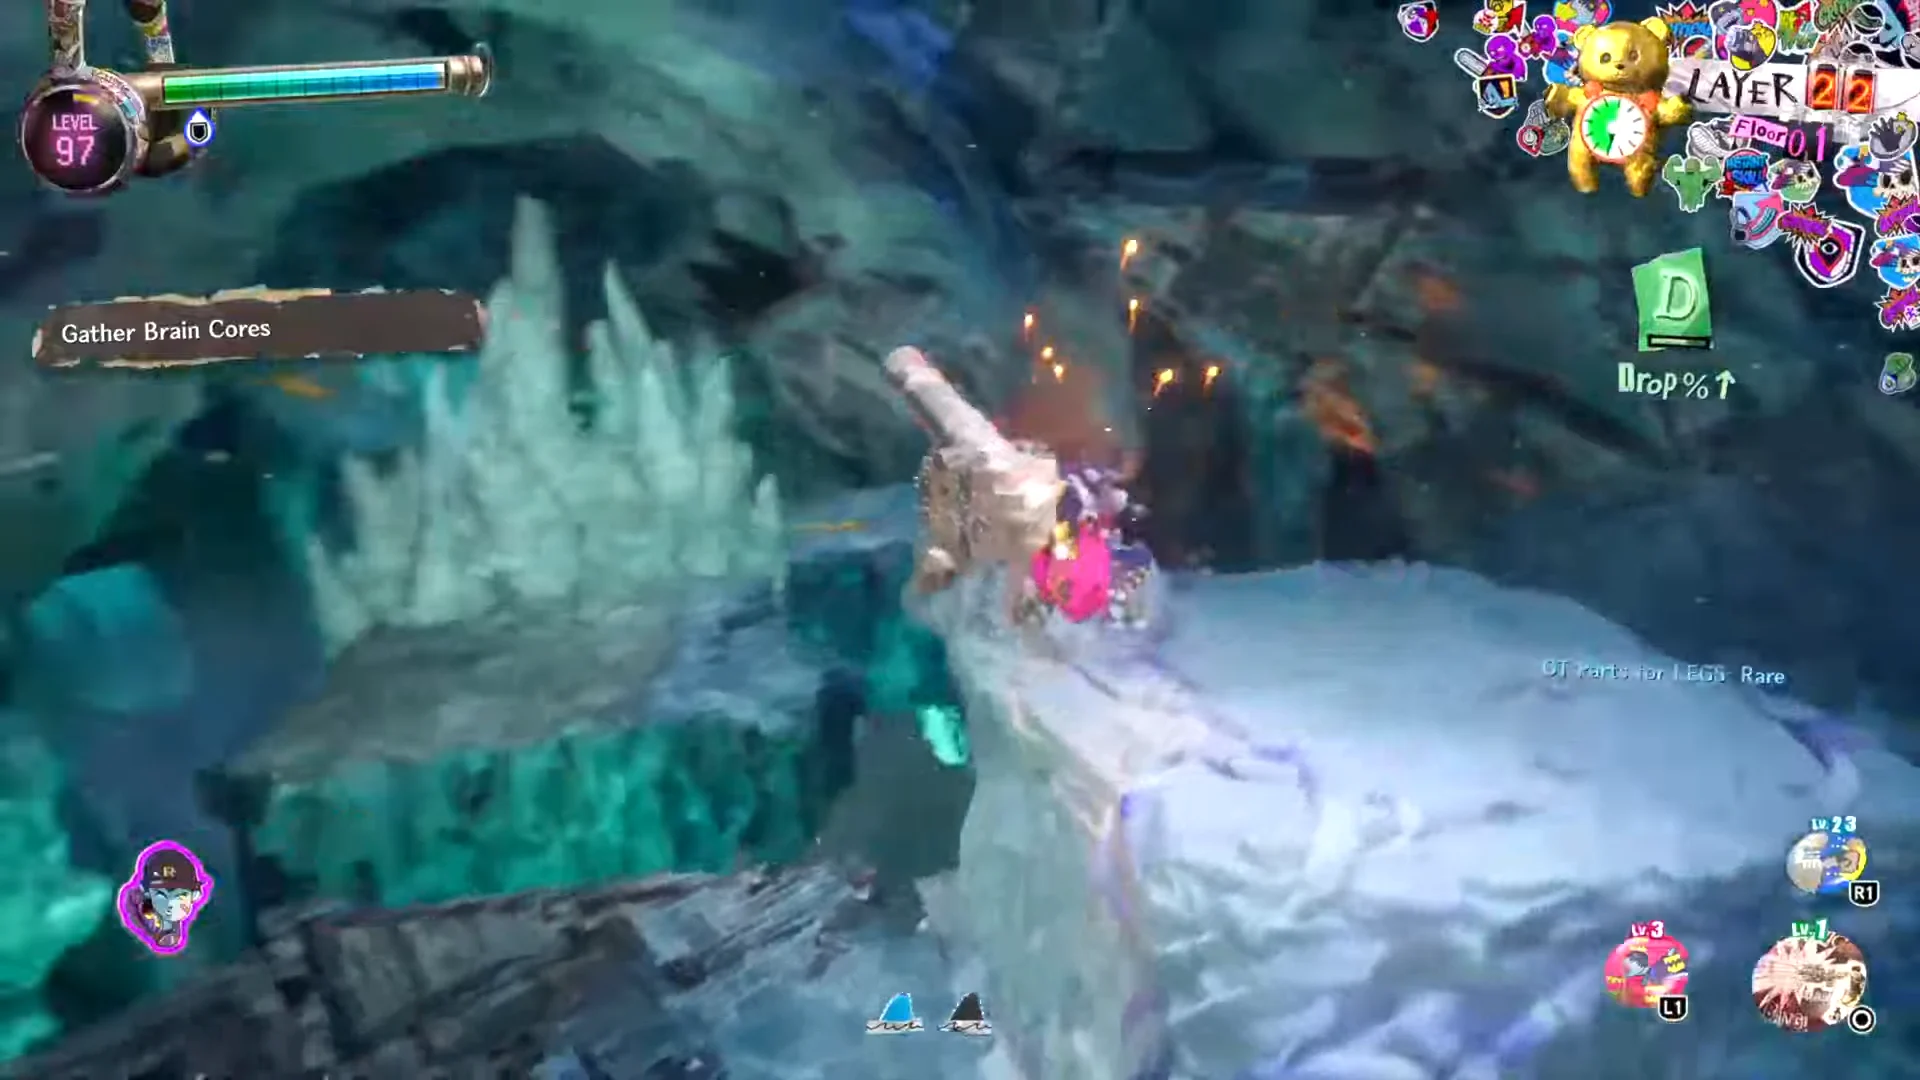
Every dive has a countdown. Doc cautions that toxic miasma throughout the dungeon damages zombies. An on-screen teddy bear displays the remaining time. If the countdown reaches zero, Davy grows weak and takes damage easily, so move on as soon as the area is clear.
At the end of each dive, a toilet-paper-roll-shaped EXP Boost meter displays a results tally. It shows Total Kills, your EXP Boost percentage, and pickups such as enemy giblets. Your play affects the figures: a run through the first dive registered 132 percent, while Molten Rome registered 161 percent with 15 kills. Back at the mall, Goyle directs you to the Security Room. Monitors there track dungeon-run stats, and a dive appearing on them has been saved.
Later gatekeepers expect you to understand these systems well. Dragul, for example, has strong shields tied to his bats. They come back every time he uses the bats, and you have to break them by dealing enough damage or by waiting for his next bat attack. He also heals if one of his special attacks hits you. Everything from parries to bites to transformation cards matters by that point, and the loop stays the same throughout: dive, eat cores, level up, break through, and get pulled out before the miasma runs out.