Order of the Sinking Star: Reflected Beams & Beams Reflected Walkthrough (MxB)
Solutions for the MxB Gold Room, all five Reflected Beams screens, and the Beams Reflected rooms, listed in the order you reach them.
Solutions for the MxB Gold Room, all five Reflected Beams screens, and the Beams Reflected rooms, listed in the order you reach them.
by AllThingsHow Staff · Edited by Pallav Pathak
Image: Thekla, Inc.
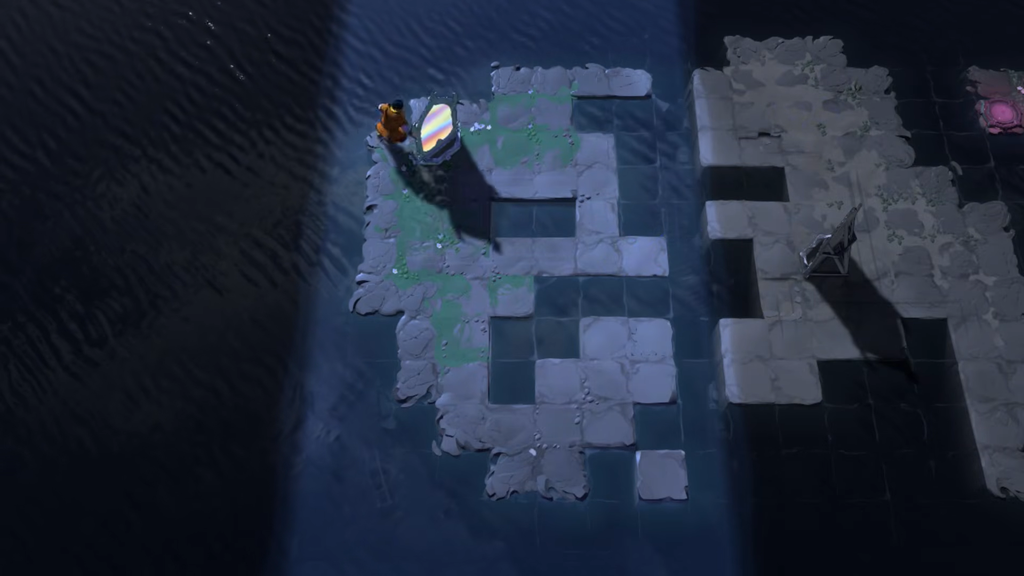
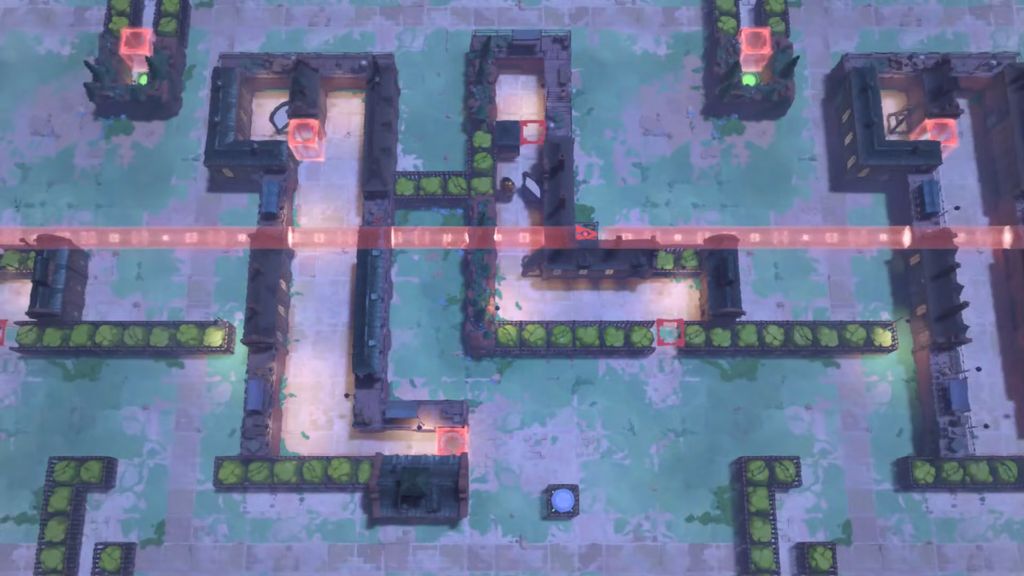
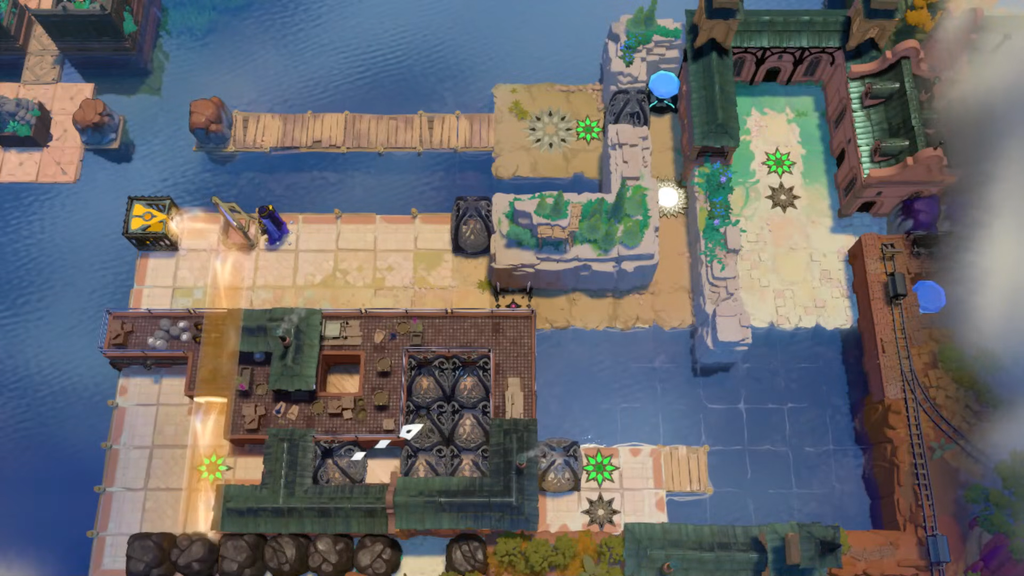
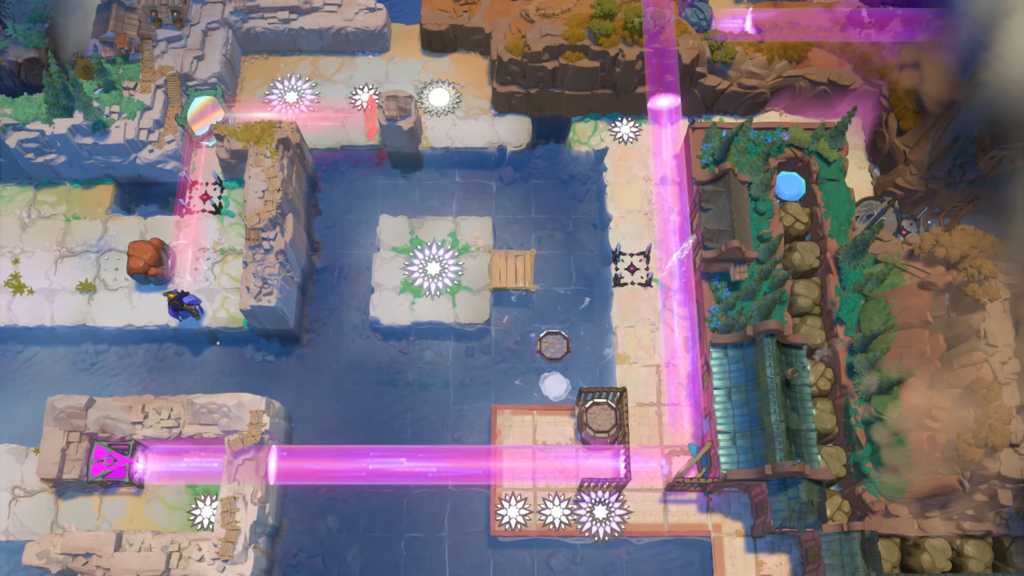
Reflected Beams and Beams Reflected are the far-west MxB areas of Order of the Sinking Star. In these rooms the Trader’s mirrors from the Mirror Isles work alongside the beam emitters from Vault of the Beamcasters. Mirrors still move you and other objects, and they also bend beams. Beams still carry, push, and break things the way they do in the West. You enter both areas through the MxB Gold Room. That room opens once you are well into Vault of the Beamcasters and The Mirror Isles.
Quick answer: Clear the MxB Gold Room, then take the mirror below it to Reflected Beams screen #1. From there, follow the route table below. Each room is done once your hero, or every hero, stands on its teleporter.
Image credit: Arc Games via YouTube/@Mikan Hako
How to read the moves
A plain direction such as “left” means one square that way.
A number such as “x3” means that many squares in that direction.
“All the way” means keep going until a barrier stops you or the path ends.
“Down, left from” a tile means the square diagonally below and to its left.
Beam and mirror rules in the MxB areas
Almost every room combines a few fixed rules. If you know them, the solutions below stop looking random.
Element
What it does
Trader’s mirror
Fires only from inside its glowing block, but reaches any distance
Red beam
Opens red barriers
Yellow beam
Breaks rocks
Green beam
Walk through walls (not fences)
Cyan beam
Lets you push
Orange beam
Each step moves 2 tiles
Purple/pink beam
Carries you or an object to whatever blocks it
Moving device (cart)
Rolls back and forth, pushes one object
Orange beams multiply their effects: stepping into one covers 2 tiles, while crossing two covers 4. With four beams overlapping, a step spans 16 tiles. Purple beams can turn back into their own emitter, making that emitter the landing spot. To undo mirror-created clones, bring all of them onto one tile simultaneously.
Image credit: Arc Games via YouTube/@Mikan Hako
Reflected Beams and Beams Reflected route order
Order
Location
Rooms
Way in
1
MxB Gold Room
1
After Beamcasters and Mirror Isles progress
2
Reflected Beams #1, top
2
Gold mirror below the Gold Room
3
Reflected Beams #2
2
Mirror on the moving device
4
Reflected Beams #3
3
Mirror ridden all the way left
5
Reflected Beams #1, bottom
6
Rock path from screen #3
6
Beams Reflected #1
6
Pink beam on screen #1’s right side
7
Reflected Beams #4
3
Bottom-right path of screen #1
8
Reflected Beams #5
4
Mirror on a submerged rock
MxB Gold Room solution
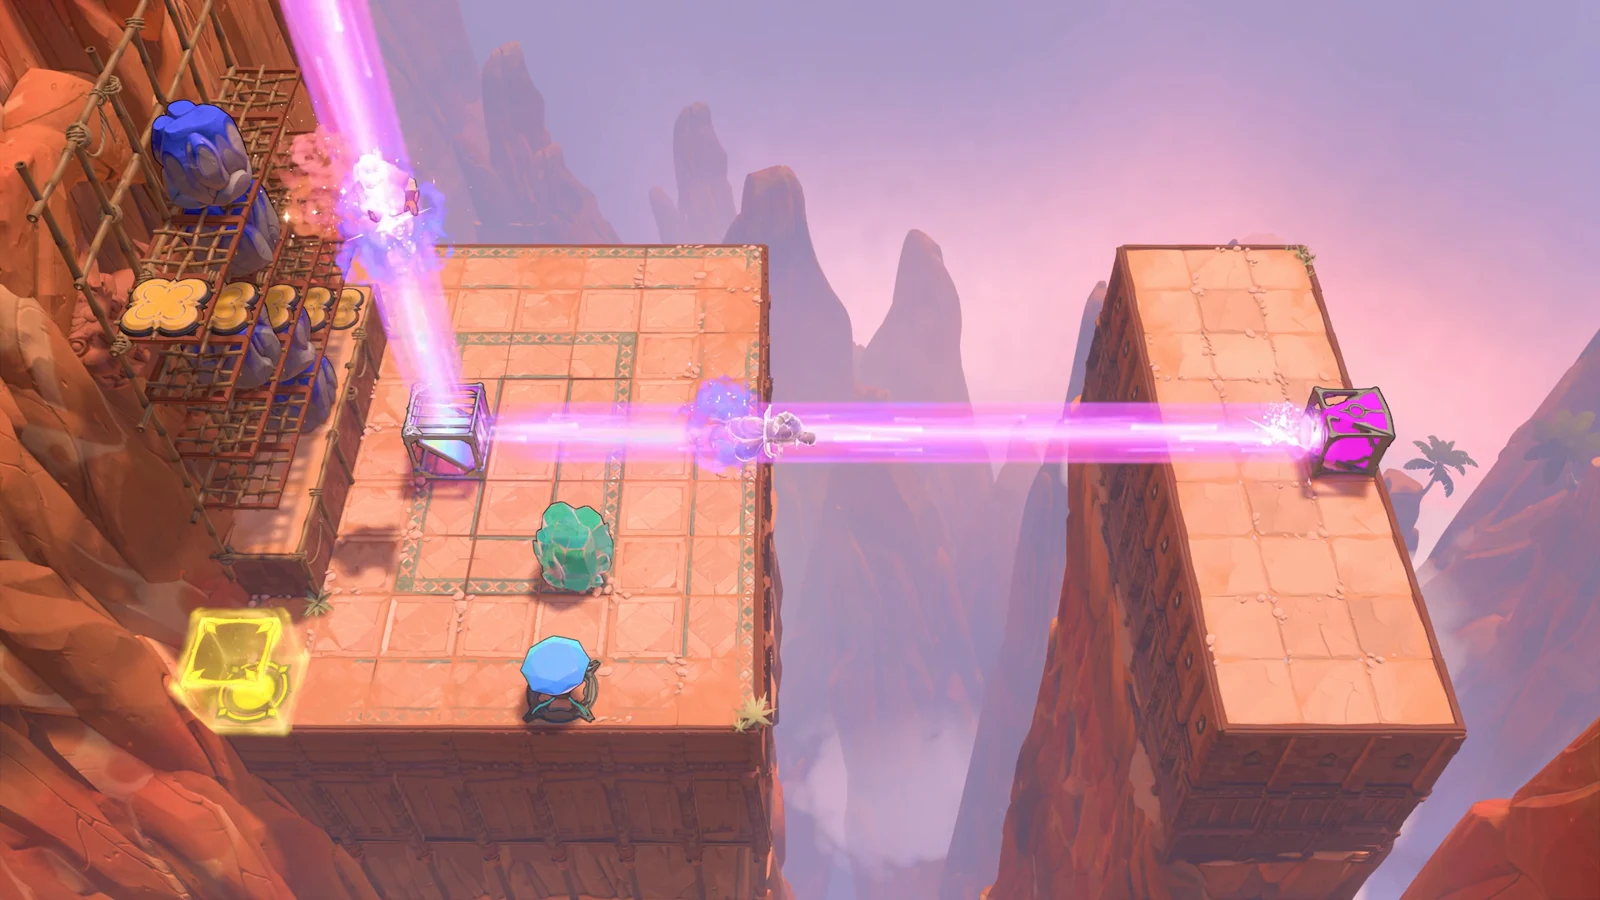
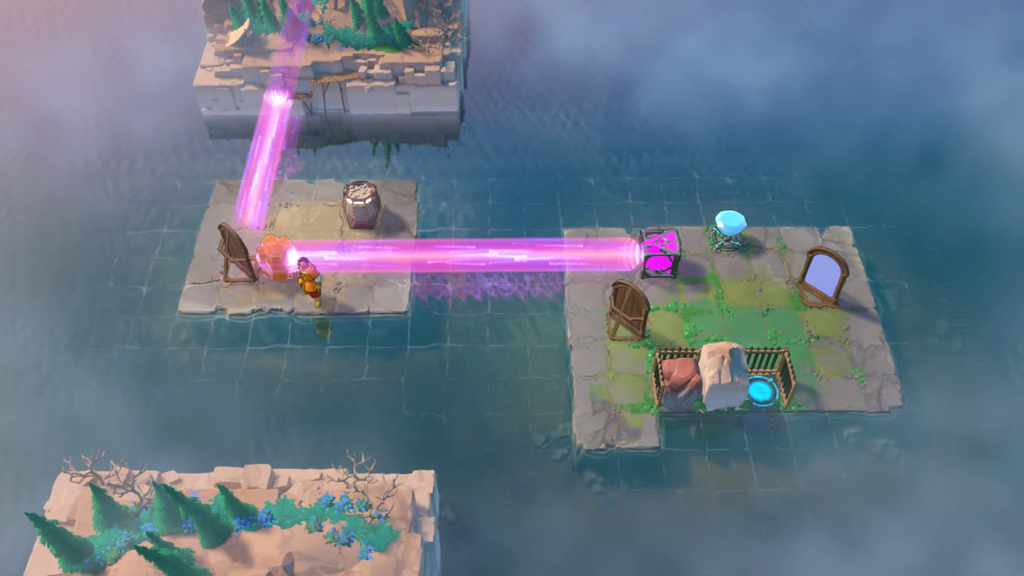
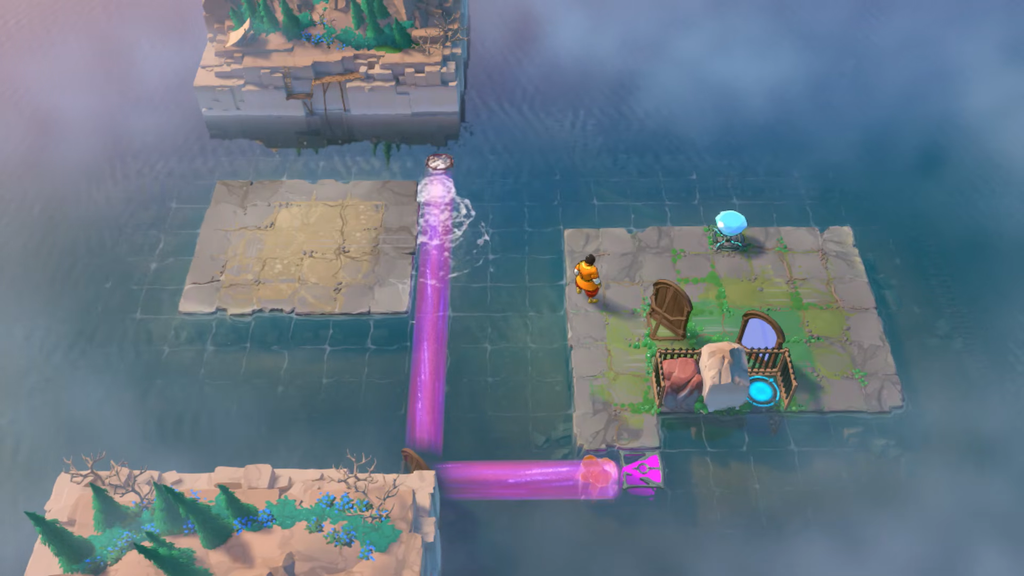
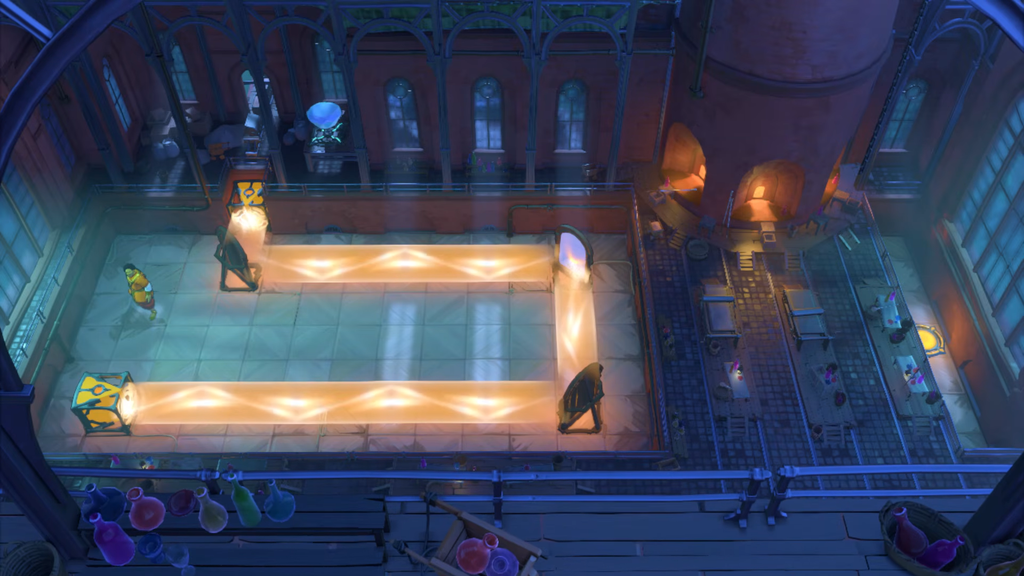
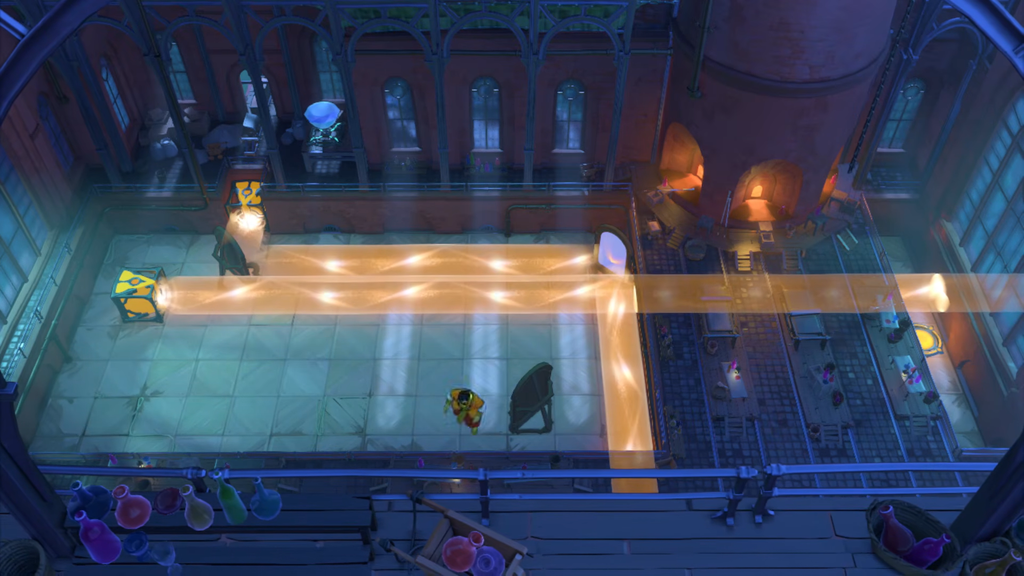
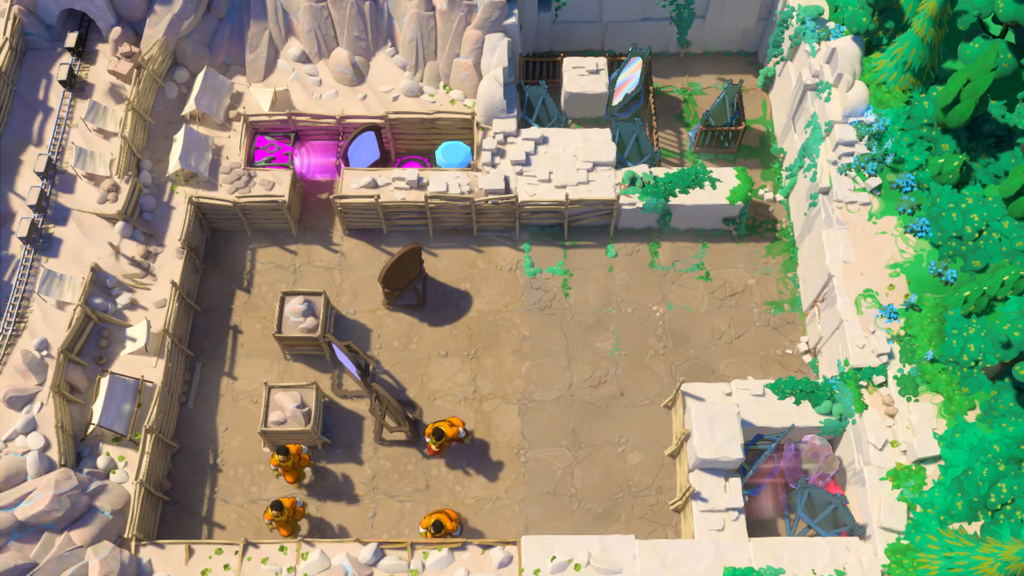
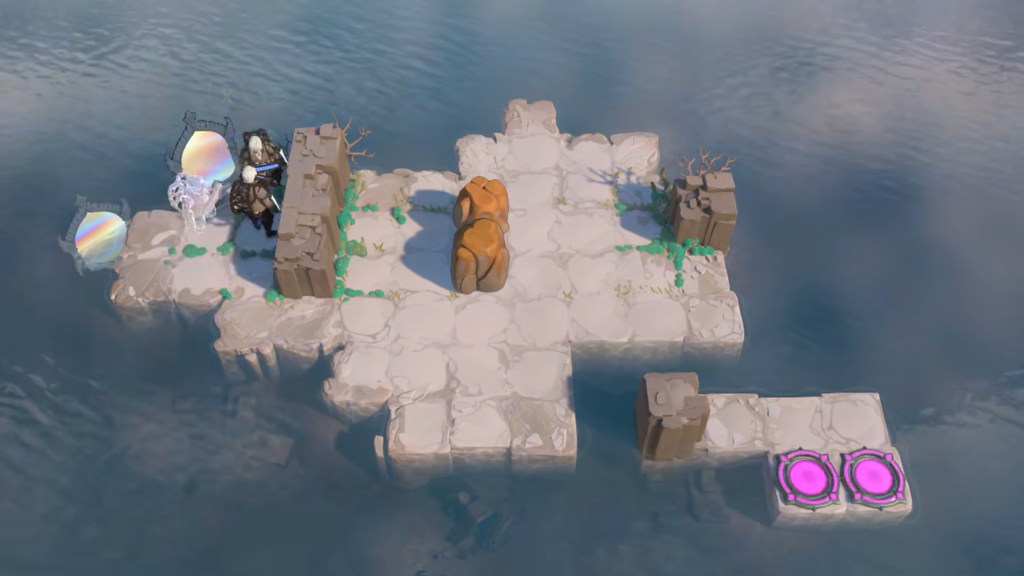
Two heroes work together here. The orange NPC moves the mirrors, and the miner collects the gems that control the lasers.
Use the orange beam to launch orange into the teleporter alcove. Then send the miner along the pink beam to the teleporter in the upper-left.
Image credit: Arc Games via YouTube/@Mikan Hako
After solving the room, stand beside the gold mirror on its right and activate it to drop below. Push the mirror upward, then take it all the way left. Walk to the far-right side and use the mirror to reach Reflected Beams screen #1.
Reflected Beams screen #1: upper puzzles
Crystal bridge puzzle (top #1)
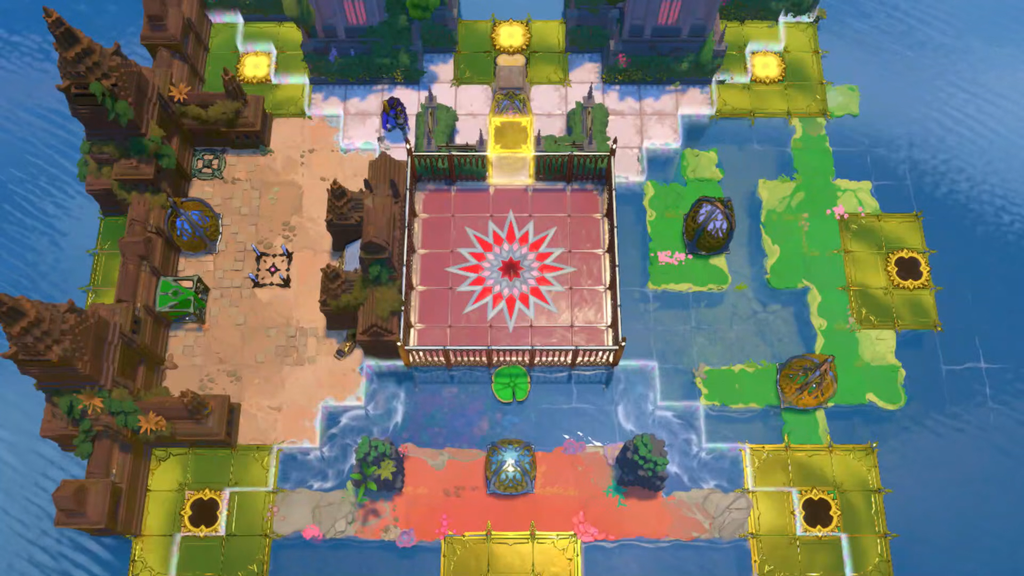
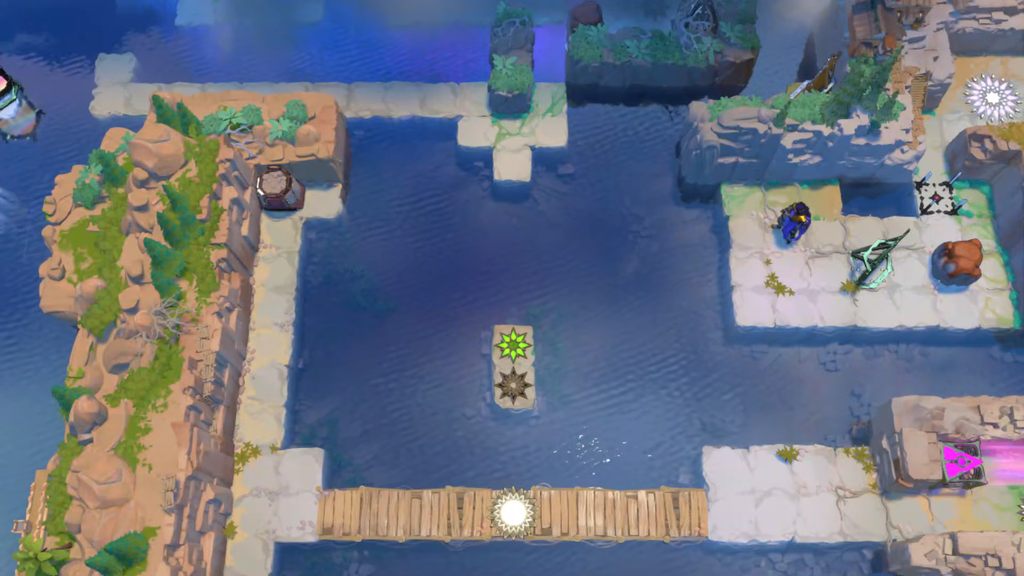
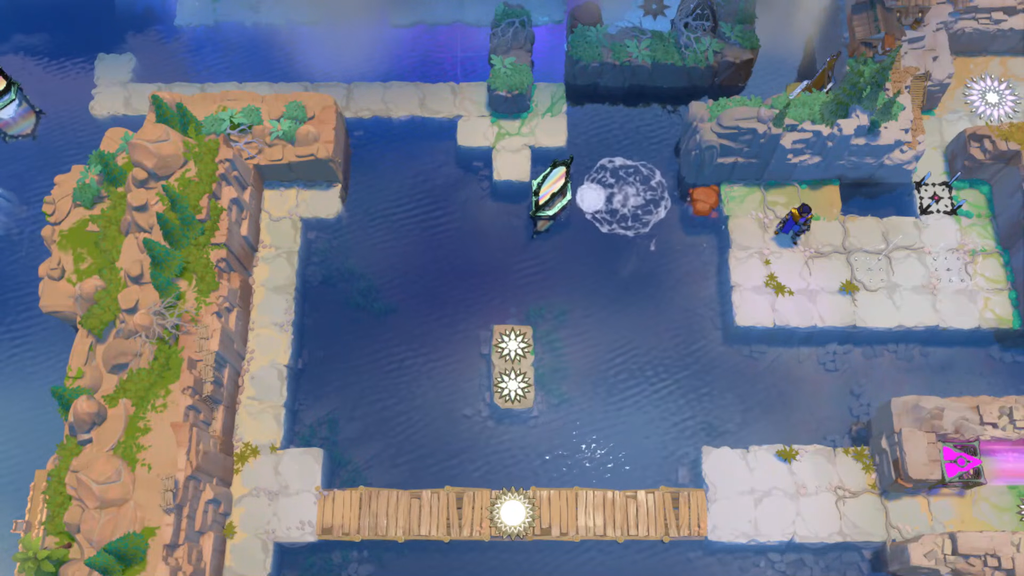
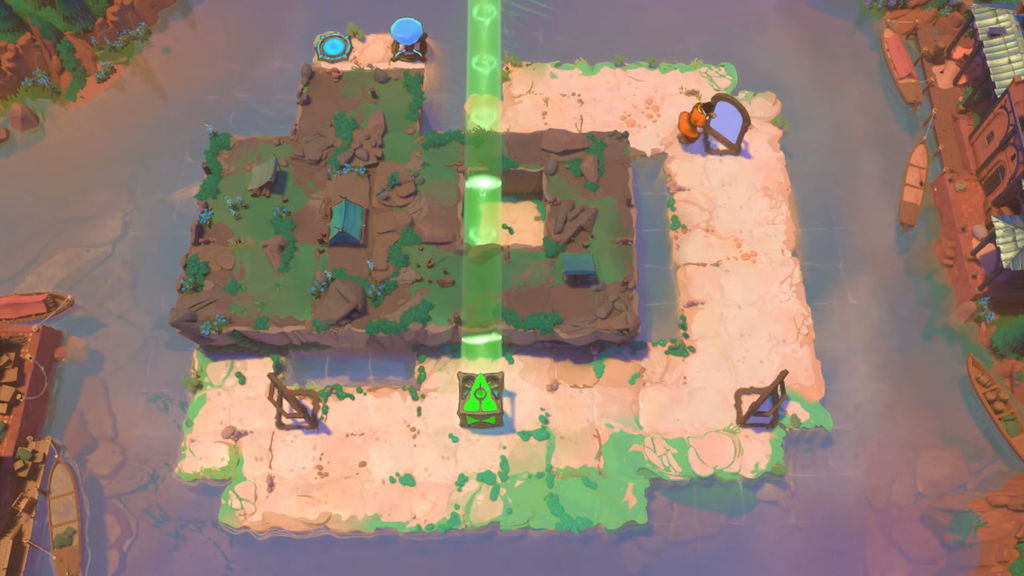
This room spans several screens. Your goal is to drop two crystals into the water so they form a path to the teleporter.
Return to the outlet in the upper-left and activate the mirrors once more. The crystal plugs a gap, opening the landmass one screen to the right and one screen above.
From the bottom-left outlet, trigger the mirrors to send that crystal left. Go one screen left and one down. Push the crystal down, right twice, then right into the water.
Stand on the sunken crystal and trigger the mirrors to bring the second crystal over. Push it all the way up, left, then left into the water to finish the path.
Image credit: Arc Games via YouTube/@Mikan Hako
Seven-gem teal laser puzzle (top #2)
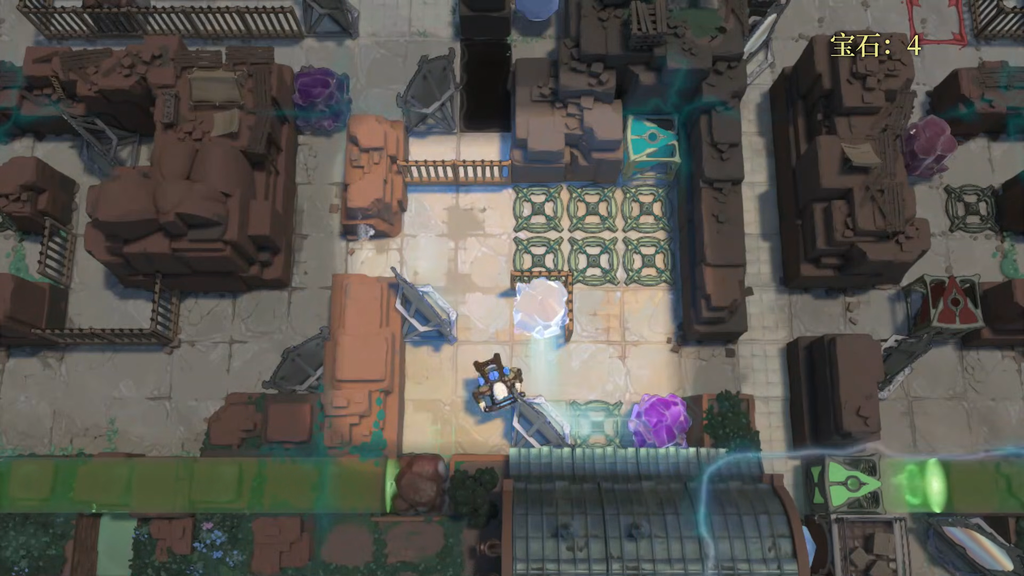
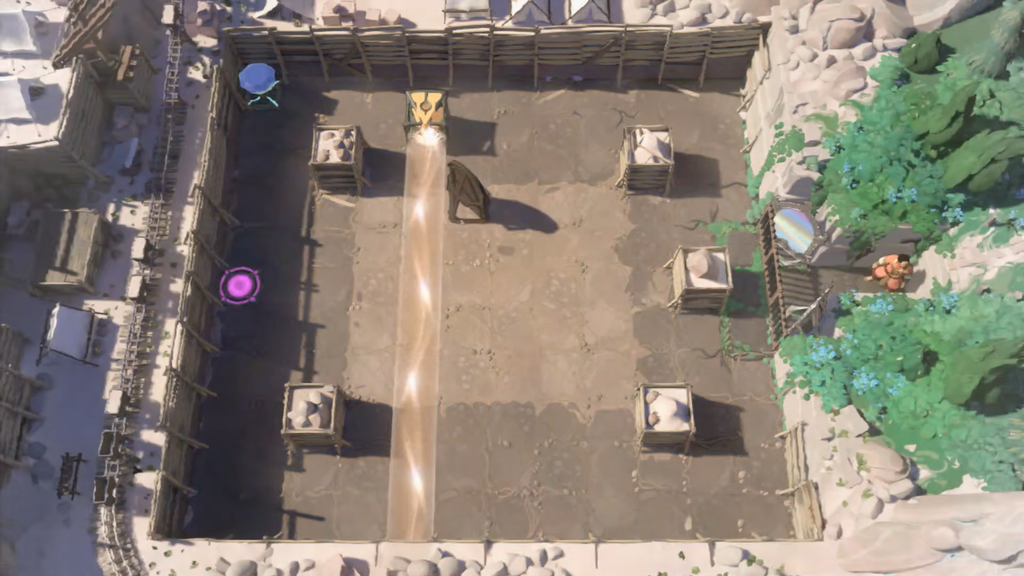
This is the longest room in the area. You need to gather seven gems for the 3×2 holder grid and then steer the teal laser. Grab the map early, because the top-down view makes the later steps much easier to follow.
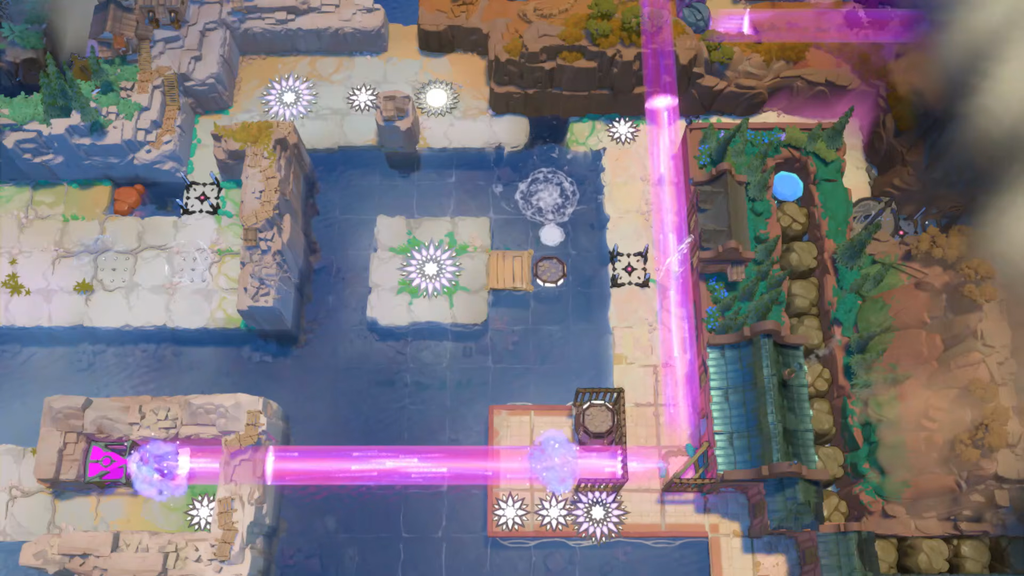
Enter the room with the 3×2 holder grid and teal laser. Activate the mirror to shift the crystal into the center. Stand over the left mirror and activate it a second time to move the crystal into the lower-right corner.
Place your gem in the holder to the crystal’s left. Go up twice and activate the mirrors to get to the top gem. Teleport back, then retrieve your first gem.
Leave through the room’s right opening and follow the path down to the holder left of the green laser. Put a gem there. Put the other gem in the red laser’s holder.
Go left four spaces and down one. Activate the mirror to get to a third gem, then use the red laser to remove the barrier on its right. Retrieve the gem that powers the red laser.
Stand in the bottom-left square of the orange beam and teleport through the mirror. Press left to warp to the mirror’s right side, press down to leave the beam, and step left back in.
Teleport through the mirror again, press right to warp to the beam’s left side, and go down to the fourth gem. Re-enter the beam, press left then down to get out, and collect both holder gems.
Go one screen right and one up to the purple crystal you moved in Step 8. Stand down-left of the mirror and trigger it to send the crystal through. Take the fifth gem, return to that square, and send the crystal back through to leave.
Leave the alcove by stepping left, then activate the mirror to shift the crystal right. Step back into the alcove and activate the mirror again to move it upward.
Remove the gem that powers the green laser. Go to the bottom and activate the mirror to access the seventh gem. Pick it up, then activate the mirror again to leave.
Follow the teal beam and adjust each mirror it hits, in order. Push the first right, the second down twice, the third left twice, the fourth right into the water, and the fifth down.
Go into the teleporter enclosure, push the stone left, and step onto the teleporter.
Image credit: Arc Games via YouTube/@Mikan Hako
Reflected Beams screen #2: moving-device puzzles
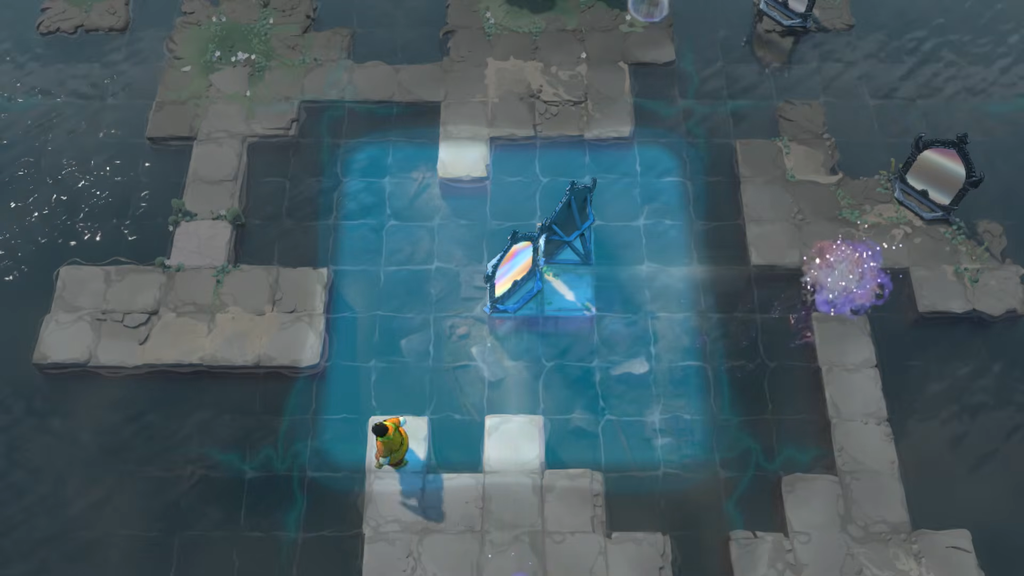
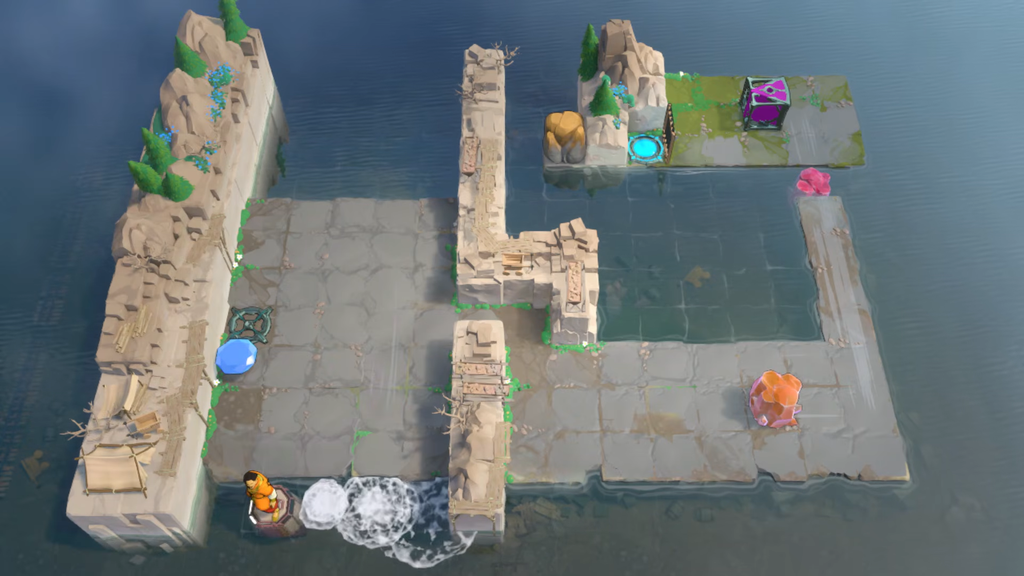
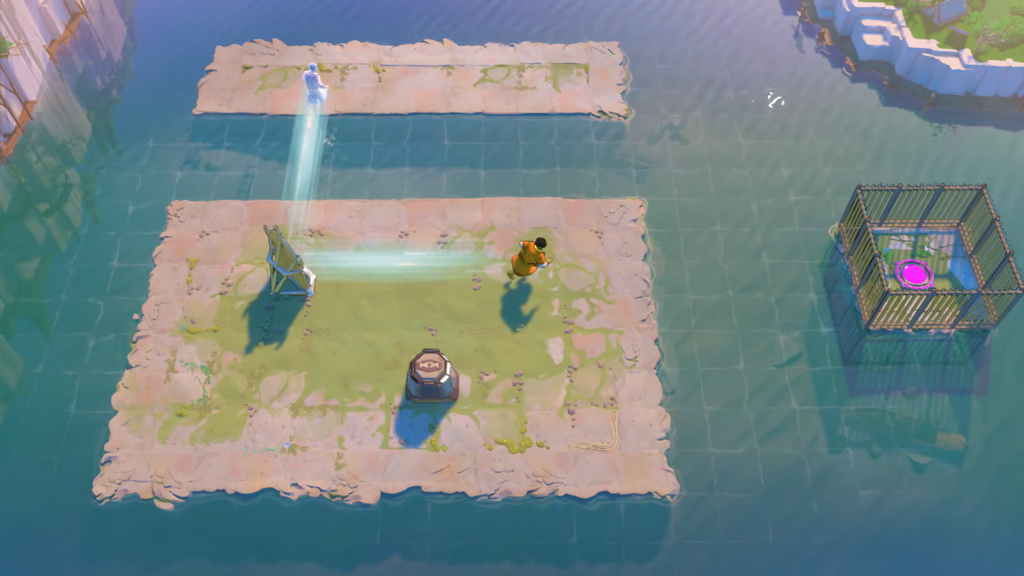
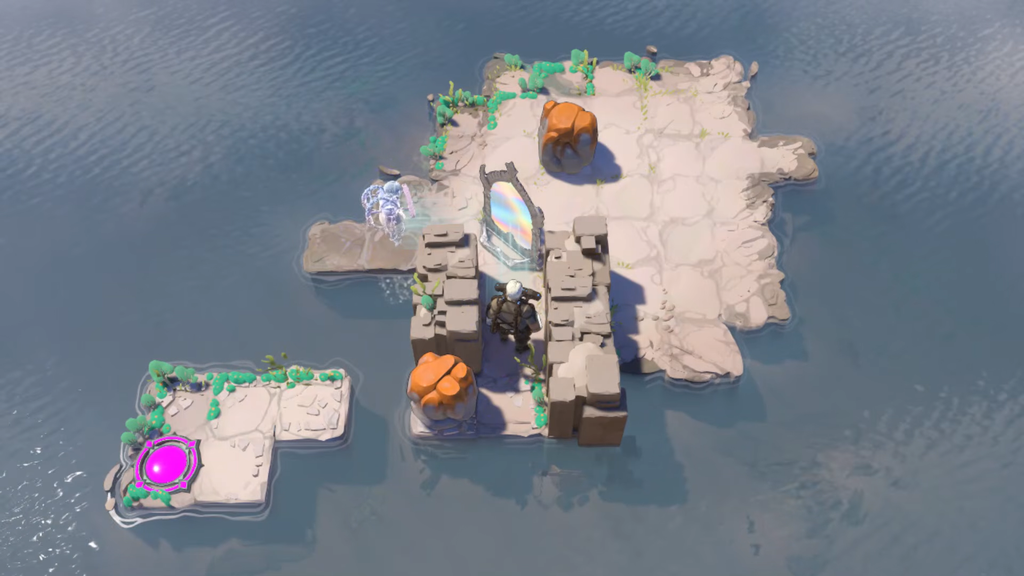
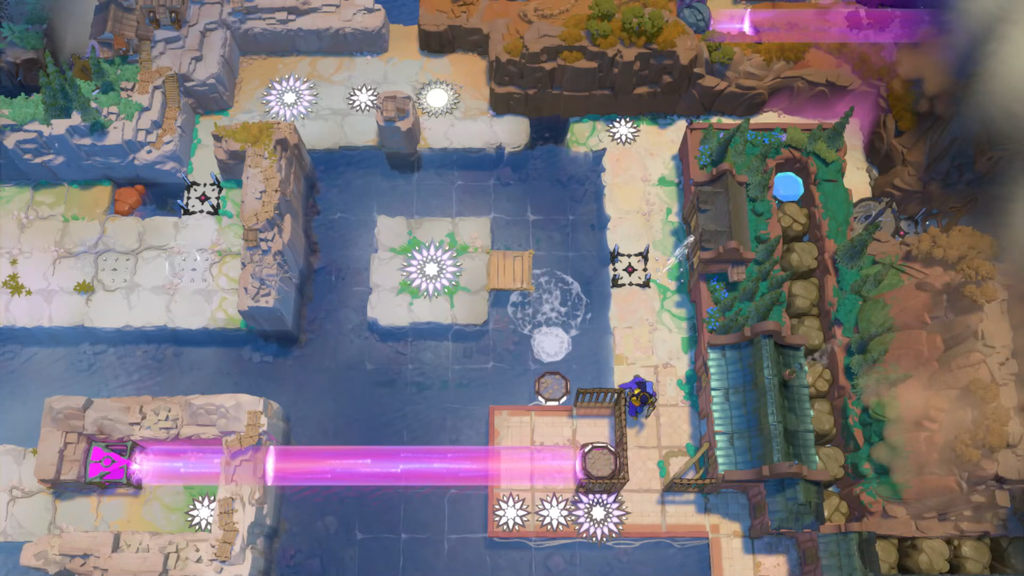
Reach these rooms by sending the moving device rightward into the water. Shift the rock to the upper-left corner of its landmass and shove it left into the water. As the device passes, set the mirror on it. Stand atop the submerged rock, then teleport through the mirror.
Shove the mirror on the right to the right and stand underneath. Once the device is over the crystal, hiding it, activate the mirror to get across to the device’s right side.
Shove the mirror to the far-left end, then walk to the far right. Once the device passes over the crystal again, activate the mirror to get to the middle landmass.
Go to the bottom-left corner and activate the mirror. Wait until the device pushes the crystal beneath the mirror, then activate it again to land on the left landmass beside the crystal.
Shove the crystal upward into the water; this opens the route to the teleporter.
To proceed, reset both the rock and mirror before placing the mirror on the moving device again. Shove the rock left twice, then up, and up once more into the water gap. Stand on the rock and teleport as soon as the mirror reaches the leftmost point. This takes you to screen #3.
Image credit: Arc Games via YouTube/@Mikan Hako
Reflected Beams screen #3: power-up puzzles
Each room here starts with a power-up. Collect it first.
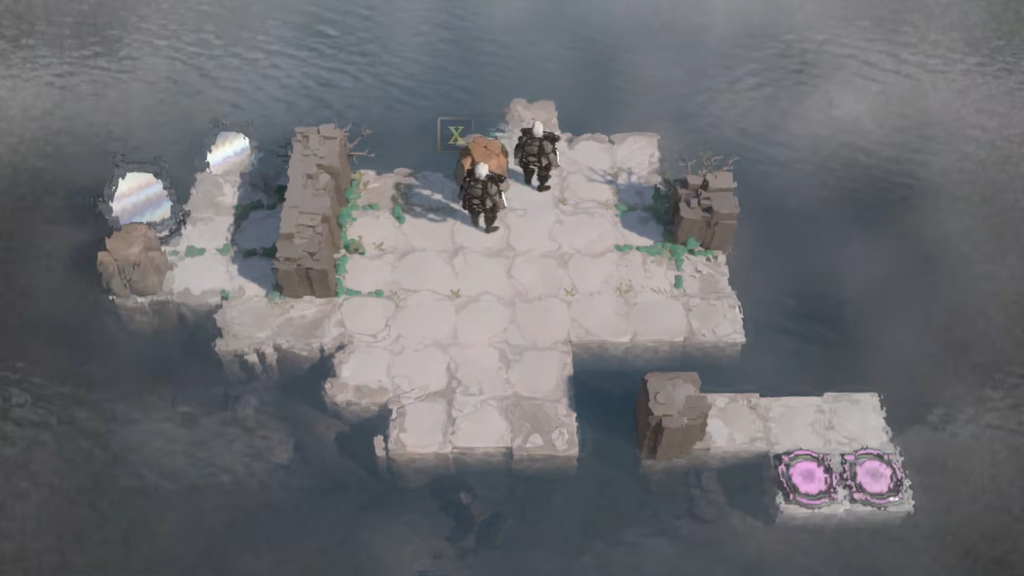
Push the stone right, so there is a gap between the clones and between the sunken rocks. Move up, all the way right, and guide both clones onto the teleporters.
Send the mirror left, down to the bottom, and left again. Stand above it with two vacant squares between you and the mirror, then activate it to cross over to the left.
Move over the mirror and continue to the top, then activate the mirror chain to cross to the left landmass. Get beneath the mirror so it drops you on the left side of the mirror on the right landmass, then activate that mirror.
Move the mirror down to its lowest square, then use it to reach the lower-right square on the left landmass. Activate it again to get to the teleporter.
To proceed, enter the square above this room. As soon as the moving device cuts off the purple beam, press right; this takes you to the rooms at the bottom-right.
Shift the left plain mirror upward to clear it from the way. Move the ornate mirror four squares left, then up, so the red beam travels down the column immediately right of the left barrier.
Push the top-left room’s mirror into the beam’s column and all the way down. The beam now passes above the last barrier, so you can clear it and reach the teleporter.
Push both mirrors out. Put the left-up mirror right of the laser so the beam goes up. Put the down-left mirror in the reflected beam, in the row of the barrier sealing the other enclosure, and clear it.
Put the down-left mirror in the alcove above that barrier, along the laser’s row. Place the up-left mirror in the alcove above the first one, then reflect the beam leftward onto the barrier and deactivate it.
Push the second enclosure’s mirror into the corridor to the teleporter, with the down-left mirror to its right. Aim the beam into it with the up-left mirror. The chain clears the barrier in front of the teleporter.
Push the pink crystal down into the pink beam. Push the moving device down to the crystal’s left. When the device pushes it, the crystal teleports right.
Push the gem off its holder to shut off the laser. Push the laser up onto the top landmass, all the way left, then down into the water down-right of the teleporter.
Push the orange crystal up into the water. When the device is left of it, push the device up into the water. This sinks the crystal next to the laser, and you can walk across both to the teleporter.
This unlocks a moving device and a mirror on the screen. Push the device left into the water, go back to the top of screen #1, and ride it to the last middle room.
Push the laser right of the teleporter and down into the water. Put the gem back. The device then sends the crystal through the laser and completes the path.
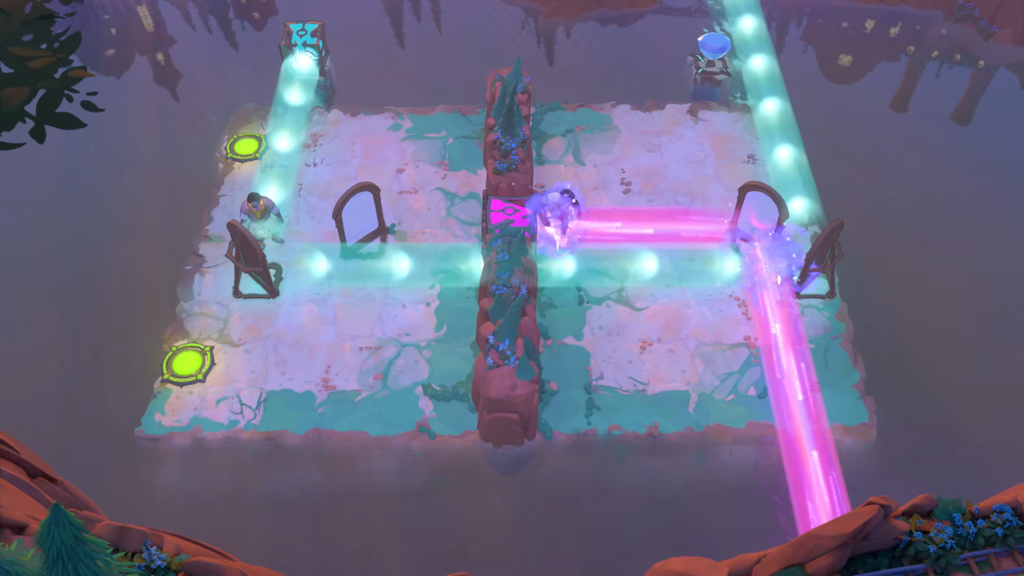
To reach Beams Reflected, push the mirror on the right of screen #1 down into the pink beam. Teleport through it once it reflects the beam.
Image credit: Arc Games via YouTube/@Mikan Hako
Beams Reflected solutions
Once you arrive, shove the mirror to the far left and ride the orange beam back to the first room.
Press down to jump to the bottom of the screen. Move right, up two to re-enter the beam, then press up, left twice to land on the left teleporter.
Reset the outside mirror and push it right twice. If you stand in the orange beam with one gap between you and the mirror, pressing right pushes it. Use the bounced beam to jump down to the open square, then right into the next room.
Use the left character to push the laser up two squares. Send the right character upward through the beam to land above the top mirror, then push the laser down two squares.
With the left character, move the laser up three squares and the left mirror down, then right three. Send the right character through the pink beam to the left and reach the teleporters.
The second room alternates between the orange NPC and the miner. Run these pushes in order.
#
Character
Push
1
Orange
Bottom mirror left x2, up
2
Miner
Left mirror up
3
Orange
Bottom mirror up x2
4
Miner
Right mirror down x2
5
Orange
Bottom mirror down x2
6
Miner
Right mirror down x2
7
Orange
Bottom mirror up x2
8
Miner
Left mirror down
9
Orange
Bottom mirror down x2
10
Miner
Left mirror all the way right, up
11
Orange
Bottom mirror down x2
12
Orange
Top mirror down x3, left x3, then step up
Image credit: Arc Games via YouTube/@Mikan Hako
Finish by sending the miner down through the pink beam to the teleporters.
Clone merging rooms (top-left #1 and #2)
In the first room, go right and activate the mirror to create four orange characters. Arrange the mirrors as follows: move the up-right-facing mirror down two squares and left two; place the up-left-facing mirror immediately to its right; put the down-left-facing mirror one square down-right of the laser. While moving the mirrors, you can hold three clones against the terrain in the upper-right area.
Next, use the terrain to line all four clones up in one column. The pattern from the top is two clones touching, a gap, the third clone, a gap, then the fourth. Step into the down-left-facing mirror’s column, push it up into the pink beam, and press down. The clones merge and land on the teleporter.
In the second room, move left twice and trigger the mirror to make two clones. Push the mirror down three, left. Use the terrain to put both clones in one row with one gap between them. Step into the top horizontal beam with a gap between the left clone and the vertical beam, and press left. The left clone now sits where the two beams cross. Press right, and one clone disappears, which frees the teleporter.
Image credit: Arc Games via YouTube/@Mikan Hako
Reflected Beams screen #4 solutions
Go back to the bottom of Reflected Beams screen #1 and take the path in the bottom-right corner. On screen #4, push the mirror up and all the way left, then ride it to the first room.
Push the bottom mirror left and line the top mirror up in its row. Move up two and break the rock on your left. Push the rock beneath it down, right, all the way up, all the way left, and left into the water.
Put the up-left mirror under the laser and break the rock left of the laser. Push the laser and up-left mirror right. Place the up-right mirror left of the up-left mirror with one gap, and break the rock the beam hits.
Move the left mirror all the way left, then up. Break the top-left rock and push the rock to its right along the bridge. Push the laser across and into the water to finish the path.
This unlocks a rock. Push it to the dock’s bottom-left corner and down into the water. Put the mirror in the dock’s top-left corner, stand on the rock, and teleport.
Follow the beam to below the right mirror and push it up. Push the left mirror right, move down, right, and push that mirror back up to where it started.
Follow the beam all the way right and drop down to the right mirror’s right side. Push the right mirror left, the left mirror left, then the right mirror against the left mirror’s right side.
Ride the beam to the teleporter’s left side and step right onto it.
Step on the reset tile. Push the rock to the dock’s bottom-right corner and right into the water. Put the mirror on it, go all the way left, and use the mirror to cross to screen #5.
Push the bottom mirror right eight, all the way up, left two, up. Push the other mirror all the way right so it sits left of the pink laser, then send all three characters through to the teleporters.
Then push the top-right gem right onto its holder to light the blue beam. Push the rocks on the left all the way left, and push the right-most one up two. Push the left rock down out of the way. Push the last rock right and all the way up to complete the path.
Push the bottom-right mirror right and the laser up. Push the top-right mirror left into the crystal’s column, then push the crystal down to reach the teleporter.
Solving it unlocks a mirror that leads to the middle room. Reset the screen and use the blue beam to push the three rocks left again. Push the left and middle rocks down into the water. Push the remaining rock left two, down two, so it sits in the water below the left rock. Push the mirror into the beam and all the way left. In the white robe alcove, stand in the beam facing up and use your power to turn the laser up. Push the laser and rocks all the way down.
Rotate-and-push laser puzzle (middle)
Collect the power-up first. Each move below turns the laser to a direction and then pushes it. Rows 1–7 take you to the checkpoint.
#
Rotate laser
Then push
1
Down
Laser all the way up
2
Right
Laser all the way left
3
Down
Laser up
4
Right
Laser all the way left
5
Up
Laser all the way down
6
Right
Laser all the way left
7
Down
Laser up to checkpoint
8
Right
Laser to row below mirror first; then mirror up
9
Left
Laser to 2 columns right of mirror
10
Down
Laser up, 1 gap right of mirror
11
—
Mirror left x4
12
Up
Laser down x2
13
Right
Laser into mirror’s column
14
Up
Mirror all the way up, all the way right
15
Down
Laser all the way up
16
Right
Laser left
To finish, stand in the reflected beam facing down and turn the laser down. Push it up to open the teleporter path.
Image credit: Arc Games via YouTube/@Mikan Hako
Miner and orange NPC finale (bottom-right)
Another mirror unlocks once the earlier rooms are done. Push it down two, left three, all the way right. In the white robe alcove, face left inside the beam and turn the laser left. Push the laser and rocks all the way right to open the room.
With orange, push the right rock right two to leave his enclosure. Push the mirror right four, then move him down to the left end of the three-rock row.
With the miner, push the rock column up. Then push it up once more with orange to clear the way to the teleporters.
Each room counts as solved when every character in it stands on a teleporter. Several rooms also unlock a new rock, mirror, or moving device on the overworld screen, which is how you know the next room is ready to reach.