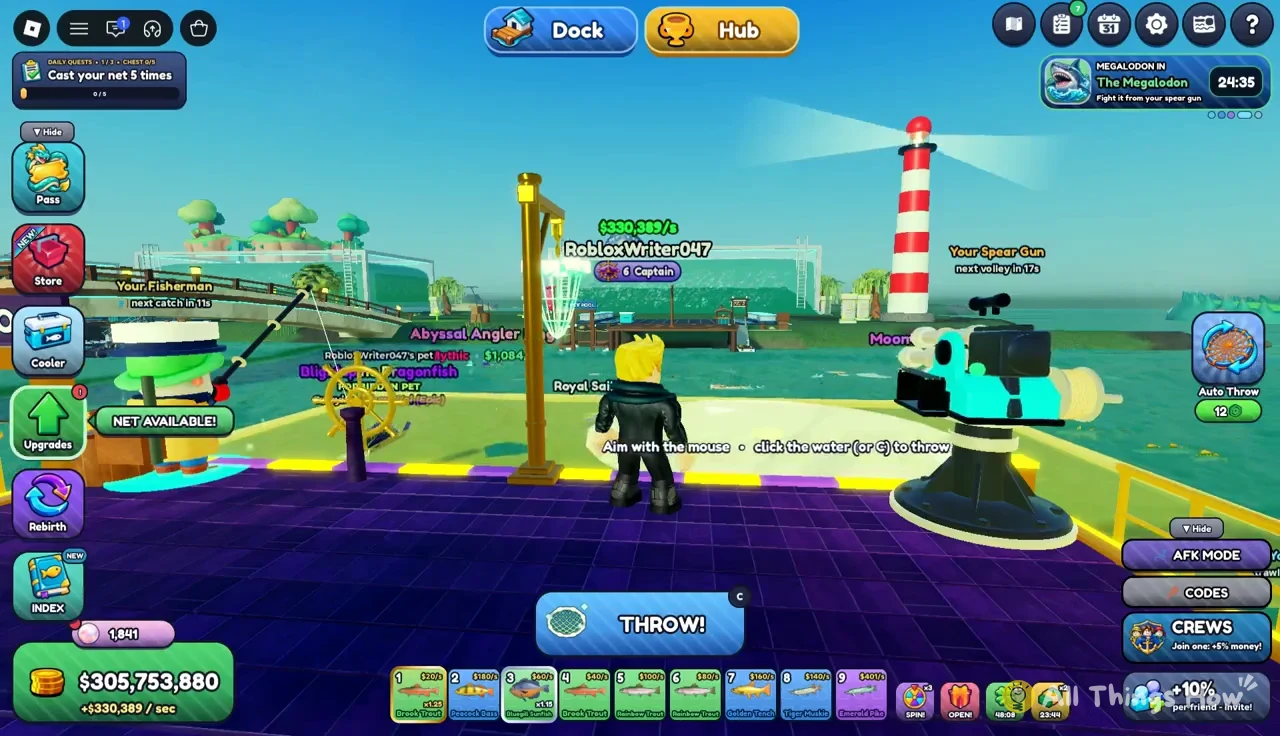
Every dock in Net a Fish comes with a mounted Spear Gun. Most of the time it works quietly as a helper and spears fish on a timer. When The Bloop shows up, though, it becomes the only way to fight back. Turret Mode turns the Spear Gun into a manually aimed harpoon cannon, and every player on the server uses theirs to drain the boss’s health bar together.
Quick answer: When the Bloop countdown hits zero, press E on your Spear Gun, wait for The Bloop to enter your range ring, then click or press Space to fire until its 874 HP reaches 0.
What the Spear Gun does on your dock
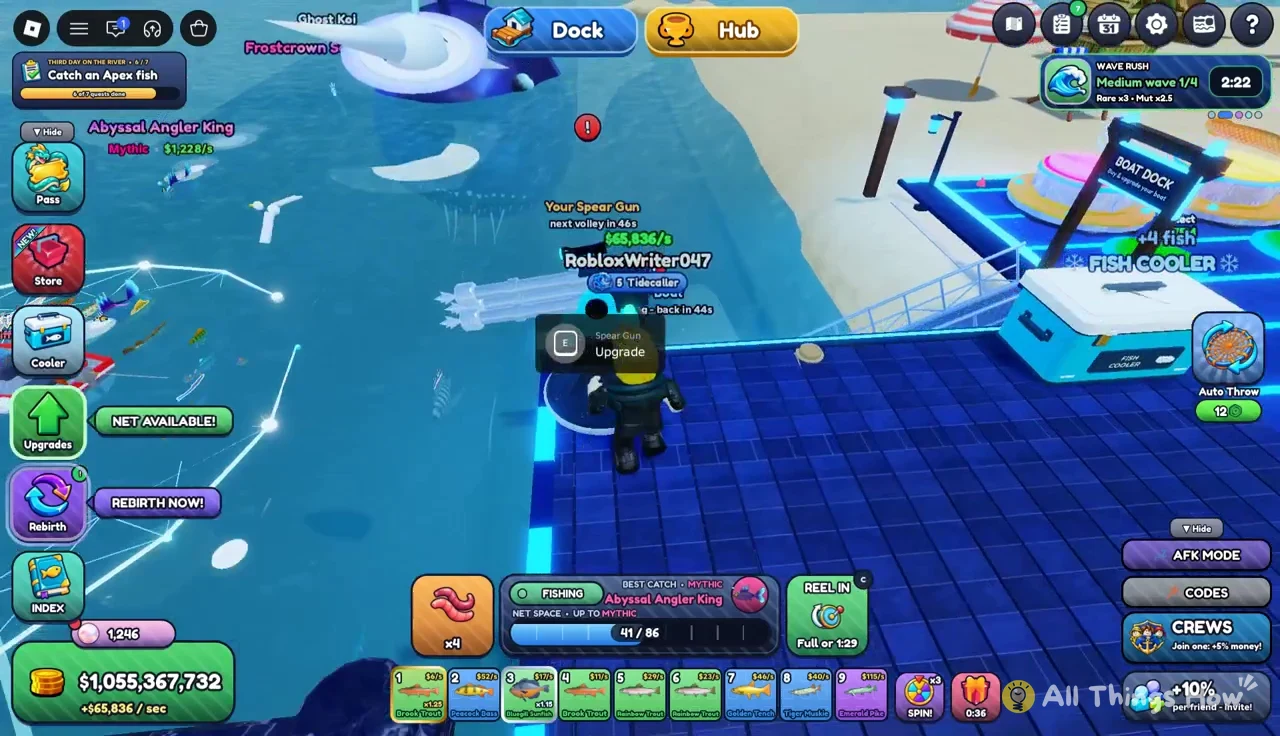
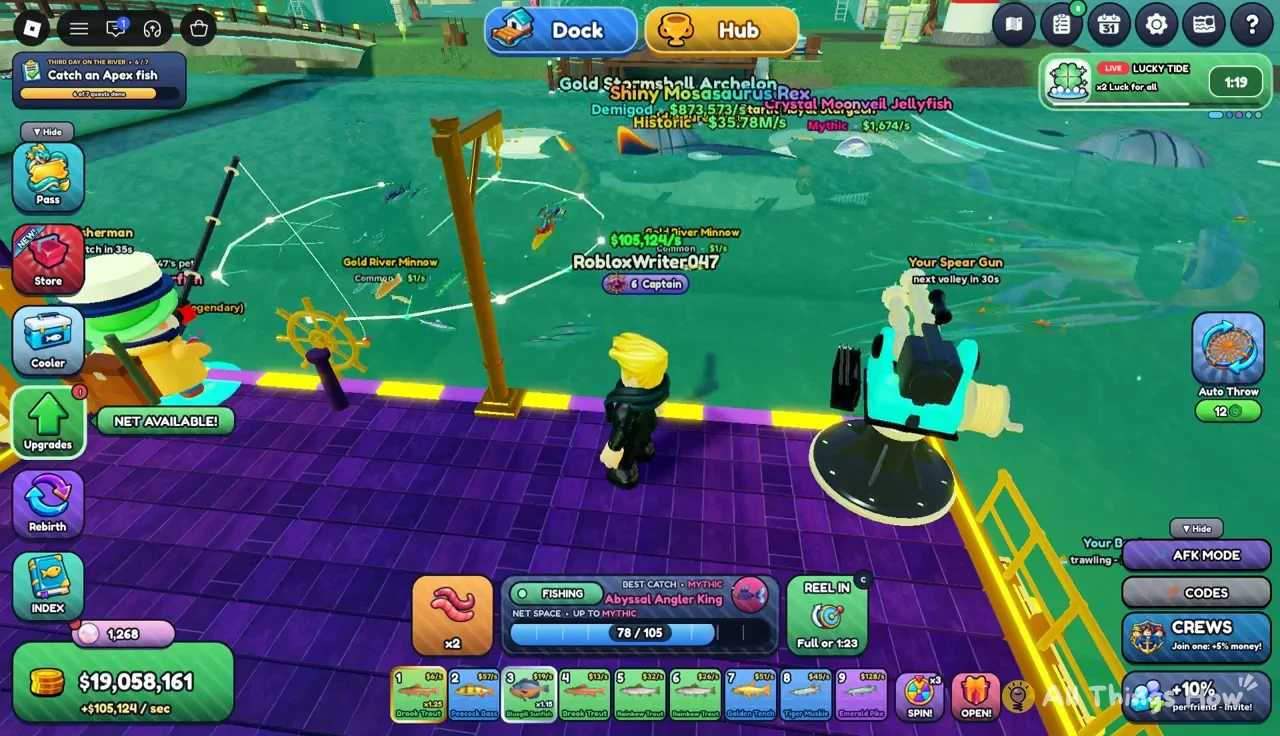
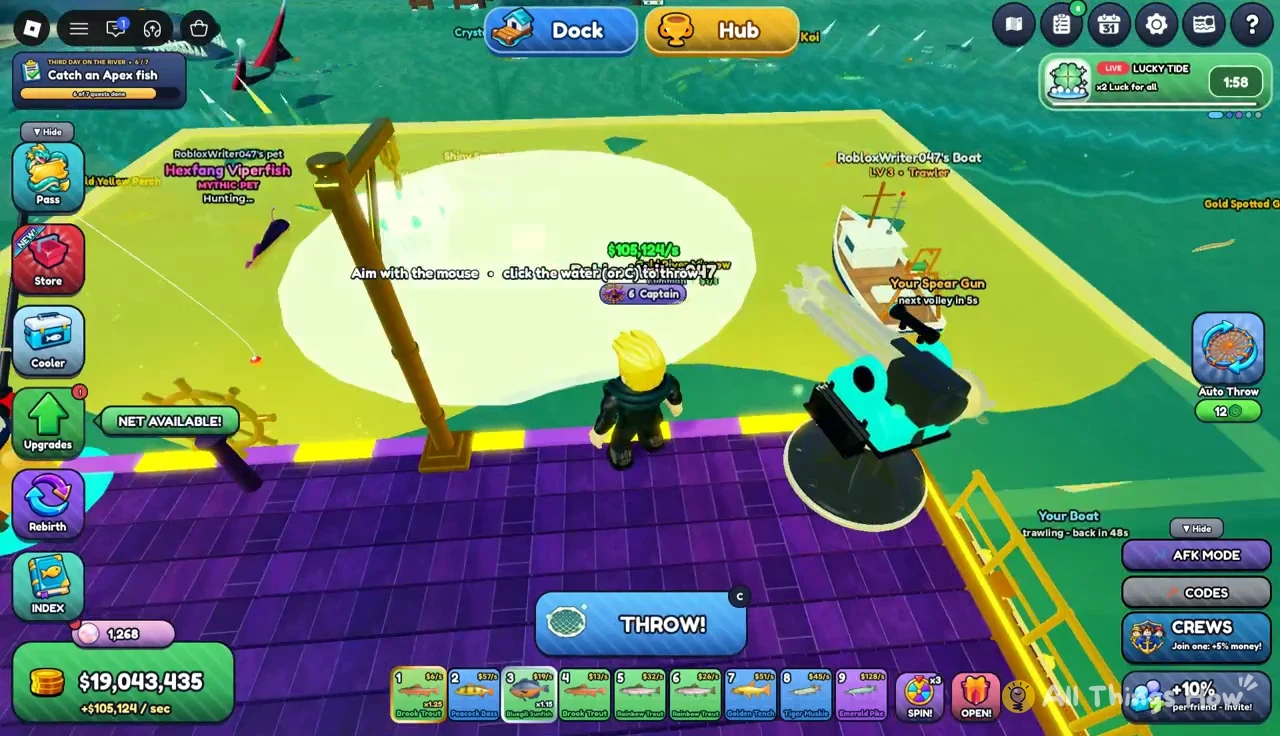
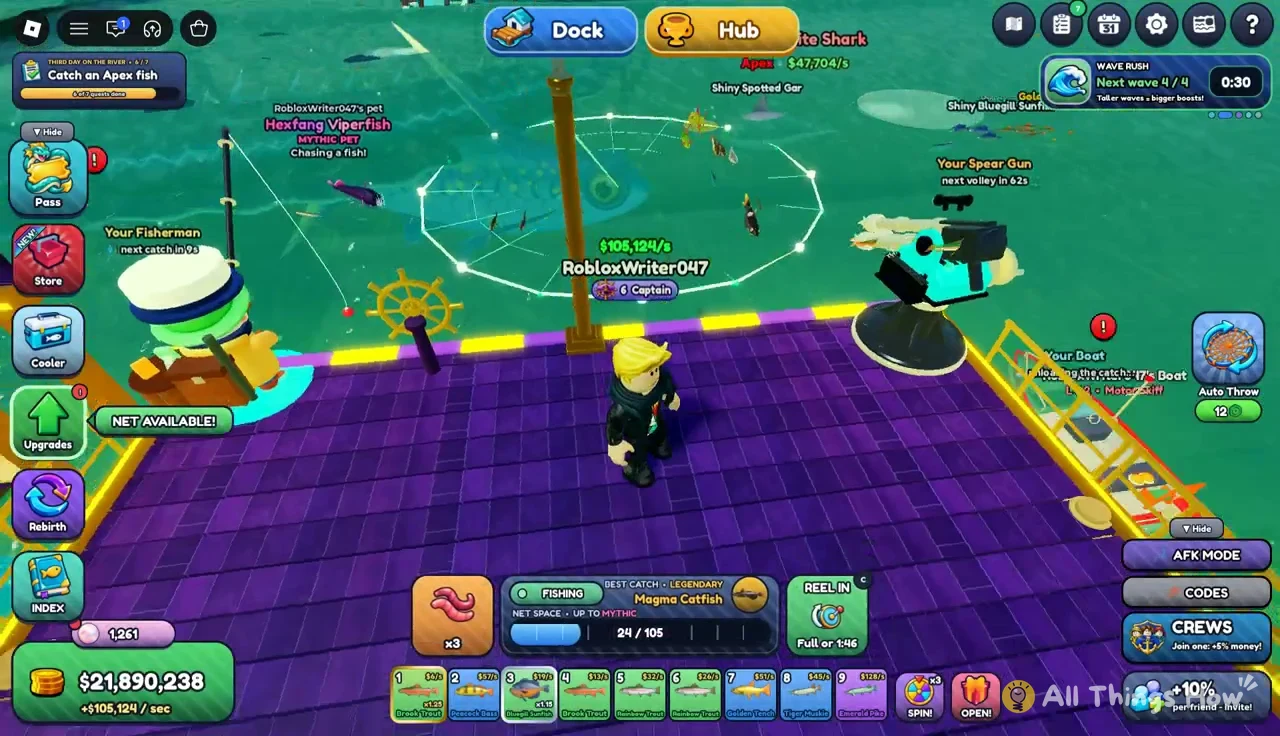
Outside boss fights, the Spear Gun is one of your dock helpers. It fires a volley on its own, spears a set number of fish per volley, and sends them into your collection without any input from you. At Epic rarity it spears 3 fish per volley, once every 64 seconds. You don’t need to buy anything extra to use Turret Mode. The Spear Gun you already own is the same one you climb into when The Bloop arrives.
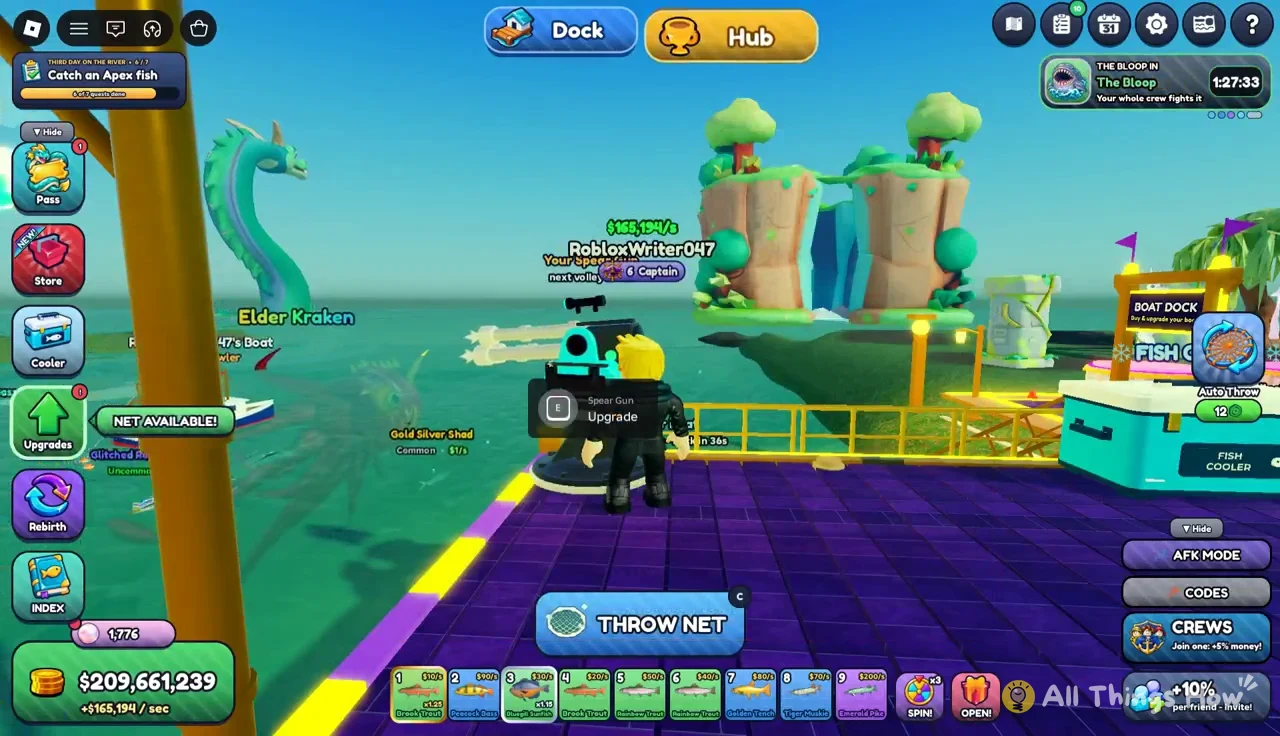
Walk up to it and press E at the Spear Gun Upgrade prompt to open its menu. That screen shows the gun’s rarity, how many fish it spears per volley, how often it fires, and the upgrades you can buy next. The damage you deal in Turret Mode is tied to your current upgrade level, so this menu is where you go to make the gun hit harder.
The Bloop warning and countdown
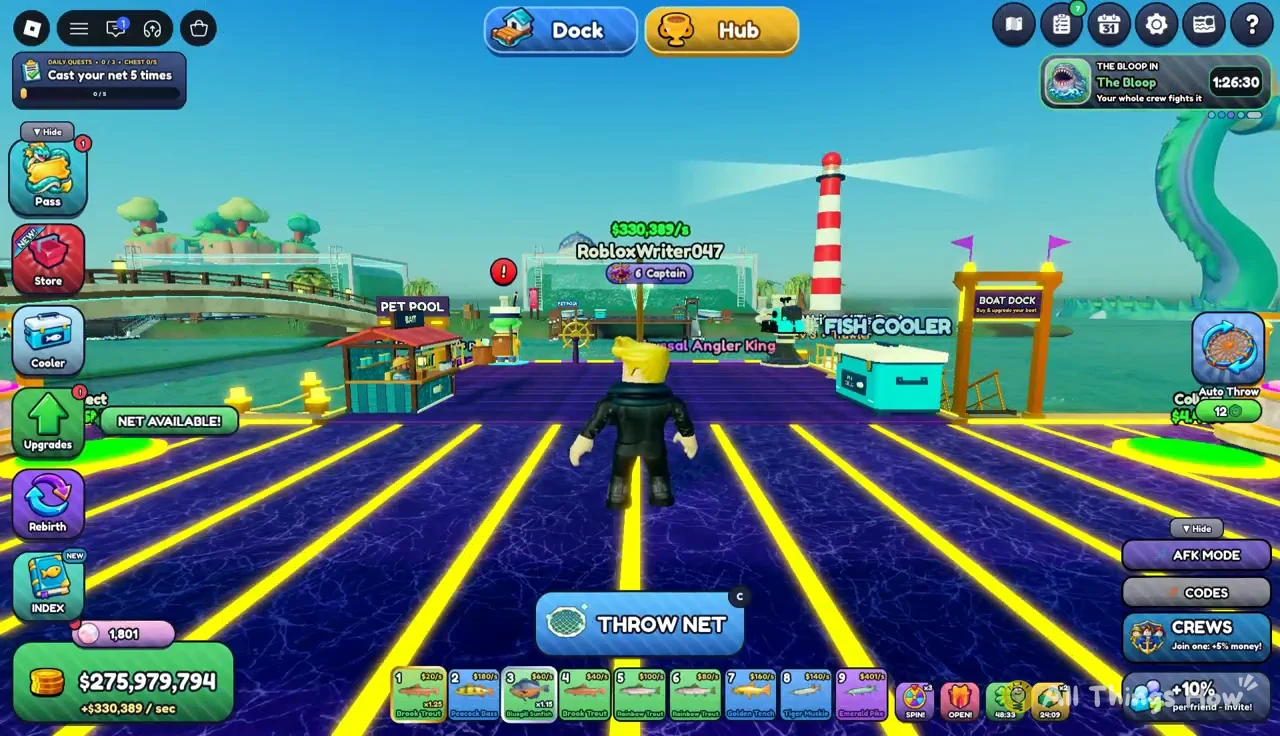
The Bloop is a server event, and the game warns you before it starts. A banner reading THE BLOOP IN 4:40 starts counting down, then switches to THE BLOOP APPROACHES! with the instruction Be ready to use your SPEAR GUN in TURRET MODE! Everyone on the server sees the same warning, and everyone fights the same boss.
The countdown is long enough that you can keep fishing for most of it. Finish whatever cast you’re on, reel it in, and head back toward the Spear Gun as the timer runs low.
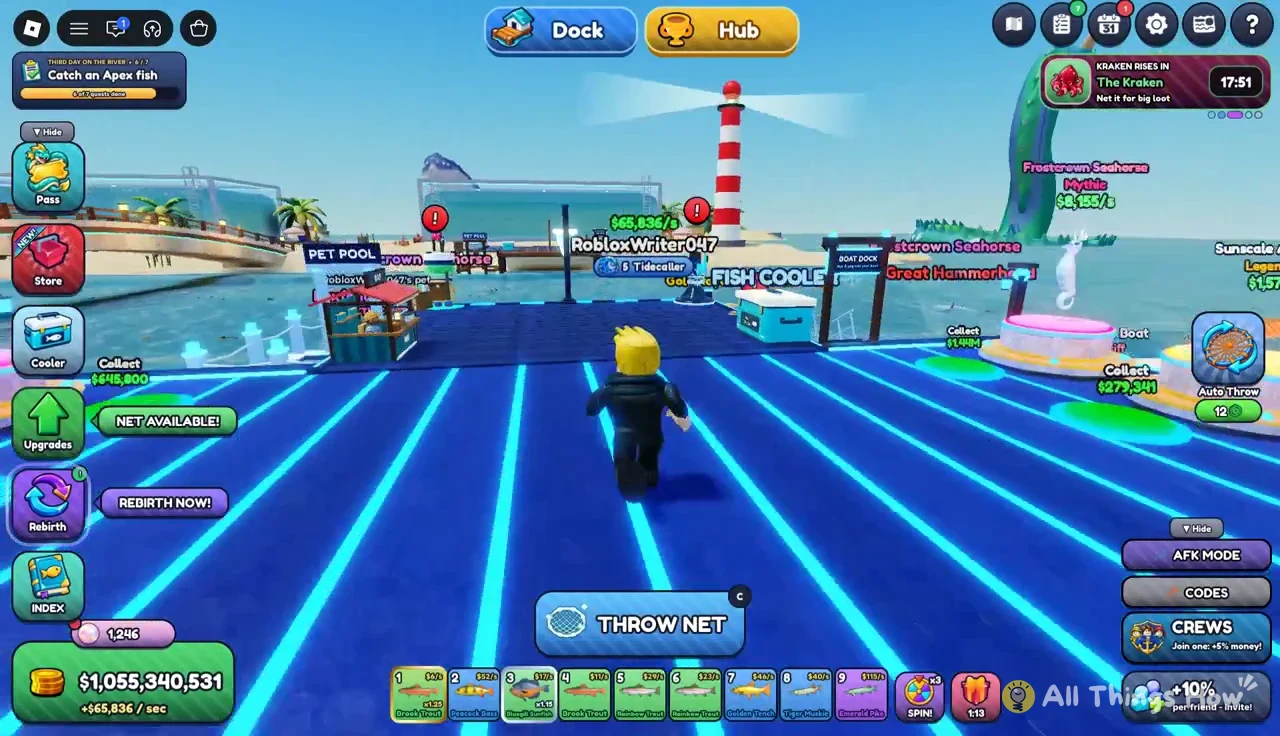
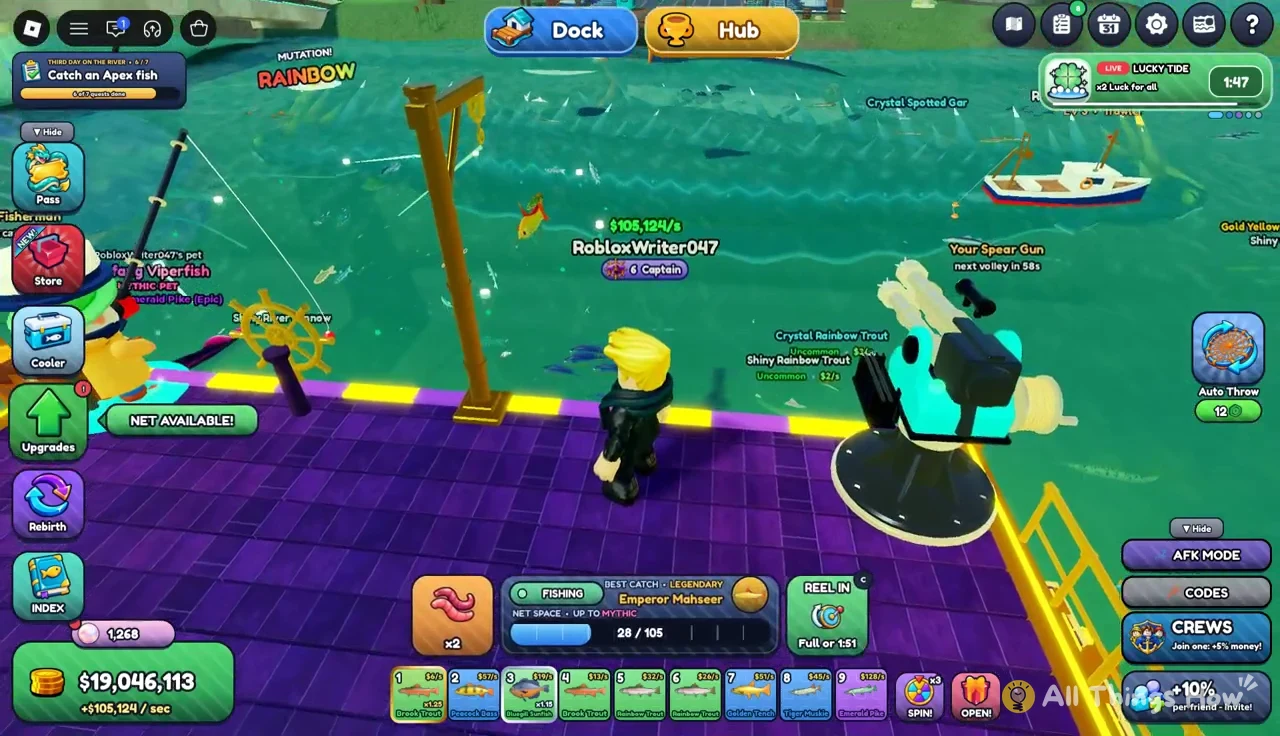
When the timer ends, a short cutscene shows The Bloop rising in the bay. A net that is already reeling keeps going during the cutscene, so you won’t lose a catch that’s halfway in.
How to use Spear Gun Turret Mode against The Bloop
E Fight the Bloop Turret Mode. Press E to mount the gun.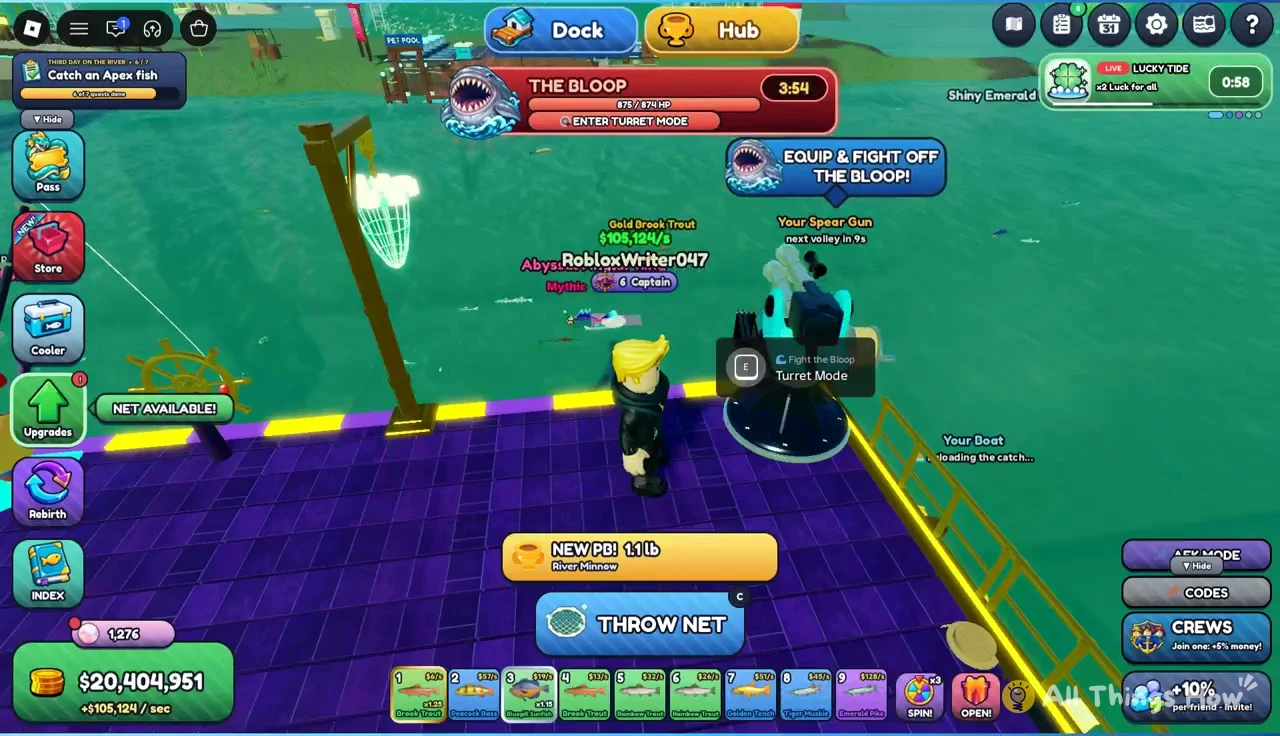
OUT OF RANGE - wait for it to swim into your range ring!, your harpoons can’t hurt it yet, so hold your fire.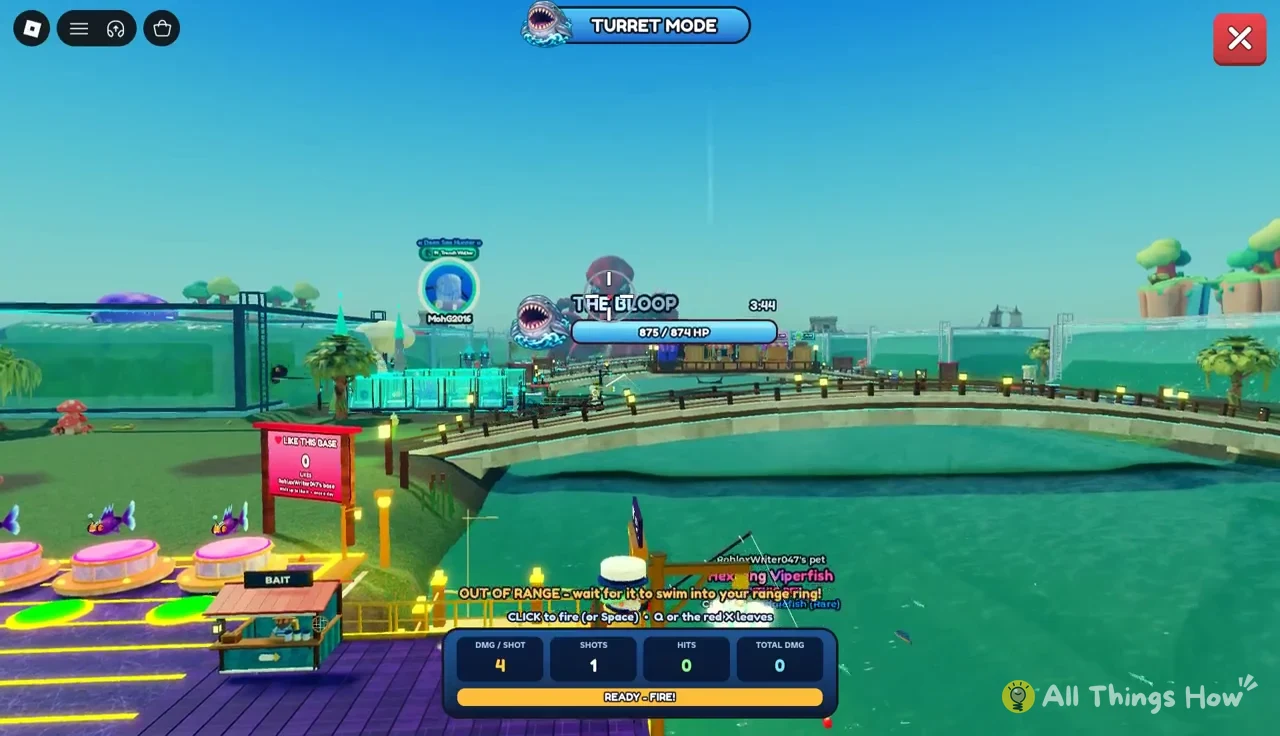
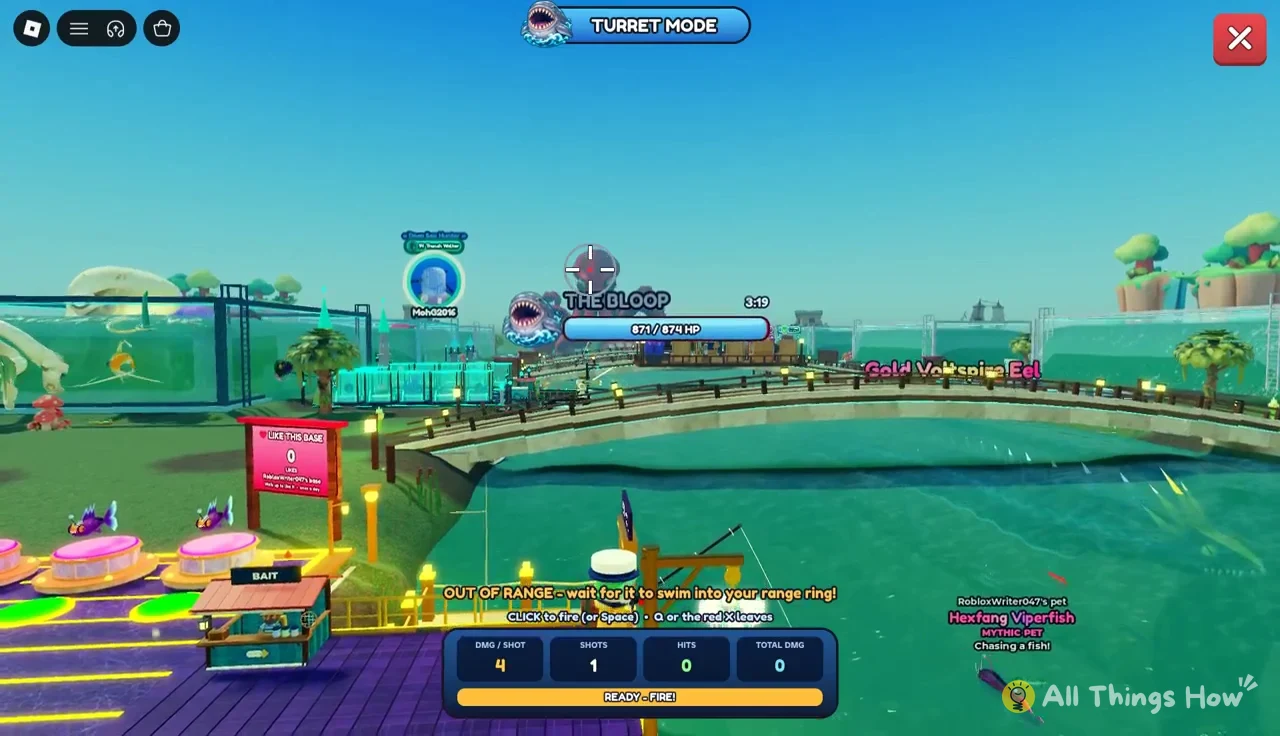
Space to fire a harpoon. Each shot does the damage listed as DMG / SHOT on the HUD, which is 4 at the upgrade level shown here. A RELOADING 1.2s timer follows each shot, so steady, aimed fire beats mashing the button.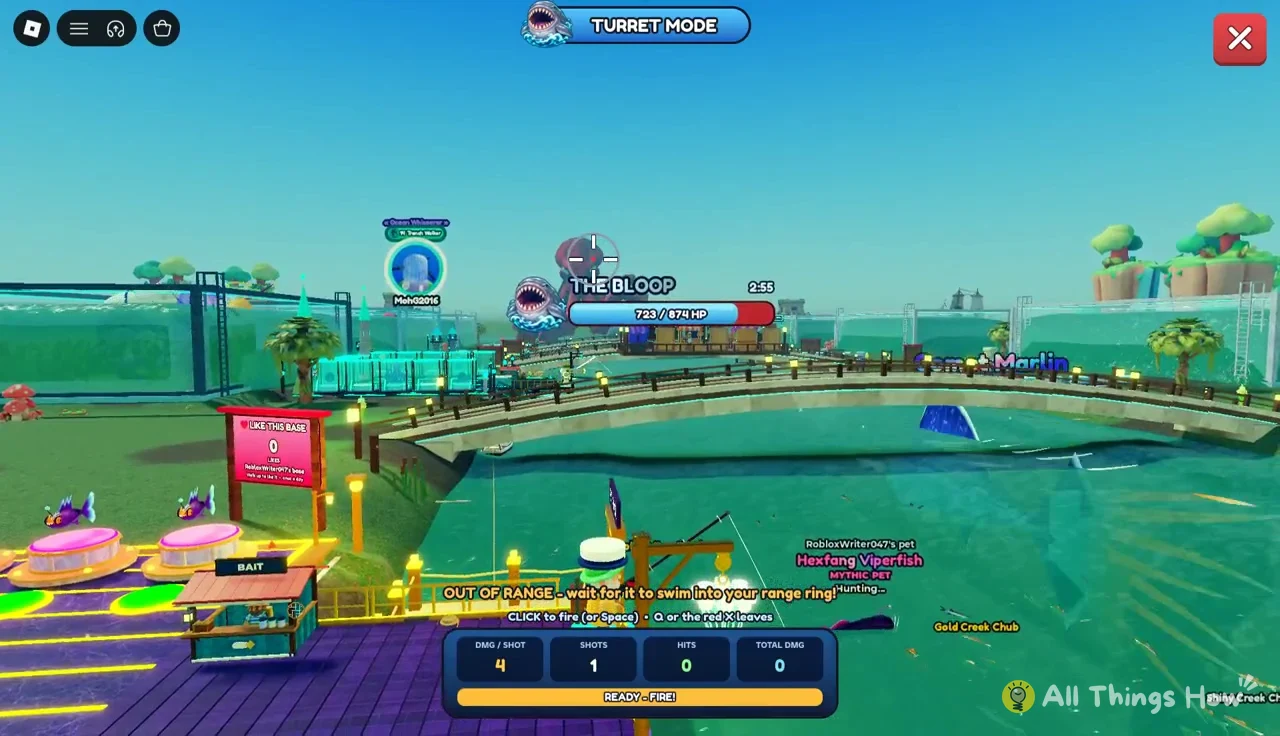
0 / 874 HP. Other players’ harpoons drain the same bar, so the fight ends sooner on a busy server. On your own at 4 damage per shot, you’d need about 219 hits.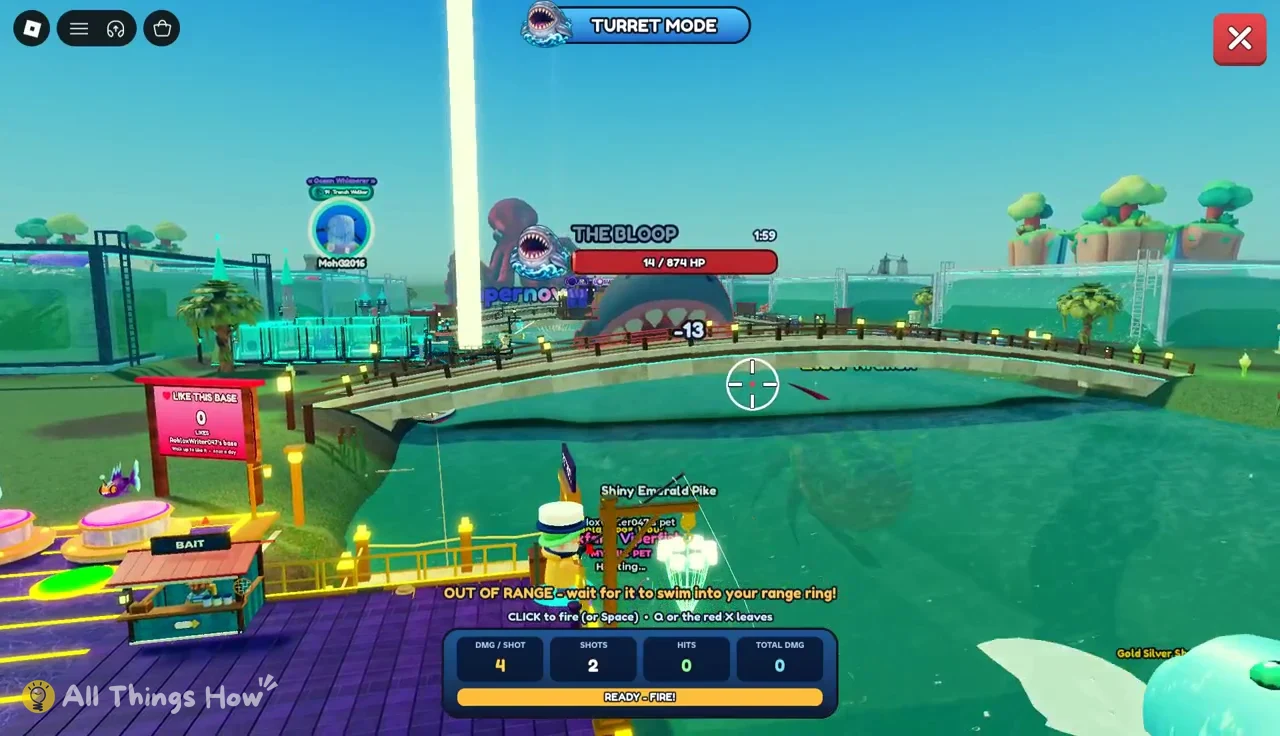
Q or the red X to leave Turret Mode. You can do this at any point, and the fight carries on without you. Once the boss is down, the victory banner reads BLOOP DEFEATED!, which confirms the kill counted.Turret Mode controls and HUD
| Action or readout | Input / value |
|---|---|
| Enter Turret Mode | E at the Spear Gun |
| Fire a harpoon | Left-click or Space |
| Leave Turret Mode | Q or the red X |
| Damage per shot | 4 (depends on upgrades) |
| Reload between shots | 1.2 seconds |
| The Bloop’s health | 874 HP |
Range is the one thing the HUD won’t let you work around. You can aim and click while the out-of-range warning is up, but those harpoons do nothing. The fight really starts when The Bloop swims into your ring.
The Bloop rewards
| Reward | Amount |
|---|---|
| Cash | 30 minutes of income |
| Abyss Crate | 1 |
| Luck boost | x2 Luck for 30 min |
| Pearls | +500 |
| Pass XP | +500 |
| Title | Bloop Breaker |
The cash isn’t a fixed number. It equals 30 minutes of your current income, which came to $189.22M for a dock earning well into the millions per second. The Pass XP goes toward the Leviathan Pass, the game’s battle pass.
Abyss Crate and the Blightspine Dragonfish
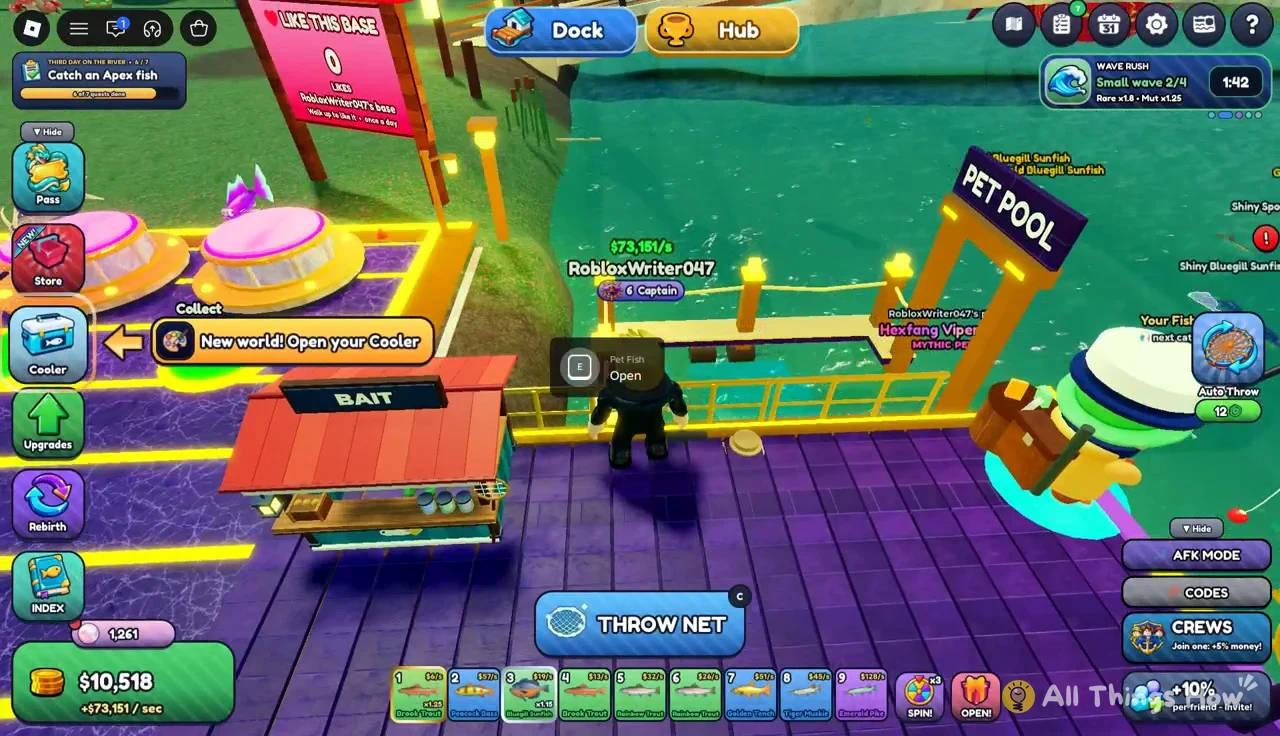
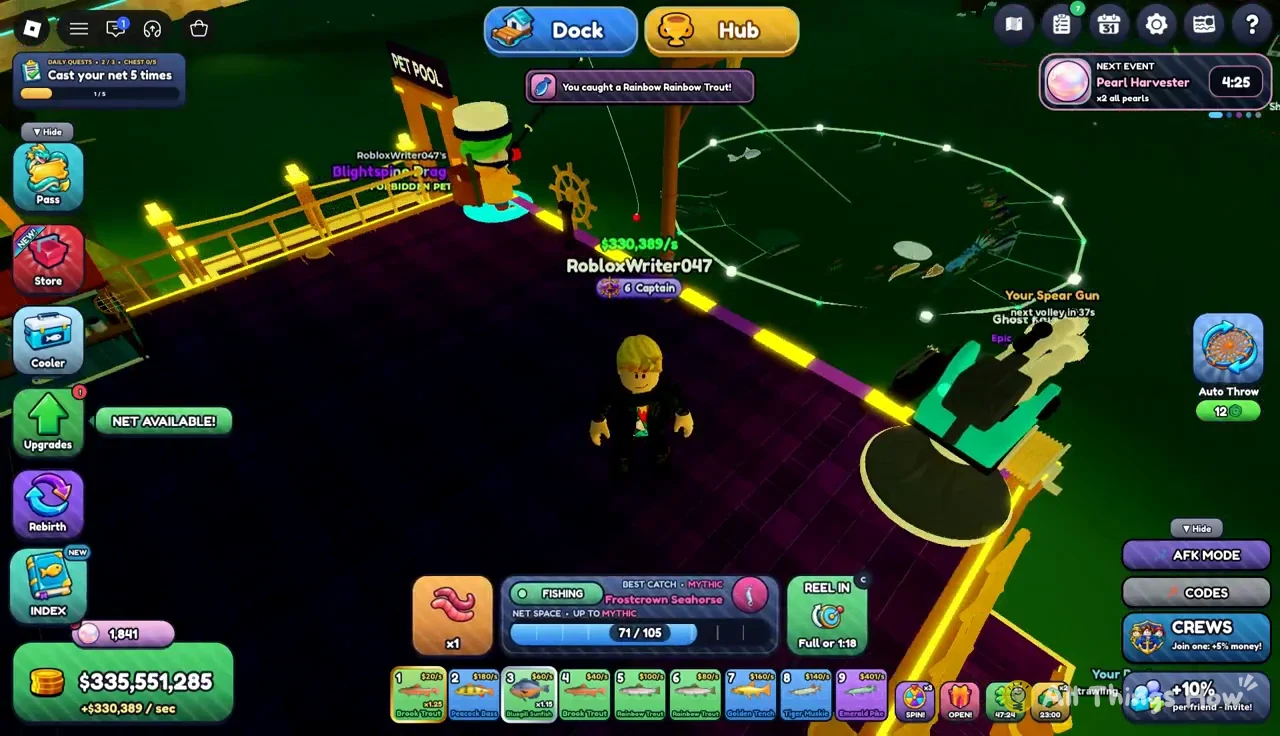
The Abyss Crate opens into a pet, and it can contain the Forbidden-rarity Blightspine Dragonfish. Pets live in the Pet Pool on your dock, where you can check and equip them, and an equipped pet follows you around while you fish.
Bloop Breaker title
The title unlocks right away, but it isn’t applied automatically. Open Quests > Titles to equip it. Your current rank title, such as Captain, otherwise stays above your head and your base.
Pearls and the Hub
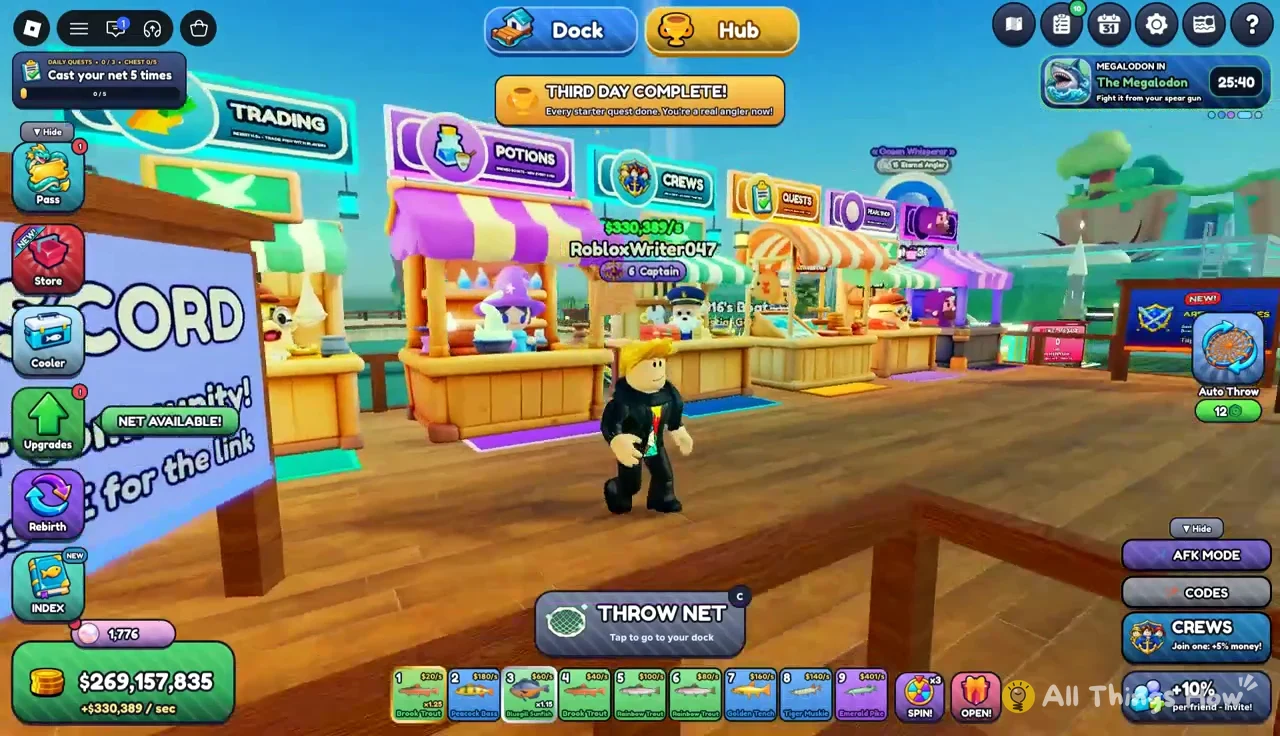
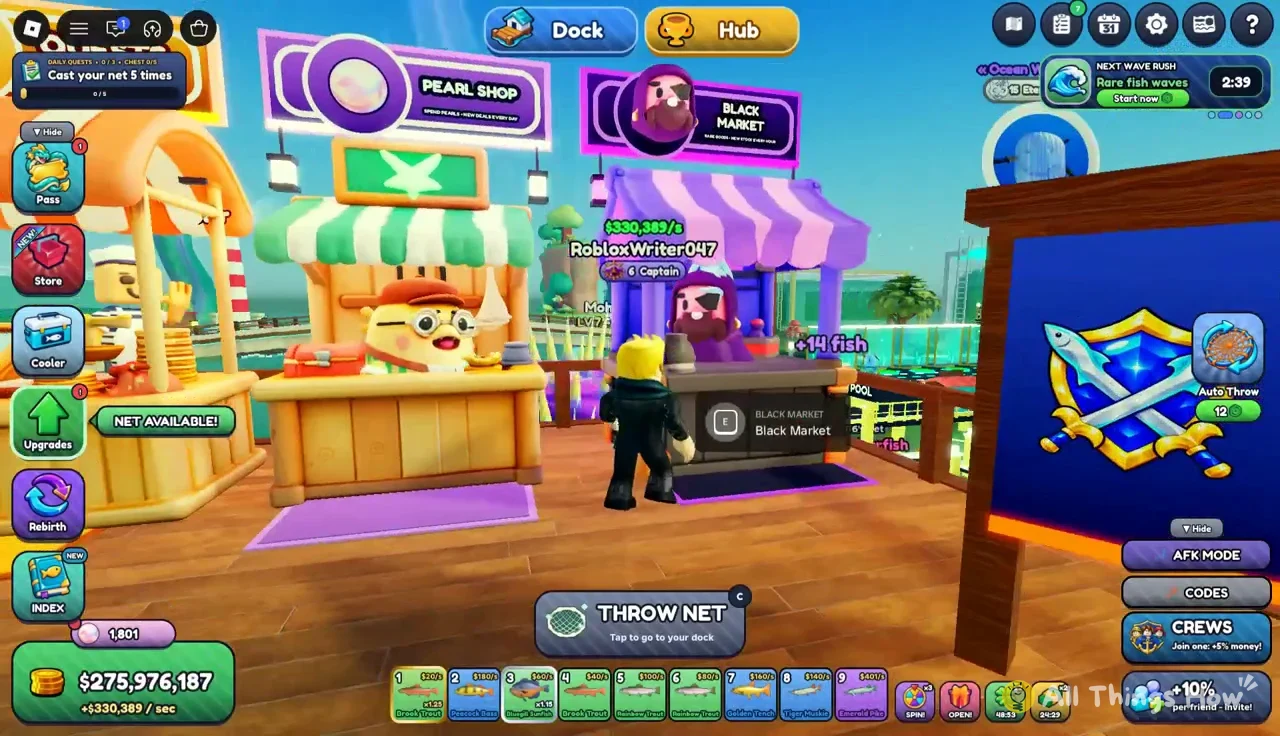
You spend the 500 Pearls in the Pearl Shop in the public Hub, which you reach from the top navigation bar. The Pearl Shop rotates daily deals, including cosmetics like the Moonpearl Net skin. The Hub also has a Black Market that stocks items such as Pet Treat, Mutation Roll and Size Tonic.
Making the most of x2 Luck
The luck boost runs for 30 minutes from the moment The Bloop dies, so get back to your net right away. That’s the best window for chasing rare Mythics like the Frostcrown Seahorse, which shows 1 in 50,000 odds and earns $1,874/s once it’s on display.
Checking and upgrading the Spear Gun after the fight
Once the fight is over, the Spear Gun goes back to helper duty, and its E prompt opens the upgrade menu again. The menu tracks how many fish the gun has speared and lists the higher-tier upgrades still ahead. Since Turret Mode damage depends on the gun’s upgrade level, buying upgrades here pays off twice. You catch more fish between events, and you hit The Bloop harder the next time it shows up.
Raising your income to raise The Bloop’s cash payout
Because The Bloop pays out 30 minutes of income, anything that boosts your showcase earnings before the event also boosts the reward. Most of that comes from the regular dock loop. You catch better fish, put the best ones on display, and grow the multipliers that sit on top.
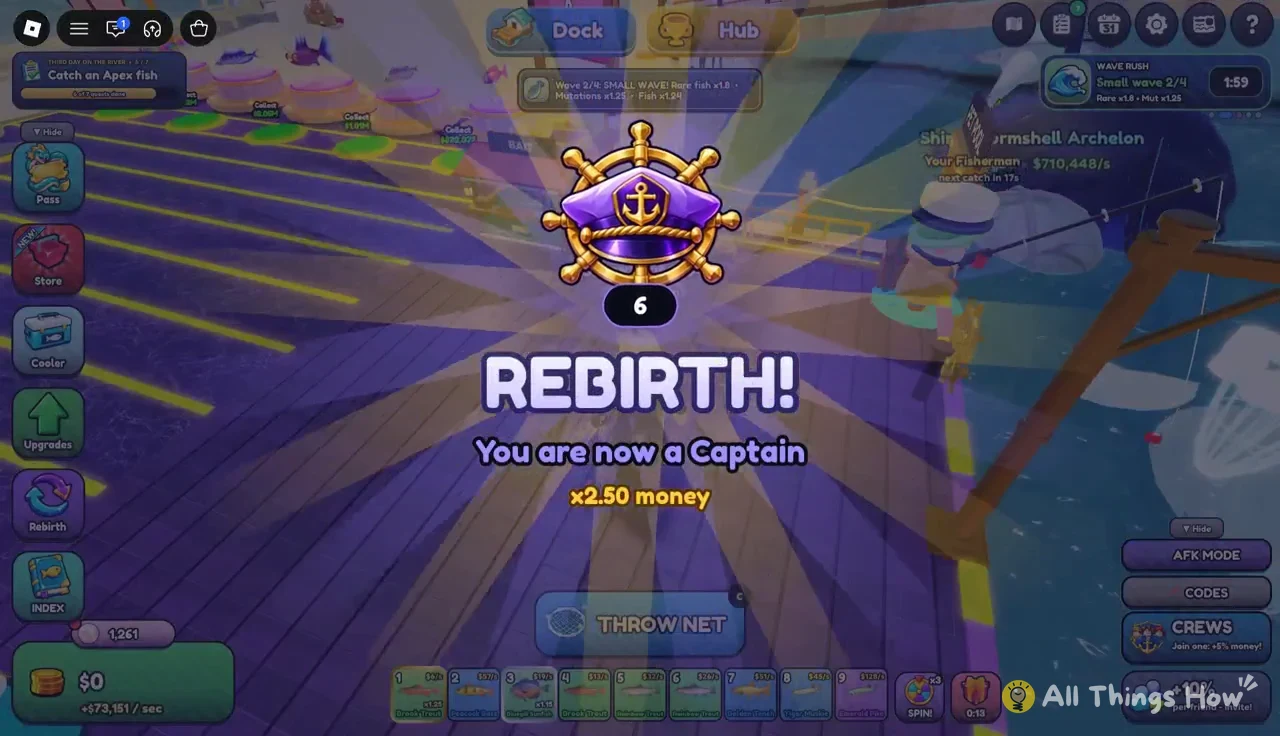
- Rebirth 6 (Captain): needs $312.5M and 1,800 all-time fish caught, and grants a permanent x2.50 showcase money multiplier.
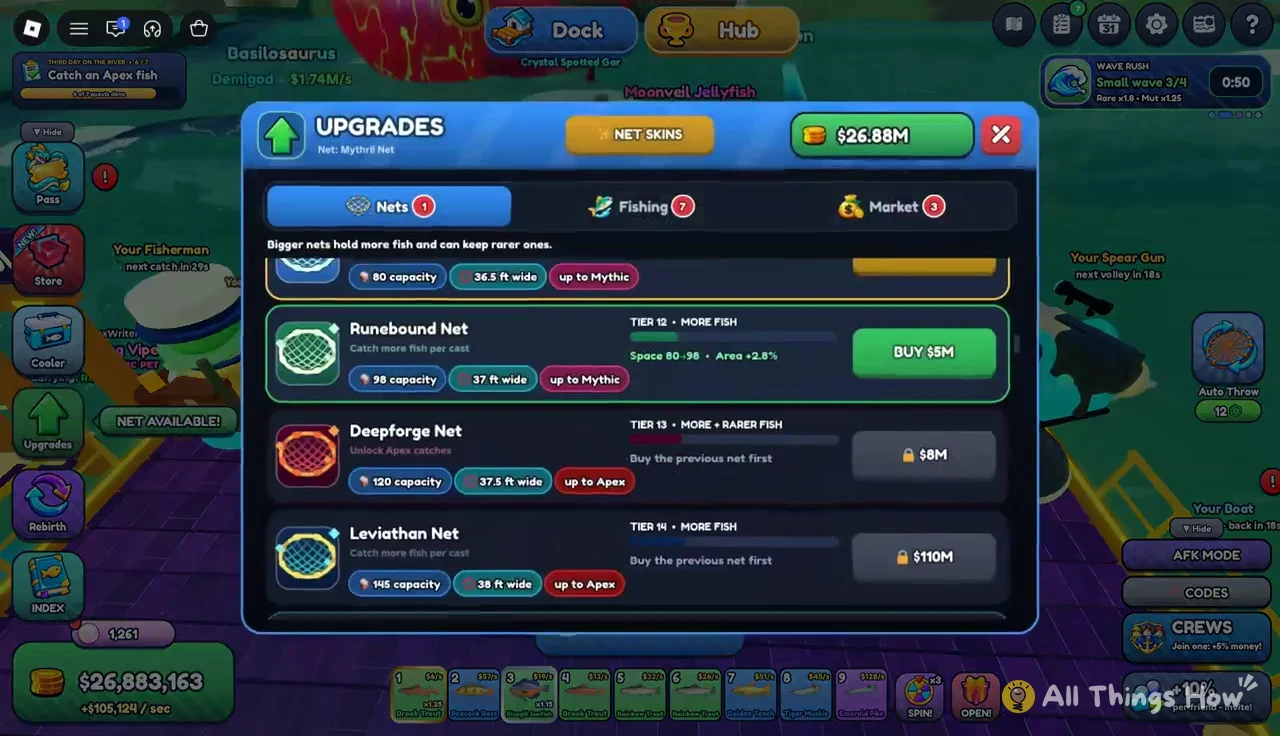
- Runebound Net: Tier 12 for $5M, with 98 capacity, 37 ft width, and catches up to Mythic.
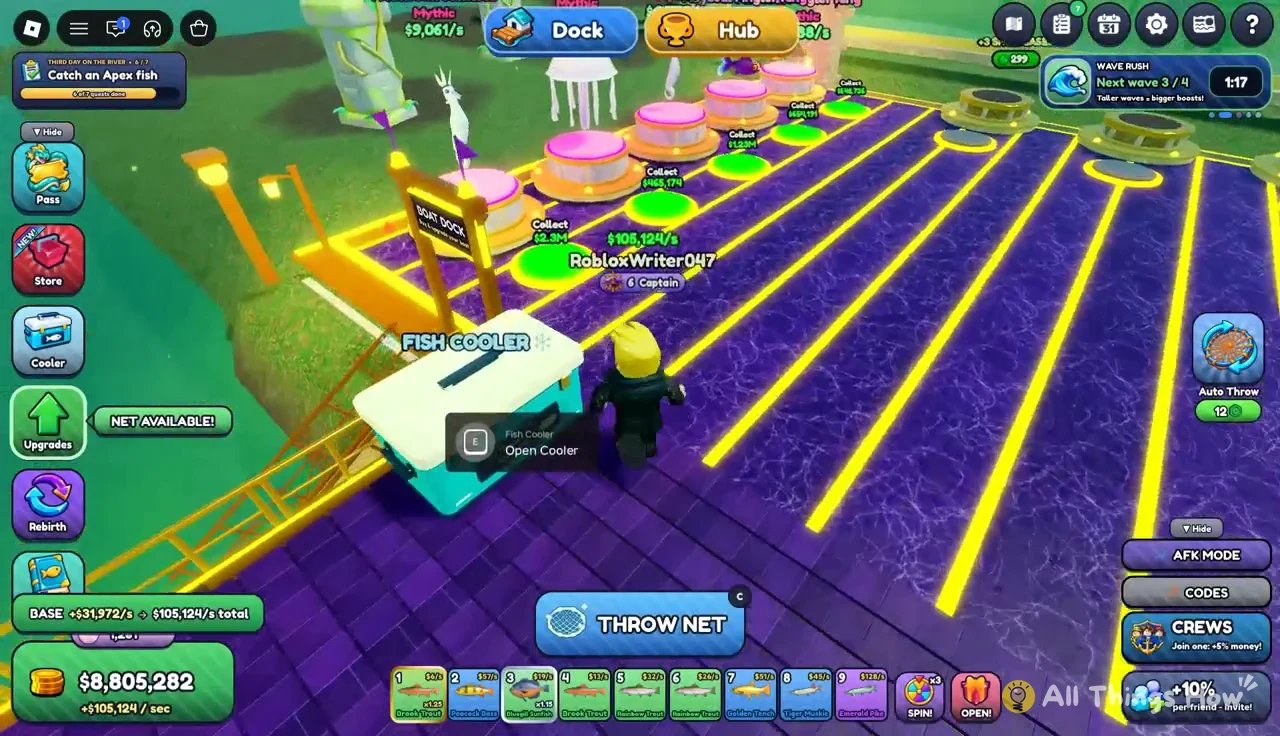
- Equip Best: in the Fish Cooler, fills your showcase pedestals with your highest earners.
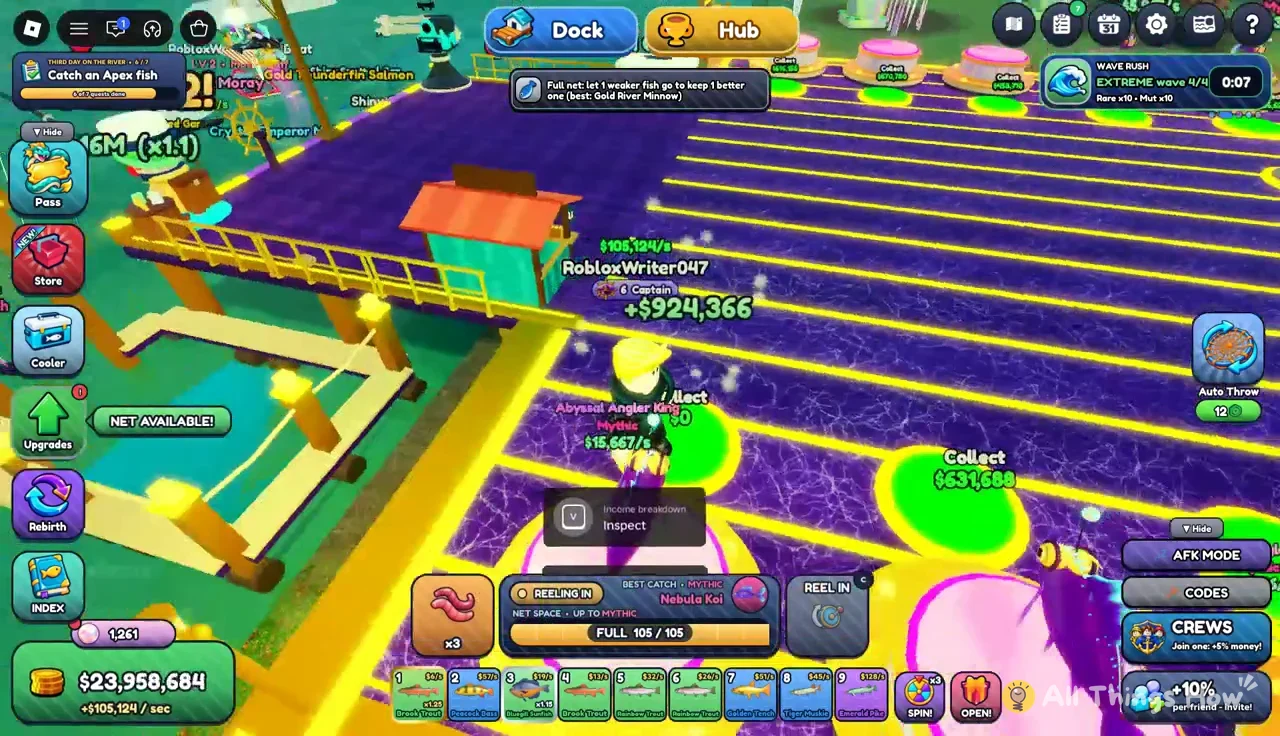
- Mythic catches: fish like the Nebula Koi ($1,001/s) and Abyssal Angler King add serious per-second income.
When your income passes a milestone, the game shows a NEW RECORD! banner. At $100M/s, a single Bloop kill is worth billions in cash on top of the crate, luck boost and Pearls.
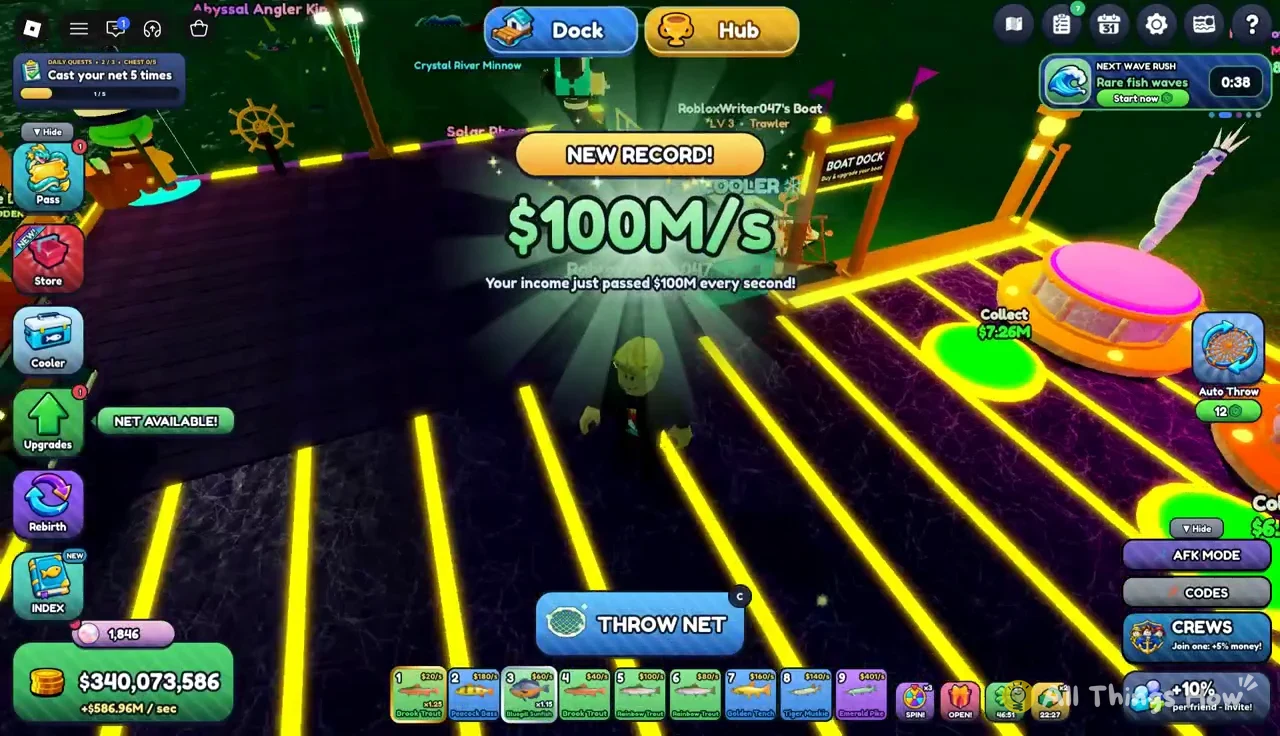
Between Bloop events, the routine is simple. Keep casting, keep upgrading the Spear Gun, and keep your showcase full, so you’re ready for the next countdown.