Quick answer: Find the Detached Cage Lever inside a candle-shrine hut close to Commander’s Platform. Fit it to winch four on the walkway over the deck beneath the Shrine Outer Gate bell; the cage holding Moji’s Bloodstained Sword will descend.
Where the Detached Cage Lever is
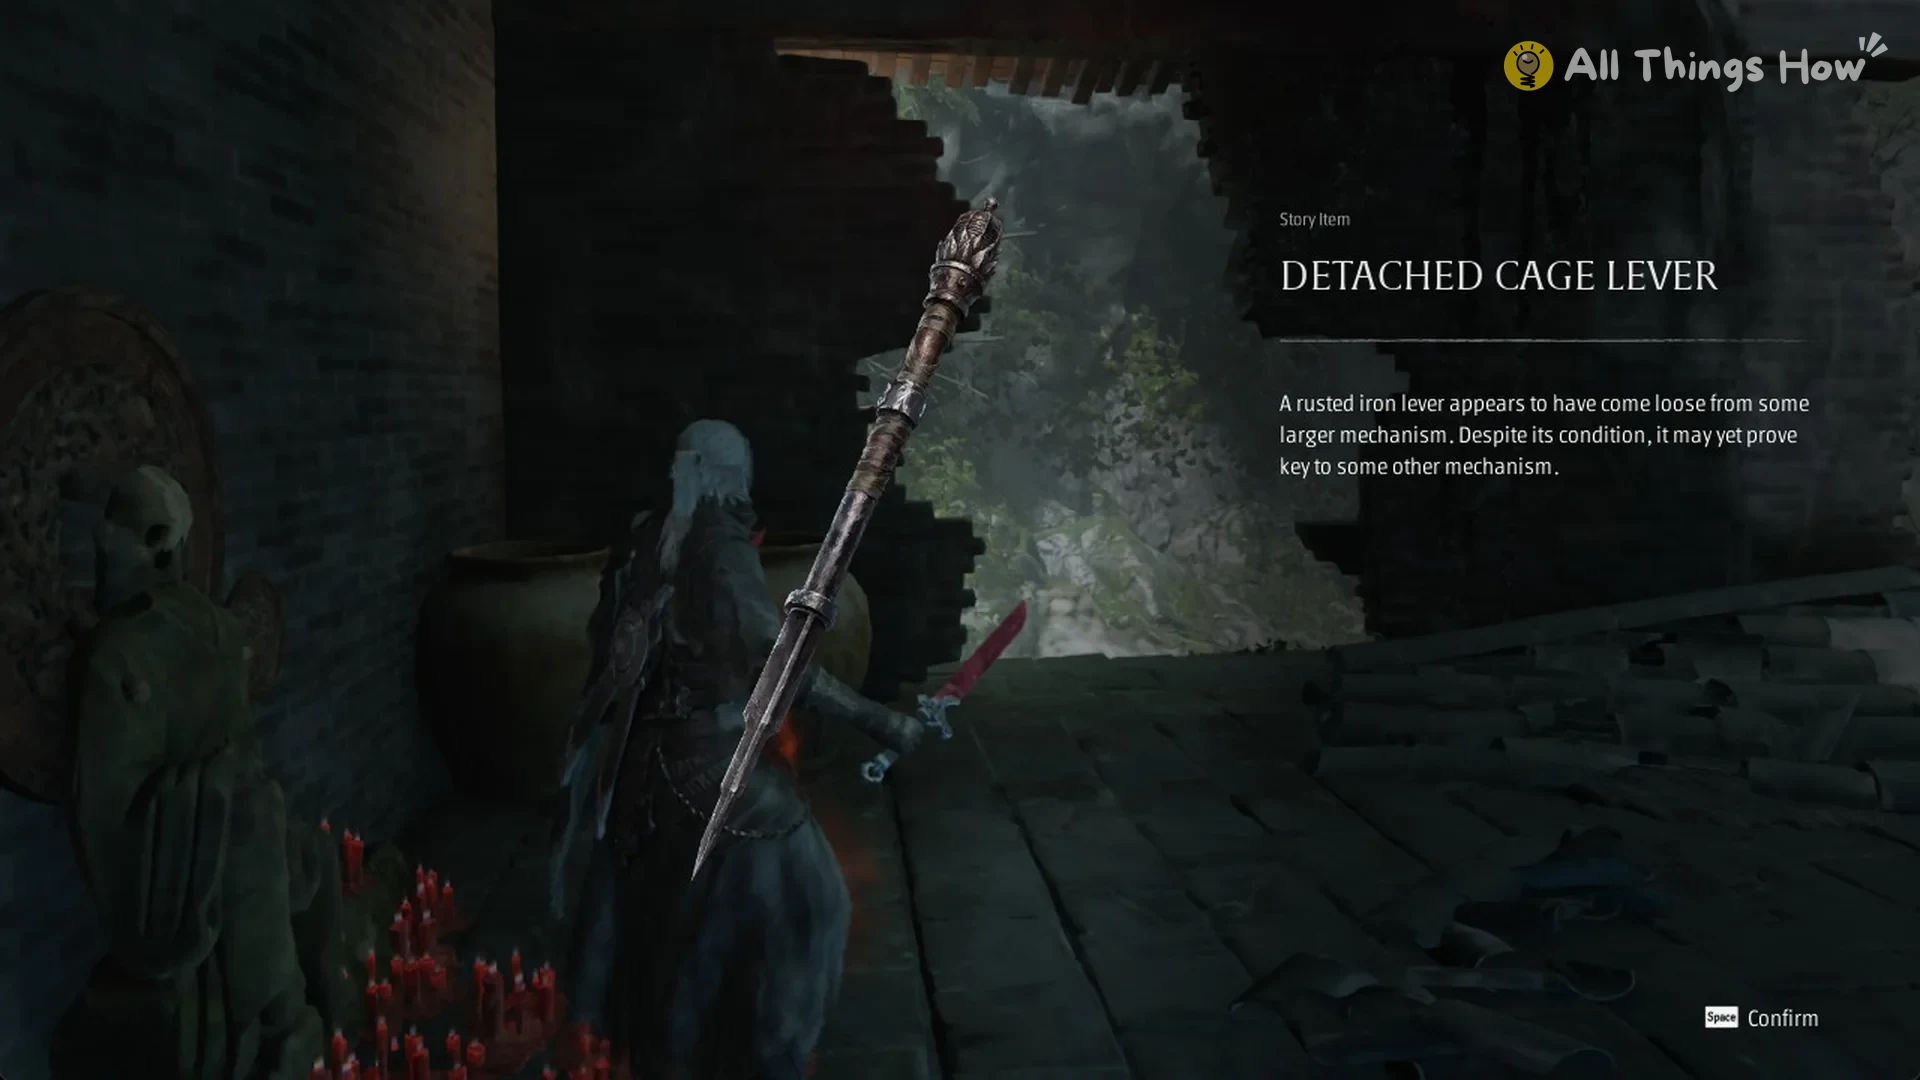
For Hero’s Lament, the Detached Cage Lever is a story item found on the Mountain of Imprisonment. From the Iron Butcher’s Camp bell, follow the route through the open Mountain Gate to a small hut with a candle shrine, close to Commander’s Platform.
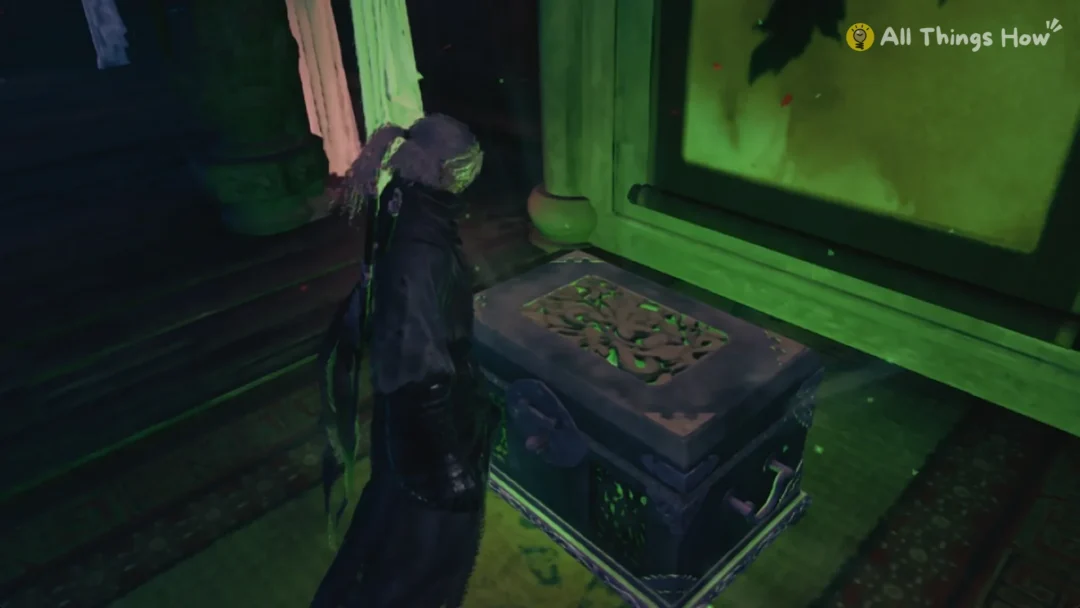
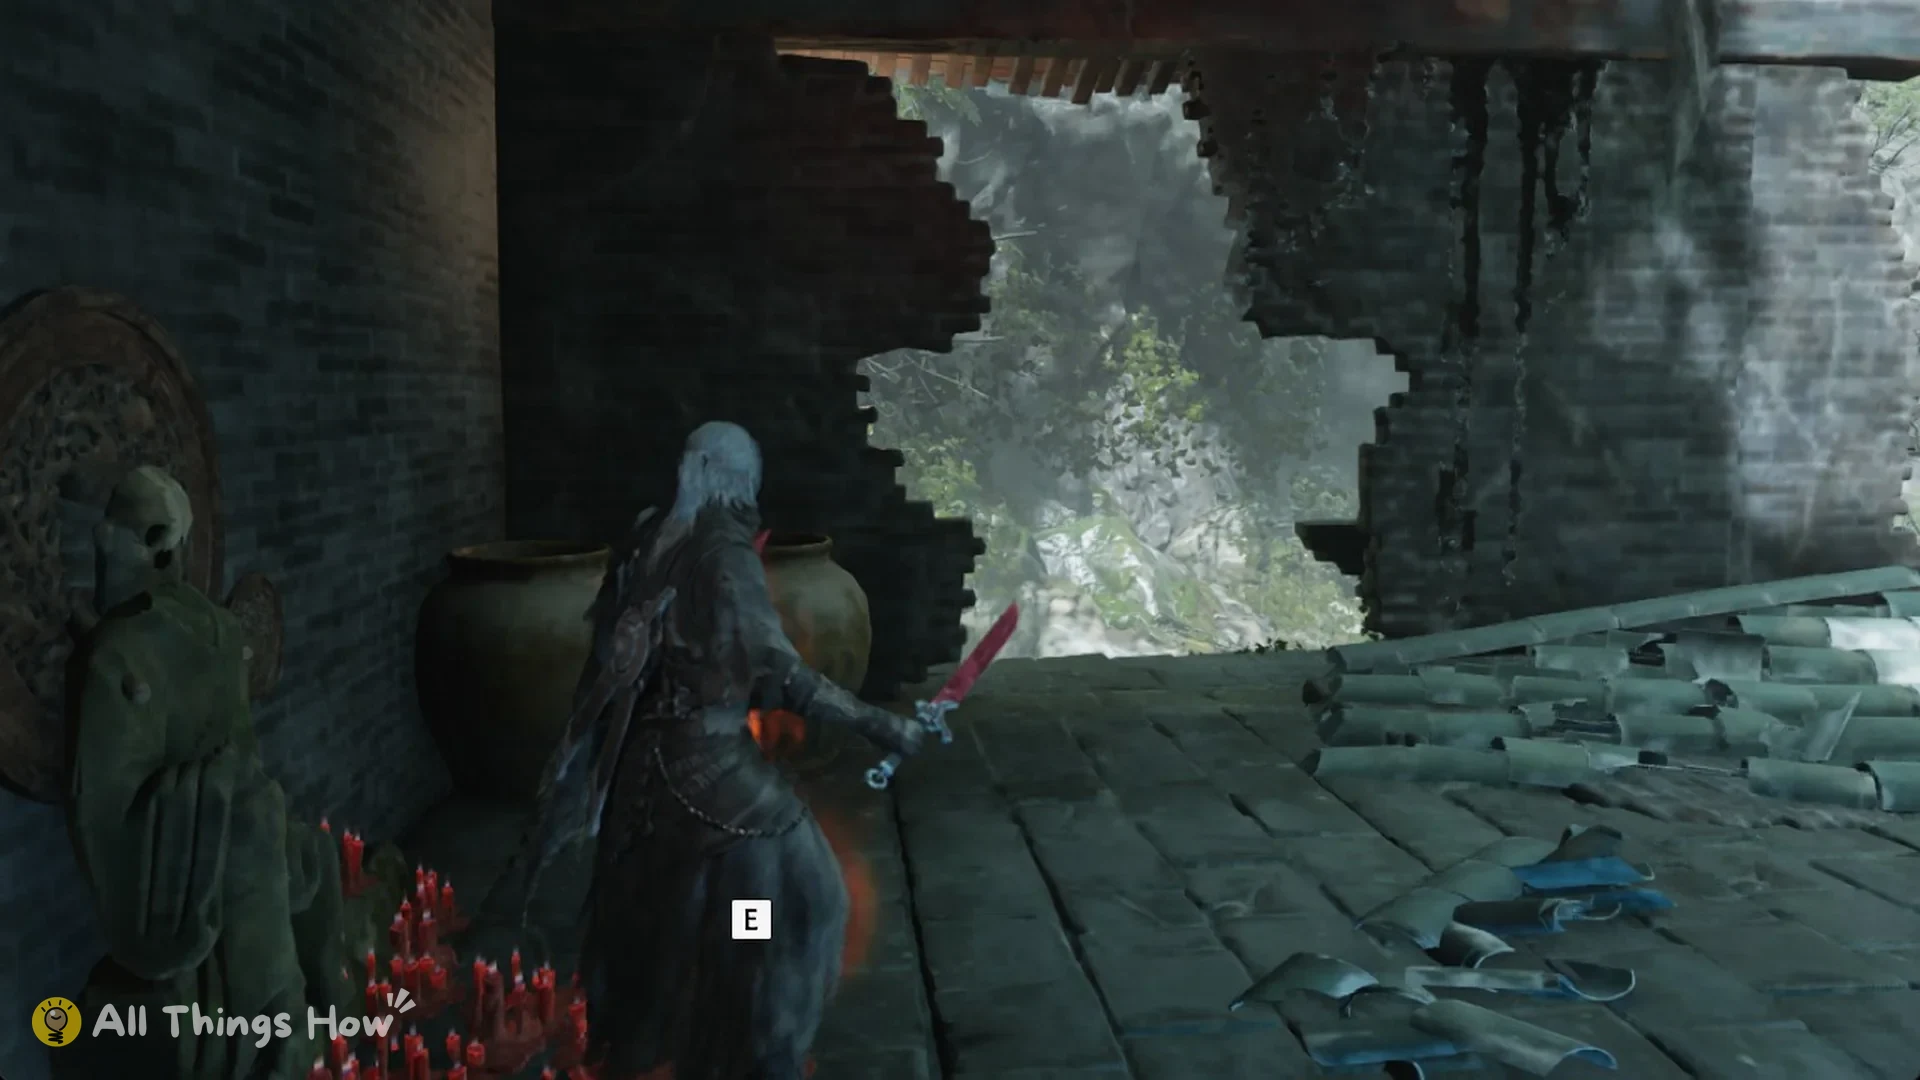
Inside the hut, look at the floor by the shrine. The lever glints there, beside a green seated statue and red candles. Press E to pick it up. The Old Commander, Bi Feng, stands about 35 m from the hut.
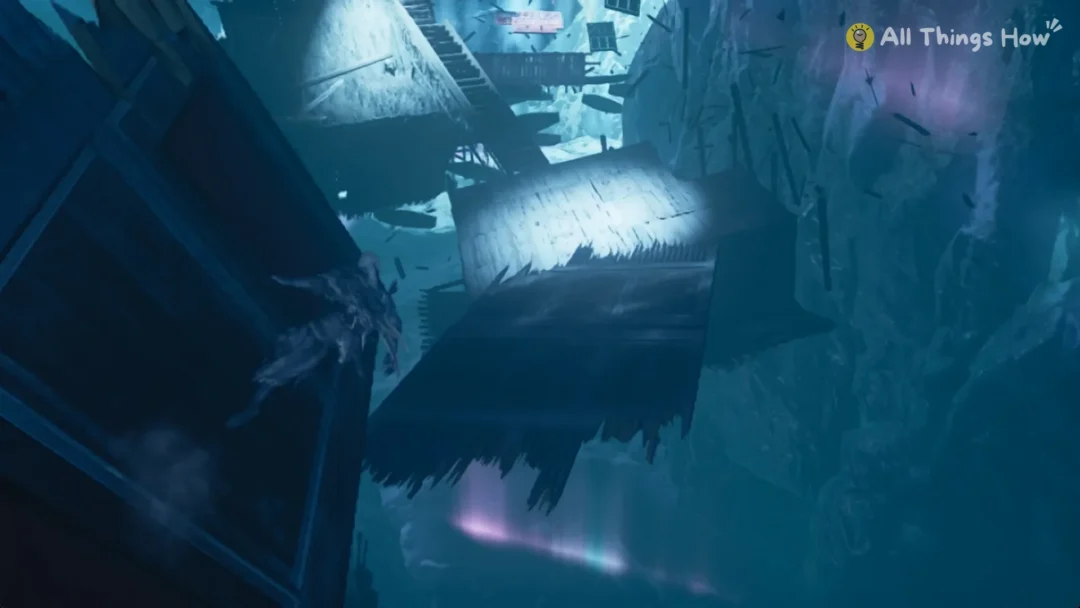
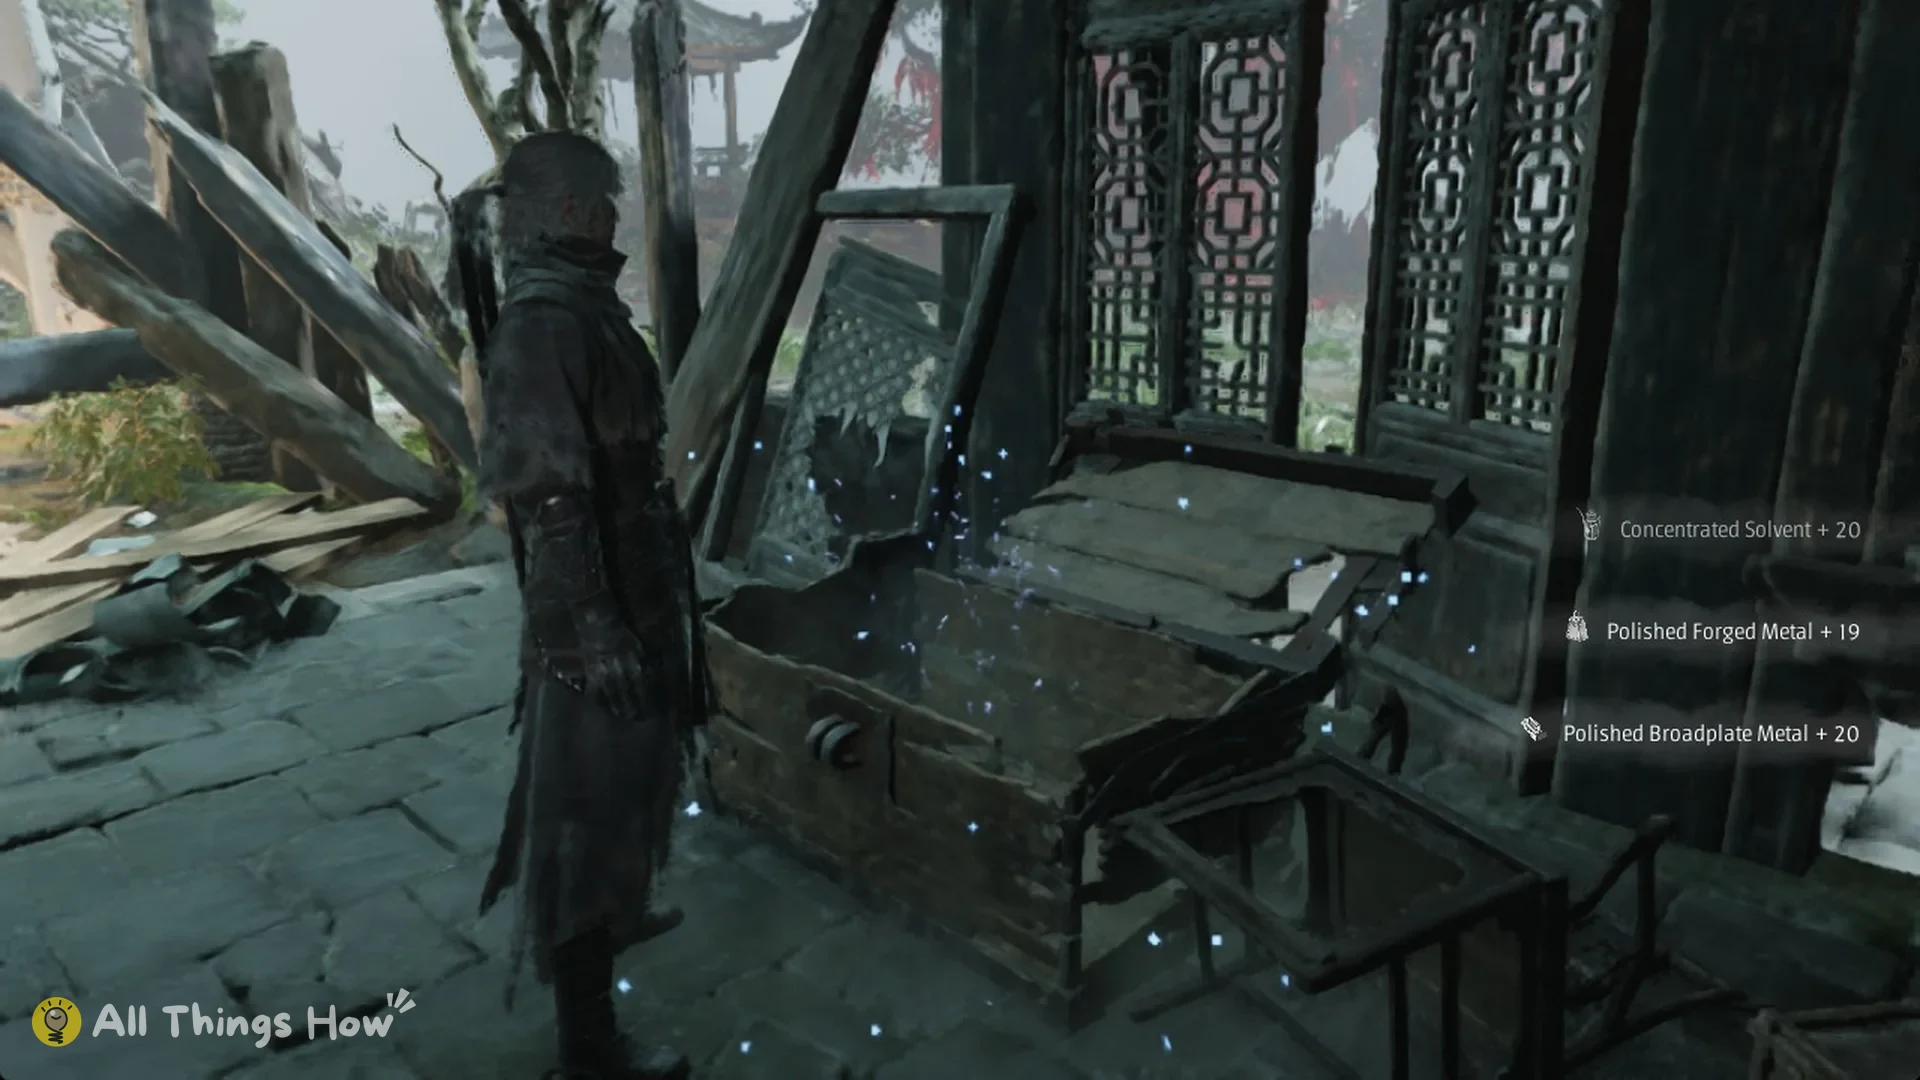
Open the chest in the same room before you leave. It holds Concentrated Solvent x20, Polished Forged Metal x19 and Polished Broadplate Metal x20. To get back outside, drop about 5 m from a corner of the room.
Detached Cage Lever card
Its card reads “A rusted iron lever appears to have come loose from some larger mechanism. Despite its condition, it may yet prove key to some other mechanism.”
Where to use the Detached Cage Lever
Use the Shrine Outer Gate bell to rest. Rest at the Shrine Outer Gate bell to start; your destination is winch four on the upper walkway over the deck beneath it.
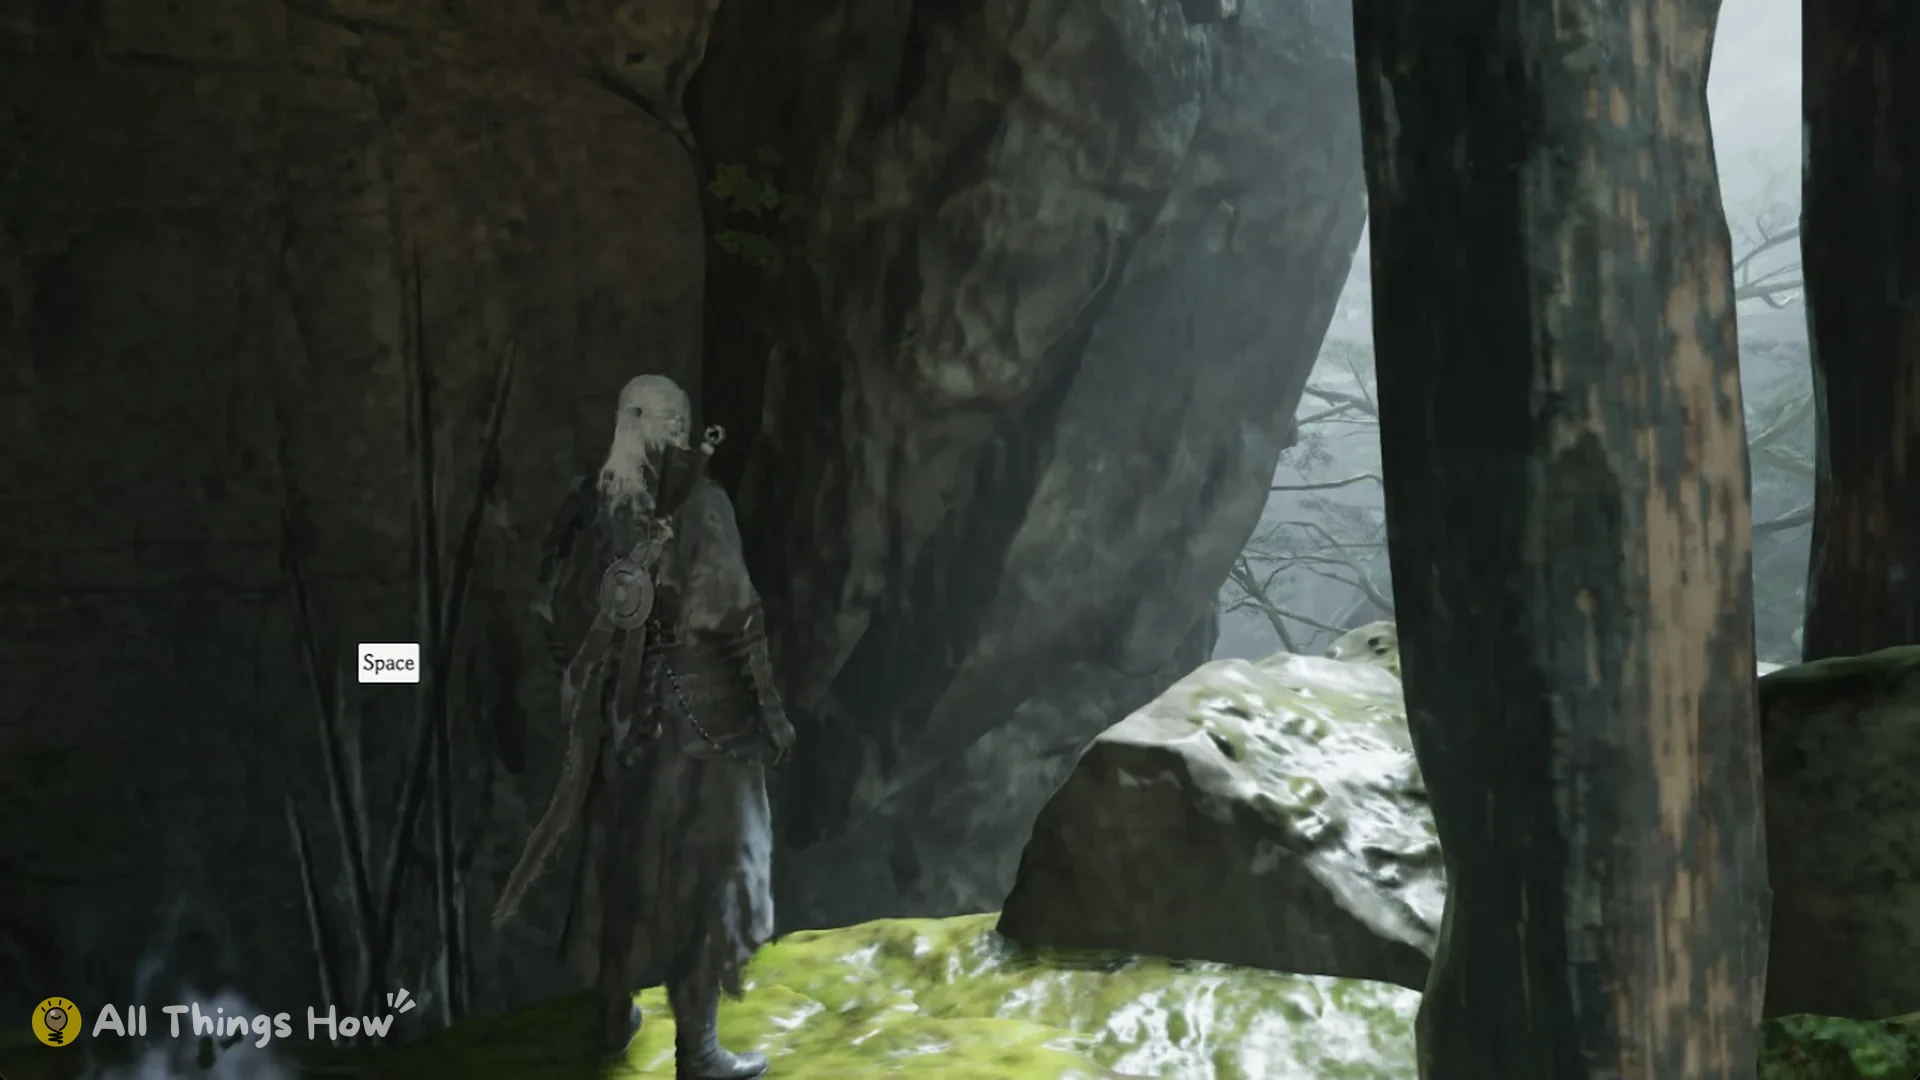
Follow the mountain road and drop off the end of the ledge into a small arena. Cross it past the crates to the rock wall at the far end, then press Space at the prompt to slide down.
Follow the lower road, then descend roughly 4 m into a corridor. Avoid the adjacent dog yard, where a Frenzied Hound is waiting. Drop about 6.8 m from the corridor’s end onto the deck.
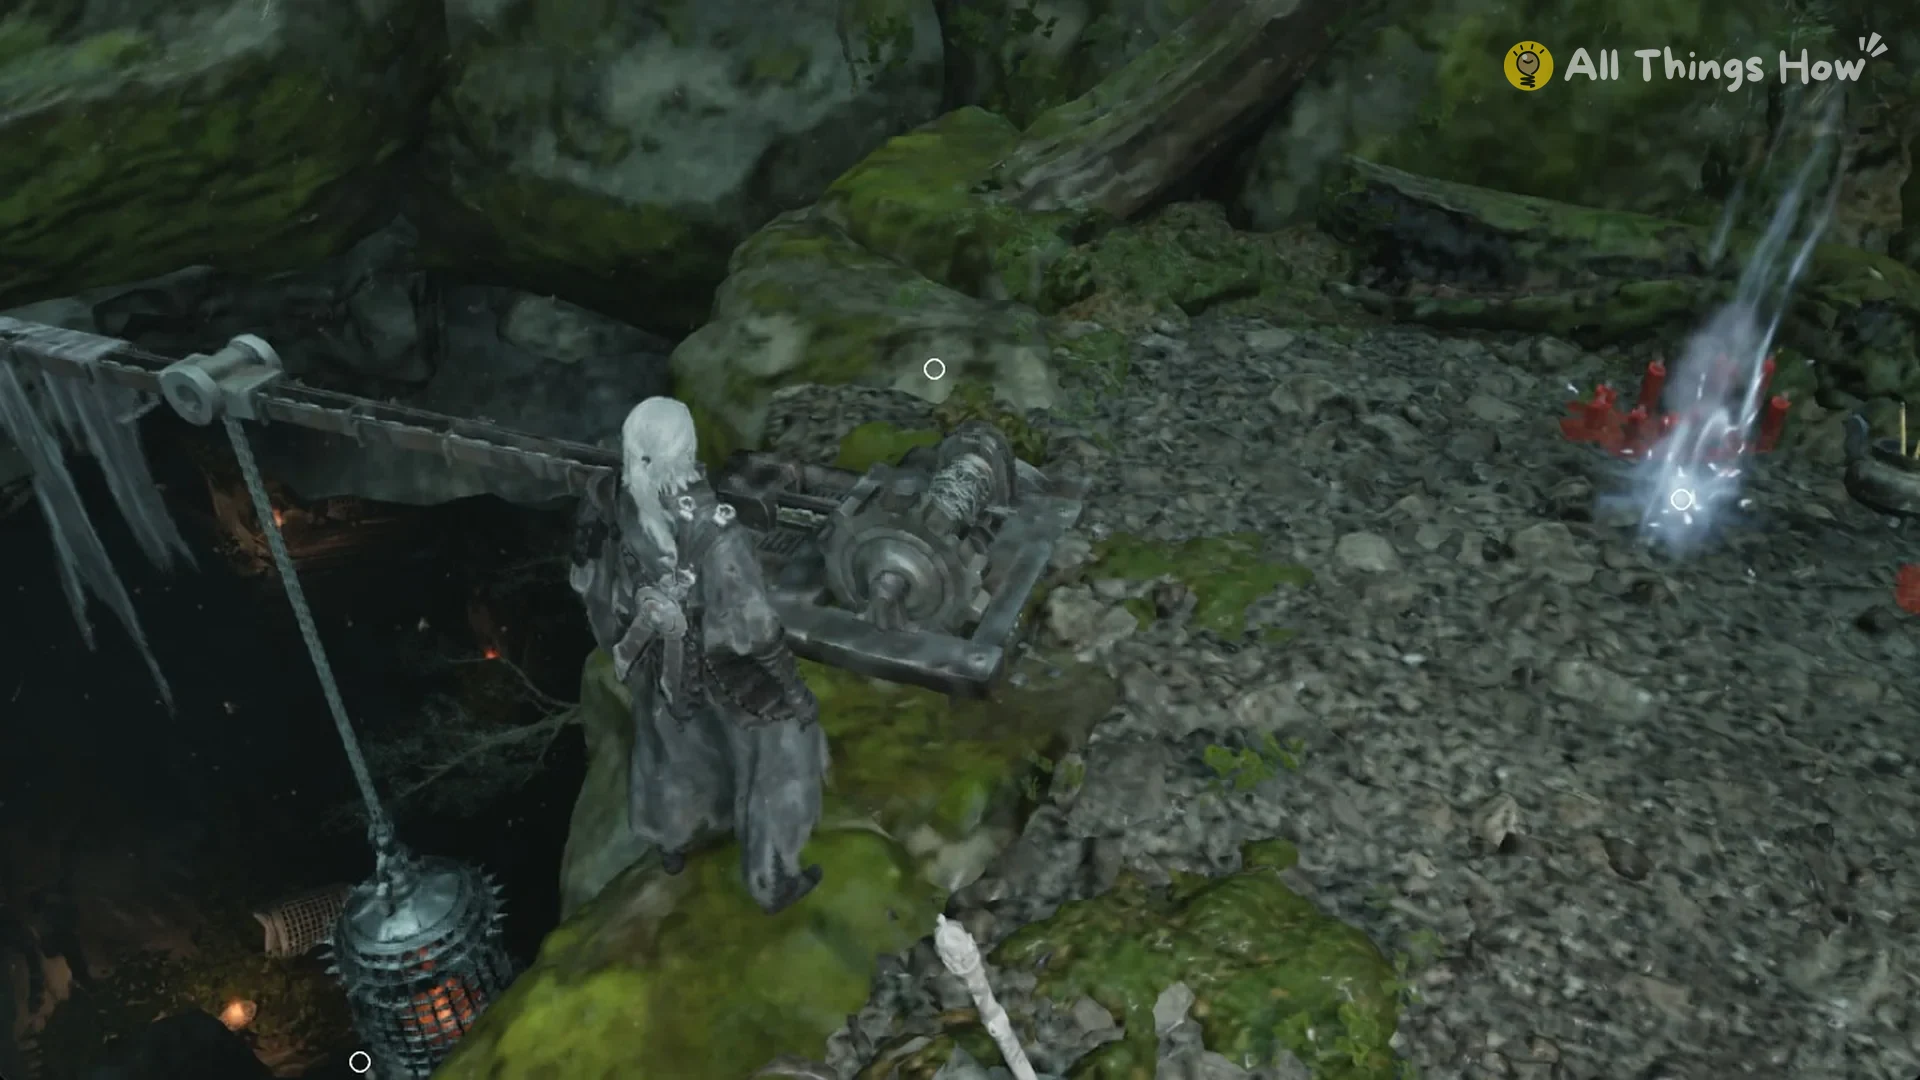
Cross the deck to the ladder, press Space and climb to the top walkway. Walk past three winches to the fourth one at the end of the walkway, next to a candle shrine.
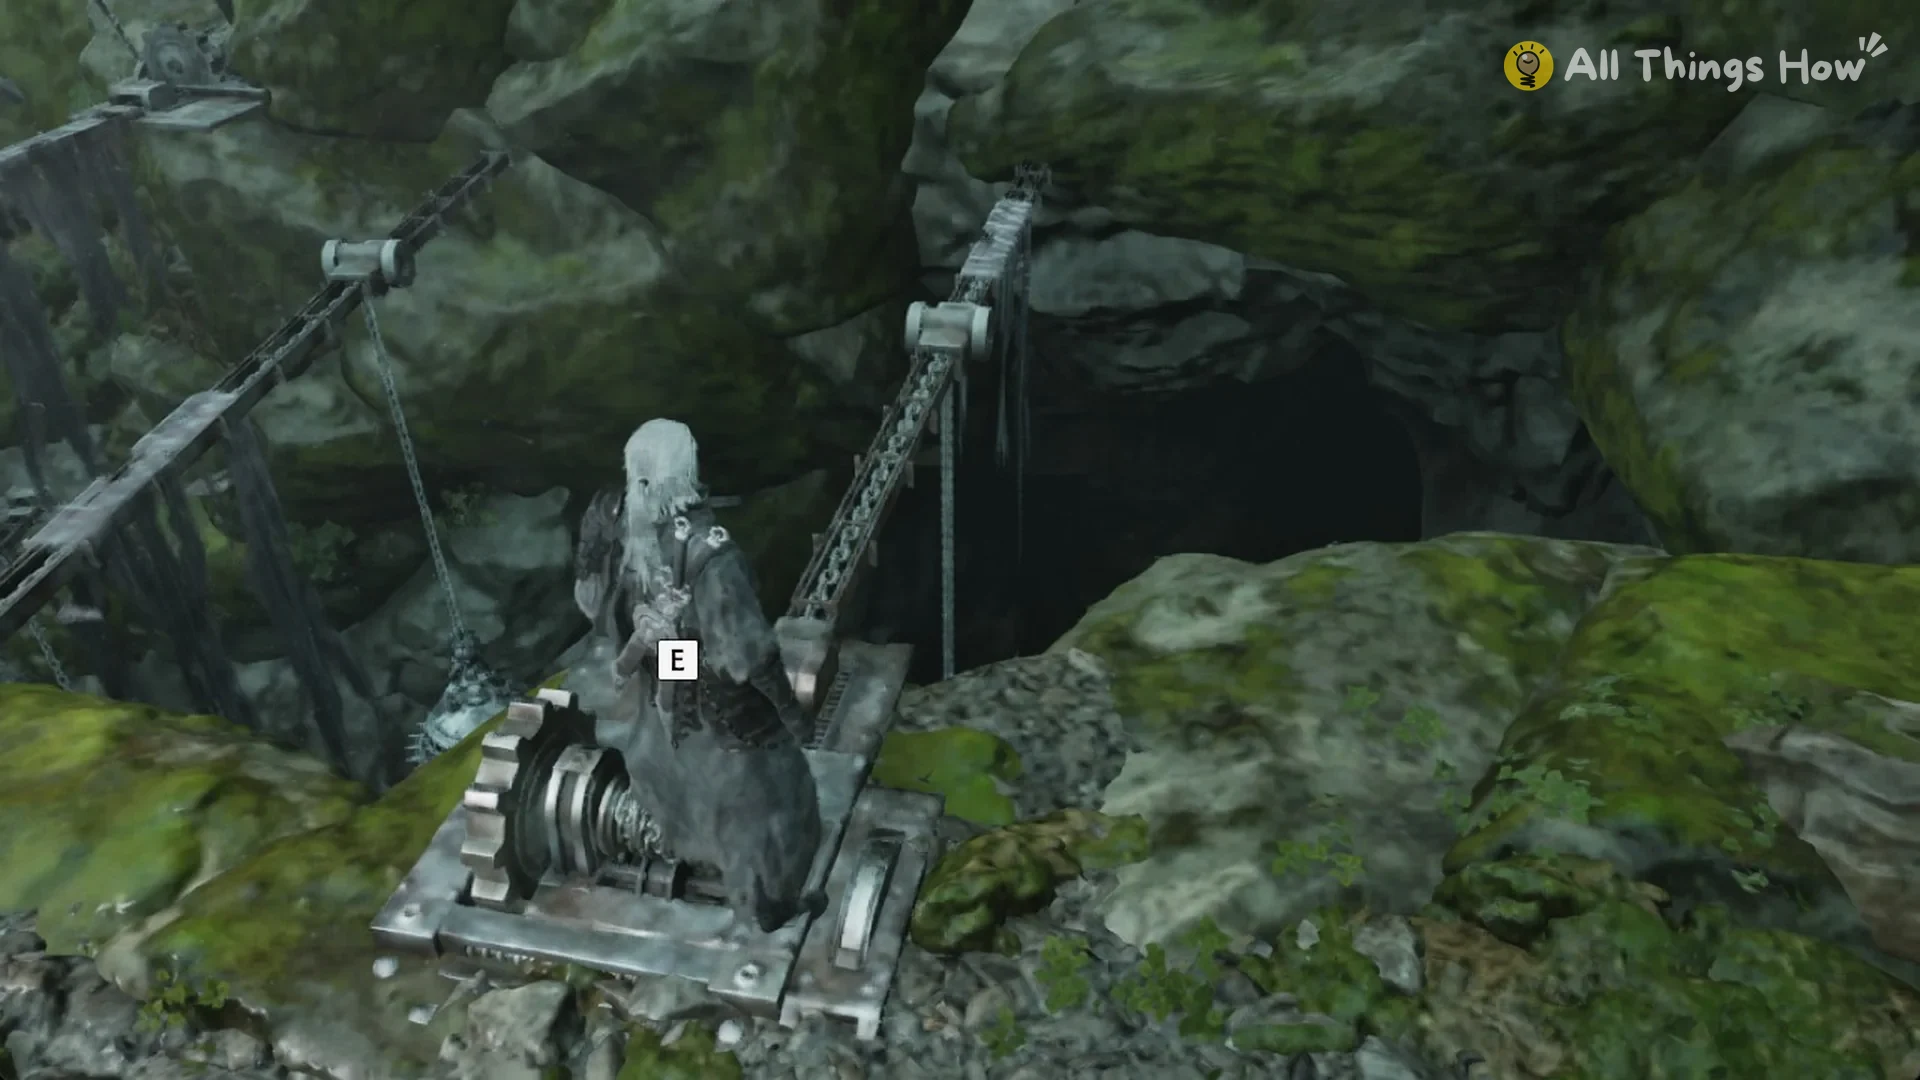
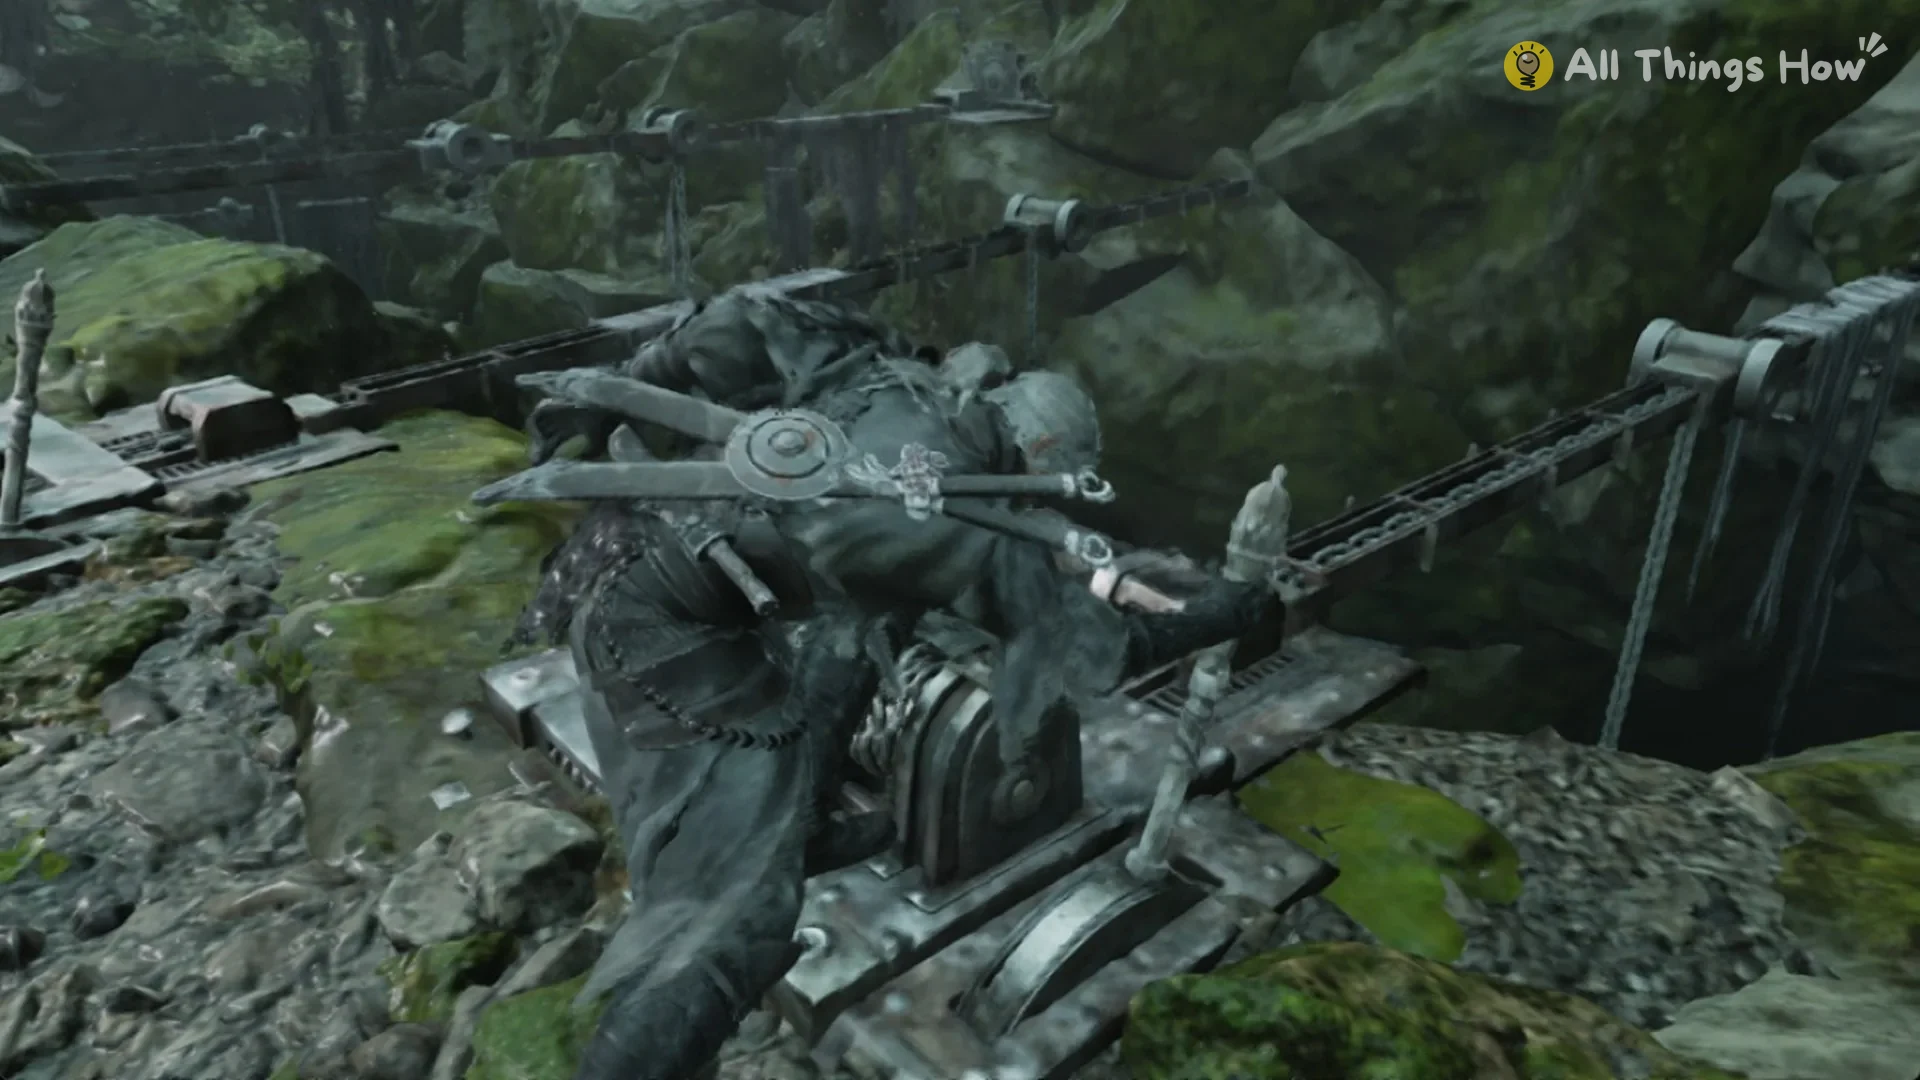
At the fourth winch, press E. Soul installs the lever and turns the winch. The iron cage suspended from it will descend to the deck, and the message “Detached Cage Lever -1” confirms the action.
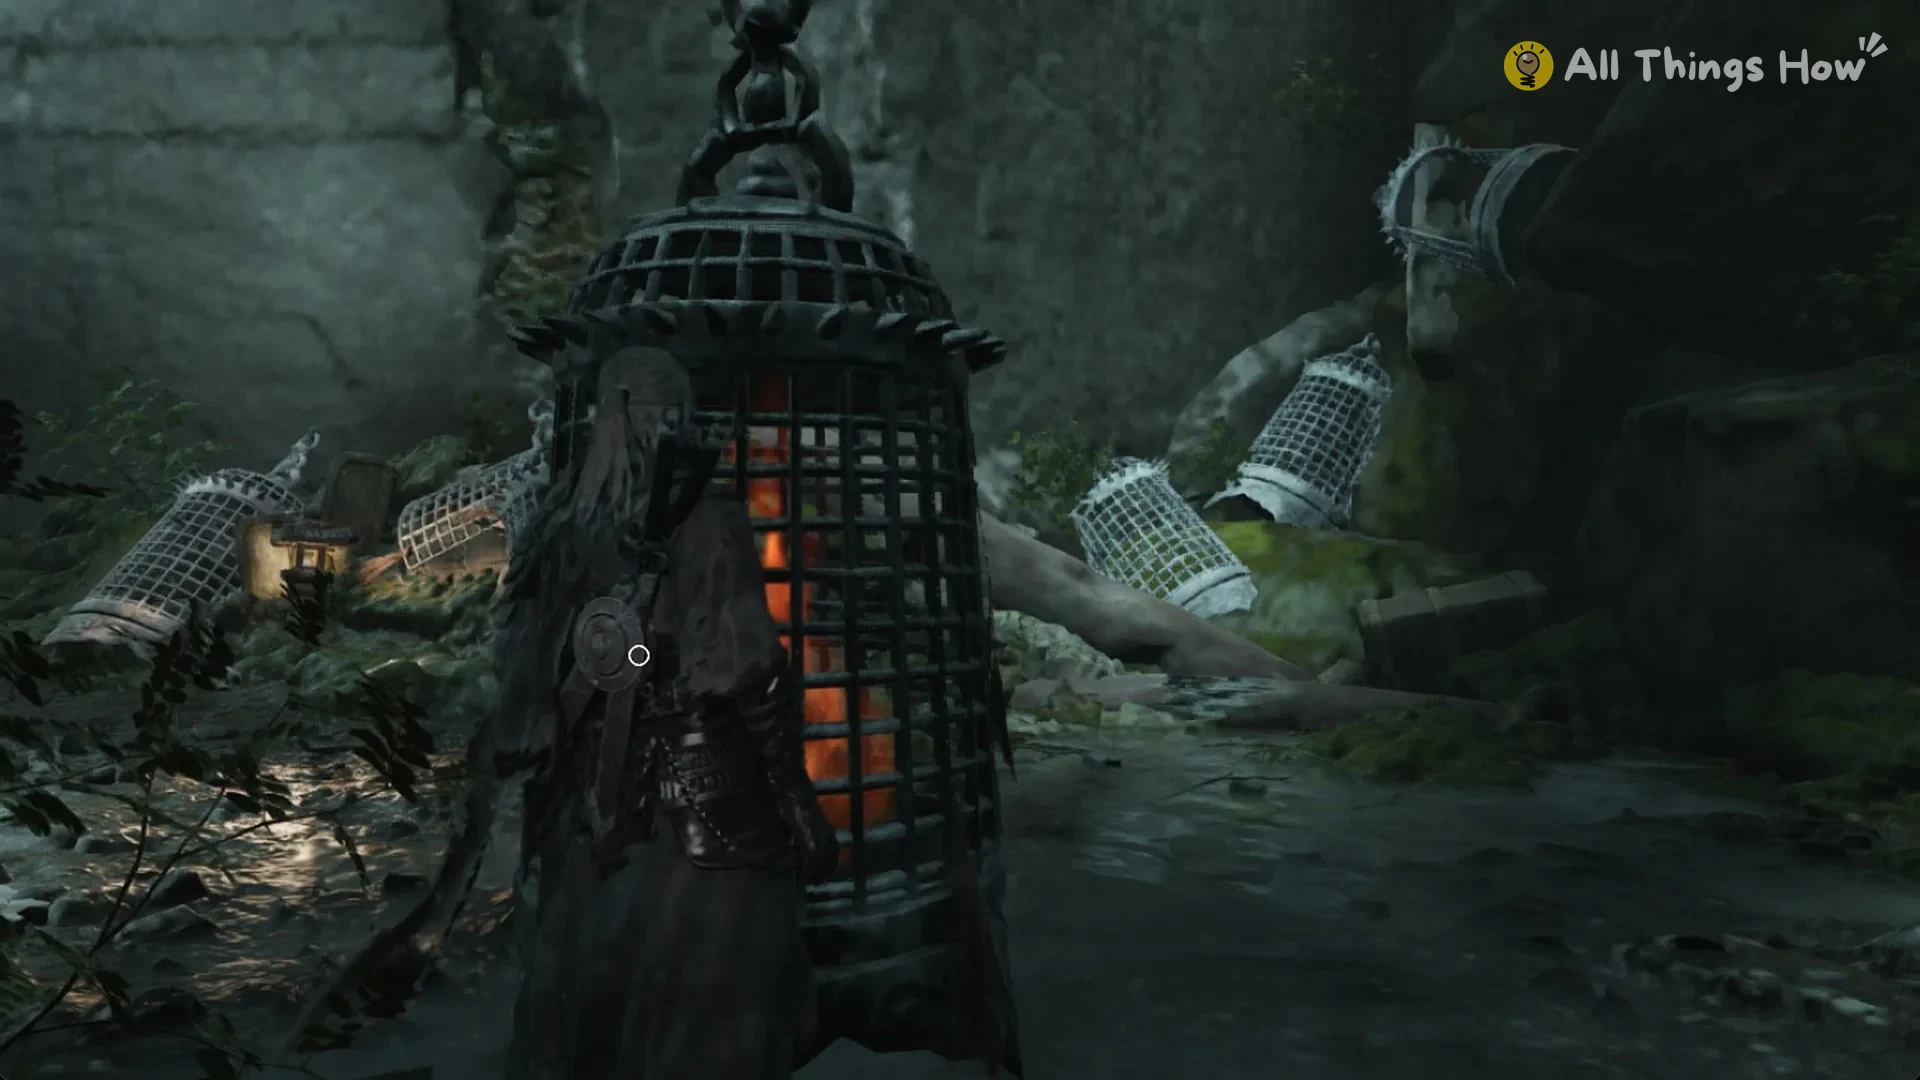
Descend the ladder again, then cross the deck to reach the cage now on the ground. This spiked iron cage has a red glow within and is among the broken cages; its entrance is on just one side. Use E at the door to open it, then press E on the glowing object inside to collect Moji’s Bloodstained Sword, the relic required by Hero’s Lament.