Quick answer: The Blackwater Diver fights with charging thrusts, chained jabs, overhead swings, a raise-thrust-sweep combo, and a 10 m leap and plunge. Deflect after his first jab, guard then deflect combo follow-ups, and move as he lands.
Blackwater Diver at a glance
This shirtless, heavily built fighter carries an extended trident and has backup nearby: Blackwater Crew members occupy the same shoreline.
- A short health meter floats above him; there is no boss meter along the screen’s lower edge.
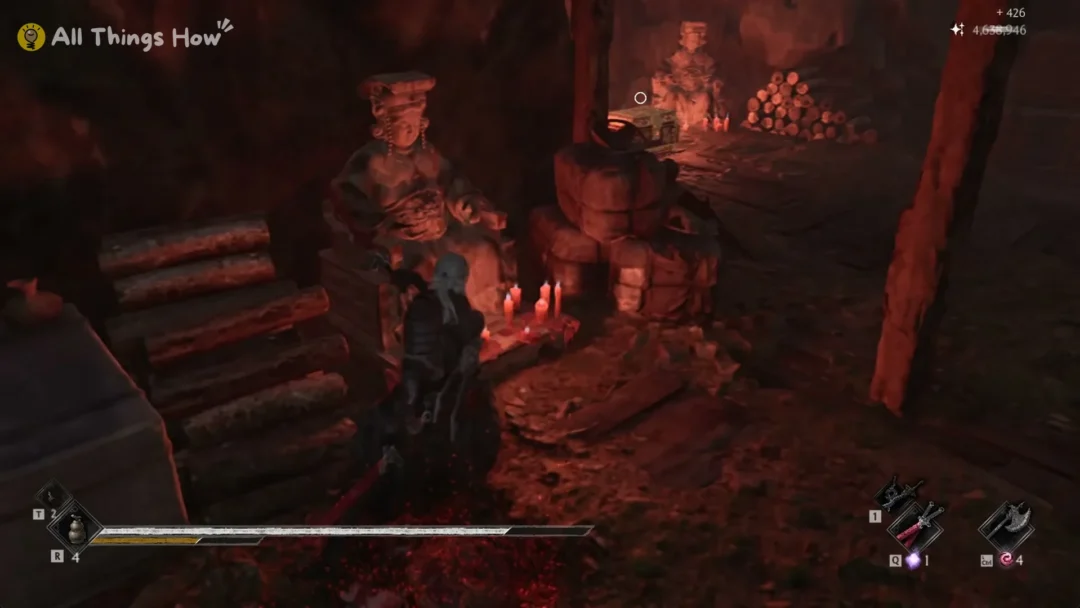
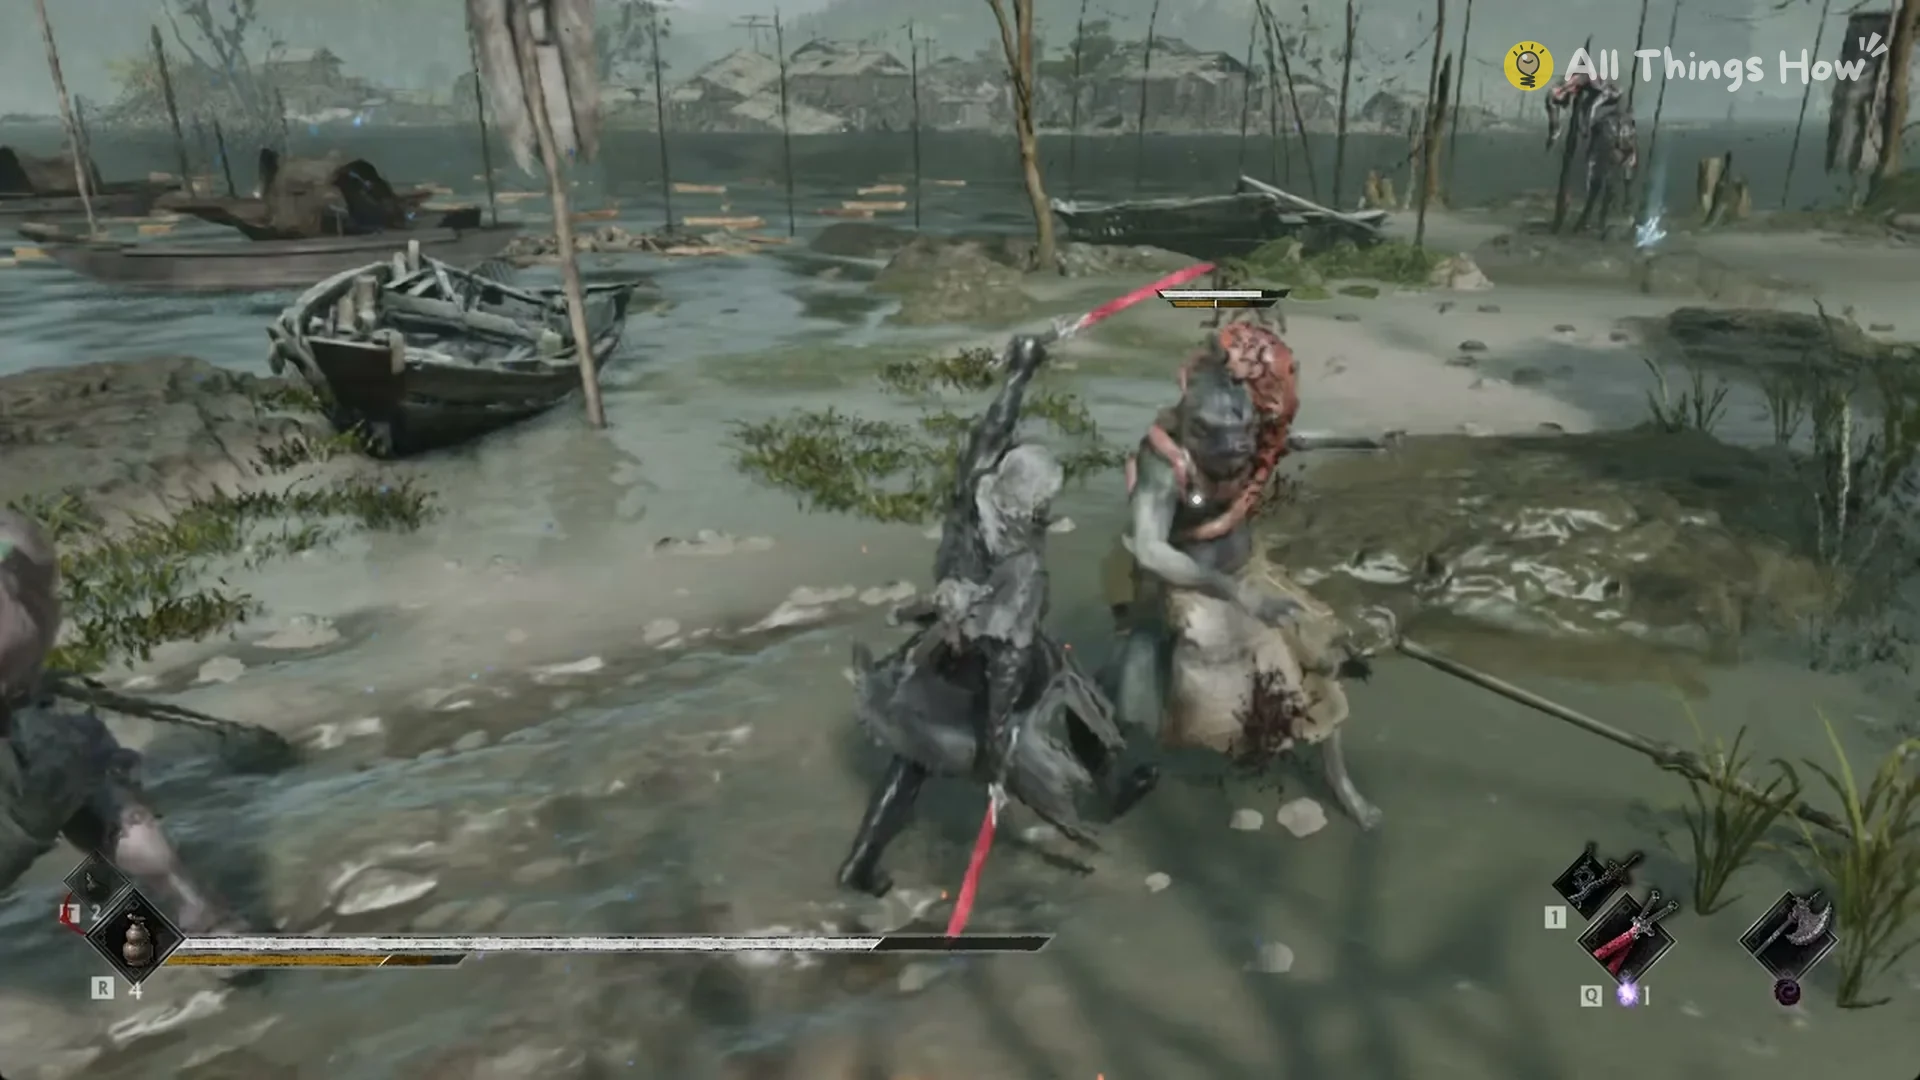
- During daylight, the arena is on Meigu Lake’s exposed shoreline and shallow water beyond Blackwater Crew Dock, beside a wall of slanted planks.
- Between the bell and the plank wall, Crew disciples armed with knives and a net-wielding patrolman move along the shore.
- The netter and a knife disciple can end up in the same fight as the Diver.
Blackwater Diver location at Meigu Lake
At Meigu Lake, use the Blackwater Crew Dock bell to rest. Doing so restores your health and healing supplies ahead of the battle.
Travel roughly 95 m along the Meigu Lake shoreline in the direction of the slanted plank wall. Press Space there to climb onto the plank walkway.
Check the shallow water along this part of the shore. The Blackwater Diver is wading there, while Crew disciples and a netter are nearby.
Blackwater Diver attacks and how to answer them
The labels below describe what each attack looks like. They are not the game’s own names for them.
| Attack | What he does | Your answer |
|---|---|---|
| Charging thrust | Runs in from the side, trident forward | Keep the shallows in view |
| Chained thrusts | Repeated jabs from the hip | Deflect after the first jab |
| Overhead swing | Trident raised high, big downward arc | Leave the arc or guard |
| Raise, thrust, then sweep | Over the shoulder, thrust, second strike | Guard, then deflect the second |
| Leap and plunge | Jumps from about 10 m, lands trident first | Move as he comes down |
The charging thrust tends to open the fight while you are busy with the crew. Once you hear the fight start, keep an eye on the water so he cannot catch you from the side.
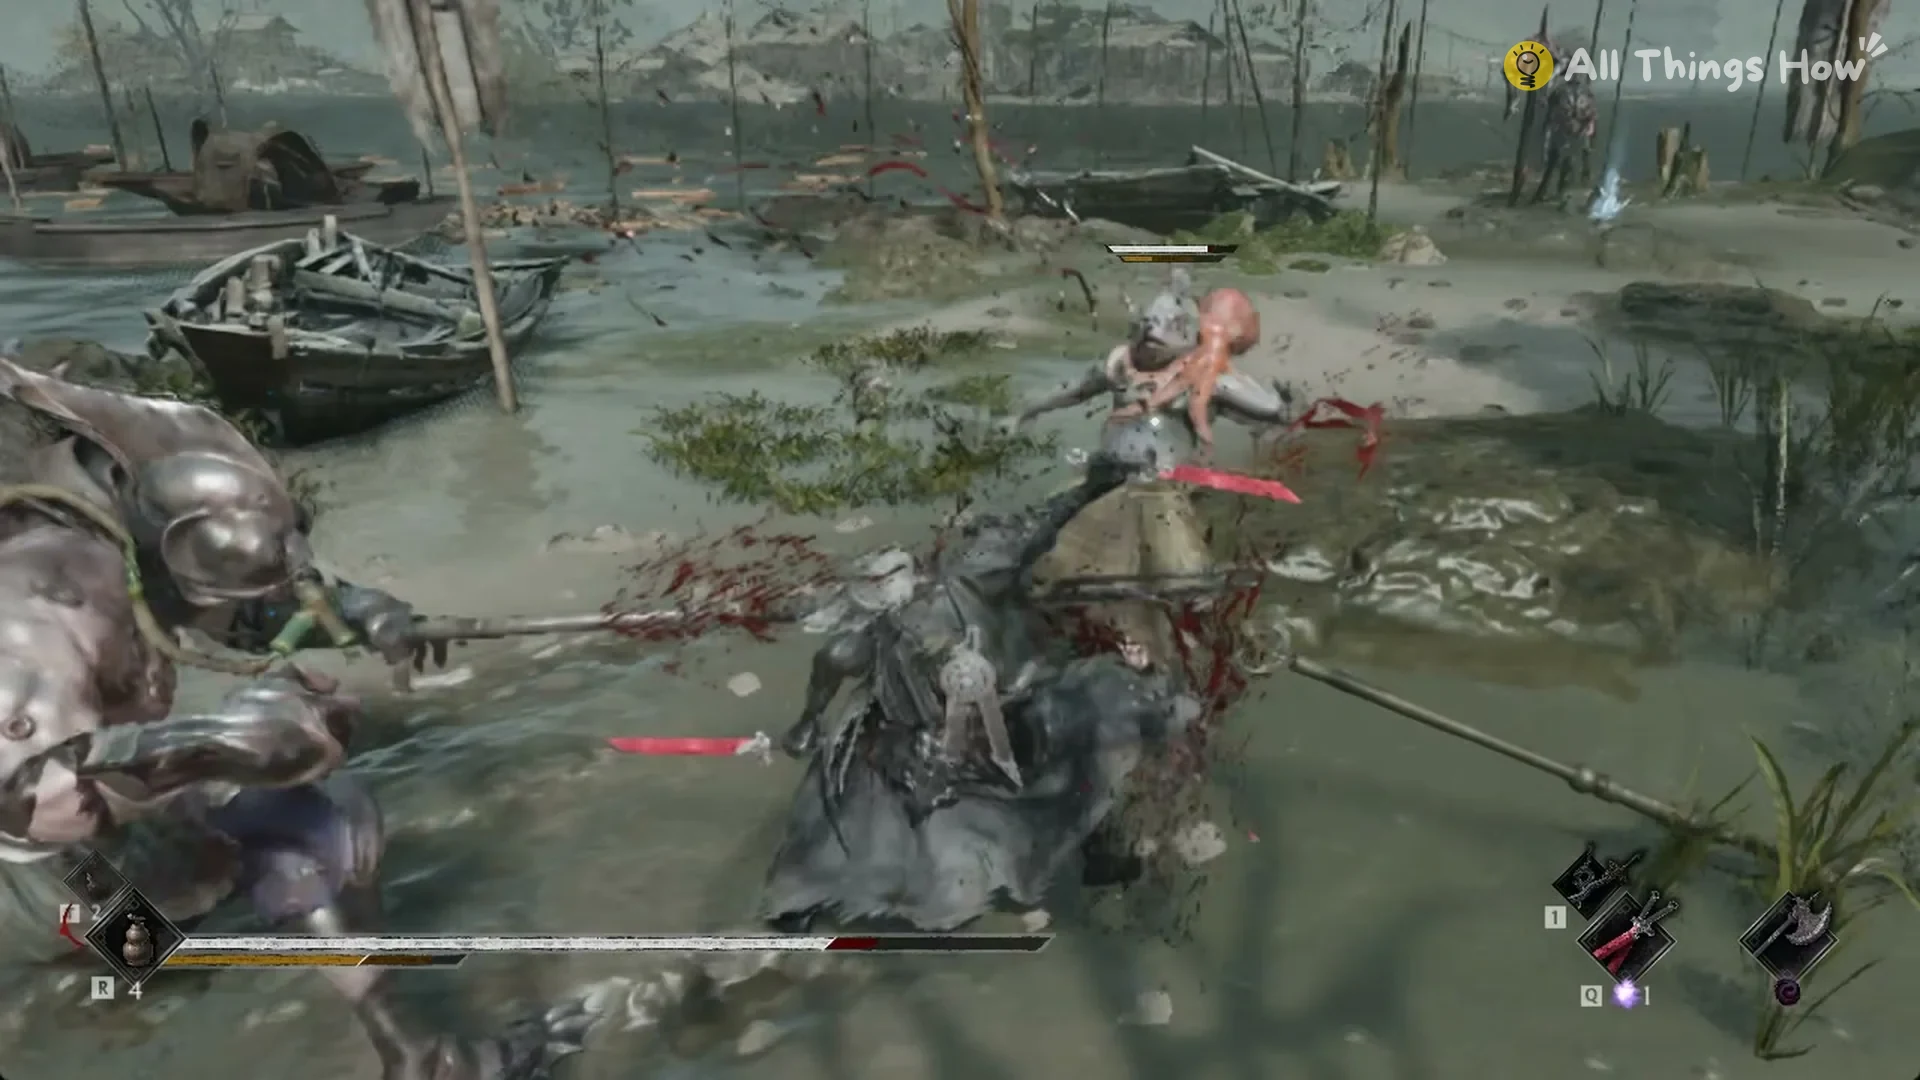
At close range, he relies most on a string of trident jabs. He draws the weapon back toward his hip, then repeatedly thrusts; a white line appears beside the shaft with each attack.
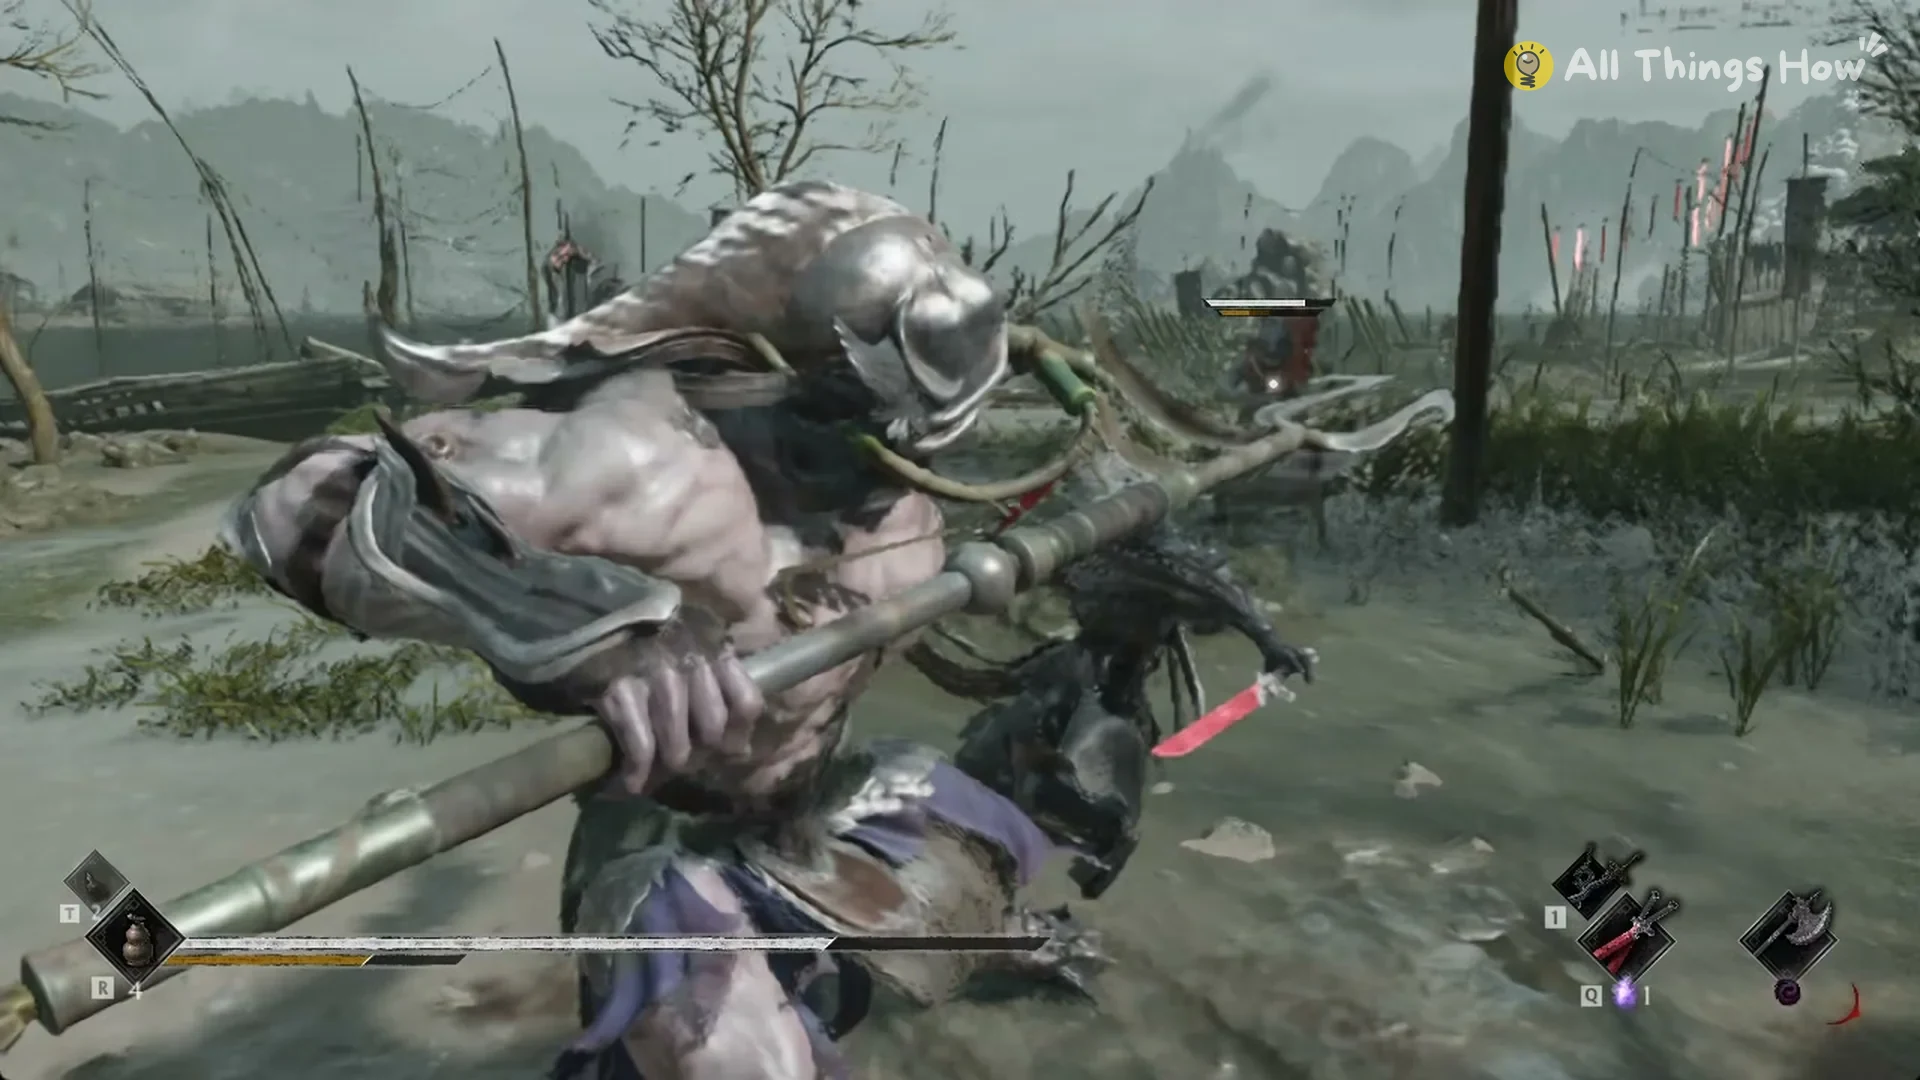
Watch for the overhead attack: as soon as he raises the trident above himself, either move beyond its swing or defend.
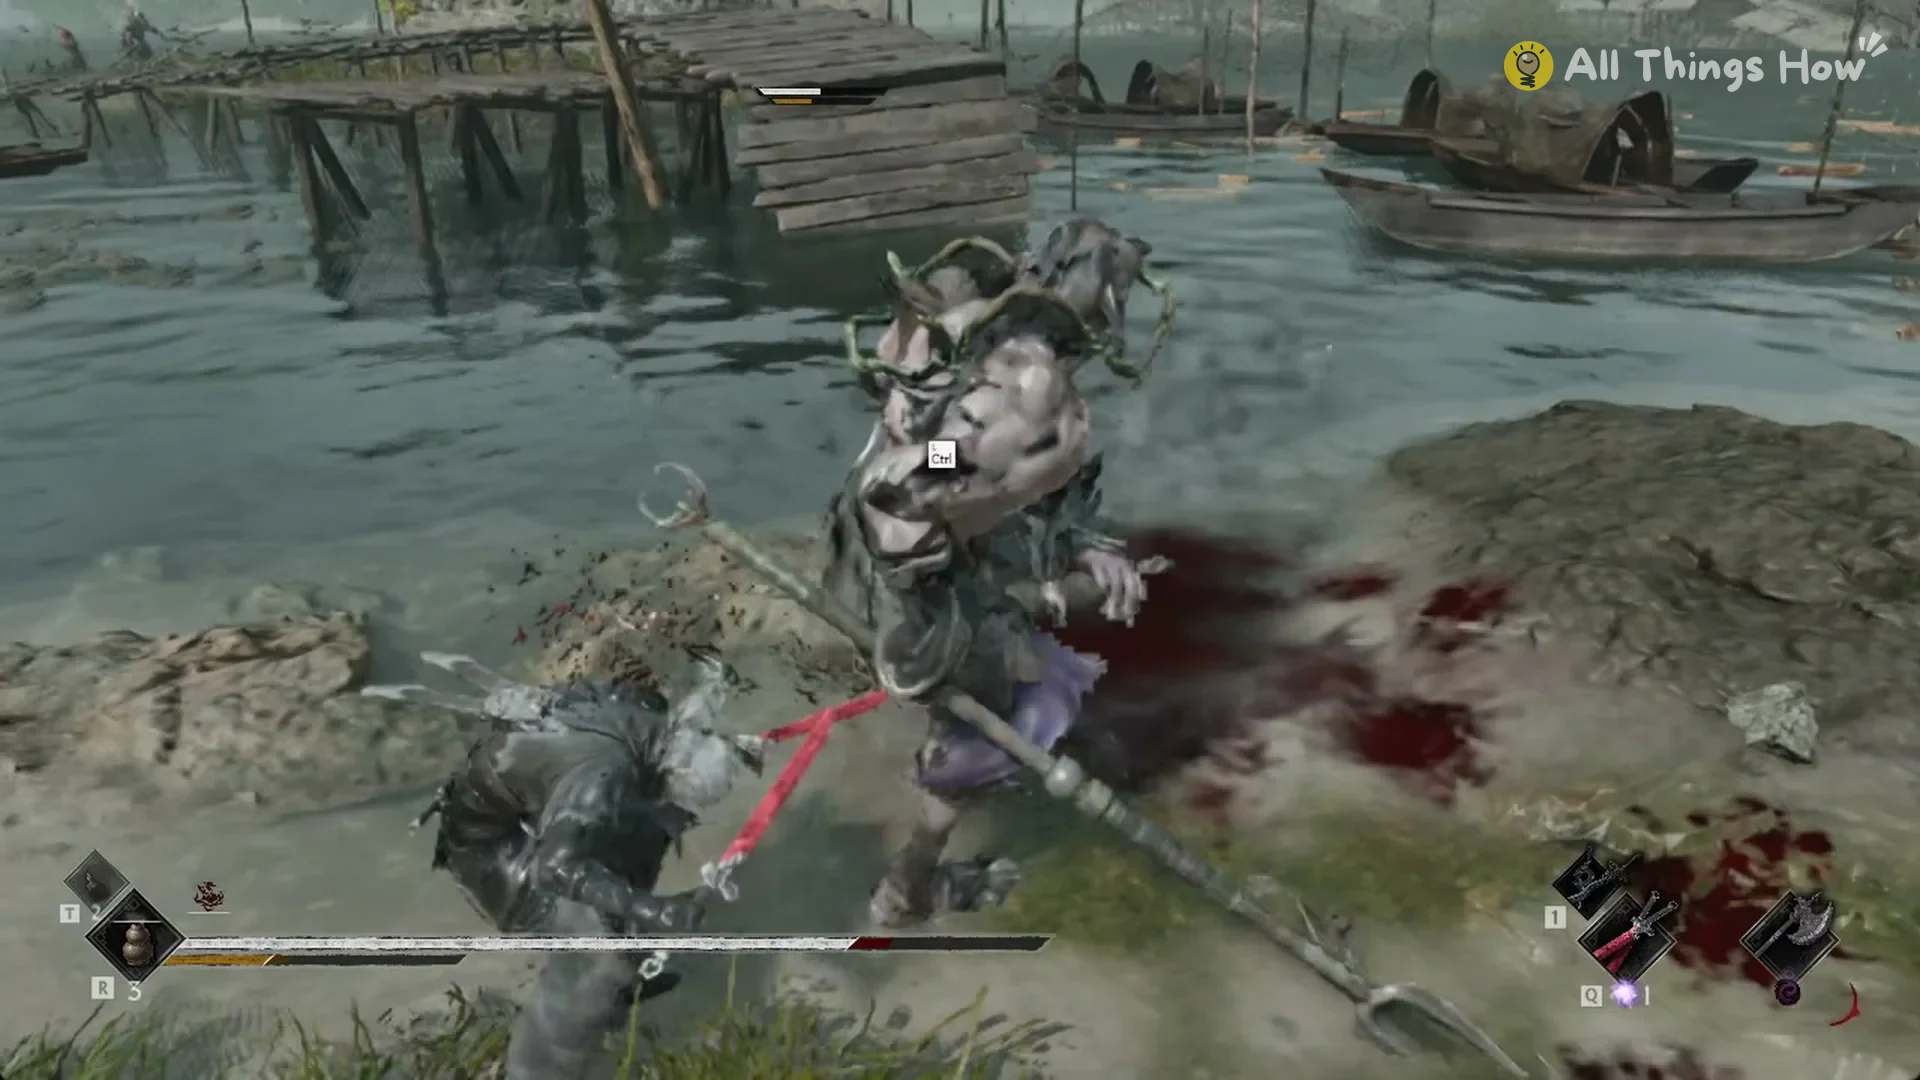
The raise, thrust and sweep combo starts with the trident swung up over his shoulder. A streaking thrust comes first and a second strike follows. Guard the thrust, then deflect the follow-up.
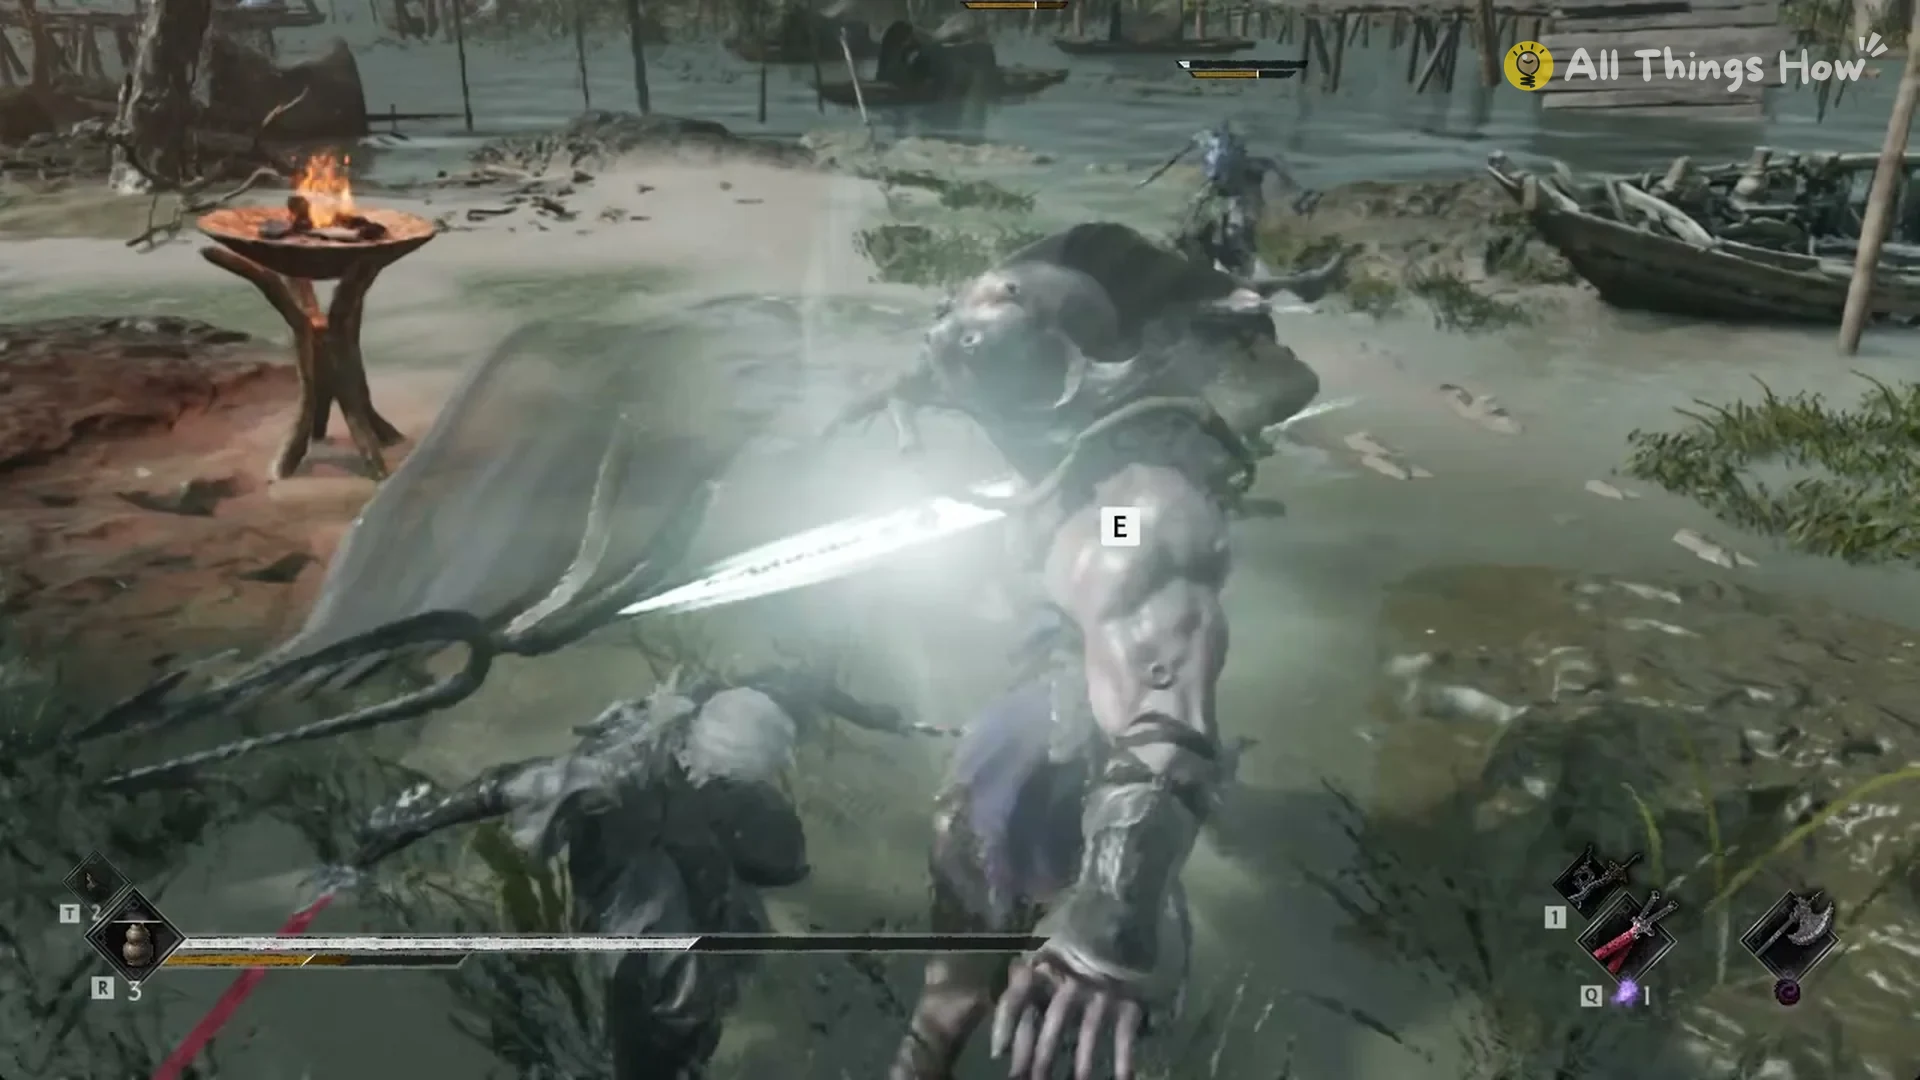
The leap and plunge is his hardest single hit. From about 10 m out he jumps high and drops trident first, so backing off does not buy you safety. Watch for the jump and be ready to move as he lands.
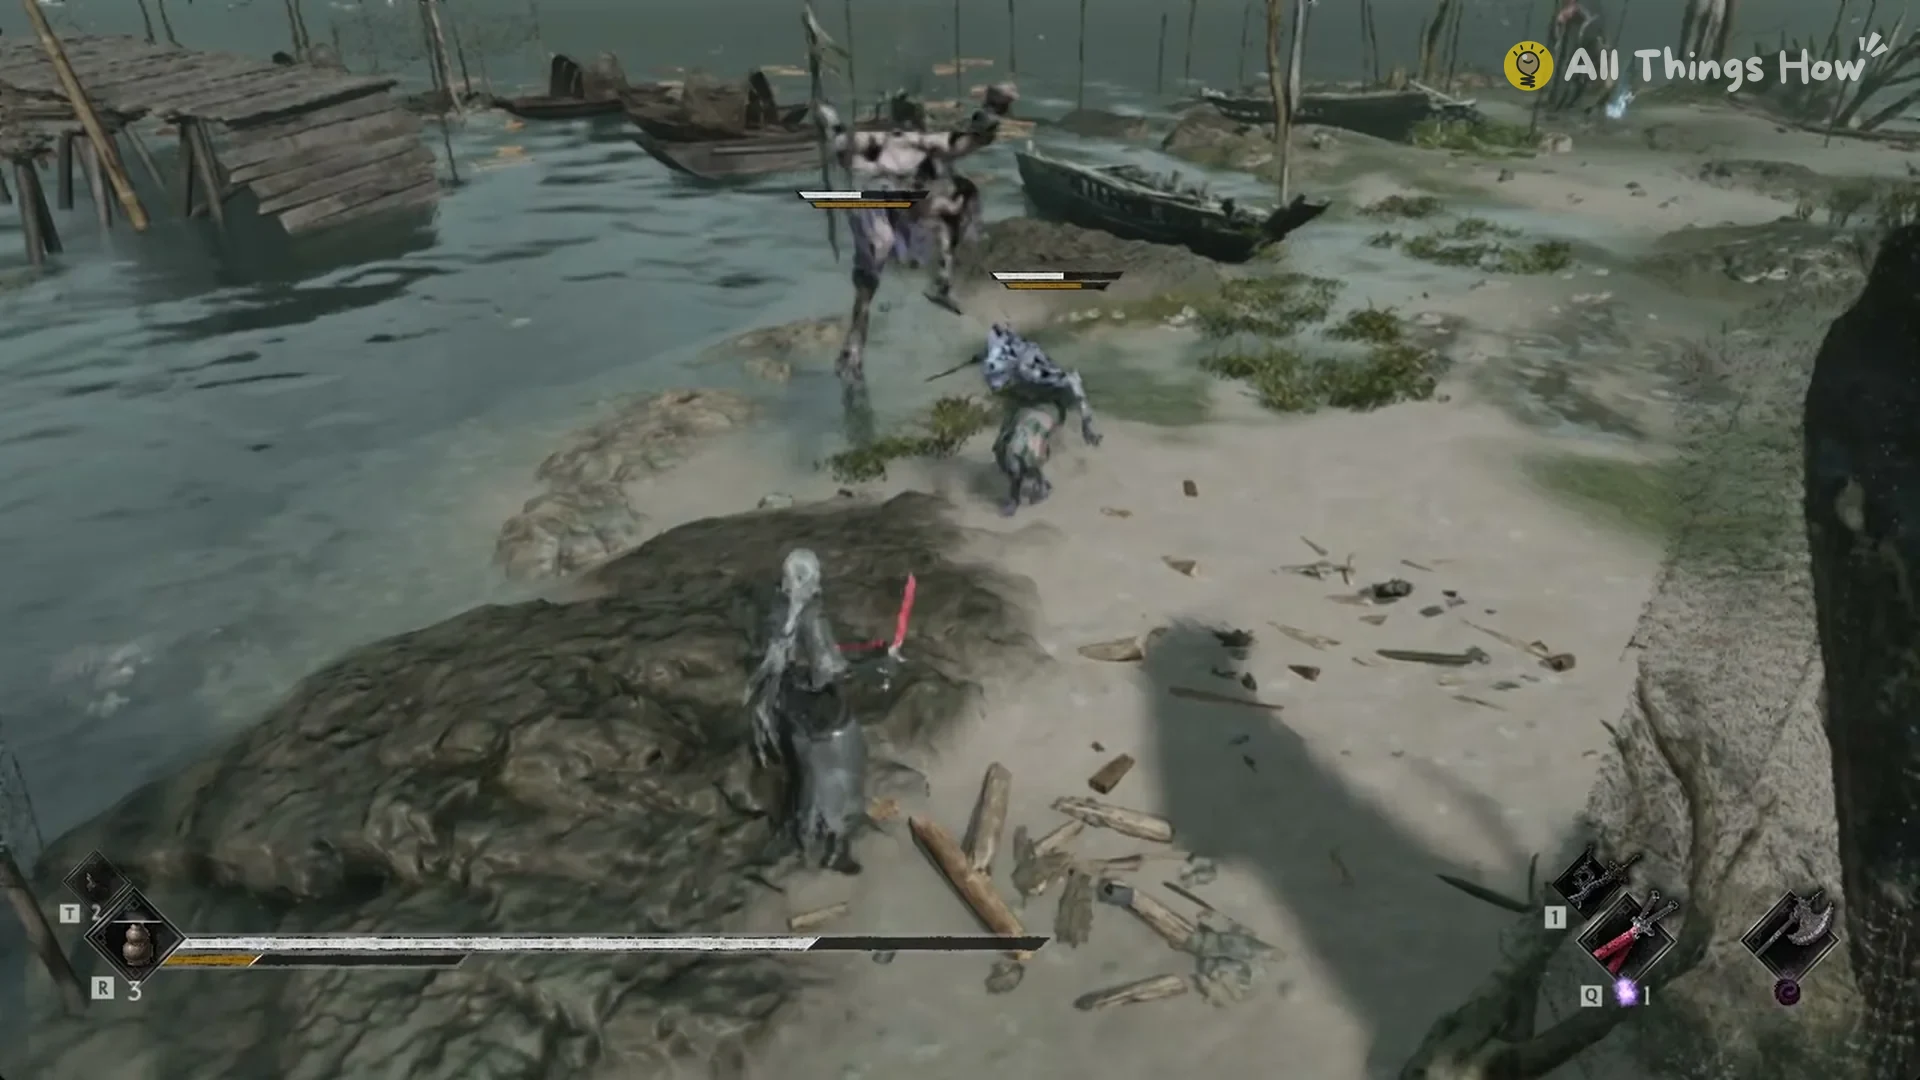
How to beat the Blackwater Diver
- Start from the Blackwater Crew Dock bell with full health and healing.
- Pull him away from the crew where you can, since the netter and the knife disciple add extra hits.
- After the opening jab of his thrust sequence, deflect each remaining attack.
- Deflect the second strike that follows his streaking thrust.
- Keep your guard up even at range: his leap can cover roughly 10 m.
- Late in the fight an execution prompt (E) can appear over him. Use it when it shows.
Blackwater Diver rewards
When he falls, the Diver drops his trident and gives you Remnant Dust. That is how you know the fight is over.
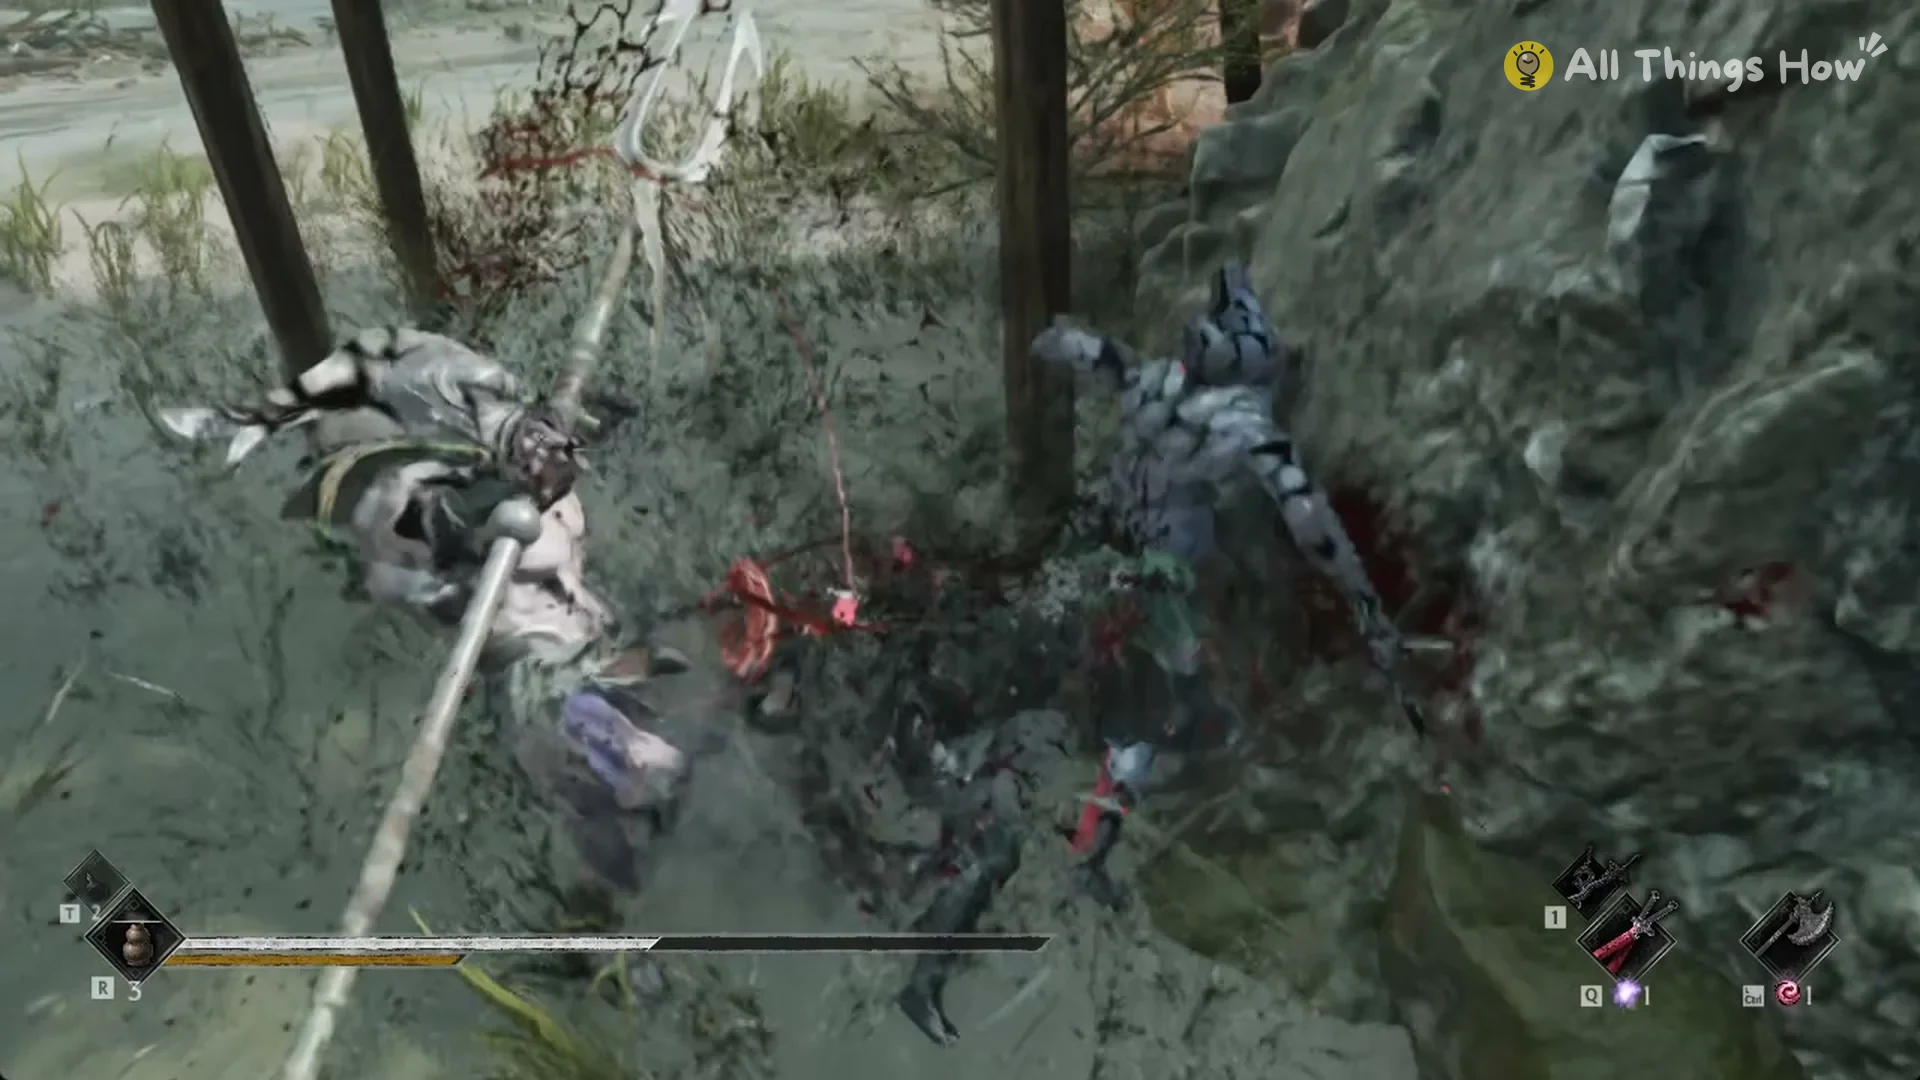
With him gone, the Remnant Spark Cube Fragment: Tenon appears on the shore a few metres from the slanted plank wall. Pick it up before you leave. It is one of the two halves of the Remnant Spark Cube.