Gaming How-To

How to Beat Ringo in Vanguards on Trail of the Saint – Six Seconds Back

Ringo arrives on Wave 15 with 5.77M health; here are the four units, the build order and the upgrade path that beat him.

Ringo arrives on Wave 15 with 5.77M health; here are the four units, the build order and the upgrade path that beat him.

Image: BYU Animation – Class of 2016

Ringo is the final boss of “Trail of the Saint – Six Seconds Back,” a Limited Time Mode (LTM) stage in the Roblox tower defense game Vanguards. He doesn’t appear until the last wave, so most of the fight is decided earlier. What matters is how much Yen you have saved and how many upgraded attackers are already on the path when he spawns.

Quick answer: Clear Waves 1–14 on Normal while you build three Sprintwagons for income, then three Julius (Spinning) and three Fleetwood (Shell). On Wave 15, put every spare Yen into Julius upgrades until Ringo’s 5.77M health bar empties.


Ringo boss stats and spawn conditions

Ringo spawns only at the start of the last wave of the stage. The game warns you right before he appears, and he introduces himself with a dialogue box once he is on the map. His health bar sits above the screen for the whole wave, so you can always see how close you are to finishing him.

DetailValue
StageLTM Trail of the Saint – Six Seconds Back
DifficultyNormal
Spawn waveWave 15/15
Health5.77M
Warning textA huge threat is approaching…
DialogueWelcome to a True Man’s World

Ringo walks the same dirt path as every other enemy, from the canyon toward the town. He keeps moving while he takes damage, so your attackers need to be spread along the route rather than packed at a single point. That way every unit gets time on him as he passes.


Units to bring for Ringo

This four-unit loadout clears the stage on Normal. It is two parts economy, two parts damage, and one support. The costs below are each unit’s base placement price in Yen (¥), which is the currency you earn during the match.

UnitRarityBase costJob
Tempest Pirate (Navigator)Mythic550¥Support
SprintwagonEpic550¥Yen income
Julius (Spinning)Mythic1,500¥Main damage
Fleetwood (Shell)Secret1,500¥Extra damage

Sprintwagon is the engine of the run. It earns Yen every wave, and it has four upgrade tiers that raise that income. You want all three copies on the field early, because every Yen they make before Wave 15 ends up as Julius upgrades on Ringo.

Julius (Spinning) does most of the boss damage. Its spinning hits land repeatedly as Ringo walks through its range, and it has eight upgrade tiers. That makes it the best place to spend money late in the run.

Fleetwood (Shell) adds damage, but in this stage it can’t be upgraded at all. Treat each copy as a fixed purchase. Tempest Pirate (Navigator) goes down mid-run and gets upgraded as Yen allows.

Fleetwood (Shell) cannot go beyond Upgrade 0 during this match. If you select it, the message “This unit is locked to upgrade 0 in this match!” appears; save your Yen instead of setting any aside for its upgrades.


Stage rules on Trail of the Saint – Six Seconds Back

A few rules in this stage change how you should spend Yen. Here they are before you start placing anything:

  • The stage runs 15 waves, shown as Wave 1/15 through Wave 15/15 on the HUD.
  • The HUD also shows Stocks: 3/3 and the Yen you get from the next wave, such as Next Wave Yen: 370Y.
  • You can place at most 3 copies of each unit. A fourth attempt shows “You can only place 3 of this unit!”
  • Between waves, the game posts “Another rock landed nearby.” and new rocks show up beside the track with yellow circle markers.
  • A Wave Skip panel with a green Skip button lets you start the next wave before its timer runs out.
  • The Unit Manager screen lists your placed units and lets you upgrade them from one menu.

The three-copy cap is the one that shapes the whole plan. With four unit types, you have at most twelve placements. Once those slots are full, extra Yen can only go into upgrades. Because Fleetwood can’t be upgraded, nearly all of that late money goes to Julius and Sprintwagon.


Waves 1 to 14: build order before Ringo

The fourteen waves before the boss are mostly about building income. Regular enemies on Normal are light enough that a few attackers hold the path. That leaves room to put money into Sprintwagons first and add damage as the waves get bigger.

Waves 1–4: income first

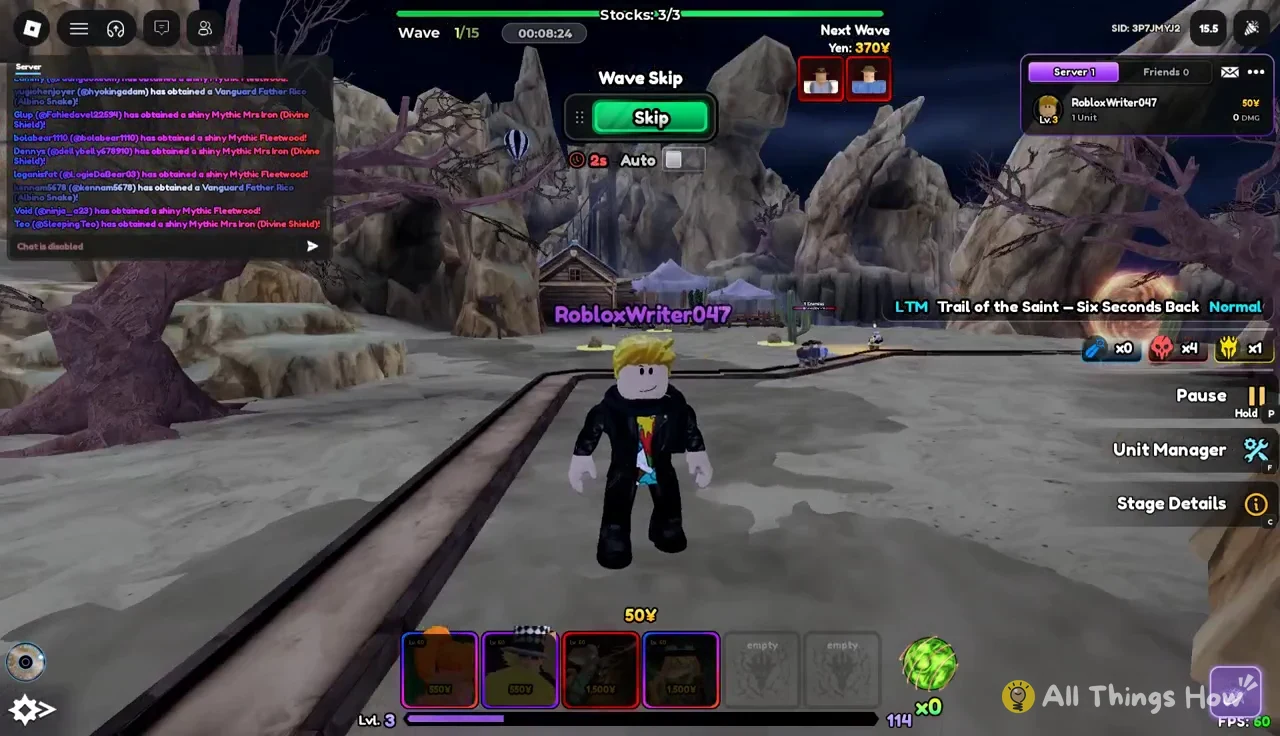
Choose Normal difficulty for “Trail of the Saint – Six Seconds Back” and begin. The opening screen shows Wave 1/15 and already includes the Wave Skip panel.
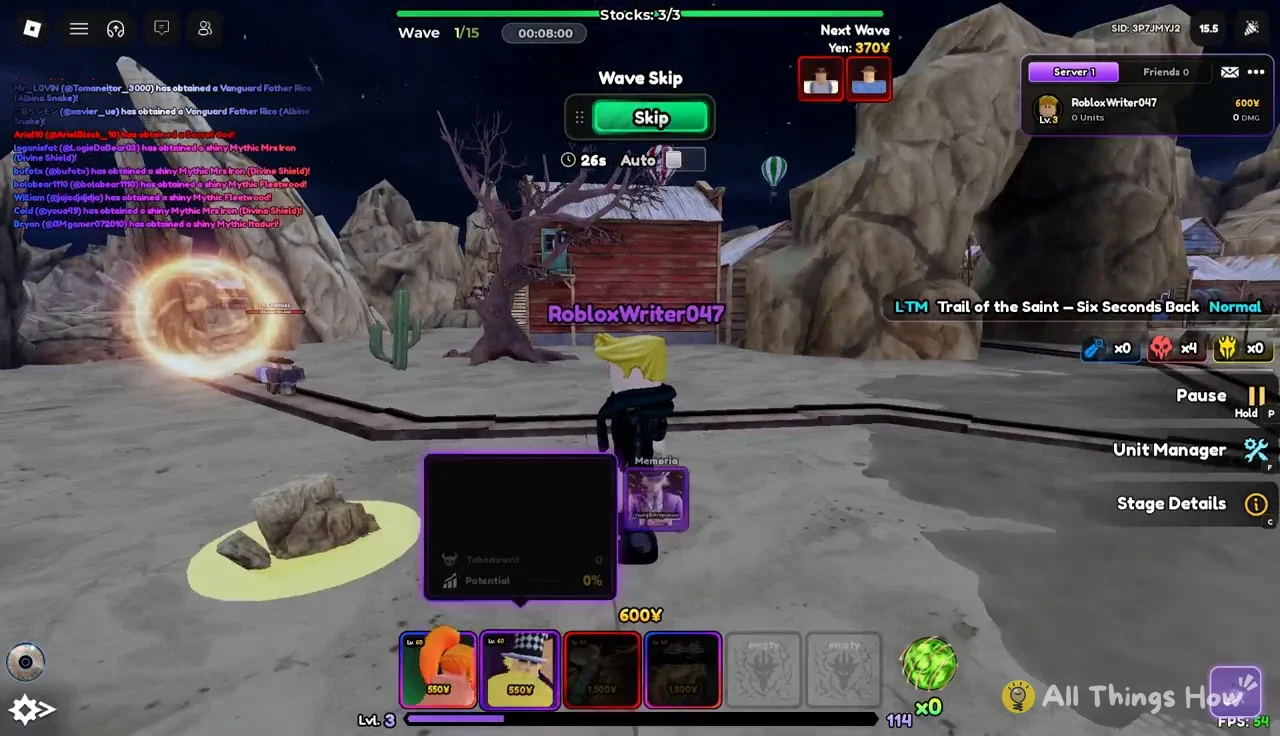
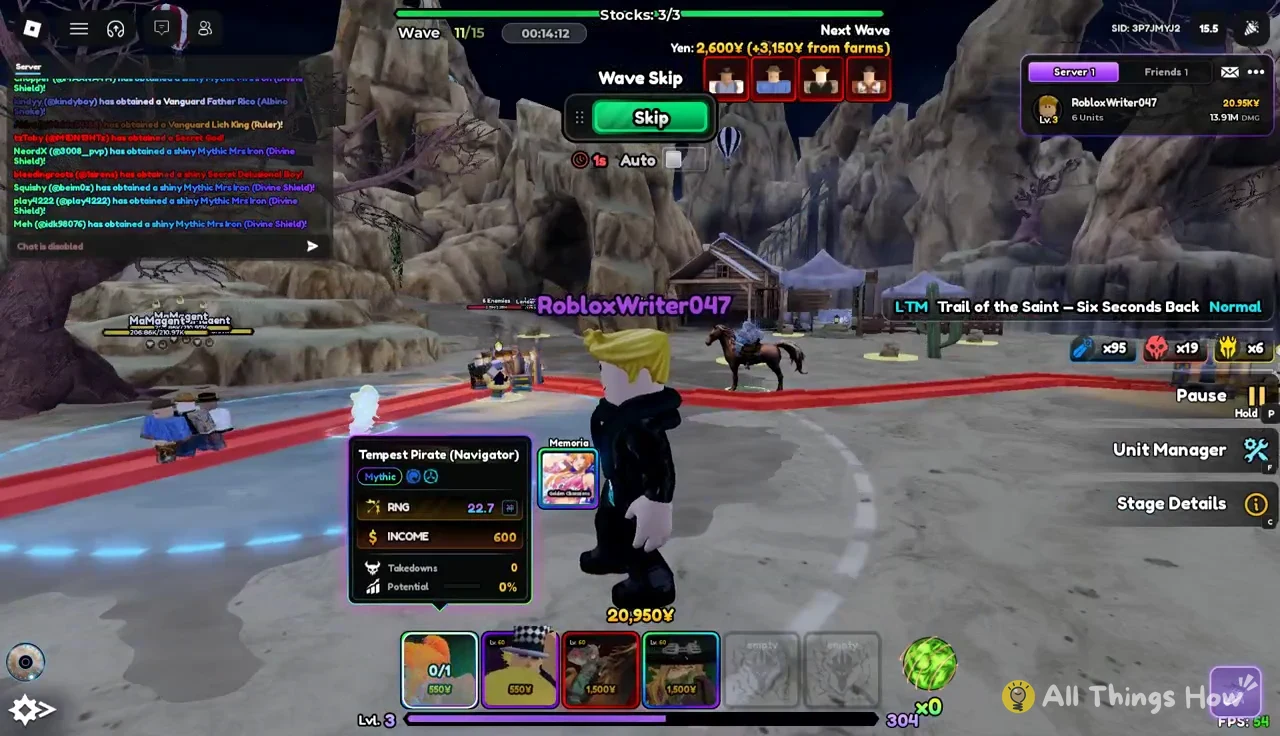
Vanguards battle screen on Wave 1/15 with the green Wave Skip button available
The stage opens on Wave 1/15 with the Wave Skip panel ready.
Place your first Sprintwagon near the rock beside the track. Early income adds up over every remaining wave, so this is the most valuable 550¥ you will spend.
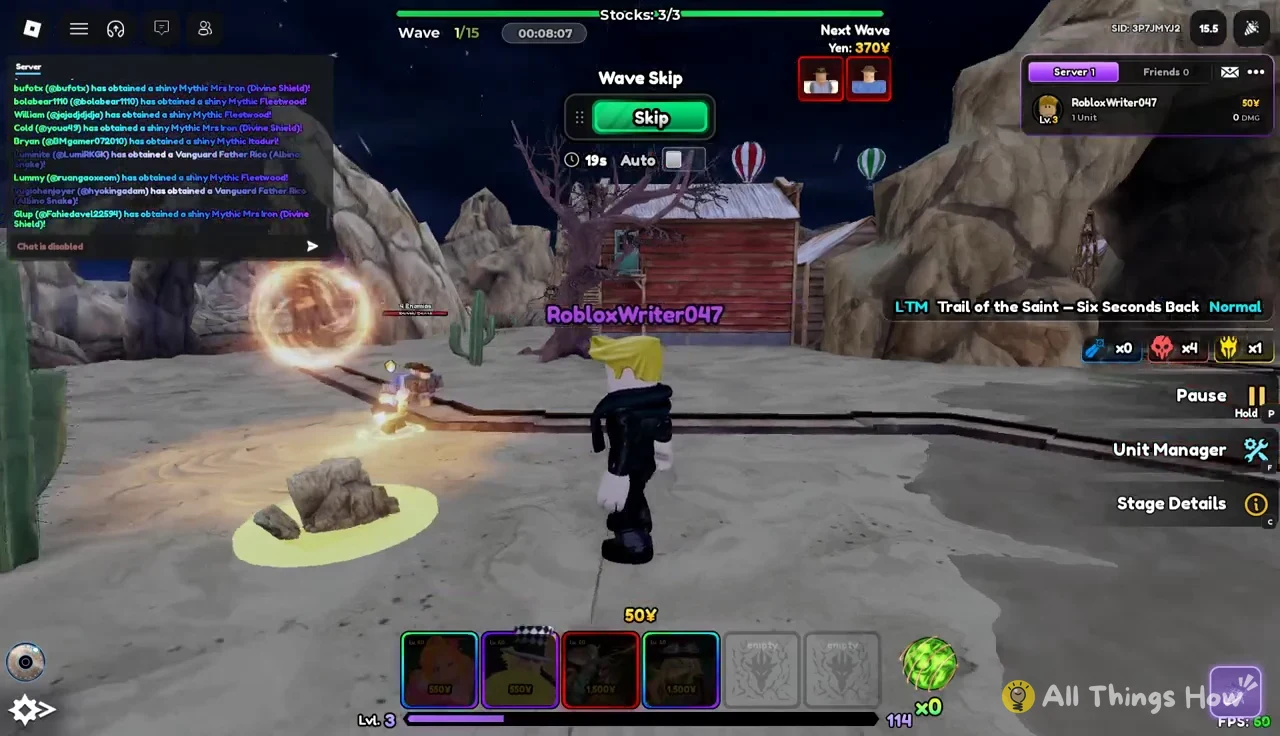
Press the green Skip button once your units are in place. Skipping starts the next wave without waiting out the timer, so your Sprintwagons begin earning sooner.
Wave Skip menu open during Wave 1 with the green Skip button ready to press
The Wave Skip menu during Wave 1, with Skip ready to advance the wave.
Place a second Sprintwagon along the road when Wave 1 ends. The game confirms the clear with “Wave Completed!”, then posts “Another rock landed nearby.” as the next wave lines up.
Wave Skip panel open with the green Skip button available before Wave 2
The Wave Skip panel ahead of Wave 2, after the second Sprintwagon goes down.
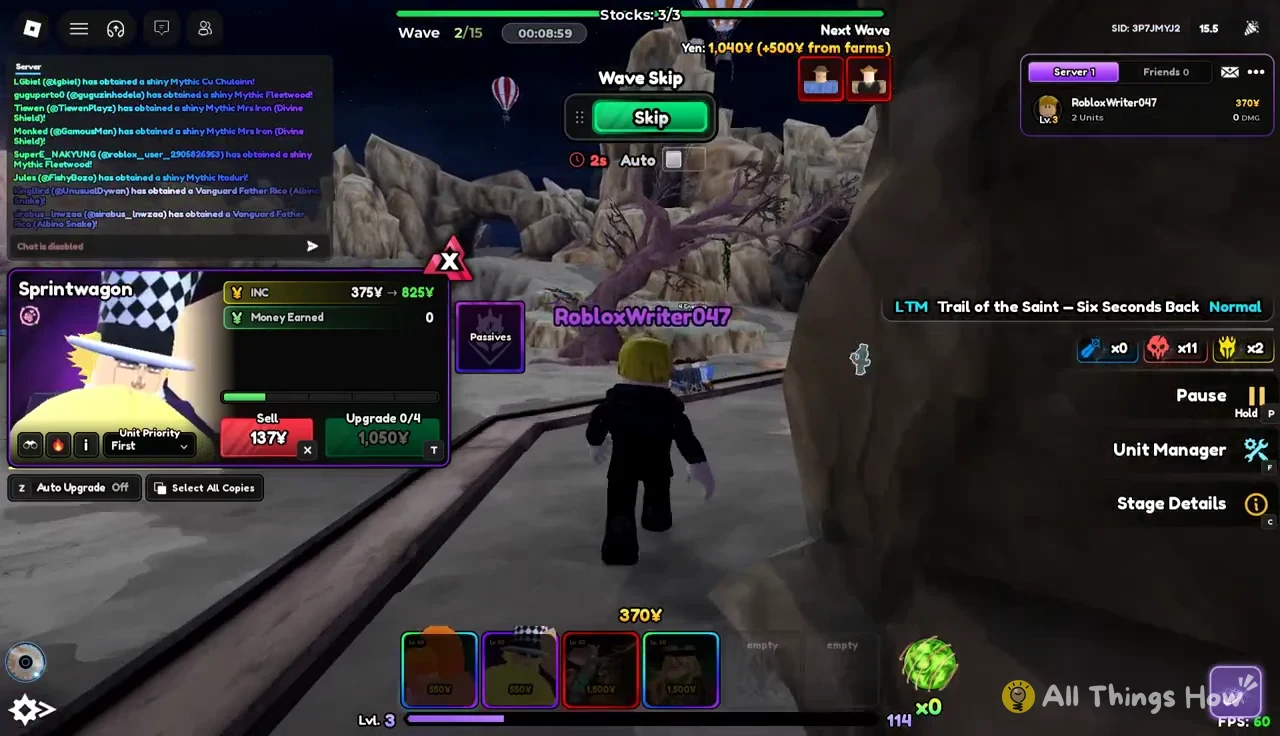
Deploy Julius (Spinning) on the outer bend of the path after Wave 2. A bend keeps enemies inside its range for longer, which matters even more once Ringo shows up.
Wave Skip prompt on Wave 2 with the green Skip button showing
The Wave Skip prompt during Wave 2, just before Julius (Spinning) is placed.

Click the placed Julius to open its details panel. It lists the unit’s stats and an Upgrade button that starts at 0/8, which tells you the full length of its upgrade track.
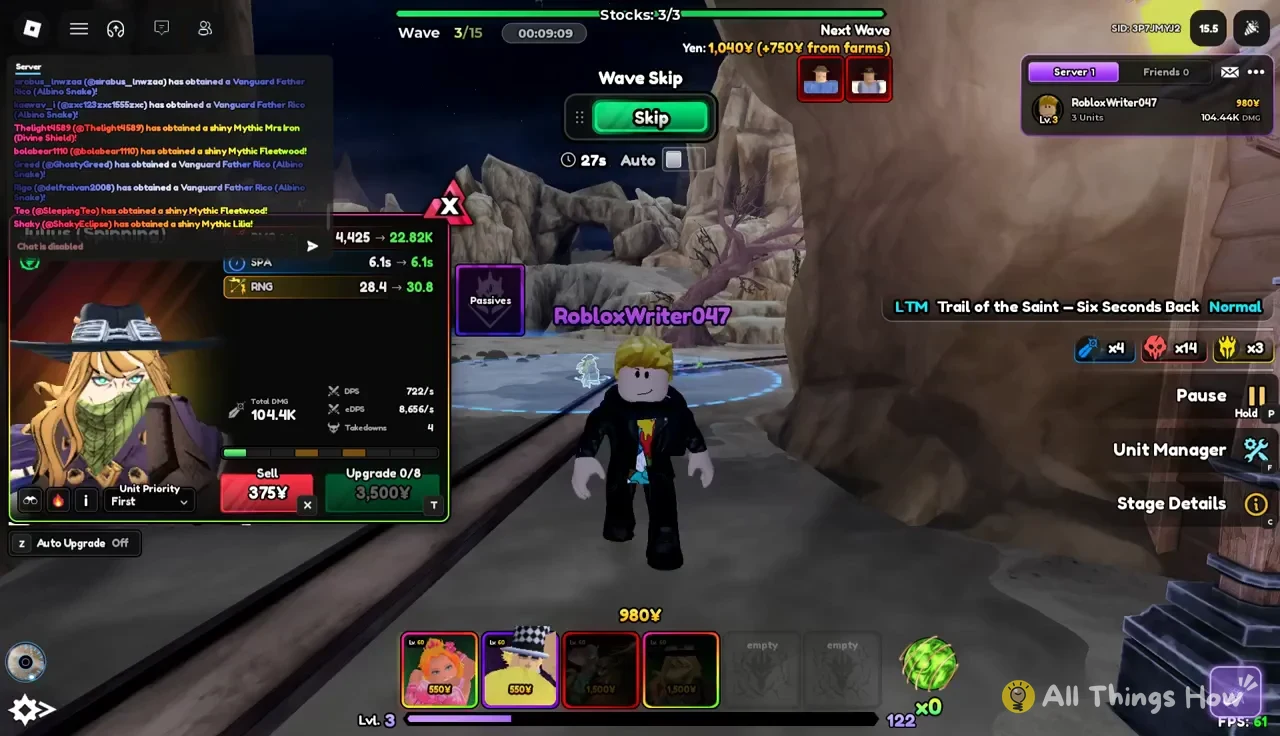
Deployed unit details panel showing stats and an Upgrade 0/8 button
A placed attacker’s details panel, with its stats and the Upgrade 0/8 button.
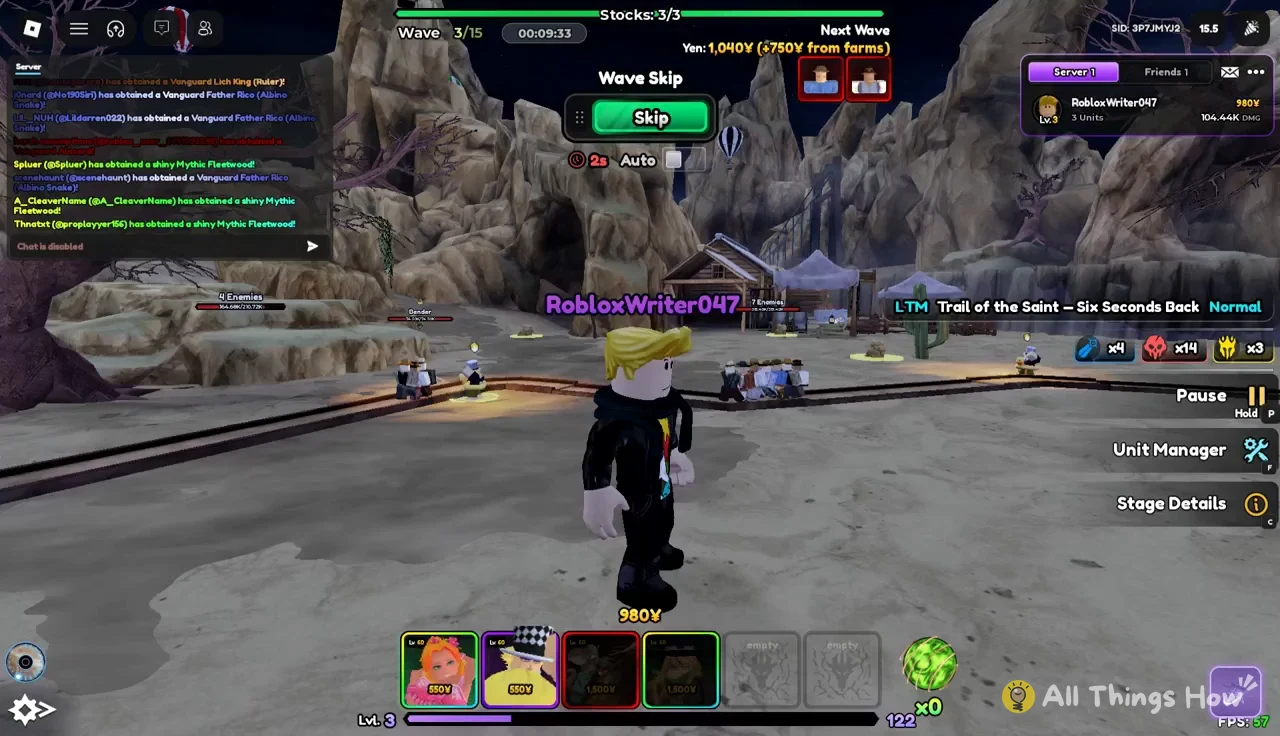
Place Fleetwood (Shell) after Wave 3 to add a second source of damage. Remember that this copy stays at Upgrade 0 for the whole match.
Wave Skip prompt during Wave 3/15 with the green Skip button
Skipping ahead from Wave 3/15 once Fleetwood (Shell) is down.
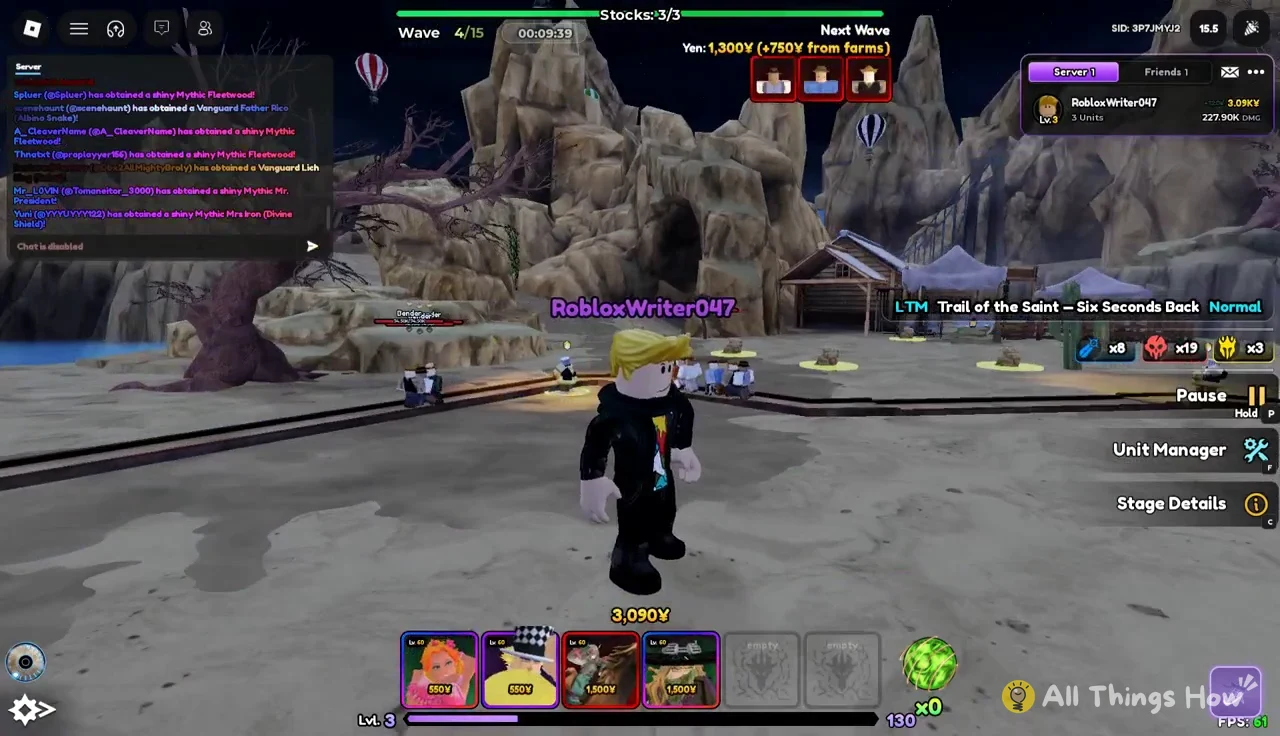
Upgrade your first Sprintwagon to tier 1 around Wave 4. With one Julius and one Fleetwood covering the path, extra income is worth more than another attacker at this point.
Trail of the Saint on Wave 4/15 with units fighting along the path and the Unit Manager button visible
Wave 4/15 underway, with the Unit Manager button on the HUD.

Waves 5–9: finish the economy, add attackers
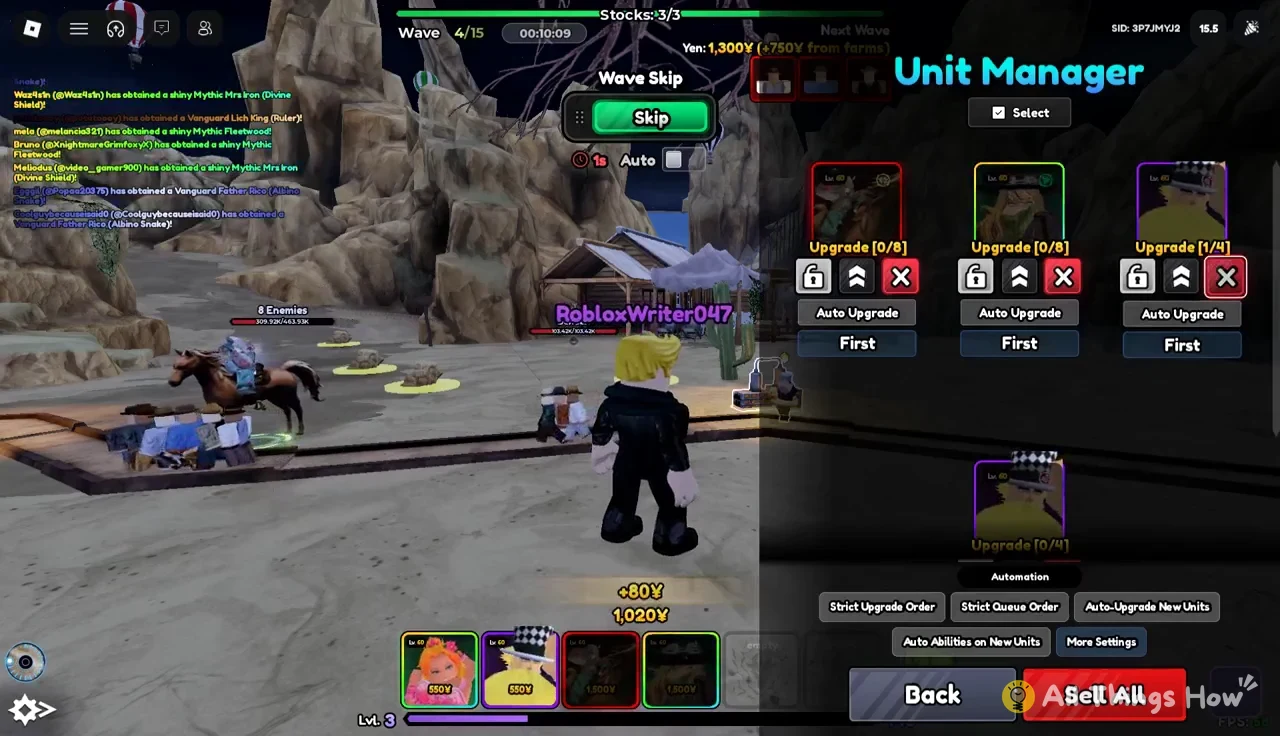
Open the Unit Manager from the HUD. It lists every placed unit with its own Upgrade control, plus automation options and a Sell All button. That makes it the fastest way to manage several Sprintwagons at once.
Unit Manager screen listing deployed units with Upgrade buttons, automation options and Sell All
The Unit Manager screen, with per-unit Upgrade controls, automation options and Sell All.
Place your third Sprintwagon when Wave 4 ends, then upgrade it. Select it, move the placement preview onto open ground near the track, and confirm with Place. This fills your income slots for the run.
Sprintwagon selected in Unit Manager and being positioned on the map with the Place control
Positioning the third Sprintwagon with the Place control.
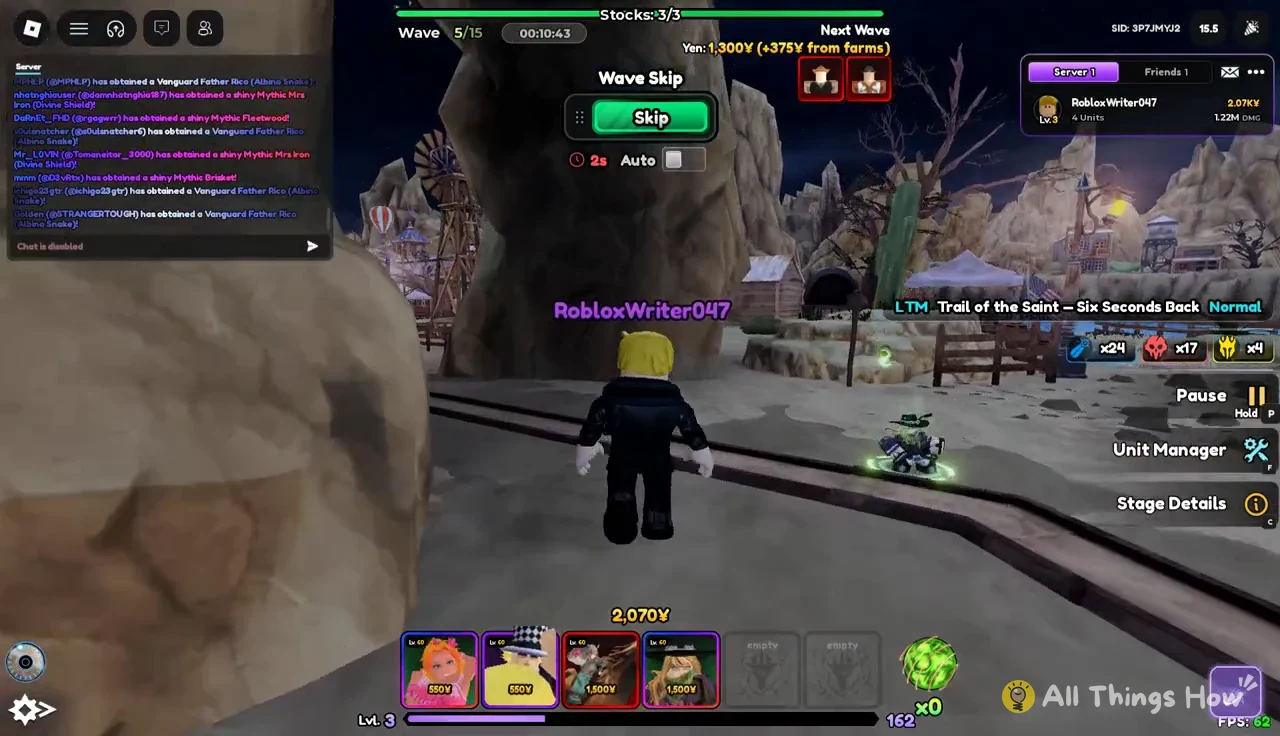
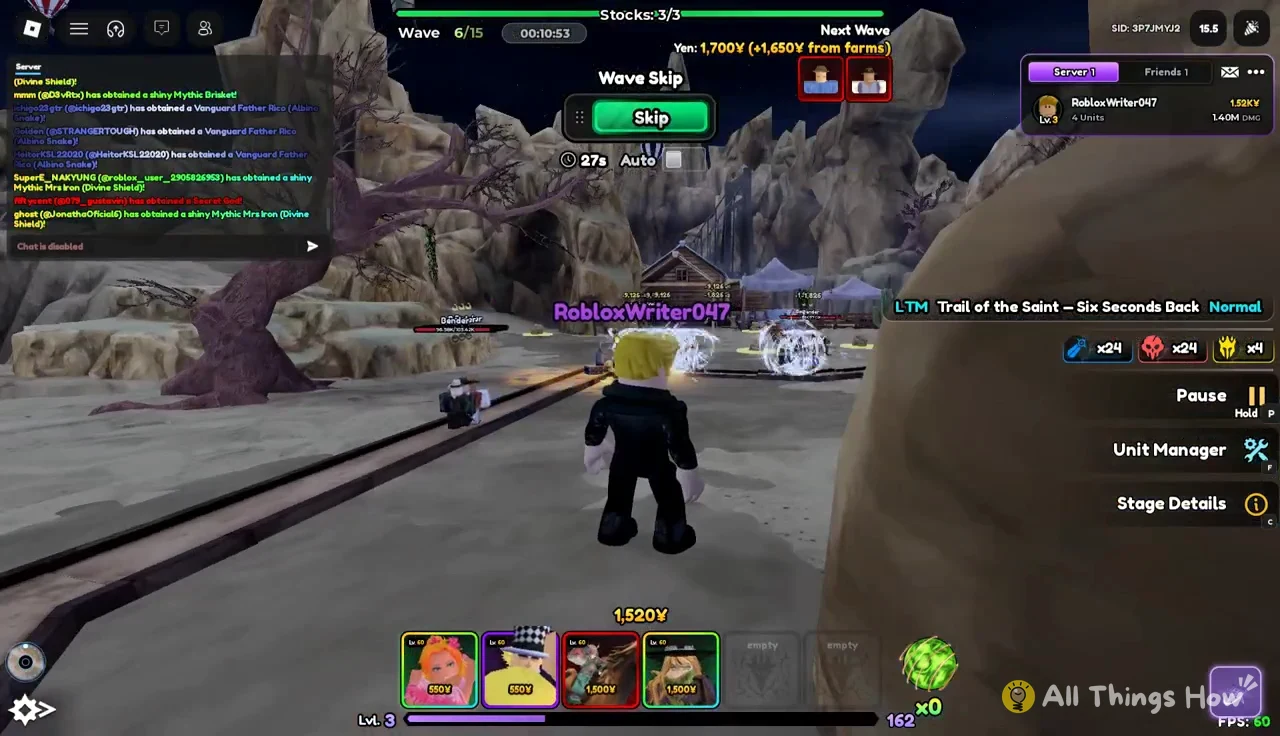
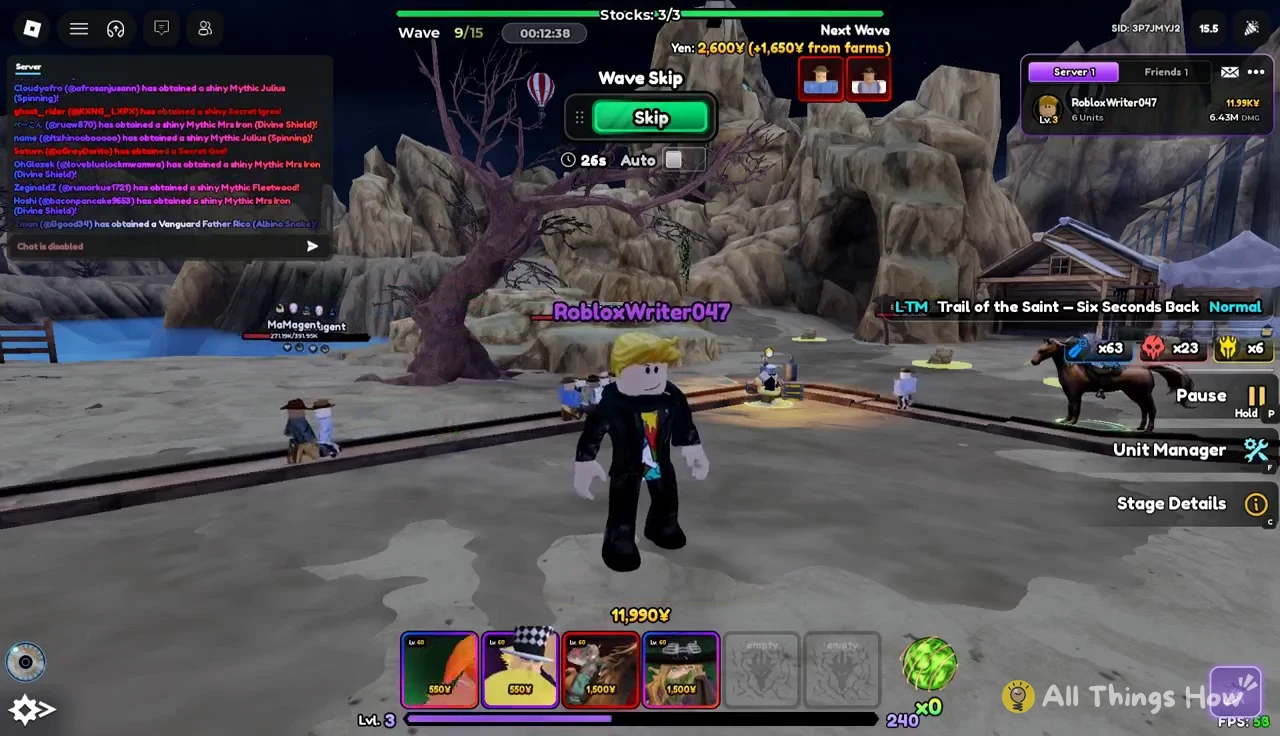
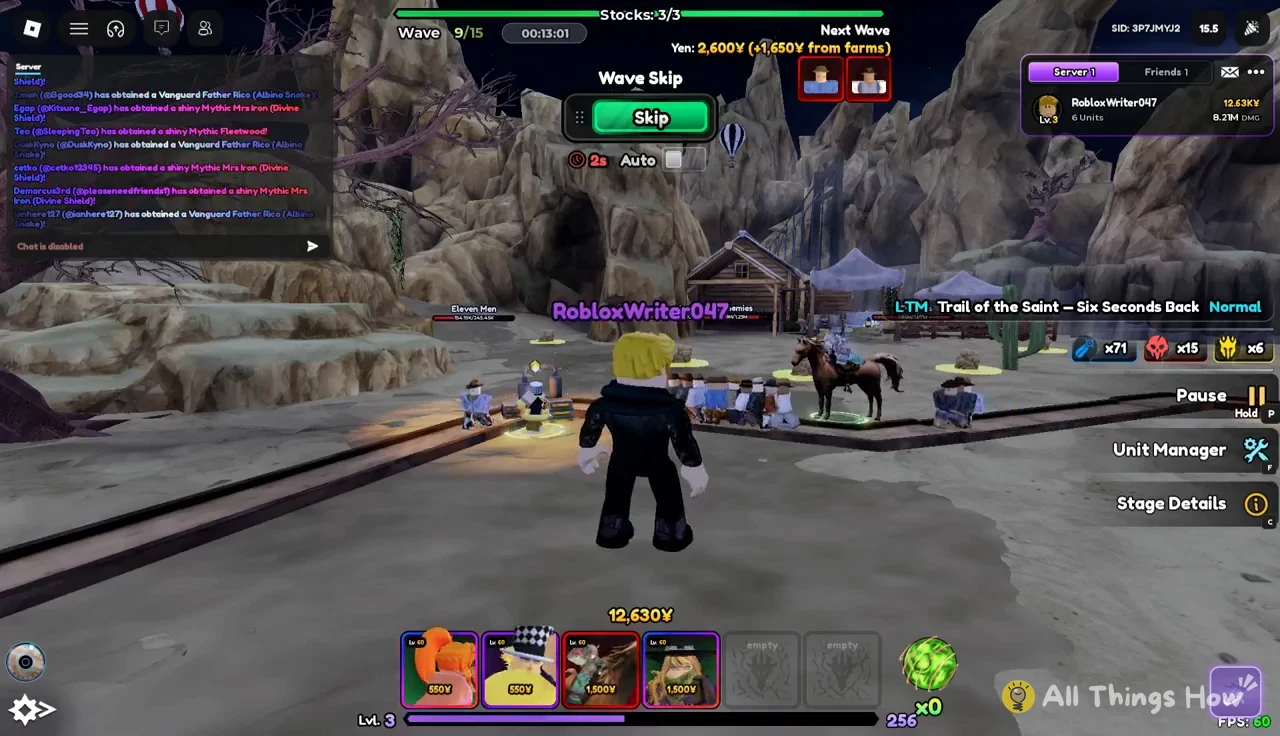
Spend the Yen from Wave 5 on Julius (Spinning) upgrades. Each tier raises the damage your main boss killer will carry into Wave 15. Once a wave is clear, the Wave Skip panel shows a short countdown before the next one starts on its own.
Wave Skip panel with the green Skip button and a two-second countdown to the next wave
The Wave Skip panel running a two-second countdown before the next wave.

Waves 5 through 7 don’t need new units if your first attackers are holding the path. Keep skipping as long as nothing leaks through, and send the Yen into upgrades rather than new placements.
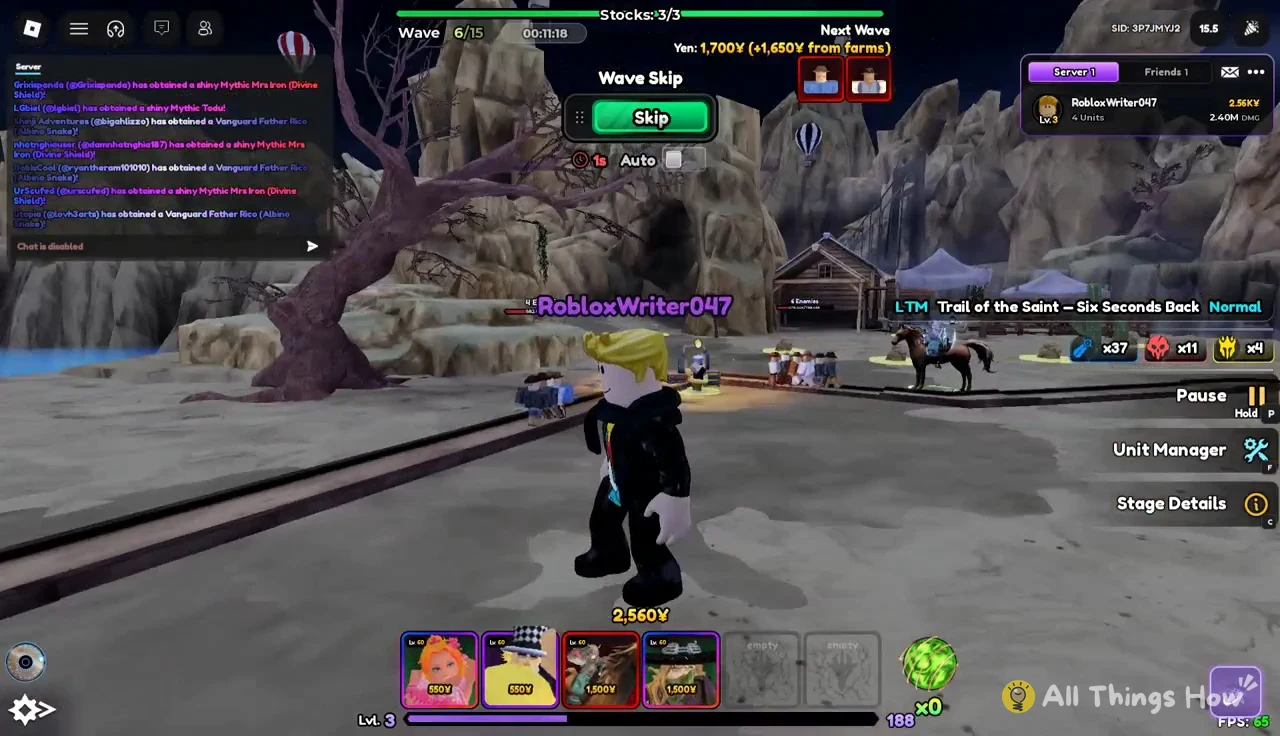
Selecting Fleetwood (Shell) during these waves confirms the upgrade lock. Its panel still shows an upgrade track, but trying to use it brings up the “locked to upgrade 0” message instead of spending Yen.
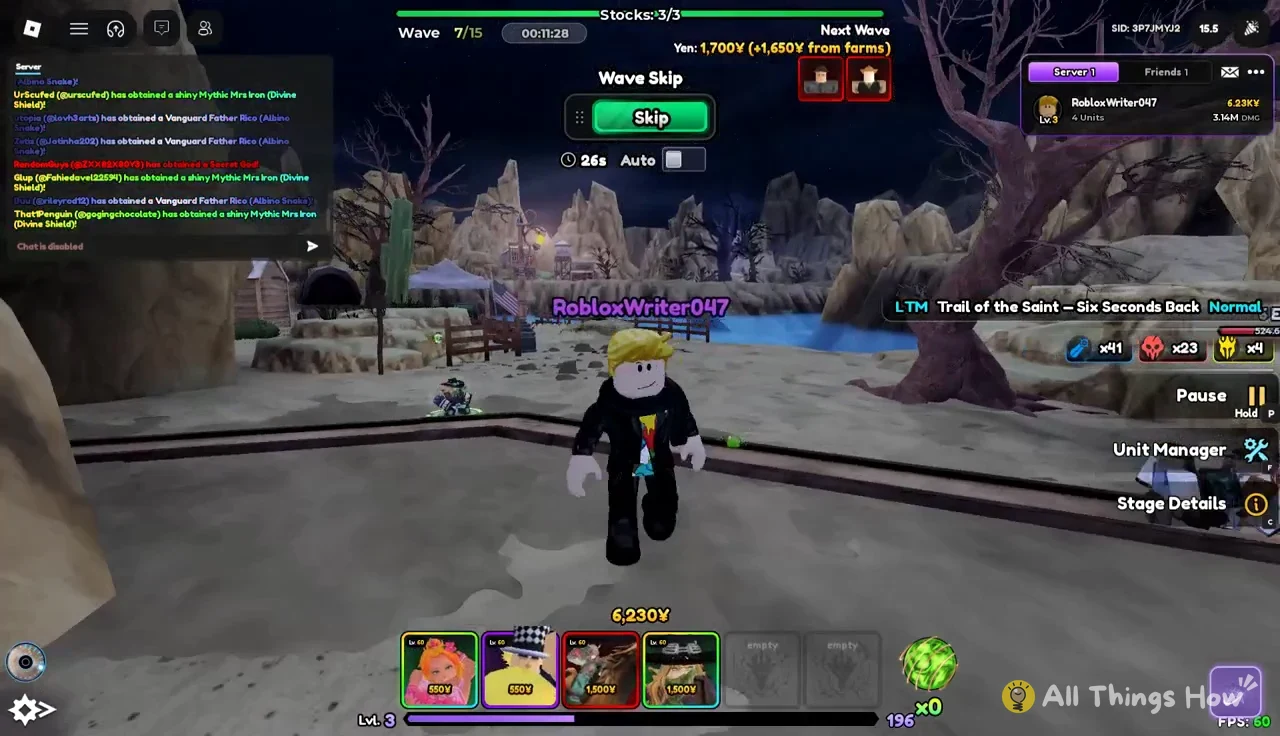
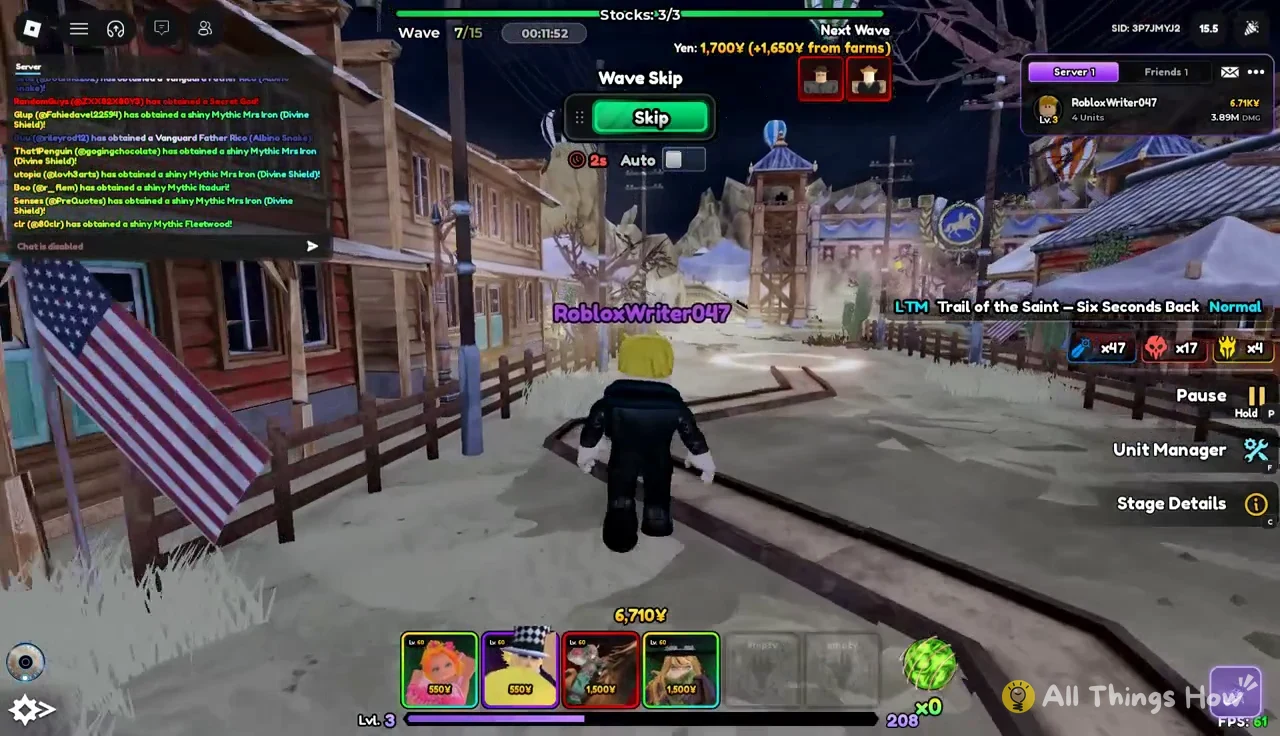
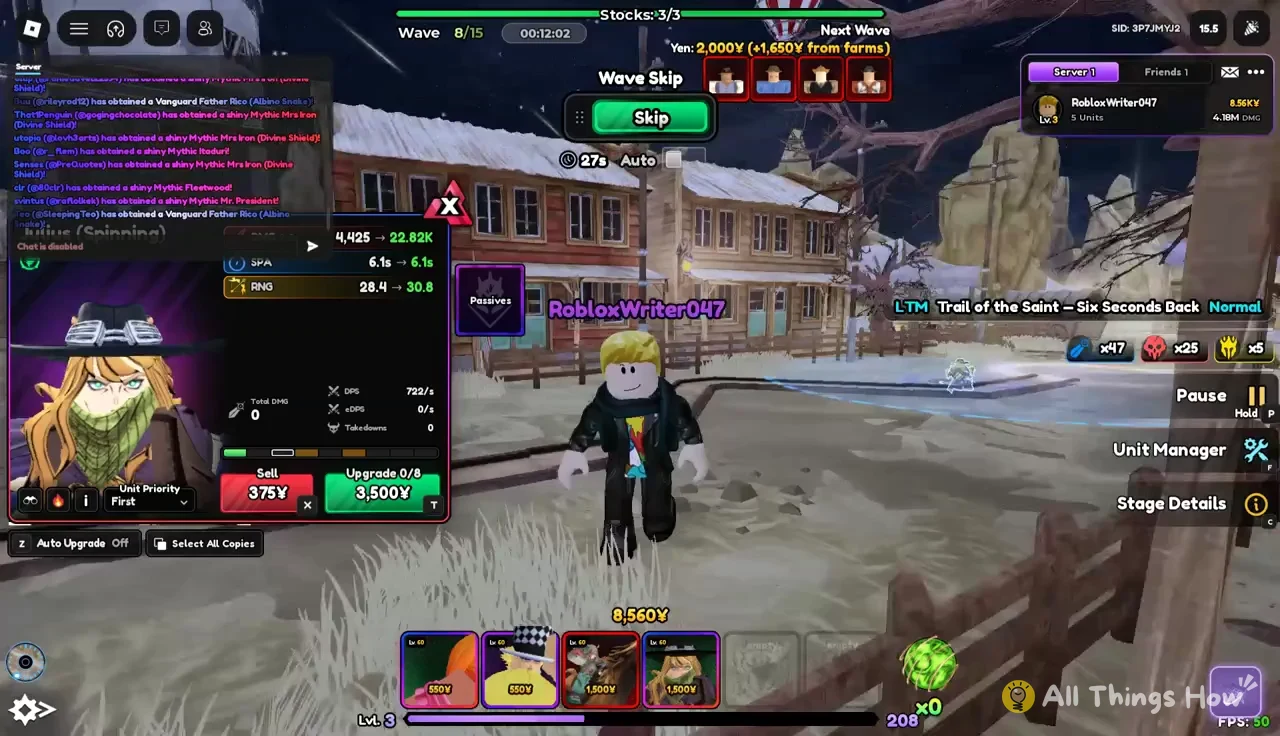
Once Wave 7 is over, add another Julius (Spinning) and another Fleetwood (Shell). Enemy packs begin growing denser at this point, so the extra attackers reach more of the canyon path. Upgrades become costly fast: the first one shown on the attacker panel below is 3,500¥.
Unit management panel with the green Upgrade 0/8 button showing a 3,500 Yen cost
A unit’s management panel with its first upgrade (Upgrade 0/8) priced at 3,500¥.

Waves 8 and 9 move enemies down the canyon path toward town. Your units should handle them without new placements, which leaves this stretch free for saving and upgrading.
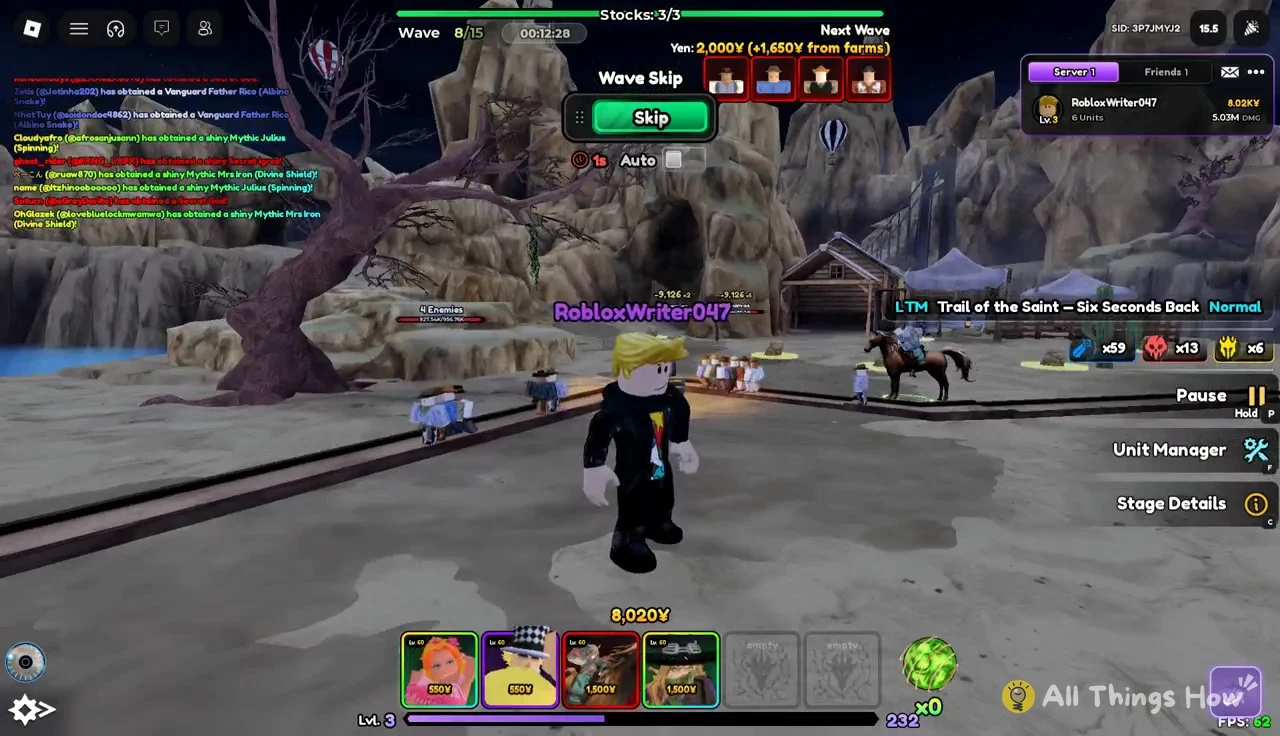
Waves 10–14: max income and fill every slot
Upgrade all three Sprintwagons as Wave 10 begins. Maxed income from here gives you the most Yen possible by the time Ringo spawns.
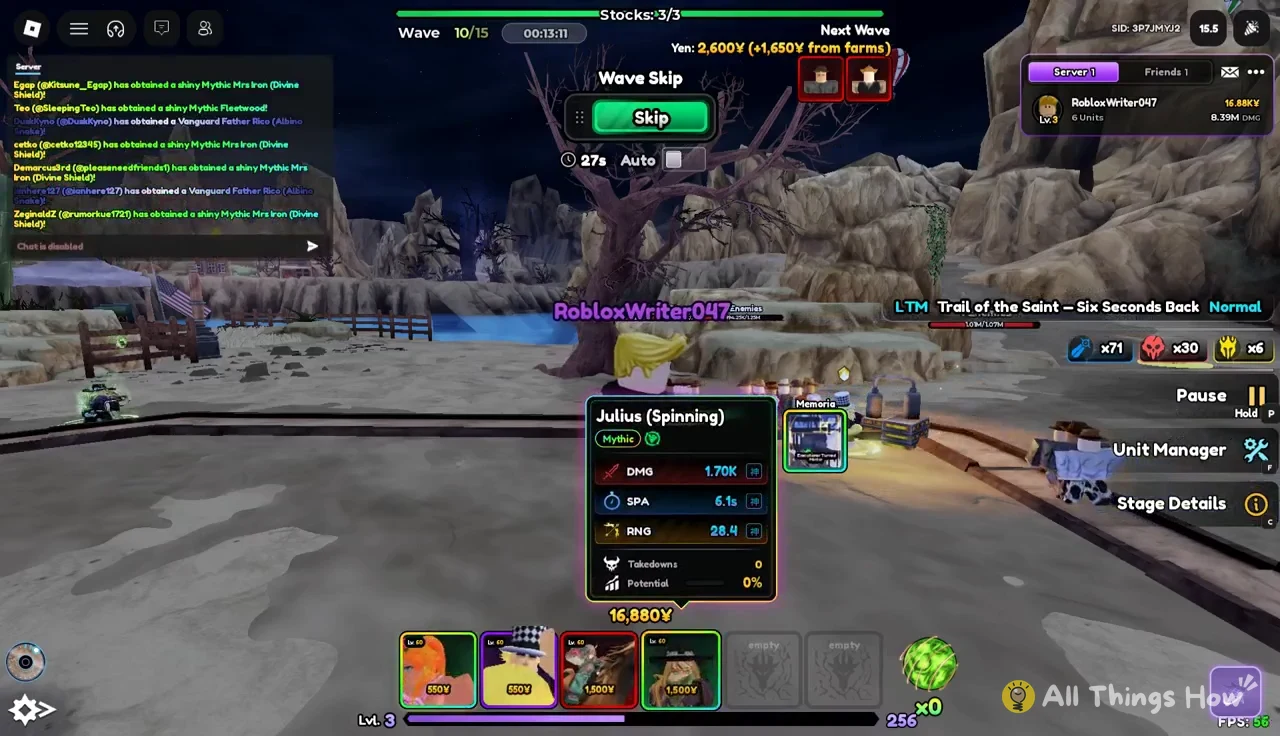
Deploy Tempest Pirate (Navigator) after Wave 11 and upgrade her. At 550¥ she is cheap to place, and by this point your income can cover her upgrades without slowing down Julius.
Tempest Pirate (Navigator) selected during Wave 11 with her info panel open
Tempest Pirate (Navigator) selected with her info panel open during Wave 11.

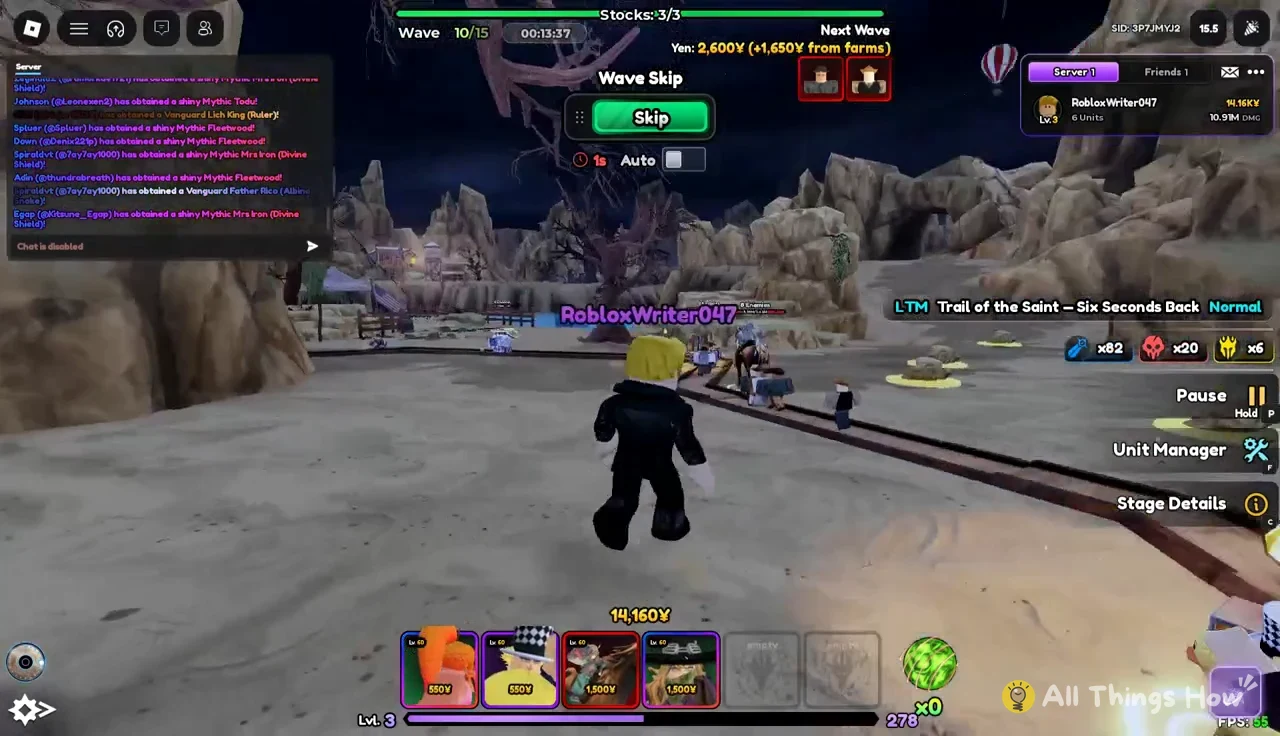
The wave timer is fairly long at this stage. The Wave Skip panel shows 28 seconds left on one late wave. If your attackers are clearing comfortably, skipping saves that time without costing you Yen.
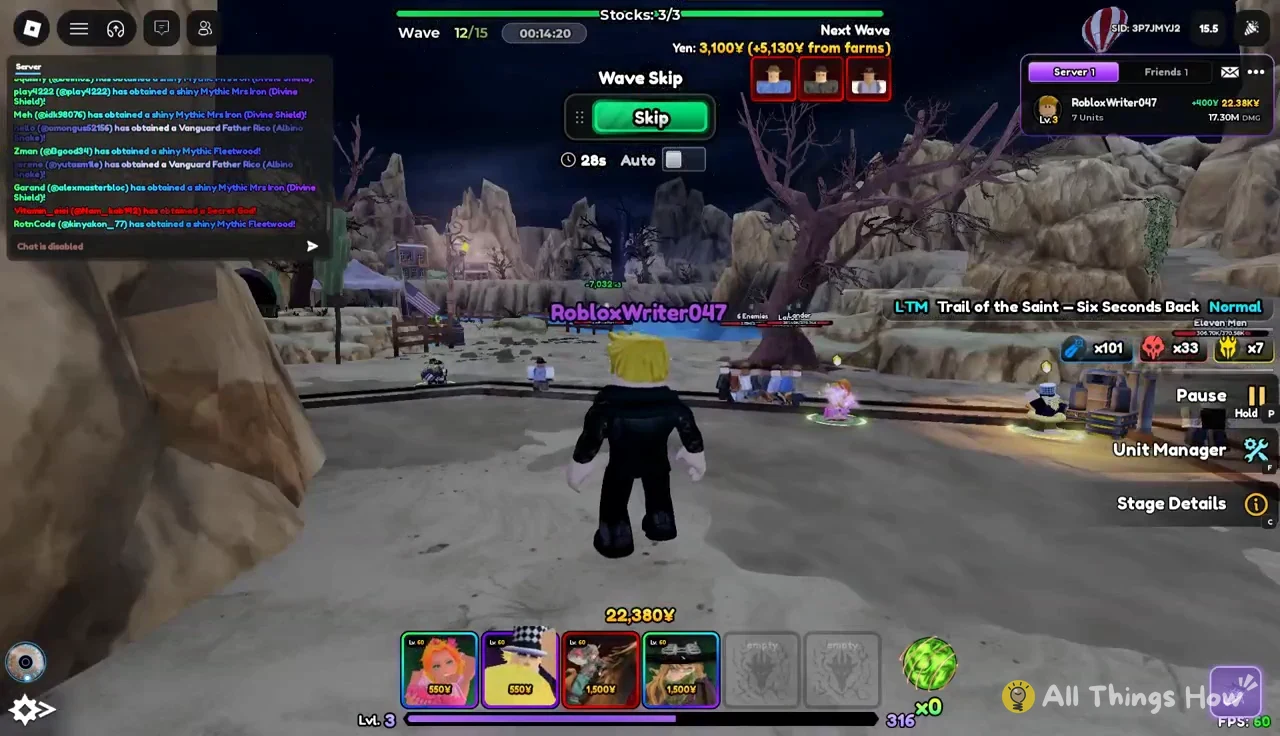
Wave Skip panel with the Skip button and 28 seconds left on the wave timer
The Wave Skip panel with 28 seconds left on the wave timer.
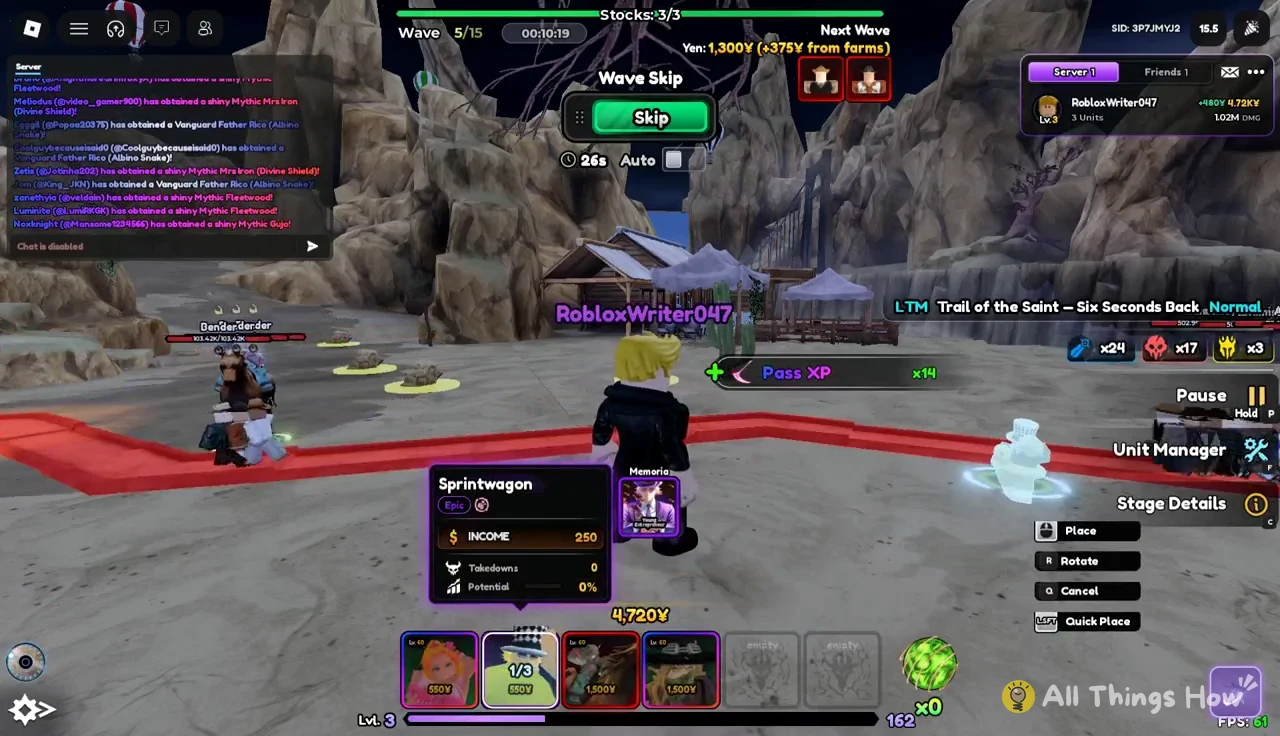
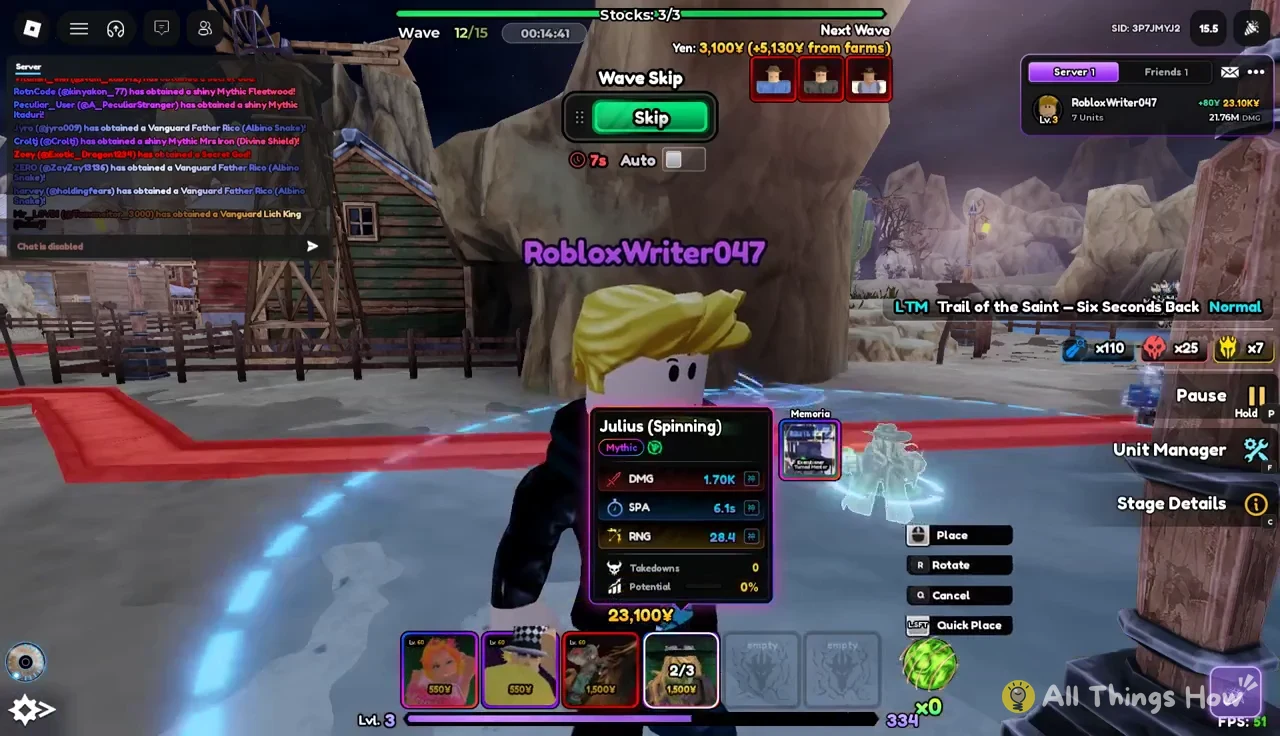
Place your third Julius (Spinning) during Wave 12. Use the Place and Rotate controls to set it along the route so its range overlaps the other two copies.
Julius (Spinning) placement preview on Wave 12/15 with Place and Rotate controls
Positioning the third Julius (Spinning) during Wave 12/15.
Place your third Fleetwood (Shell) right after. That fills all twelve unit slots, and every Yen from here on goes into upgrades.
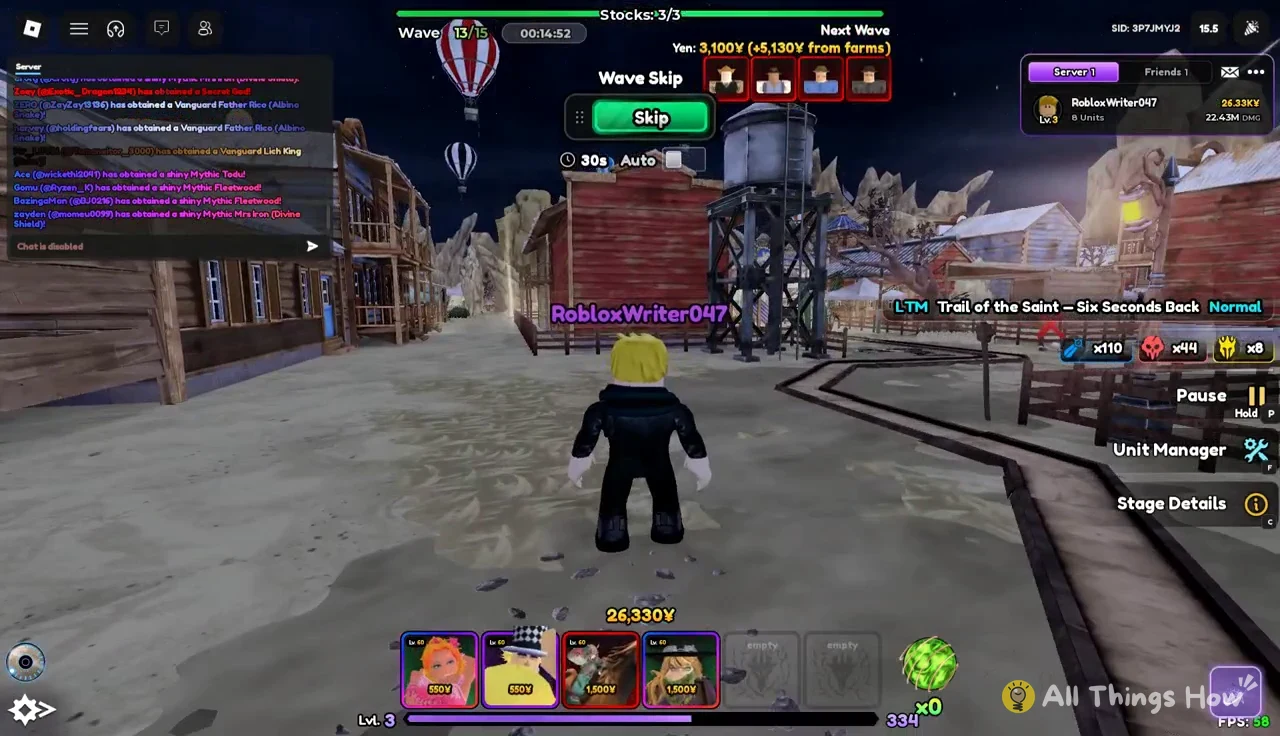
Wave Skip panel with the Skip button on wave 13 of 15
Advancing from Wave 13 of 15 with all unit slots filled.

Check one of your Fleetwoods before the boss. Its panel shows Upgrade [0/8], and it stays there no matter how much Yen you have. That is a useful reminder that its damage is fixed and won’t grow before Ringo arrives.
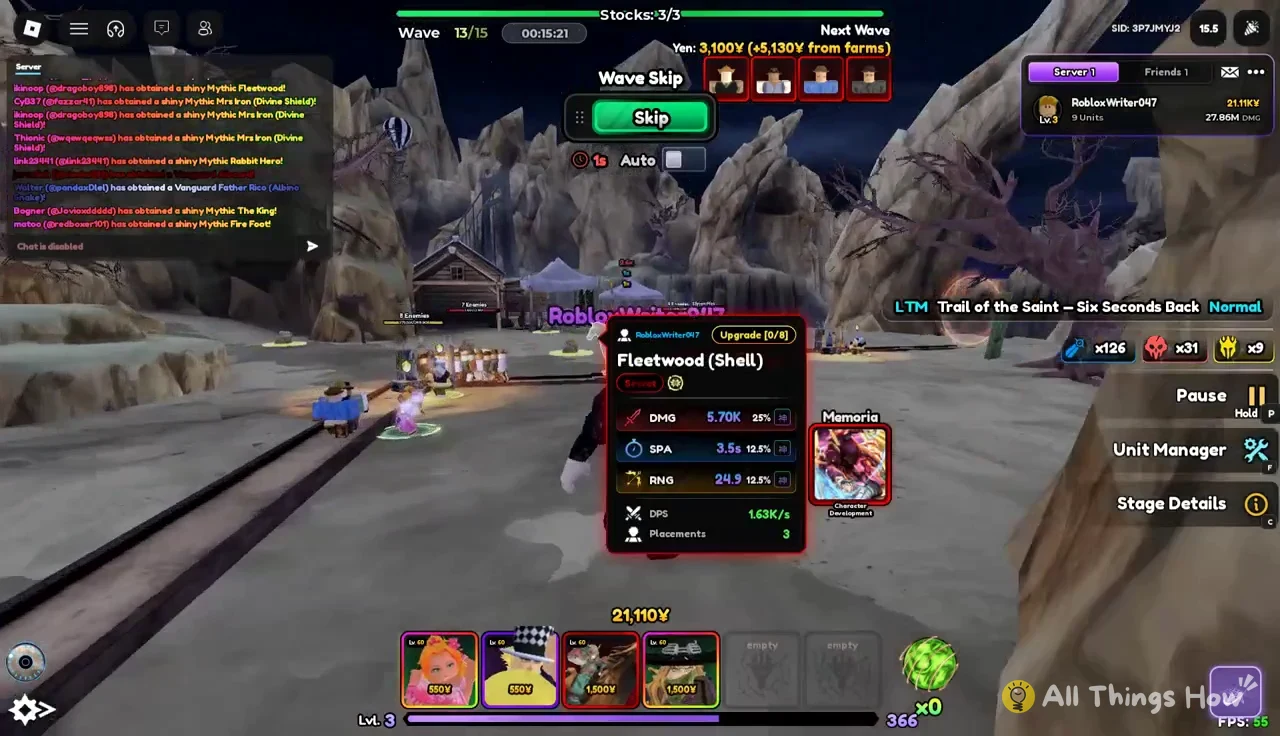
Fleetwood (Shell) panel on Wave 13/15 showing stats and the Upgrade 0/8 button
The Fleetwood (Shell) panel on Wave 13/15, still at Upgrade 0/8.
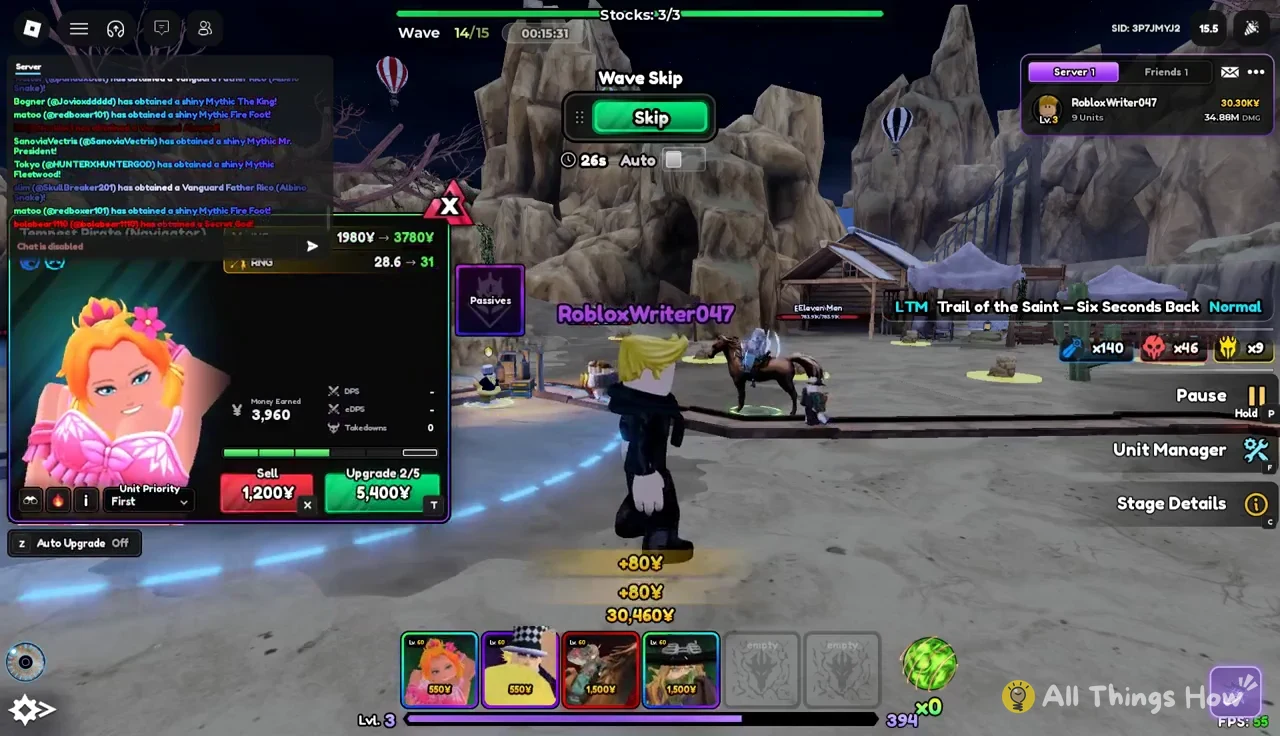
Upgrade Tempest Pirate during Waves 13 and 14. Later tiers cost more. A mid-track upgrade on a five-tier unit runs 5,400¥ here.
Unit details panel with an Upgrade 2/5 button priced at 5,400 Yen
A unit’s details panel showing Upgrade 2/5 for 5,400¥.
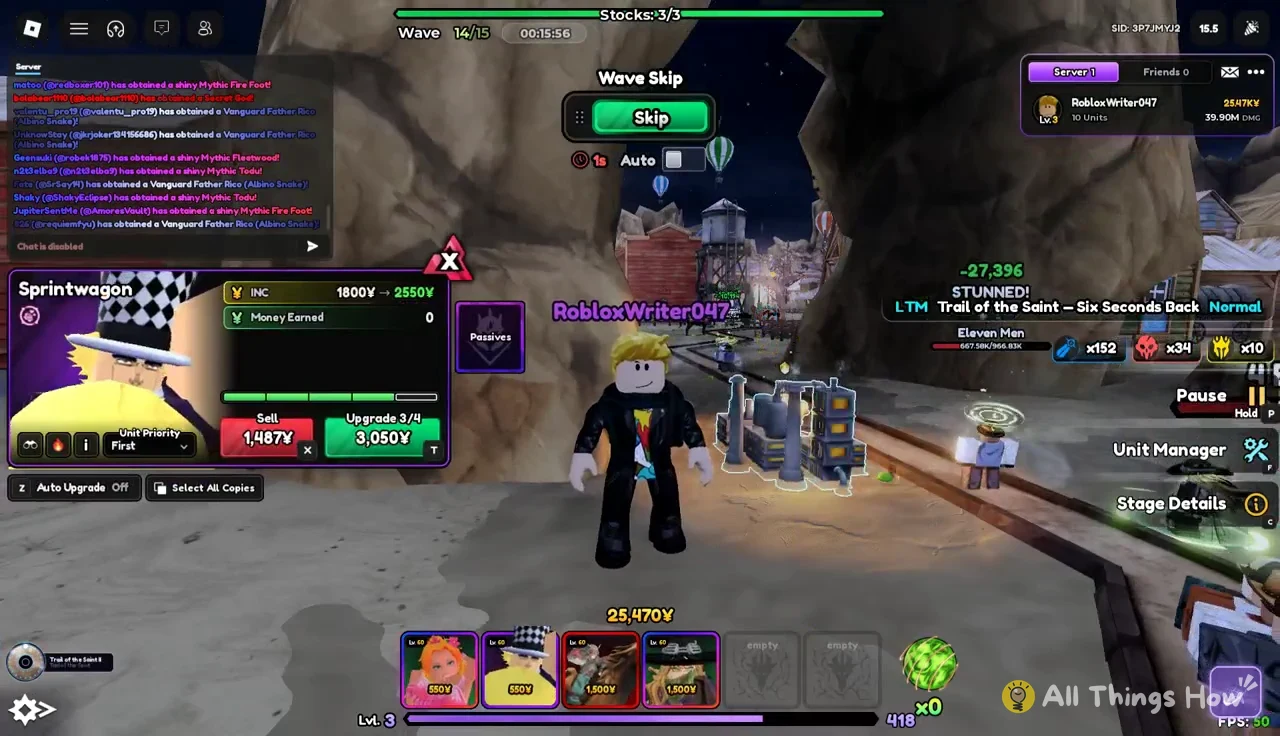
Finish the last Sprintwagon tiers before Wave 14 ends. The final step, Upgrade 3/4, costs 3,050¥ per Sprintwagon. It’s worth it because that income keeps coming in during the boss wave.
Sprintwagon panel showing the Upgrade 3/4 button priced at 3,050 Yen
The Sprintwagon panel with its last upgrade, 3/4, at 3,050¥.

Wave 15: how to beat Ringo

Once Wave 14 ends, the “A huge threat is approaching…” alert appears and Ringo spawns with 5.77M health. From here the job is simple: turn income into Julius damage faster than he walks to town.
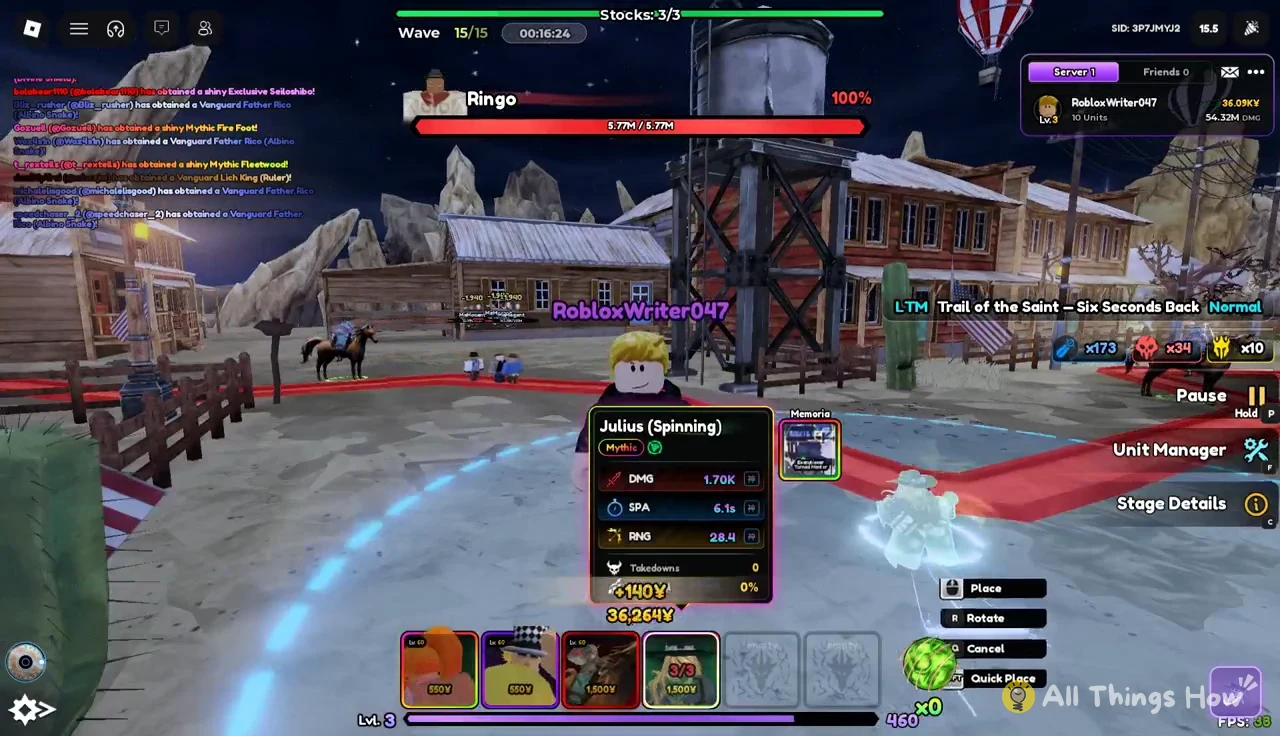
Don’t try to place more attackers. With three of each already down, the game blocks a fourth with “You can only place 3 of this unit!”, so any Yen spent on a placement attempt is wasted time.
Julius (Spinning) selected for placement on Trail of the Saint with Place, Rotate and Cancel controls
Trying to place another Julius (Spinning) on a full roster; the three-copy cap blocks it.
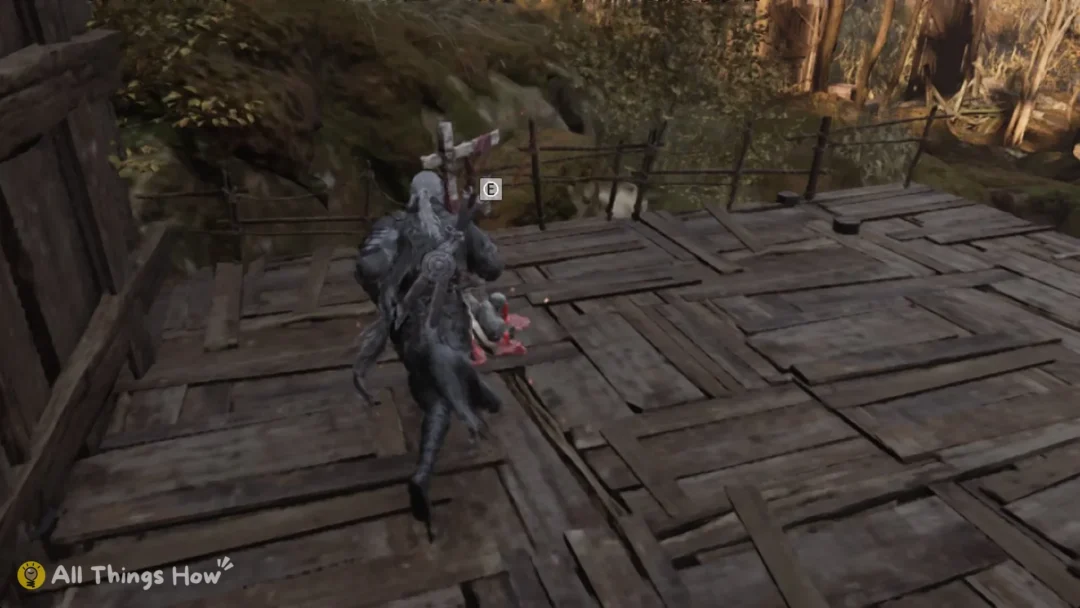
Find the buried chest near the wooden water tower. It only appears during Wave 15. Walk your avatar up to it and the prompt E Dig Chest shows up.
Press E to dig up and open the chest. Your units keep attacking while you do this, so it costs nothing in boss damage.
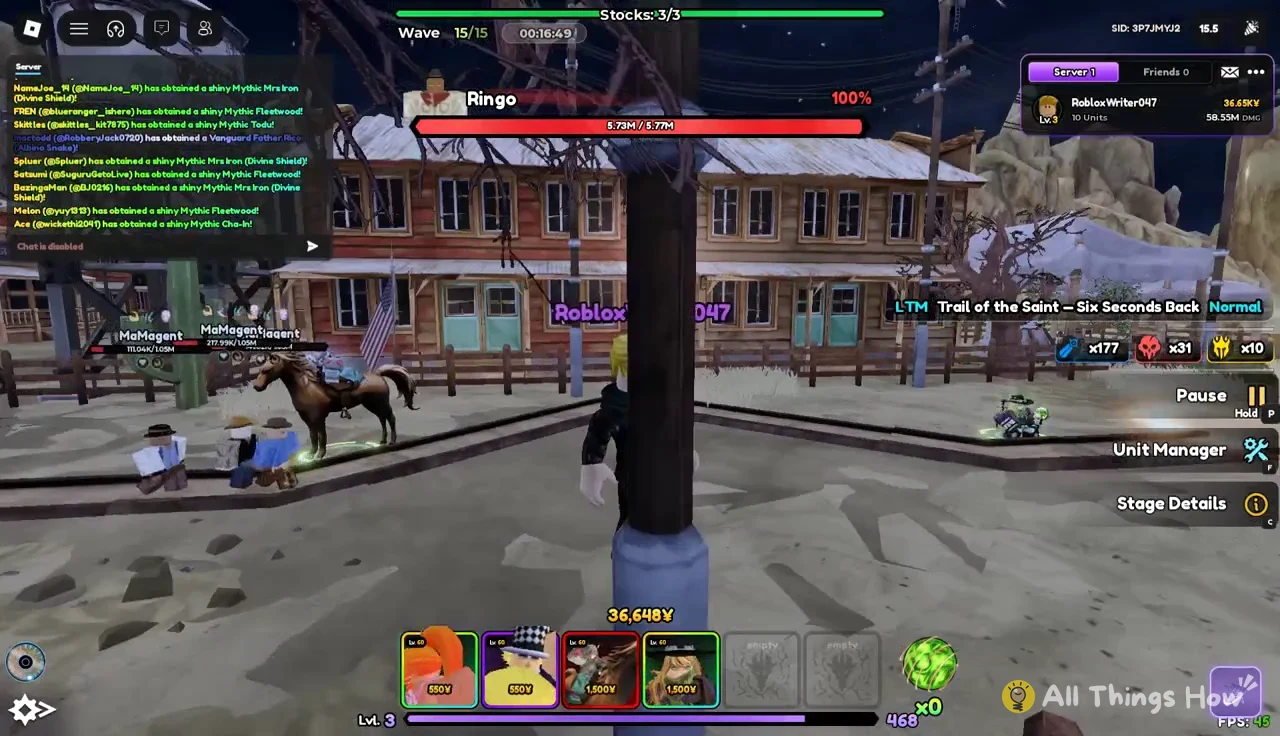
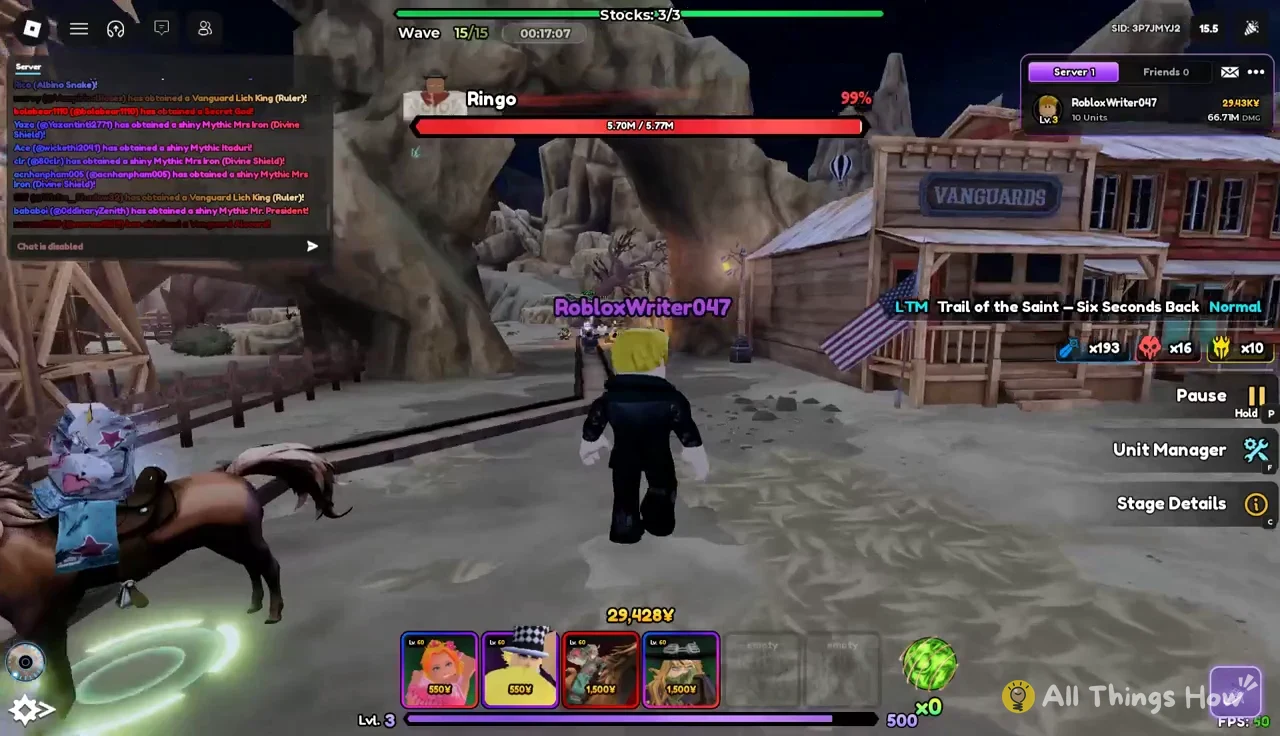
Avatar moving across the map on Wave 15/15 while Ringo's health bar reads 99%
Heading for the dig spot while Ringo sits at 99% health.
Upgrade your three Julius (Spinning) copies one by one as Yen comes in. Spread the upgrades across all three rather than maxing one first. Ringo passes through each Julius’s range in turn, so each copy gets its own window of damage.
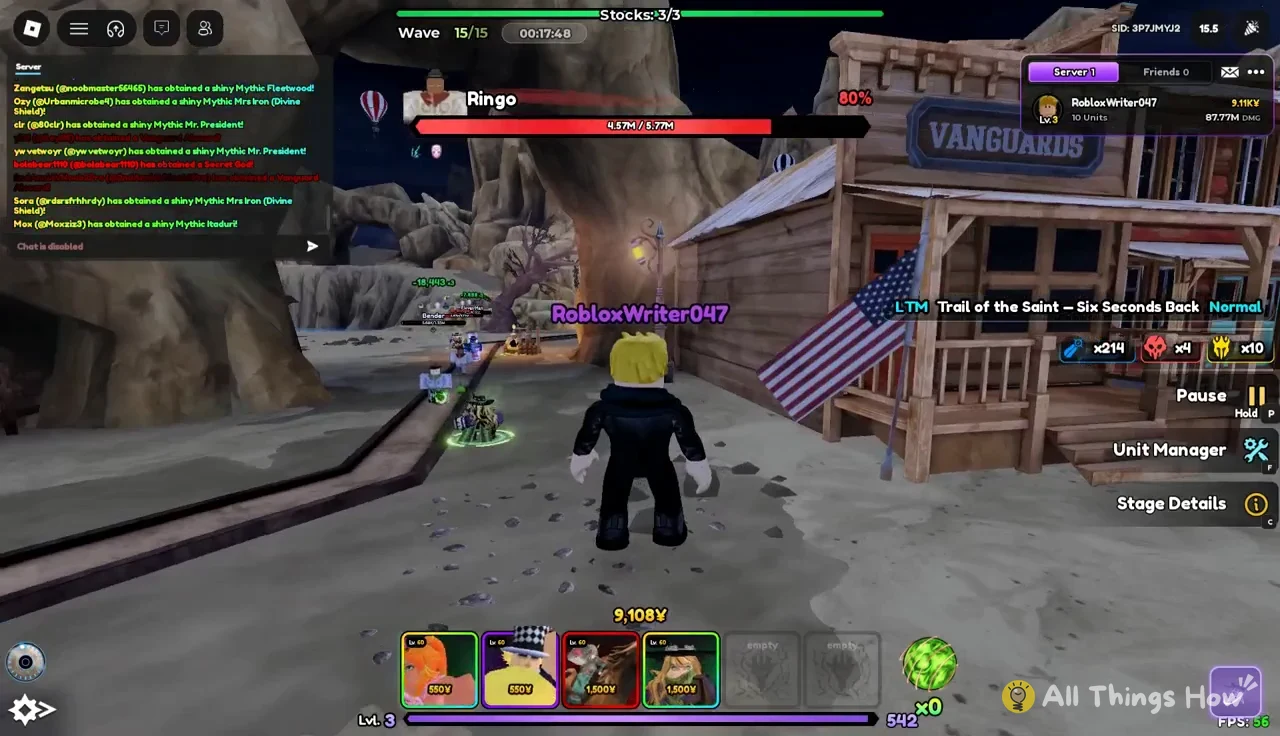
Units attacking Ringo on Wave 15/15 with his health bar at 80%
Ringo down to 80% as upgraded Julius copies take over.
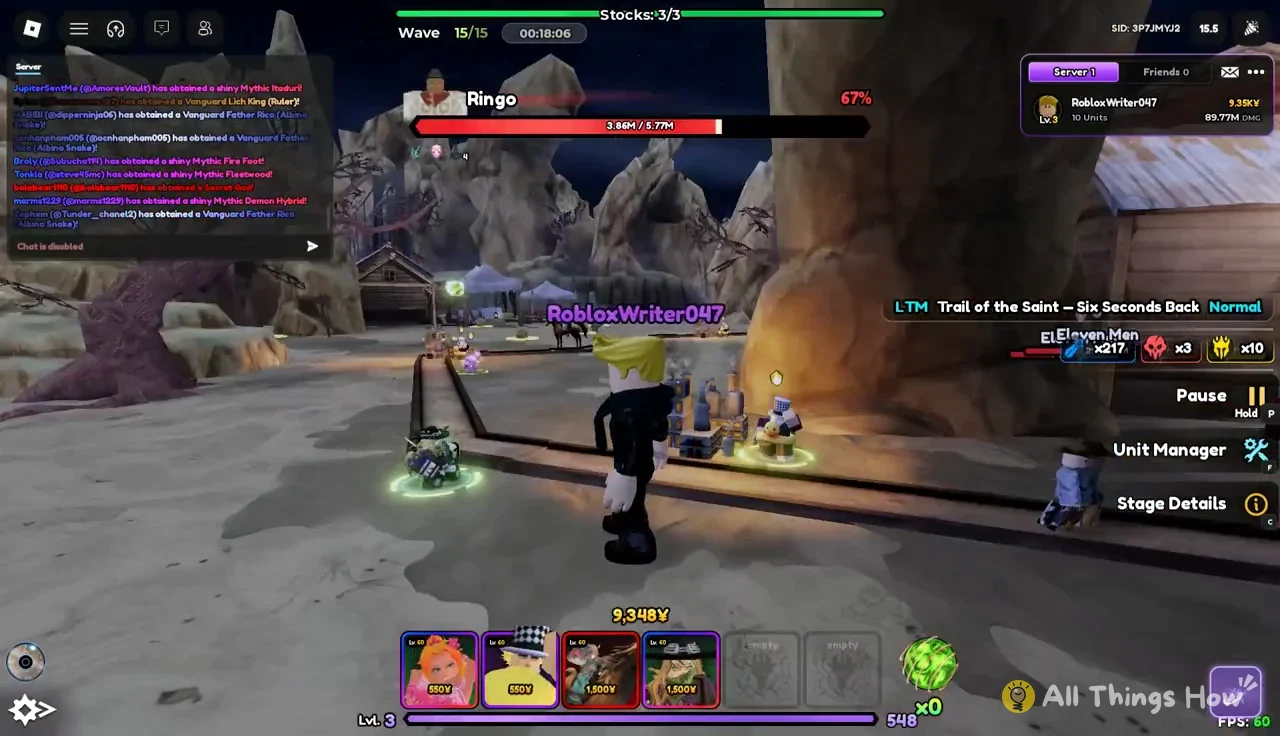
Keep cycling upgrades on whichever attackers are closest to Ringo as he moves toward town. He takes steady damage from spin and bleed hits the whole way, so the health bar should keep dropping as long as upgrades keep landing.
Placed units hitting Ringo on Trail of the Saint as his boss health bar drains during Wave 15/15
Ringo’s health bar draining as he walks the path on Wave 15/15.

Your maxed Sprintwagons keep earning during the boss wave. Their unit card shows the income figure, which is your Yen supply for the last round of Julius upgrades.
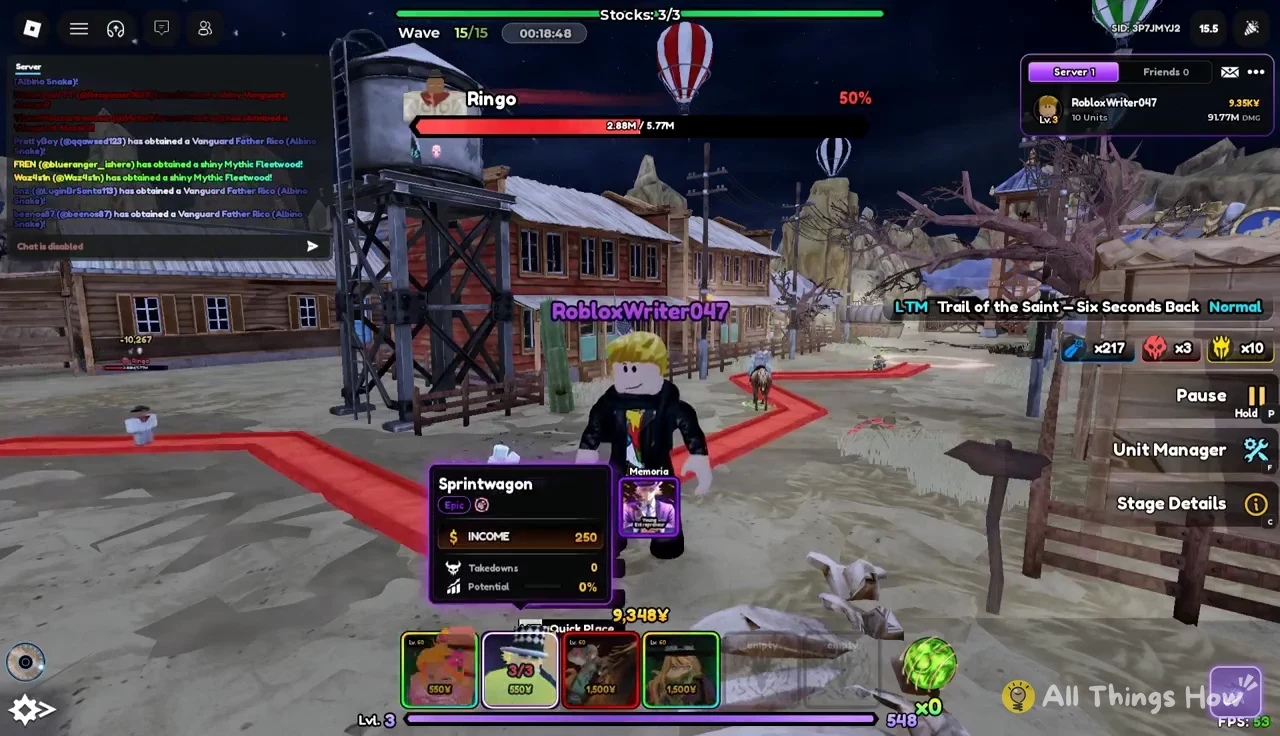
Sprintwagon unit card open during wave 15 showing its income and stats
The Sprintwagon card during Wave 15, showing the income that pays for the final upgrades.

Once Ringo passes the halfway mark, the fight is mostly decided. If the bar keeps moving steadily at 50%, your setup has enough damage to finish him before he reaches town.
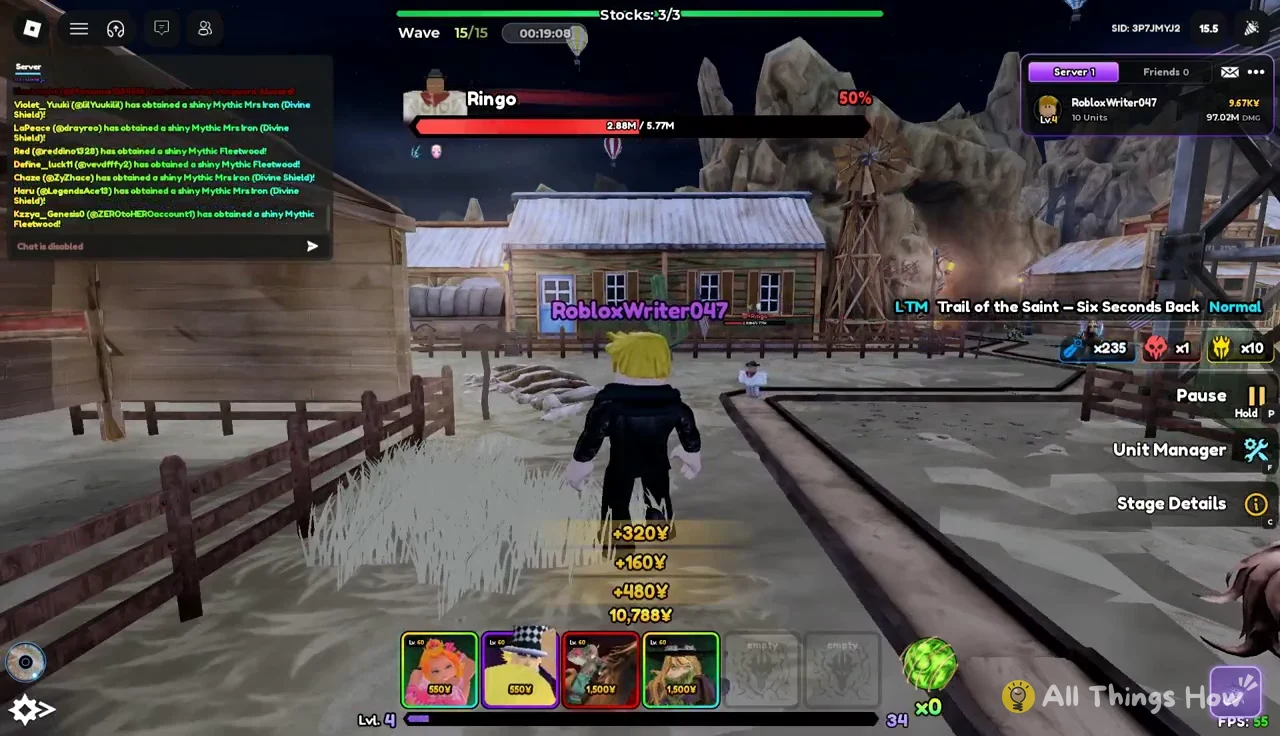
Wave 15/15 on Trail of the Saint – Six Seconds Back with Ringo's boss health bar at 50%
Ringo at 50% health on Trail of the Saint – Six Seconds Back.

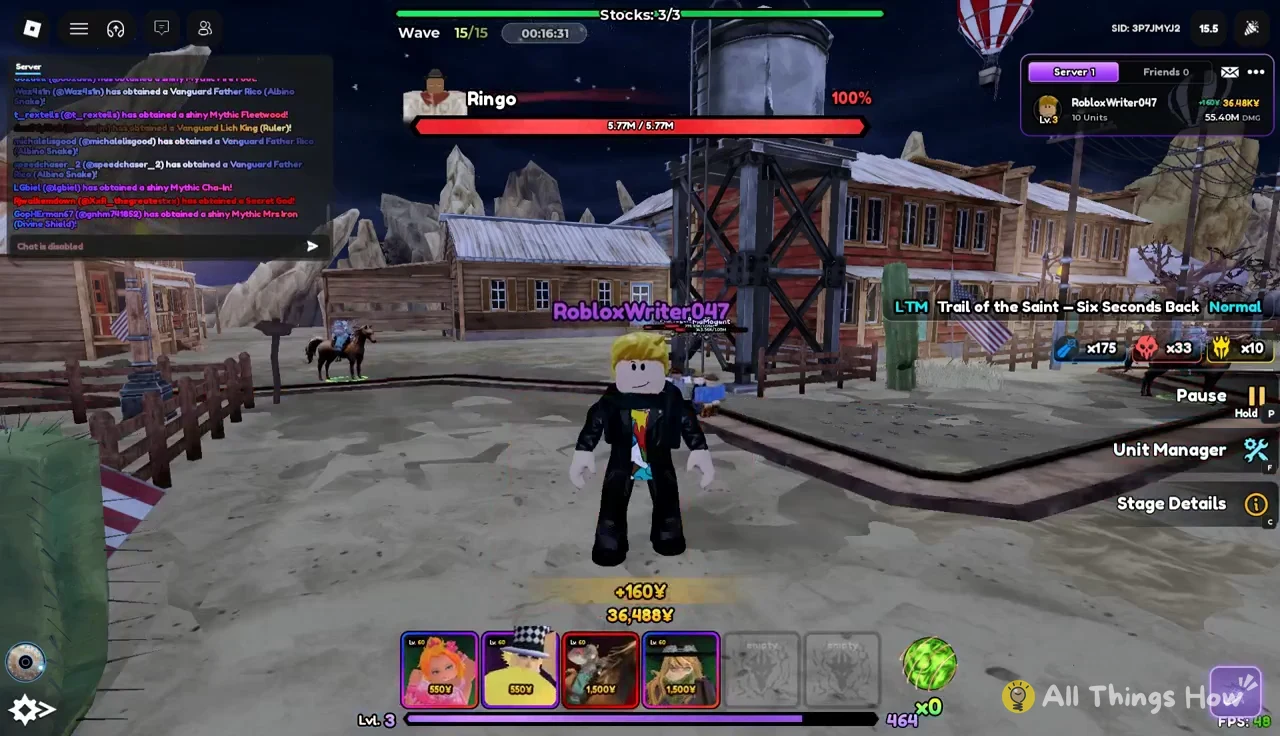
The stage ends with Wave 15/15; defeat Ringo by draining its 5.77M health bar to win. Keep an eye on the bar overhead and the damage numbers that appear in the air. A steady drop in the percentage, with all upgrades assigned to Julius (Spinning), means your Normal clear of Trail of the Saint – Six Seconds Back is on course.
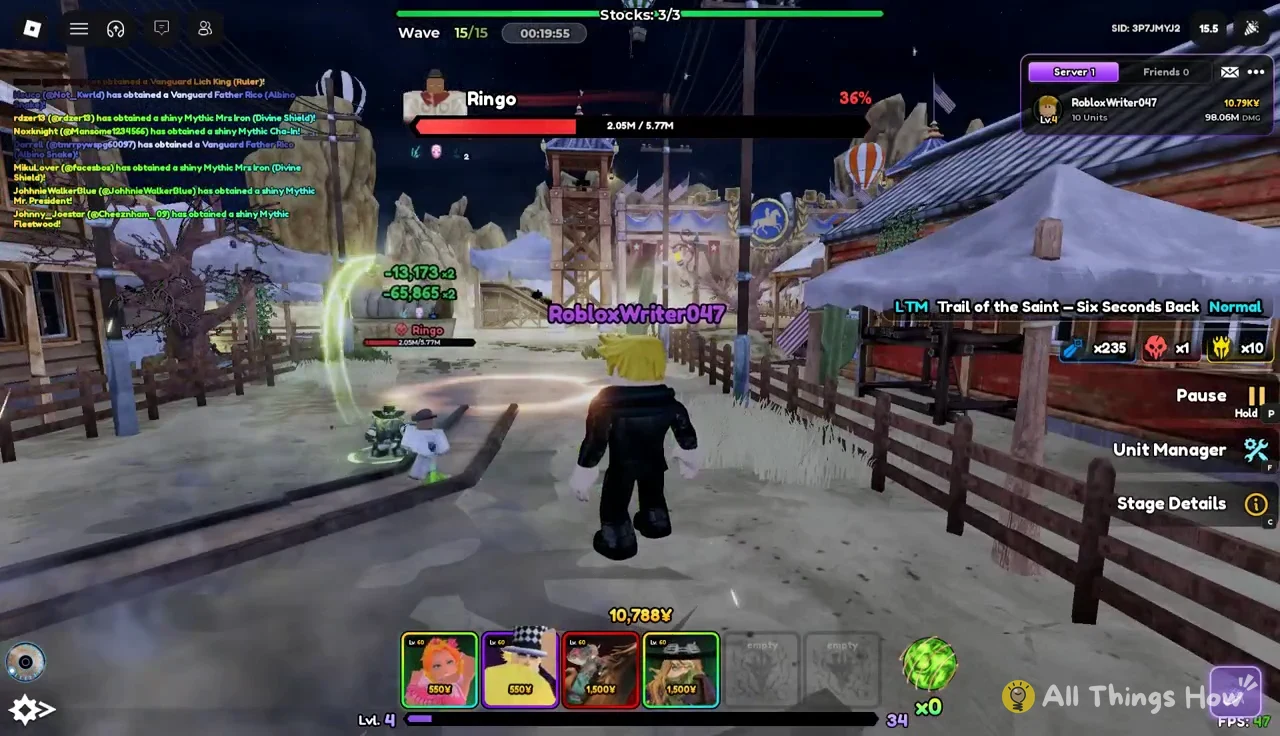
Wave 15/15 battle screen with Ringo's health bar dropping under fire from placed units
The closing stretch of Wave 15/15, with every unit focused on Ringo.