In Vanguards, every unit you put on the map has to follow a few fixed rules. It needs a legal spot, it costs yen up front, and it counts toward a cap on how many copies of that unit you can field. If you break a rule, the game blocks the placement and shows you a message. Once you know those limits, the rest of a match is about timing: which units go down first, which ones you upgrade, and when to save money for the boss wave.
Quick answer: Pick a unit card from the bottom bar and place it on open ground beside the enemy path, never on the path. You need enough yen, and you must still be under that unit’s copy limit.
Vanguards unit placement rules
These checks run every time you try to drop a unit, on any stage. When a placement fails, the game shows the reason as text on screen, so you always know which rule you hit.
- Units cannot sit on the enemy path. Spots that aren’t allowed show up as red highlights while you aim.
- Each unit has its own copy limit. Some allow only one, others allow up to three.
- Every placement costs yen, and the cost is printed on the unit card.
- Some stages lock a unit’s upgrades for that match, even though you can still place it.
| On-screen message | What it means |
|---|---|
Deploying units along the enemy route isn't allowed! | Move the unit off the track |
You can only place 1 of this unit! | Single-copy unit already placed |
You can only place 3 of this unit! | Three-copy cap reached |
This unit can't be upgraded past level 0 in this match! | No upgrades for this unit on this stage |
The upgrade lock is easy to miss because it doesn’t stop you from placing the unit. It only shows up when you try to upgrade. If a damage dealer is locked to upgrade 0, its base stats are all you get for that stage. Plan to place extra copies of it instead of saving yen for upgrades that will never unlock.
How to place a unit in Vanguards
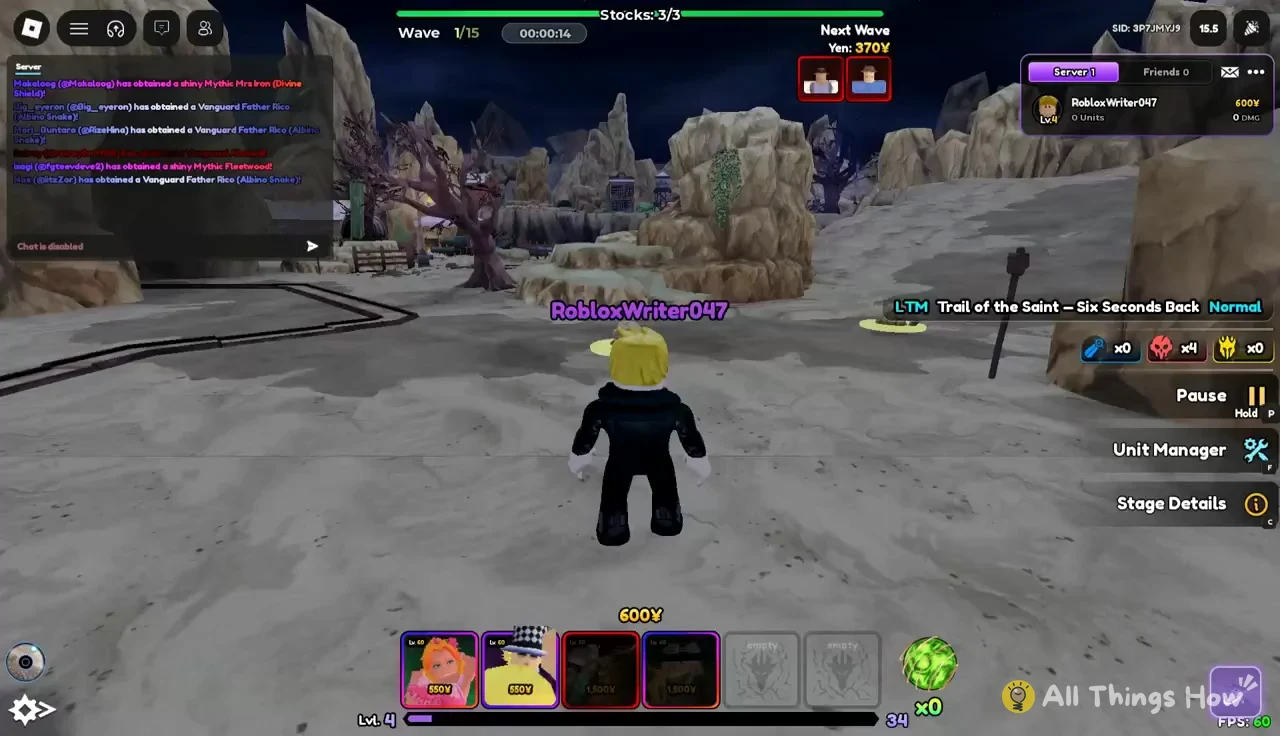
You need to be in a match to place units. If you haven’t installed the game yet, it’s on its Roblox game page. Placement works the same way on every stage. Only the costs, caps and map layout change.
Unit placement costs and copy limits
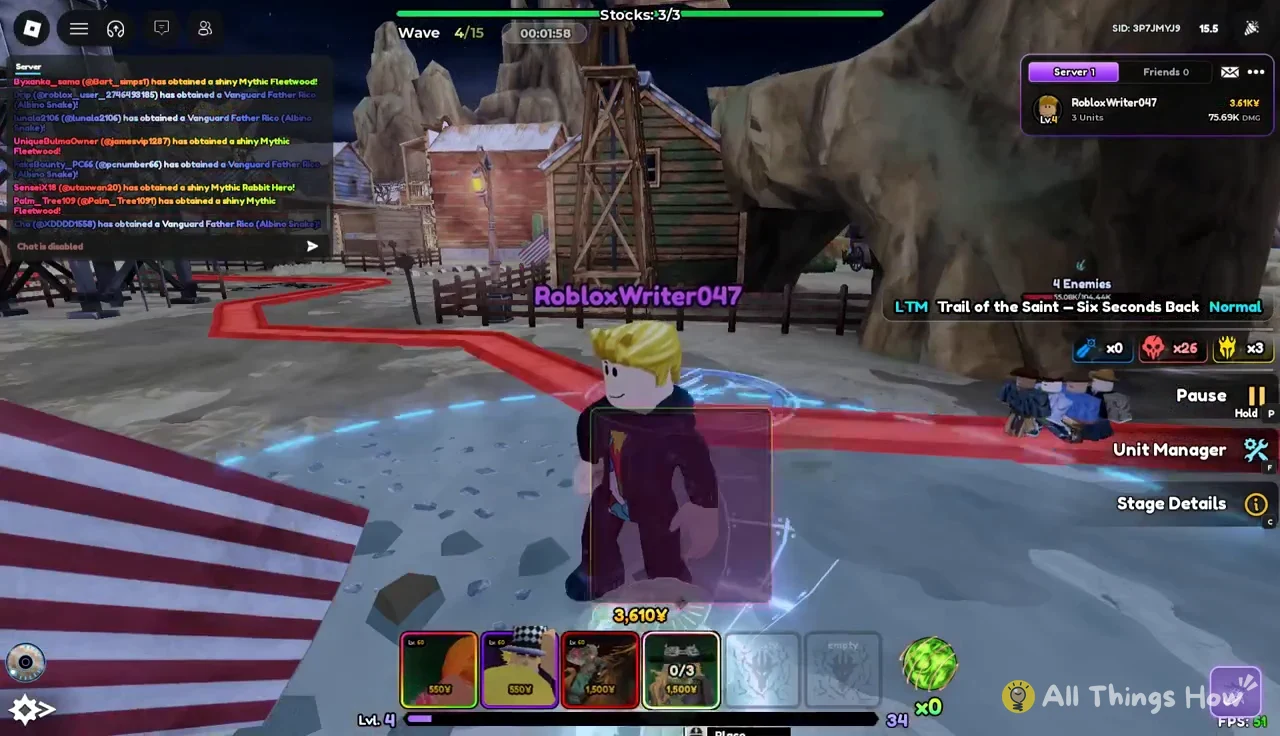
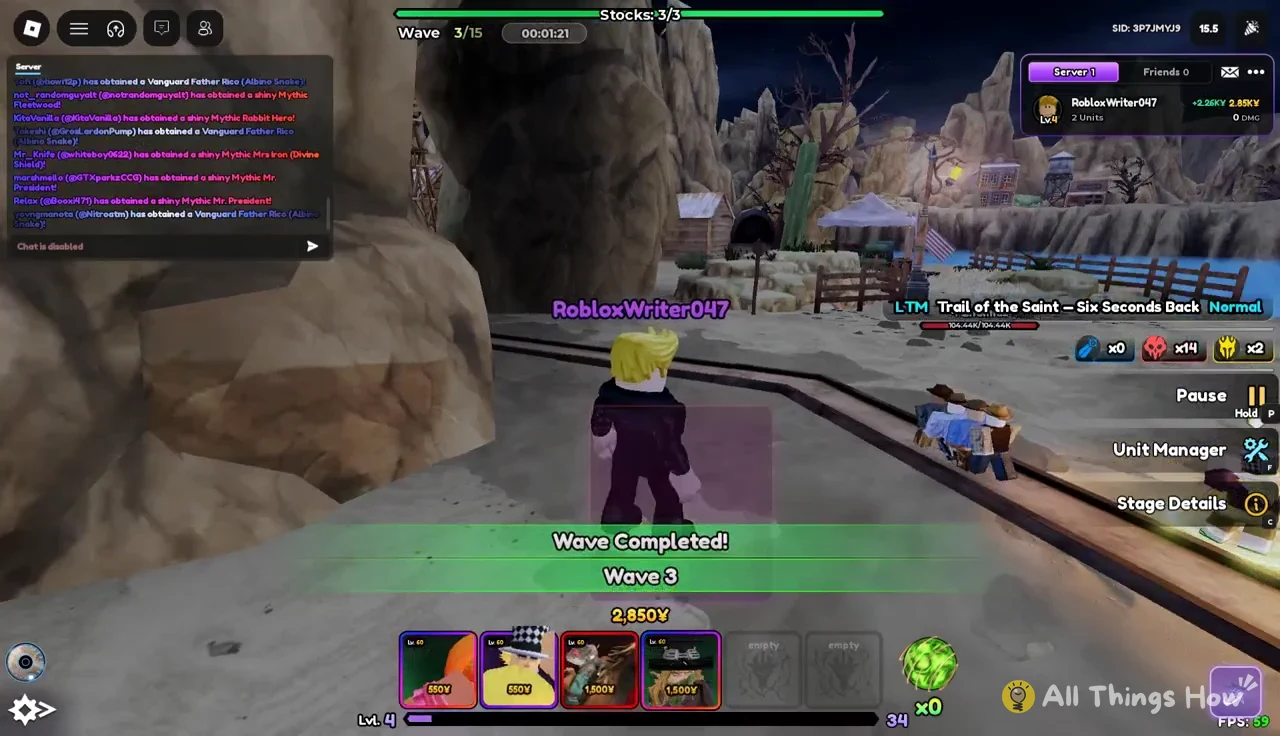
Here are the costs and caps for a four-unit loadout on the limited-time stage Trail of the Saint – Six Seconds Back, on Normal difficulty. It mixes two farm units with two damage dealers. You’ll see the same split in most loadouts.
| Unit | Rarity / role | Placement cost | Copy limit |
|---|---|---|---|
| Tempest Pirate (Navigator) | Mythic / farm | 600¥ (550¥ listed) | 1 |
| Sprintwagon | Epic / farm | 550¥ | Multiple |
| Fleetwood (Shell) | Secret / damage | 1,500¥ | 3 |
| Julius (Spinning) | Mythic / damage | 1,500¥ | 3 |
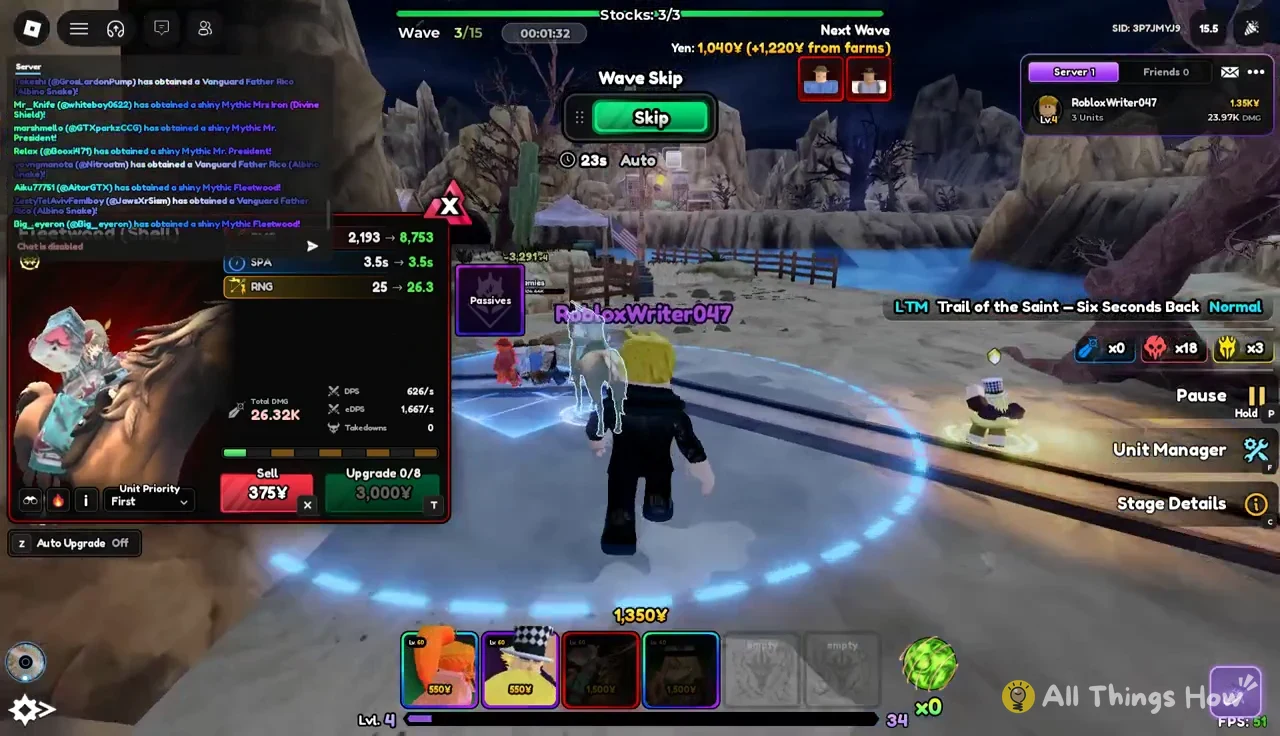
The Tempest Pirate shows a base deploy cost of 550¥, but placing it costs 600¥. The yen that leaves your balance can be higher than the base figure, so budget from the cost shown at the moment you place, not from the listed number. On this stage Fleetwood (Shell) is also locked to upgrade 0. That’s why all three copies are worth placing: more copies is the only way to get more damage out of it.
Place farm units first for yen income
Farm units don’t need to cover the path. Their job is to pay out yen every wave, and upgrading them raises that payout. Place them in the first waves, before you spend on anything else, because each extra wave they’re on the field means more total income.
A workable opening goes like this. Put down the Tempest Pirate on Wave 1, a Sprintwagon on Wave 2, and the first damage dealer on Wave 3. Since farm units don’t need to see the track, you can tuck them onto ledges and platforms away from the path. That keeps the spots next to the track free for units that actually attack.
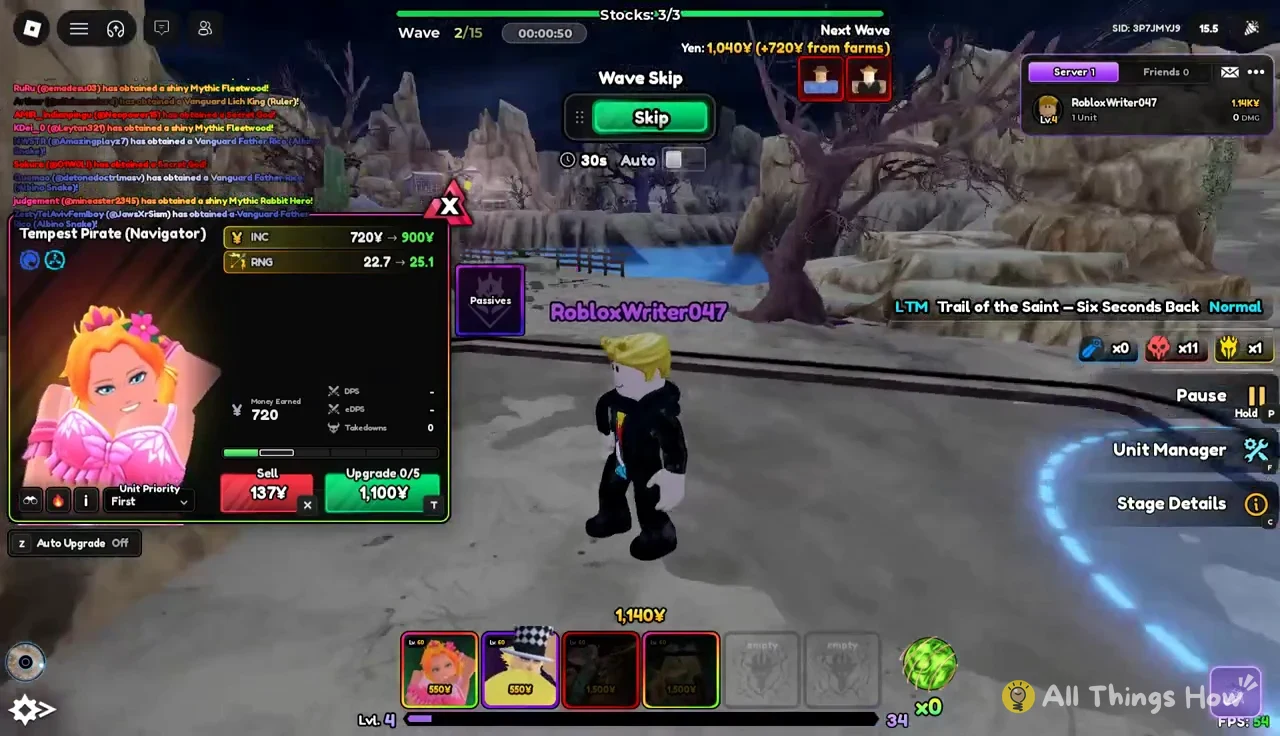
Sprintwagon has four upgrade levels. You can also place more than one copy, and each copy needs its own upgrades. Select a placed Sprintwagon to see its panel and the price of its next level.
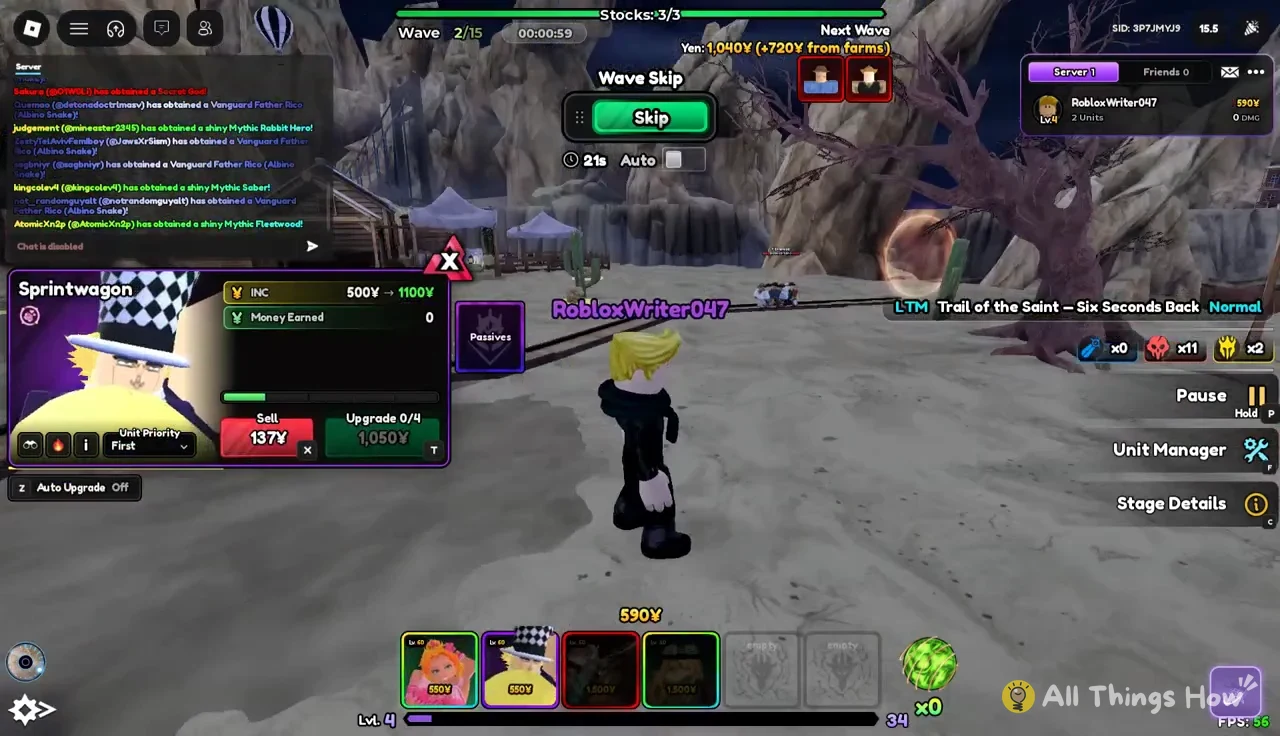
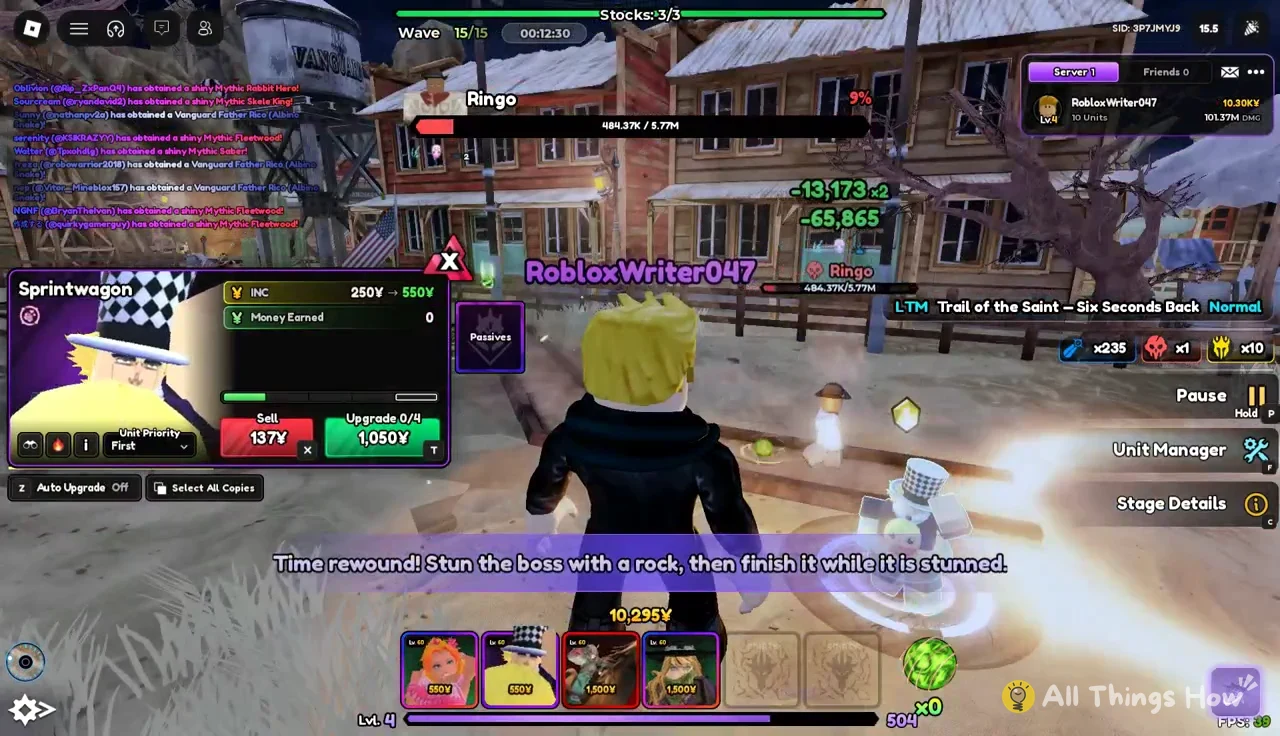
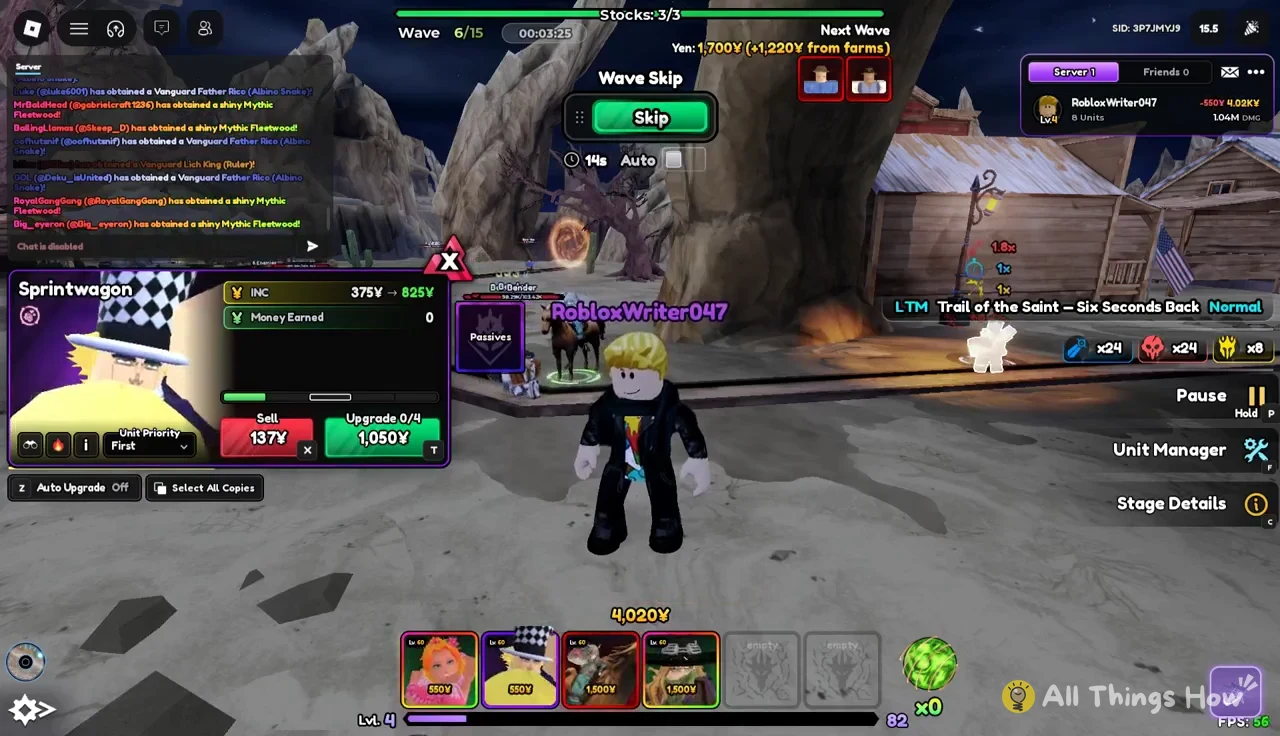
By the middle of a run, your farm units should be partly upgraded. That income is what pays for the expensive upgrades on your damage dealers later in the match.
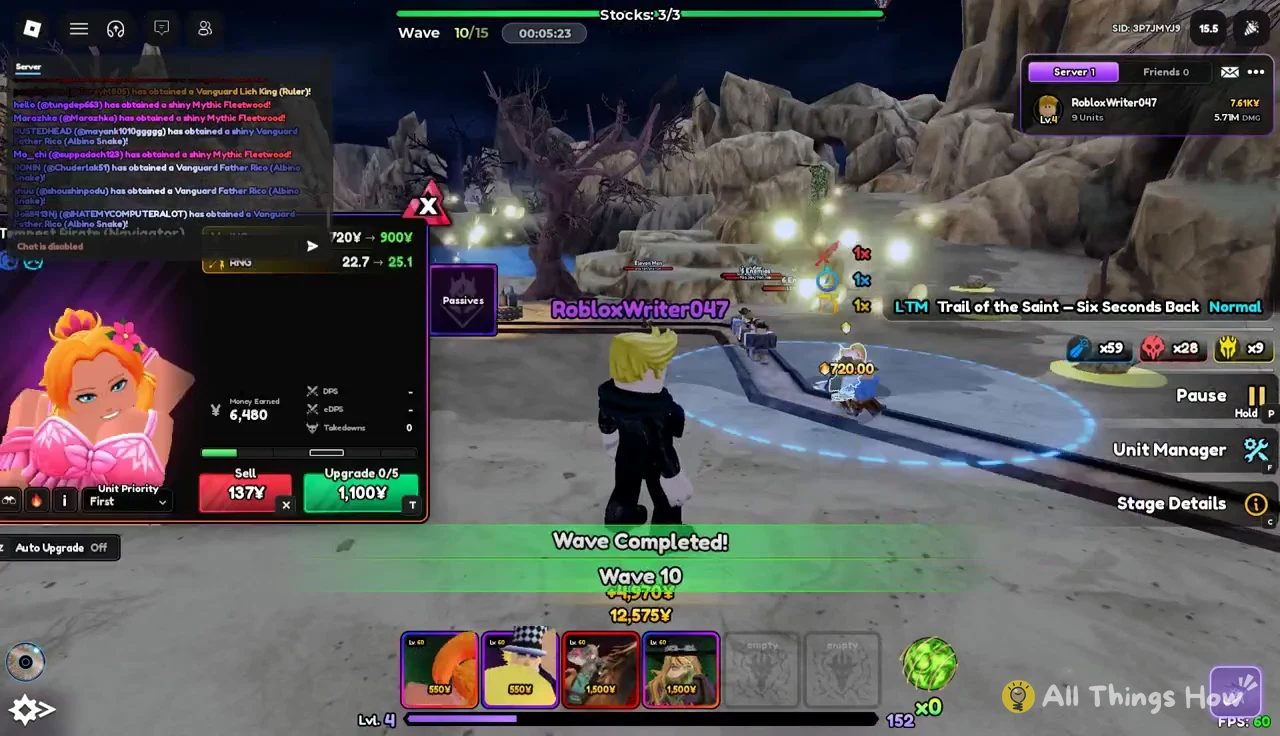
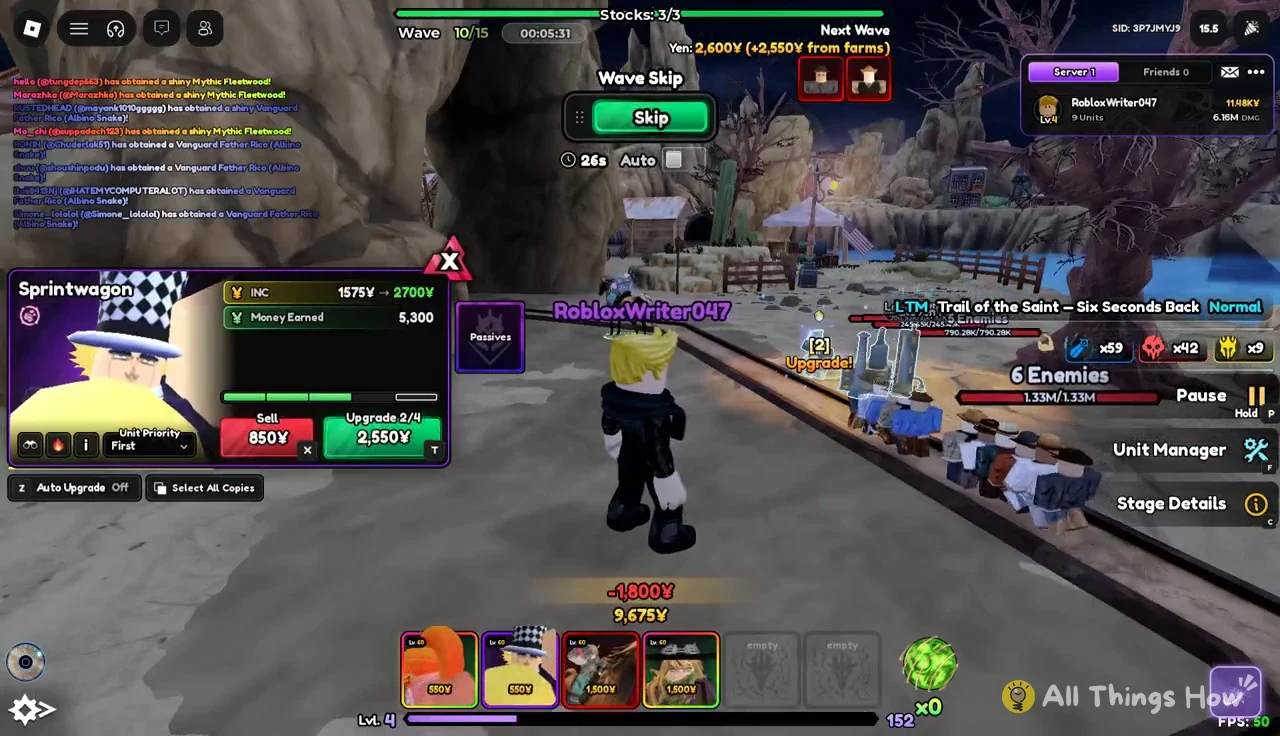
Upgrading placed units in the Unit Manager
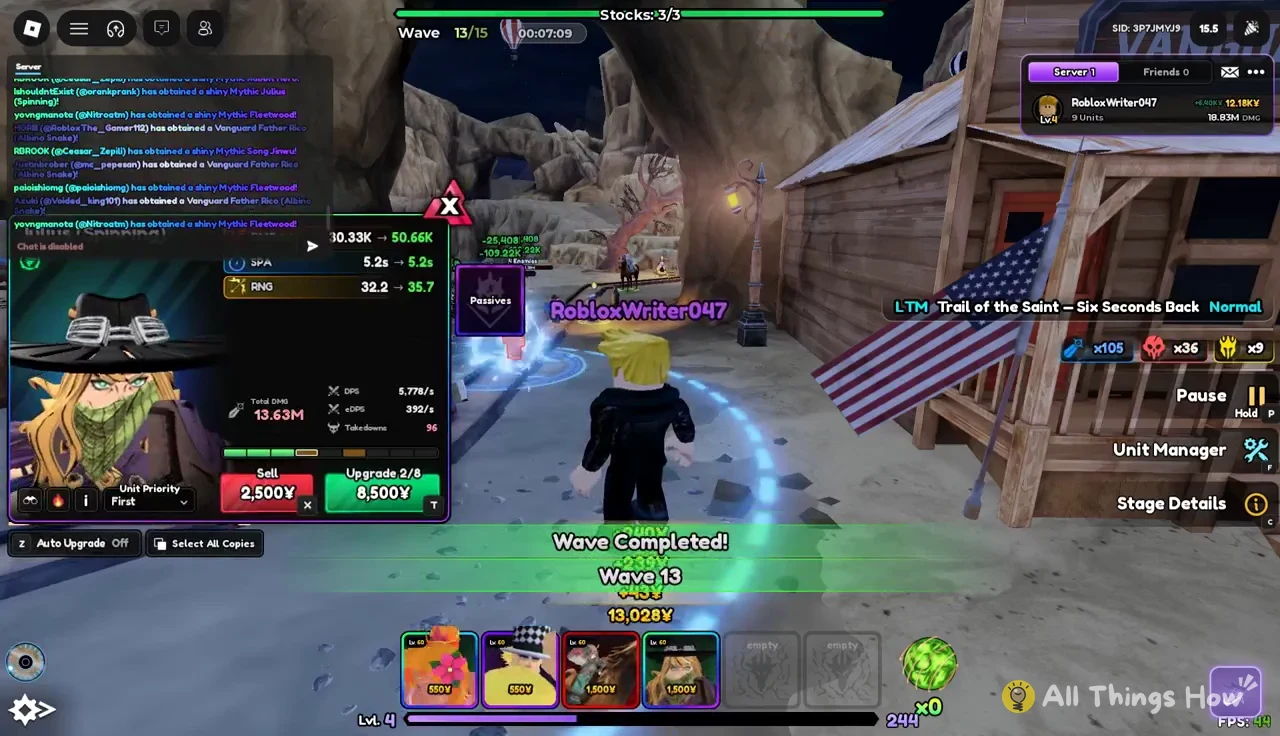
Click any unit you’ve placed to open its panel. It shows the unit’s stats along with Sell and Upgrade buttons. The Unit Manager button on screen opens the same controls for your whole lineup. Select All Copies picks every copy of a unit at once, and Auto Upgrade starts out switched off.
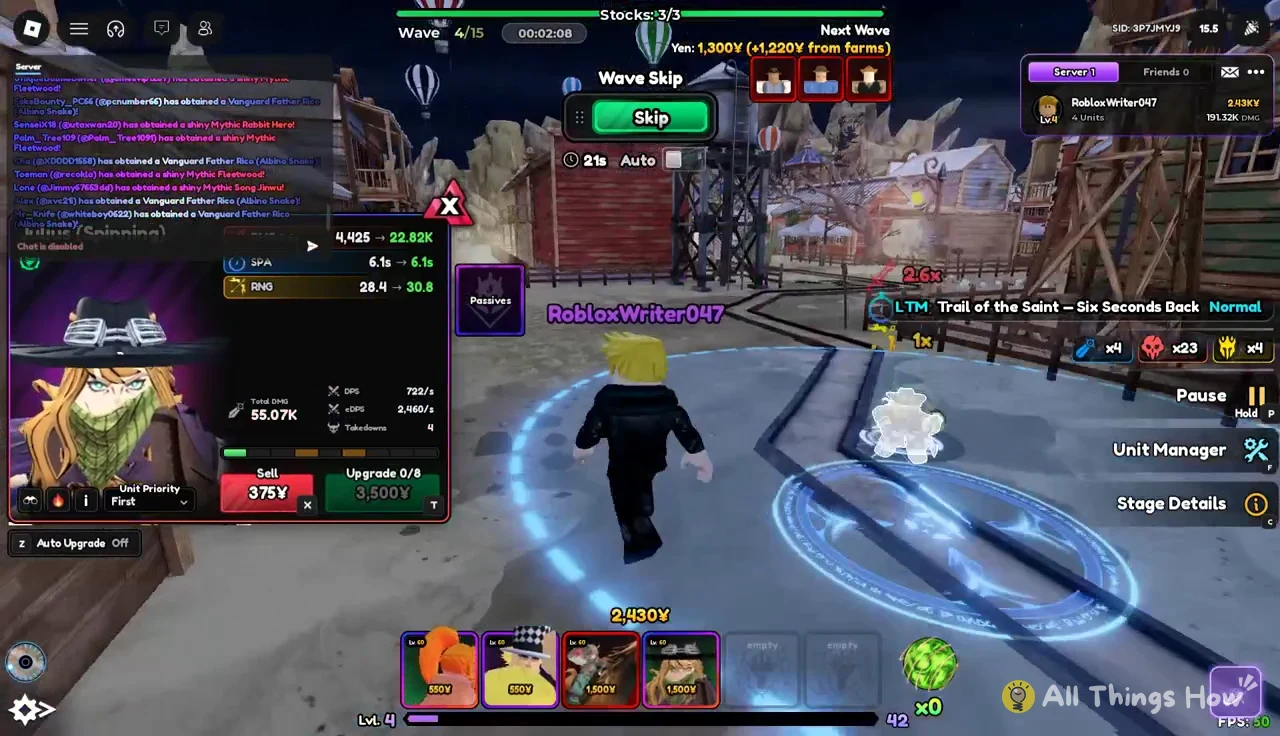
The upgrade button shows the level the unit is at now, not the level you’re buying. “Upgrade 0/8 – 3,500¥” means the unit is at level 0, and paying 3,500¥ moves it to level 1. The left-side details panel also has a Passives tab that lists the unit’s abilities. Check it before you decide which damage dealer to upgrade first.
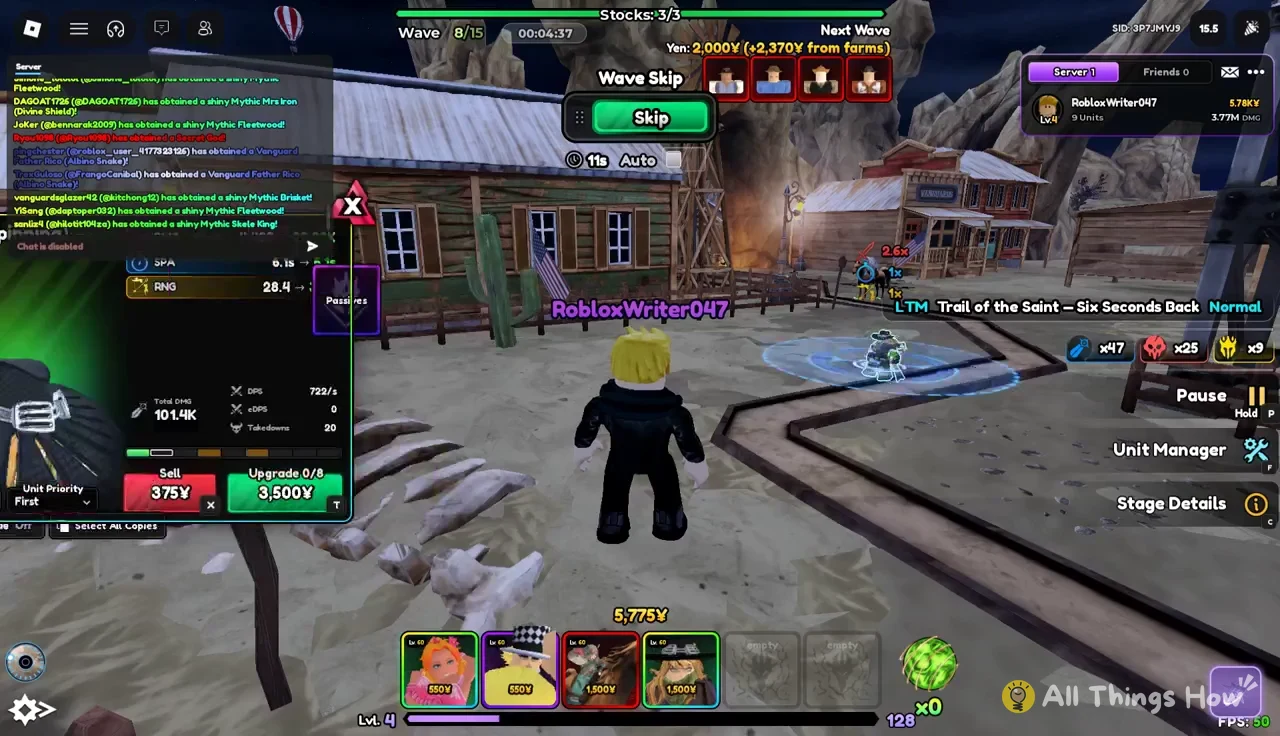
Julius (Spinning) has eight upgrade levels, and each one costs more than the last. The first three levels per copy cost:
| Button label | Upgrade bought | Cost |
|---|---|---|
| Upgrade 0/8 | Level 1 | 3,500¥ |
| Upgrade 1/8 | Level 2 | 5,000¥ |
| Upgrade 2/8 | Level 3 | 8,500¥ |
Add the 1,500¥ placement cost and one Julius at level 3 comes to 18,500¥. Two copies cost double that. Upgrading two copies evenly works better than pushing one copy far ahead. Both bends of the track get the same damage, and neither upgrade cost climbs out of reach while the other copy waits.
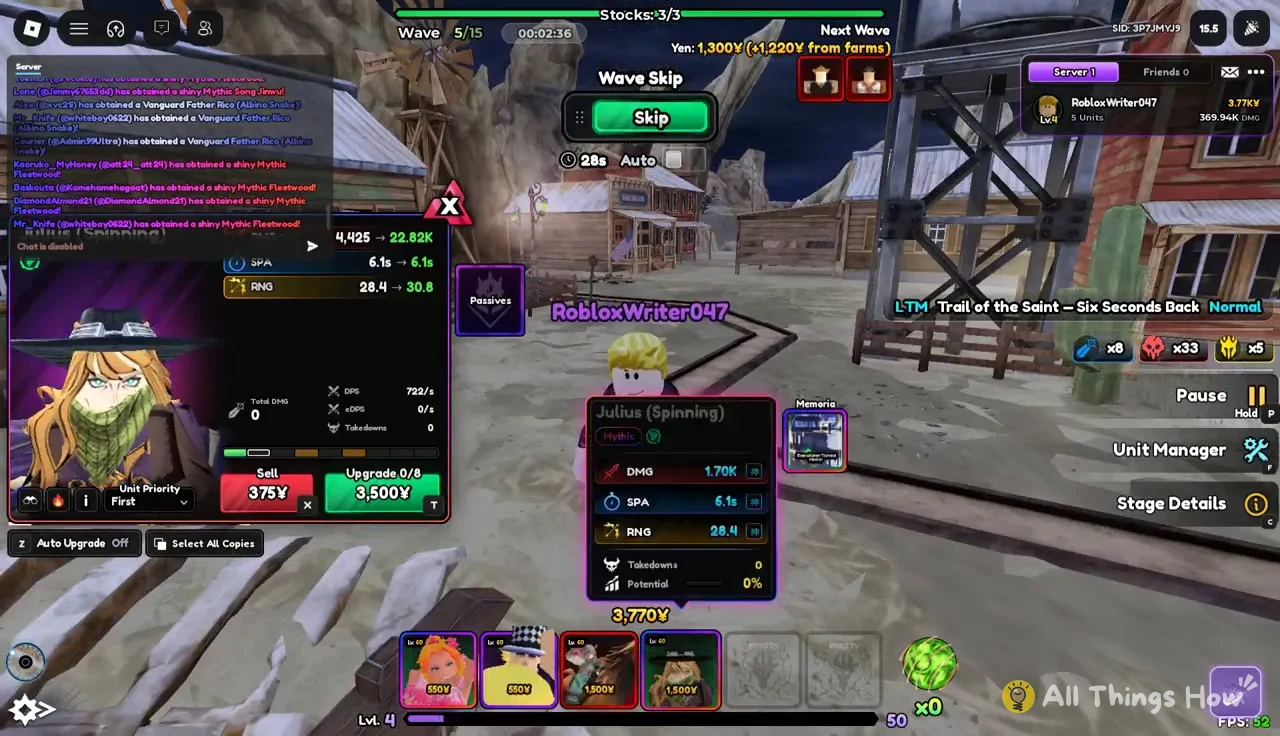
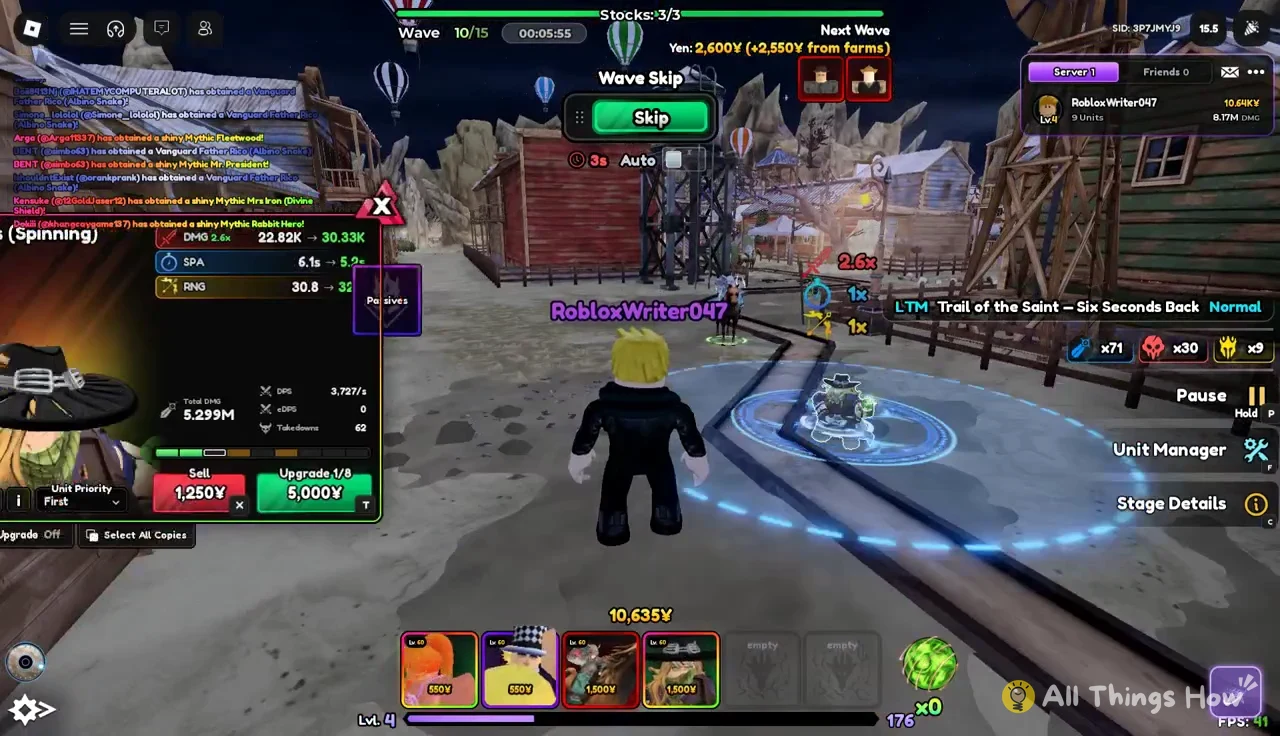
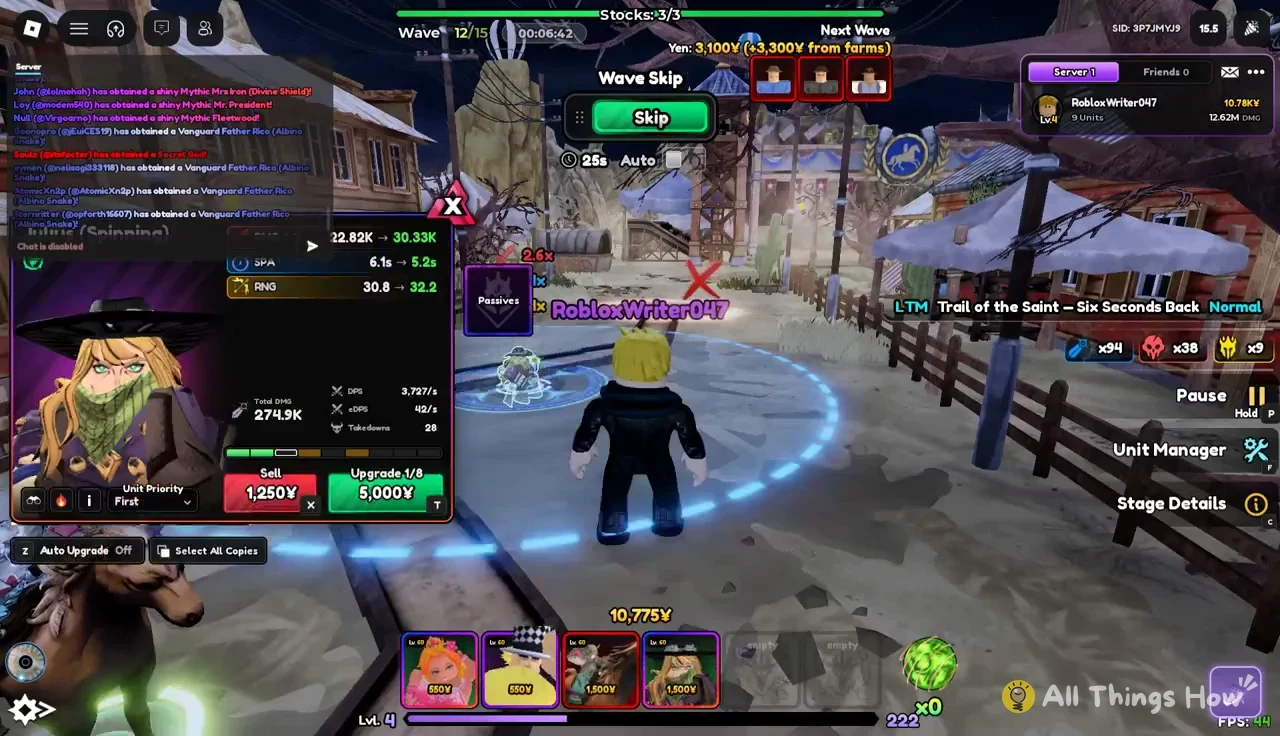
Use Sell when you need a spot or some yen back for a better unit. Selling removes the unit from the field, so don’t sell a farm unit unless you’re done earning from it.
Wave timing and the Wave Skip prompt
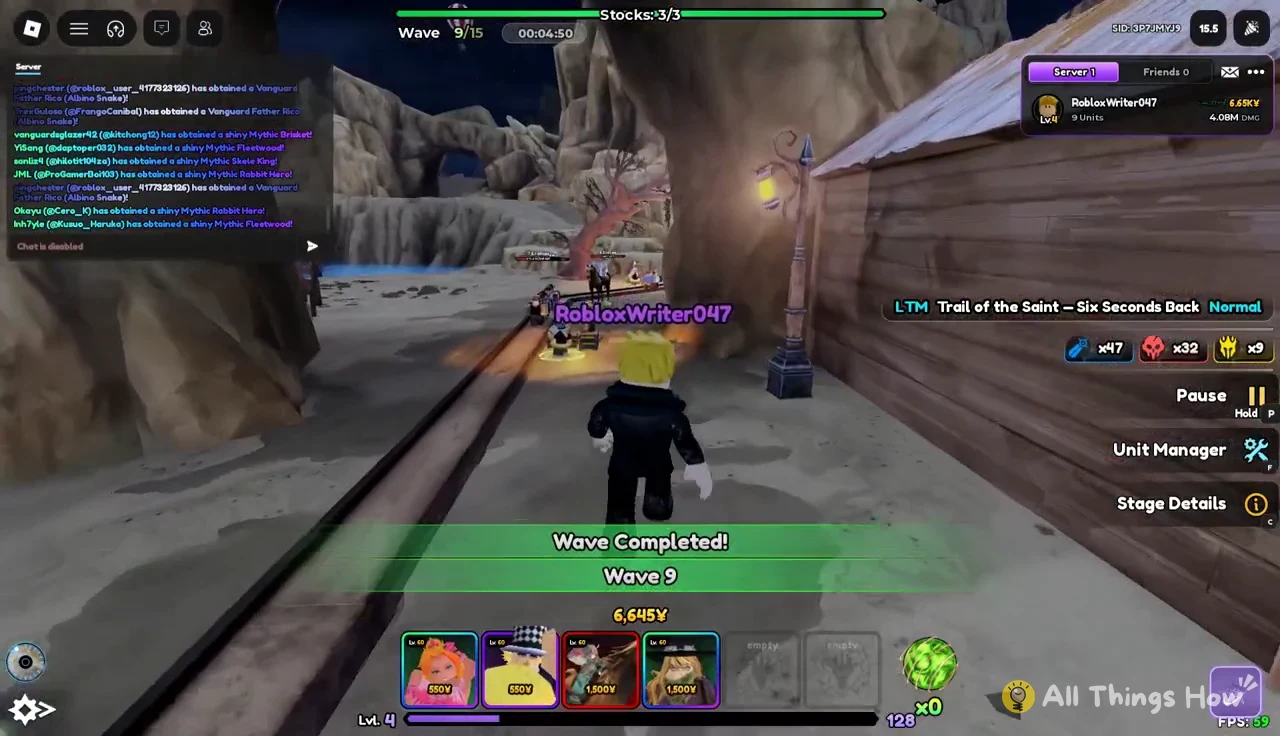
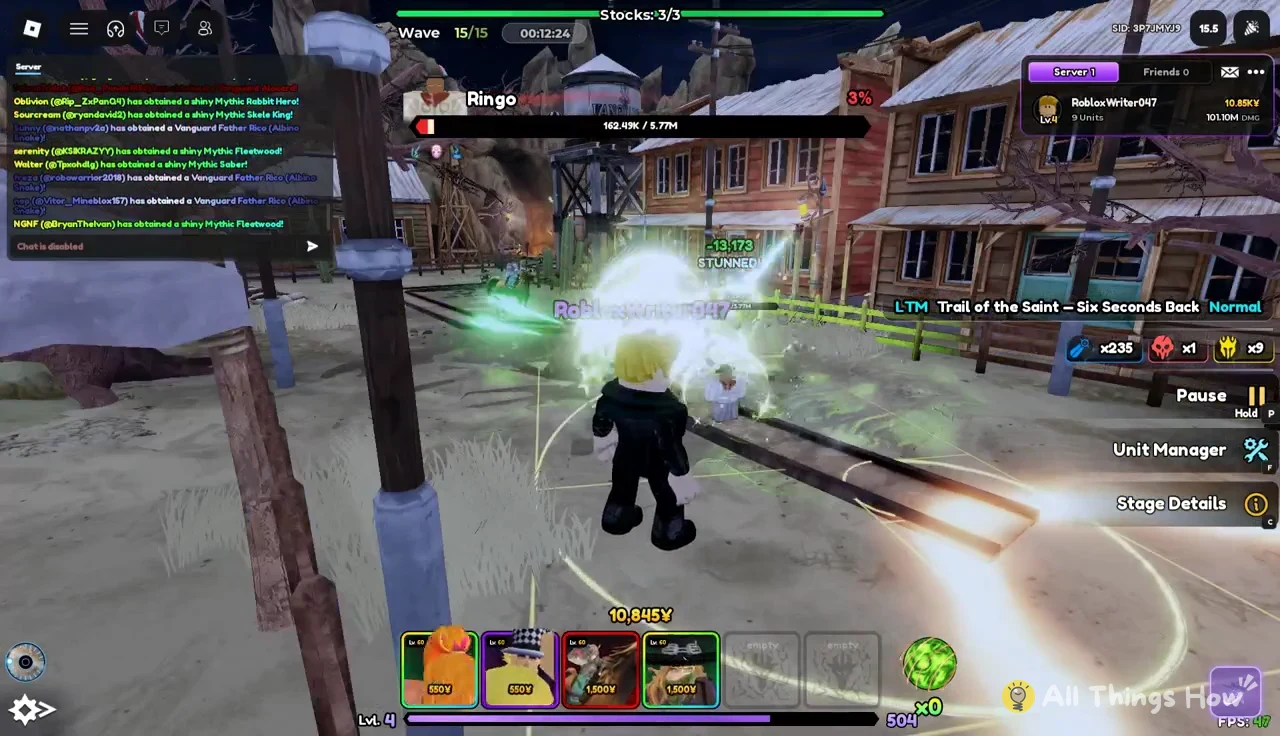
The wave tracker at the top counts up to the stage’s last wave. That’s Wave 15/15 on Trail of the Saint – Six Seconds Back. A “Wave Completed!” banner appears when a wave is cleared. This is the best time to place units and buy upgrades, because the field is quiet and you’ve just been paid.
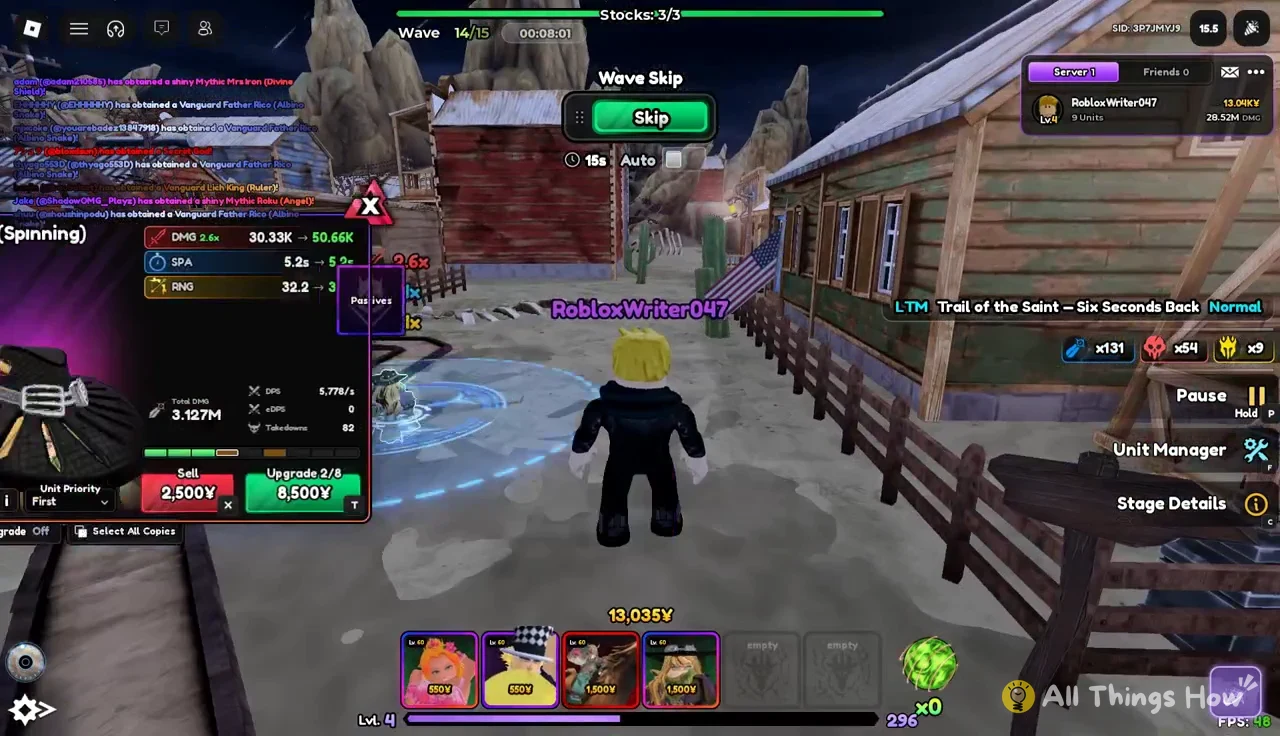
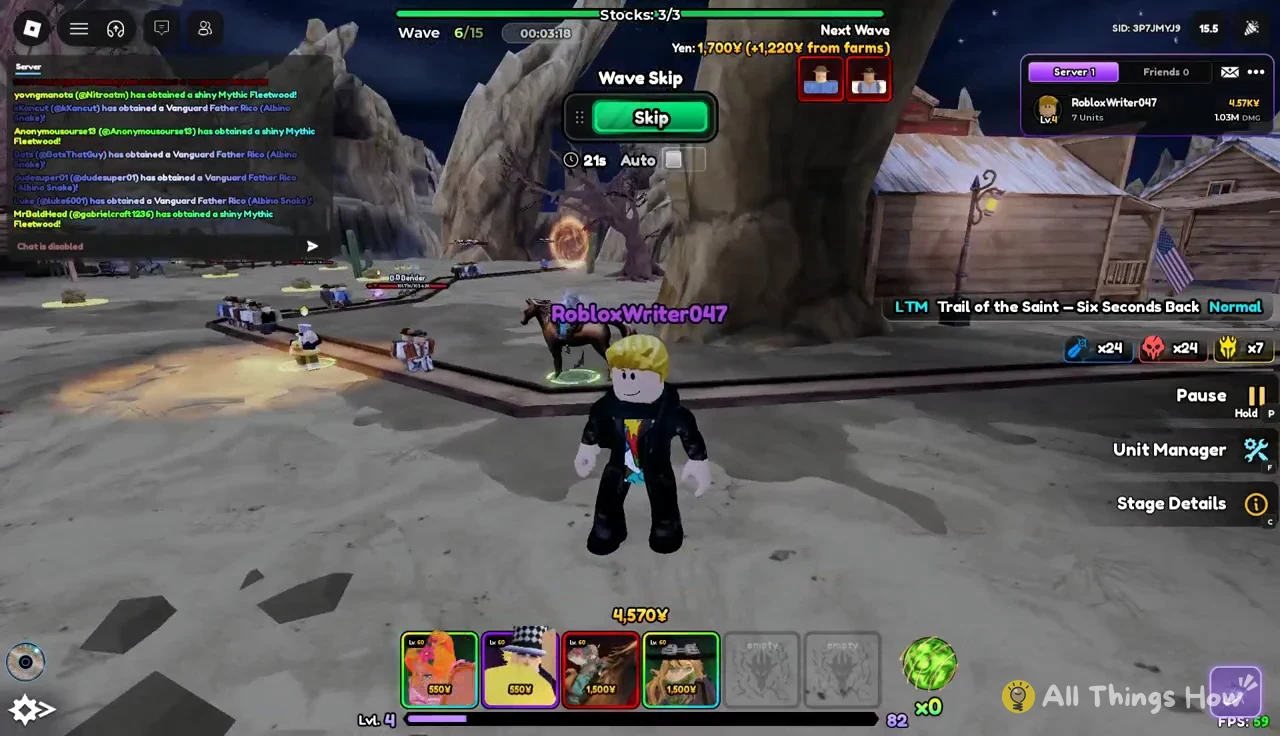
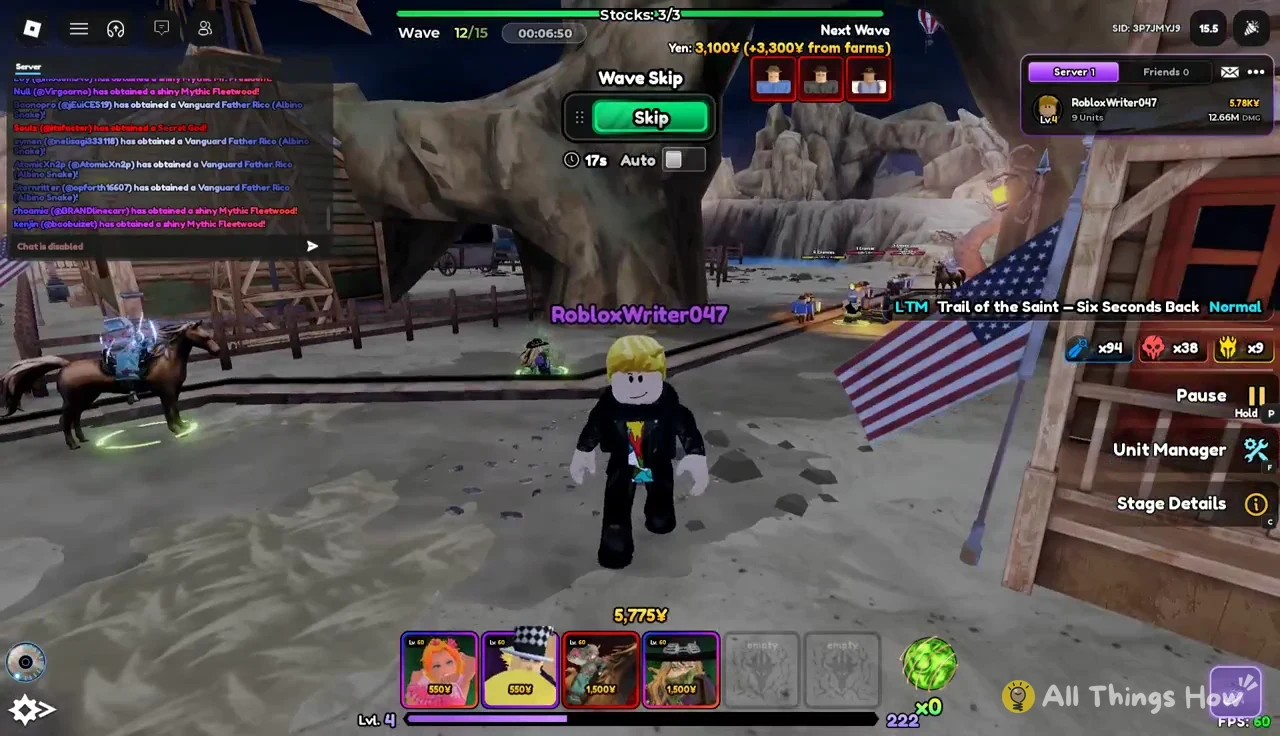
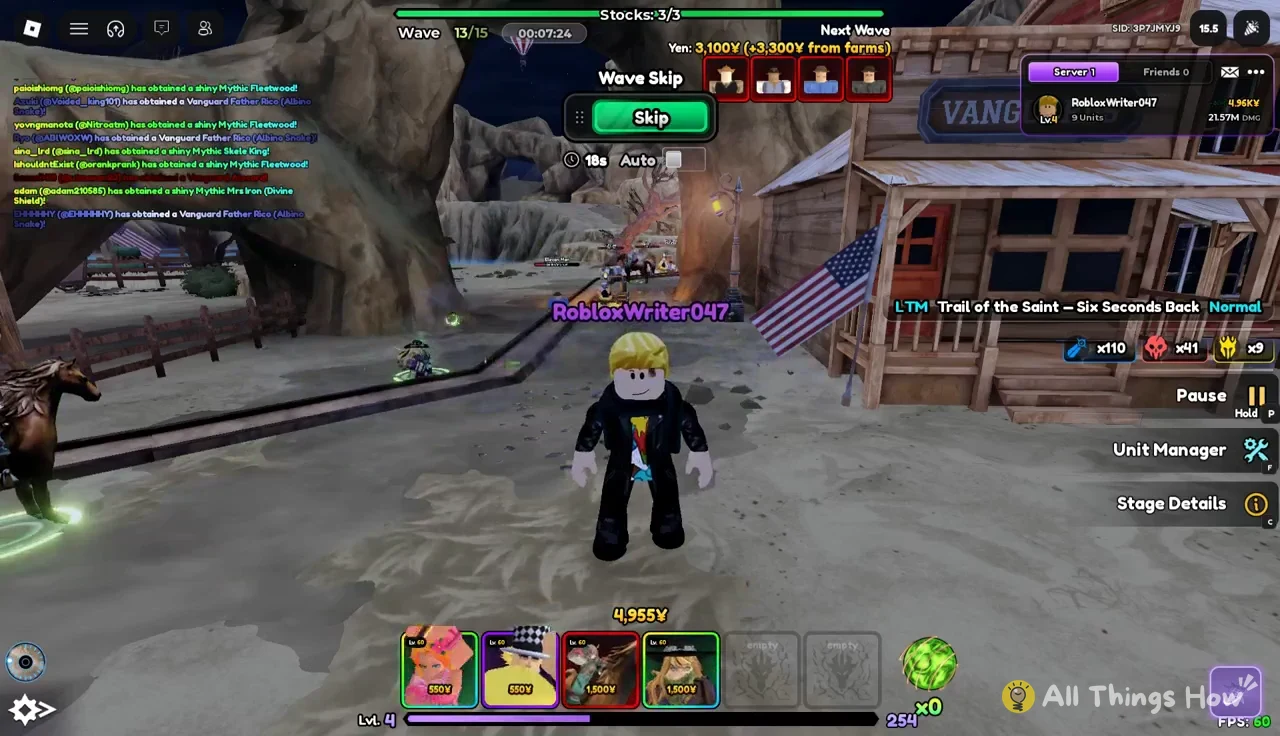
During a wave, a Wave Skip prompt can appear with a green Skip button. Skipping starts the next wave early. That brings in yen faster, but it also gives your current lineup less time to finish off the enemies already on the path. Skip only when your defense is clearly ahead.
Rocks and dig chests on the map
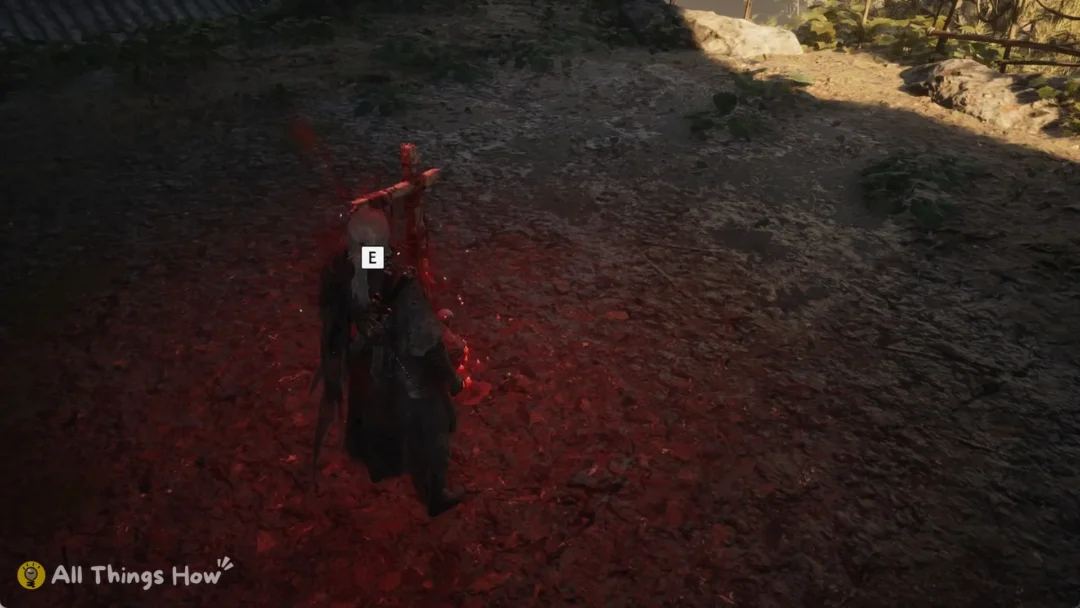
Some stages drop things onto the map during the fight. On Trail of the Saint, rocks land on the field with the message “Another rock landed nearby.” Glowing yellow circles also appear on the ground. Walk your avatar onto one and press the [E] Dig Chest prompt to dig up a bonus chest.
This matters for placement in two ways. First, your avatar has to run across the map to reach these spots, so keep an eye on the path while you do. Second, rocks aren’t decoration on this stage. You need them for the boss fight.
Ringo boss wave on Trail of the Saint – Six Seconds Back
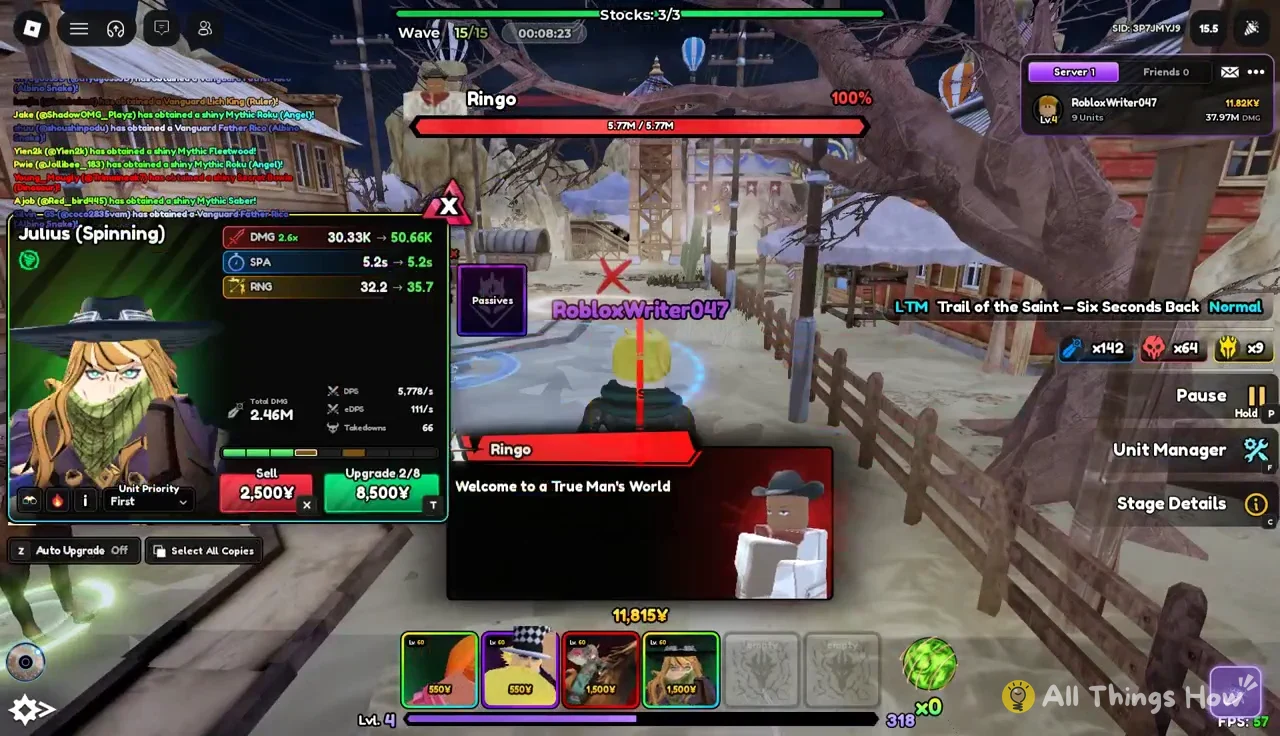
At the start of Wave 15, the alert reads “A huge threat is approaching…” before Ringo‘s dialogue card appears: “Welcome to a True Man’s World.” Ringo has 5.77M HP and follows the route used by every other enemy. Your Wave 14 setup is all you can rely on to stop him, so finish placing and upgrading units before the alert appears.
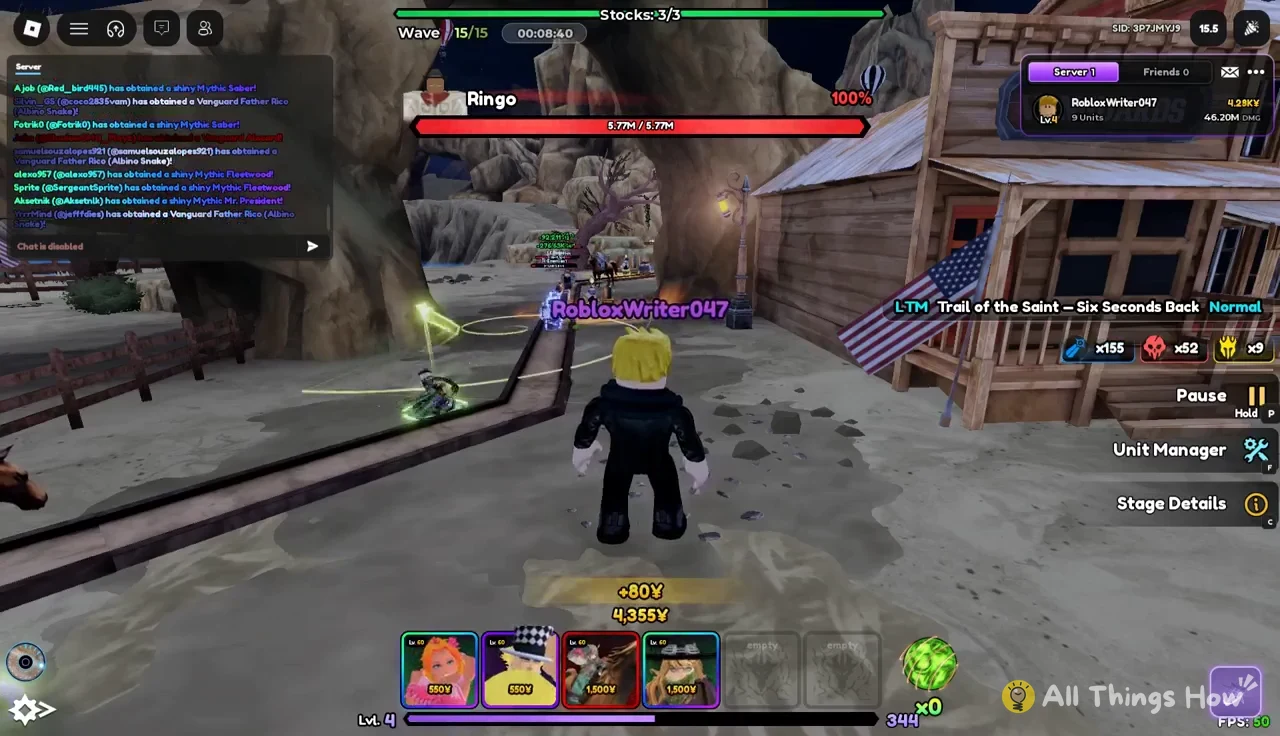
You can still move your avatar during the boss wave. Use that time to grab dig spots and keep track of where rocks have landed.
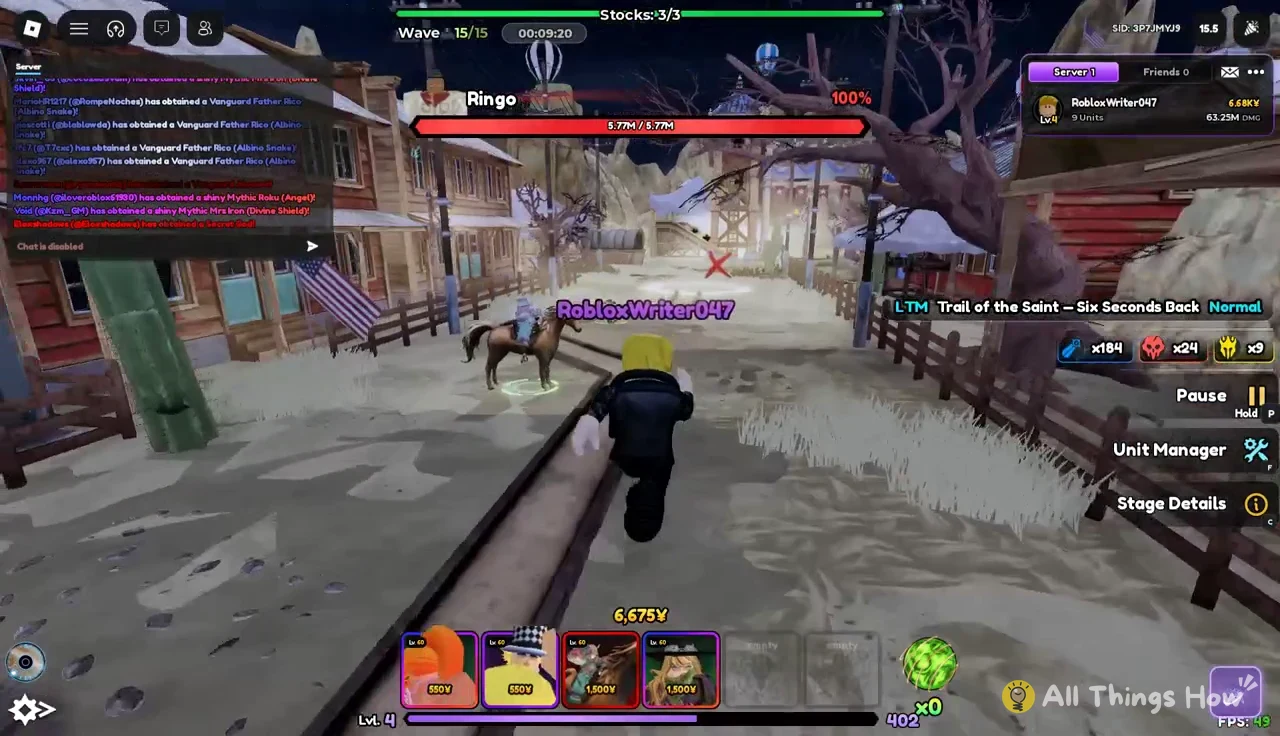
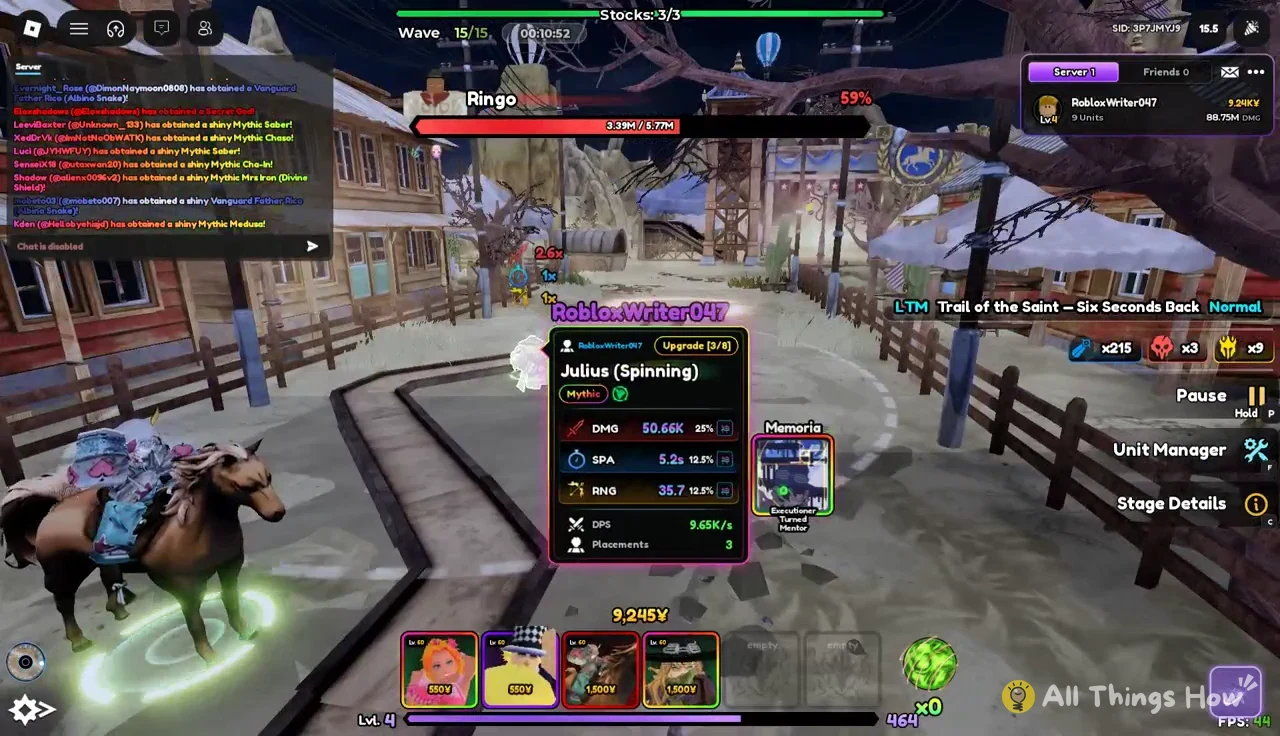
Ringo’s health drops slowly, even with stuns and units placed on both bends of the track. Watch his health bar at the top of the screen to see how well your lineup is keeping up.
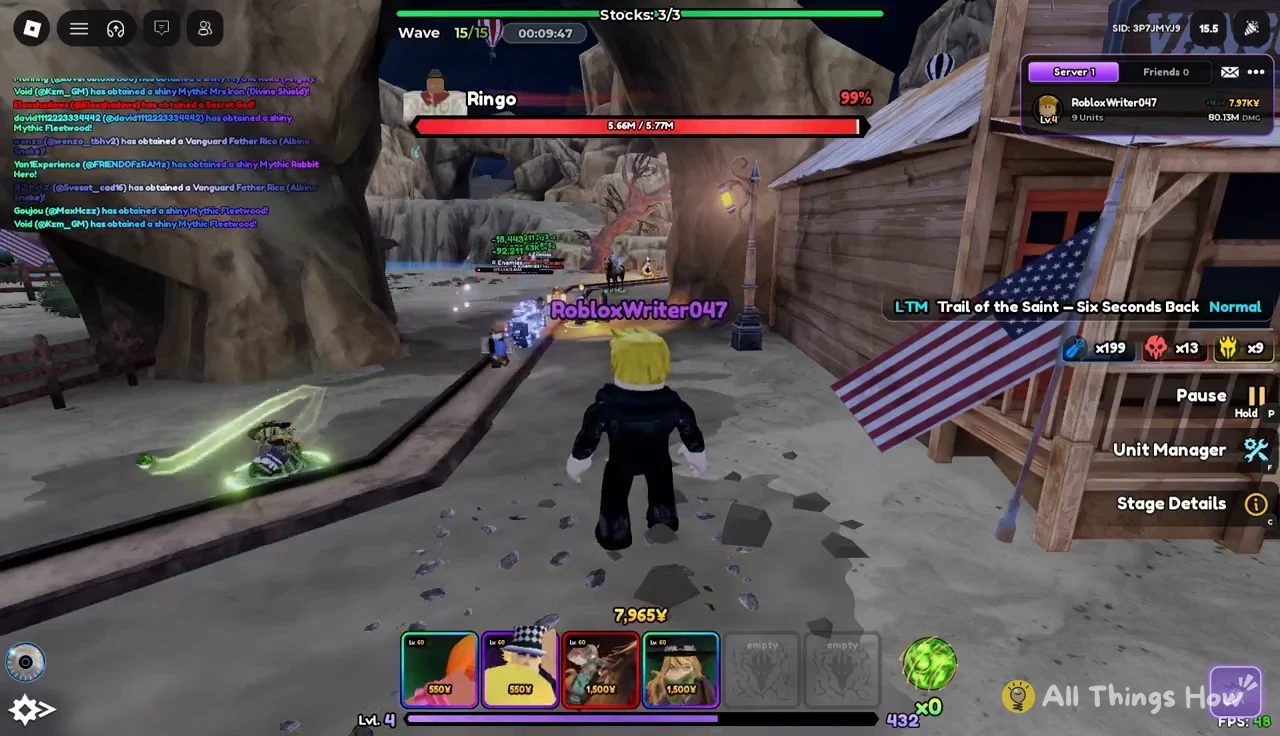
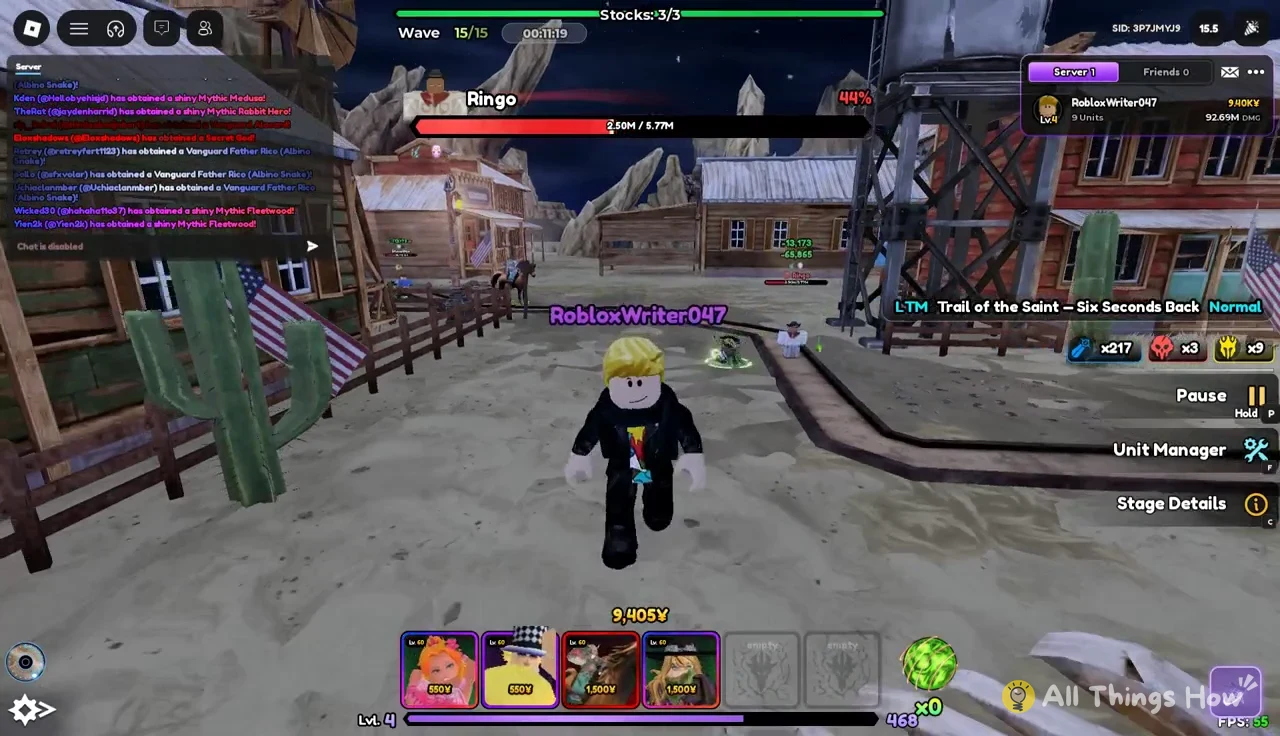
When Ringo’s health gets low, he rewinds time. The game shows “Time rewound! Stun the boss with a rock, then finish it while it is stunned.” Raw damage won’t get you through this part. You have to stun him with a rock, then use the stun window to burn down the rest of his health.
If Ringo gets through your defense after the rewind, the run ends with “You were beaten in the fight.” Placing more units at that point won’t save it, because the lineup that has to finish him needs to be built well before Wave 15.
The defeat screen has a Try again button that restarts the stage from Wave 1, with your stocks back at 3/3. On the next attempt, place the farm units just as early, keep both damage dealers’ upgrades level, and know where a rock is before Ringo’s health gets low.