Quick answer: When day 4 begins, put the delivered box on the crafting table in the bedroom. Choose a colour with the mixer, fill the mould, and let the pressure pot process the 7-die set.
In Dice Hoarder, you start making your own stock partway through Story Mode, and the finished dice need a specific spot in the shop. You’ll need the equipment delivery, the bedroom table, and a short wait at the pressure pot.
When resin crafting unlocks
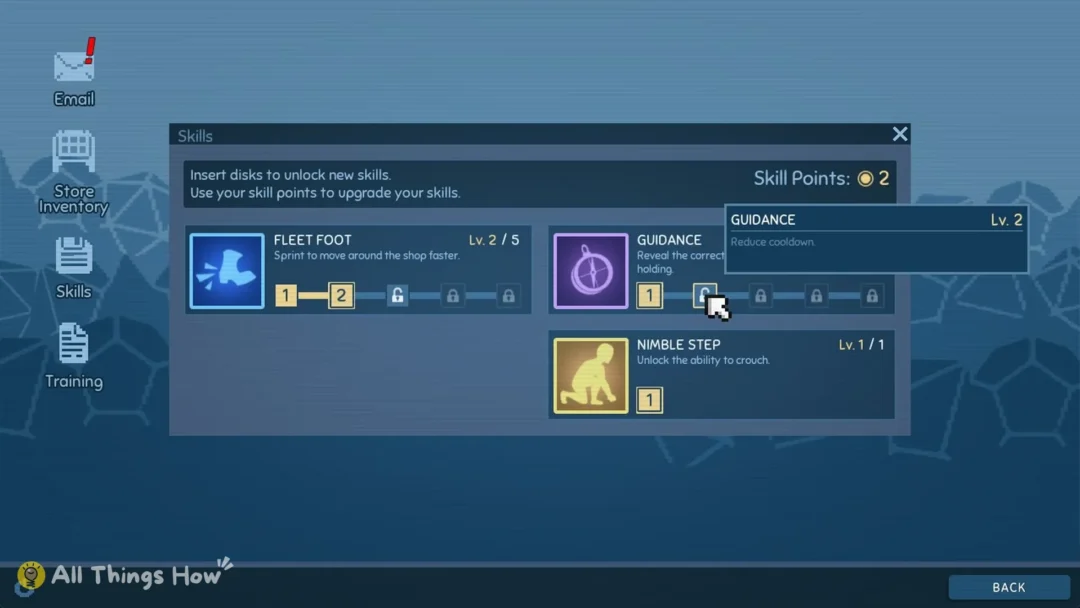
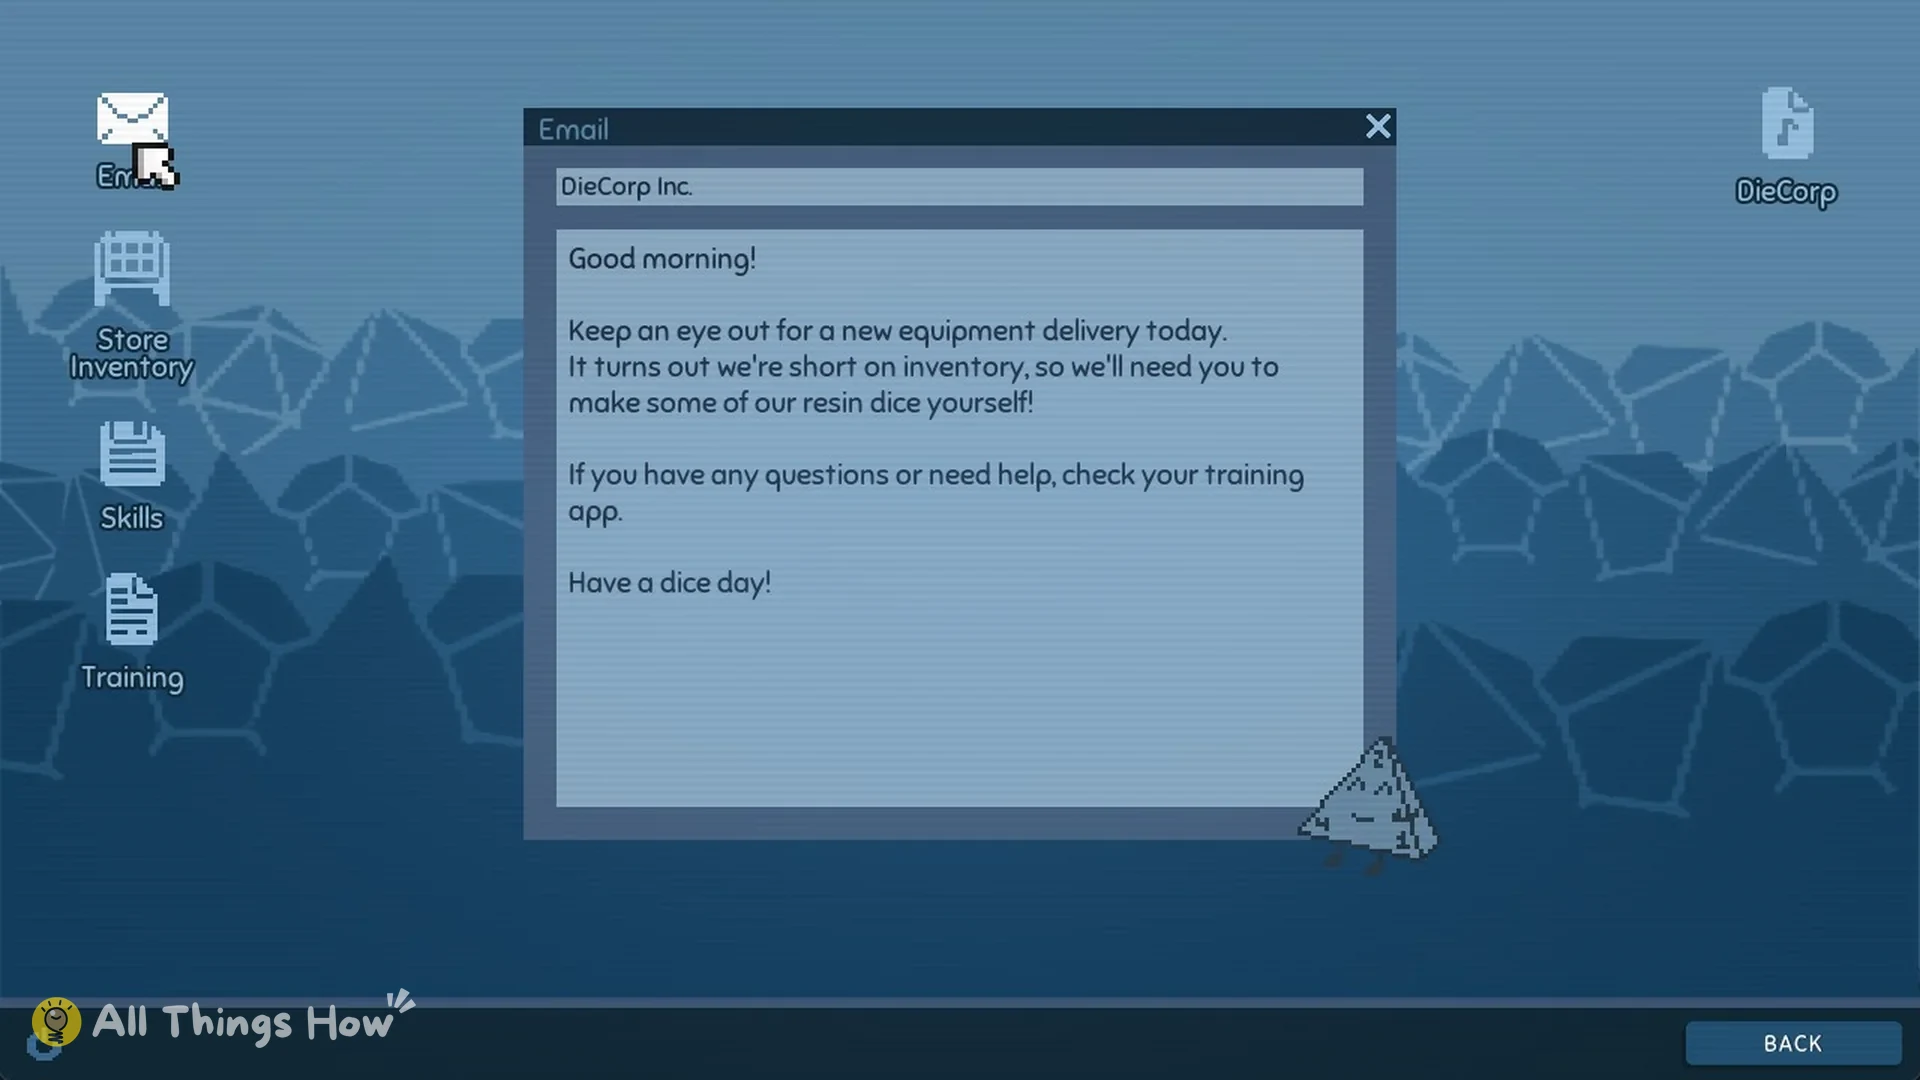
Resin crafting opens on the morning of day 4 in Story Mode, which is the morning after the day 3 shift ends at Level 6. Check the bedroom computer and you’ll find a new email from DieCorp Inc.: “Good morning! Keep an eye out for a new equipment delivery today. It turns out we’re short on inventory, so we’ll need you to make some of our resin dice yourself! If you have any questions or need help, check your training app. Have a dice day!”
The Training app on that same computer now has a Crafting page that lays out the whole process: “First, select the mixer to choose a color. Once it’s finished mixing, pour the resin into the mold. Place the mold inside the pressure pot and wait until your dice are ready!”
Set up the crafting equipment
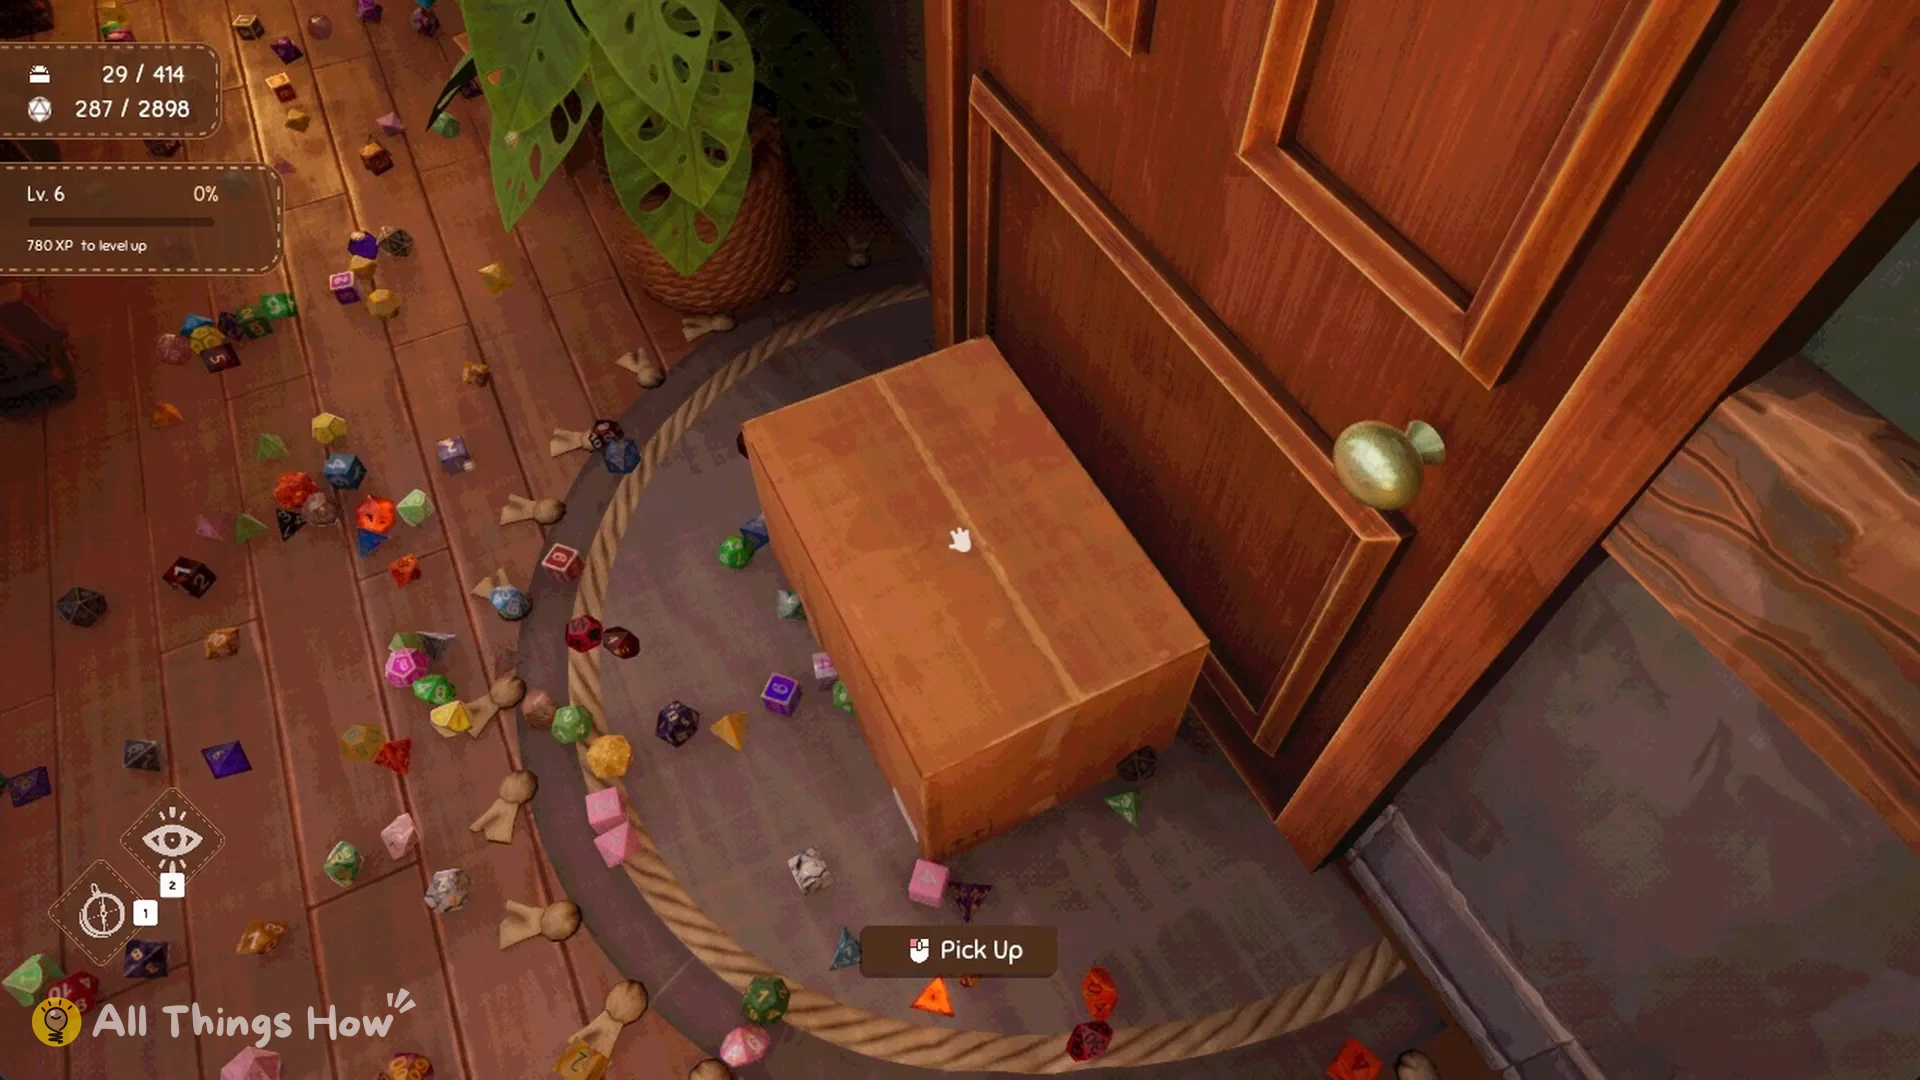
Go to the shop’s front entrance. Just inside, beside the large potted plant, a sealed cardboard package rests on the round doormat. Target the box and choose “Pick Up” to carry it.
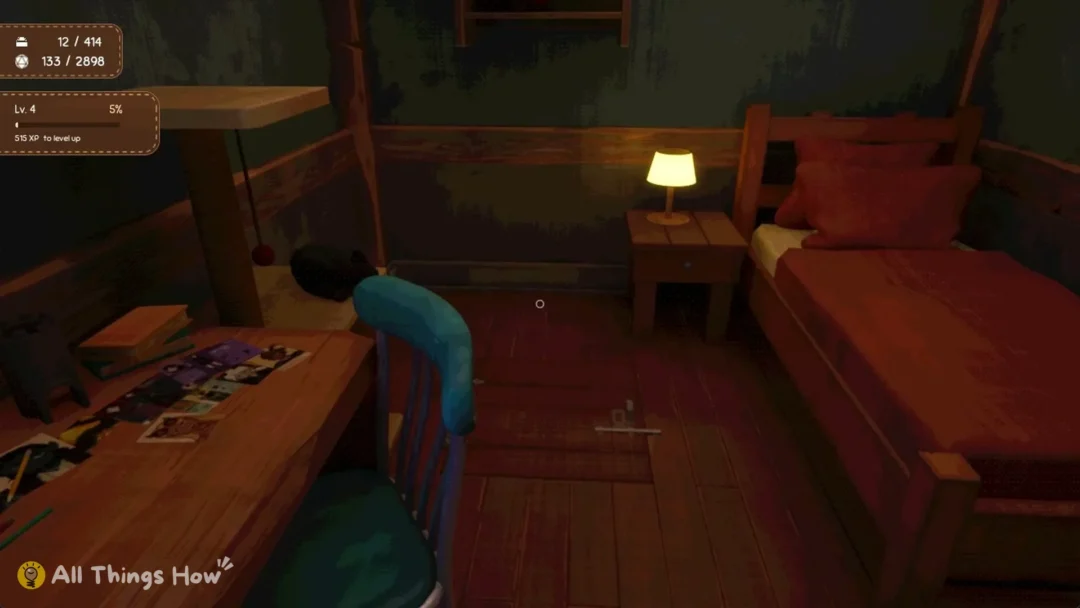
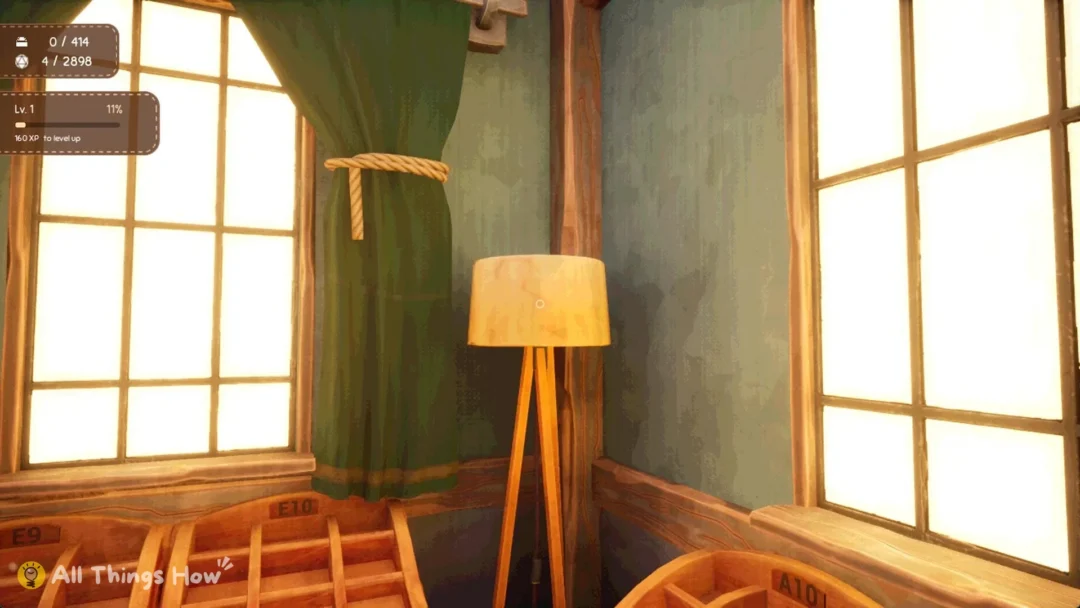
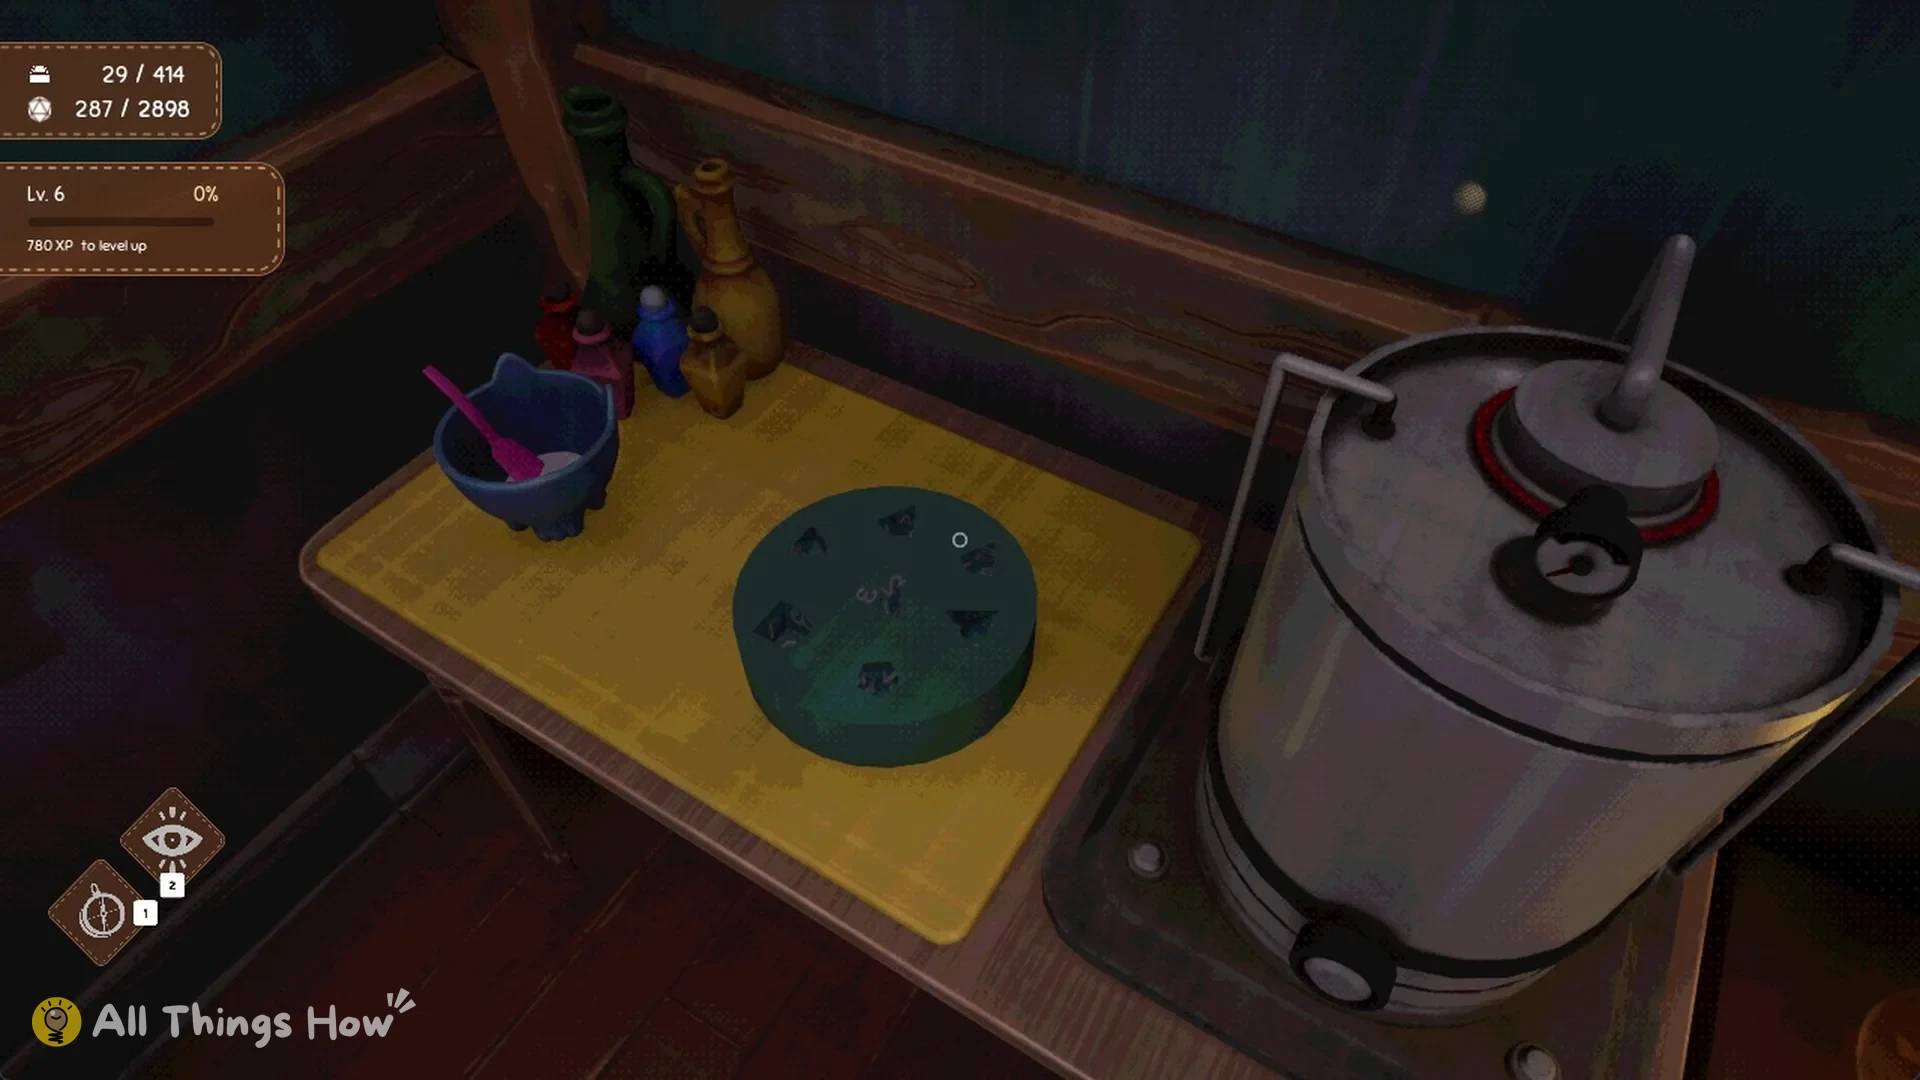
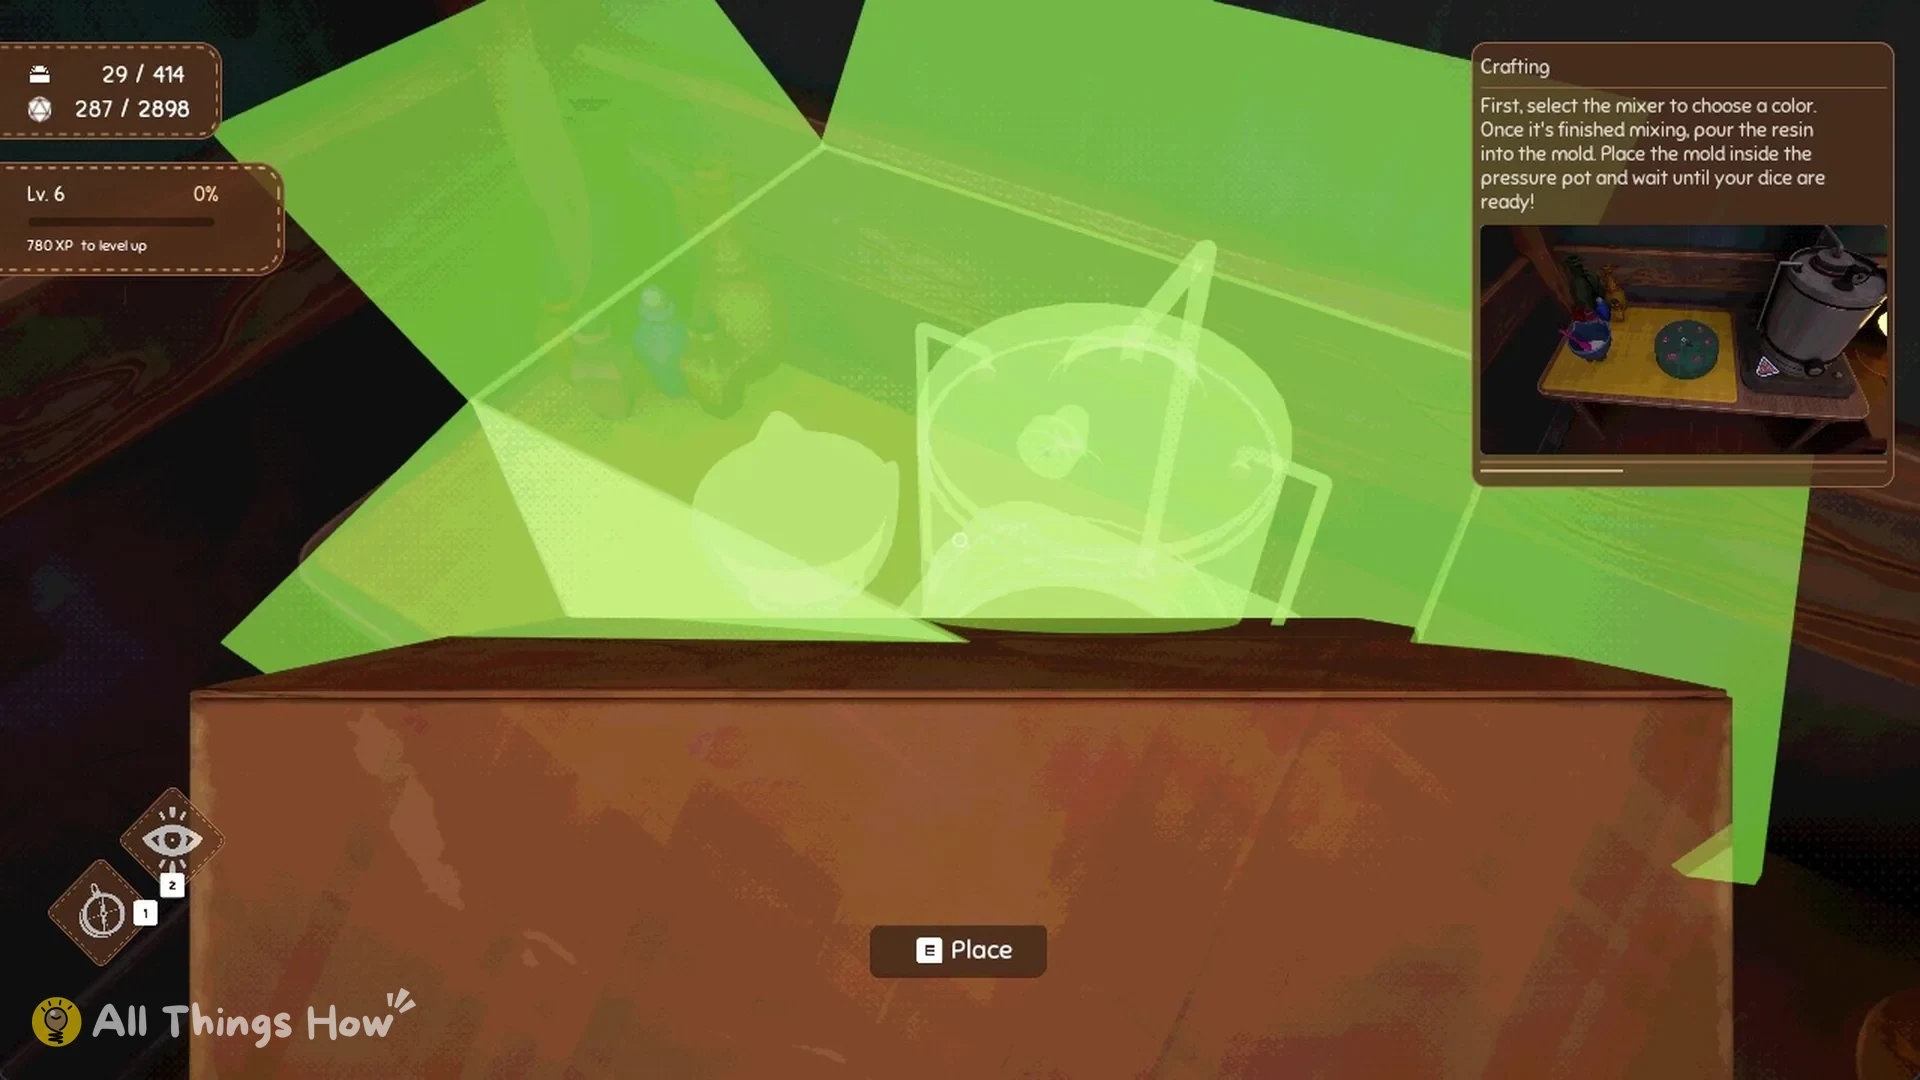
Take the box into the bedroom and walk up to the small table in the corner by the bedside lamp. A green outline of a mixing bowl, a dice mould and a pressure pot appears with a “Place” prompt, and a Crafting help card shows up in the top right of the screen. Press E, and the equipment is set up on the table.
Choose the resin colour
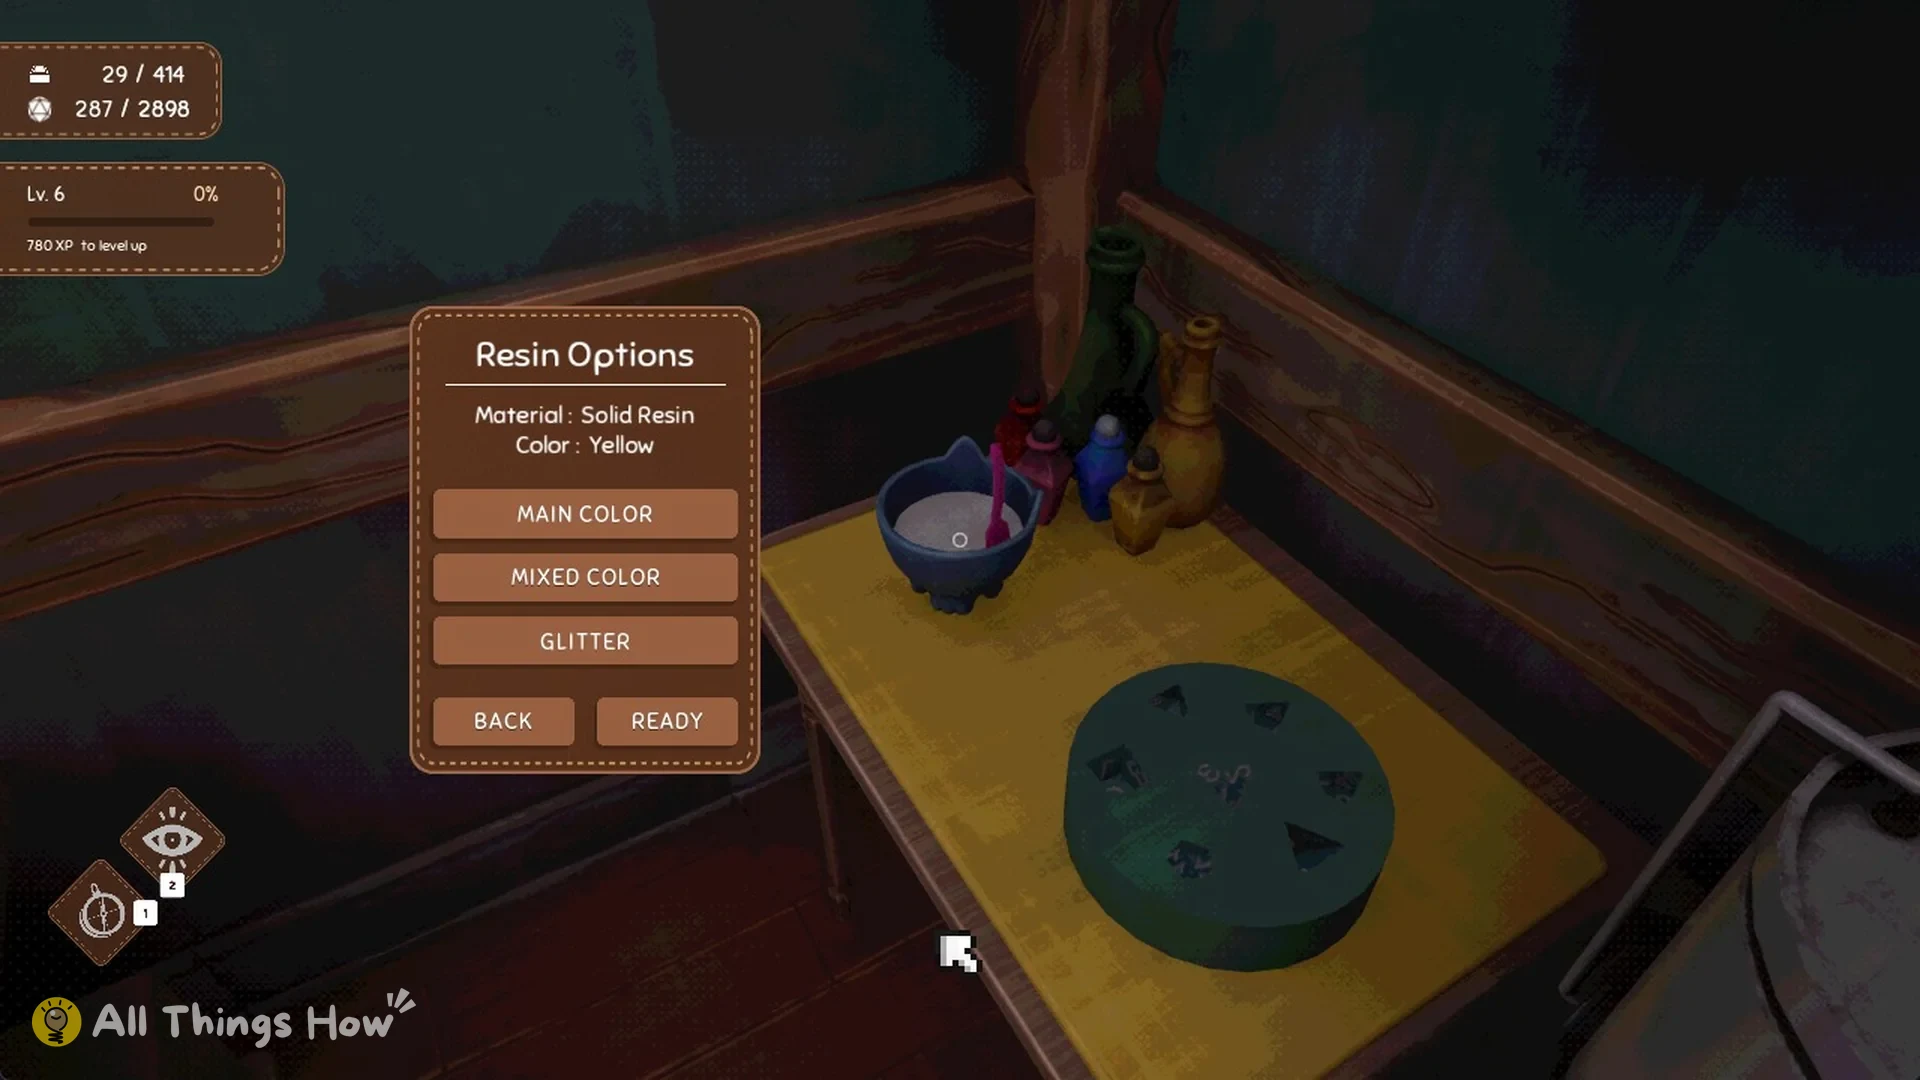
Target the mixing bowl, then press E on “Select Color”. The “Resin Options” panel opens, showing “Material: Solid Resin” and the selected colour. The available buttons are MAIN COLOR, MIXED COLOR, GLITTER, BACK and READY.
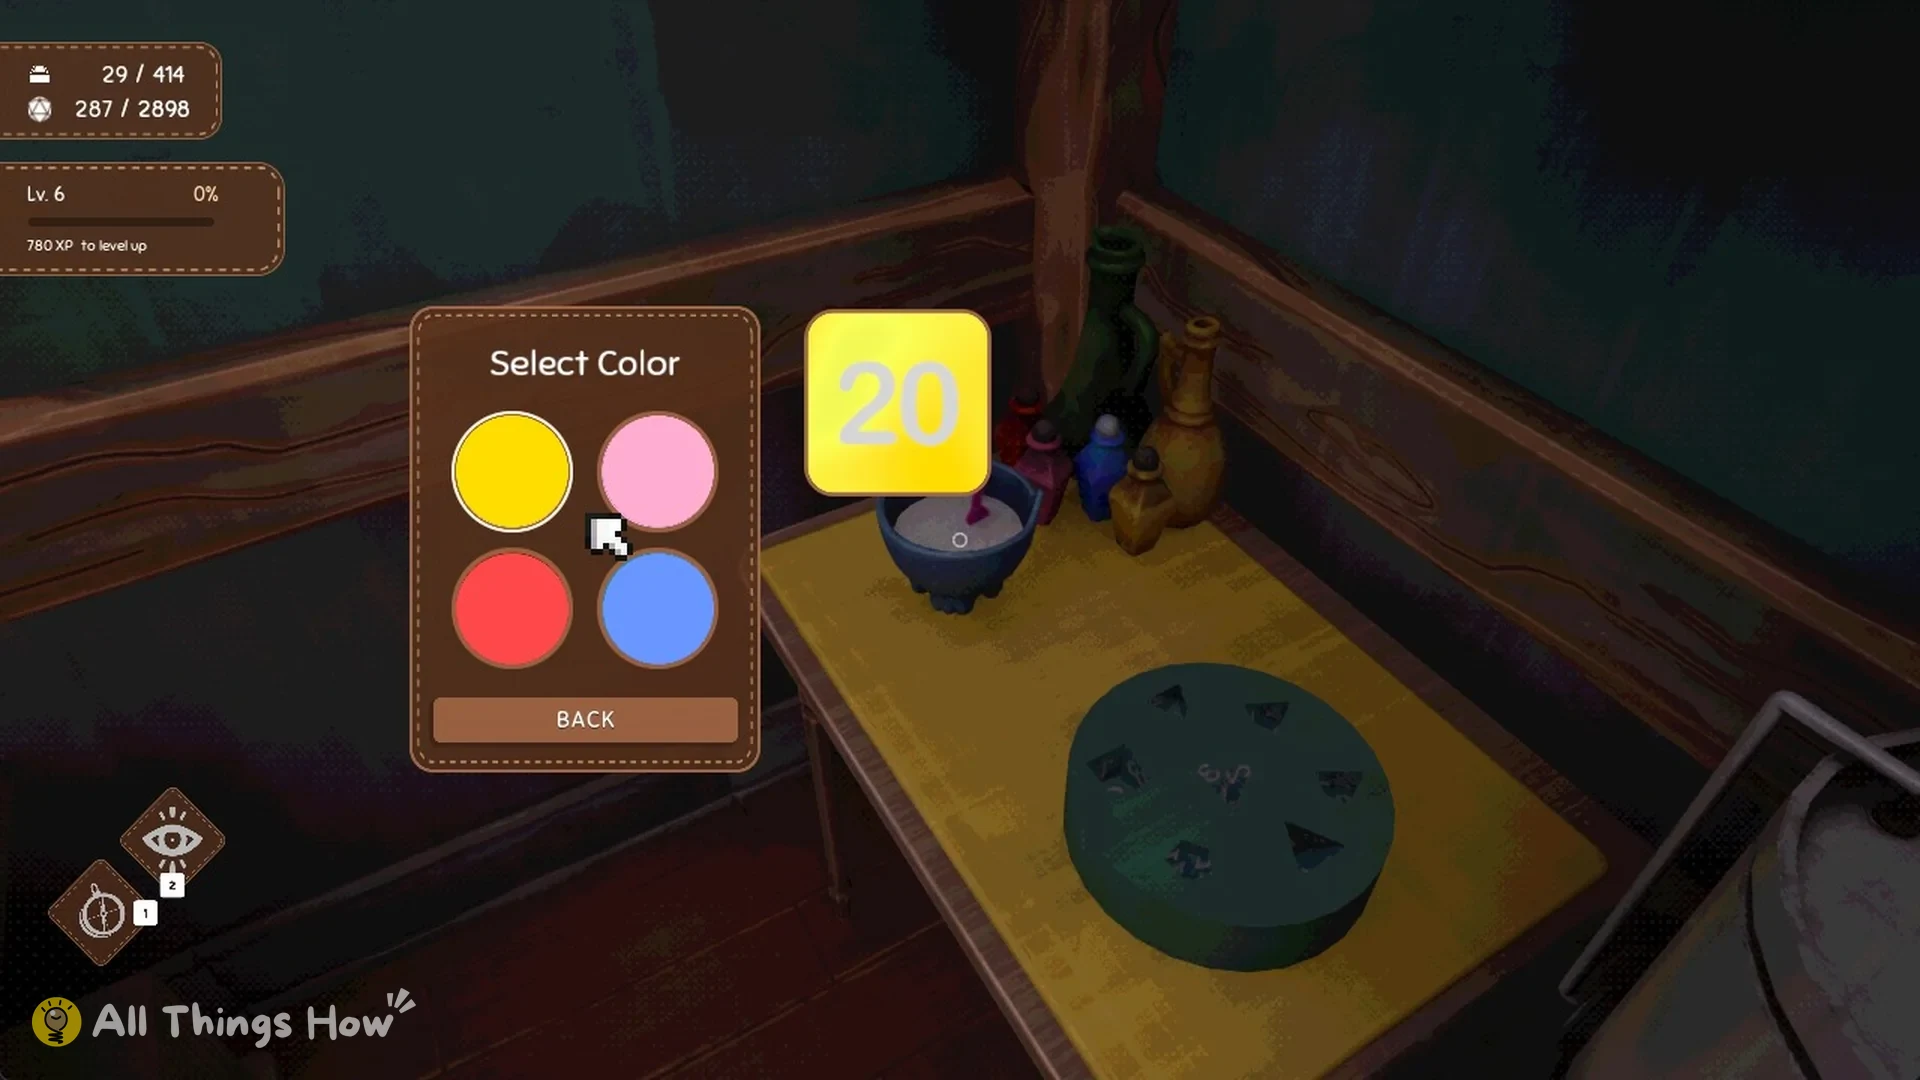
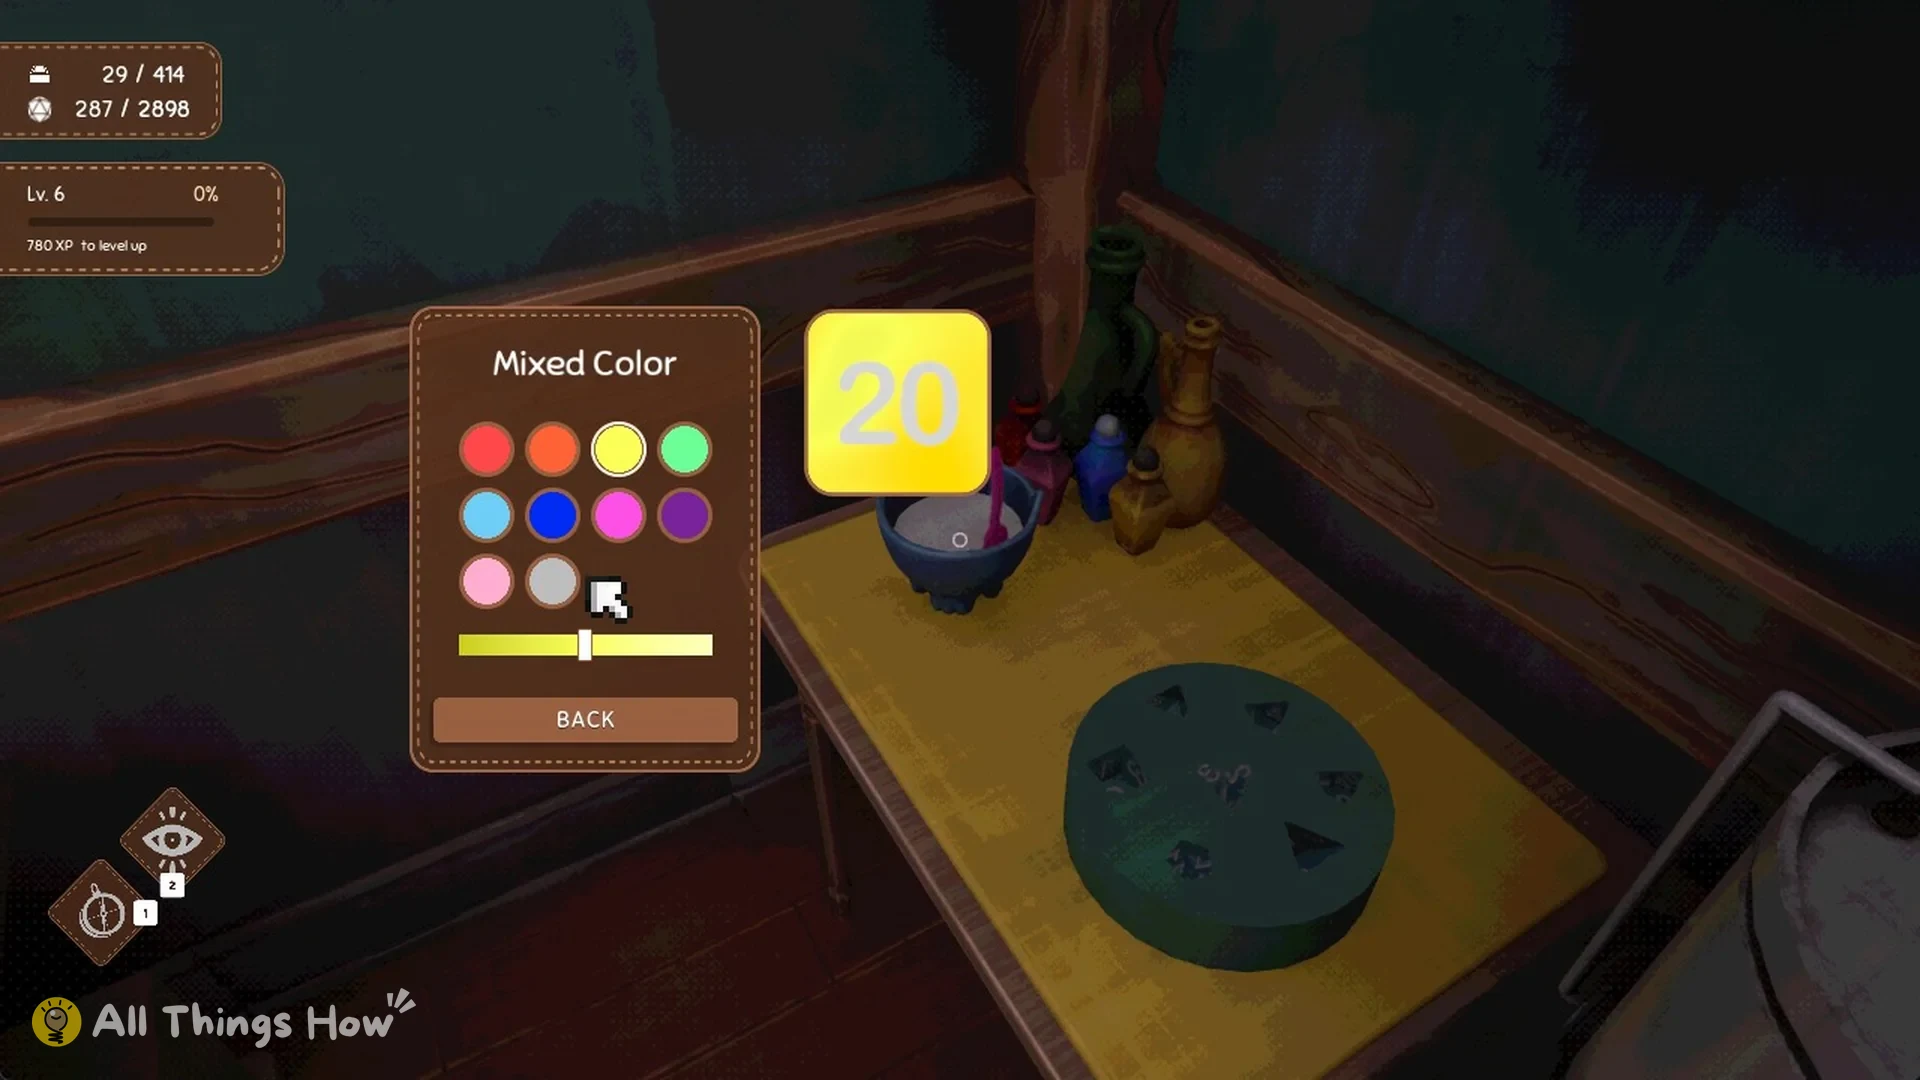
Choose from 4 colours under MAIN COLOR: yellow, pink, red or blue. As you make a selection, the panel’s D20 preview tile updates to show the die’s appearance.
MIXED COLOR widens the palette to 10 colours and adds a slider for adjusting the shade.
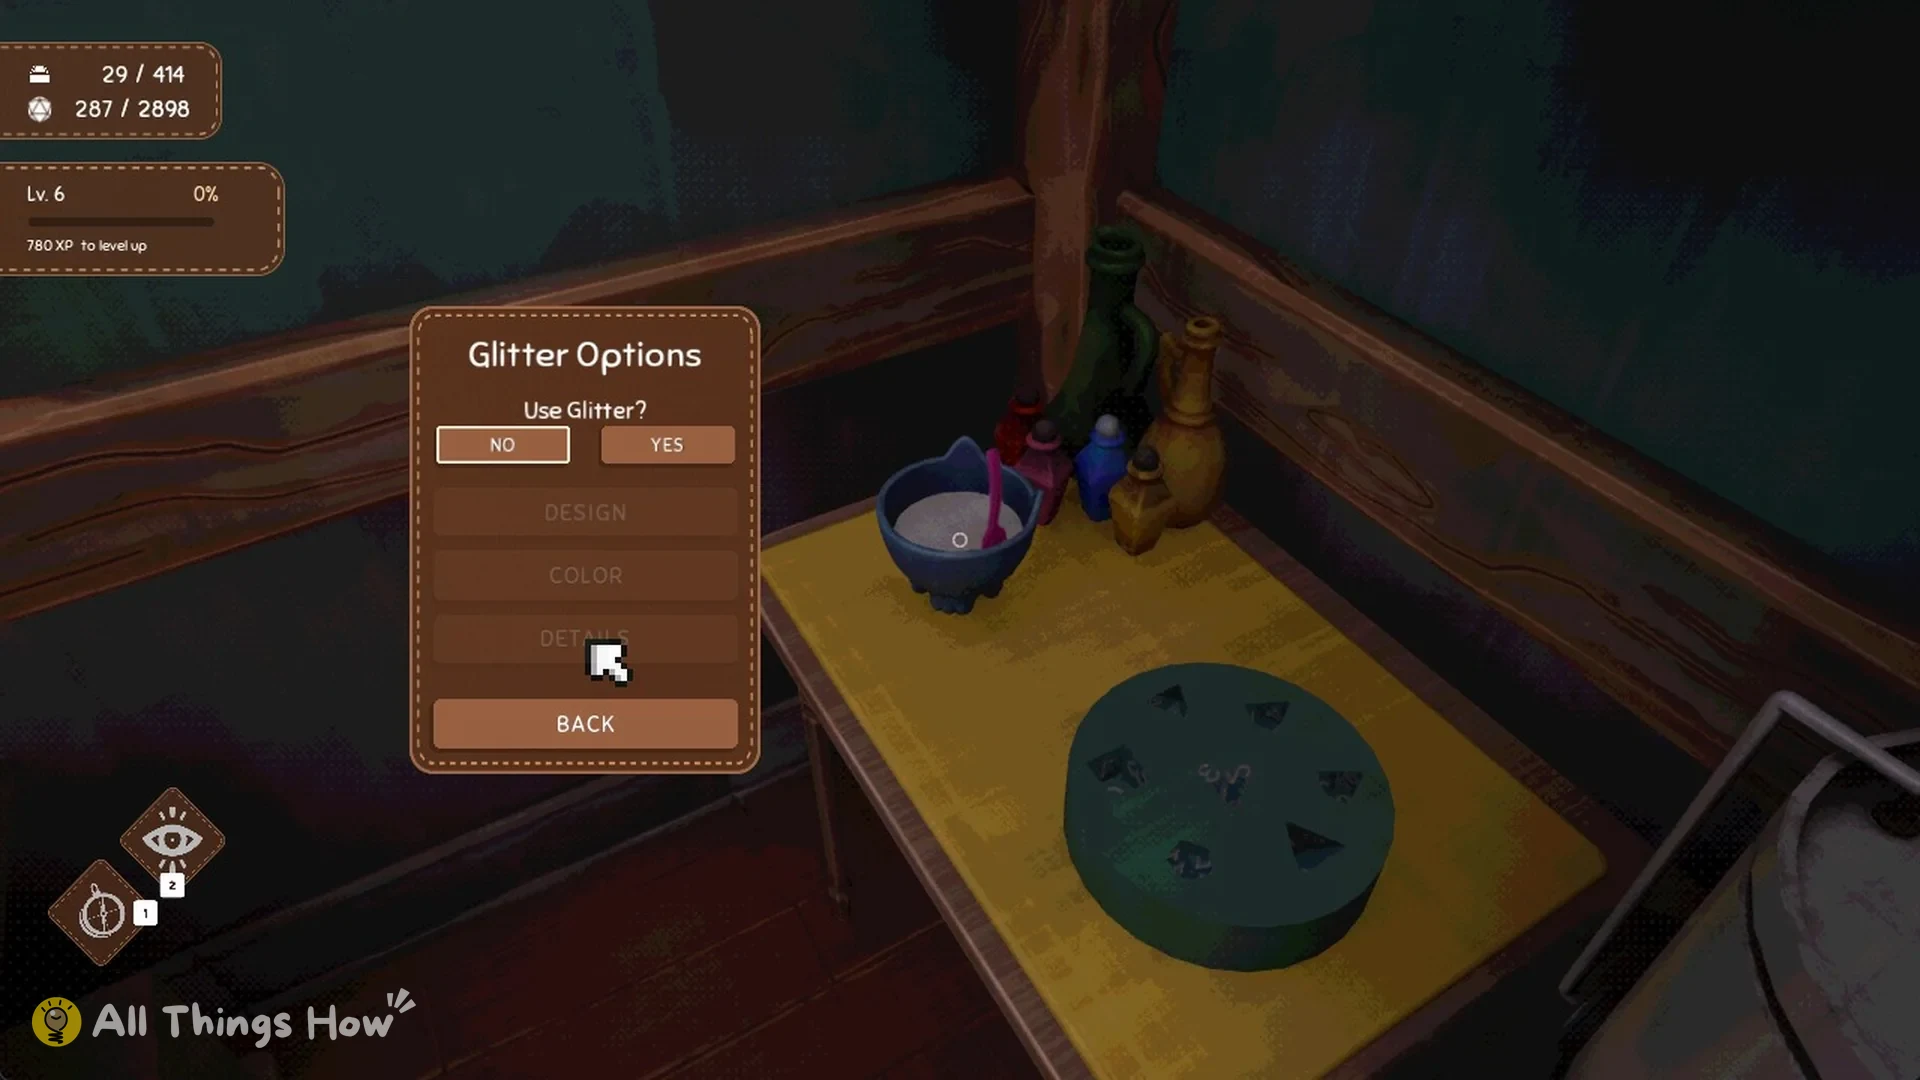
GLITTER opens “Glitter Options”, where “Use Glitter?” can be set to NO or YES, with DESIGN, COLOR and DETAILS settings alongside. Once the preview looks the way you want, press READY.
Pour, press and collect the dice
The resin finishes mixing in the bowl within a few seconds. Pick up the bowl, look at the round mould and press E on “Add”. The resin fills all 7 die-shaped cavities, and the bowl returns to its place on the table.
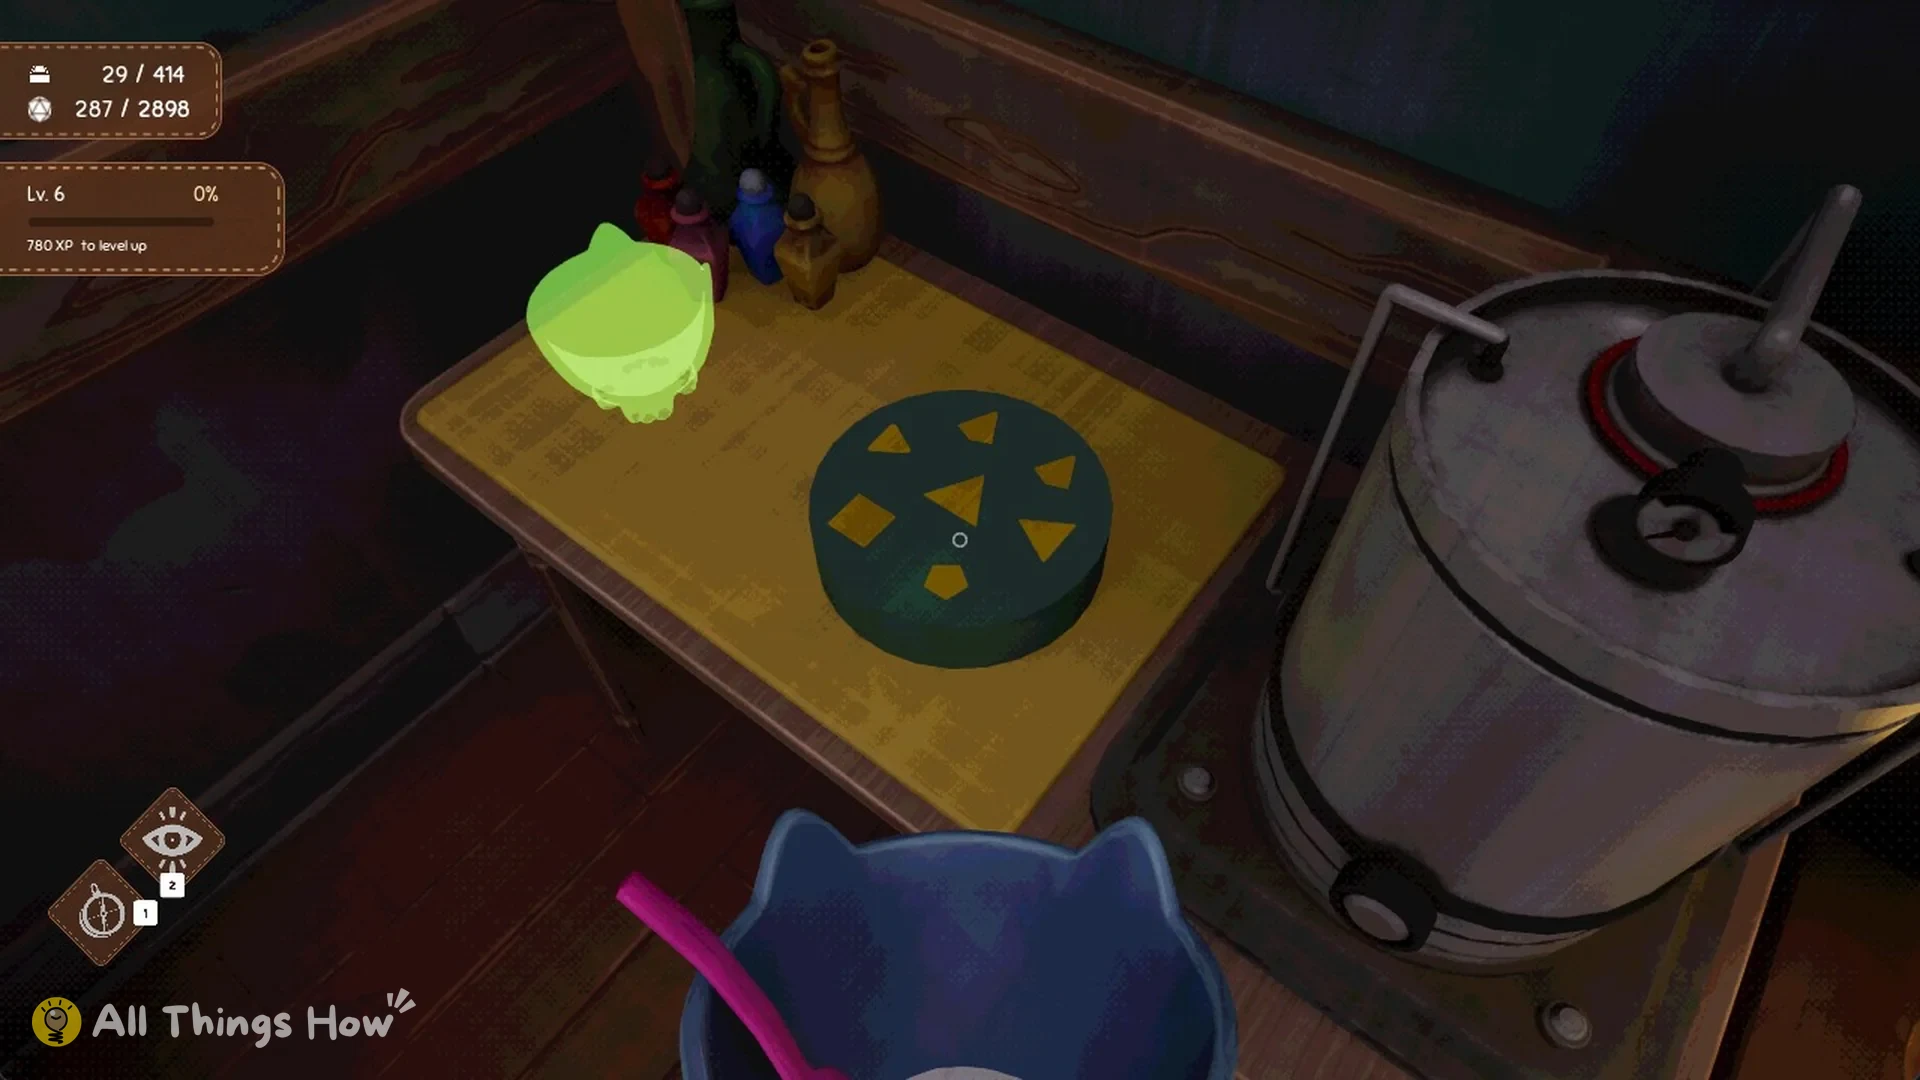
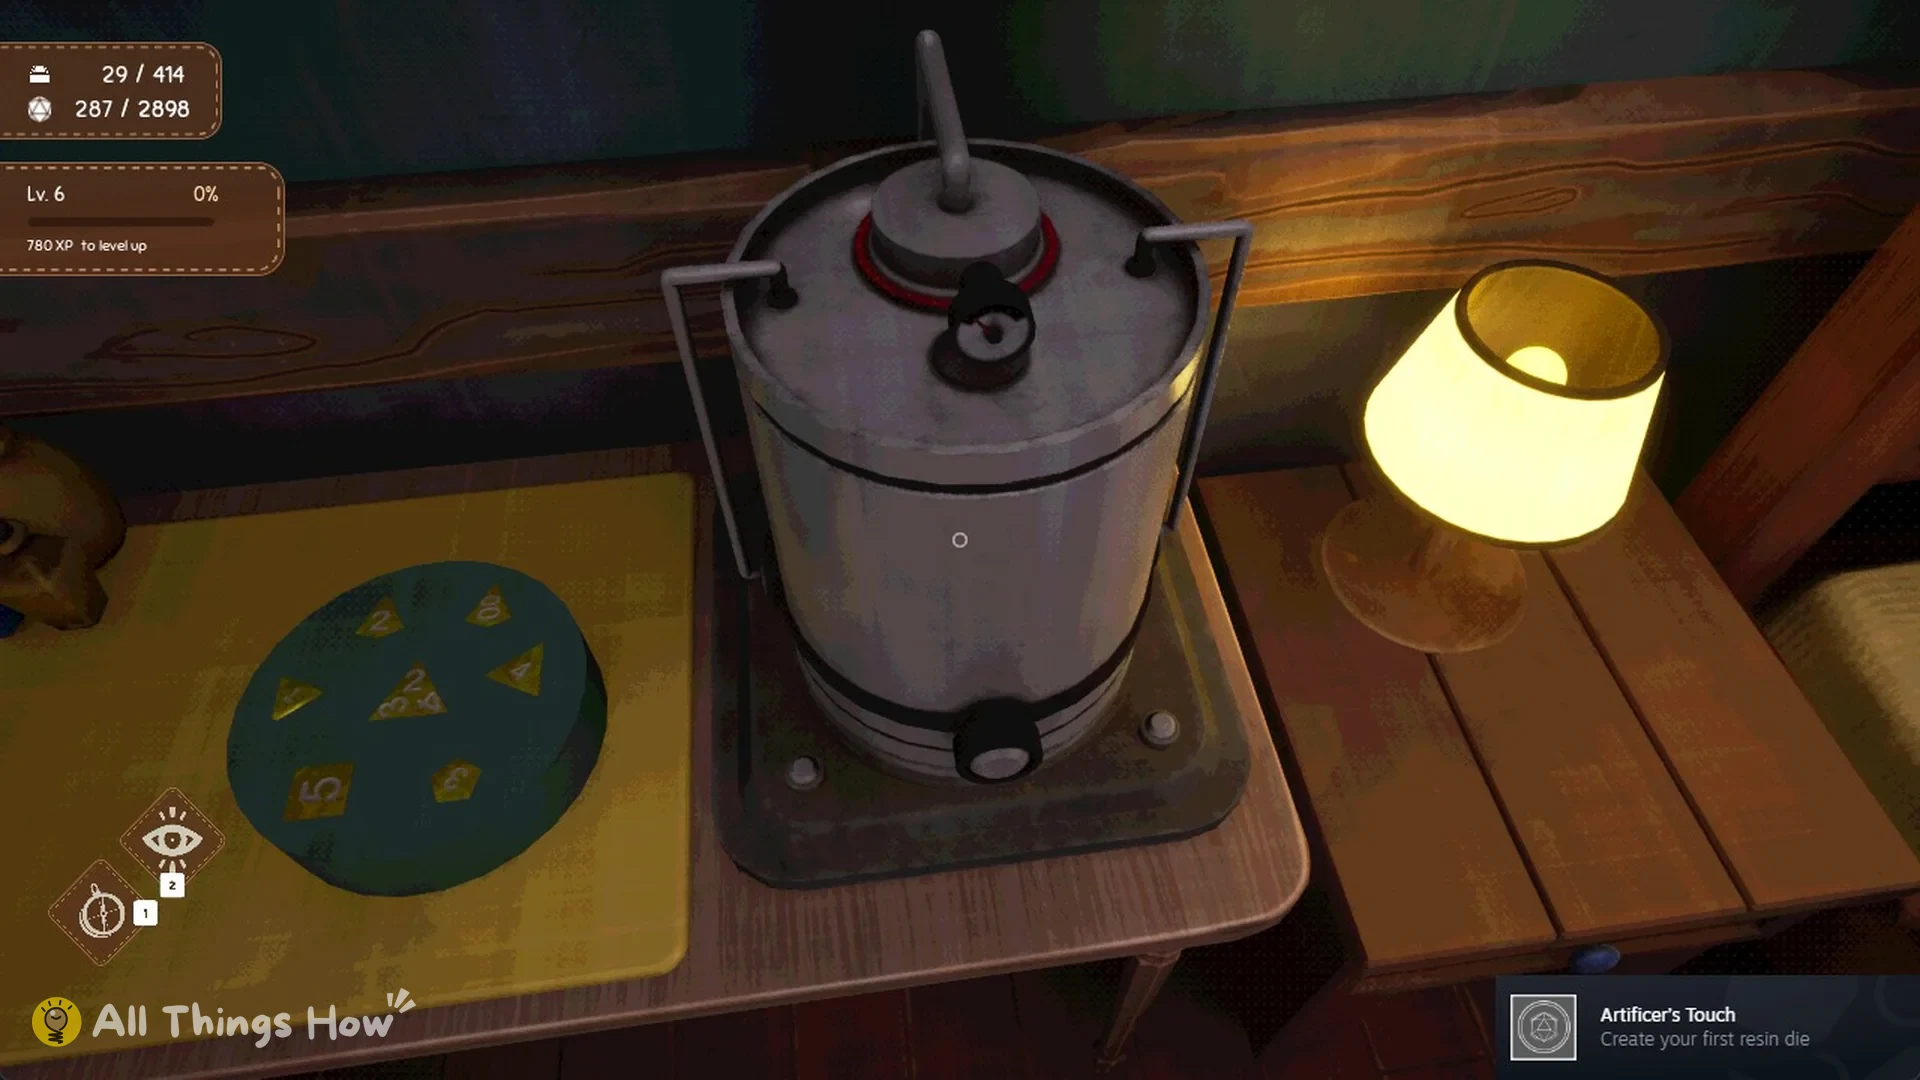
With the mould filled, carry it to the pressure pot, target the pot and press E on “Add”. The mould is placed inside, and the bar below the pot begins to fill. The process takes about 2 minutes.
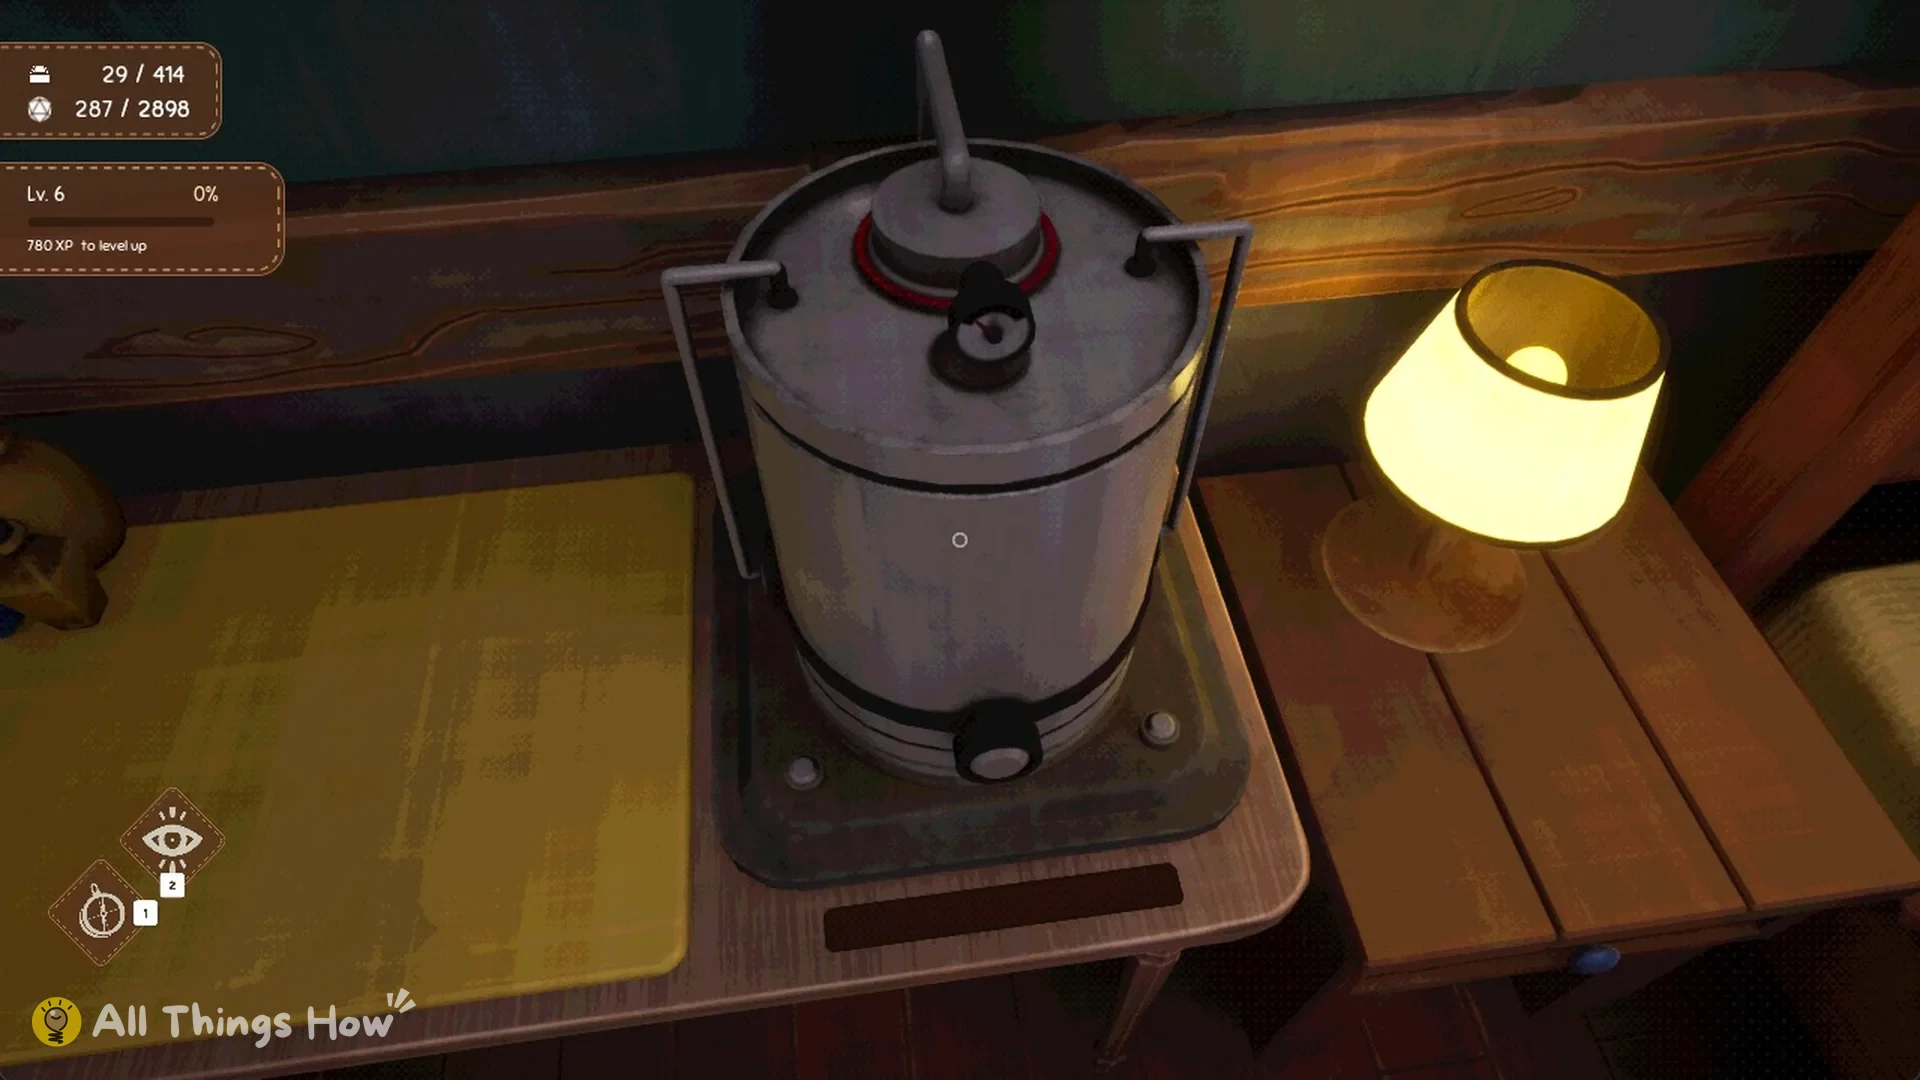
You’ll know it worked when the bar is full and the mould is back on the table holding 7 finished dice. Your first resin die also unlocks the “Artificer’s Touch” achievement (“Create your first resin die”).
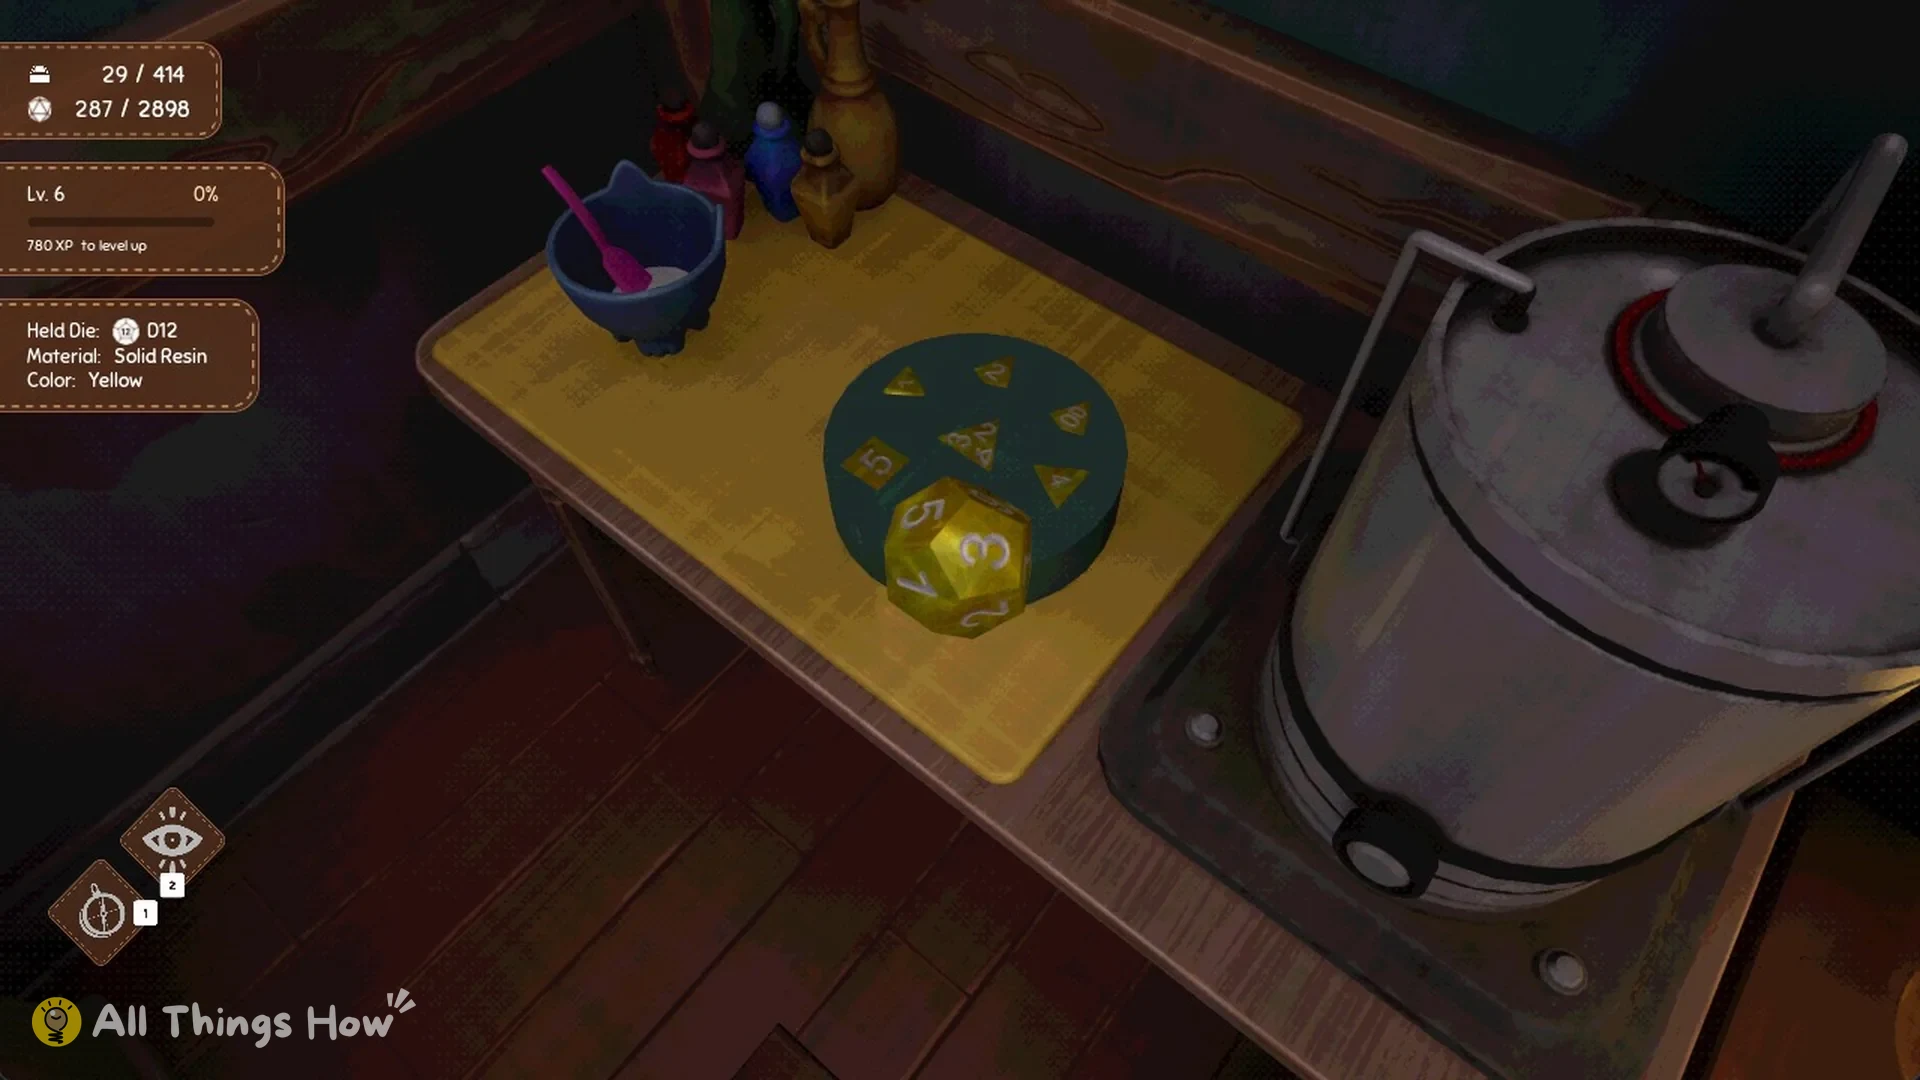
Remove the dice individually from the mould. Every batch contains a complete set, from D4 through D100, and holding a die opens its card. For example, a yellow D12 shows “Material Solid Resin” and “Color Yellow”.
Where crafted resin dice go
Put crafted dice on display at G1, the drawer row at the front of the shop counter. Point at a G1 drawer and, when its slot lights up green, press E to place each die.
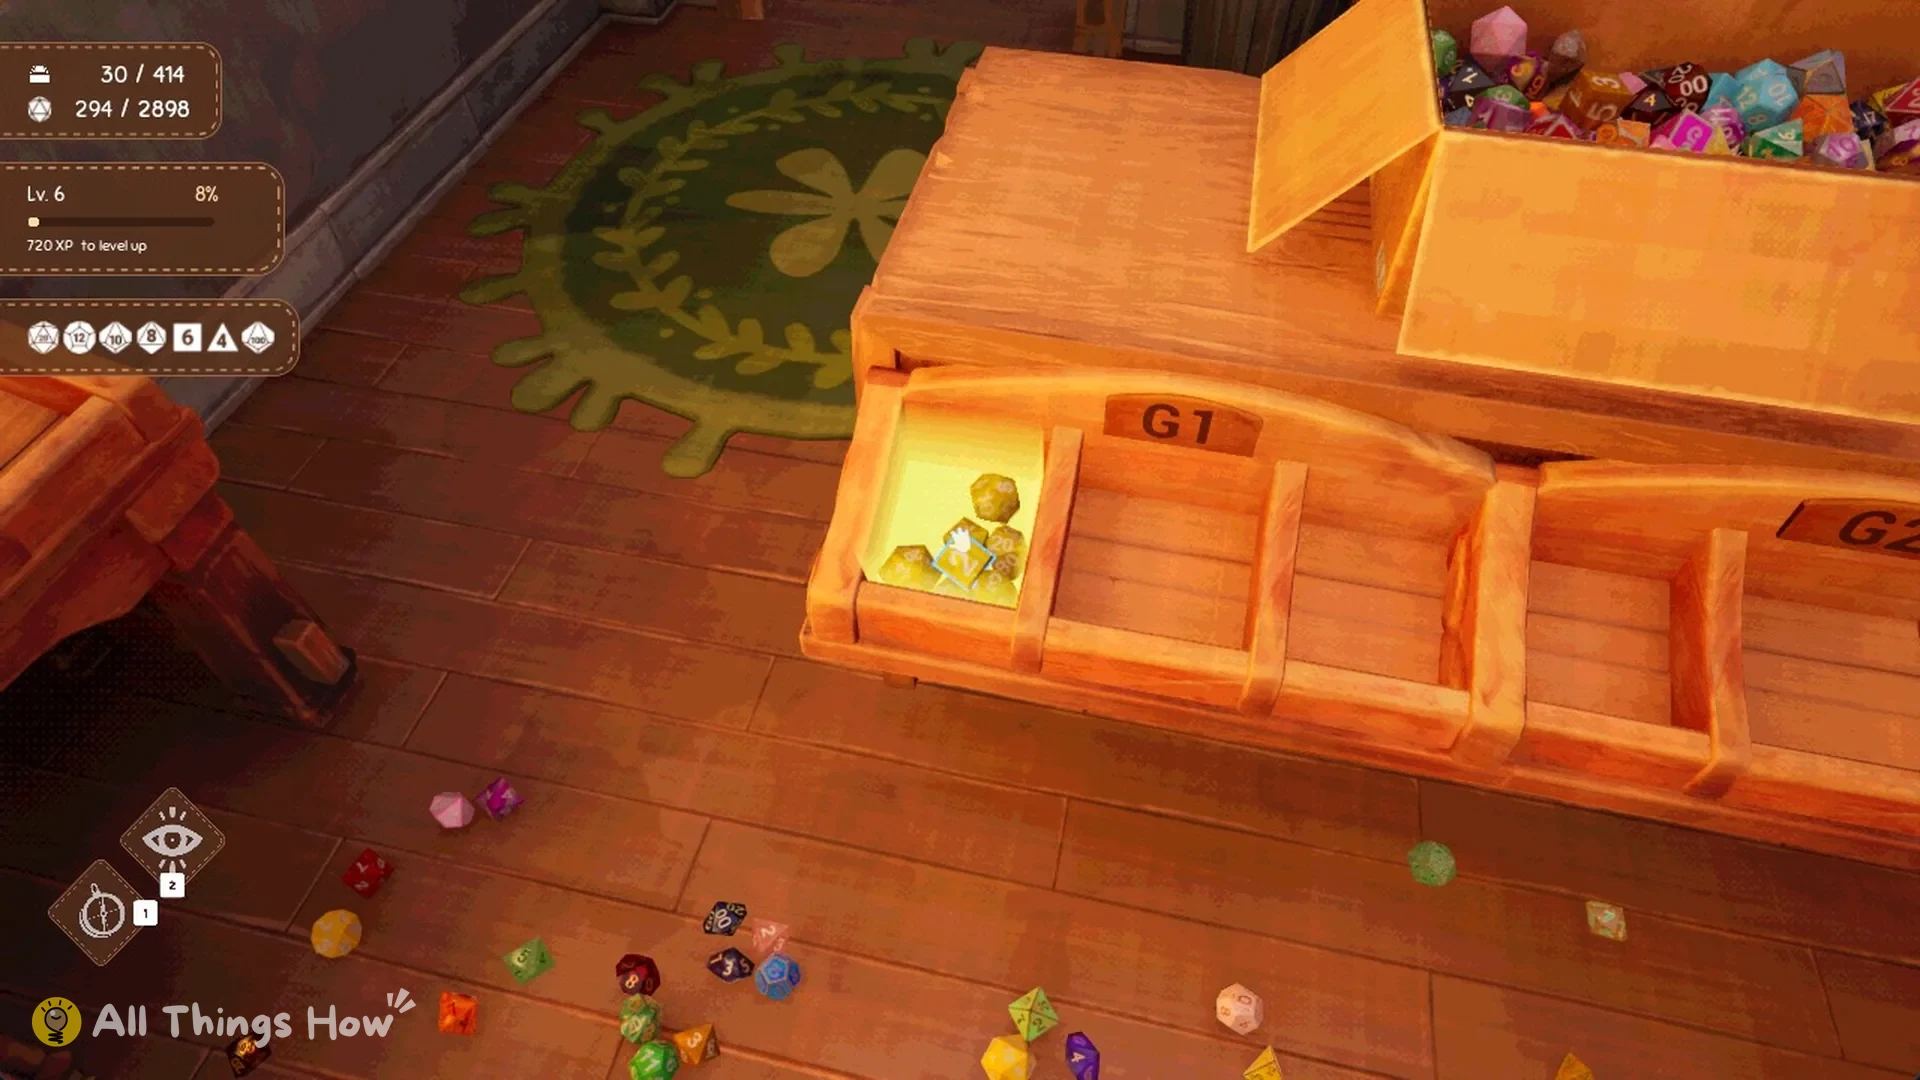
Sorting works the same as with any other set. Every correct die is worth 5 XP, and placing the seventh completes the set for another 25 XP.