Quick answer: At the mixing bowl, open GLITTER in Resin Options, set “Use Glitter?” to YES, then draw a DESIGN, pick a COLOR, and tune DETAILS before pressing READY.
In Dice Hoarder, glitter is an option inside normal resin crafting, so you pour and press the dice the usual way. The difference is a pattern you draw yourself, which repeats across every face.
Pick the main colour first
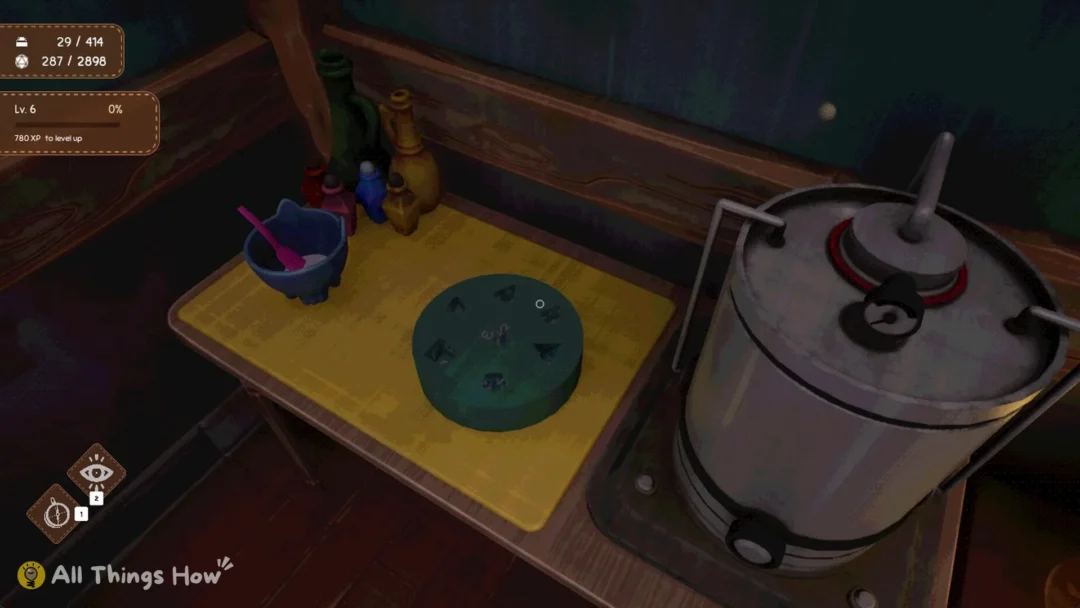
Resin crafting becomes available in Story Mode after the equipment is delivered on the morning of day 4. On the bedroom’s small table, you’ll find the pressure pot, mixing bowl and dice mould.
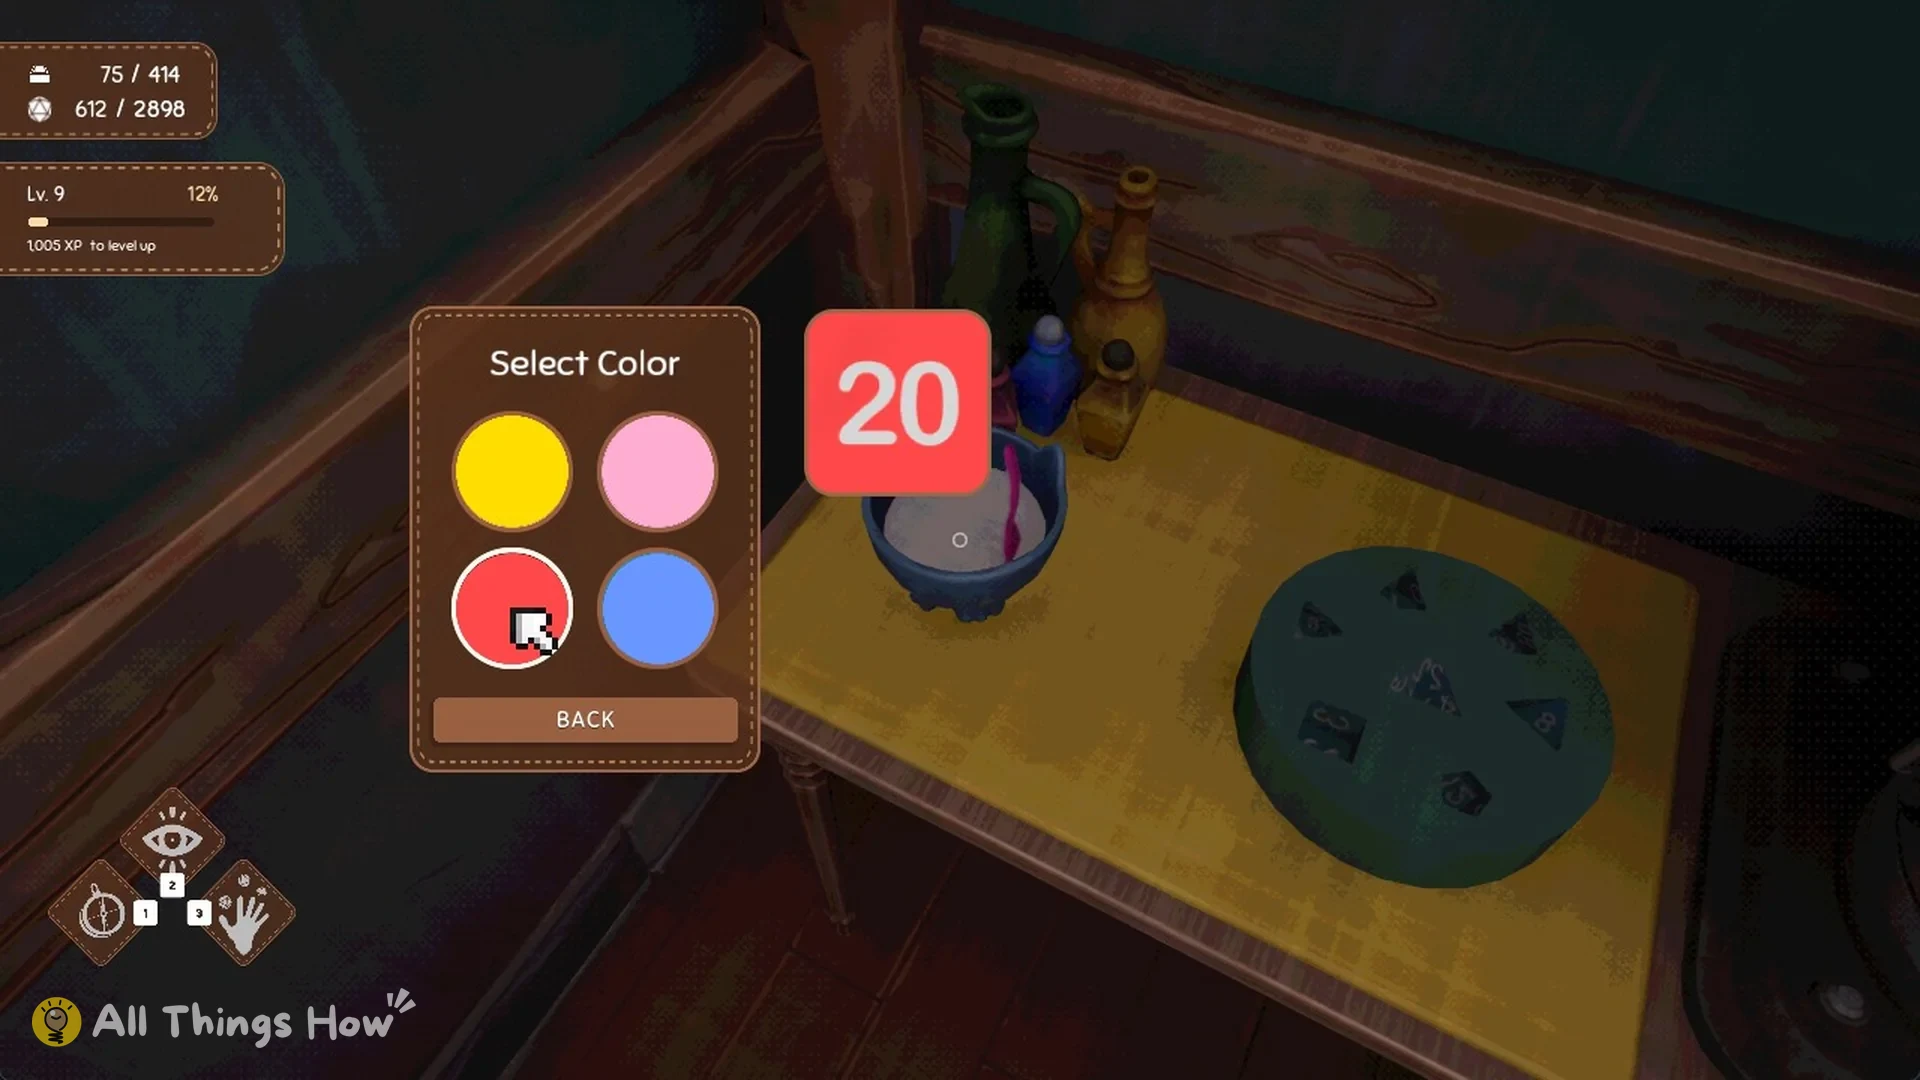
At the bowl, use E on “Select Color” to open the “Resin Options” menu. Choose MAIN COLOR first. The four available colours are yellow, pink, red and blue. Red is used as the example throughout, and choosing it turns the D20 preview tile beside the menu red.
Turn glitter on
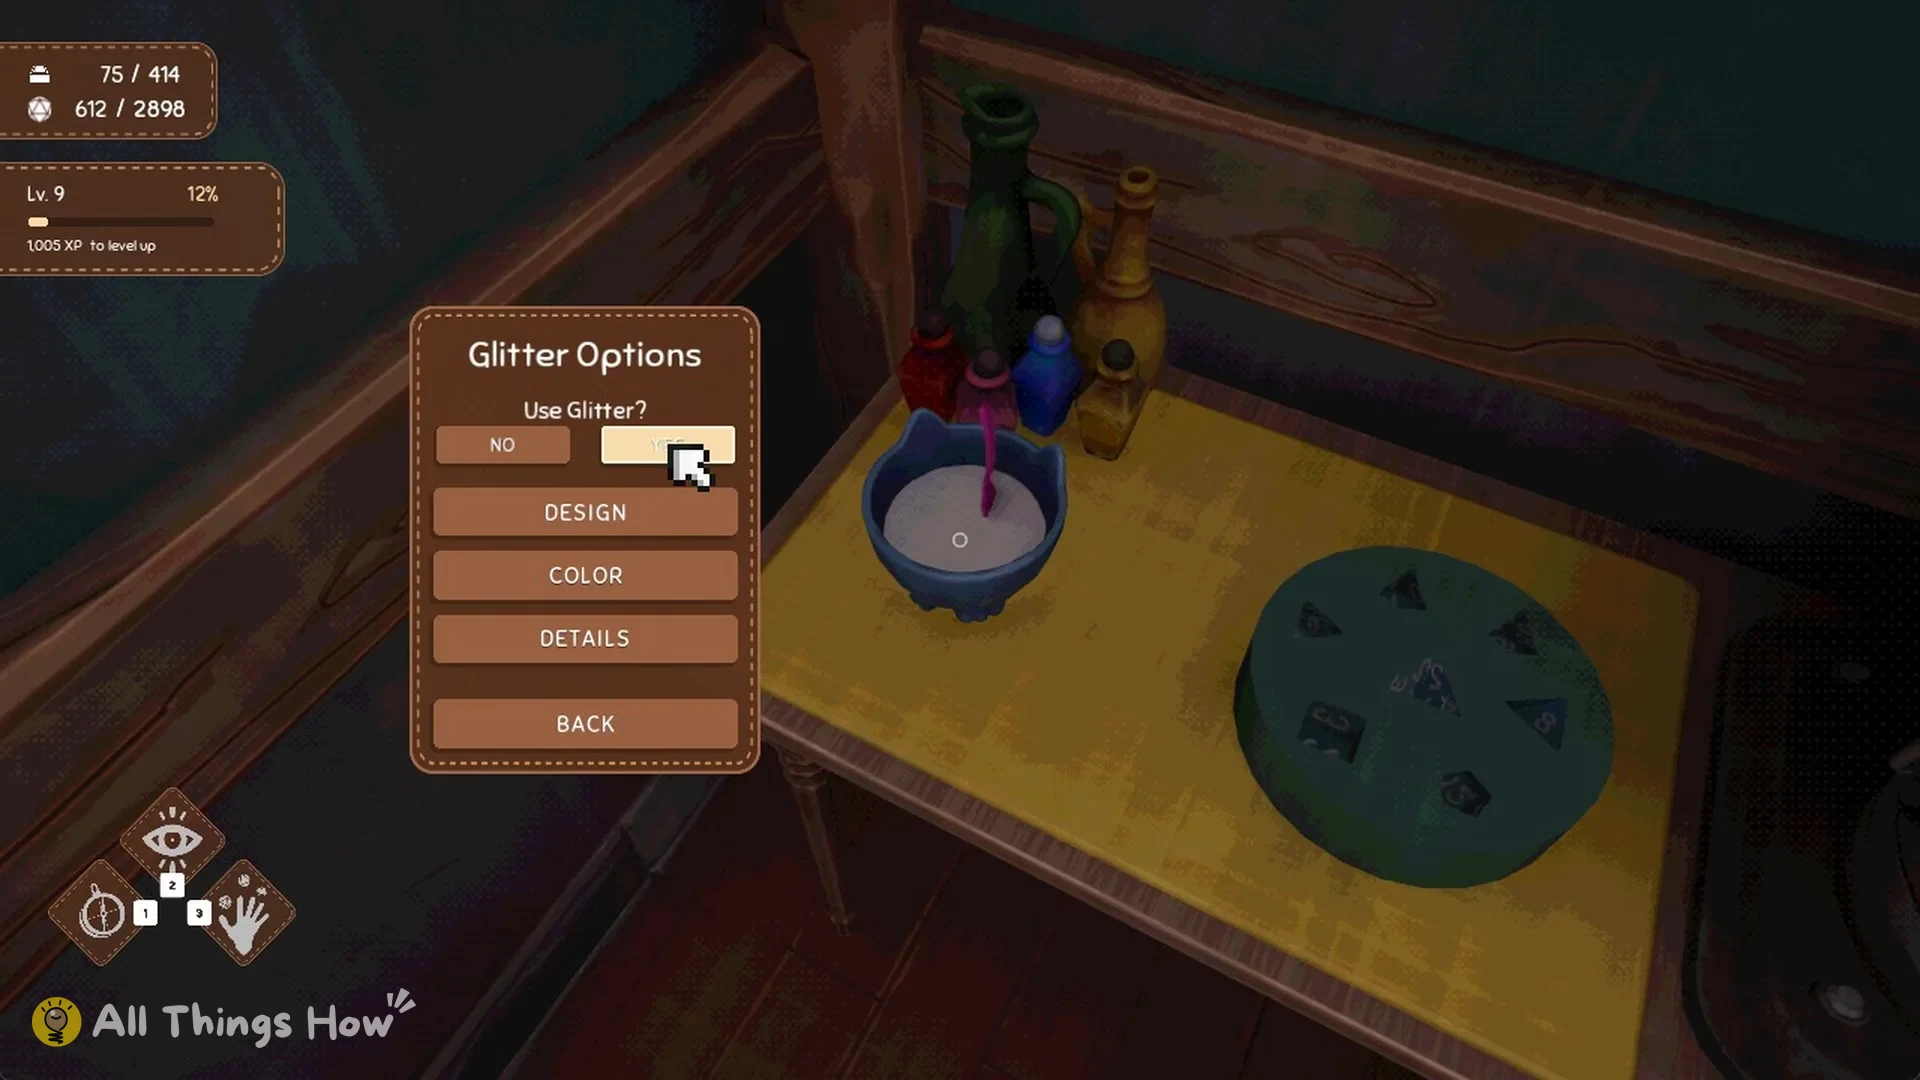
Choose GLITTER in Resin Options to display “Glitter Options”. The prompt “Use Glitter?” presents NO and YES; while NO is active, DESIGN, COLOR and DETAILS are unavailable and appear grey.
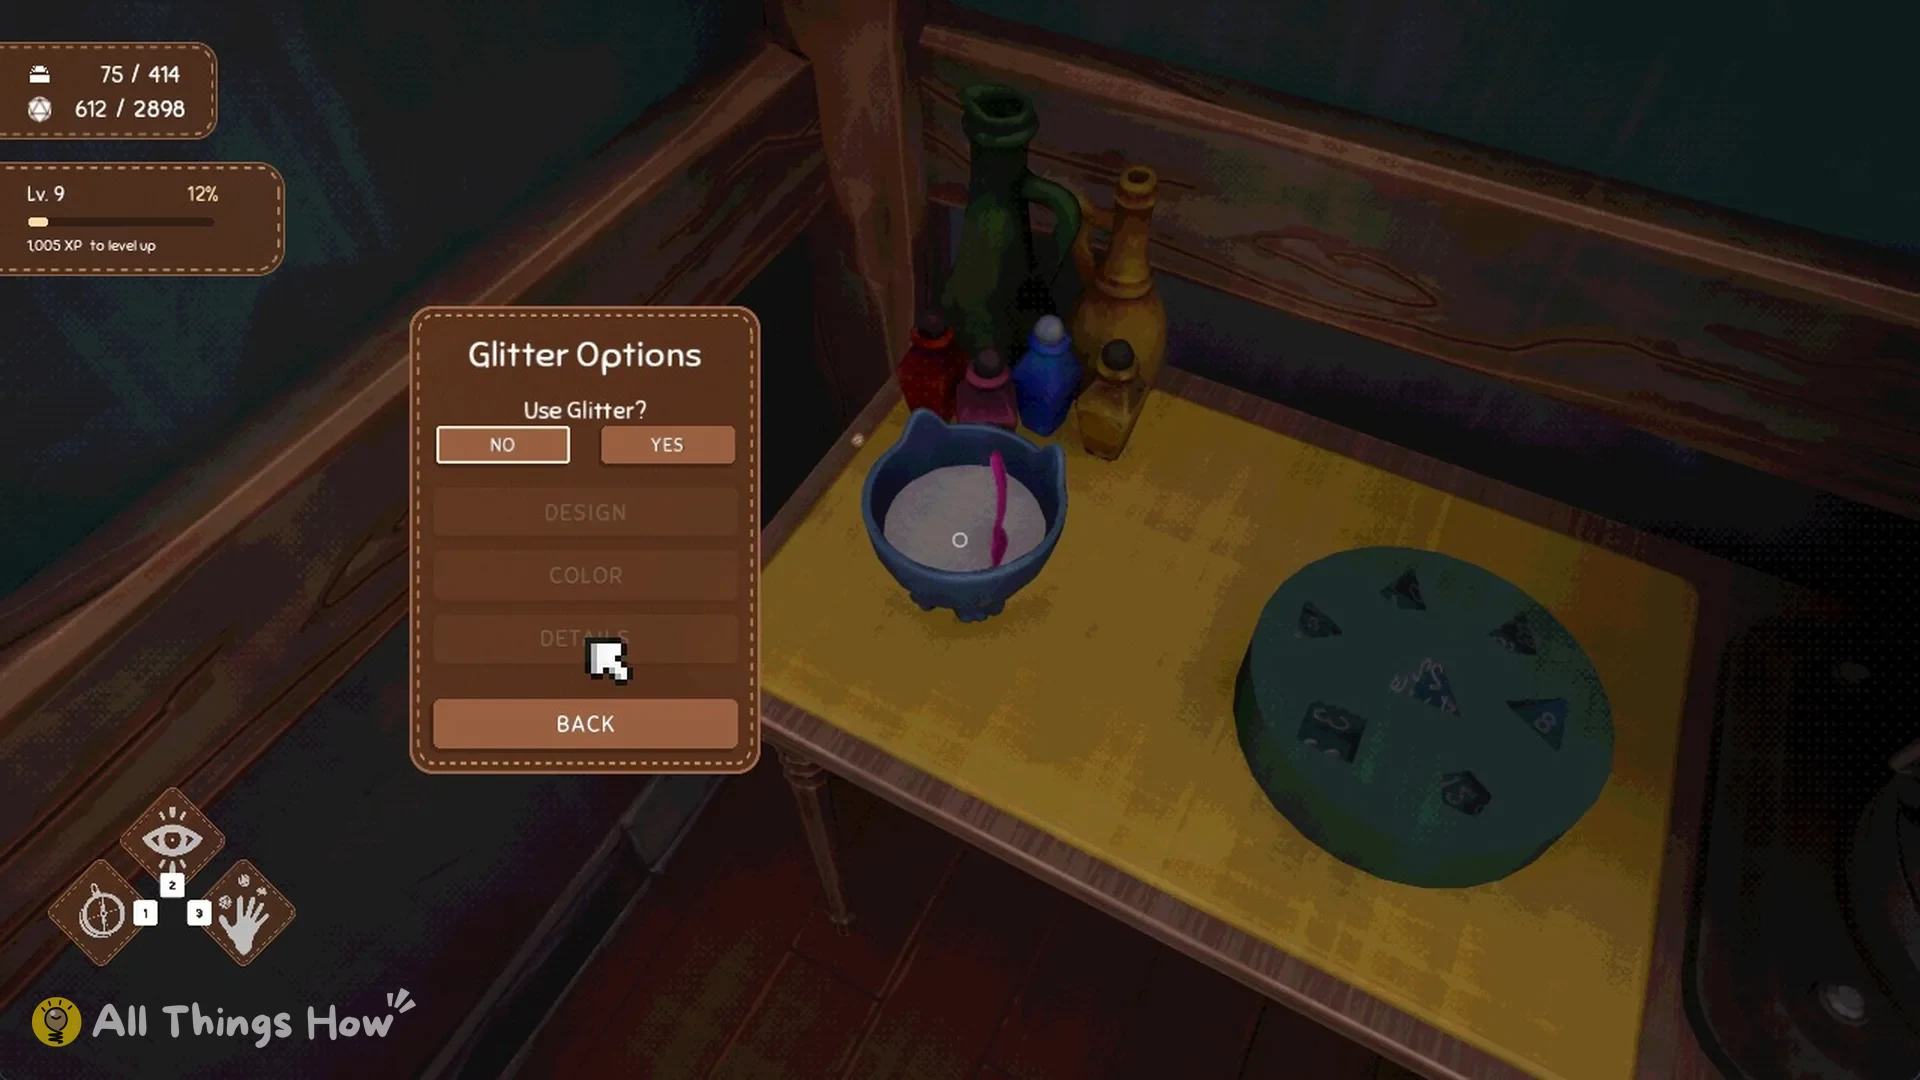
Press YES. DESIGN, COLOR and DETAILS light up and can now be opened.
Draw your glitter design
The “Glitter Design” screen presents an empty square canvas. A column of 4 brush sizes runs along its left edge, with ERASE and DONE underneath. To draw, hold the mouse button while moving it across the canvas. Any shape will do; the example forms a zigzag from two crossed V shapes.
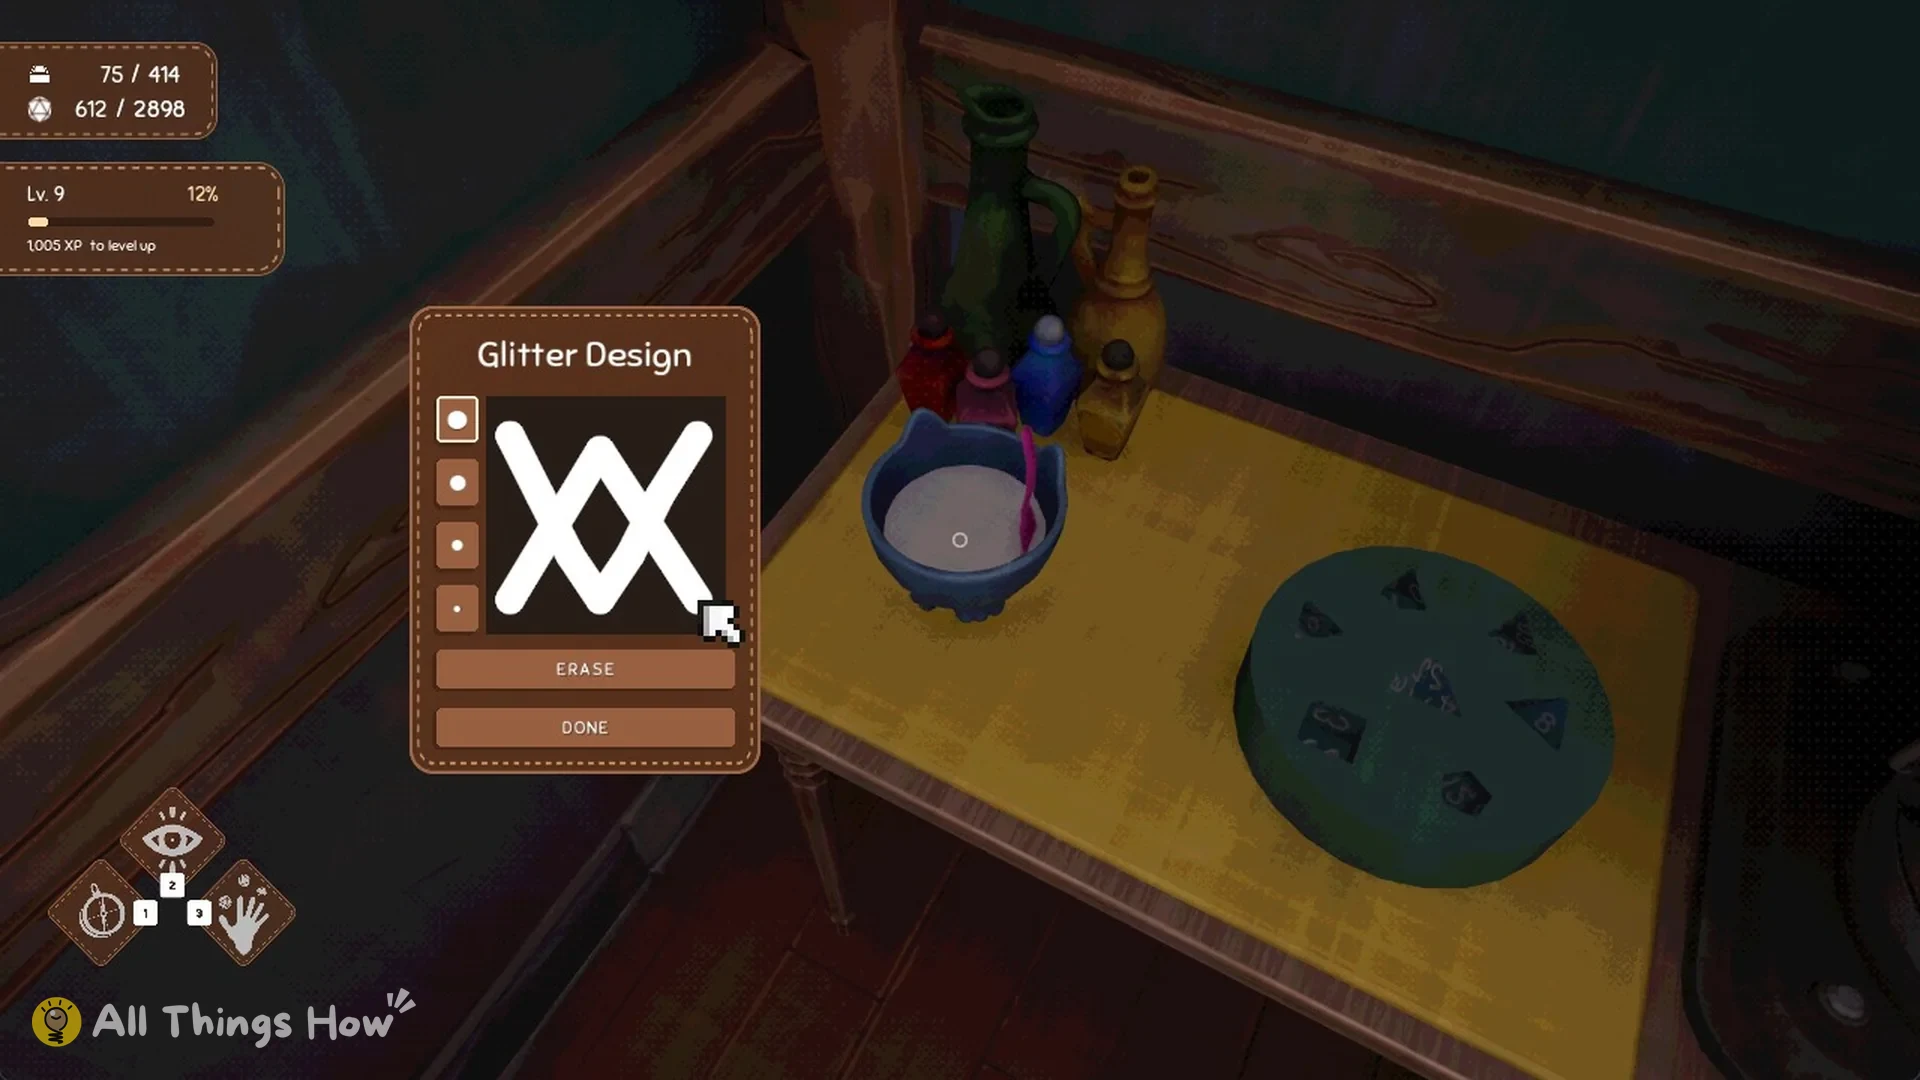
Use ERASE to clear the canvas and start over if needed. Selecting DONE saves your drawing and returns you to Glitter Options.
Choose the glitter colour
Choosing COLOR brings up “Glitter Color”: 10 colour swatches sit above a slider that changes the shade. Your artwork appears replicated over the D20 in the selected glitter hue.
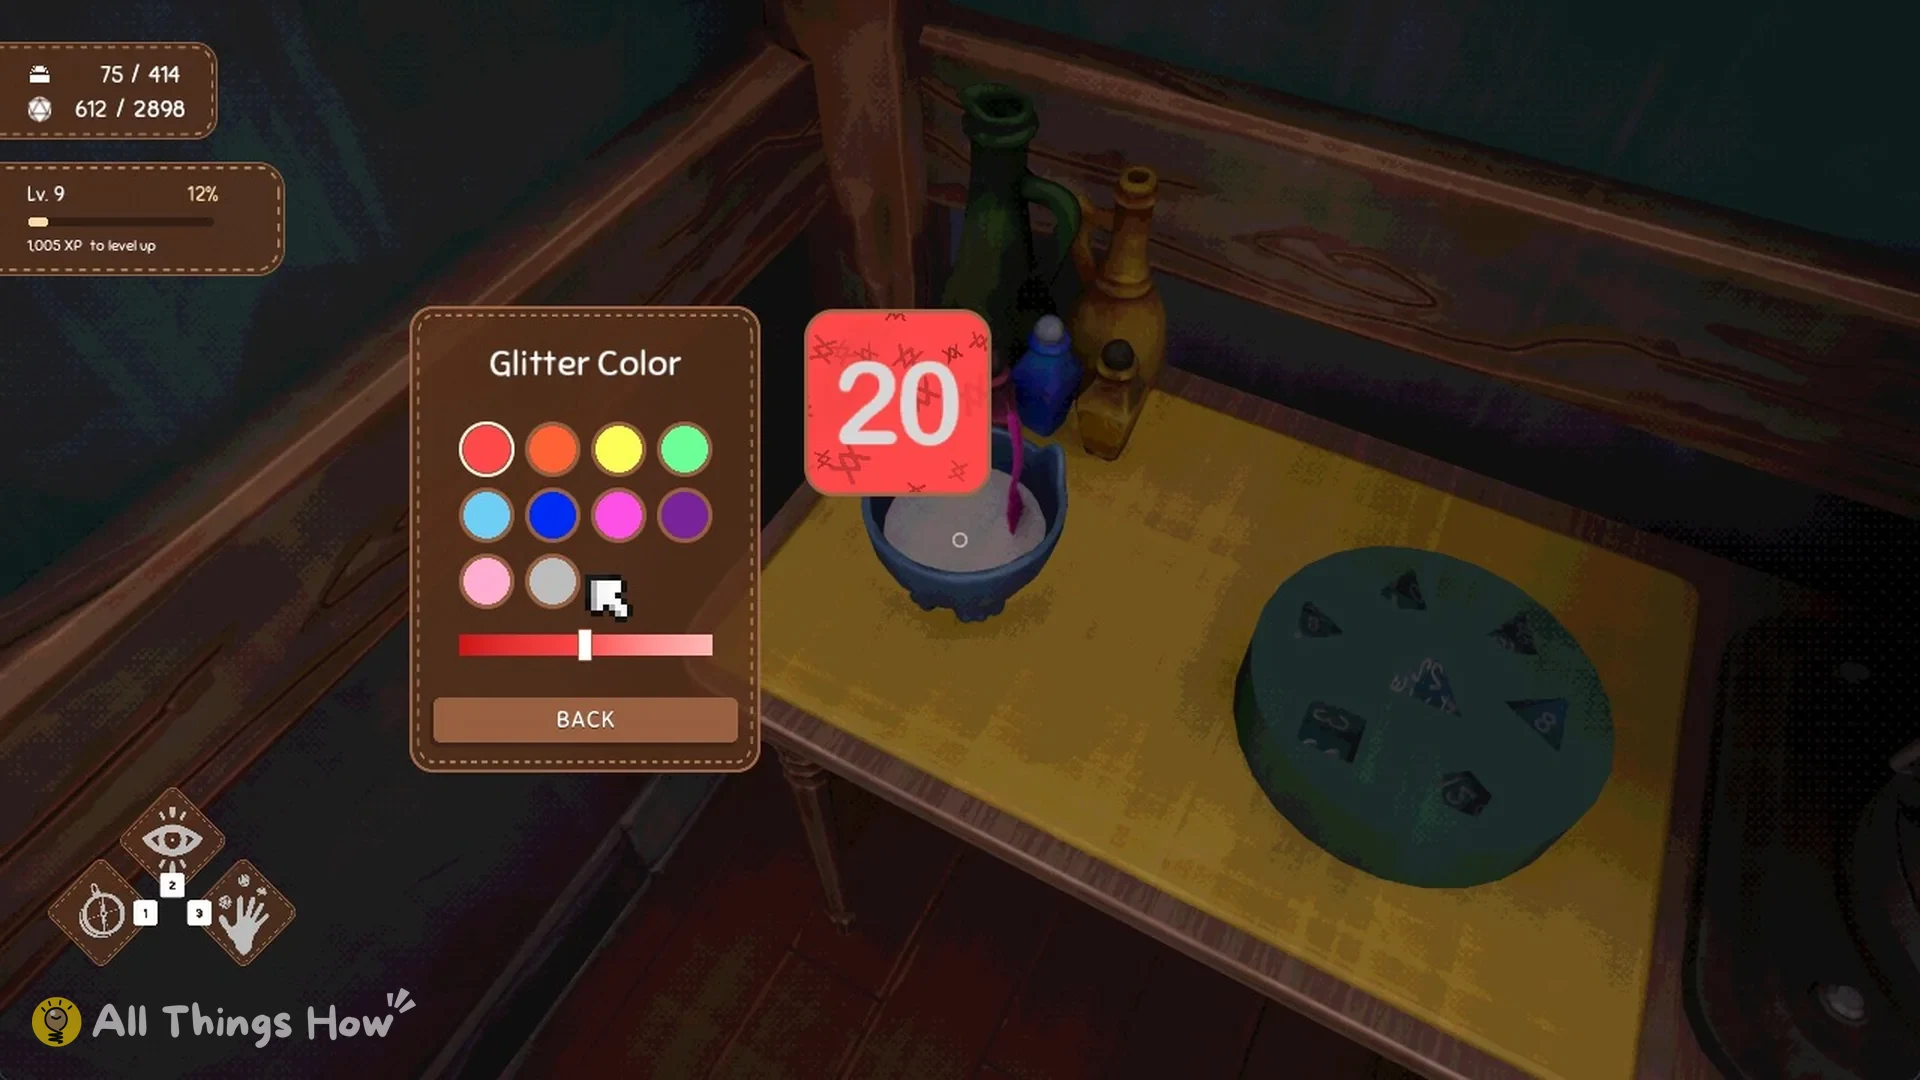
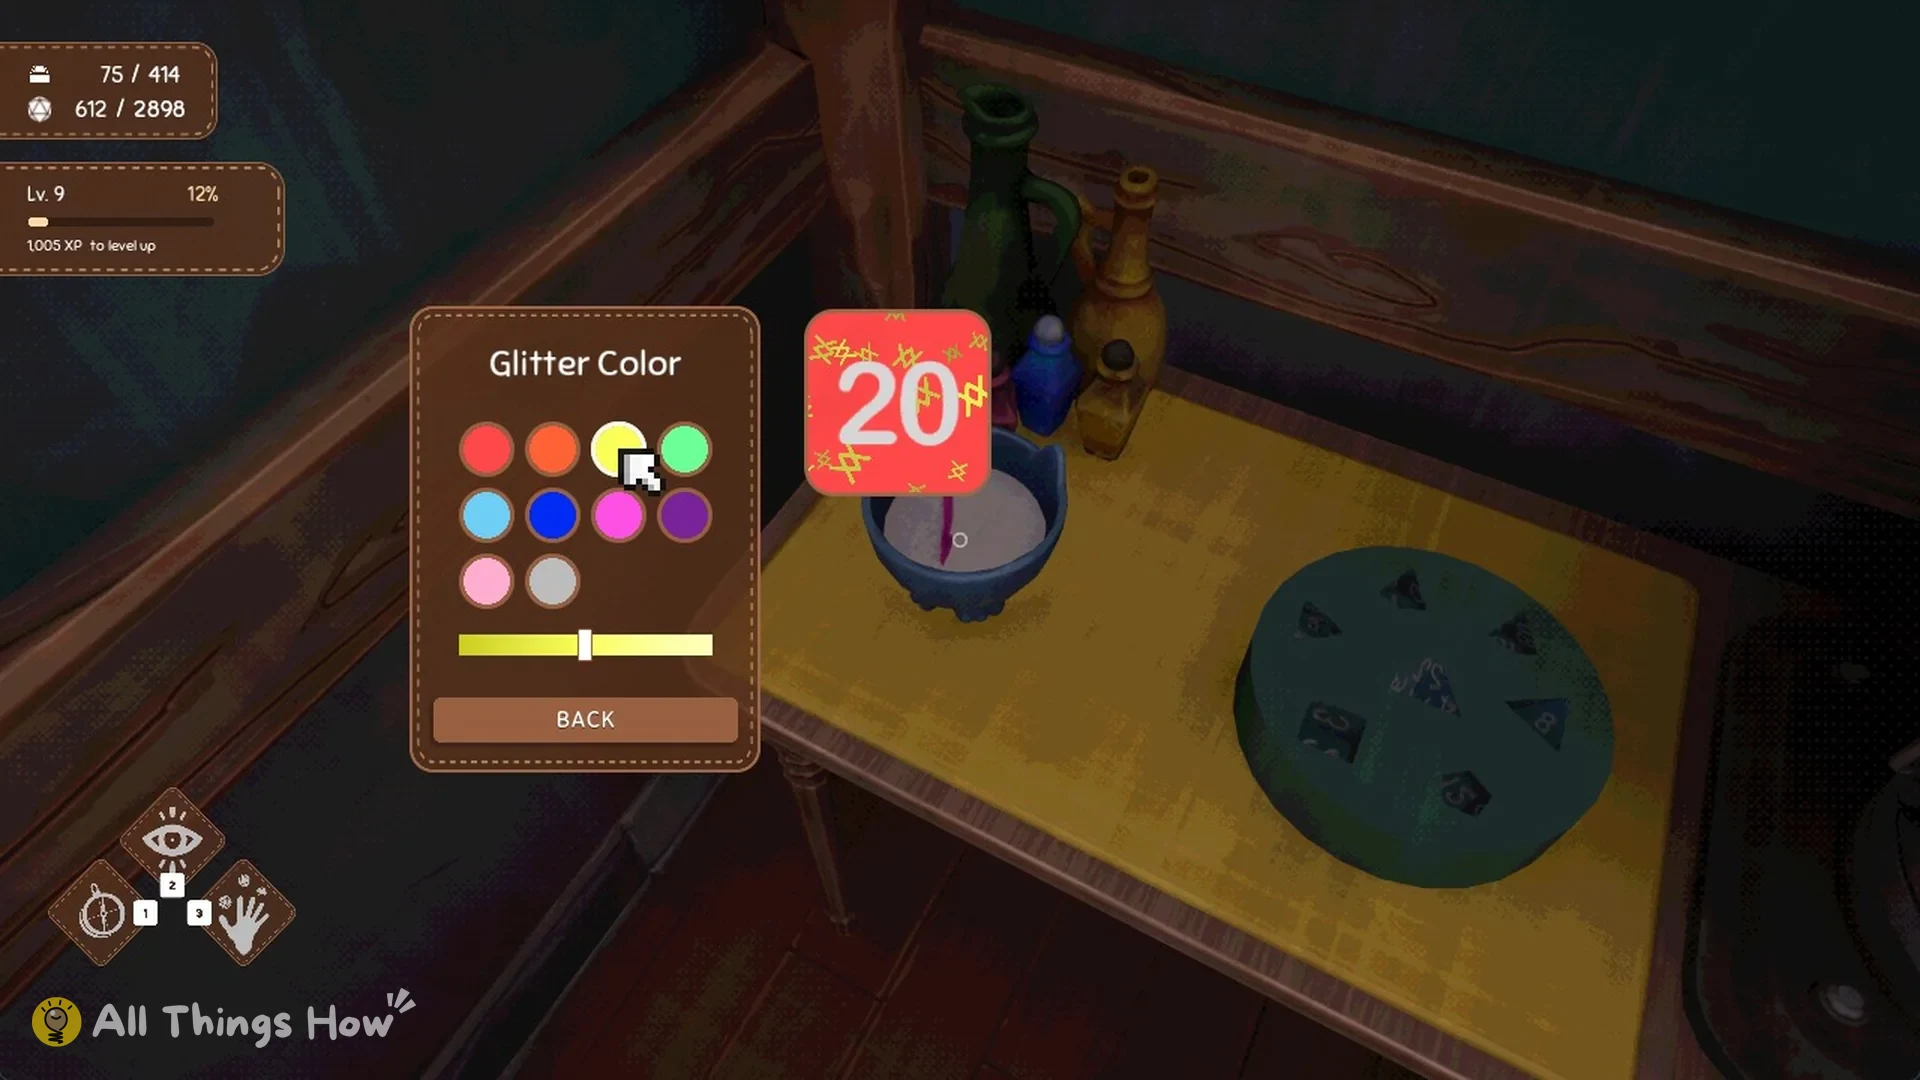
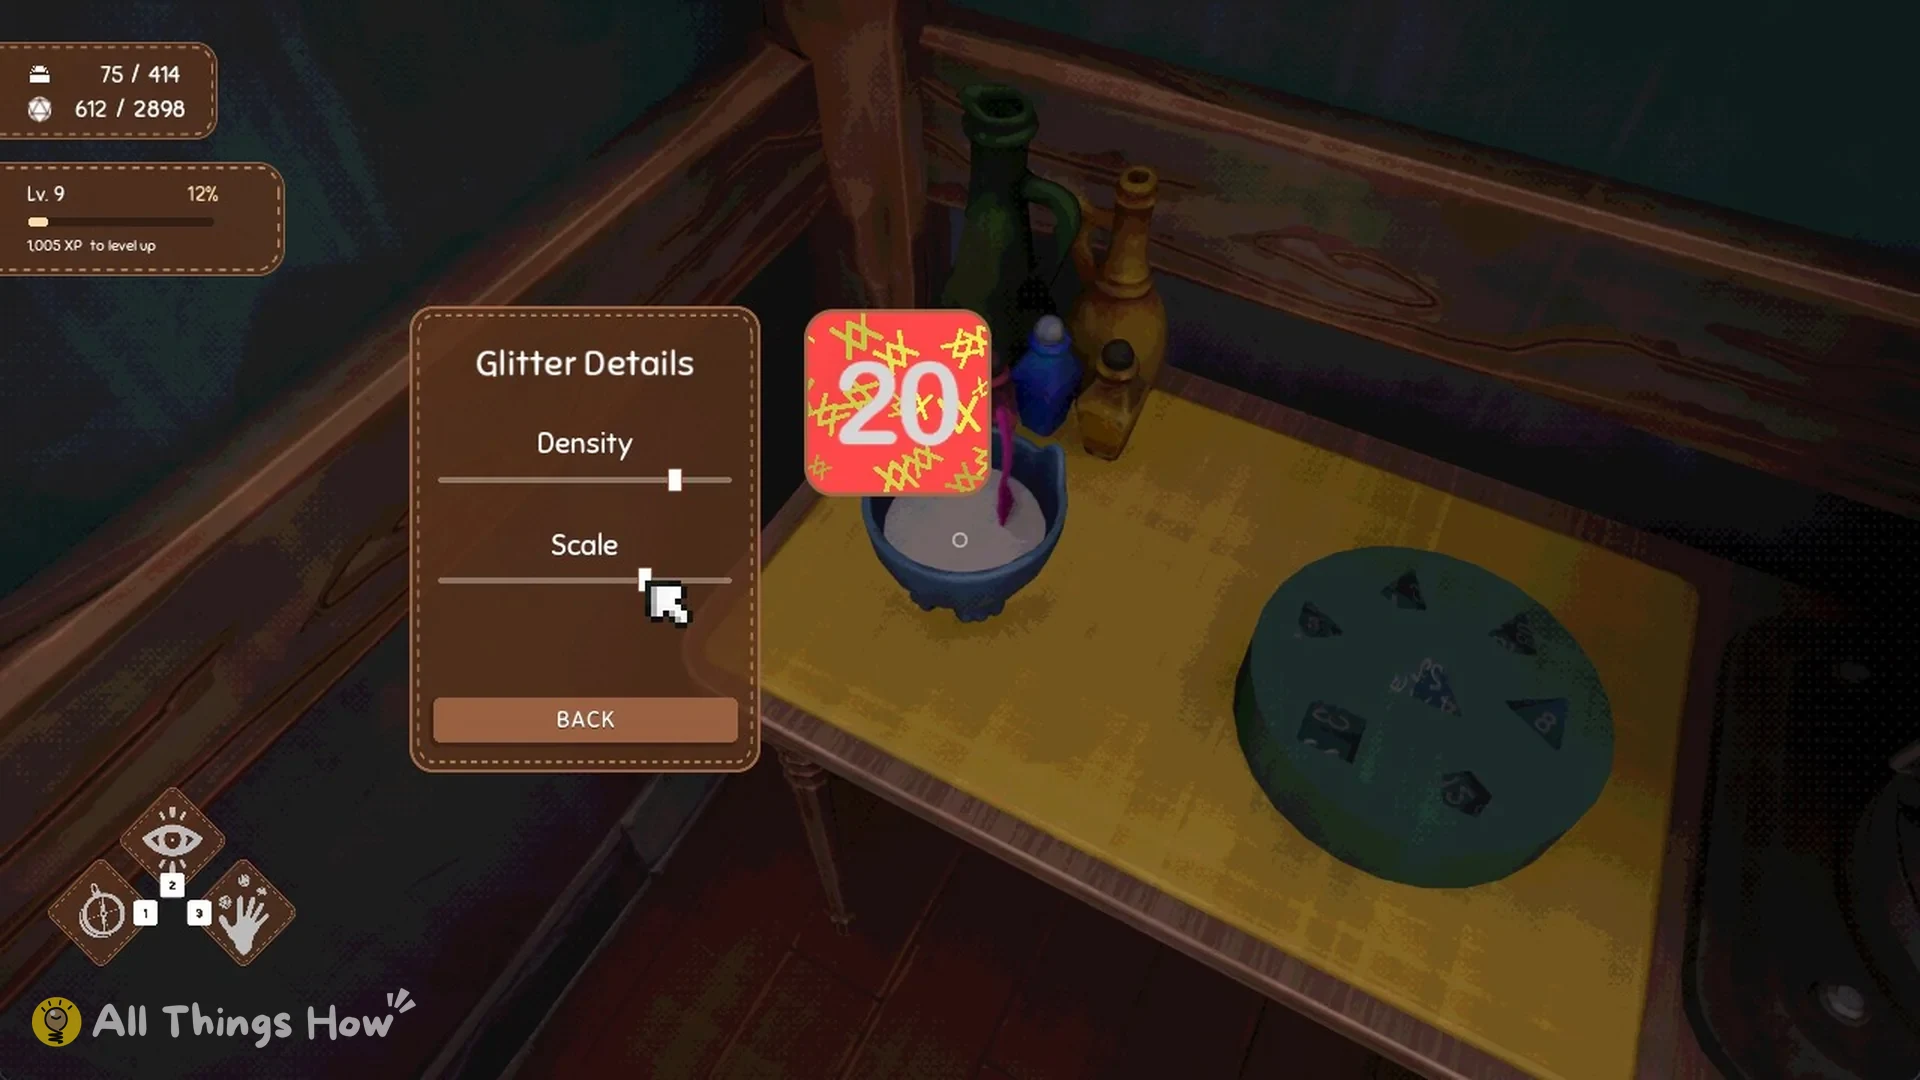
Set the glitter shade to yellow, and the marks appear yellow on the red die preview. Use BACK to return to Glitter Options.
Set glitter density and scale
Open DETAILS to see “Glitter Details”, which provides a slider for each of Density and Scale. Increasing both settings puts more copies of your design on the die and enlarges each one; the preview responds as you drag.
Mix, pour and press the glitter dice
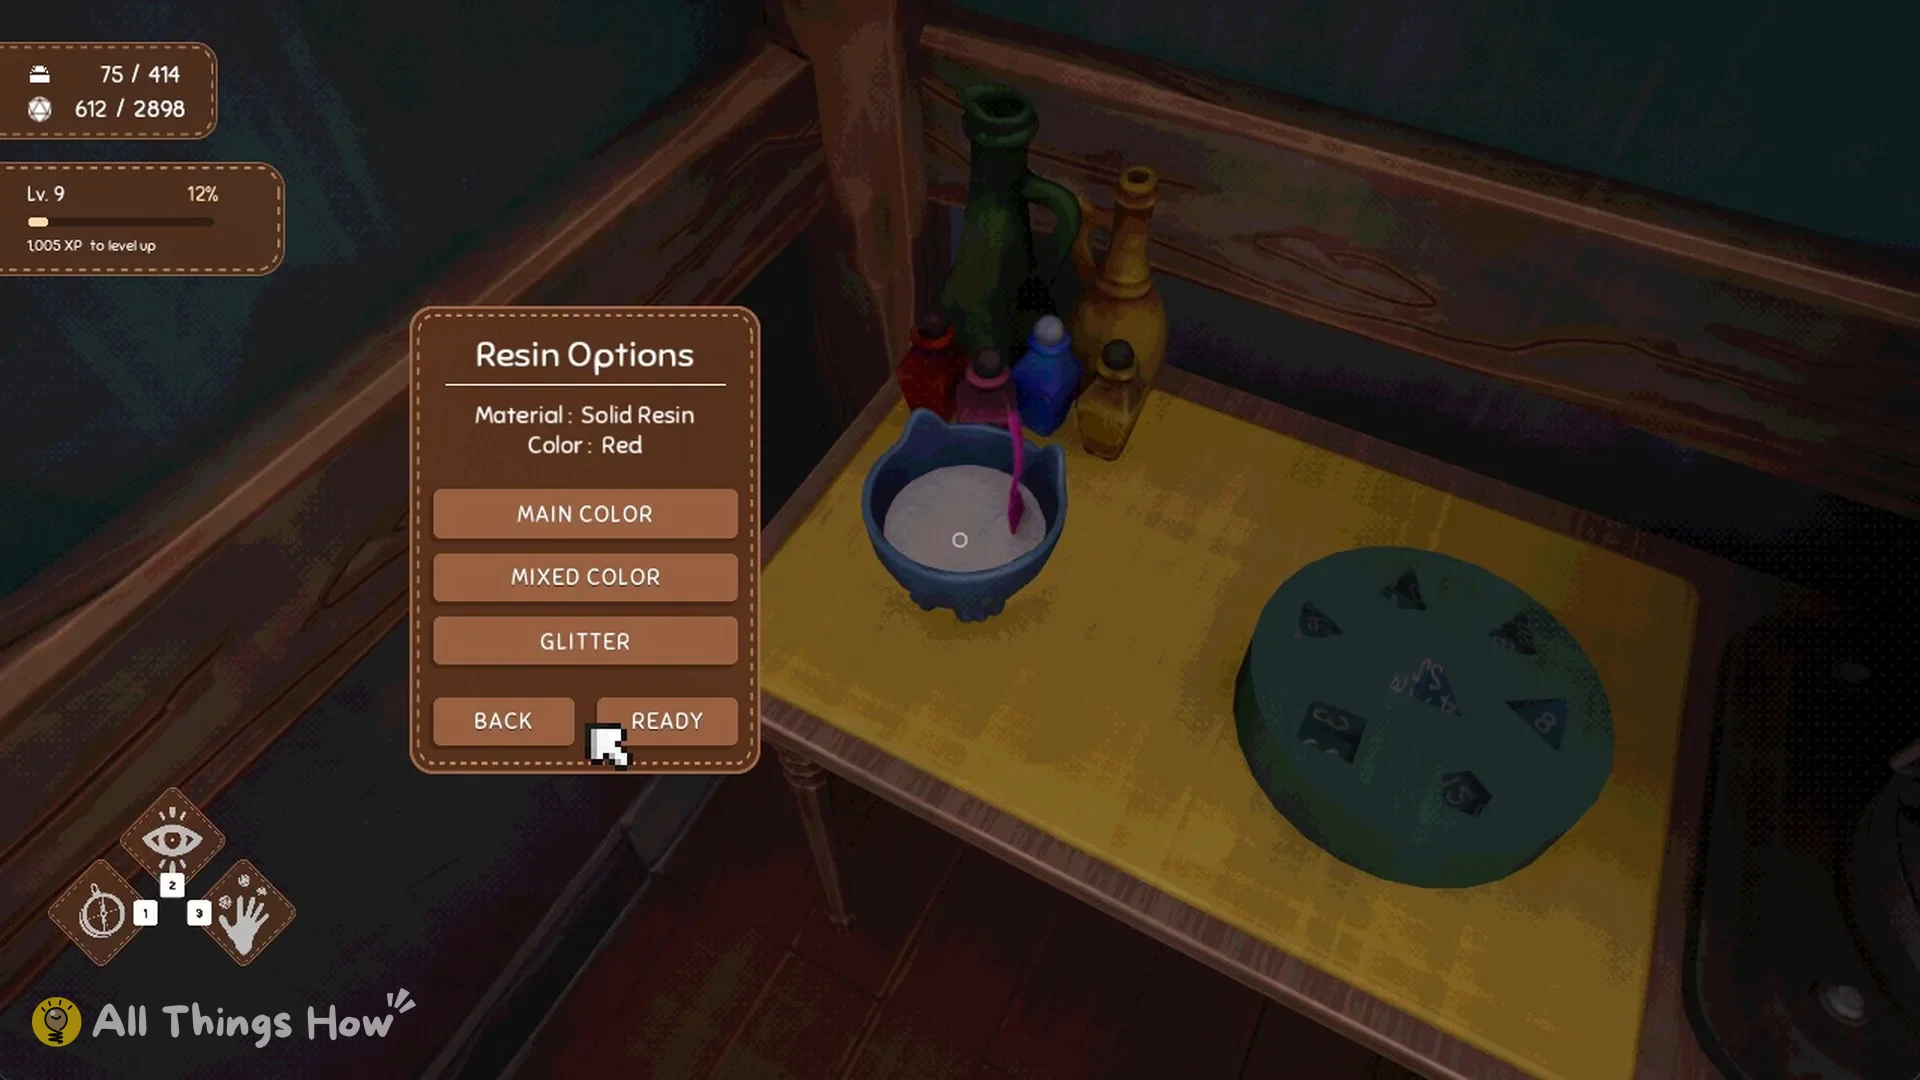
Use BACK repeatedly to reach Resin Options. The labels still read “Material: Solid Resin” and “Color: Red”; glitter leaves the material and named colour unchanged. Press READY.
The resin finishes mixing in the bowl after a few seconds. Pick up the bowl, target the mould, then press E on “Add” to pour resin into all 7 cavities.
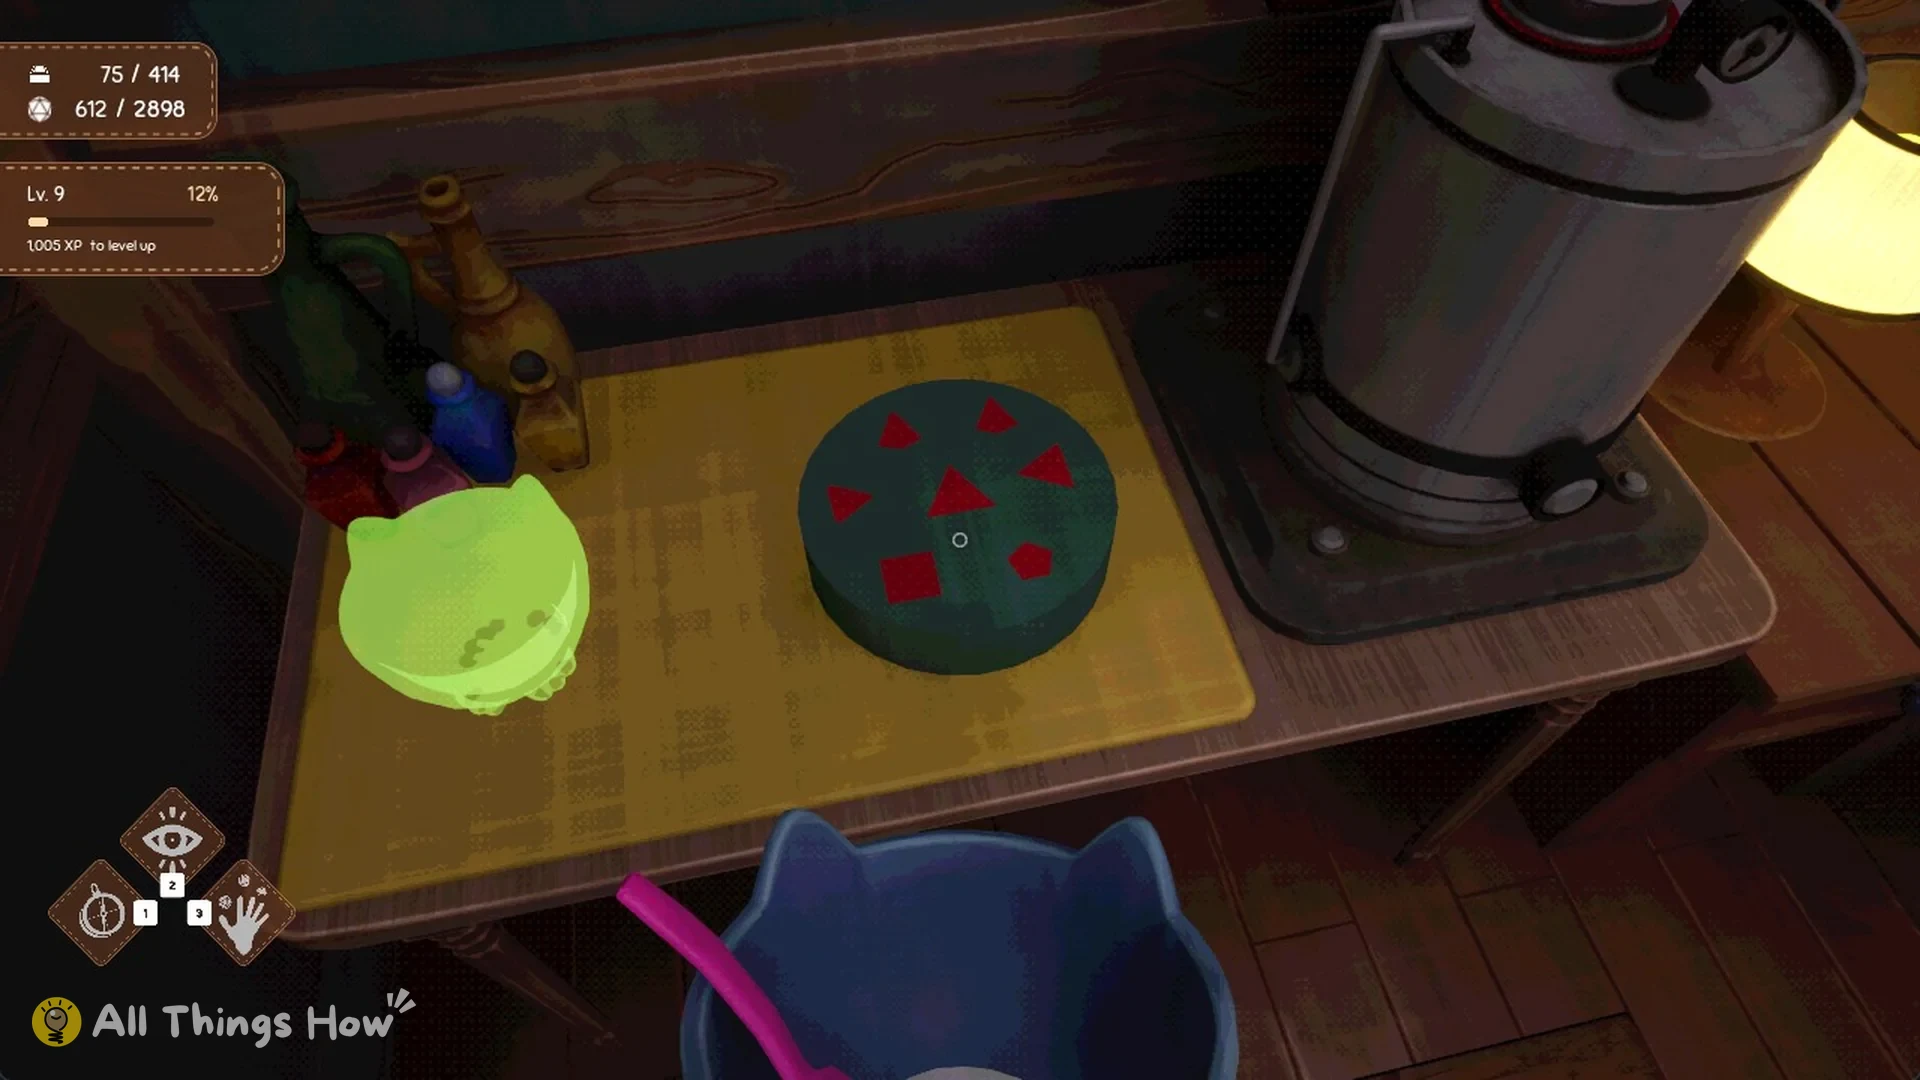
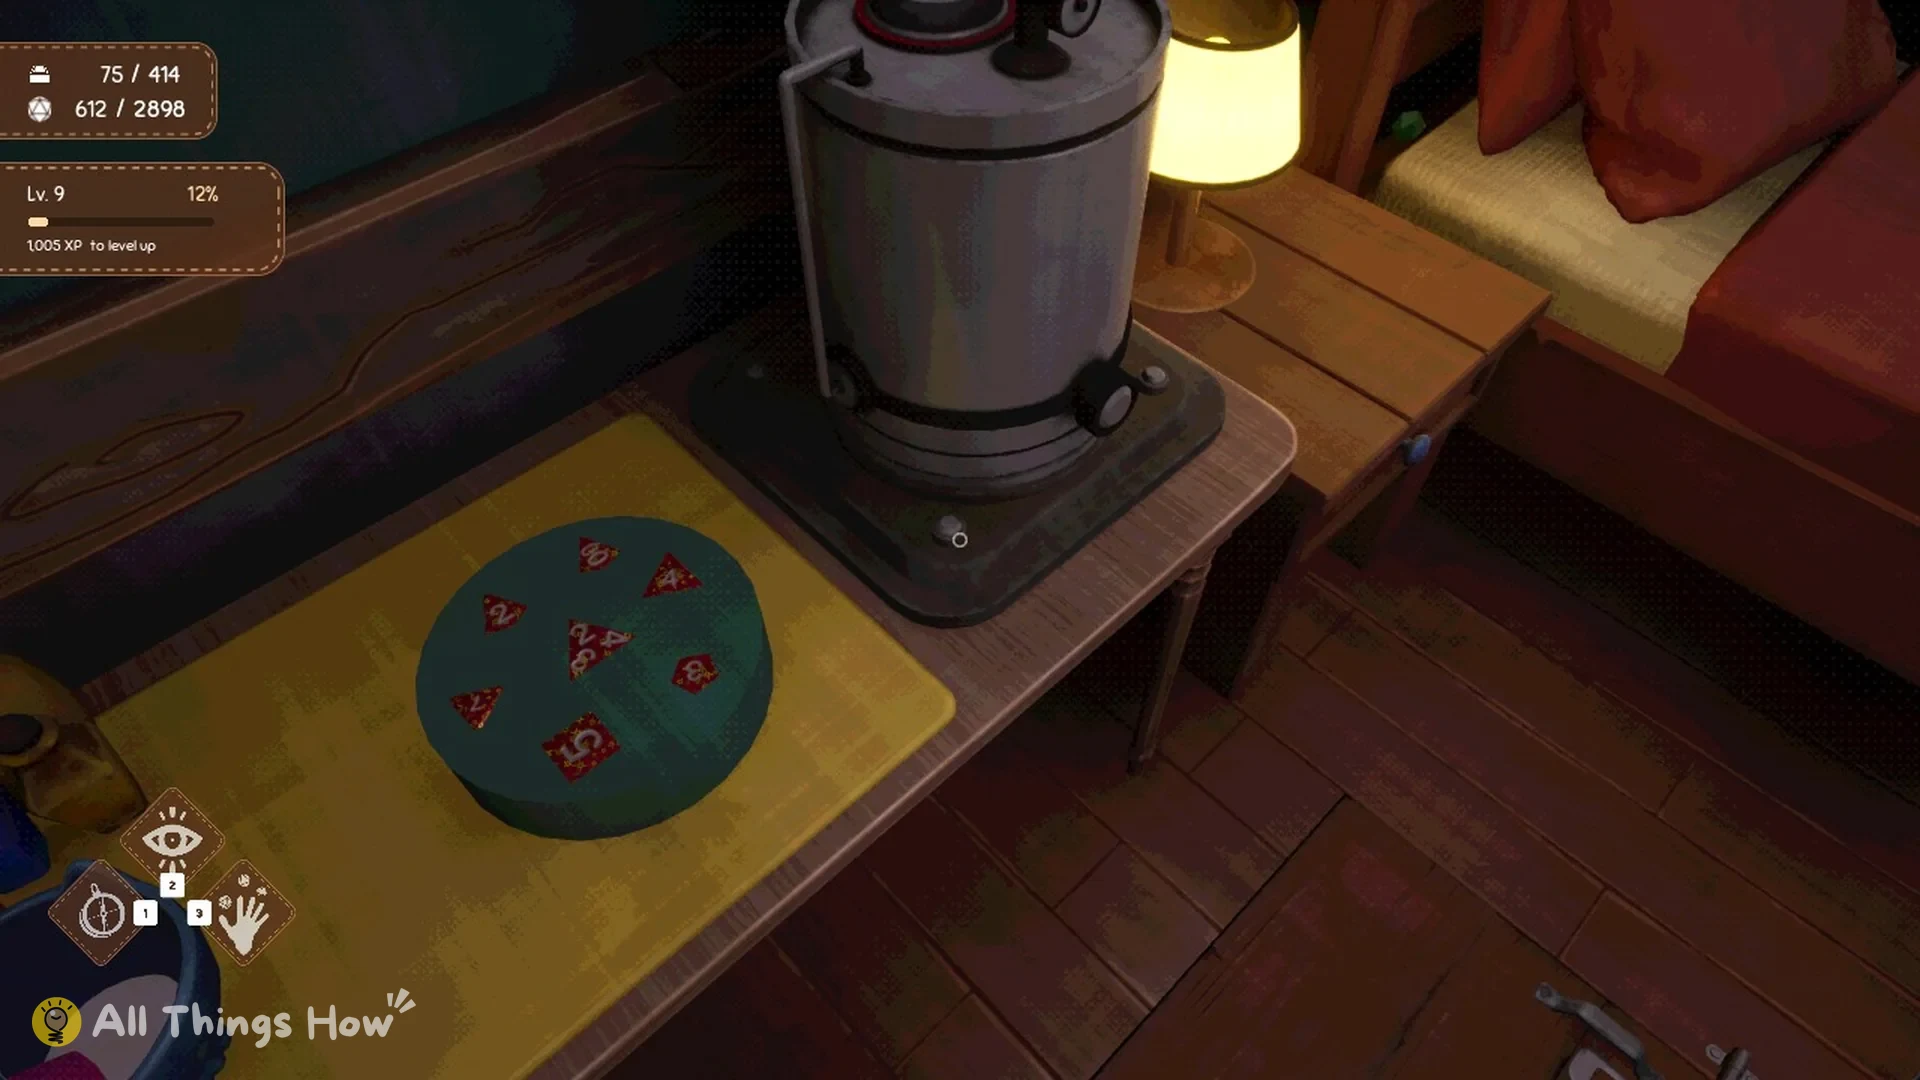
Carry the filled mould to the pressure pot, aim at it, and press E on “Add”. The bar takes about 2 minutes to fill; afterward, the mould returns to the table holding 7 red dice with the yellow glitter pattern.
What glitter dice look like and where they go
Holding one brings up its card, which reads “D6”, “Material Solid Resin” and “Color Red”. The glitter does not appear on the card.
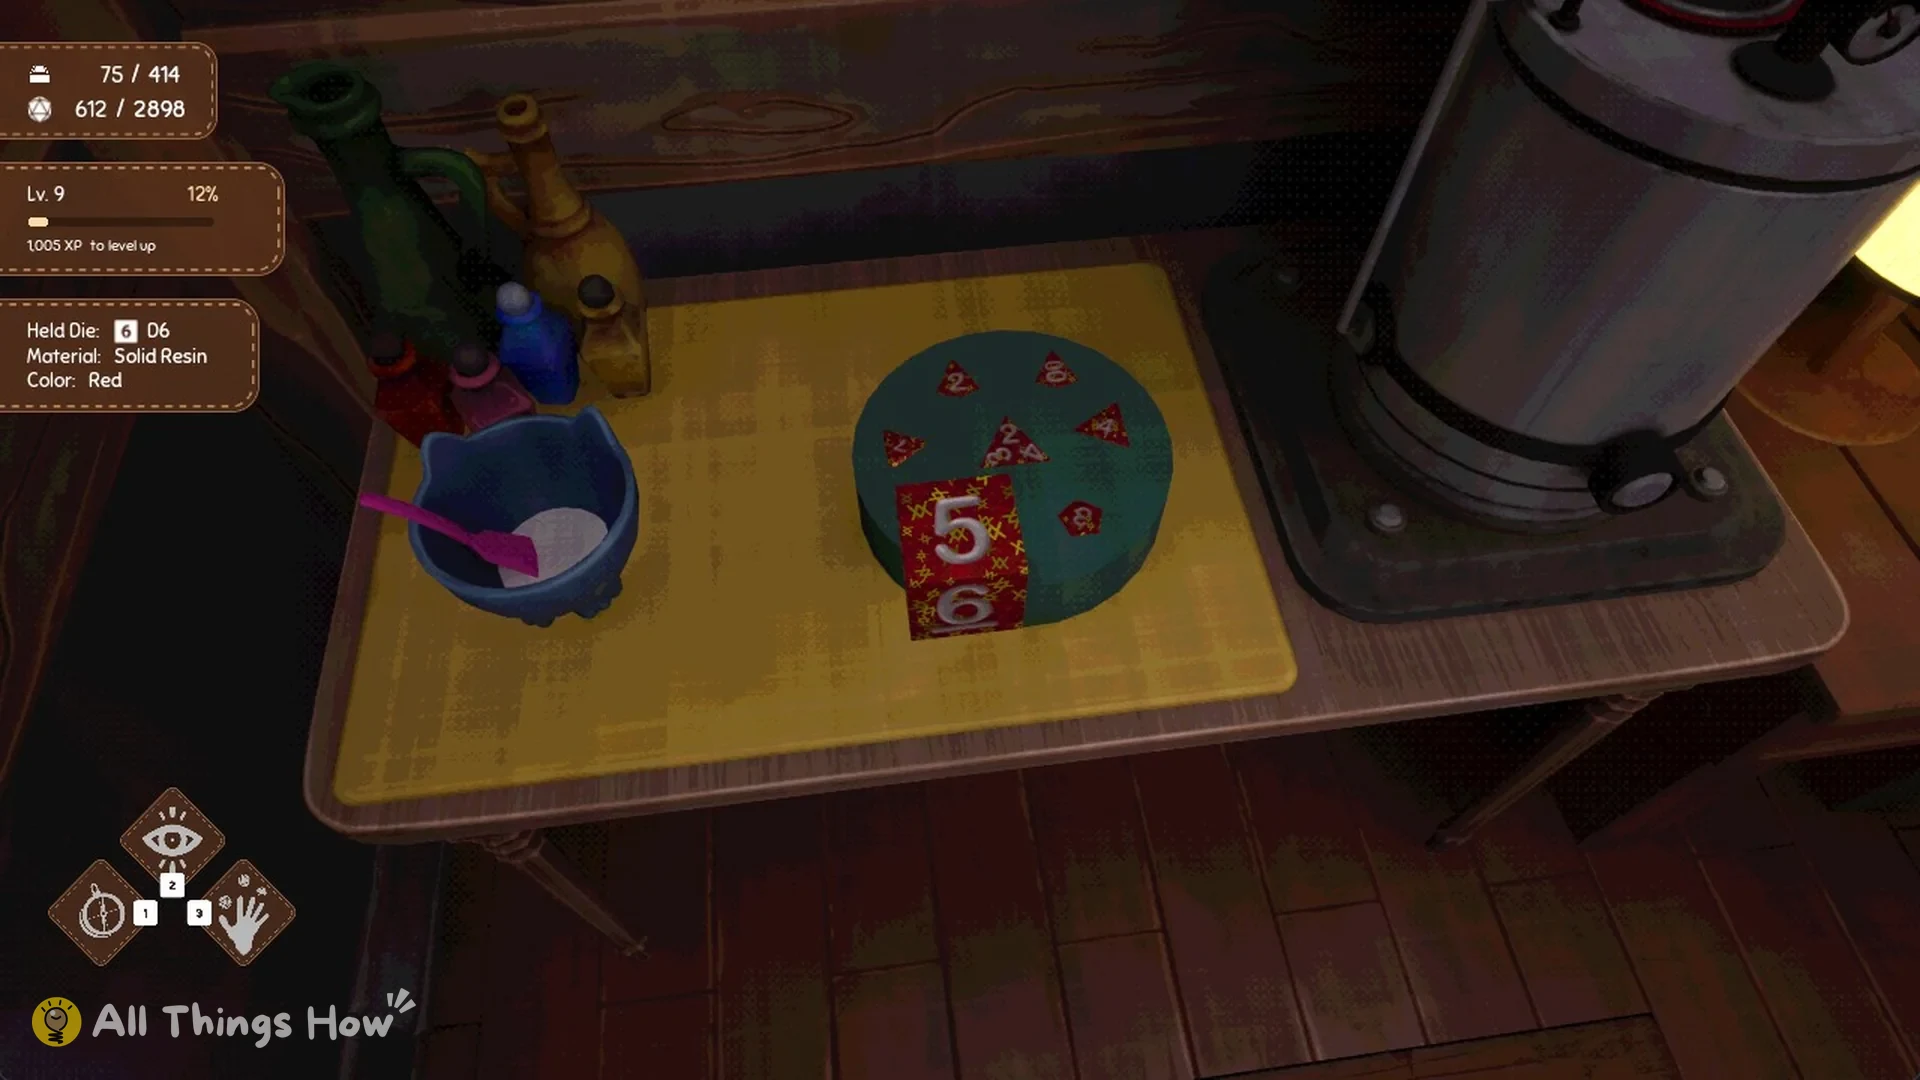
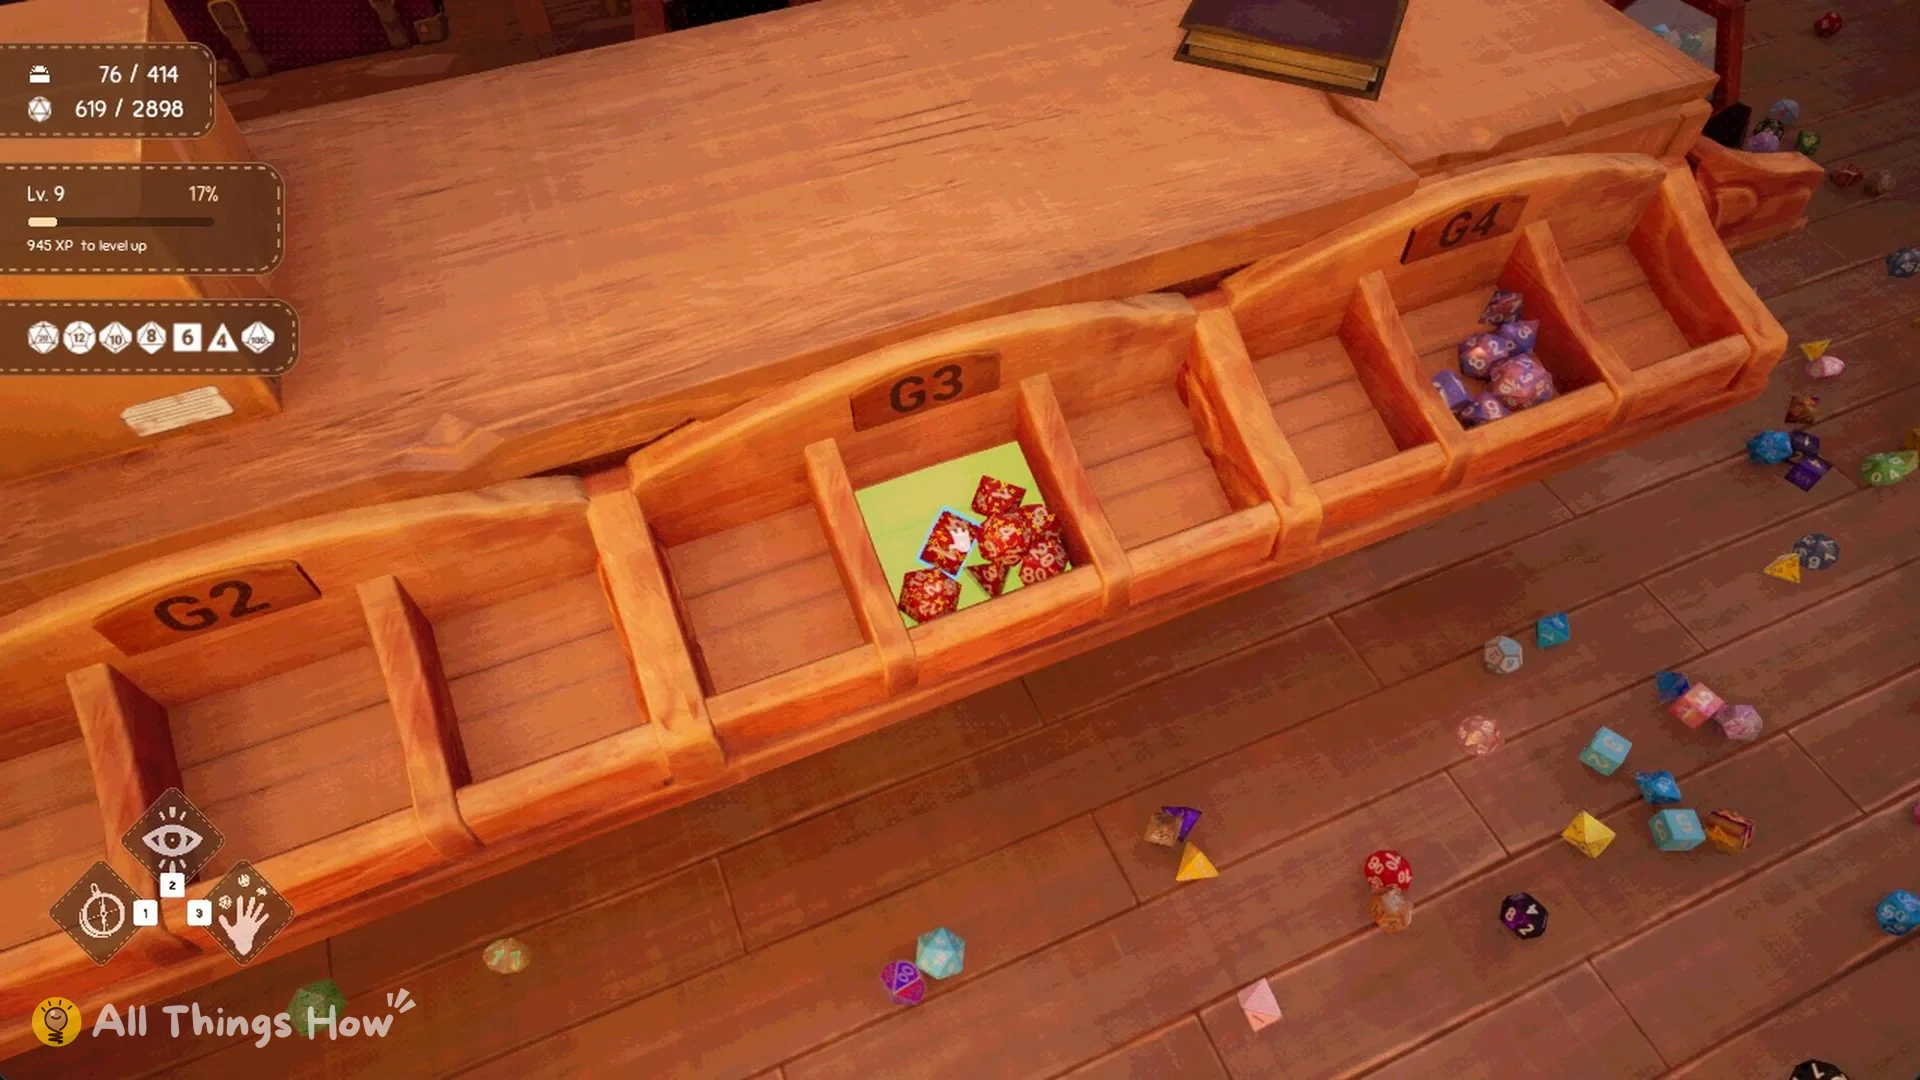
Use the main colour to choose the right G drawer at the front of the shop counter: red glitter dice belong in the G3 drawer, yellow sets in G1, and dark blue sets in G4. Point at a compartment and wait for it to glow green, then press E once for each die. Adding the seventh die finishes the set.