A strong opening in Palworld 1.0 comes down to a few repeatable decisions. Level fast, catch the right Pals first, unlock a flying mount, and pick a safe base spot. Everything else builds on those.
Quick answer: Farm XP by capturing the first 12 of each Pal type for the New Pal Bonus, spend early stat points on Weight, Work Speed, and Stamina, catch Cattiva first, and rush a Nitewing so you can fly to an unraidable base near coordinates 191, -39.
Level up fast with the New Pal Bonus
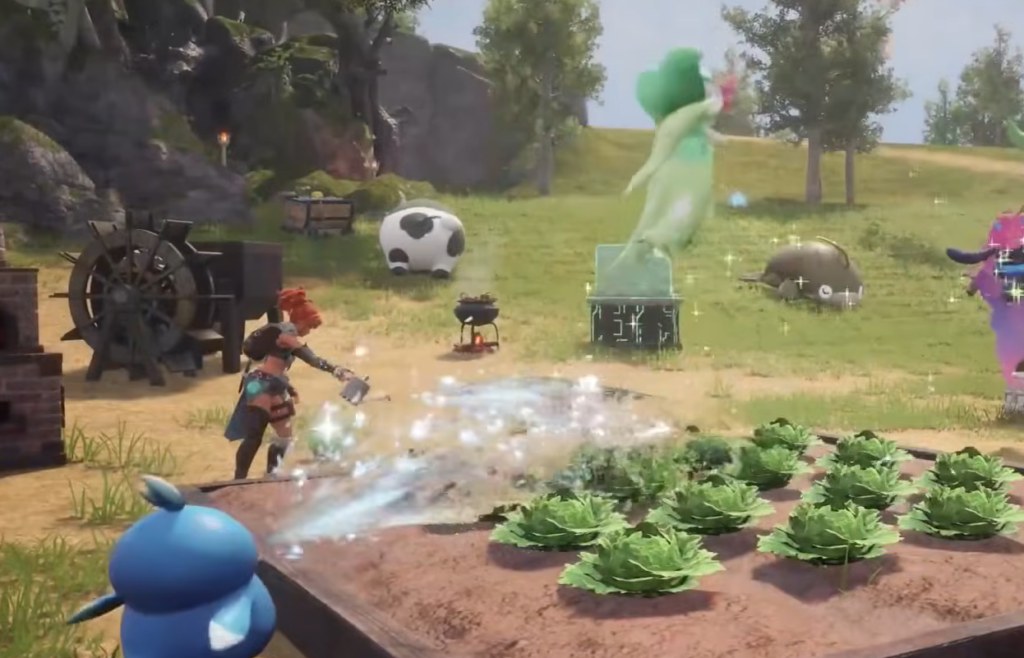
The fastest way to gain experience early is capturing duplicates. The first 12 of the same Pal you catch each grant a New Pal Bonus, so repeatedly catching one species stacks a steady stream of XP. Once you hit that cap on a species, switch to a new Pal and start the count again.
When you aim a Pal Sphere, the game shows how many of that Pal you have already caught. Use that counter to track how many more you need before the bonus runs out. Missions also pay out a large chunk of XP, so complete them whenever one becomes available.
Leveling quickly matters because it feeds Technology points, better gear, and faster exploration. The sooner your kit improves, the sooner you can reach locked areas.

Best early Pals to catch first
Your very first Pal Sphere should go to Cattiva. It handles crafting and base work immediately, and its Cat Helper passive adds +50 to your carry weight per Cattiva in your party, which stacks. After that, round out your party for battles and Pal Sphere farming.
| Pal | Role | Key detail |
|---|---|---|
| Cattiva | Crafting and base building | Handiwork, Mining, Gathering, Transporting; +50 Weight passive. Found in the opening area. |
| Daedream | Mob battles | Ranged Dark-type attacks that punish early Neutral Pals. Only appears at night; look for a glowing purple head. |
| Foxparks | Boss battles | Huggy Fire partner skill acts as a flamethrower; Fire typing is strong against two elements. Found in the starting area, glows at night. |
| Vixy | Pal Sphere farming | Dig Here! skill digs up Pal Spheres; assign it Grazing in the Ranch for passive spheres. Rarer than other starters. |
Foxparks needs its Harness crafted from the Technology Tree after you capture one, and both Foxparks and Daedream keep you warm on cold nights when left out of their spheres.
Where to spend early stat points
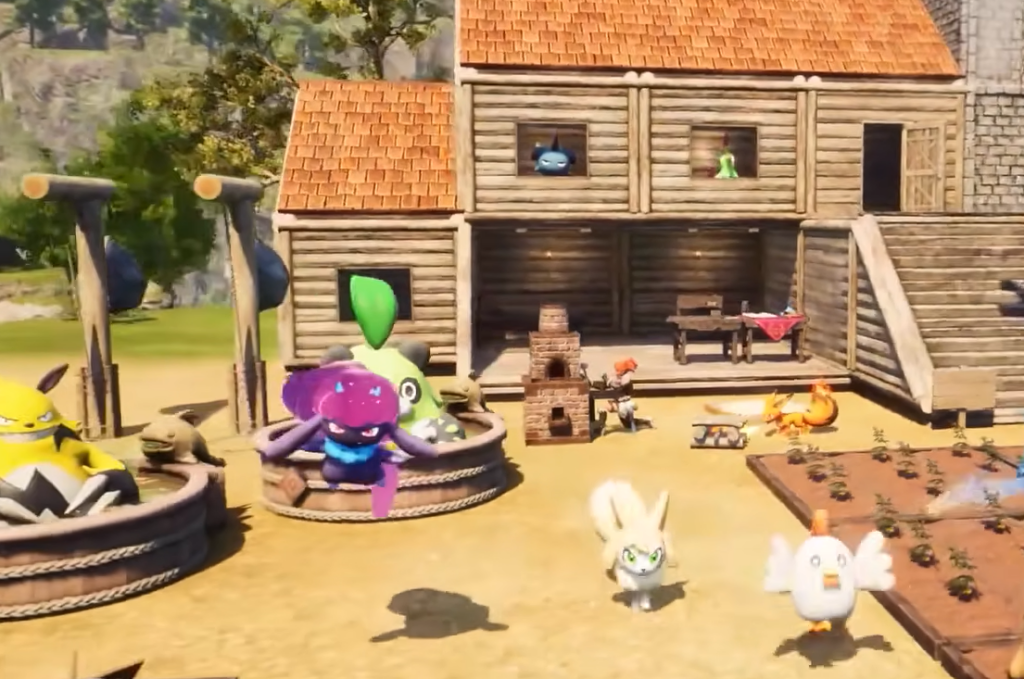
You earn stat points as you level, plus permanent boosts from Remedies and Elixirs found in Supply Drops or crafted at Medicine Workbenches. Eventually you can max everything, but early on quality-of-life stats beat raw damage and survivability.
| Stat | Why it helps early |
|---|---|
| Weight | Encumbrance happens fast; more weight means fewer trips back to base. |
| Work Speed | Your own work speed outpaces Pals for a while, so it speeds up crafting and building. |
| Stamina | Used for moving, mining, attacking, and gliding, so more of it improves nearly everything. |
Get a flying mount and better movement
Mounts open up the map, and a flying Pal is the single most important one because it reaches areas you cannot climb to. Prioritize the mounts below, then use flight to grab hard-to-reach effigies, chests, and base spots.
| Mount | Unlock level | Use |
|---|---|---|
| Celaray | Gloves at Level 7 | First glider upgrade for smoother movement; found around the water area. |
| Eikthyrdeer | Level 12 | Fast ground mount with a dash attack and double jump; found in the starter area. |
| Nitewing | Saddle at Level 15 | Earliest flying mount; hovers over water. Found easily in the starting area. |

Raise your capture rate with Lifmunk Effigies
Lifmunk Effigies increase how easily you catch Pals, so grab every one you spot. Turn them into Capture Power at a Statue of Power, and your Pal Spheres will land far more often.
Once you have a flying mount, sweep the map at night. Effigies give off a green glow that stands out clearly in the dark, making them much faster to collect.
Base setup and the unraidable location
When you first start, drop your base in the first open area you find. Early raids are easy to handle there, so it is fine as a temporary home.
After you unlock a flying Pal, relocate to coordinates 191, -39. This spot is unraidable and sits near the Sealed Realm of the Guardian teleport. It takes a trek to reach, but the safety is worth it. Upgrade your Palbox to raise your Pal cap and your number of bases; reaching Palbox Level 10 unlocks your first extra base, which is a natural moment to move somewhere better.
On normal settings, you get up to 4 bases, and on max settings up to 10. Extra bases help you sit close to specific resources or locations with no nearby fast travel.

Unlock fast travels and defeat bosses for Technology points
Leveling alone will not supply enough Technology, and you eventually hit the level cap. Unlocking fast travel points grants Technology points, while defeating bosses grants Ancient Technology points. Dungeons can drop both, but only at a low chance and with more time invested.
Save blueprints and use map markers
Hold onto every weapon and armor blueprint you find in chests. At the Drafting Table you can later upgrade them all the way to legendary, so there is no reason to discard duplicates until you have hit legendary quality.
Map markers keep important spots findable. Mark them as you explore so you can return to farm efficiently.
- Dungeons — they hold good Pals, blueprints, resources, and stat flowers, so mark each one for later farming.
- Ore nodes — track dense ore spots before you unlock ore mines.
- Skillfruit trees — note their locations and hoard fruit until you build the Skillfruit Orchard.

World settings worth adjusting
World settings shape both difficulty and comfort. You can tune them to remove grind or add challenge. The options below are the ones that make the biggest difference early.
| Setting | What changing it does |
|---|---|
| Death Penalty | No Drops lets you play recklessly; Drop All Except Equipment keeps a serious edge without losing gear. |
| Time to Incubate Eggs | Setting it to zero removes wait time while you still learn breeding for IVs and passives. |
| Gatherable and Dropped Item Multipliers | Raising these cuts the resource grind without removing it entirely. |
| Damage to Structure and Structure Deterioration | Turning these off stops you from wrecking your own base with explosives or decay. |
| Item Weight Rate | Disable it if you dislike managing encumbrance. |
| Day/Night Time Speed | Speed up night to avoid darkness or match a Pal’s spawn window. |
| Meteorite/Supply Drop Interval | Default is 3 hours; lowering it to 15–60 minutes gives more materials, blueprints, accessories, and stat boosts while staying rare. |
| Max Bases / Max Pals Per Base | Higher values allow more building and production, but can hurt game performance. |
Nail the New Pal Bonus loop, keep a Cattiva working, rush a Nitewing, and settle at 191, -39, and your 1.0 world will be stable and well-stocked before most raids can ever threaten it.