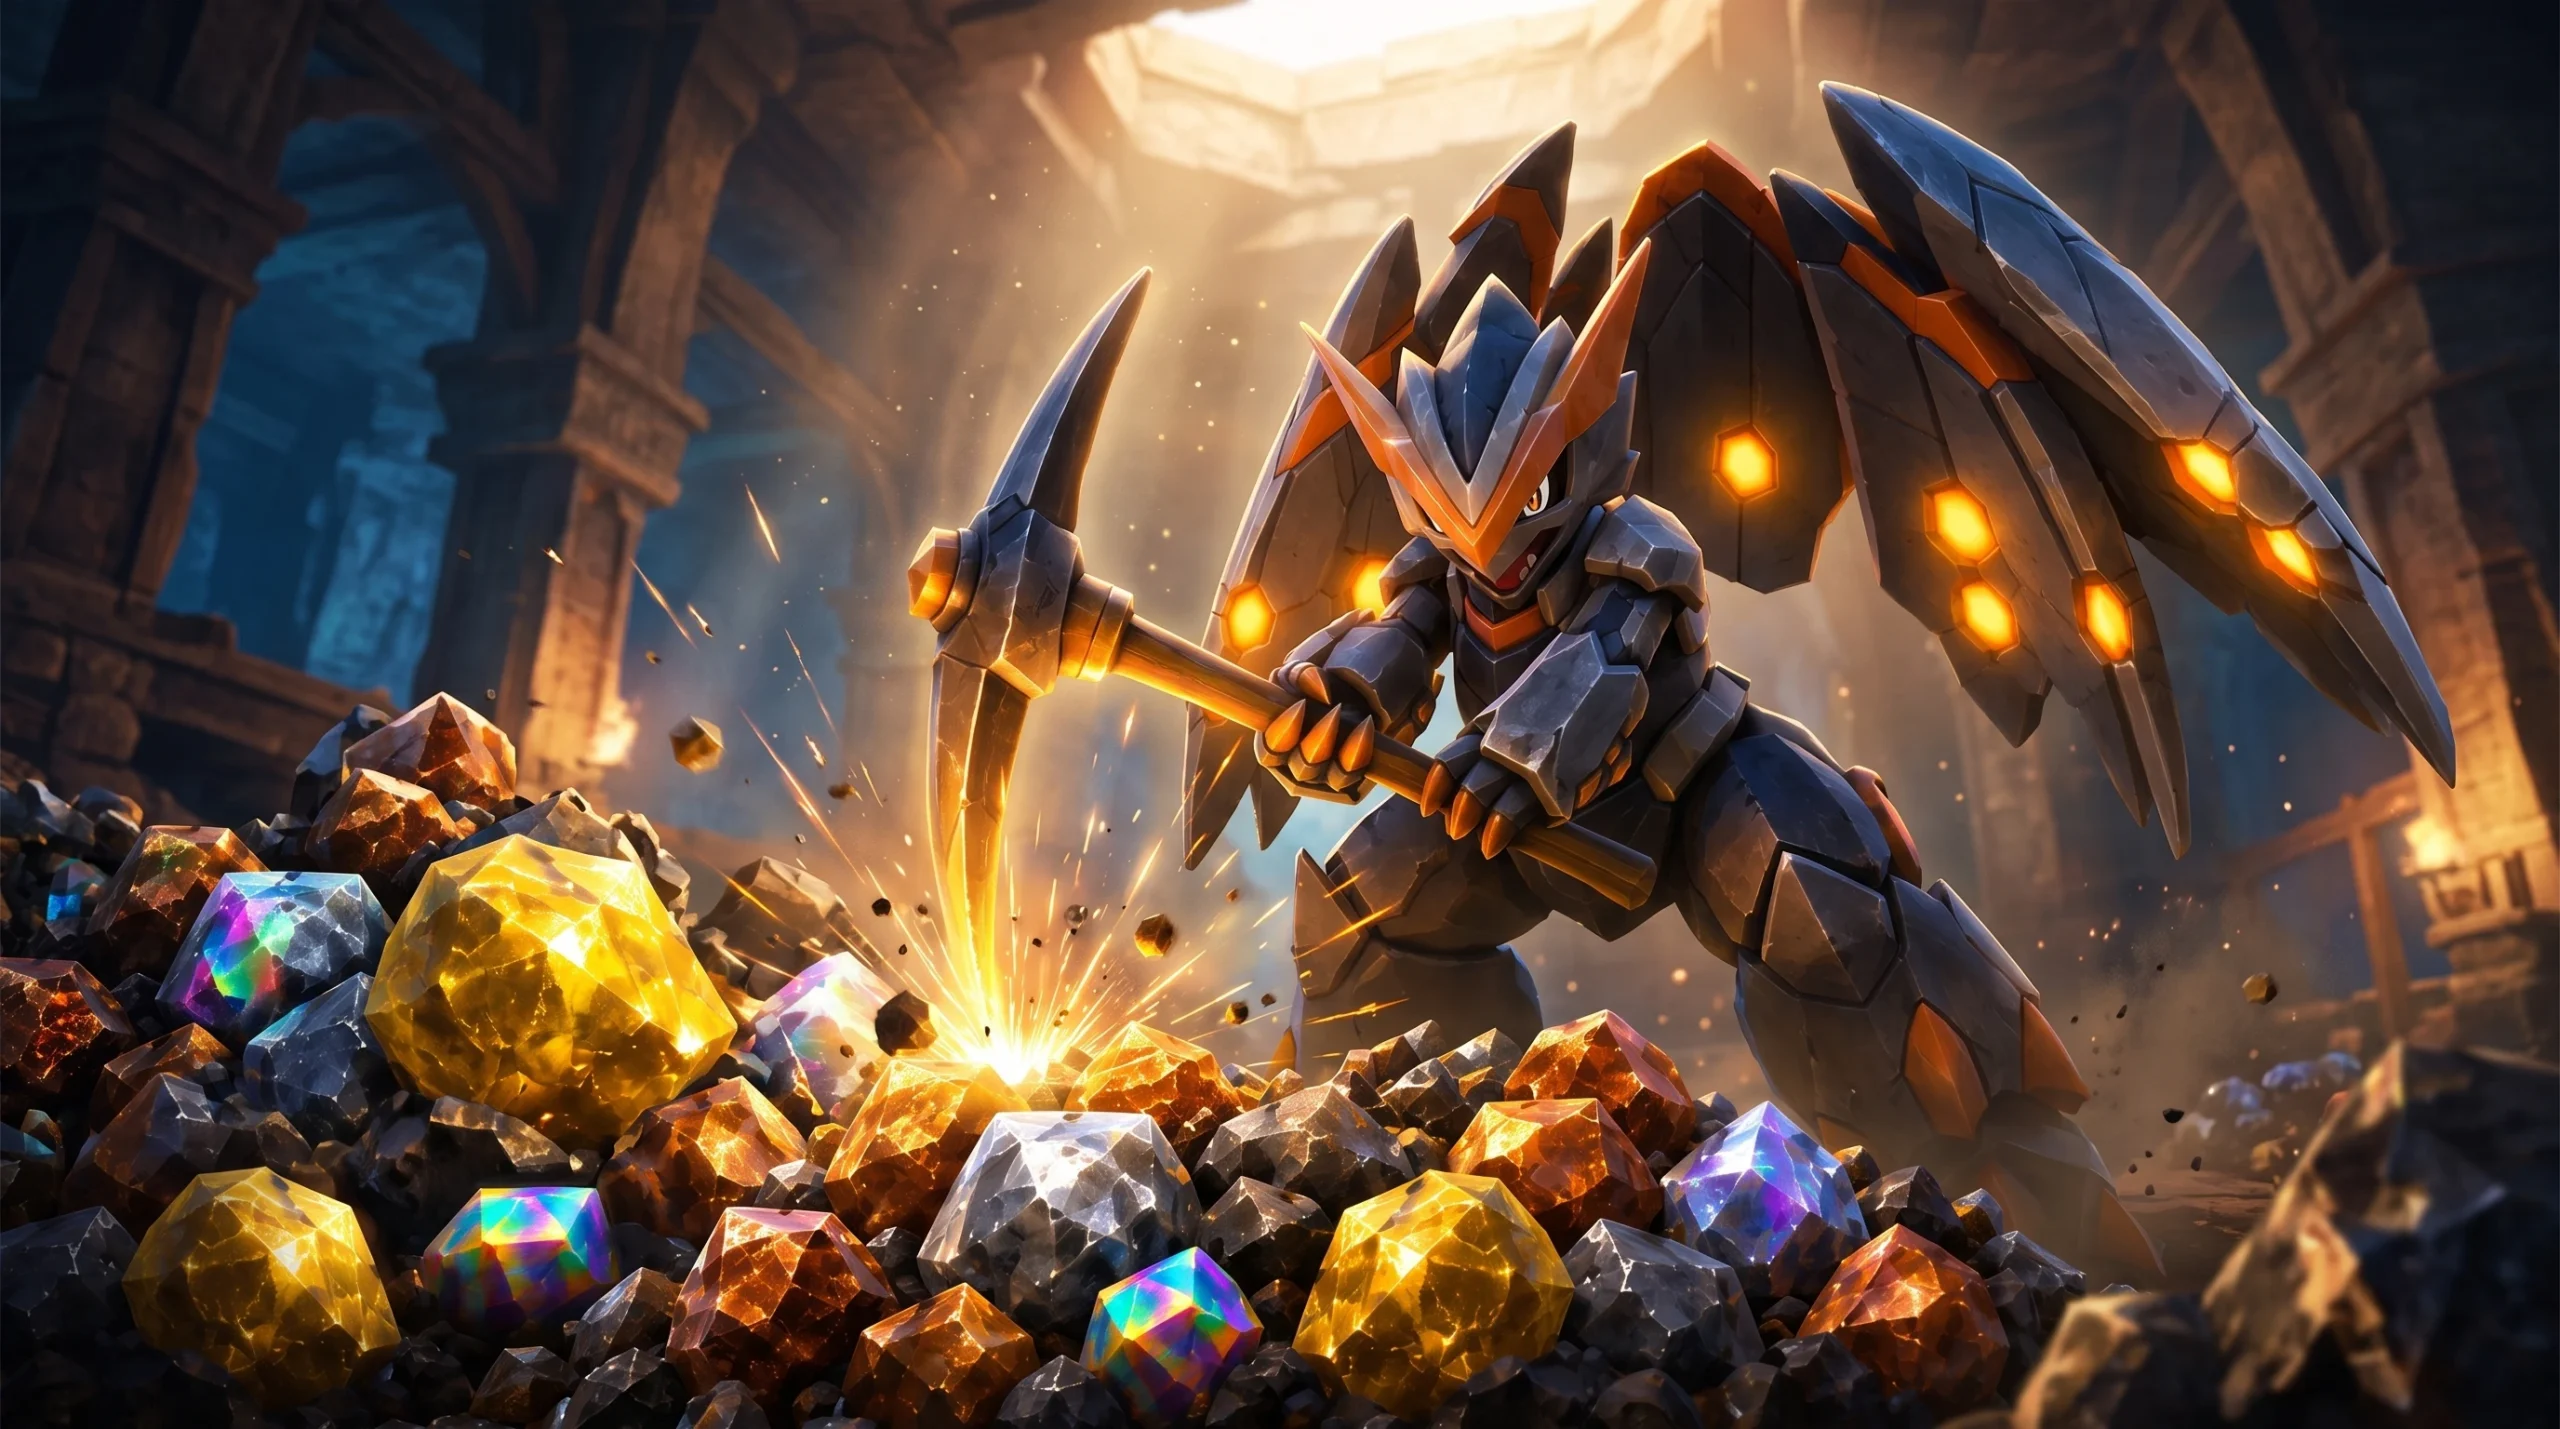
Ore is the backbone of nearly everything you build in Palworld, from stronger structures to weapons and Pal gear. To keep it flowing without swinging a pickaxe yourself, you need Pals with high Mining Work Suitability parked at your Stone Pits and Ore Mining Sites. The right miner turns a slow trickle of stone and ore into a steady stockpile.
Quick answer: Catch Aegidron for the highest base Mining level in the game (Level 8), found around Level 79 in the World Tree region. For early game, use Digtoise, whose Drill Crusher Partner Skill smashes ore nodes in seconds. Then breed the Artisan or Serious passive onto your miner to increase work speed.
The single best Mining Pal in Palworld
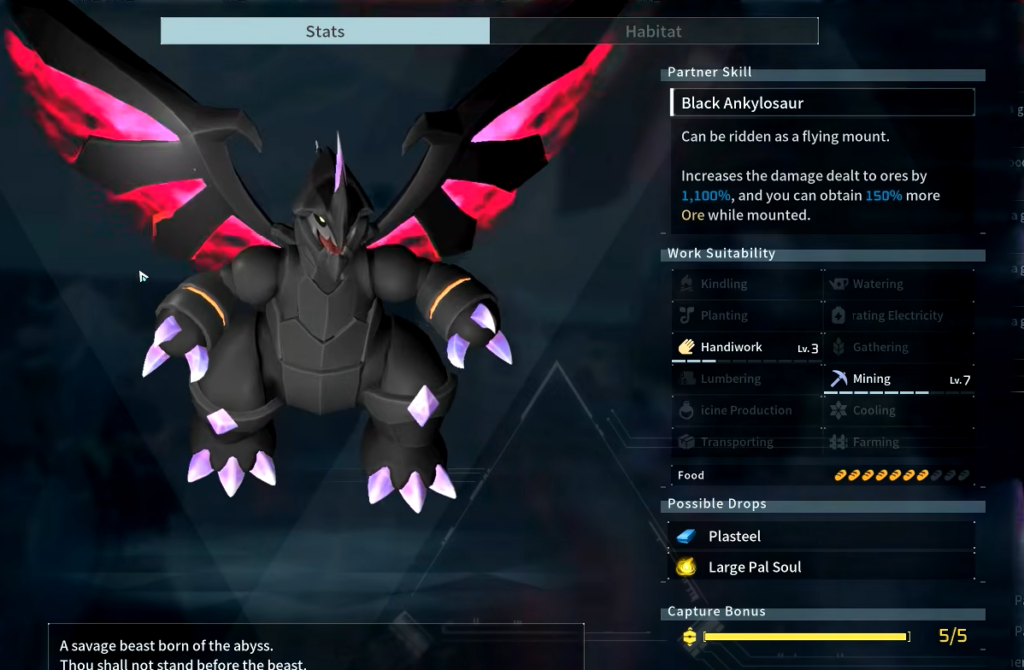
Aegidron is the strongest miner you can put to work. This Ground and Dragon Pal carries a Mining Work Suitability of Level 8, the highest base level currently obtainable. With the 1.0 patch, the Mining scale runs up to 10 instead of the old cap of 4, and Aegidron sits near the top of that new range. It is an elusive catch, though, and most players will only get their first shot at one around Level 79 in the World Tree region.
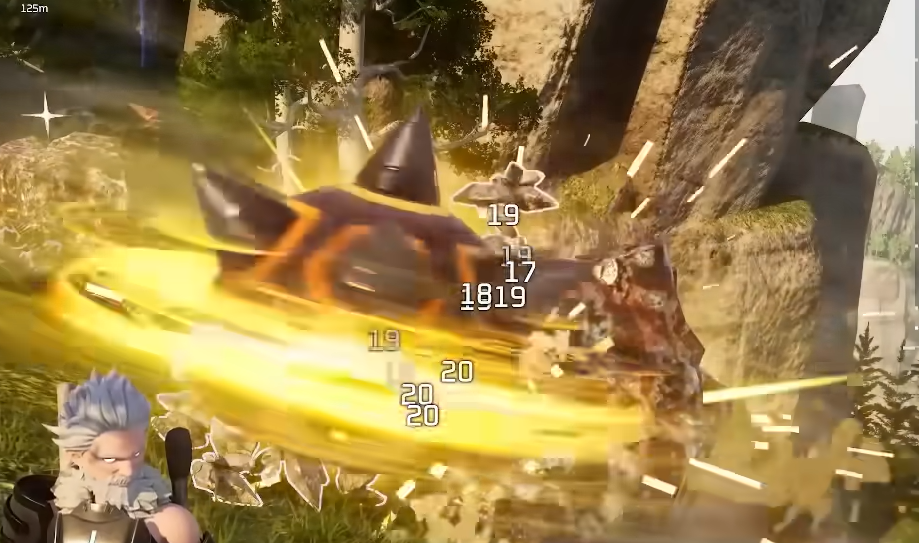
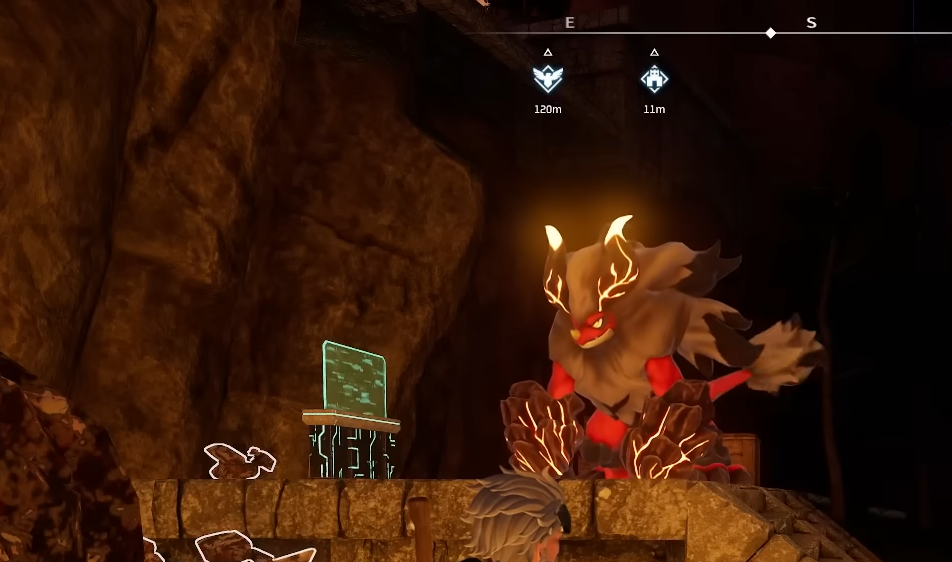
Digtoise remains the fan favorite for raw speed despite a lower Mining Level of 3. Its Drill Crusher Partner Skill sends it spinning into ore nodes and grinding them to dust almost instantly. Because Digtoise has no other skill proficiencies, it never wanders off to do other base chores, so it stays glued to mining. Stand it in front of a Stone Pit or near a dense ore cluster, and it will clear the field fast.
Other endgame heavyweights worth the effort include Astegon and Blazamut, both Level 4-plus miners that double as strong combat mounts. Blazamut also handles Kindling at Level 3, and it can be captured as an Alpha Boss in the volcanic region west of the Palpagos Islands, which makes it easier to secure than its raid-only cousin, Blazamut Ryu. Anubis rounds out the versatile picks, pairing solid Mining with top-tier Handiwork for base building.
Mining Pals ranked by tier
Work Suitability level is the biggest factor, but Partner Skills and how many other jobs a Pal can do also shape where it lands. The top tier holds the fastest, most reliable miners for a late-game base.
| Tier | Pals |
|---|---|
| S | Aegidron, Astegon, Blazamut, Blazamut Ryu, Knocklem, Knocklem Ignis |
| A | Anubis, Bastigor, Cryolinx Terra, Digtoise, Dualith, Dualith Noct, Gorirat Terra, Menasting, Menasting Terra, Palumba, Reptyro, Reptyro Cryst, Warsect Terra, Xenogard |
| B | Dumud, Dumud Gild, Lovander, Mammorest, Mammorest Cryst, Moldron, Moldron Cryst, Necromus, Penking, Penking Lux, Pierdon, Pierdon Cryst, Polapup Terra |
| C | Braloha, Bulldosu, Paladius, Quivern, Quivern Botan, Sekhmet, Sootseer, Tombat, Turtacle Terra |
| D | Cattiva, Depresso, Elgrove, Elgrove Cryst, Fuddler, Incineram, Incineram Noct, Kikit, Lapiron, Maraith, Rushoar, Turtacle |
Best miners for the early game
You do not need a rare catch to start stockpiling ore. Dumud is the standout early option and is common east of the Sealed Realm of the Winged Tyrant waypoint, an area around map level 10 to 25. Dumud carries Level 2 Mining and also handles Watering and Transporting, so it earns its keep in a young base. Check bandit camps too, since caged Pals can hand you rarer miners early.
Lovander, Lapiron, and Elgrove all share Level 2 Mining and are reachable early as well. If none of them are within reach yet, the starter trio of Cattiva, Fuddler, and Rushoar will still chip away at ore. Fuddler is worth grabbing for its Ore Detector Partner Skill, which sends out a wave to locate ore blocks and then runs over to mine them.
Every Mining Pal and where to find it
Use the table below to match a Pal to your current Mining needs. Locations refer to nearby Great Eagle Statue fast travel points or named regions where the Pal spawns.
| Pal | Mining Lv. | Where to find |
|---|---|---|
| Aegidron | 8 | Lacrymal Shoal |
| Blazamut | 7 | Scorching Mineshaft, Foot of the Volcano |
| Blazamut Ryu | 7 | Blazamut Ryu Slab |
| Astegon | 7 | No.3 Wildlife Sanctuary |
| Anubis | 6 | Sealed Realm of the Winged Tyrant |
| Menasting Terra | 6 | Northern Rock Field |
| Paladius | 6 | Deep Sand Dunes |
| Necromus | 6 | Deep Sand Dunes |
| Menasting | 5 | No.2 Wildlife Sanctuary |
| Moldron | 5 | Mount Obsidian Mid-Point |
| Moldron Cryst | 5 | Between Forbidden Laboratory and Within the Seal |
| Palumba | 5 | Eternal Summer Isle |
| Warsect Terra | 5 | Feybreak Island, Loess Plains |
| Reptyro | 5 | Ruined Fortress City, Mount Obsidian Midpoint, Eternal Pyre Tower Entrance |
| Reptyro Cryst | 5 | Sacred Mountain Cavern |
| Pierdon | 5 | Flamepulse Islet |
| Pierdon Cryst | 5 | Sunreach |
| Cryolinx Terra | 5 | Oilfield Overlook |
| Bastigor | 5 | World Tree |
| Polapup Terra | 4 | North of Isle of the Glacial Core |
| Mammorest | 4 | Plateau of Beginnings, Desolate Church, Grassy Behemoth Hills |
| Mammorest Cryst | 4 | Unthawable Lake, Pristine Snow Field, Land of Absolute Zero |
| Incineram Noct | 4 | No.2 Wildlife Sanctuary |
| Digtoise | 4 | Deep Sand Dunes, Sacred Realm of the Winged Tyrant |
| Maraith | 4 | Pristine Snow Field, Land of Absolute Zero, Unthawable Lake |
| Quivern | 4 | No.2 Wildlife Sanctuary, Sealed Realm of the Winged Tyrant |
| Xenogard | 4 | Desiccated Desert, Astral Mountains, Mount Obsidian |
| Bulldosu | 4 | Glacial Memento Islet |
| Penking | 3 | No.1 Wildlife Sanctuary, Sealed Realm of the Frozen Wings |
| Penking Lux | 3 | No.3 Wildlife Sanctuary, Phantom Isle |
| Turtacle Terra | 3 | Desiccated Desert, Oasis Isle |
| Tombat | 3 | Grassy Behemoth Hills, Isolated Island Church |
| Gorirat Terra | 3 | Southern Sandbar of Sakurajima Island |
| Elgrove Cryst | 3 | World Tree |
| Incineram | 3 | Eternal Pyre Tower Entrance, Beach of Everlasting Summer |
| Braloha | 3 | Oasis Isle |
| Quivern Botan | 3 | Dancing Sakura Shrine, Mushroom Wetlands |
| Sootseer | 3 | Secluded Cemetery |
| Sekhmet | 3 | Feybreak Island |
| Lovander | 2 | Sand Dunes Entrance, Duneshelter, Deep Sand Dunes |
| Elgrove | 2 | No.1 Wildlife Sanctuary, Bamboo Groves |
| Dumud | 2 | Sealed Realm of Winged Tyrant |
| Dumud Gild | 2 | Duneshelter, No.3 Wildlife Sanctuary, Oasis Isle |
| Lapiron | 2 | Floating Islands |
| Cattiva | 1 | Plateau of Beginnings, Grassy Behemoth Hills, Sealed Realm of the Frozen Wings |
| Depresso | 1 | Islandhopper Coast, Marsh Island Church Ruins, Natural Bridge |
| Rushoar | 1 | Small Settlement, Sealed Realm of the Frozen Wings, Small Cove |
| Fuddler | 1 | Sealed Realm of the Winged Tyrant, Deep Sand Dunes, PIDF Tower Entrance |
| Turtacle | 1 | Zoey’s Tower, Windswept Hills |
| Kikit | 1 | Northern Rock Field, Southern Sandbar, Cherry Blossom Cave |
How to push ore output past 100,000
A high Mining level is only the starting point. To build a miner that buries you in resources, stack the right passive skills, the right structures, and a base placed near natural ore.
Breed work-speed passives onto your miner
Passive skills that raise work speed multiply everything your miner does. They are assigned randomly on capture, but you can pass them to offspring through breeding, so it pays to farm a Pal with the best ones and breed them into your top miner.
| Passive skill | Effect |
|---|---|
| Artisan | Work speed +50% |
| Work Slave | Work speed +30%, attack -30% |
| Serious | Work speed +20% |
| Lucky | Work speed +15%, attack +15% (Lucky Pals only) |
| Conceited | Work speed +10%, defense -10% |
Stacking Artisan and Serious on the same miner is the fastest route to a resource machine. Aim for those two first before filling the remaining passive slots.
Build the Ore Mining Site
The Ore Mining Site produces ore even when there are no natural nodes nearby, so a Mining Pal can generate a constant supply on demand. You unlock it at Level 24 from the Ancient Technology Tree for 2 Ancient Technology Points, and it also requires clearing the Free Pal Alliance tower.
| Requirement | Detail |
|---|---|
| Required level | 24 |
| Ancient Technology Points | 2 |
| Materials | Stone x50, Ingot x25, Paldium Fragment x20, Ancient Civilization Parts x5 |
| Workload | 100 |
At Level 38, you can unlock the Ore Mining Site II for 3 Ancient Technology Points. The upgrade yields more production and materials, so switch to it as soon as you qualify. Until then, the base version keeps ore flowing.
Add the Pickaxe and Helmet structure
The Pickaxe and Helmet is a base structure that improves the Mining efficiency of any Pal working nearby. It unlocks at Technology Level 30 and costs 50 Wood, 50 Stone, and 50 Ingots. Place it near your Stone Pits and Ore Mining Sites so your miners work faster automatically.
Move your base next to natural ore
Pals will naturally harvest ore around your base, so a location surrounded by ore deposits gives you a passive second income on top of your Stone Pits. If your current spot is dry on nodes, relocating your base to a resource-rich area is one of the biggest single upgrades to total ore output.
Put it all together, and the formula is straightforward. Catch a top-tier miner like Aegidron or run Digtoise for its Drill Crusher speed, breed Artisan and Serious onto it, surround it with an Ore Mining Site II and a Pickaxe and Helmet, and settle on ore-rich land. That combination is how a single Pal keeps your stockpile climbing well into six figures.