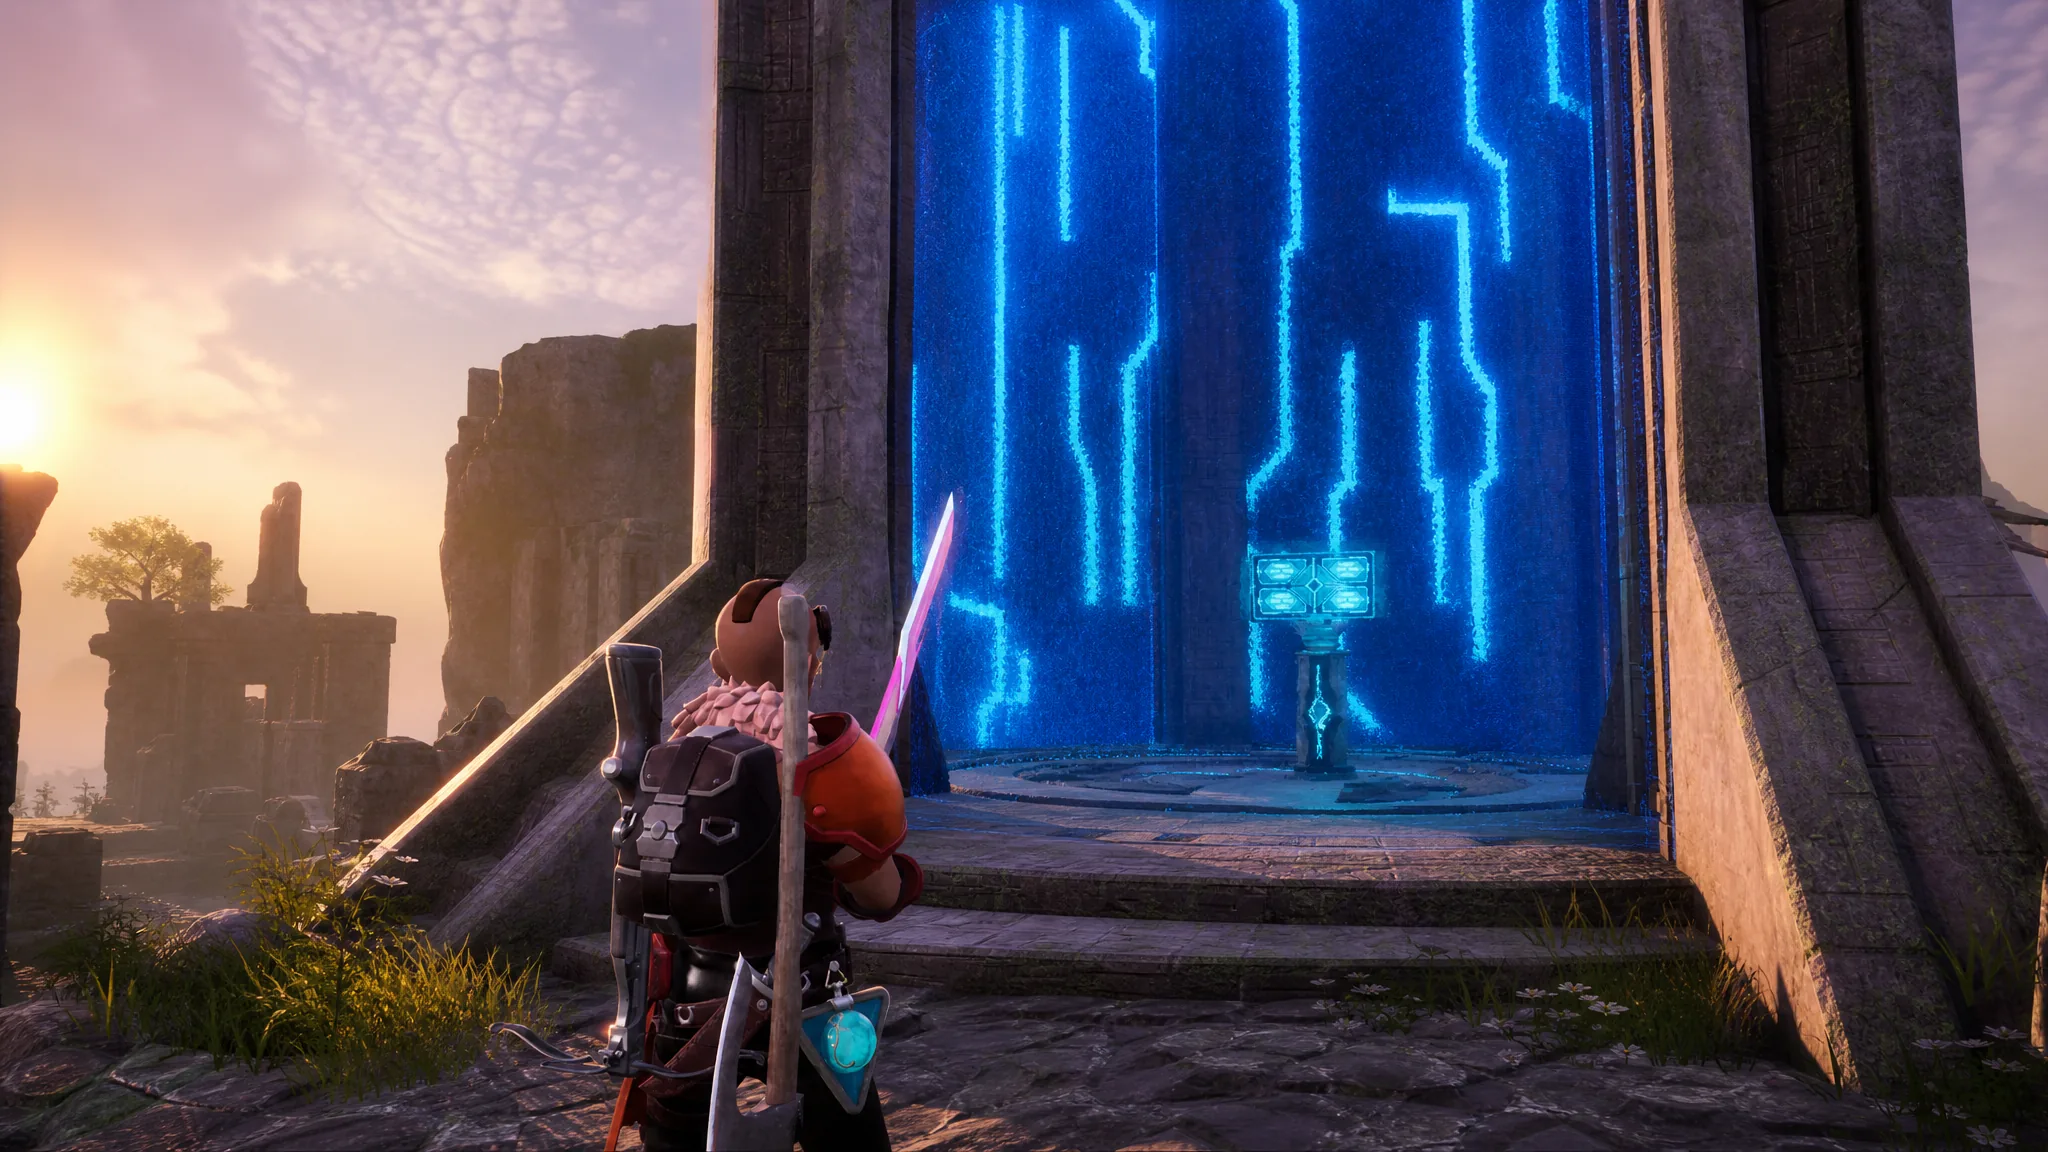
Talismans are accessories tied to Palworld’s legendary Pals, and each one hands your active Pal a big defensive boost plus an elemental damage bump. You don’t buy them or pull them from wild Pals. Instead, you hunt down the loot towers scattered across the map, crack open the barrier protecting each one, and grab the Schematic from the terminal inside.
Quick answer: There are nine Pal Talisman Schematics. Five sit on Feybreak Island, one is on Sakurajima, and three are in the northern tundra. Travel to each tower’s coordinates, clear the barrier (a hack minigame or destroyable rocks), and interact with the terminal inside to add the Schematic.
What each Pal Talisman does
Every Talisman shares the same base bonus of Pal Defense Lv. 4. What sets them apart is the elemental damage enhancement each one grants, also at Lv. 4. That means you pick a Talisman to match the element of the Pal you plan to fight with. A Frostallion or any Ice attacker wants the Frostallion Talisman, while a Ground bruiser like Anubis benefits from the Anubis Talisman.
| Talisman | Damage boost | Region | Coordinates |
|---|---|---|---|
| Anubis | Ground Lv. 4 | Feybreak | -983, -840 |
| Blazamut | Fire Lv. 4 | Feybreak | -1200, -1318 |
| Hartalis | Neutral Lv. 4 | Feybreak | -1211, 1098 |
| Jetragon | Dragon Lv. 4 | Feybreak | -1186, -828 |
| Orserk | Electric Lv. 4 | Feybreak | -1272, -1307 |
| Lyleen | Grass Lv. 4 | Sakurajima | -492, 217 |
| Frostallion | Ice Lv. 4 | Tundra | -99, 174 |
| Lyleen Noct | Dark Lv. 4 | Tundra | -297, 343 |
| Neptilius | Water Lv. 4 | Tundra | -170, 496 |
All nine also carry Pal Defense Lv. 4 on top of the listed damage boost.
Feybreak Island Talisman towers
Feybreak is a mid-game area holding five of the nine Talismans, so gear up before you land. The zone is packed with anti-air defense systems that will knock you off a flying mount, and several towers sit right next to Field Alpha bosses. Disable the turrets where you can and expect a fight near a few of these terminals.
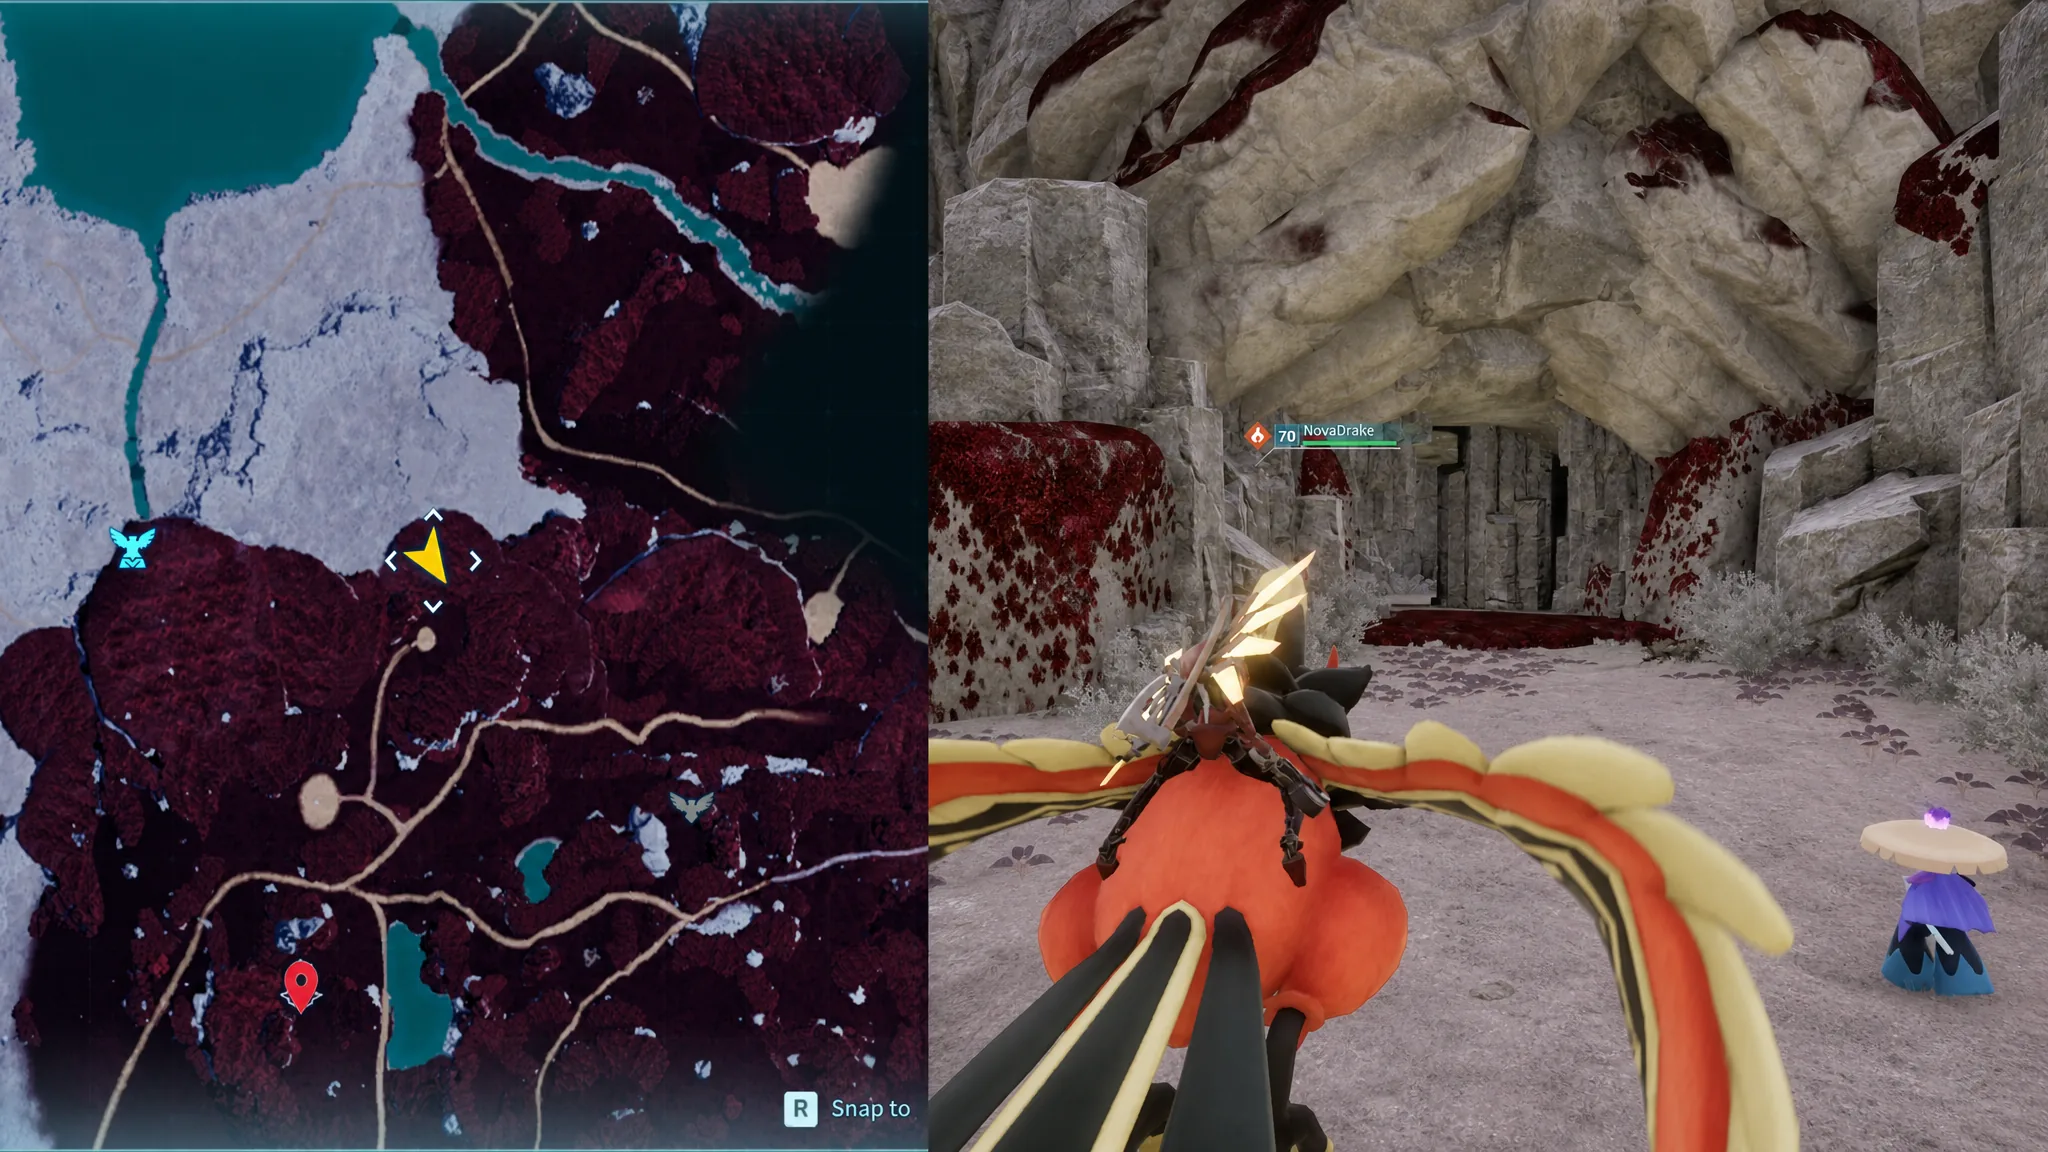
The Anubis Talisman sits at -983, -840, near the Hill Entrance fast travel point. Open the tower and read the terminal inside to claim the blueprint.
For the Blazamut Talisman, push further down the west side of the island to -1200, -1318. That takes you to the mouth of the Bloodstained Tunnel, and the tower waits at the far end.
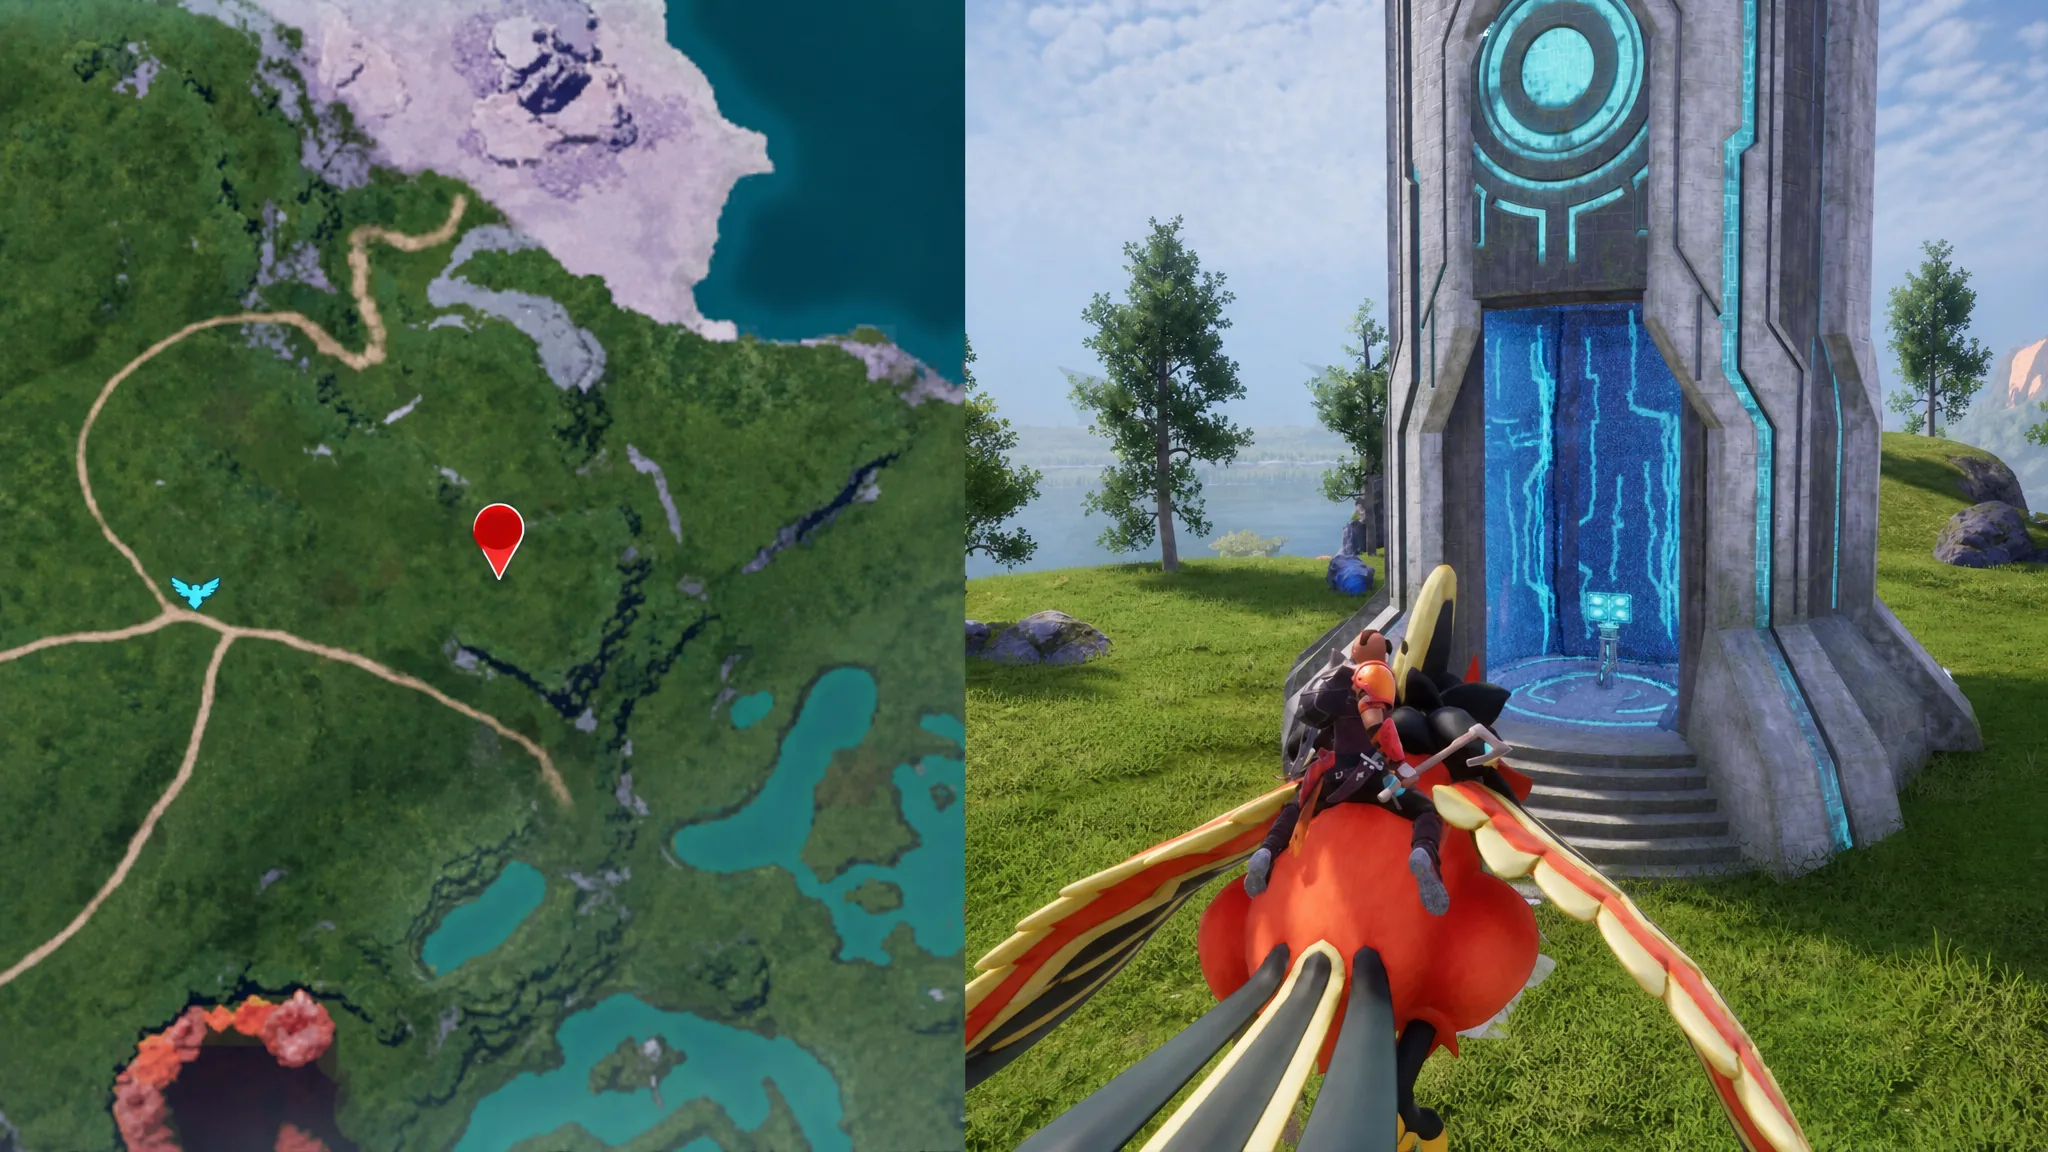
The Hartalis Talisman is tucked into Scorched Hill at -1211, 1098. Look for a cave cutting into the mountainside and follow it inward to reach the tower. It sits a short distance from the Scorched Valley Plateau Watchtower, and the engraved rocks at the entrance mark the way in.
Head to the north of Feybreak for the Jetragon Talisman. Fast travel to Curved Redrock, then move to -1186, -828. A Field Alpha Dazi Noct boss lurks down the cliff nearby, so watch your approach.
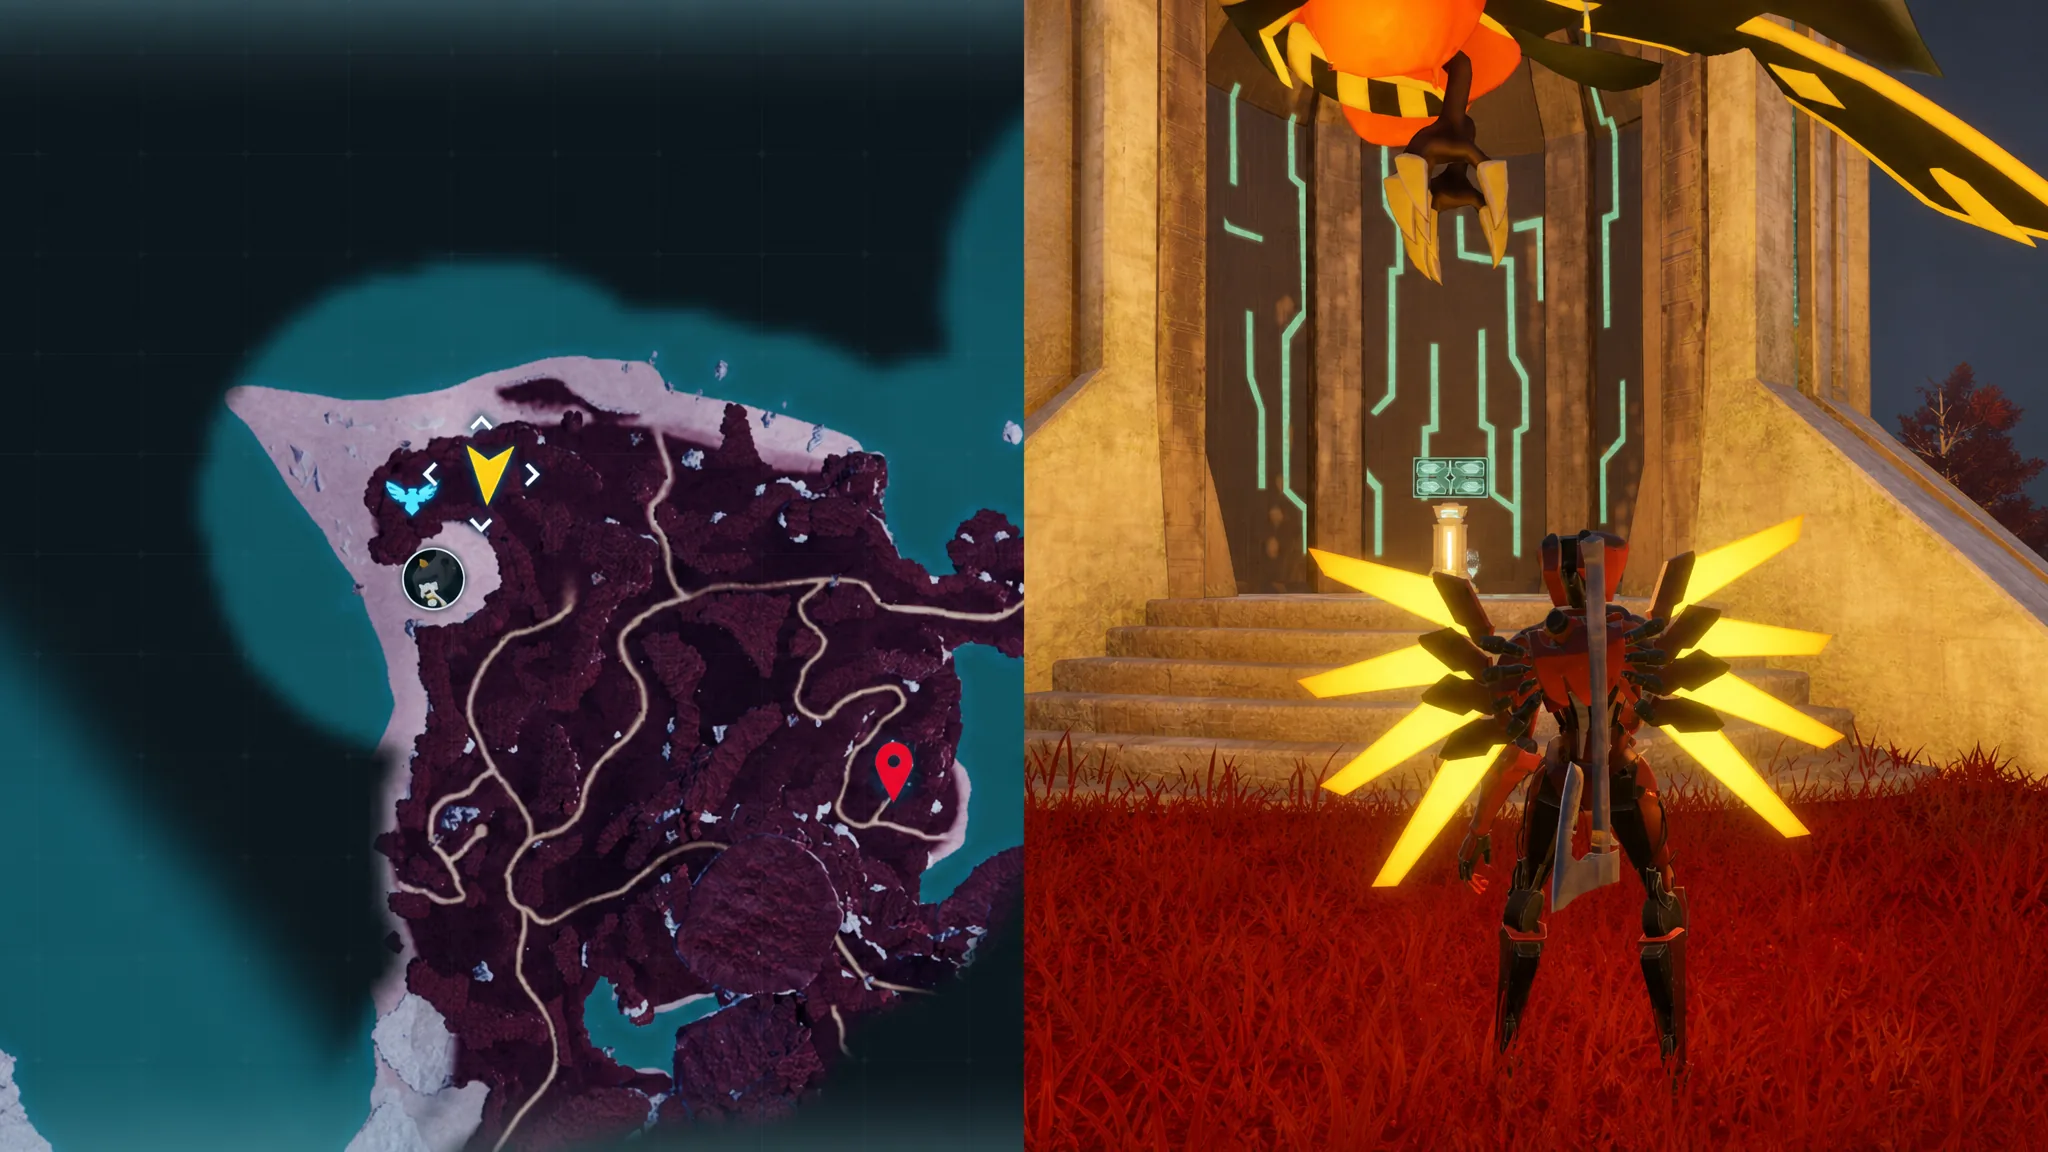
The Orserk Talisman is on the westernmost edge of the island at -1272, -1307. The nearest fast travel point is Oilfield Overlook, and the tower stands right beside a Field Alpha Cryolinx Terra that may turn hostile.
Sakurajima Island: Lyleen Talisman
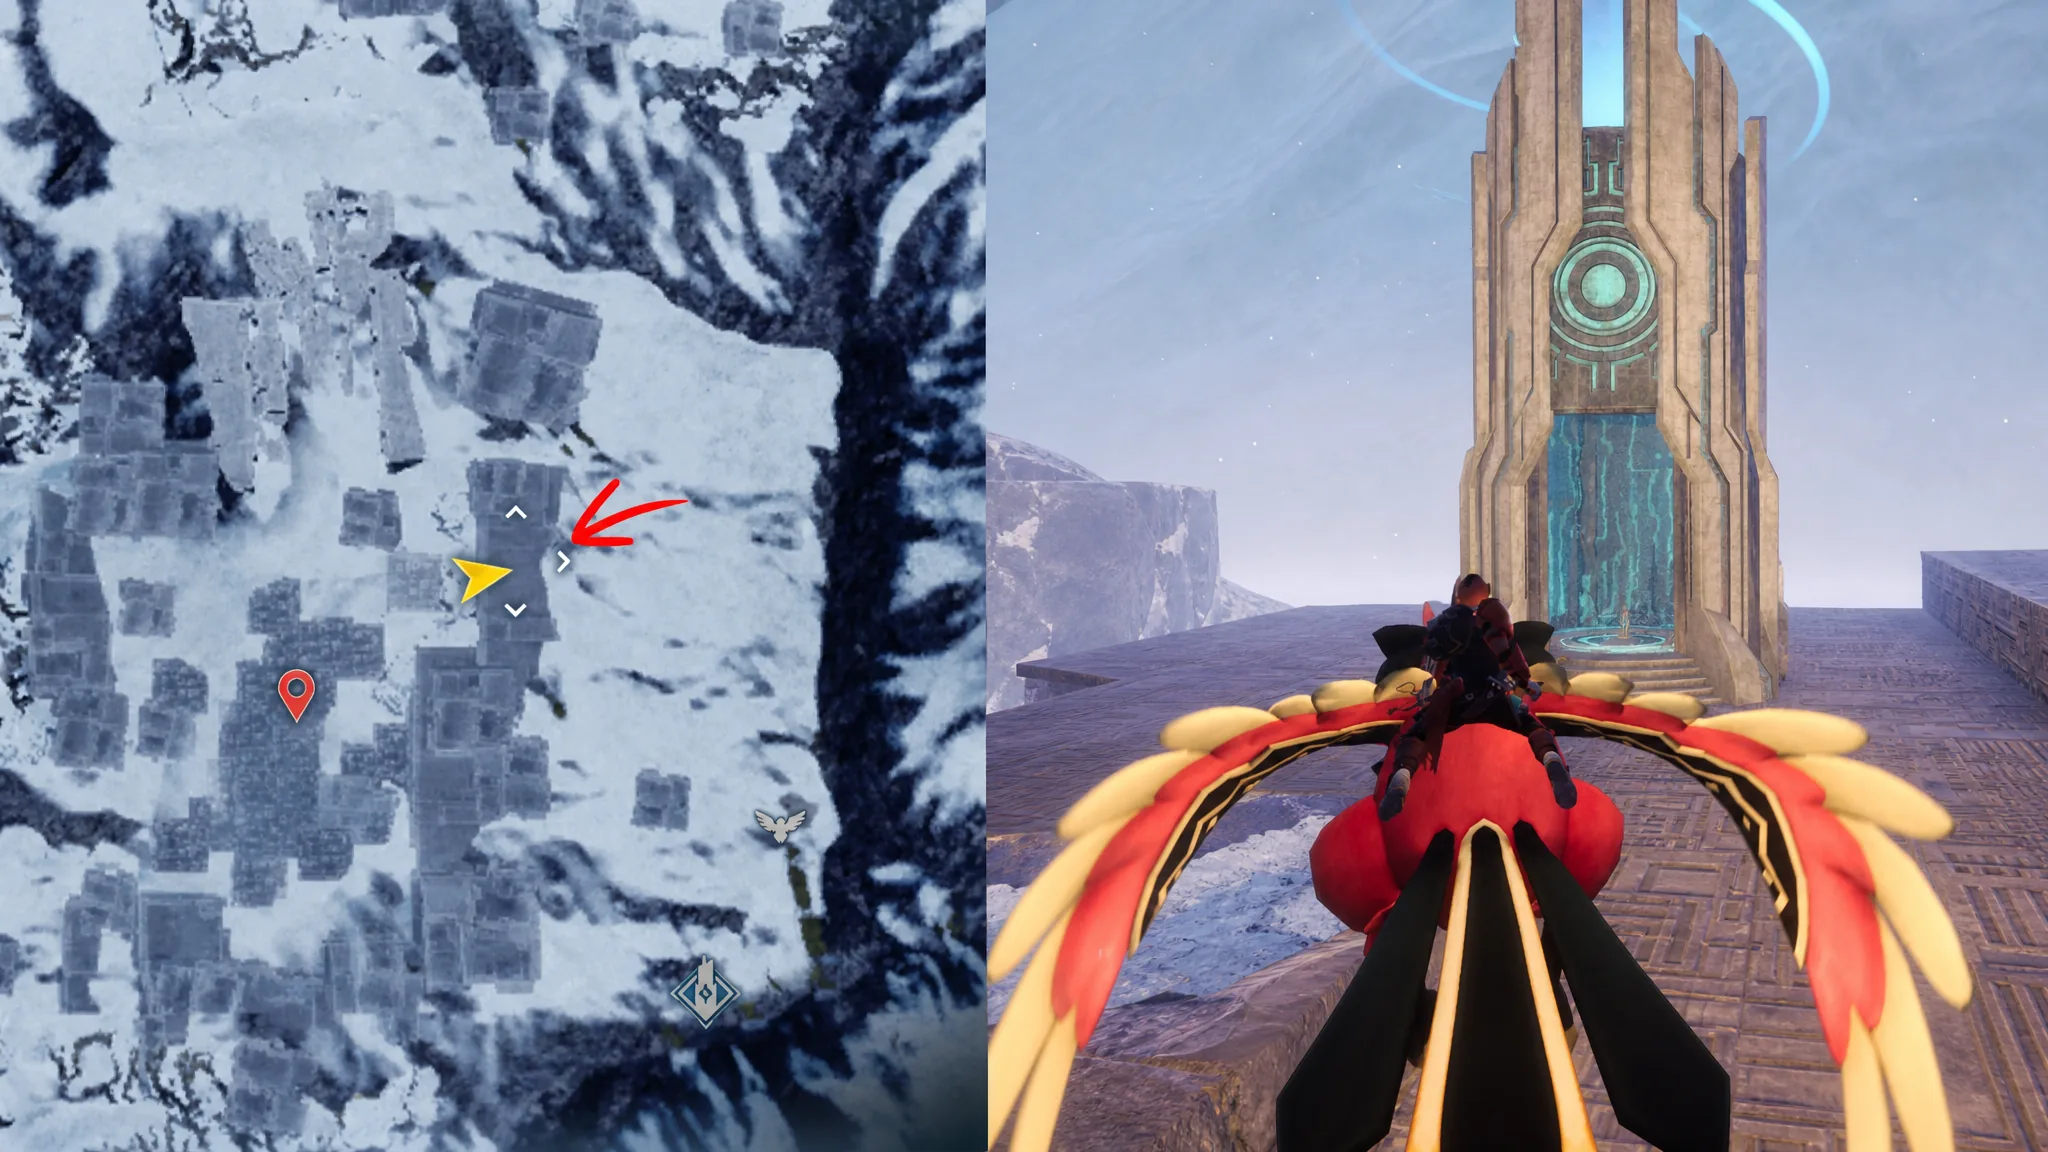
The lone Sakurajima Talisman is the Lyleen Talisman, found inside a tower at -492, 217. Use Cherry Blossom Crossroads as your fast travel anchor and head east from there to reach the point of interest. Three blue-glowing rocks surround the tower, and you must destroy all three to drop the barrier before you can pull the Schematic.
Tundra Talisman towers
Three Talismans sit in the cold northern region, so pack cold-resistant gear before you set out. The towers here blend into the snow, though each one gives off a faint glow that helps you spot it from a distance.
The Frostallion Talisman is in the grassy stretch just south of the tundra at -99, 174. It stands directly opposite the Icy Weasel Hill Watchtower, with a circular arena separating the two. You open this one by hacking the barrier through a minigame.
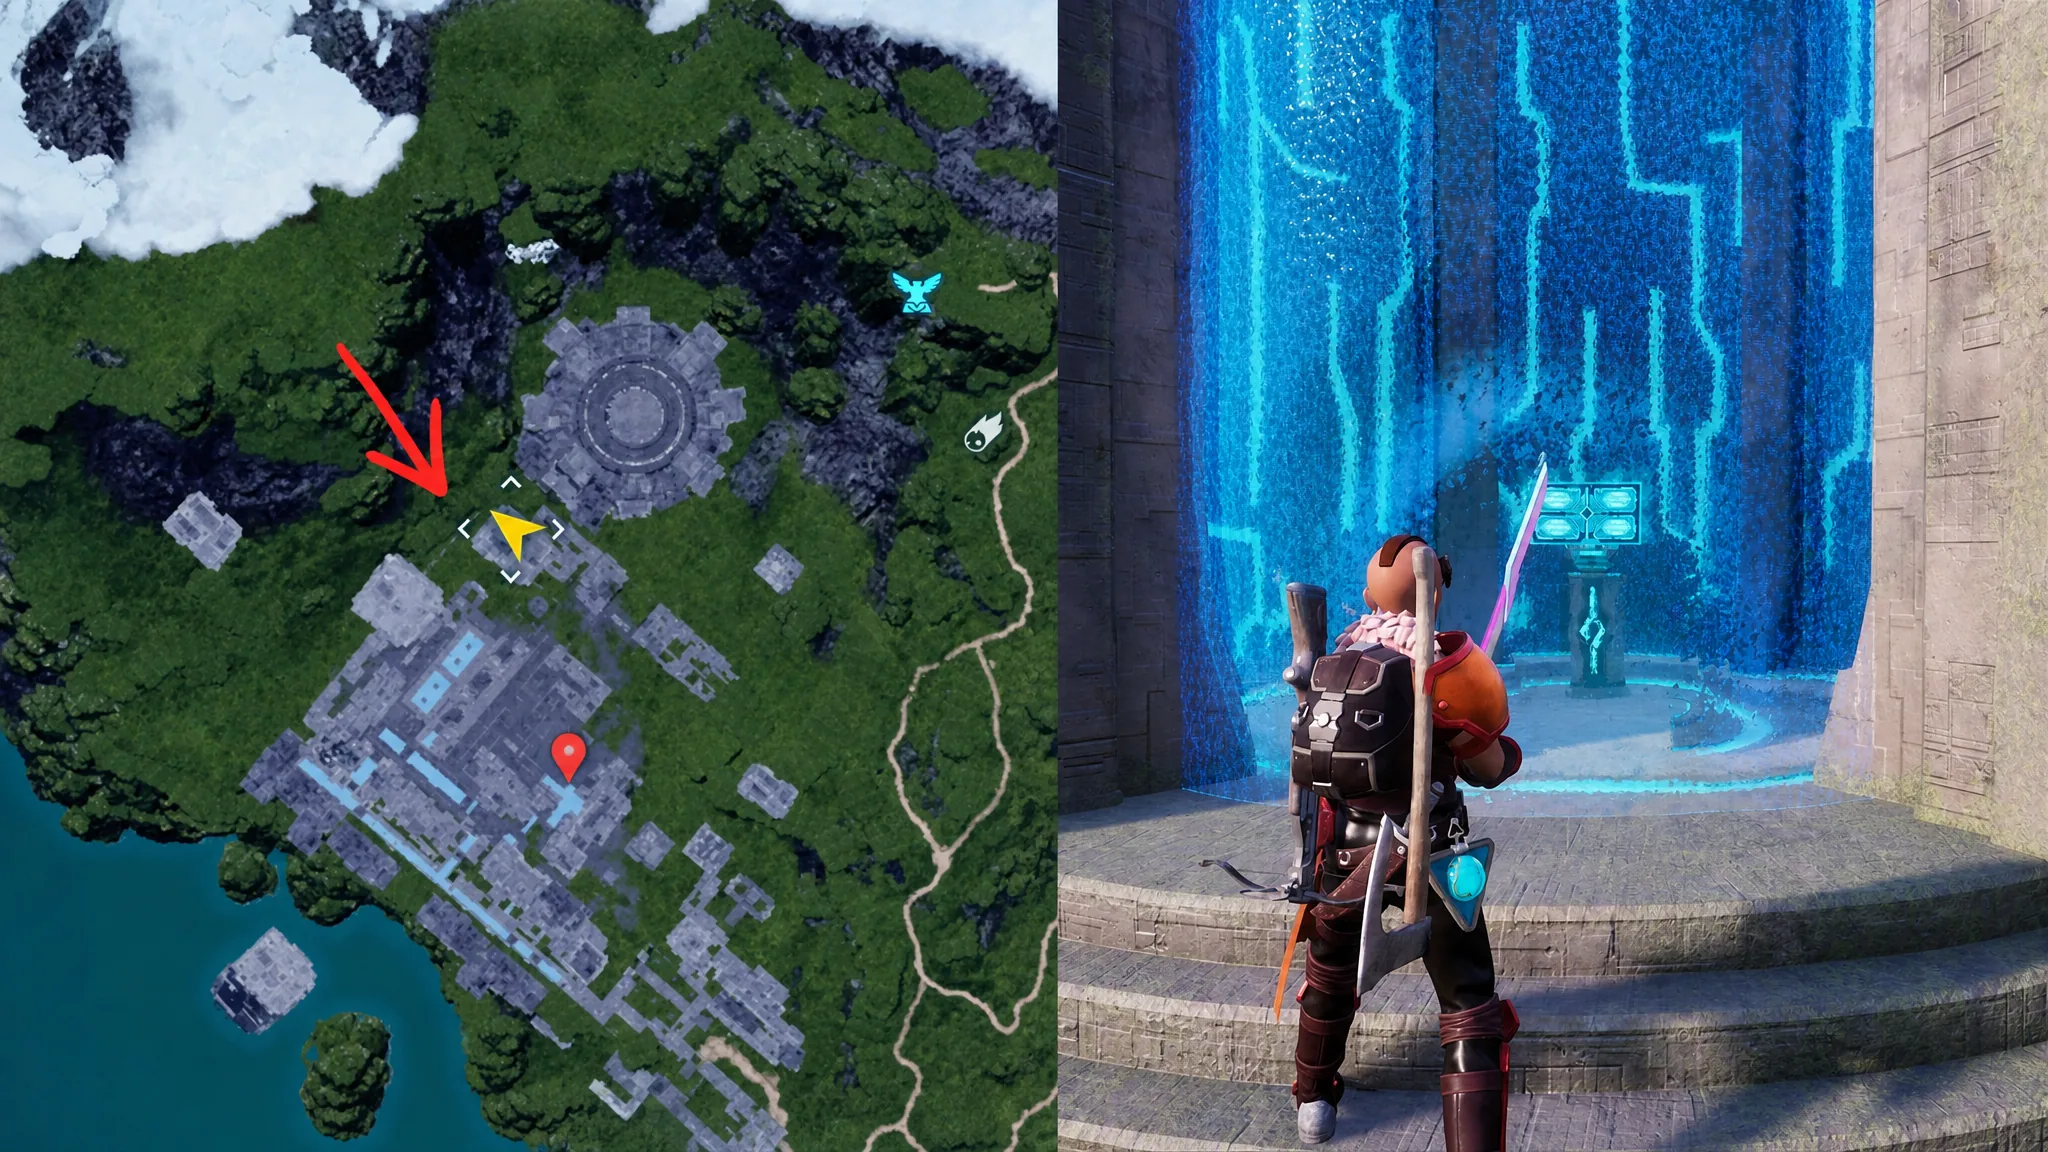
For the Lyleen Noct Talisman, move to -297, 343 and look for the glowing tower in the white snow. It’s north-east of the bounty target Clint and sits near the Pristine Snow Field fast travel point. Destroy the rocks around it to unlock the terminal.
The Neptilius Talisman is at -170, 496, southwest of the bounty target Quill and just below the PAL Genetic Research Tower Entrance fast travel point. This tower needs to be hacked to open.
How to open each tower
The barriers protecting these towers come in a few flavors, and the method changes from site to site. Knowing which one you’re facing saves time when you arrive.
| Barrier type | Towers |
|---|---|
| Hack minigame | Frostallion, Neptilius |
| Destroy glowing rocks | Lyleen, Lyleen Noct, Orserk |
| Find the weak point | Jetragon |
| Open directly / walk in | Anubis, Blazamut, Hartalis |
Once the barrier is down, interact with the terminal inside the tower. The Schematic is added to your crafting menu straight away, which confirms the pickup worked. From there you can craft the Talisman at a workbench and equip it in an accessory slot. If you can’t grab a Schematic, the barrier is still up, so clear the minigame or destroy every rock around the tower first.