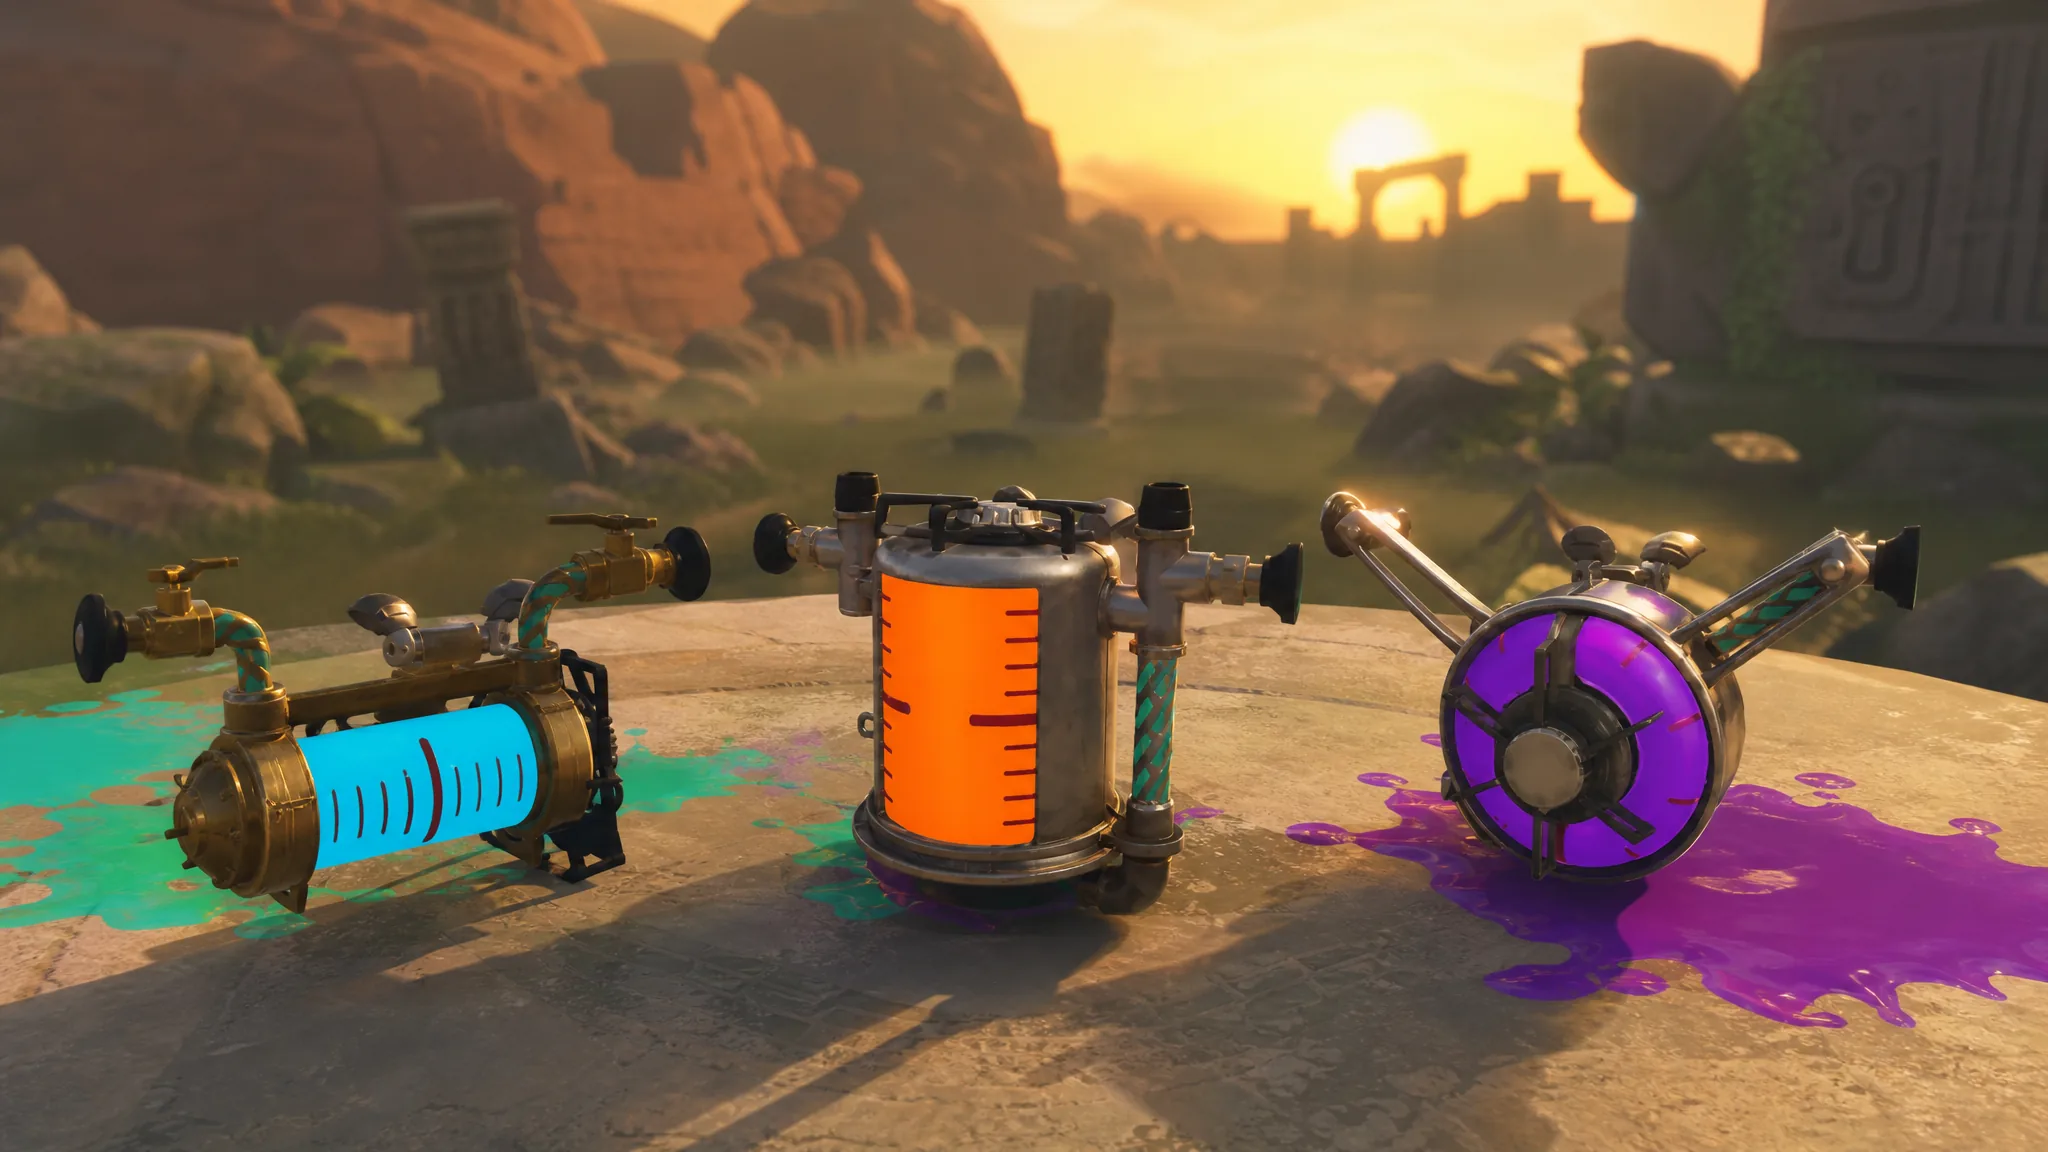
The first ink tank decision in Splatoon Raiders comes at the end of the Piel Coast (Erpp Island) raid, where the final treasure chest lets you choose between the Speed Tank, the Power Tank, and the Tactical Tank. Each tank locks you into its own set of gadgets, so the pick shapes how you fight the Salmonid swarms across the Spirhalite Islands.
Quick answer: Take the Tactical Tank. Its starting gadget, the Shot Pot, is a turret that auto-fires at nearby enemies and buys you time to manage cooldowns, giving you steadier value than the other two starting gadgets. You can change tanks later, so the choice is not permanent.
How the ink tank choice works in Splatoon Raiders
You carry one ink tank at a time, and a tank only accepts gadgets from its own category. Gadgets are cooldown-based abilities, so the tank you wear decides your entire toolkit for a raid. Early on you can equip two gadgets from the same tank, and both must match the tank you have on.
The three tanks split into clear roles. Speed is about movement, Power is about close-range hits, and Tactical is about ranged control and deployable tools that keep working on their own.

| Tank | Playstyle | Starting gadget |
|---|---|---|
| Speed Tank | Mobility, fast attacks, evasion | Blast Boot |
| Power Tank | Close range, breaking defenses | Splatchet (Splatter Hatchet) |
| Tactical Tank | Ranged control, deployable tools | Shot Pot |
Why the Tactical Tank is the strongest first pick
Enemies in Splatoon Raiders rush you in large groups, so keeping gadget cooldowns under control is what keeps a fight from spiraling. The Shot Pot is a turret that automatically lobs ink globs at nearby Salmonids, sticking them in place for a while. That crowd control frees you up to wait out cooldowns and reposition instead of scrambling.
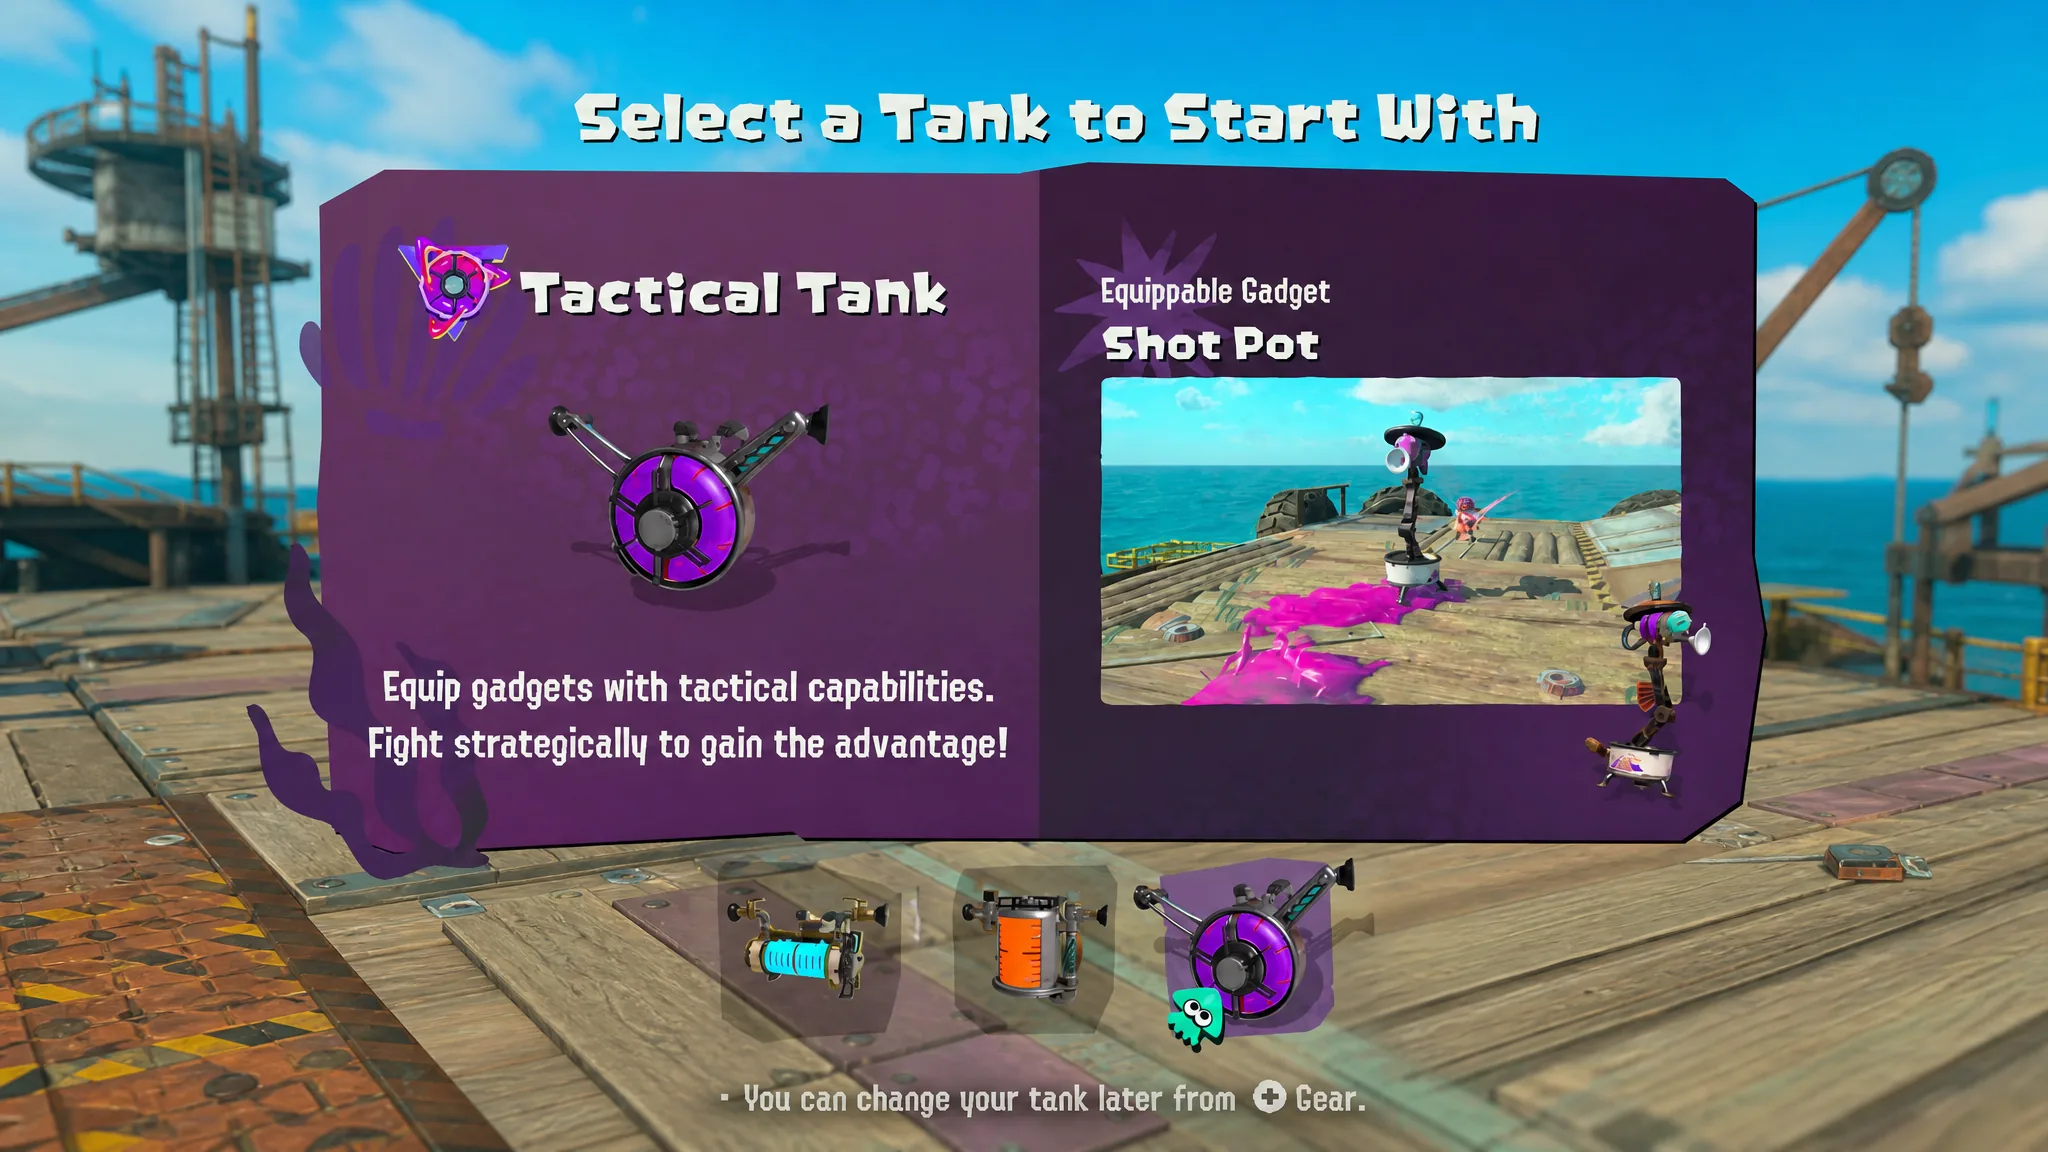
The other starting gadgets ask more of you. The Power Tank’s Splatchet swings a wide slashing arc but needs precise aim, and a missed swing can leave you exposed. The Speed Tank’s Blast Boot leaps and explodes on landing, but its range is short and it struggles against bigger Salmonid packs.
Tactical also holds up as you unlock more gadgets. Bombloons are floating bombs you can link together and detonate for heavy area-of-effect damage, which pairs well with the Shot Pot’s ability to pin enemies in one spot.
How to change your ink tank in Splatoon Raiders
Nothing about the first pick locks you in. You can swap tanks freely between missions and try every playstyle as you go.
One limit to remember: you cannot change tanks while a mission is in progress, so set your loadout before you head out. Difficulty settings only change enemy strength, not the loot you collect, so there is no downside to experimenting on an easier setting until a build clicks.
What each tank unlocks later
As your tank levels up through collected spoils, a third gadget slot opens on a fully powered tank, and Gadget Parts let you tune each gadget for more damage, range, duration, or added effects. That customization is where the real depth lives, but the starting gadget still sets the tone for your early runs.
| Tank | Notable gadgets |
|---|---|
| Speed | Blast Boot, Dash Bomb, Booyarang, Jump Bomb, Flywire |
| Power | Splatchet, Spinwheel, Splatellites, Meteor Mitt, Shellacker |
| Tactical | Shot Pot, Hi-Fiver, Bombloons, Tether Wail, Torqscrew |
If you prefer hit-and-run play, the Speed Tank’s Flywire and Jump Bomb make it easy to break away from a pile of Salmonids or cross an area fast. But for a first pick that carries you through the early Spirhalite Islands with the least risk, the Tactical Tank and its Shot Pot remain the safest bet, and you are never more than a menu away from trying the others.