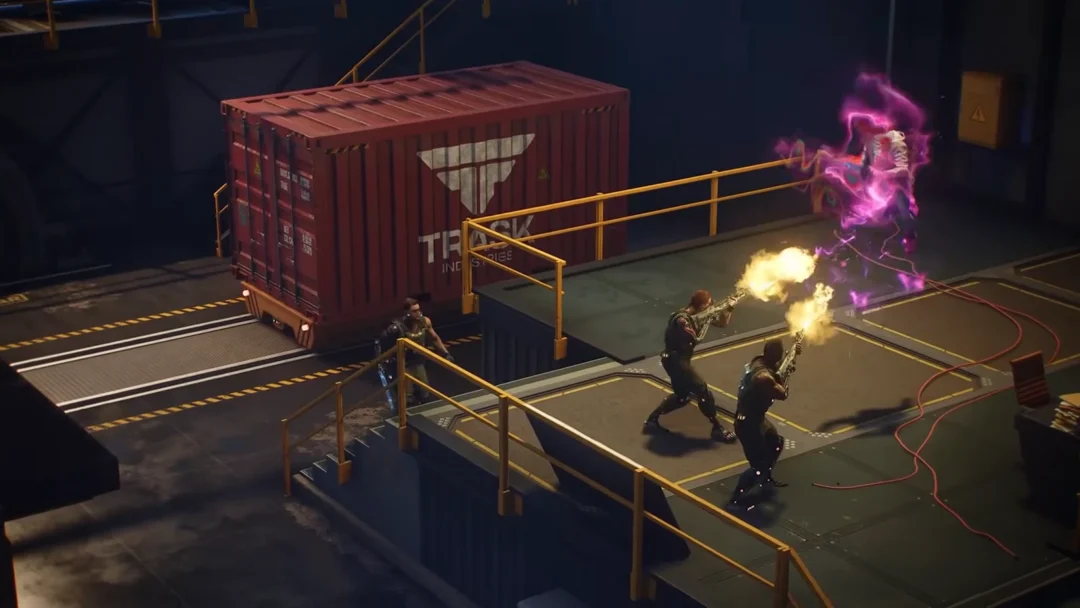
The Most Dangerous Game is the second bonus mission in Halo: Campaign Evolved, set inside a Covenant hunting reserve where the Master Chief, Sgt. Johnson, and Lt. Williams fight their way through wave after wave of enemies. It hides three Skulls and one Terminal, and every collectible sits behind a stretch of tough combat rather than a quiet detour.
Quick answer: Break the golden high-value target’s shield at all three scripted moments to earn the Temperamental Skull, blow up the flame-topped boxes across from the Wraith bridge for the Recession Skull, climb the stalagmites on the left wall of the enemy valley for the Ghost Skull, and enter the room opposite the pod-viewing windows for the Penitent Report Terminal.
Working through the mission
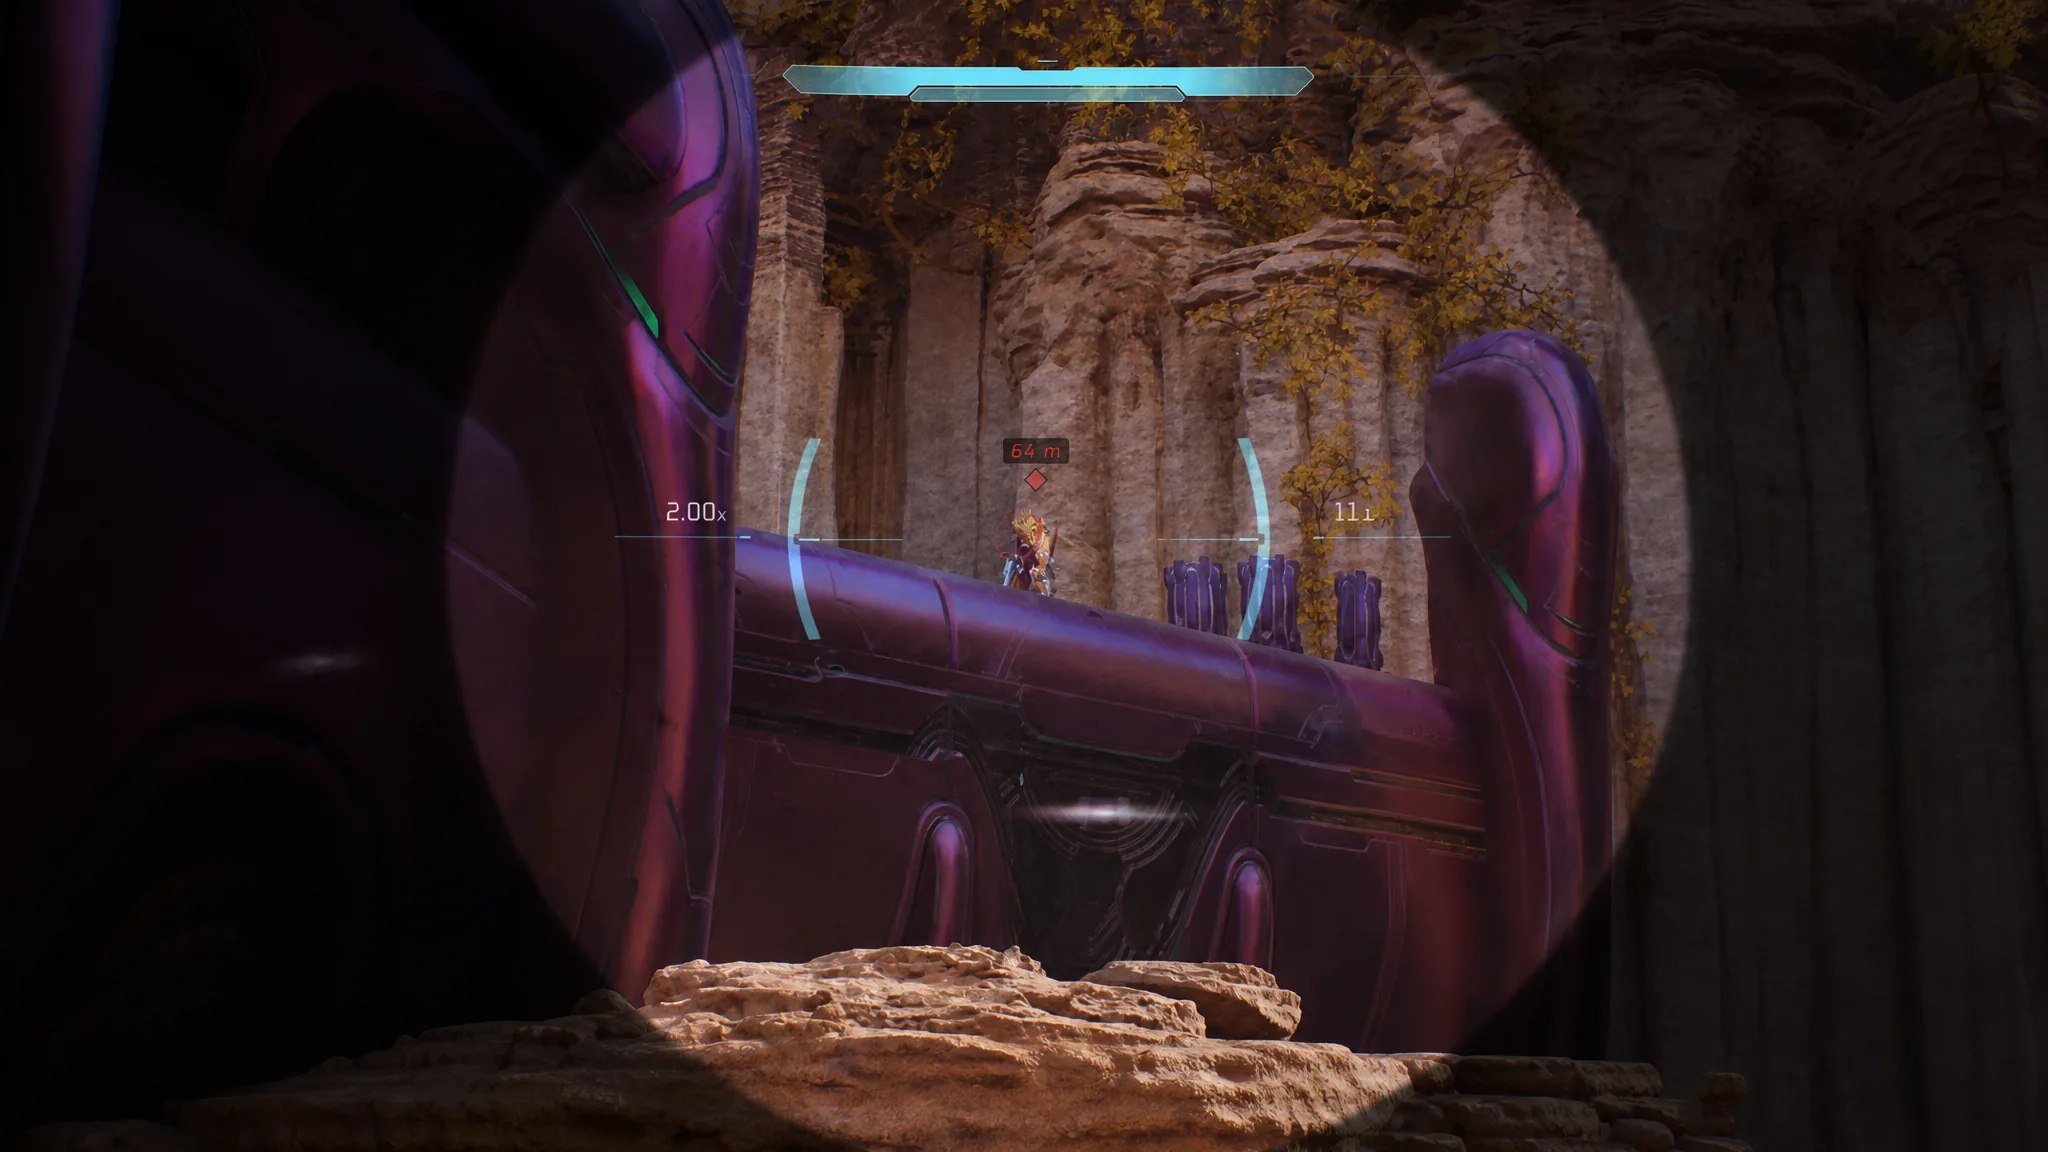
All Skulls in The Most Dangerous Game
Temperamental Skull
This Skull is not tied to one spot. It depends on breaking the shield of the golden high-value target every time the game points it out. The target is invincible, so you cannot kill it, but its shield has to drop each time for progress to register.
- First sighting: Right after the opening cutscene, when you round the corner and see the purple trees, the target sits on a ledge to the right. Shoot until its shield breaks.
- Second sighting: At the bridge, it stands across the gap to the left of the Wraith. Break the shield again.
- Third sighting: After you free the prisoners, Williams points it out once more. Drop the shield a final time.
After the third shield break, clear every Covenant in the arena. The Skull then spawns inside the machine at the center, marked by a blue light.
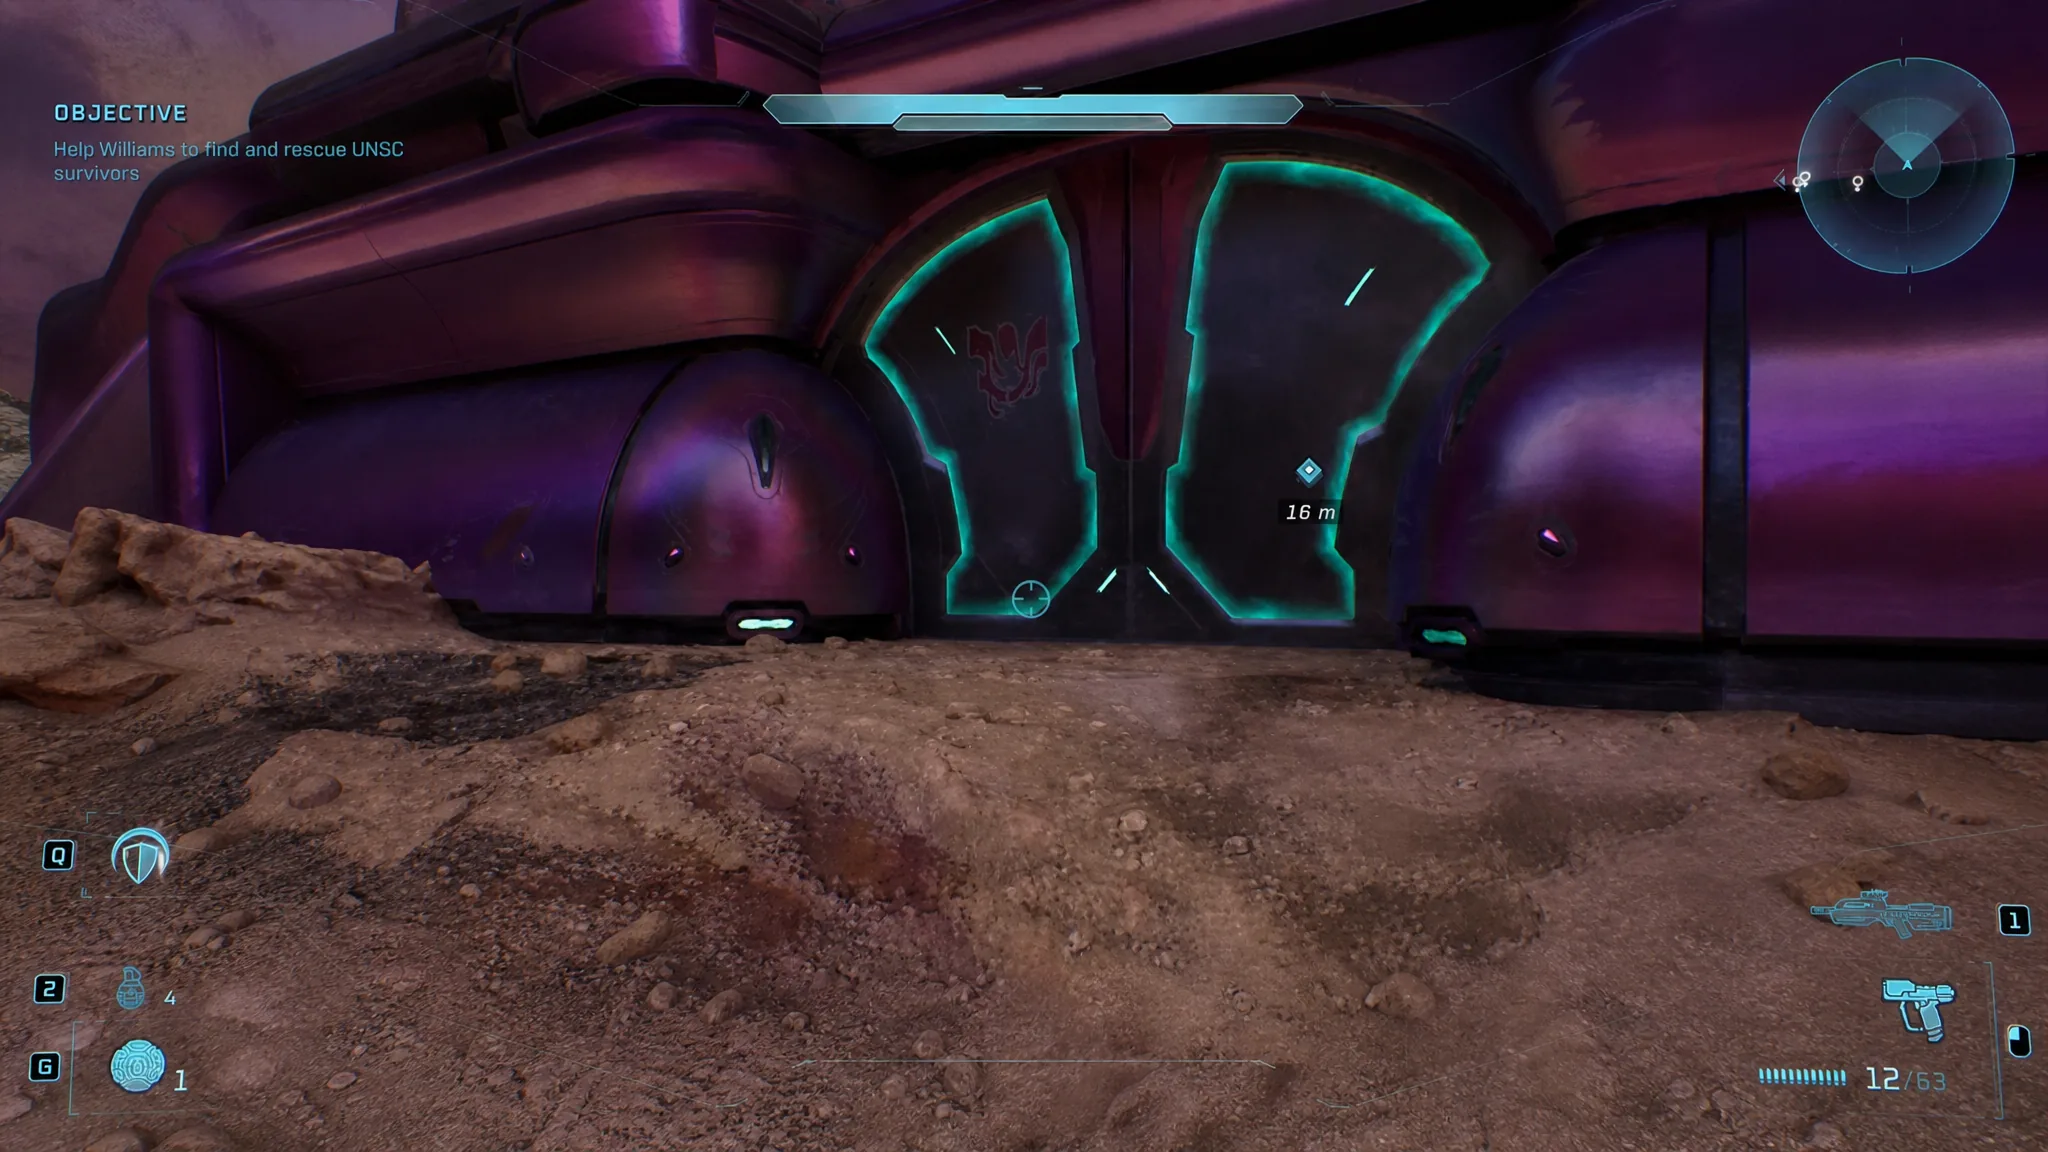
Recession Skull
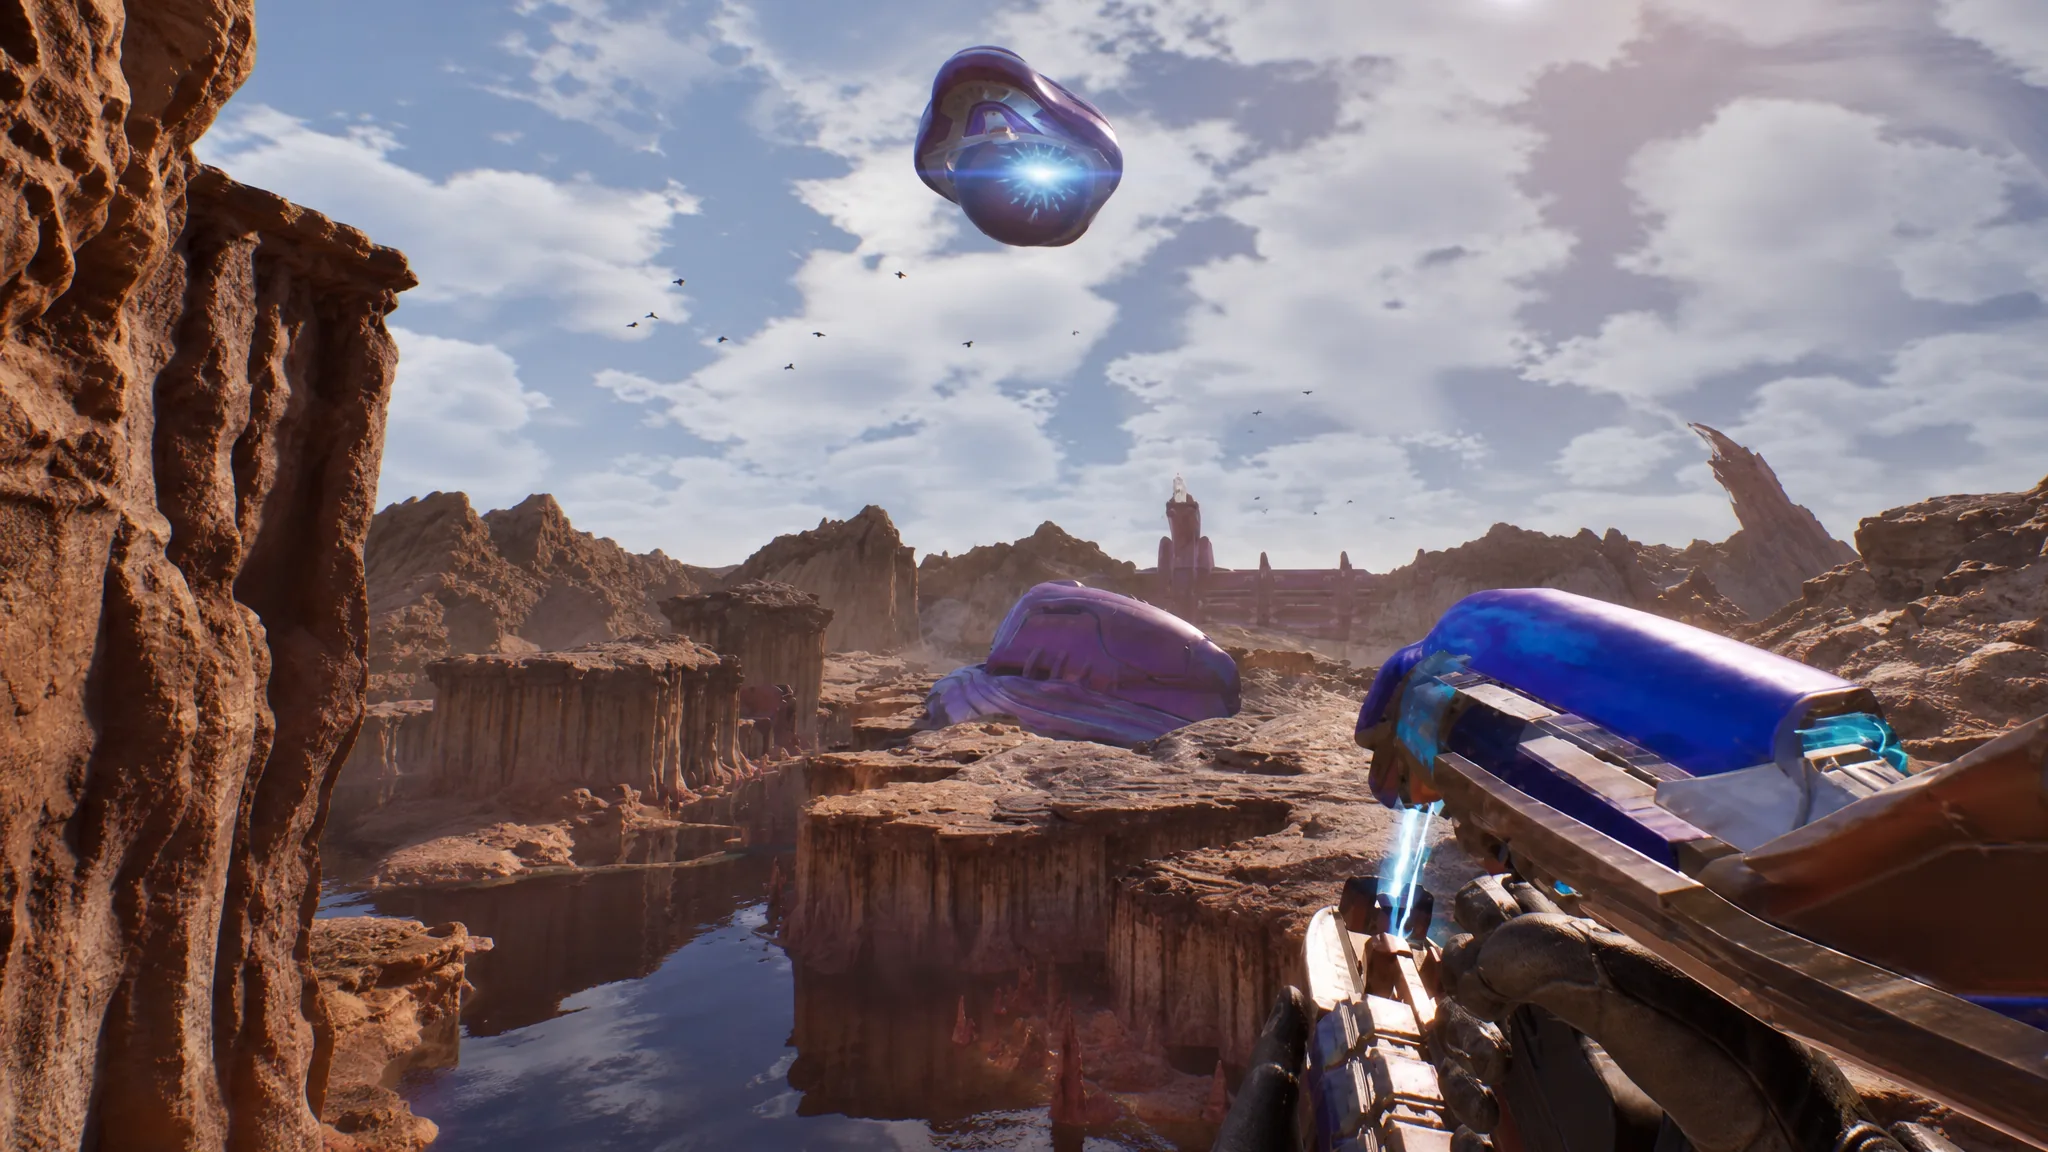
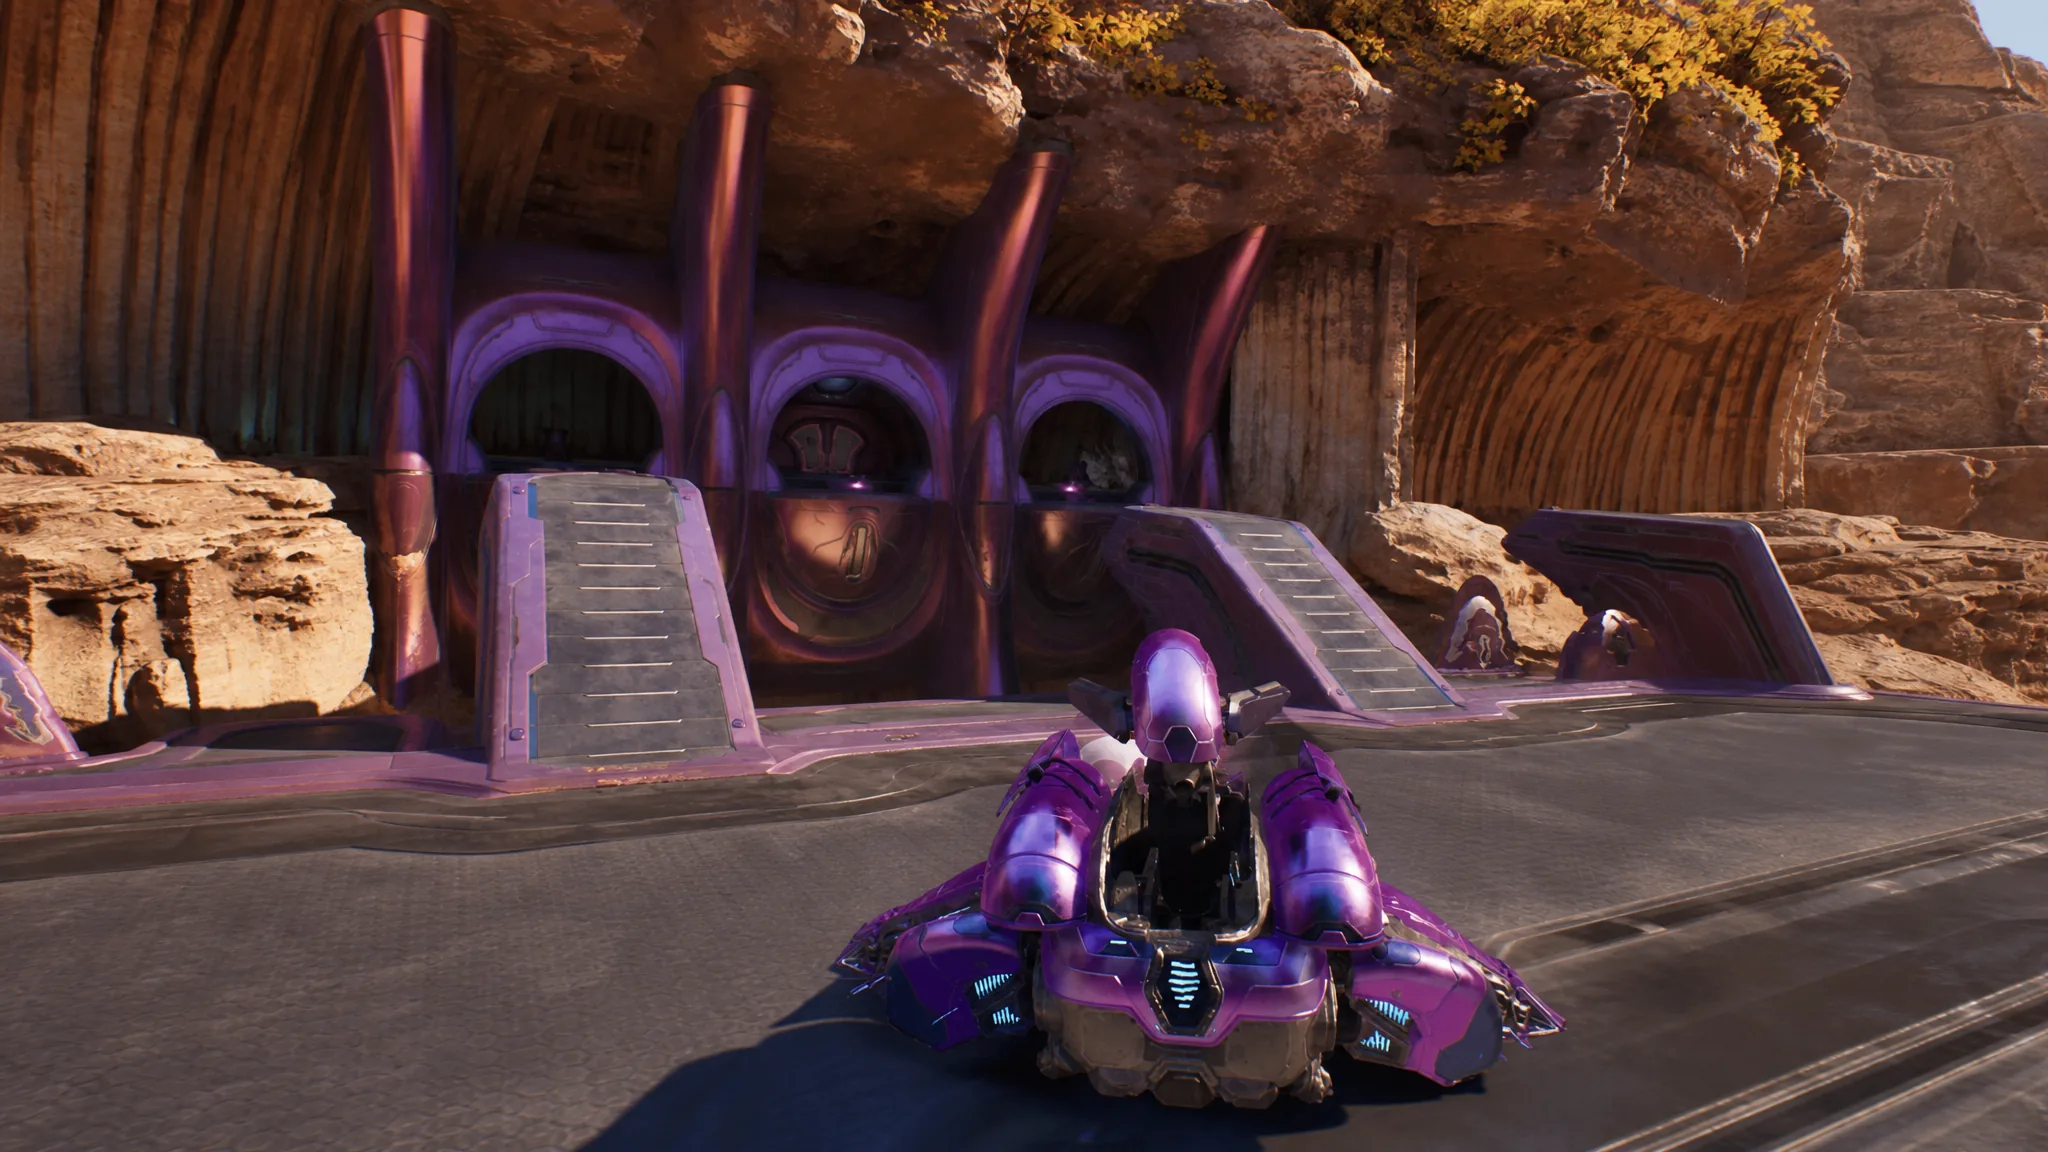
When you reach the bridge with the Wraith on the far side, turn around and face the purple building. A purple flame burns at the top of each side of the doorway. Shoot the boxes flanking the door to trigger an explosion, and the door opens to reveal the Skull inside.
Ghost Skull
Back outside, you reach a gate where the soldiers pause for a pep talk before it opens onto a valley full of enemies. Clear them out first, then return to the gate you entered through, where the Skull is often already audible.
Go back into the valley and hug the left wall until you reach the tree. Where the stalagmites are, start jumping onto the small crevices in the rock. The climb is finicky, but there are enough footholds to keep hopping upward. Once on top of the ledge, line up a jump from the tree branches over to the purple flames. The Skull is waiting there.
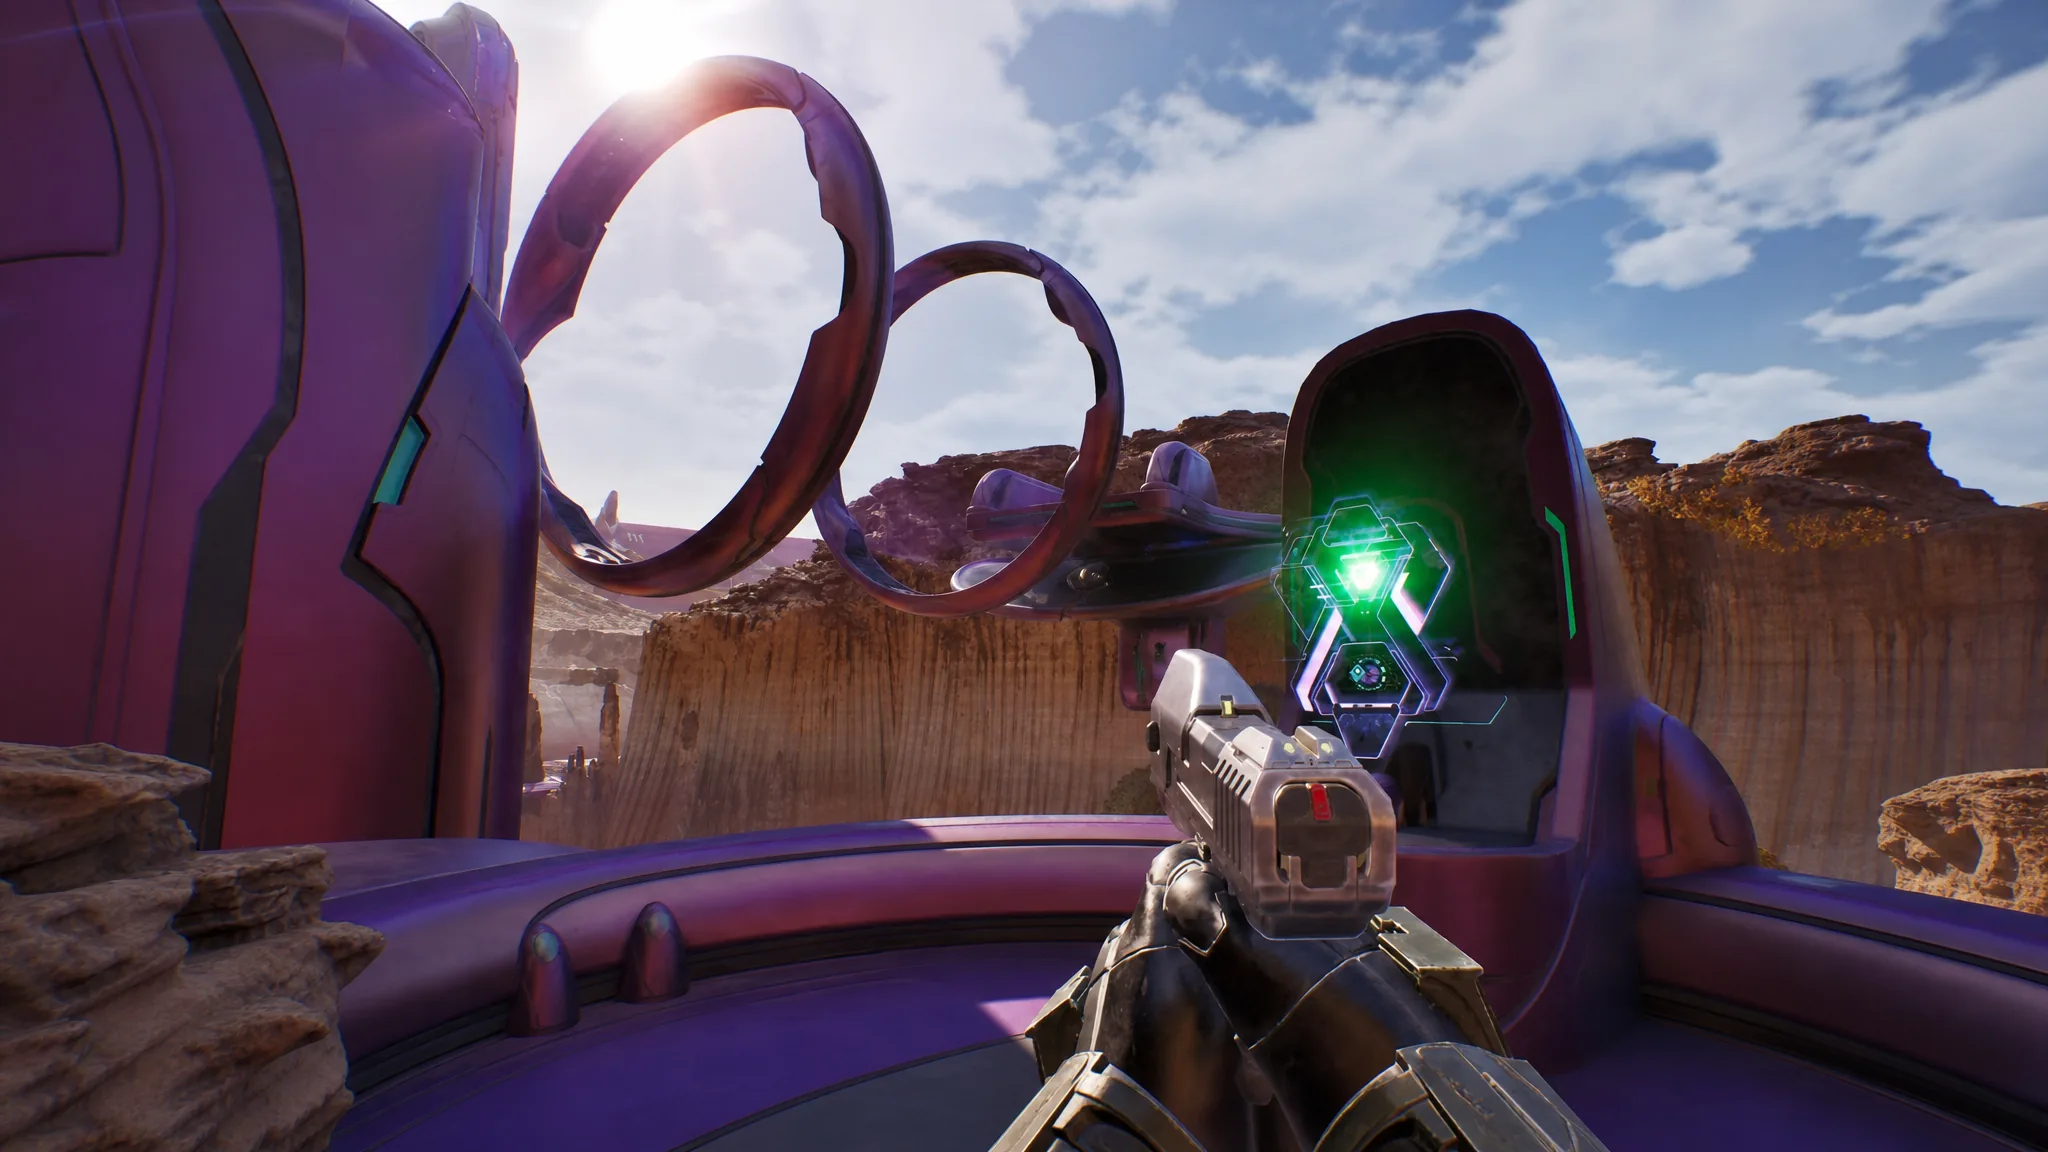
Penitent Report Terminal
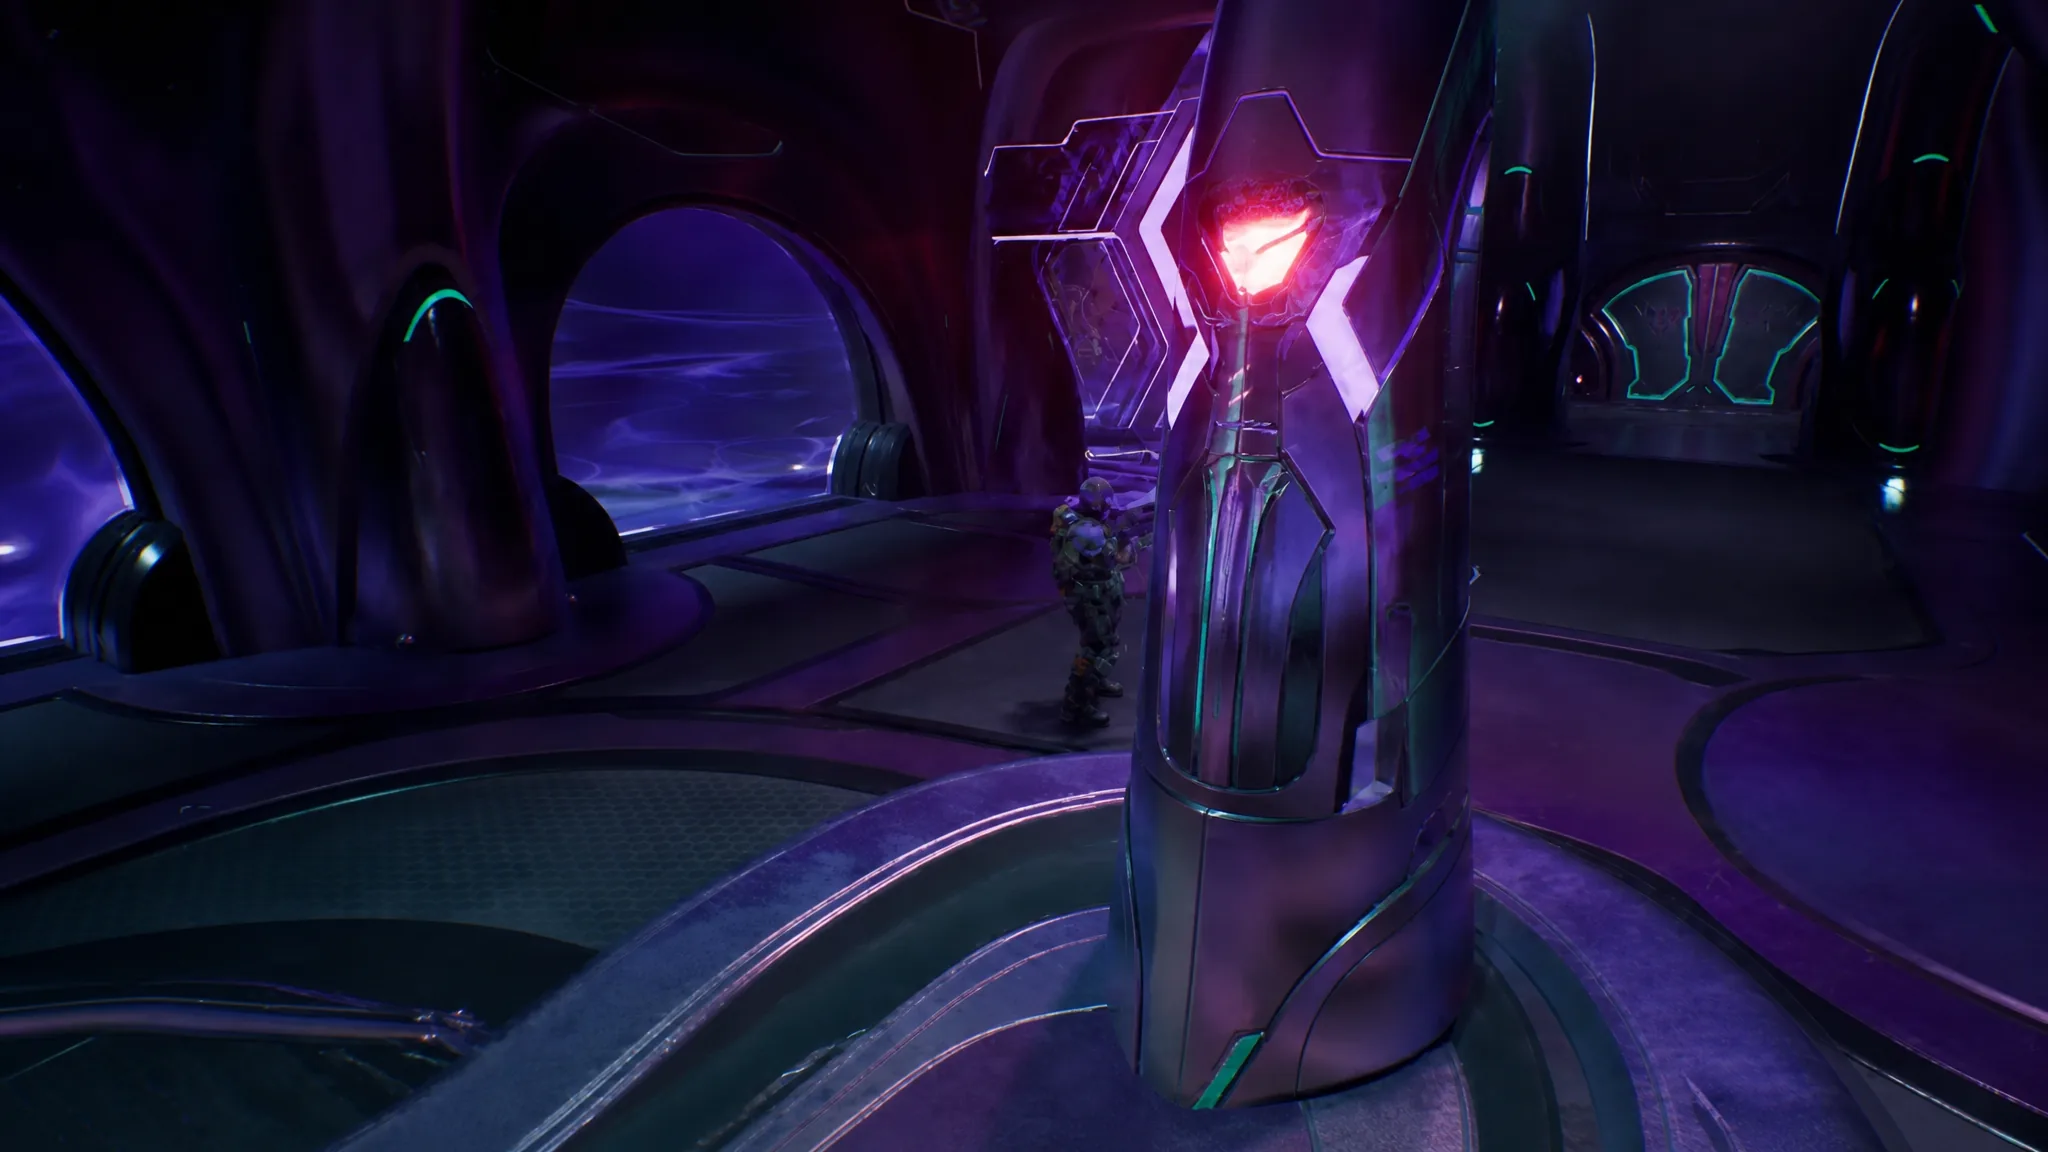
The mission’s single Terminal, Penitent Report, sits near the prison area. After you free the marines from their cells and continue through the ship, you go up a ramp into a room with a row of windows on your left. Those windows look out over a large field of pods.
Step through the door opposite those windows. The Terminal is on the platform inside. Interact with it to log the Penitent Report before you move on.
Collectible checklist
| Collectible | Type | Where to find it |
|---|---|---|
| Temperamental | Skull | Break the HVT’s shield at all three sightings, then grab it from the central machine |
| Recession | Skull | Shoot the boxes under the purple flames across from the Wraith bridge |
| Penitent Report | Terminal | Room opposite the pod-viewing windows after freeing the prisoners |
| Ghost | Skull | Climb the stalagmites on the left valley wall to the purple flames |
Collecting each item shows the usual pickup prompt and adds it to your mission tally, so you can confirm all three Skulls and the Terminal are logged before the escape. The Temperamental Skull is the easiest to miss, since it will not appear at all if you skip breaking the high-value target’s shield during any of the three scripted moments. With every collectible secured and the power node disabled, the mission wraps up and Williams finally warms up enough to call you Chief.