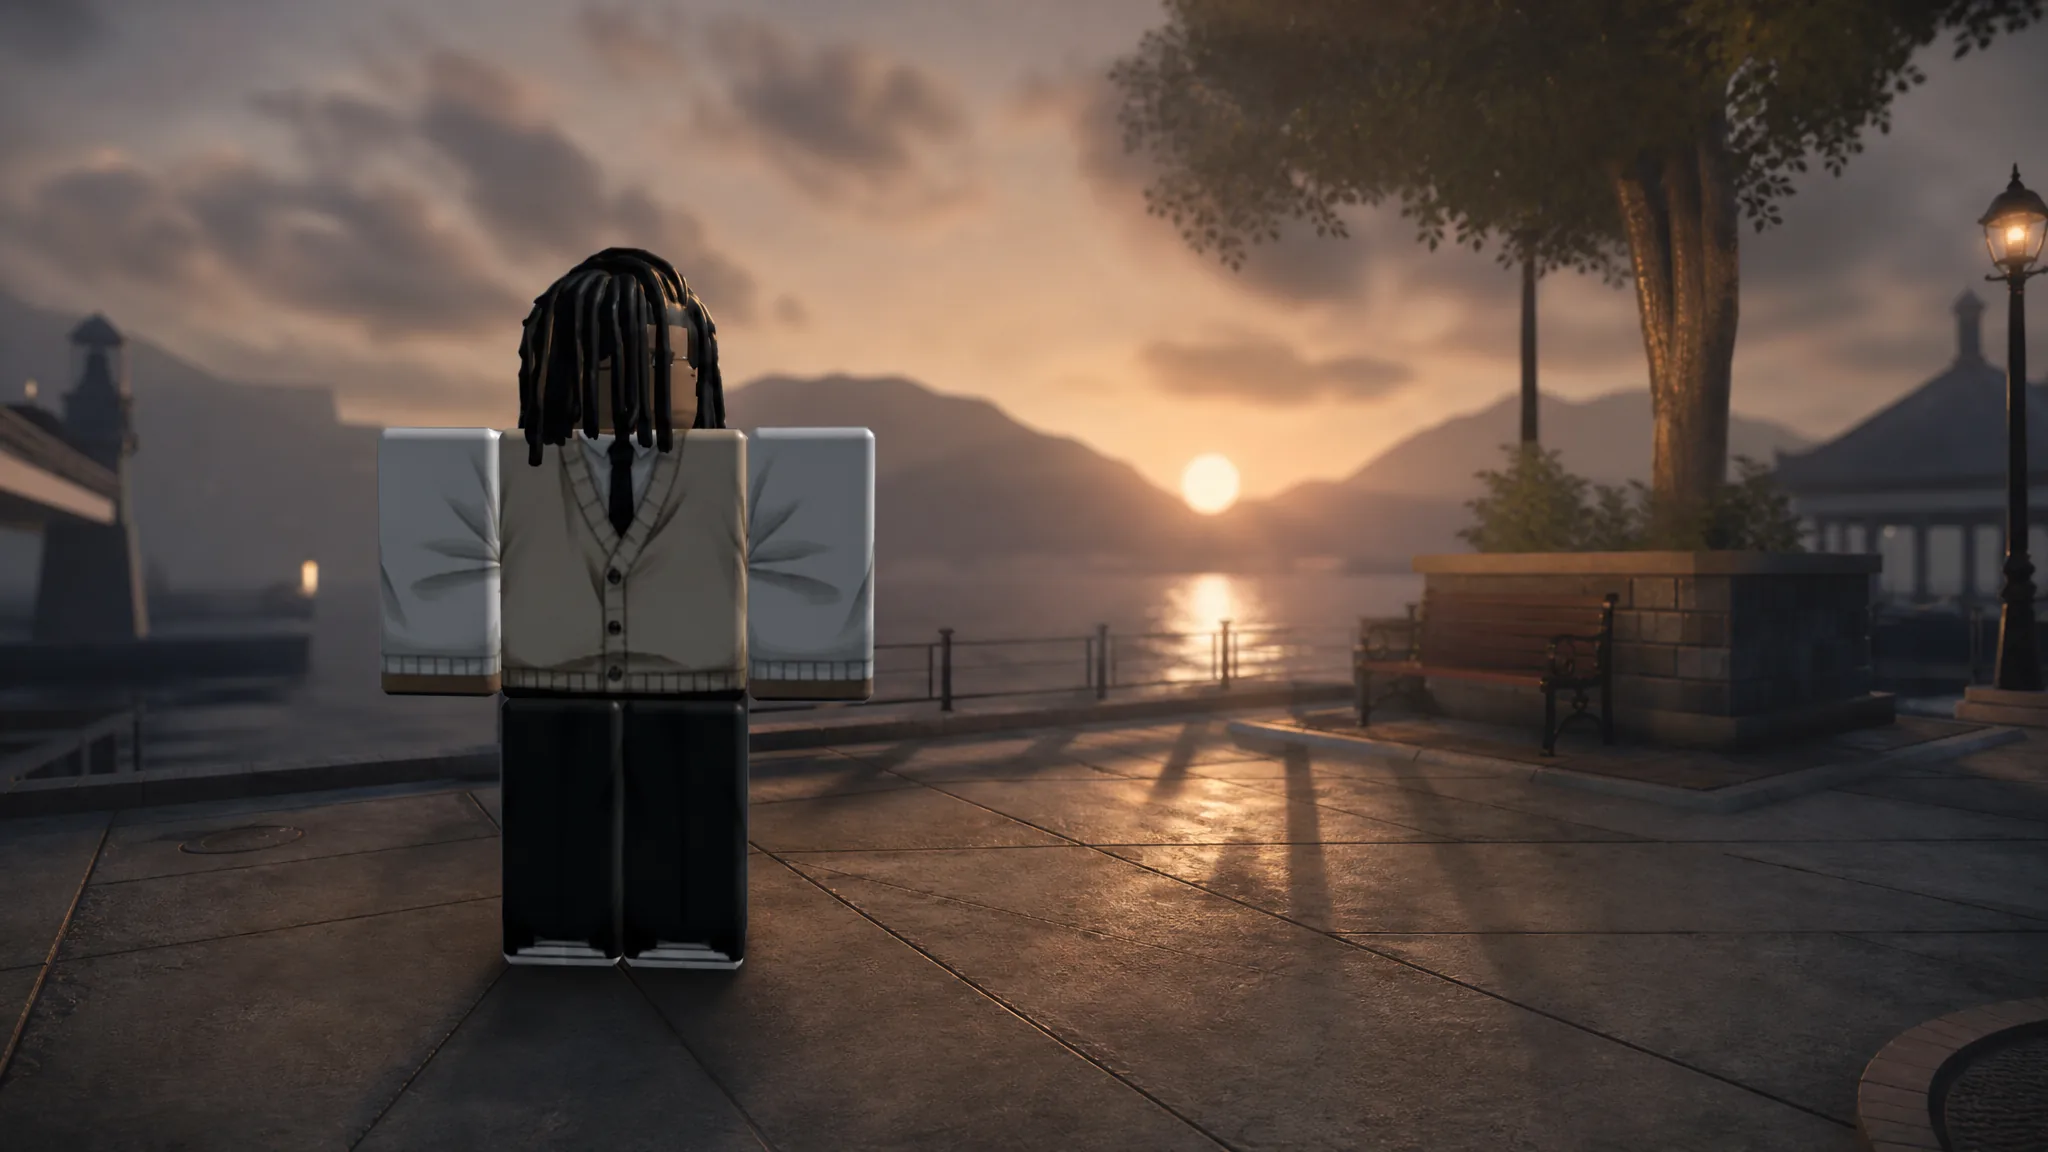
Fights in Gakuran come down to timing, spacing, and stamina management rather than mashing the attack button. The whole system runs on a shared posture bar, a strict parry window, and heavy attacks that ignore your block, so knowing exactly how each piece behaves is what keeps you from getting guardbroken and slammed on the school campus. You can jump straight into a server and test everything on the official Roblox game page, where each match holds up to 50 players.
Quick answer: Press T to enter your fighting stance, then left-click for light attacks (M1), press R for heavy attacks (M2), hold F to block, and press Q to dodge. To parry, tap block just before a hit lands while facing the attacker — you take zero damage and lose no posture.
Gakuran combat controls
Combat has to be switched on before any input registers. Pressing T puts your character into a combat-ready stance, and from there the full move set becomes available. These are the core keys you’ll use in every exchange.
| Action | Input |
|---|---|
| Enter fighting stance | T |
| Light attack (M1) | Left mouse button |
| Heavy attack (M2) | R |
| Block | F |
| Dodge / evade | Q |
| Carry a player | V |
| Execute a downed opponent | B |
Light attacks (M1) and heavy attacks (M2)
Light attacks are your main source of damage. Left-clicking chains up to a four-hit combo, and holding the button is the more reliable way to complete the full string than tapping. The combo resets after a short pause with no inputs, and the fourth hit is a knockback kick that pushes the opponent away and creates an opening. M1s have no cooldown, but a predictable string can be parried, so don’t throw the same pattern every time.
Heavy attacks are a single strike on a cooldown, hitting for roughly 1.7x the damage of one M1. The key detail is that a heavy attack cannot be blocked. Your opponent must parry it or dodge it, which makes M2 your tool for cracking open a turtling player. Some styles carry a ragdoll M2 that drops the victim to the ground for a moment, setting up follow-up punishment.
Posture powers both blocking and sprinting
Posture is the stamina resource that ties defense and movement together. Holding Shift to sprint drains it over time, and every hit you block drains it too. It refills on its own whenever you stop sprinting and blocking. When posture empties, sprinting stops, and the next hit you try to block breaks your guard instead of absorbing the damage.
Because posture is limited, holding block forever is not viable. Once it drops too low, roughly below 10, even a light attack can break your guard. Managing the bar and switching to a parry when it runs low is the difference between a clean defense and getting opened up.
Blocking versus parrying
Blocking (hold F) reduces incoming damage but still lets a small amount of chip damage through, and each blocked hit costs posture. A parry, or perfect block, is a timed tap of block executed right before an attack lands while you face the attacker. Land it and you take no damage at all, no chip, and lose no posture.
The most important point about parrying is that it does not require posture. You can parry at zero posture, which is exactly why it becomes the correct response once your bar is depleted rather than trying to block. In the current v7.400 build, a successful parry no longer stuns the attacker for a flat second the way earlier patches did. It still denies all damage and posture loss, but the attacker can act again immediately, so you need to follow up fast instead of expecting a guaranteed free window.
Watch for opponents who spam M1. Wait out the string and parry the final hit rather than reacting to the first swing.
Guardbreaks and how to recover
A guardbreak shatters your defense and leaves you stunned for about two seconds with no block chip protection. There are two ways it happens. A heavy attack always breaks a normal block, so you must parry, dodge, or beat the attacker to the punch. A light attack can also break your guard if your posture has run too low.
When you get guardbroken, do not try to block again right away. Use a dash (Q) to create space and reset the exchange instead. The dodge grants a brief window of invincibility frames and has a very short cooldown, and it currently does not consume posture. That makes it your safest tool for slipping heavy attacks that are too fast to react to with a parry.
Grappling (clinch) and resilience
When two fighters throw attacks of the same tier at almost the same moment, their strikes clash into a grapple. Both players lock into a short clinch, and the one who swung first wins, shoving the other back and dealing 50% reduced damage. The outcome is not always fixed for the defender.
Every style carries a Resilience perk that gives the defender a chance to resist the grapple. A Karate user has Resilience II for a 25% grapple chance, while Muay Thai and Wrestling sit at Resilience V for 55%. If the roll fails, the initiating attack lands as normal.
Block chip damage by Guard Pierce tier
Even a clean block lets some damage through, and how much depends on the attacker’s Guard Pierce rank. Each style sits at a fixed tier. A blocked attack that would deal 5 damage only deals 0.5 at Guard Pierce I, but 1.5 at Guard Pierce V, so a Muay Thai player chips a turtling blocker three times faster than a Wingchun player would.
| Tier | Block chip | Styles |
|---|---|---|
| Guard Pierce I | 10% | Wingchun |
| Guard Pierce II | 15% | Hakari, Karate, Kure, Sky Gaolang, Wild, Wrestling |
| Guard Pierce III | 20% | Boxing, Taekwondo |
| Guard Pierce IV | 25% | Bulky, Dirty, Variant |
| Guard Pierce V | 30% | Muay Thai |
How height changes your fight
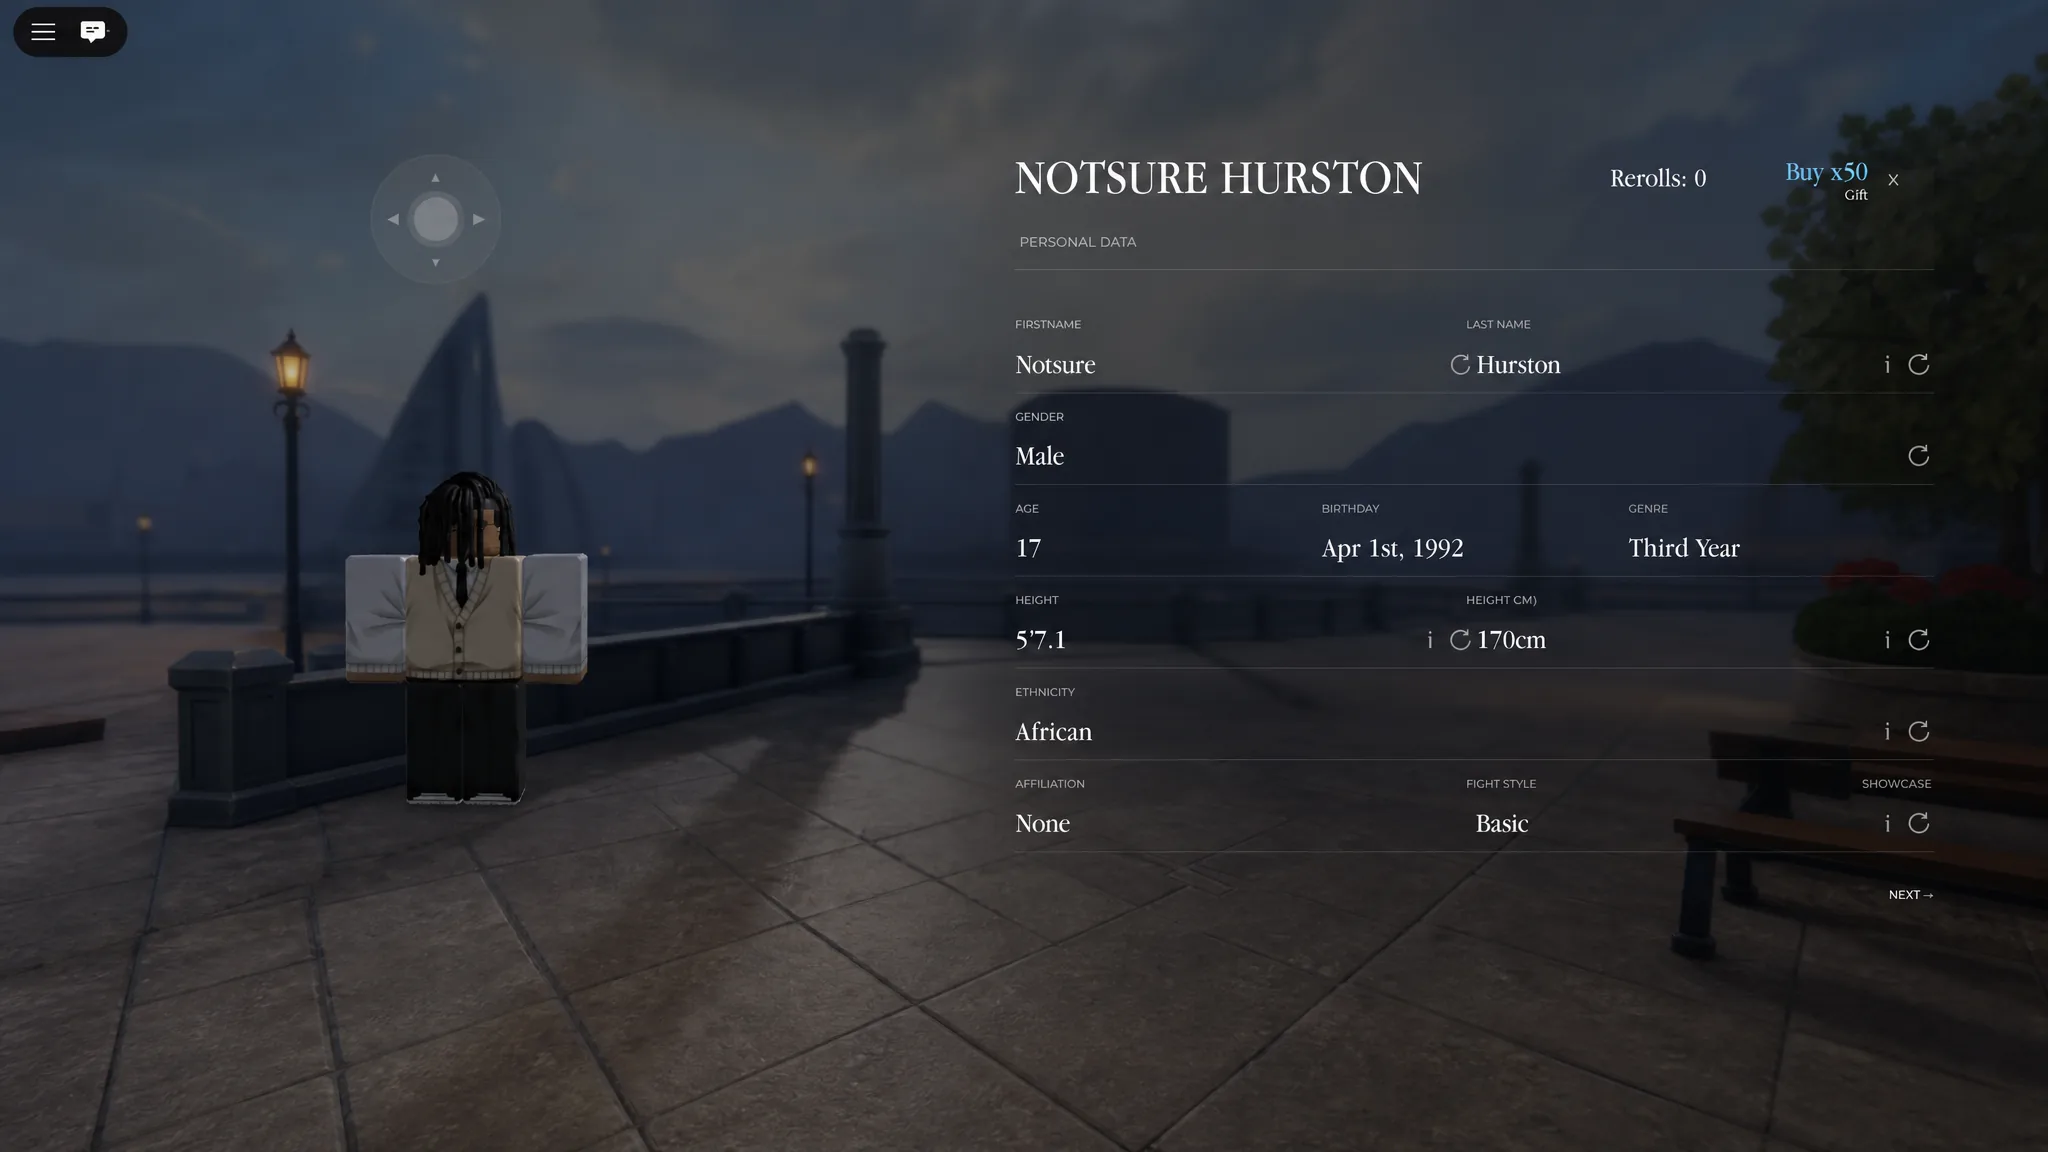
Your character’s height is a rerollable stat that directly shapes how exchanges play out. It creates a trade-off between power and speed, and both the damage and hitbox of your M1s scale with it.
| Height | Strengths | Weaknesses |
|---|---|---|
| Taller | More damage, more health, larger hitboxes and reach | Slower attacks, longer combo reset timers |
| Shorter | Faster attack speed and cooldowns, smaller hitboxes | Less damage and health |
Health gaps are minor around normal heights, where the base is 100 HP, and only become significant at extreme heights. Taller players can lean into a spacing game off their reach, while shorter players win through speed and constant pressure.
Style perks that change these mechanics
Individual fighting styles carry perks that bend the core rules in your favor, mostly around posture, parrying, and dodging. These are the ones that directly affect how the systems above behave.
| Perk | Style | Effect |
|---|---|---|
| Balanced Strike | Karate | Refunds 25% of max posture when M2 lands |
| Steady Nerves | Karate | +15% posture regen for 3 seconds after a perfect block |
| Swift Recovery | Basic | +15% posture regen rate |
| Crushing Force II | Muay Thai | +15% extra posture damage on blocked hits |
| Quickstep | — | Cuts remaining dash cooldown by 50% if you hit within 1 second of dodging |
| Counterstrike | — | +5% damage after a parry |
| Perfect Reflex | — | Reduces M2 cooldown on a parry |
| Heavy Hitter | Wrestling line | Increases guardbreak damage from +5% up to +15% |
The strongest Gakuran players weave all of this together. They bait heavy attacks to parry them, keep a close eye on posture so they never get guardbroken, use invincibility-frame dodges to reset spacing, and time their swings to avoid unfavorable grapples. Lock down these fundamentals first, then pick a style whose perks reinforce the part of your game you rely on most.