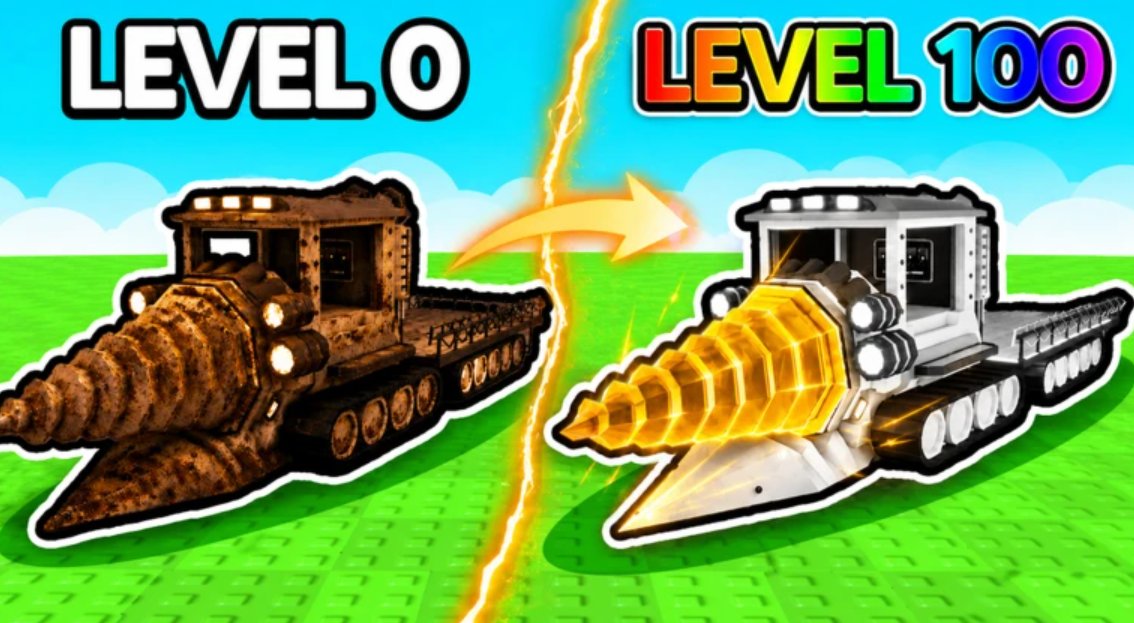
Drill to Earth’s Core is a co-op adventure where you pilot an upgradeable drilling vehicle straight down through the planet, fighting monsters and looting dungeons as you go. The full descent runs to 100,000 meters, and the difference between stalling early and pushing deep comes down to a handful of choices around your class, your drill stats, and how you handle dungeons.
Quick answer: Start as Lucky Looter, put your first upgrade points into Drill Power (or RPM Overclock if you spend Robux), scrap everything you don’t need to unlock modules like Autopilot, and never skip dungeons since the boss chests keep your drill strong enough for deeper walls.
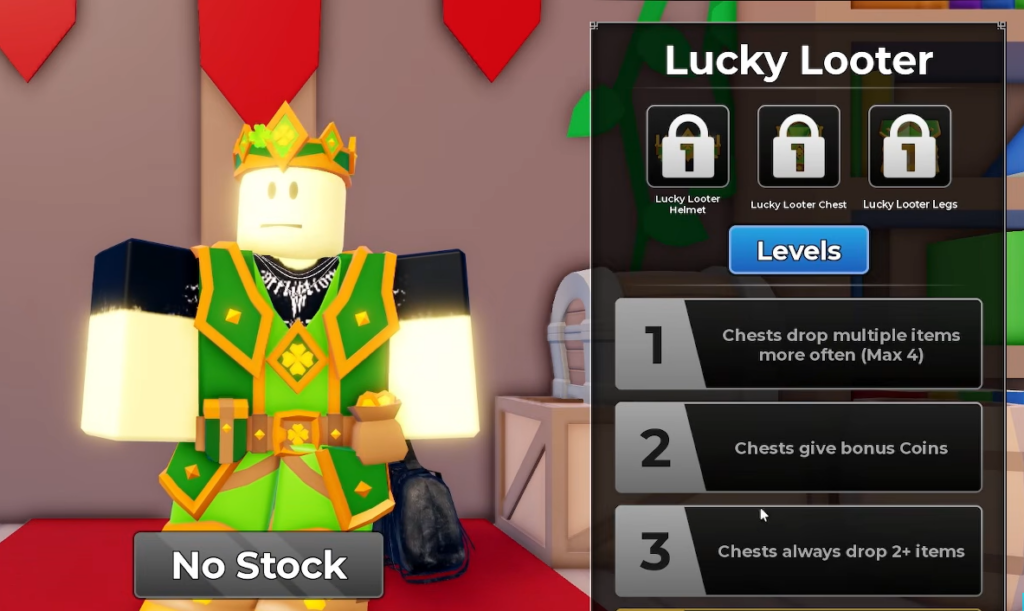
Best class to pick as a beginner
Head into the Classes building to select your role before you start drilling. Lucky Looter is the strongest starting pick because the extra loot you pull directly funds every other upgrade you need. If you want a different playstyle, a few classes hold up well.
| Class | Why it works |
|---|---|
| Lucky Looter | Top beginner pick; more loot means faster upgrades. |
| Driller | Raises drill power and damage while lowering upgrade costs. |
| Pirate | Solid all-round alternative. |
| Reaper | Solid all-round alternative. |
Drill upgrade priority
The upgrade interface holds your core drilling stats. Spend on the stats that let you break through walls first, and treat the support stats as light early investments rather than main focuses.
| Upgrade | When to prioritize |
|---|---|
| Drill Power | First priority for free-to-play players. |
| RPM Overclock | Top priority if you spend Robux. |
| Drive Speed | Useful early, but don’t over-invest. |
| Engine Overload | Useful early, but don’t over-invest. |
| Sack Storage | Useful early, but don’t over-invest. |
| Deadly Drill | Becomes highly valuable later; lets the drill damage enemies on contact. |
Drive Speed, Engine Overload, and Sack Storage smooth out the early game, but pouring points into them at the expense of Drill Power or RPM Overclock leaves you unable to punch through tougher layers.
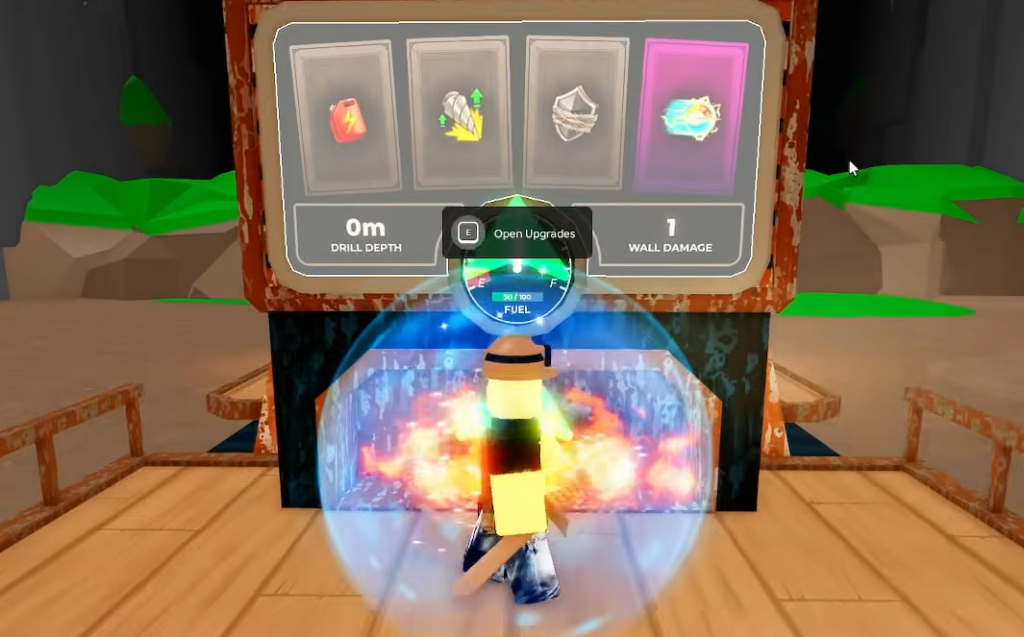
Turn junk into scrap and unlock modules
Any item you don’t plan to use should be converted into scrap instead of sitting in your inventory. Scrap is the currency for utility modules that expand what your vehicle can do.
- Autopilot
- Advanced Drill Boosts
- Sentries
- Gem Refineries
Clear dungeons and fight bosses safely
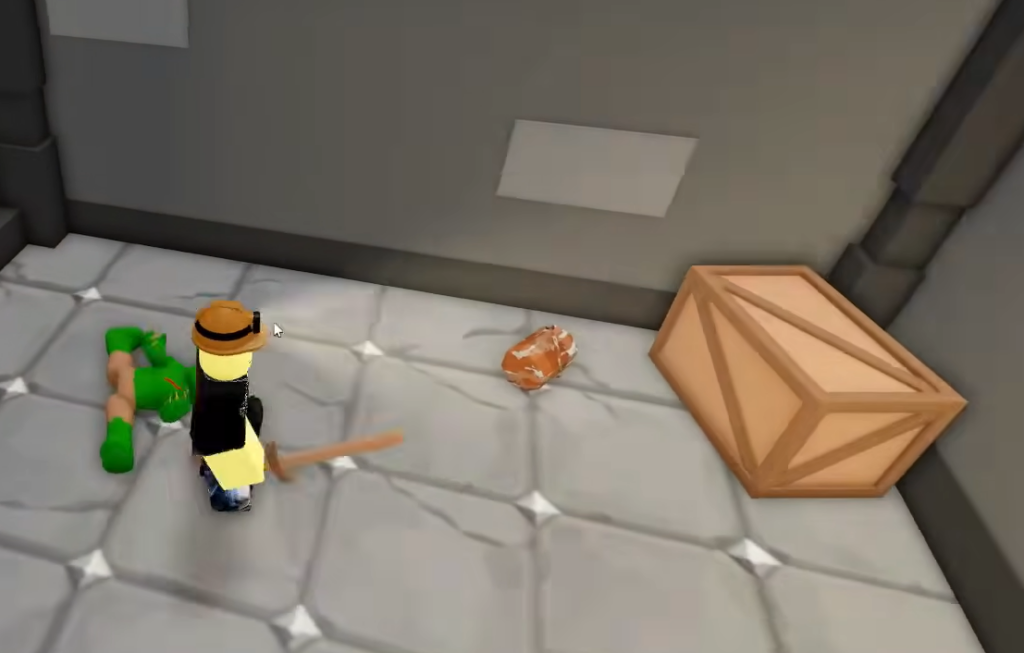
Dungeons are not optional detours. They hold boss rooms, and defeating a boss rewards chests packed with extra loot. Skip them and your drill will be too weak to break through the deeper walls, which is where most beginners stall out.
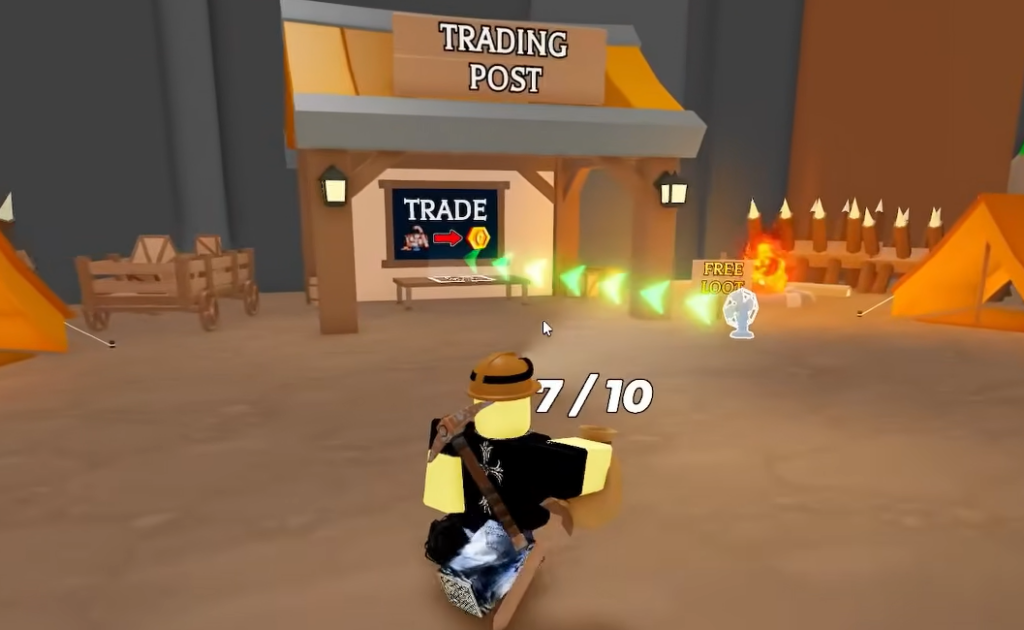
Use trade outposts to gear up
Trade outposts are where your collected loot becomes real progress. Sell what you’ve gathered and reinvest the proceeds into survival gear before the next stretch of drilling.
- Armor for durability
- Dynamite for clearing obstacles and enemies
- Healing supplies
- The Rifle, the recommended weapon
The Rifle pairs naturally with the distance-fighting approach to bosses, so buying it early makes every dungeon safer.
The core loop toward 100,000 meters
Everything above feeds one repeating cycle. Drill down, clear the dungeons you hit, defeat bosses from range for their chests, scrap what you don’t need, upgrade Drill Power (or RPM Overclock), and stop at trade outposts to restock armor, healing, and ammo. Servers hold up to 30 players, so bringing teammates who can revive you and share dungeon clears makes the deeper walls far more manageable. Keep the loop tight and your vehicle stays strong enough to reach the 100,000 meter goal.