Gadgets are the button-activated abilities bolted onto your Tank in Splatoon Raiders, and there are 15 of them split evenly across the Speed, Power, and Tactical Tanks. Getting all of them means building the right facility on the Hideout Ship, pushing the ship to higher levels, and paying for each blueprint with Spirhalite Shards and Salmonid drops.
Quick answer: Construct the Gadget Development facility on the Hideout Ship, raise the ship to Level 2 and then Level 3, and spend Spirhalite Shards plus specific Salmonid materials on each blueprint. Three gadgets are already unlocked as your starting Tank defaults.
How the gadget system works
Each Tank type has its own set of five gadgets, so your options depend on whether you take out the Power Tank, the Speed Tank, or the Tactical Tank. Every gadget runs on its own cooldown and covers a specific role, from direct attacks to mobility moves and support tools.
You start with two gadget slots. Collect enough Salmonid Eggs while using a Tank and you can spend Skill Points to power that Tank up, which opens a third slot. Each equipped gadget is bound to a button (L, R, and later A) and fires whenever it is off cooldown.
Build the Gadget Development facility first
Every gadget beyond your three starters comes from the Gadget Development facility on the Hideout Ship, which becomes available after you play through a few levels. Once it is built, you can develop new gadgets by paying Spirhalite Shards alongside materials dropped by Salmonid enemies.
Higher-tier blueprints stay locked until the ship itself is upgraded. Some appear only at Hideout Ship Level 2, and the strongest ones require Level 3. You can check each blueprint’s cost in the workshop and see which dungeons hold the enemies that drop the parts you need.
Verification: A gadget is unlocked once it appears in the Gear menu on the Hideout Ship and can be assigned to a Tank slot. If a blueprint is greyed out, you either lack the required Hideout Ship level or you are short on materials.
Default gadgets you already have
Each Tank arrives with one gadget equipped from the start, so three of the 15 need no crafting at all.
| Gadget | Tank | Effect |
|---|---|---|
| Blast Boot | Speed | Leap forward and land with a splash; doubles as an escape |
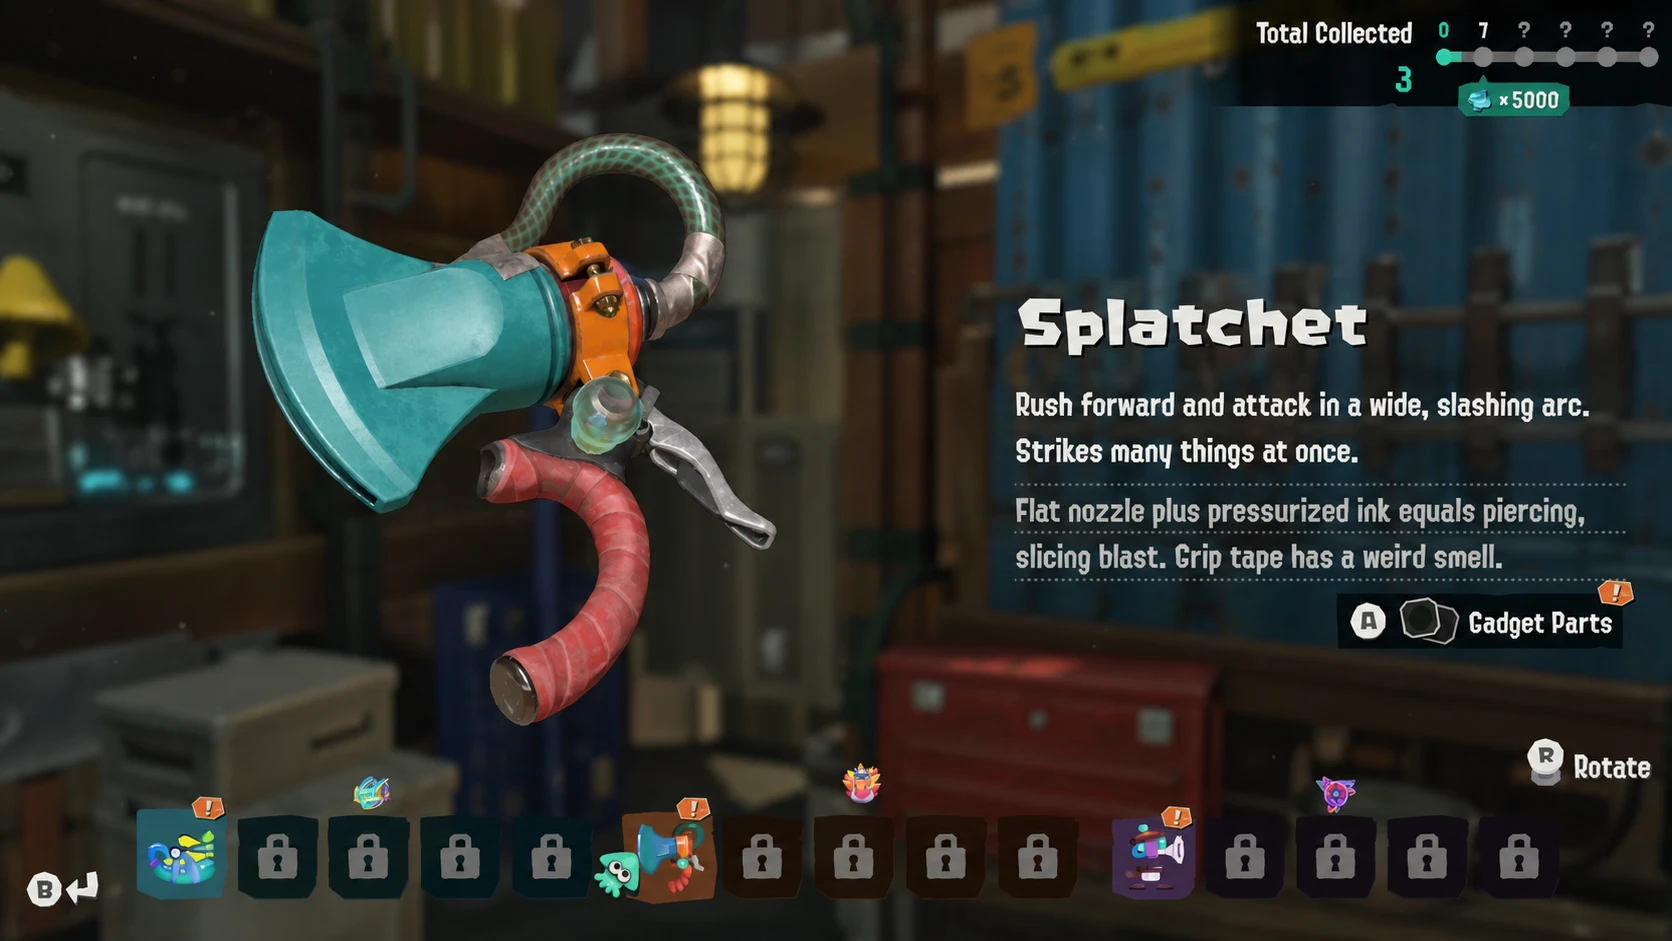
| Splatchet | Power | Rush forward with a wide sweeping slash that breaks tough shields |
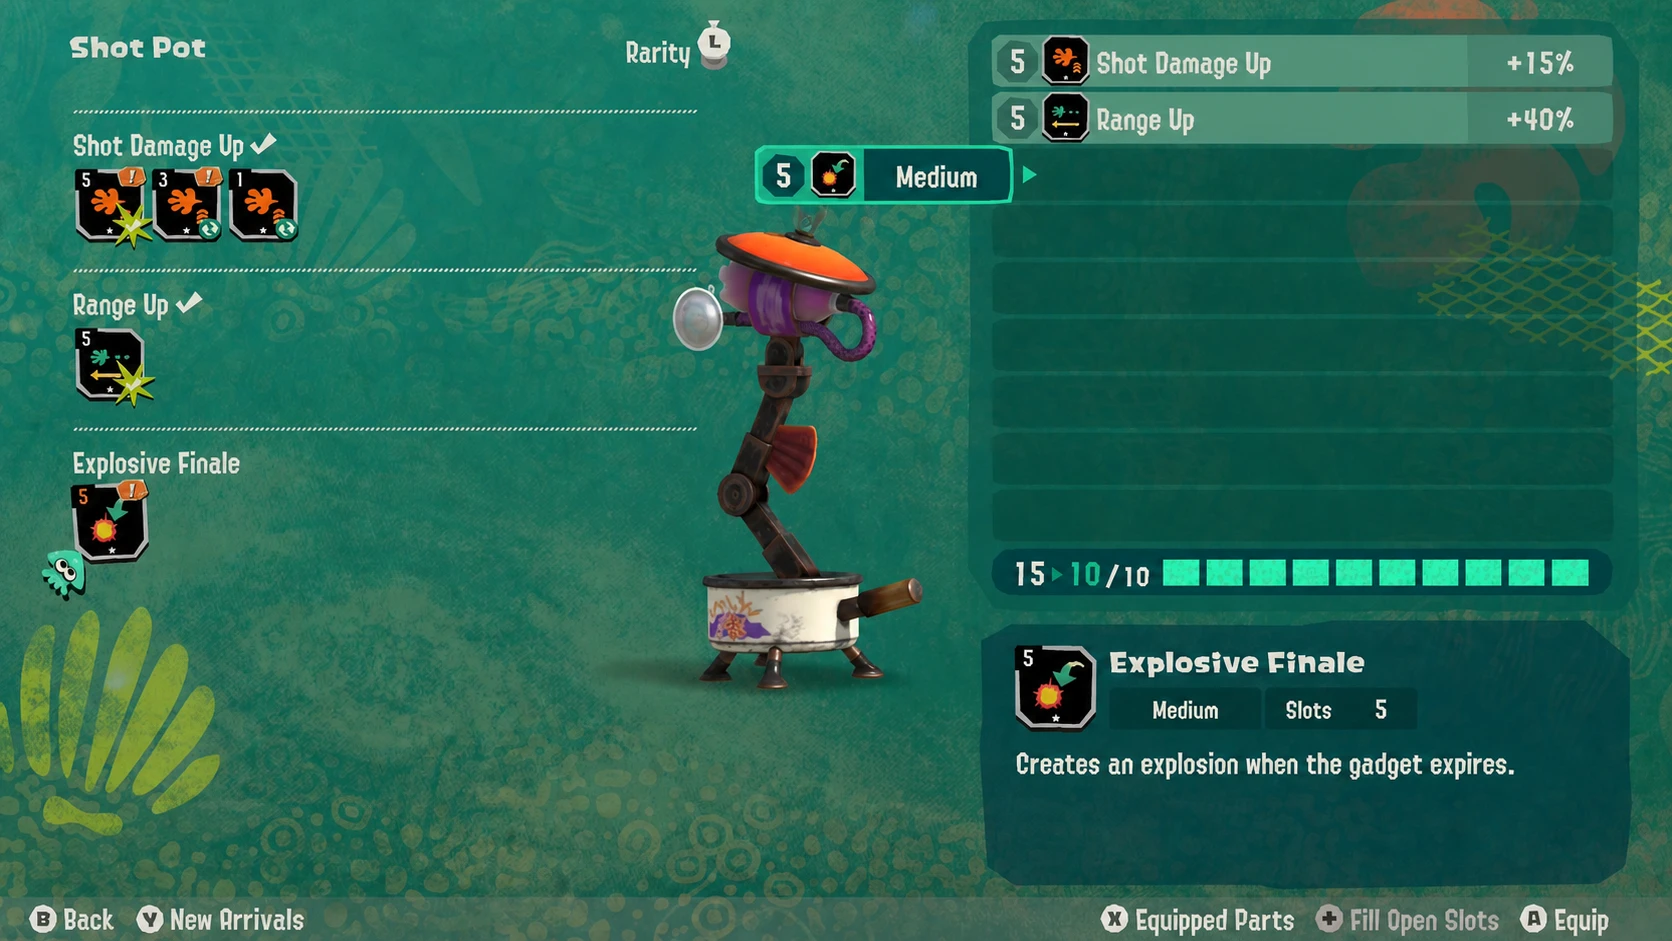
| Shot Pot | Tactical | Deployable turret that fires at nearby crates and enemies |
Gadgets to craft once the facility is built
These blueprints become available the moment the Gadget Development facility exists, with no extra ship level required. Each costs 1,000 Spirhalite Shards plus one Salmonid material, making them the cheapest way to fill out your loadout early.
| Gadget | Tank | Materials |
|---|---|---|
| Booyarang | Speed | Salivator’s Plastic Bag x5, 1,000 Spirhalite Shards |
| Dash Bomb | Speed | Stinger’s Colander x3, 1,000 Spirhalite Shards |
| Spinwheel | Power | Steelhead’s Tire x3, 1,000 Spirhalite Shards |
| Splatellites | Power | Salty Tongue’s Bucket x5, 1,000 Spirhalite Shards |
| Hi-Fiver | Tactical | Scrapper’s Glass Window x5, 1,000 Spirhalite Shards |
| Bombloons | Tactical | Big Shot’s Spring x3, 1,000 Spirhalite Shards |
Hideout Ship Level 2 gadgets
Raising the Hideout Ship to Level 2 unlocks the next tier of blueprints. Each one costs 3,000 Spirhalite Shards and two types of Salmonid material.
| Gadget | Tank | Materials |
|---|---|---|
| Jump Bomb | Speed | Salty Tongue’s Bucket x10, Flyfish’s Bin x5, 3,000 Spirhalite Shards |
| Meteor Mitt | Power | Scrapper’s Glass Window x10, Fish Stick’s Drill Bit x10, 3,000 Spirhalite Shards |
| Tether Wail | Tactical | Stinger’s Colander x10, Smoker’s Tank x5, 3,000 Spirhalite Shards |
Hideout Ship Level 3 gadgets
The final three gadgets need the Hideout Ship at Level 3 and the largest material investment, at 5,000 Spirhalite Shards each plus several rarer drops. These are the last blueprints you will complete for full gadget coverage.
| Gadget | Tank | Materials |
|---|---|---|
| Flywire | Speed | Steelhead’s Tire x5, Smoker’s Tank x5, 5,000 Spirhalite Shards |
| Shellacker | Power | Stinger’s Colander x10, Steel Eel’s Jaw x5, Maw’s Bobbler x5, 5,000 Spirhalite Shards |
| Torqscrew | Tactical | Salty Tongue’s Bucket x10, Salivator’s Plastic Bag x5, Slammin’ Lid’s Lid x5, 5,000 Spirhalite Shards |
Customize gadgets with parts
Unlocking a gadget is only the start. You can attach Gadget Parts to change how each one performs, from widening an explosion to shortening a cooldown or adding effects like Freeze and Scorch. Some parts even alter the ability itself, such as adding an inner ring of Splatellites or a second Booyarang throw.
Every part occupies a set number of Gadget Part Slots, so you have to balance strong effects against your available capacity. To free up more room, upgrade the Tank with Skill Points, which raises its slot count and lets you fit larger combinations.
Tip: Because both gadgets you equip early must come from the same Tank, plan your unlocks around the Tank you play most. Once you power up a Tank twice, the third slot can hold a gadget from a different Tank, opening up cross-type combinations.
With the Gadget Development facility running and the Hideout Ship pushed to Level 3, the only thing standing between you and a complete gadget roster is the material grind, so target dungeons that drop the parts each blueprint asks for and craft them off cooldown.