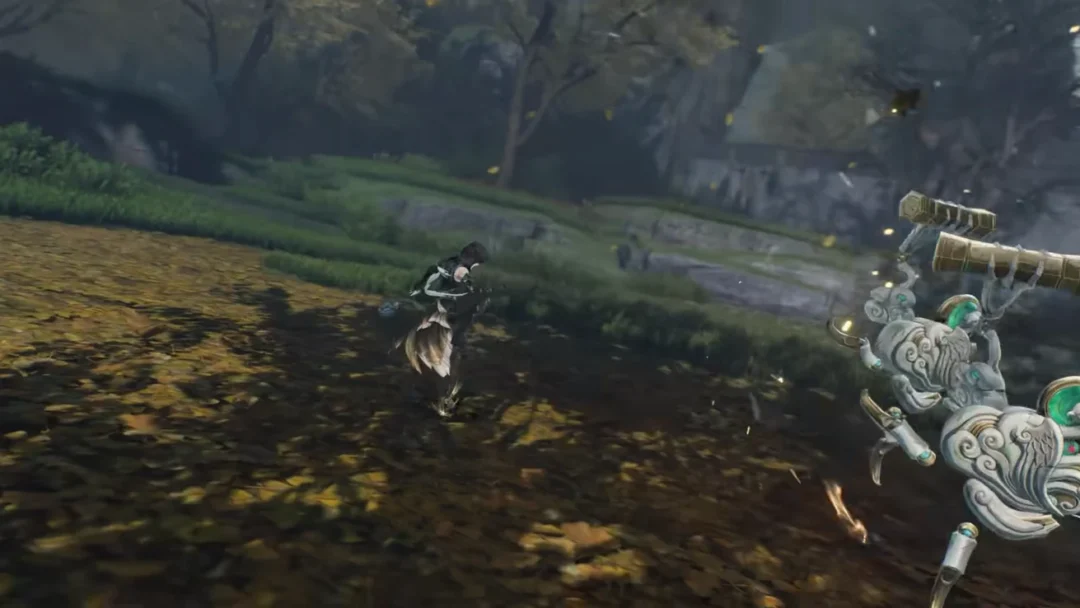
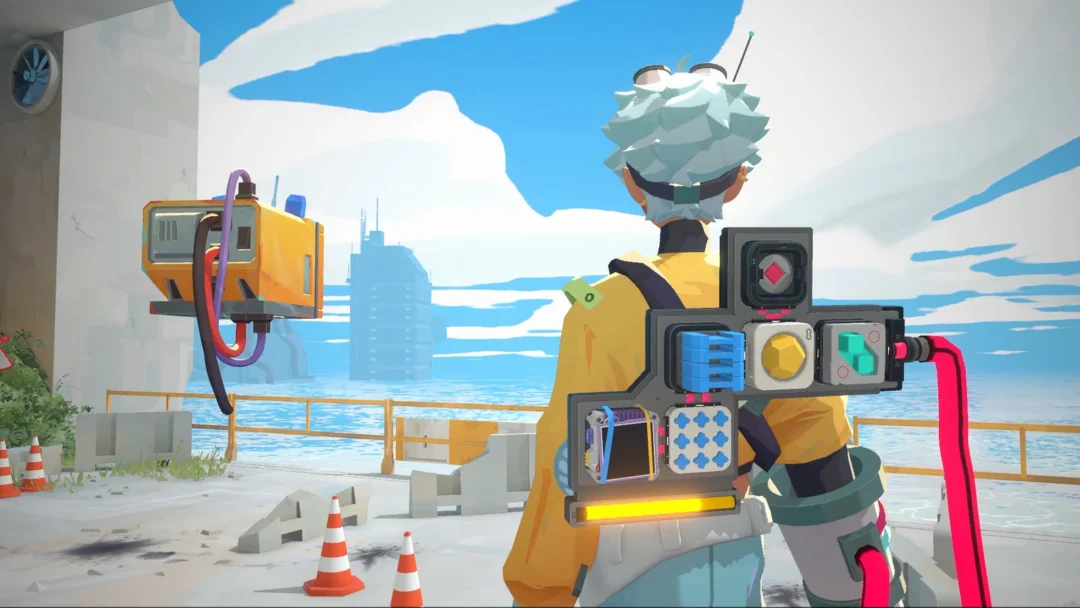
Your first big choice in Splatoon Raiders is the Ink Tank you carry into the Spirhalite Islands, and it decides how combat, exploration, and tougher fights feel from the opening hours. There are three Tank Types: Power, Speed, and Tactical. Each one unlocks its own set of gadgets and later Relic powers, and none of them plays like the others. None of the three changes your ink capacity or refill speed, so the decision is purely about playstyle.
Quick answer: Pick the Power Tank first. Its damage output scales across the whole game, it survives endgame encounters, and its base gadget, the Splatchet, clears crowds from the start. You can swap Tanks between missions at the ship, so this is a starting point rather than a permanent commitment.
Power, Speed, and Tactical Tanks compared
Each Tank is built around one job. Power charges into groups and hits hard, Speed keeps you mobile and airborne, and Tactical deploys tools that fight while you handle something else. Here is how they line up.
| Tank | Strength | Starter gadget | Best for |
|---|---|---|---|
| Power | Heavy AoE damage, endgame survivability, scales the whole game | Splatchet | Direct, close-range fights and clearing Salmonid swarms |
| Tactical | Deployables, zoning, crowd control, safe long-range play | Shot Pot | Setting up damage and controlling space from a distance |
| Speed | Mobility, aerial control, parkour, late-game survivability | Blast Boot | Time-limited dungeons and dodging fights instead of wading in |
Why the Power Tank is the best starting choice
Damage matters a lot in Splatoon Raiders, and the Power Tank delivers it earlier and more consistently than the other two. It focuses on mowing down enemies with wide, area-of-effect attacks, and its skills and gadgets stay viable across every stage of the game. It also carries the strongest survivability into the endgame thanks to dedicated damage-mitigation Relic powers.
Its base gadget, the Splatchet, sends you charging forward in a wide slashing arc that hits several enemies at once. That makes it a strong gap-closer and a reliable finisher against bosses that only expose short damage windows. The trade-off is commitment. You charge in a straight line, so misjudging enemy spacing or getting swarmed mid-charge can leave you exposed. The Power Tank also has the deepest early gadget pool, pairing the Splatchet’s burst with the ground-covering Splatellites.
The late game pushes this further. The Ultra Power Tank lets you equip one Speed Tank gadget alongside your Power loadout, adding mobility without giving up firepower, and the Ultra Tank Power boost raises your attack across the board.
Tactical Tank: the low-stress support option
The Tactical Tank leans on deployables and battlefield control instead of raw output. You place tools that attack, trap, or zone Salmonids while you focus elsewhere, which makes it the safest way to play because most of your damage comes from a distance. It feels weakest early on, but it grows into a powerhouse once you unlock powers that manage cooldowns and deployment patterns, and its crowd-control and zoning become excellent in the mid-to-late game.
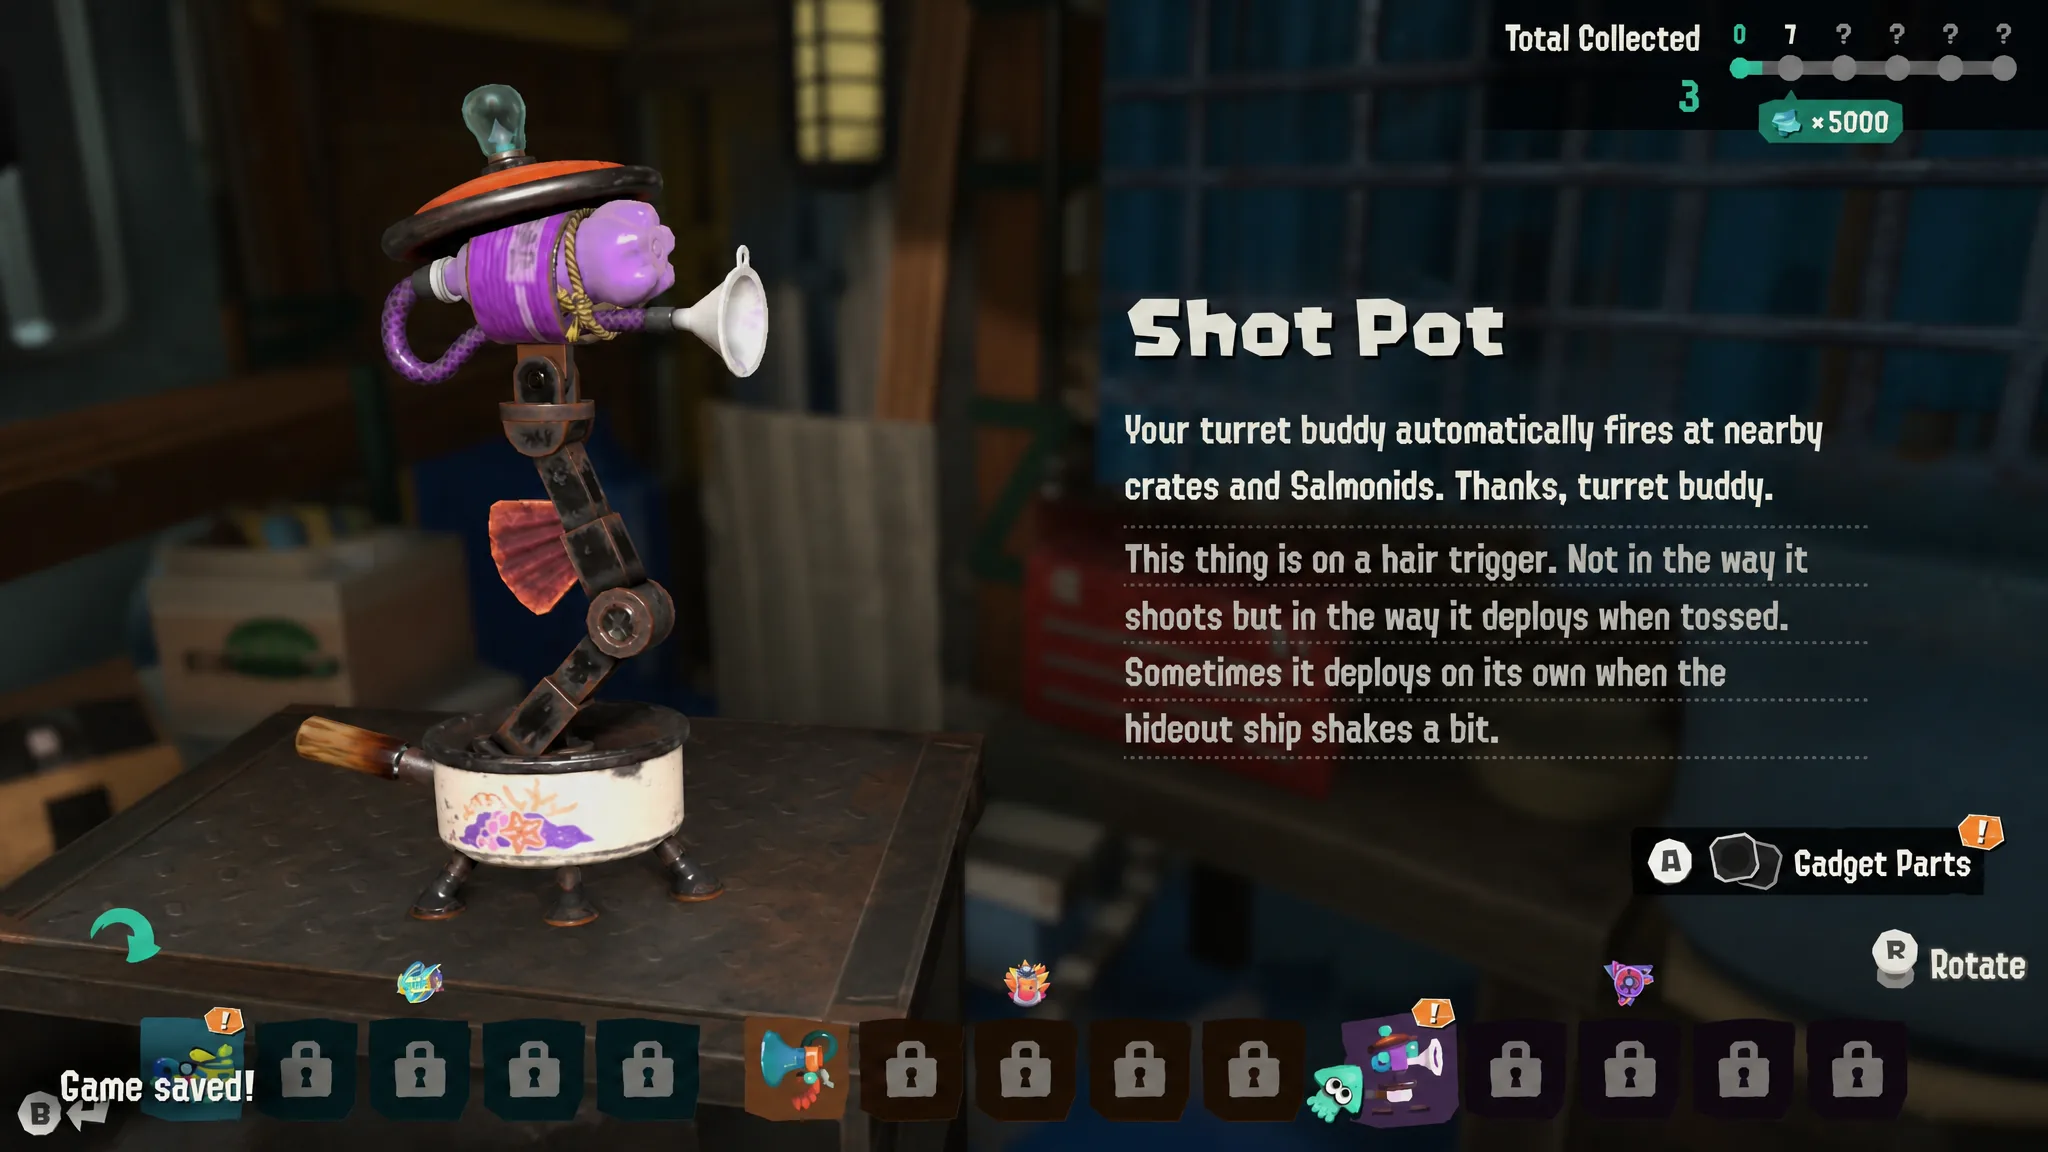
Its starter, the Shot Pot, is a small turret that automatically fires at nearby crates and Salmonids after you drop it. It hits softly at first, so it works less like a single big attack and more like a second set of hands covering ground your weapon can’t reach. That breathing room is why it is a forgiving pick for players still learning enemy patterns. With the right Gadget Parts, such as Multishot, its damage snowballs hard.
Speed Tank: mobility and aerial control
The Speed Tank trades a bit of early firepower for movement. It equips mobility gadgets and high movement skills, and it is the pick for anyone who would rather reposition, close distance, or escape than stand and trade hits. It is ideal for dungeons with strict time limits, opens up parkour routes on stages that need them, and offers strong late-game survivability by keeping you in the air and out of danger.
Its starter, the Blast Boot, is a forward leap that triggers an explosion when you land. You can dive into a fight for some arrival damage or bail out of a bad spot and land safely back in your own ink. Its range is short, so it won’t clear a large Salmonid group on its own, but it is the most versatile mobility-and-damage tool of the three starters. One caveat: if you don’t manage gadget cooldowns well, the Speed Tank can still take heavy damage.
Your first pick isn’t locked in
Every Tank starts with two gadget slots, and continued progression unlocks a third. Gadgets are tied to their own Tank, so a Speed gadget won’t show up on a Power loadout until you reach the Ultra Tank stage. Gadget Parts then reshape each tool, changing damage, fire rate, or duration and adding effects like ink explosions or knockback.
Because you can switch Tanks freely between missions, the long-term investment is in upgrades, not the initial choice. Skill points earned from leveling up apply across every Tank you own, even unused ones, so nothing you spend is wasted if you change your mind. Experience is the exception. It doesn’t carry over, so leveling a brand-new Tank means putting in fresh runs with it specifically.
Each Tank also has a bigger payoff once you commit. Collecting 50,000 Power Eggs with a single Tank equipped upgrades it into a Super Tank with a signature ability, all triggered by emerging from swim form after staying submerged a while.
| Tank | Super Tank ability | Effect |
|---|---|---|
| Power | Tank Surge | Raises all damage by 20% for its duration |
| Speed | Tank Torrent | Boosts swim and run speed while blowing away and inking Salmonids |
| Tactical | Tank Vortex | Spawns a damaging vortex with a chance to Ferment caught Salmonids |
Push further and you unlock Ultra Tanks, which let you run three gadgets at once plus one gadget and one Relic borrowed from a different Tank Type. Reaching that point requires farming Power Eggs across two Tanks, so you’ll end up experimenting with a second playstyle whether you planned to or not.
How to switch Tanks
If you’re worried about picking wrong, the difficulty system softens the risk. You can move between Tourist, Raider, and Survivalist settings at any time, and difficulty only affects combat, not the loot you find. Start with the Power Tank for a fast, damage-first opening, then branch into Tactical for control or Speed for mobility once you know which fights give you trouble.