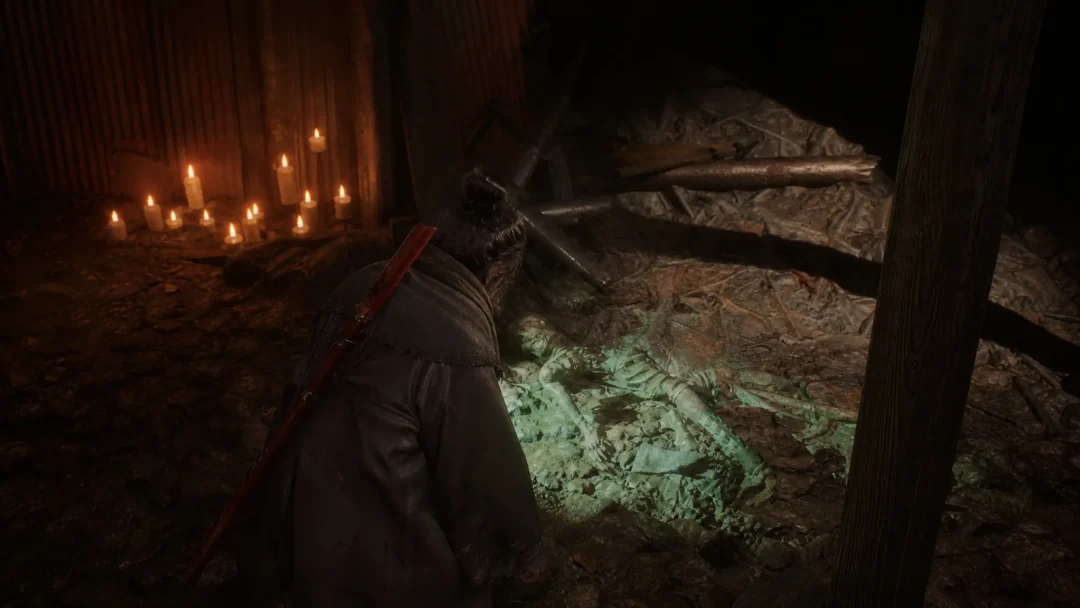
Blood Shards are the limited-time currency of the Bloodmoon event in Survive Zombie Arena, and they only drop from special Bloodmoon zombies that appear roughly 1% of the time. Because those event zombies are rare, the fastest way to collect Shards is to kill as many zombies as possible while taking zero damage, so a run never ends early. That comes down to two things: the right difficulty and modifiers, plus a safe spot the horde cannot reach.
Quick answer: Start a Nightmare match with the Horde Rush or Blood Frenzy modifier, then park your character in an unreachable position (the Rooftop Siege stair corner, the Abandoned Farm under-map glitch, the Prison Yard Shelter roof, or a Void Scythe wall climb) and clear waves until you die or hit your target wave. Equip the Lucky Coin artifact to roll double Shards on 20% of kills.
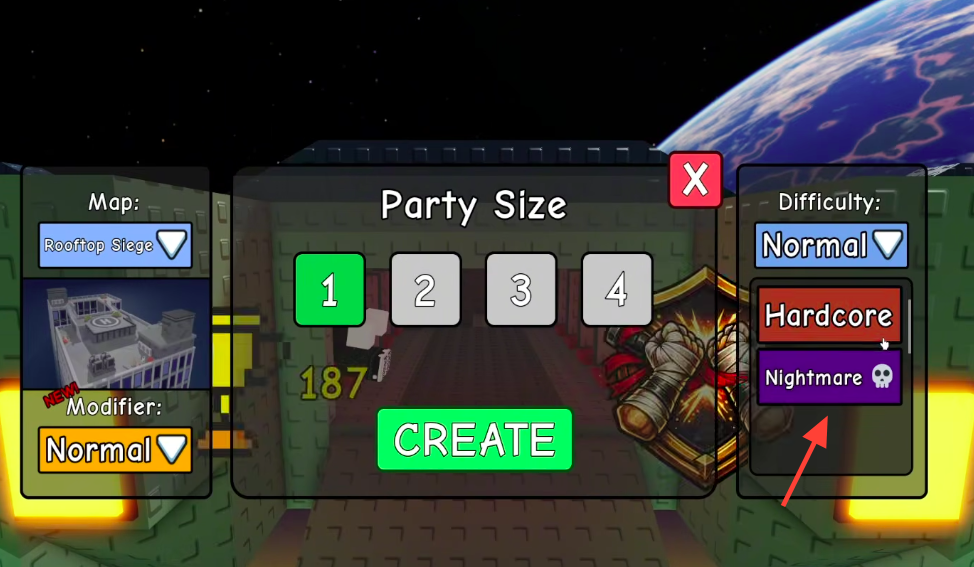
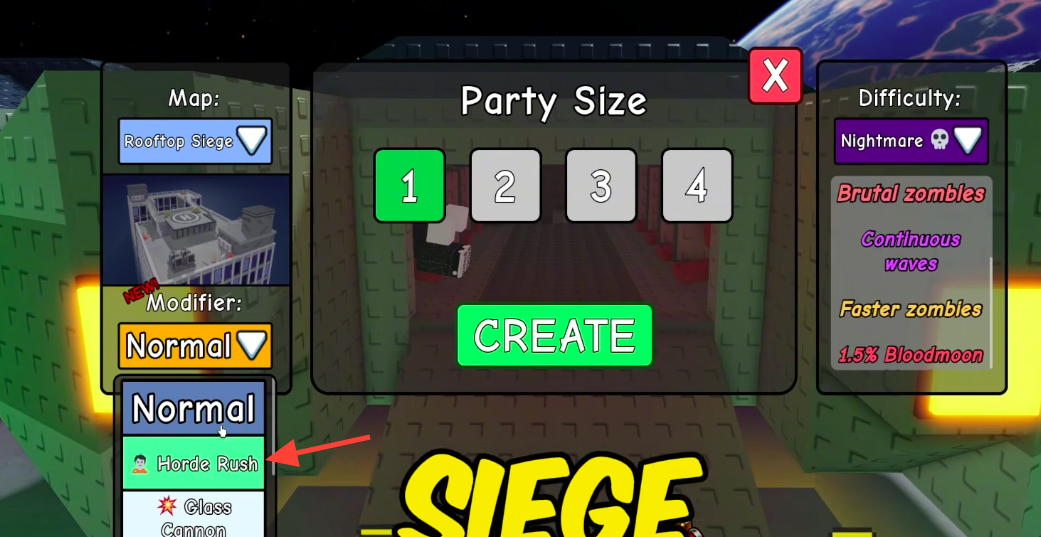
Best run setup: Nightmare plus Horde Rush or Blood Frenzy
More zombies on screen means more chances for a Bloodmoon zombie to spawn, and Nightmare pushes both the spawn rate and the payout. On Nightmare, each kill is worth 12.5 Credits and Bloodmoon zombies carry a 1.5% chance to appear, higher than the roughly 1% baseline. Stacking a credit modifier on top increases every reward without slowing the pace.
| Setting | Effect |
|---|---|
| Nightmare difficulty | 12.5 Credits per kill, 1.5% Bloodmoon chance |
| Horde Rush modifier | +18% Credits and denser zombie waves |
| Blood Frenzy modifier | +20% Credits |
Pick Horde Rush when you want the largest crowds funneling into your safe spot, or Blood Frenzy for the slightly higher credit bonus. Either way, the goal is a run that keeps producing kills for as long as you can hold position.
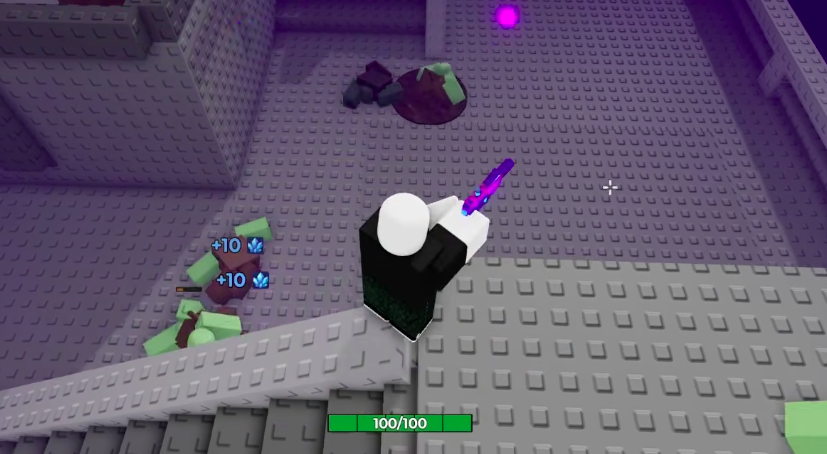
Rooftop Siege: the stair corner spot
This is the simplest method and needs no glitch or special gear. Zombies cannot pathfind behind you on the ramp, so you shoot down into the crowd unharmed.
Abandoned Farm: the under-map glitch
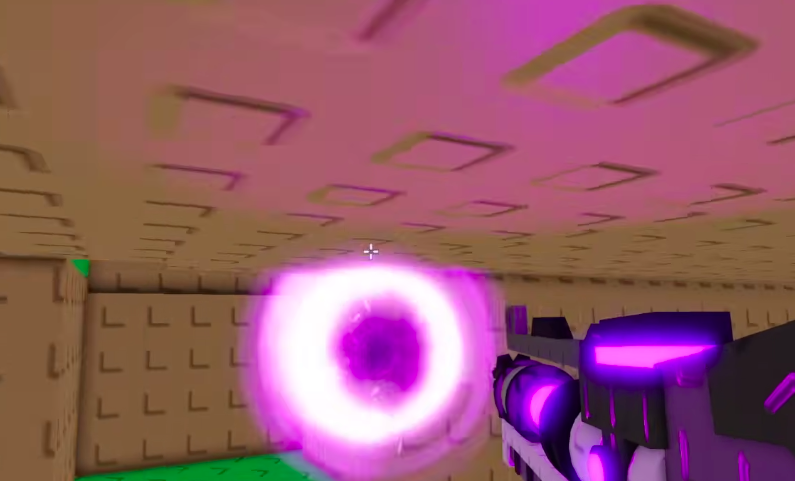
On Abandoned Farm you can drop beneath the map geometry near the fence and shoot upward through the floor. Enabling Shift Lock first makes the wedge far easier to line up.
Prison Yard: the Shelter roof glitch
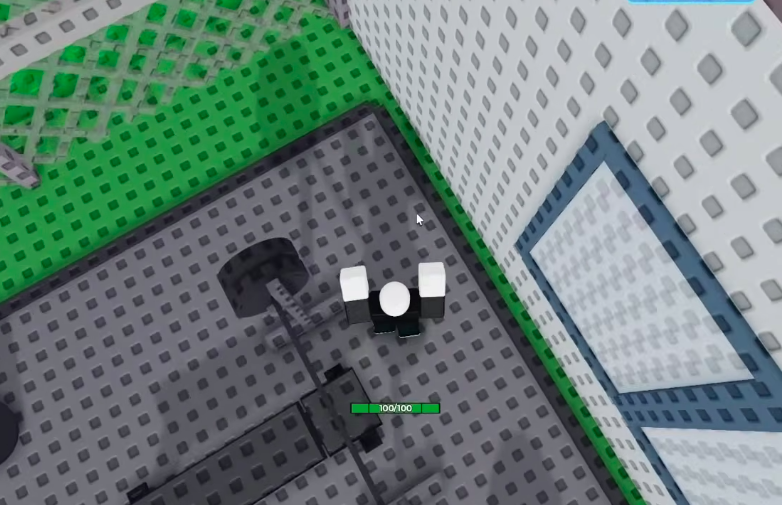
This one needs the Bastion class, which unlocks the Shelter gear. By spamming the enter and exit prompt on a Shelter placed against a wall, the physics collision flings your character onto the roof and out of reach.

Void Scythe wall climb for AFK farming
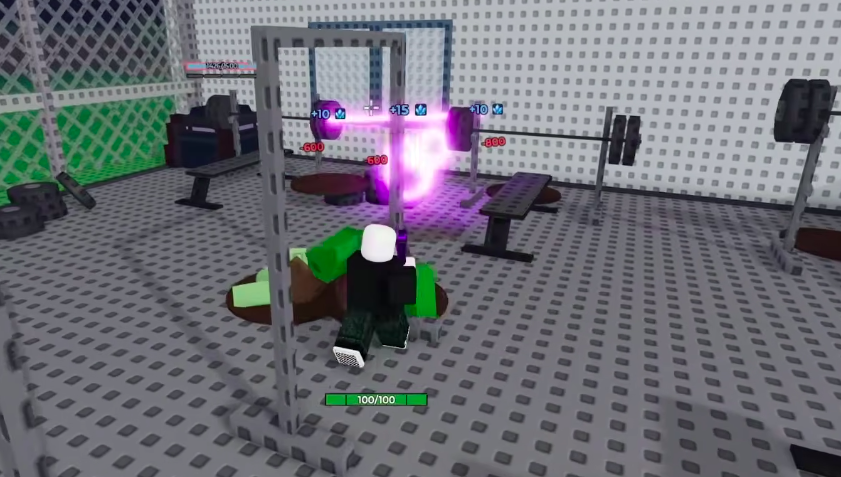
If you want a spot high enough to leave the game running on its own, the Void Scythe melee weapon lets you scale a wall on Nightmare and settle on a narrow ceiling ledge. A maxed weapon and strong artifacts clear waves automatically while you sit still.
Note: A reaching-Wave-200 run on this ledge finished with 242 zombies eliminated and 3,218 Credits, including a 292 Credit Bank payout, over 81 minutes. The higher your damage output, the more zombies die per minute and the more Bloodmoon zombies you catch.
Double your Shard drops with the Lucky Coin artifact
Artifacts were added alongside the Bloodmoon event, and one of them directly boosts event currency. The Lucky Coin gives a 20% chance to earn event currency twice on a kill, which stacks with your safe-spot farming for a noticeable increase over a long run.
You pull artifacts from Artifact Crates near the Upgrades shop in the lobby, spending Credits or Robux. You start with one artifact slot and can unlock a second for 5,000 Credits and a third for 15,000 Credits. Once all three are open, pair Lucky Coin with damage and crowd-control artifacts to keep kills flowing.
| Artifact | Effect for Shard farming |
|---|---|
| Lucky Coin | 20% chance to earn event currency twice |
| Recycler | 20% chance for extra Credits after a kill |
| Gravity Core | Pulls zombies into one spot for easier clears |
| Gaming Controller | +15% Damage, +10% HP, +10% Speed, +10% Crit |
Free Bloodmoon spins from codes
Before you grind, claim the free Bloodmoon spins tied to event codes in the lobby Shop under Redeem Codes. Redeeming DELAY grants 2,500 Credits plus one Bloodmoon free spin, and UPDATEDAYSWAG grants 1,069 Credits plus another free spin. Codes can expire after a future update, so redeem them early. You can start from the official experience here:
Confirm it worked and spend your Shards
Bloodmoon zombies drop red circular shards when defeated, and your event currency counter in the bottom-left corner ticks up each time you collect one. If that counter stays flat, no Bloodmoon zombie has spawned yet, which is normal given the low spawn chance. Keep clearing waves and the drops will come.
Once you have a stockpile, take it to the BLOODMOON EVENT area and open Bloodmoon Crates for the event’s exclusive weapons and rewards. Alternatively, crates can be opened for 100,000 Credits each or 500,000 Credits for five at once, so the safe-spot credit gains feed straight back into more pulls. Roll odds place Blood-themed guns like the Blood Pistol, Blood SMG, and Blood AR toward the top of the reward table, with the Bloodmaster class at the rarest end.
Prioritize unlocking all three artifact slots and equipping Lucky Coin first, then settle into whichever map spot you find easiest to hold. The pattern stays the same across every method: maximize kills, stay untouchable, and let the rare Bloodmoon spawns pile up while the event is live.