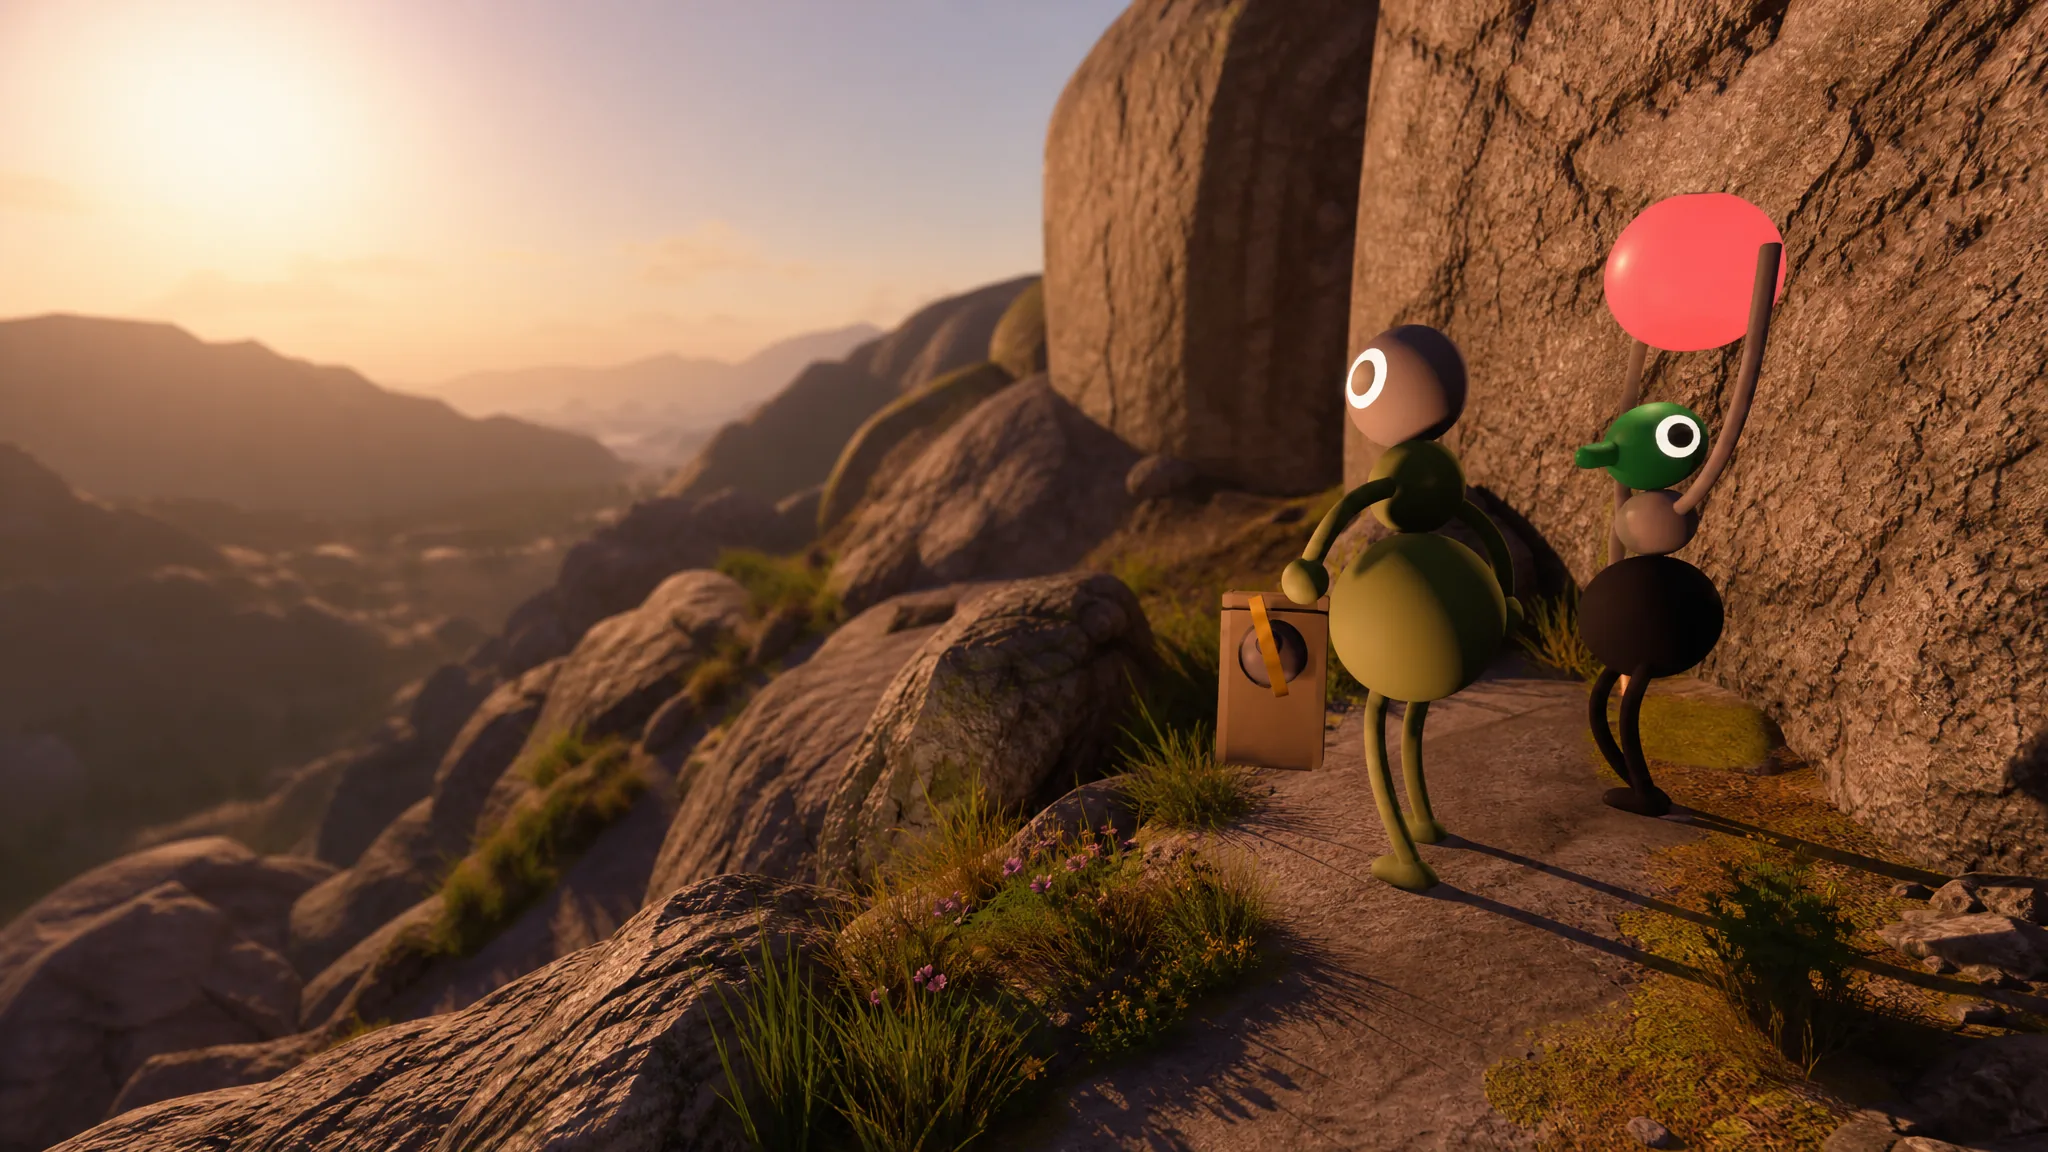
The map in Big Walk is locked behind the Red Tower, and reaching it opens both a room-sized model of the world and a foldable map you can carry. Walking into that room is also what earns the Big Views achievement, so it is worth prioritizing before you wander deeper into the world.
Quick answer: Finish the starting area, cross the red drawbridge, collect five puzzle items to release the key at the top of the Red Tower, run that key through every key cutter along the path back toward the gym, then slot it into the terminal at the blue tunnel with the red stairs to open the map room.
What you need before the map unlocks
Nothing about the map sequence works until the starting area is cleared. Solving those first puzzles opens the wider world and gives you access to the red drawbridge, the large red bridge on the ocean side. Crossing it is the gate that leads toward the map room.
Once the drawbridge is down and you follow the path around the cliff, you reach a shortcut back to the starting area and a large blue doorway set into the hills. That doorway stays locked until you bring it a fully cut key.
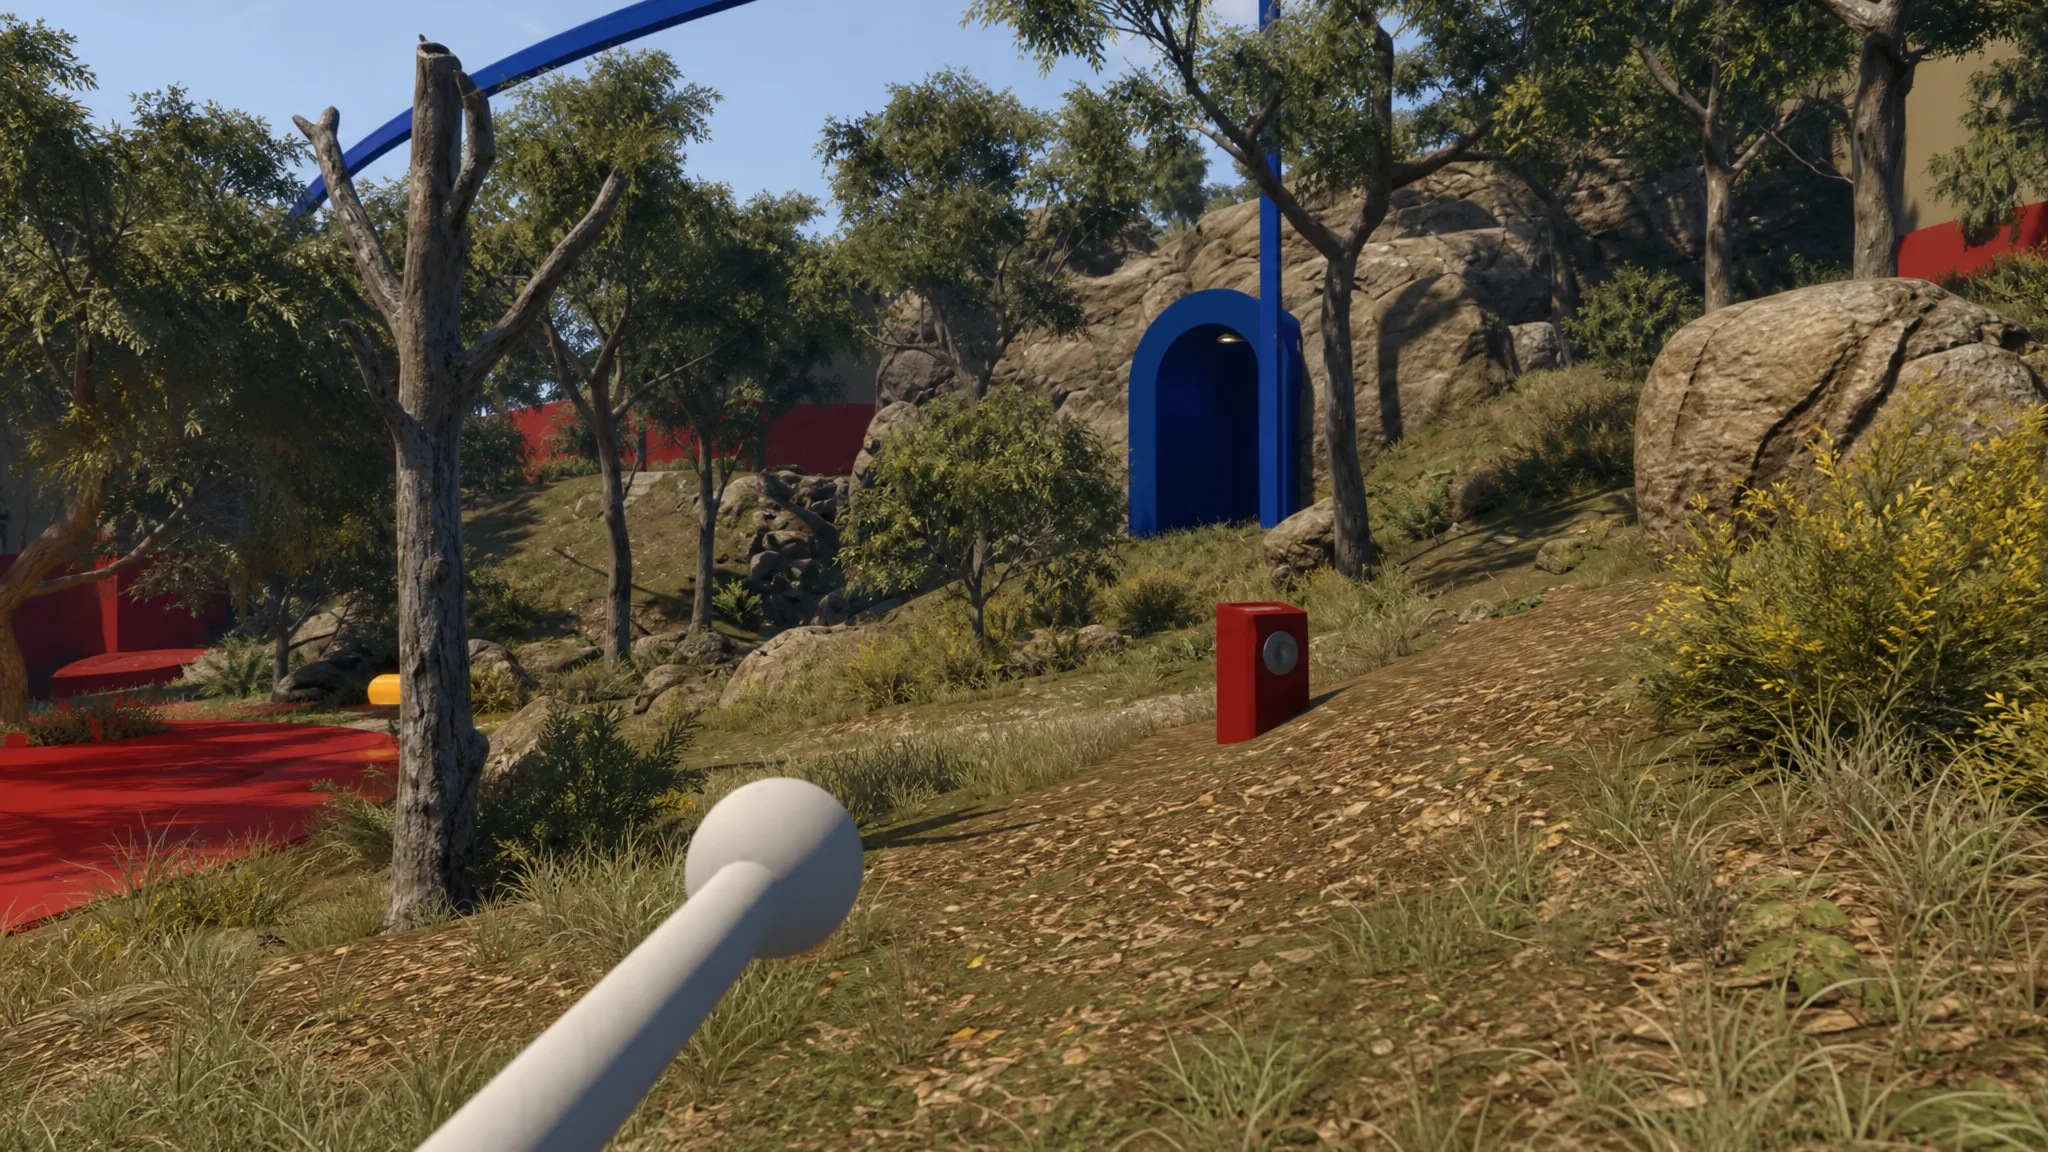
Get the key from the Red Tower
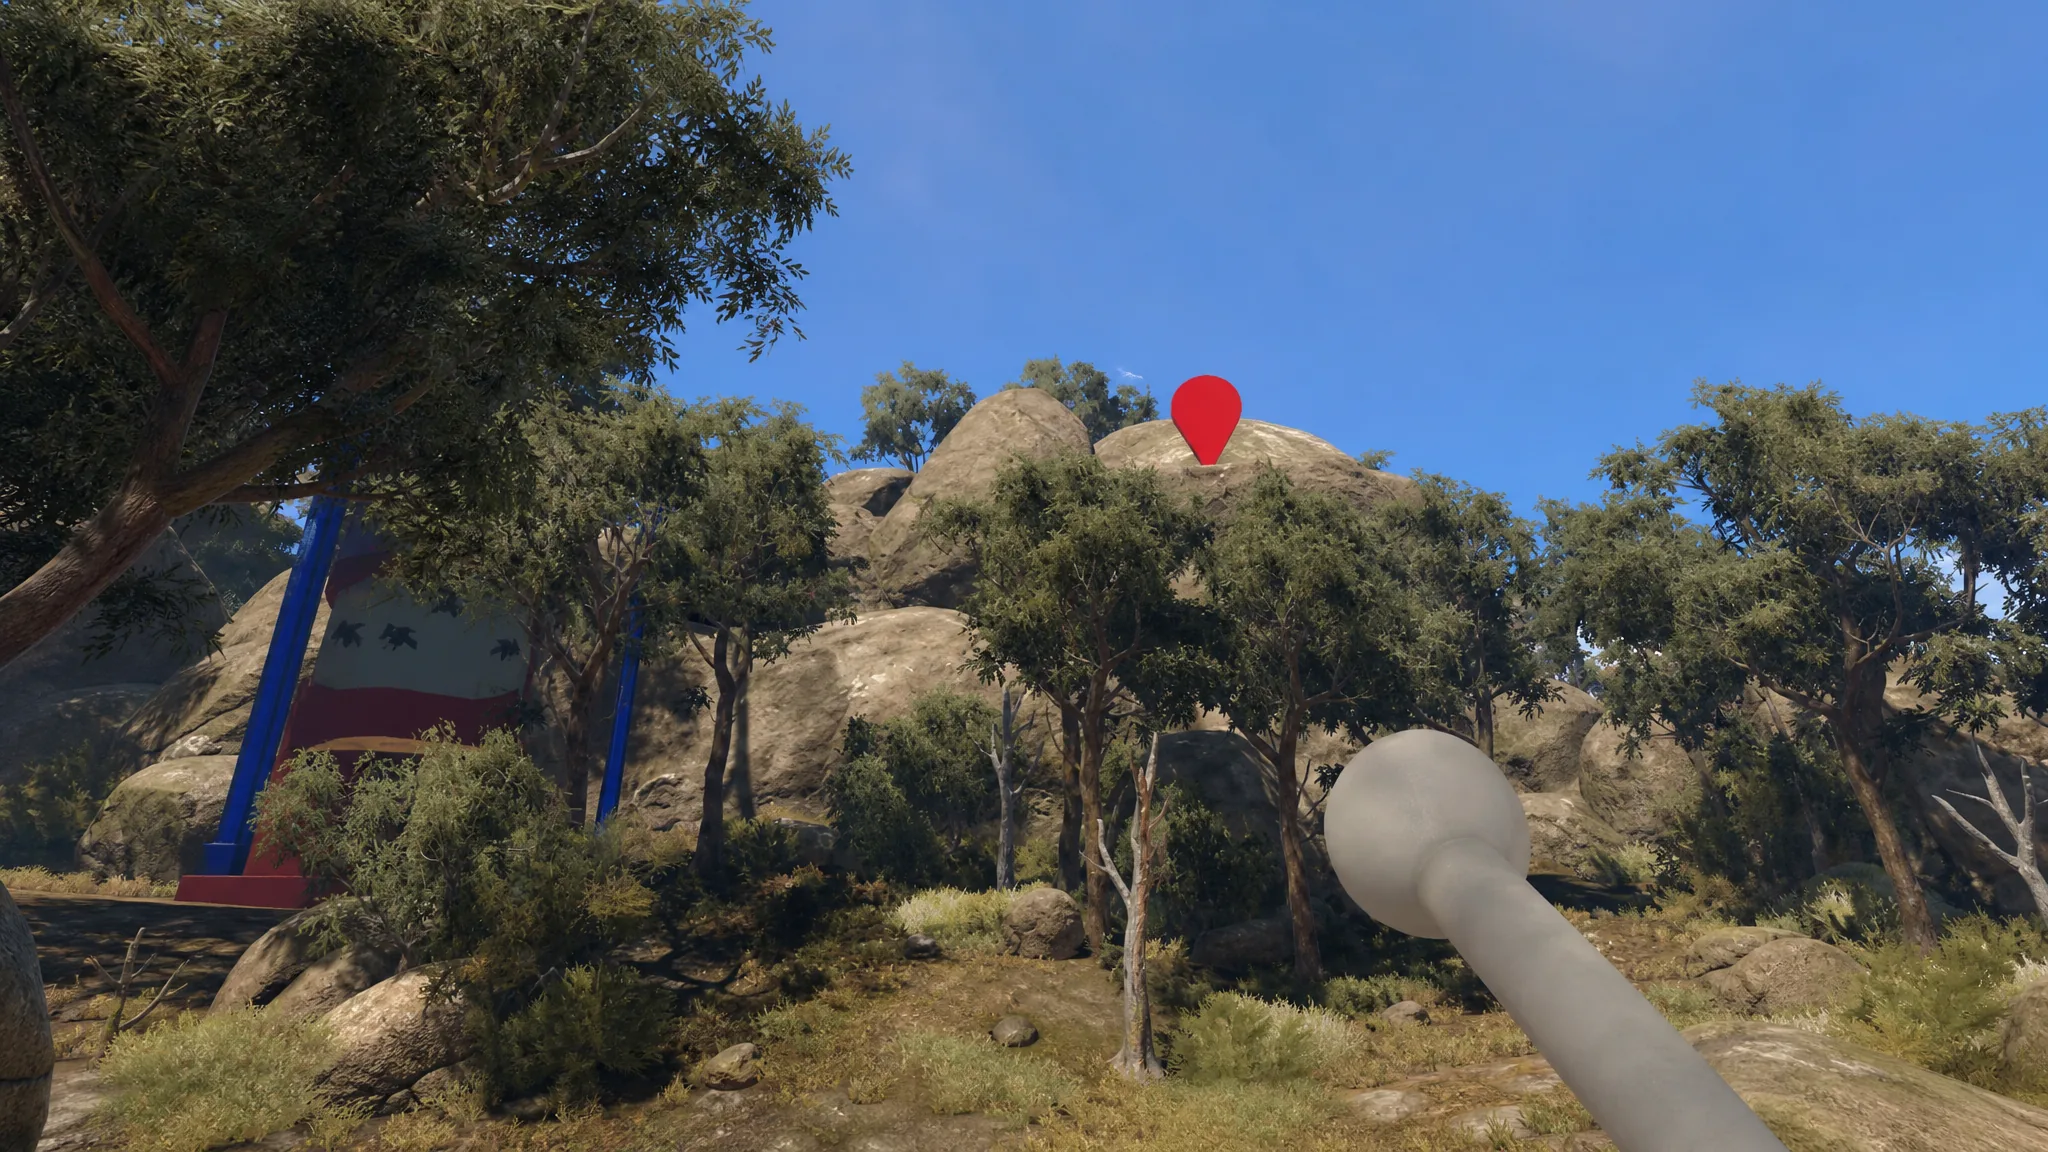
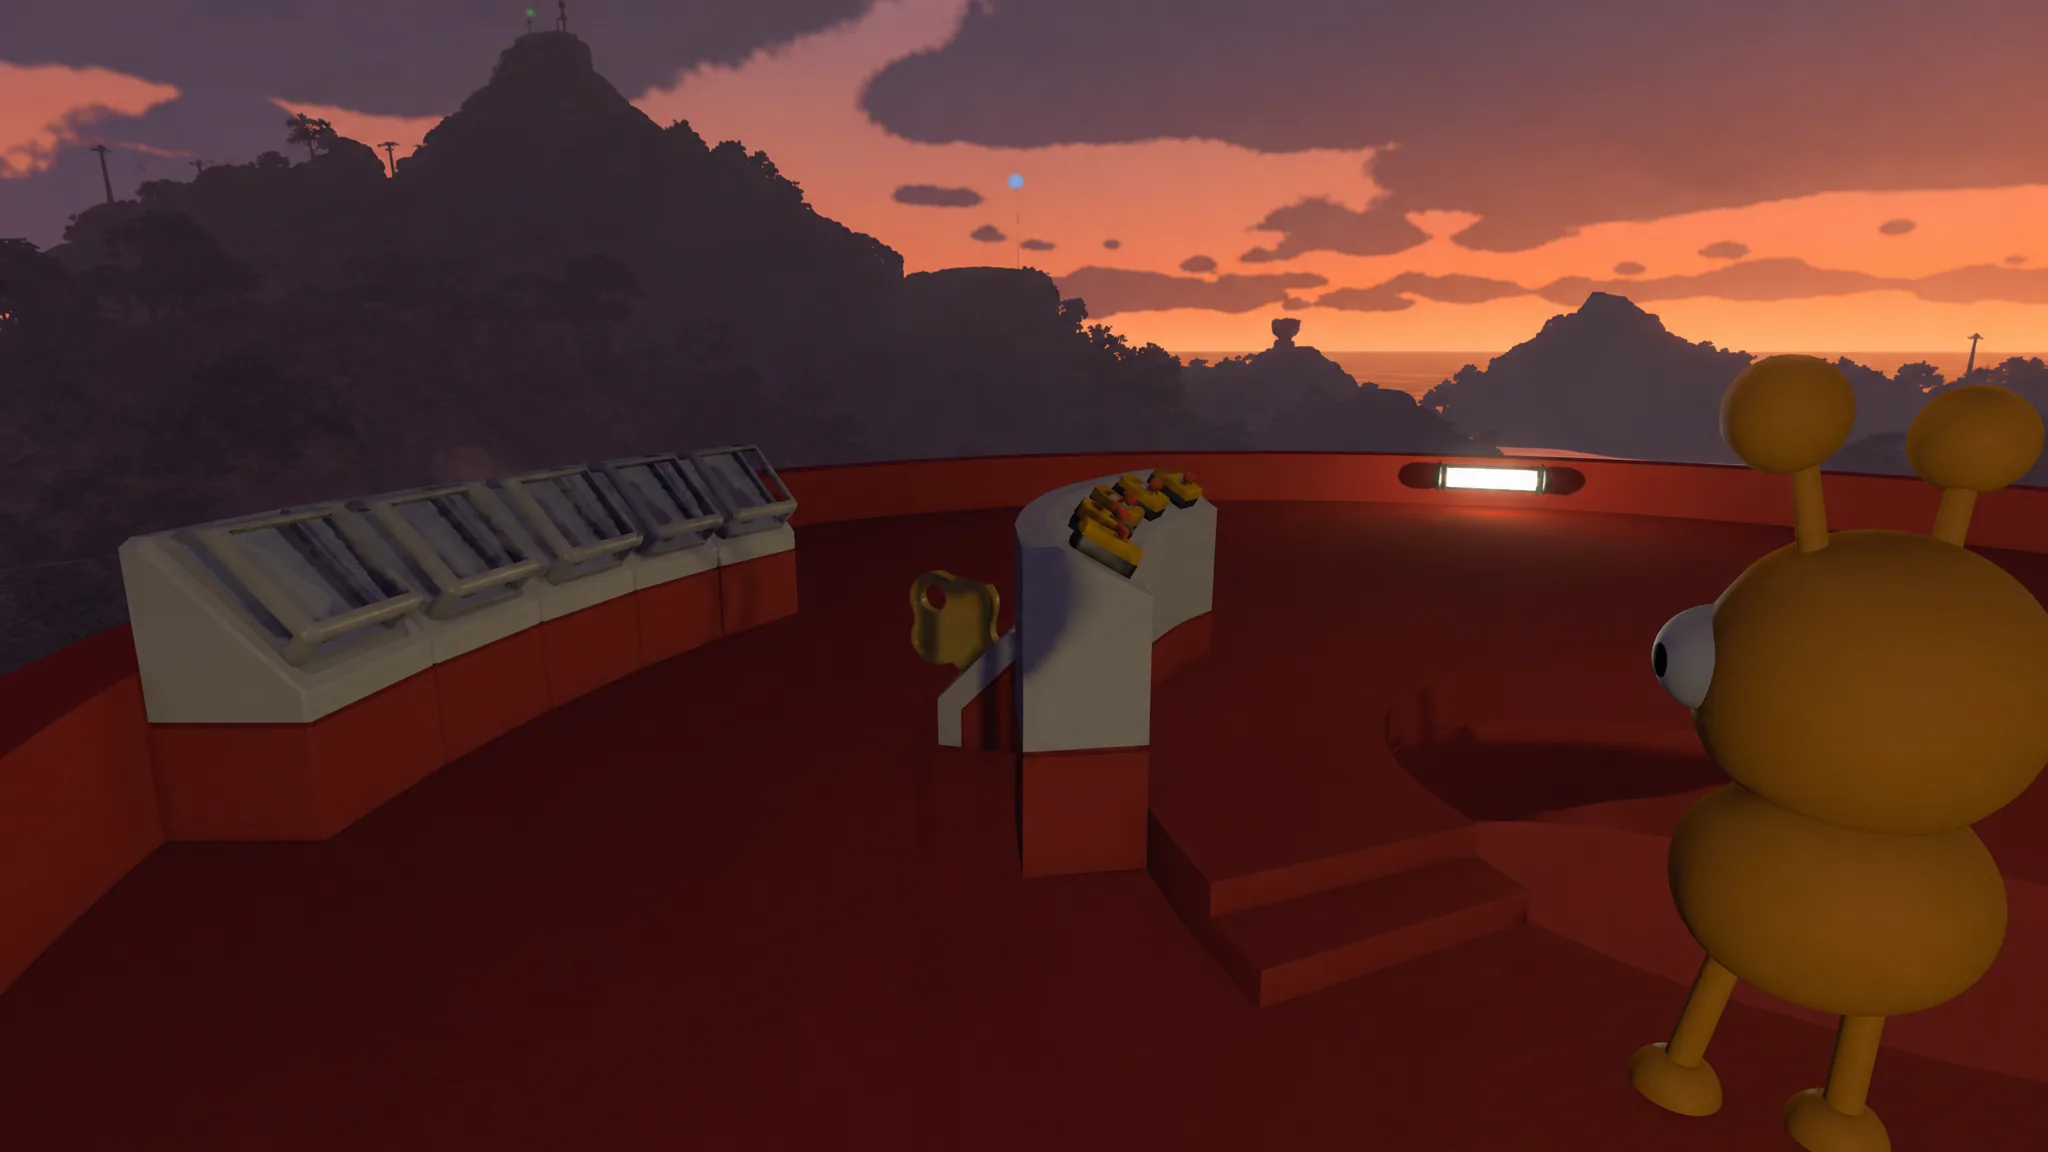
Note: Some sources describe the Red Tower items as five gourds. Whichever form they take, all five slots must be filled before the key is released.
Cut the key and open the map room
The key does not work straight from the tower. It needs shaving down at a series of key cutters lined up along the path leading back toward the gym.
The two maps and how to use them
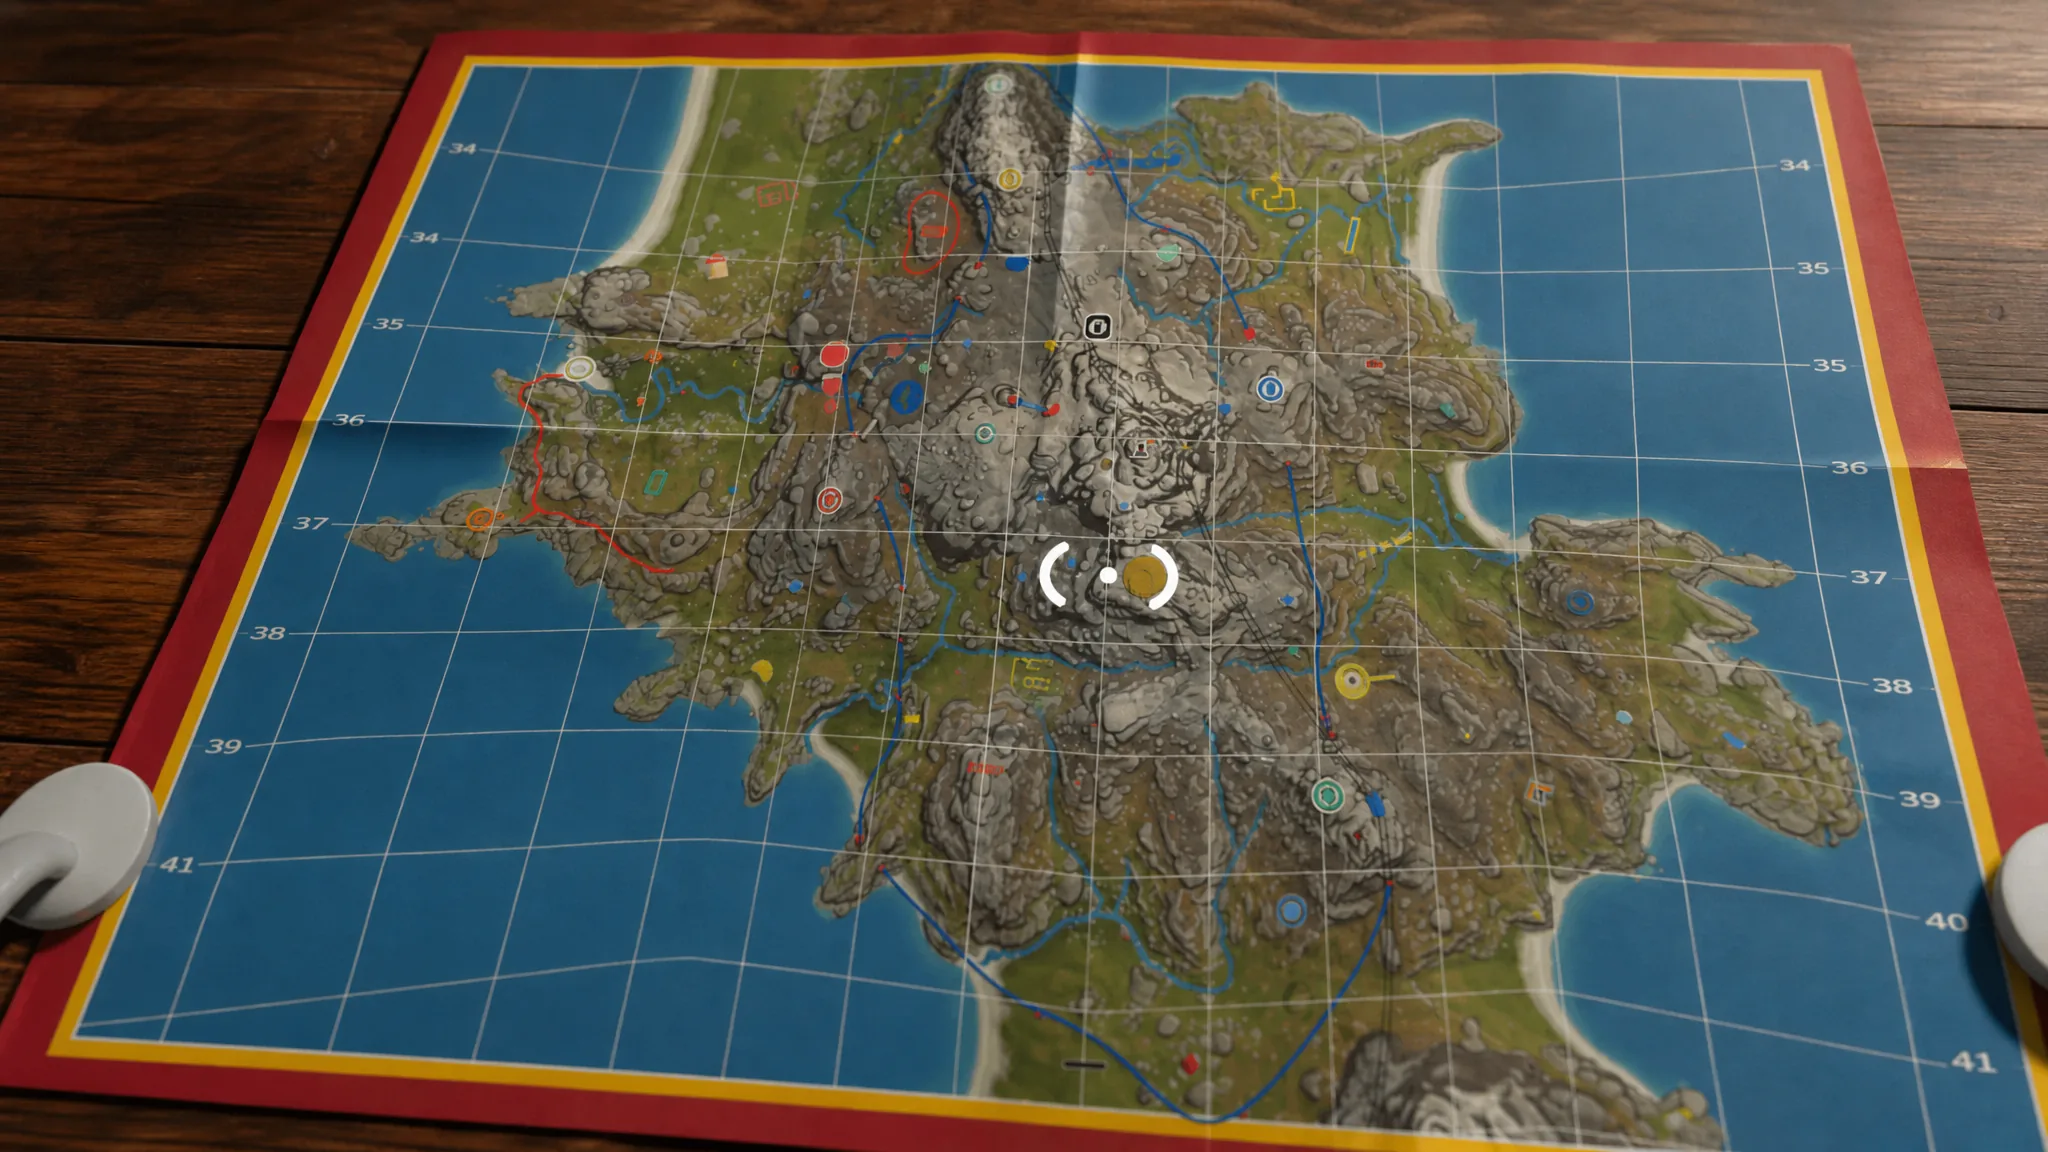
Inside you get two separate tools. One is a large model that fills the room and cannot be moved, and the other is a foldable map on a nearby table that you can carry with you. Together they cover both planning and on-the-go navigation.
| Map | What it shows | Best use |
|---|---|---|
| Room-sized model | Full 3D terrain of the world, flags on completed puzzle poles, radio stations and backpack spots | Scouting unexplored areas and tracking what is left to finish |
| Foldable map and compass | Zoomable sections with a subsection label in the top corner | Following coordinates and solving direction-based puzzles on the move |
On the model, a puzzle marked with a flag is finished. A bare pole with no flag still needs doing, and a reward lying down means you have collected it but not yet submitted it. The portable map, along with the compass, is on the table to the right of the room entrance, next to a few laser pointers.
The handheld map does not track your live position. It only zooms and labels the current subsection, so you cross-reference that label to work out where you are. Coordinates read as four-digit pairs such as 3420, 1250, where the first two digits of each number give the grid square and the second two tell you how far across or down within it. You need the compass to sort out direction.
With both maps in hand, the rest of Big Walk becomes far easier to navigate. There is no fast travel or slide, so getting between the tower, the cutters, and the tunnel takes real walking, and having the foldable map on you saves plenty of backtracking once you are exploring the wider world.