Badges in Practical Basketball are passive boosts that turn on automatically once your build’s attributes reach set numbers. They do not cost a separate unlock action tied to matches. Instead, the moment you allocate enough points to the right stat while making a player, the matching badge appears and can be equipped at the tier your numbers support.
Quick answer: Raise the attributes listed for a badge to hit its threshold. Reaching the lower number gives Bronze, and pushing the stat higher climbs through Silver, Gold, Diamond, and finally Amethyst. There are 43 badges, each with five tiers.
How badge tiers and thresholds work
Every badge belongs to one of six groups: Finishing, Shooting, Playmaking, Defense, Post-Scoring, and Physical. Each group targets a specific part of your game, so Finishing badges sharpen dunks and layups, Shooting badges help contested and deep jumpers, and Defense badges cover contests, steals, and boards.
The five tiers run from lowest to highest as Bronze, Silver, Gold, Diamond, and Amethyst. A higher tier is a stronger version of the same effect, and you reach it by allocating more points to the badge’s underlying attribute. Some badges depend on a single stat, while others require two or three stats to all sit at or above their listed values at the same time.
Because badges are gated by attributes, you can plan a build backward. If you know a target badge and tier, set the required stats to those exact numbers and the badge becomes selectable. For reference, a LeBron James style build leans on Traffic Finisher, High Flyer, Relentless Finisher, Perfect Lays, and Paint King from the Finishing side.
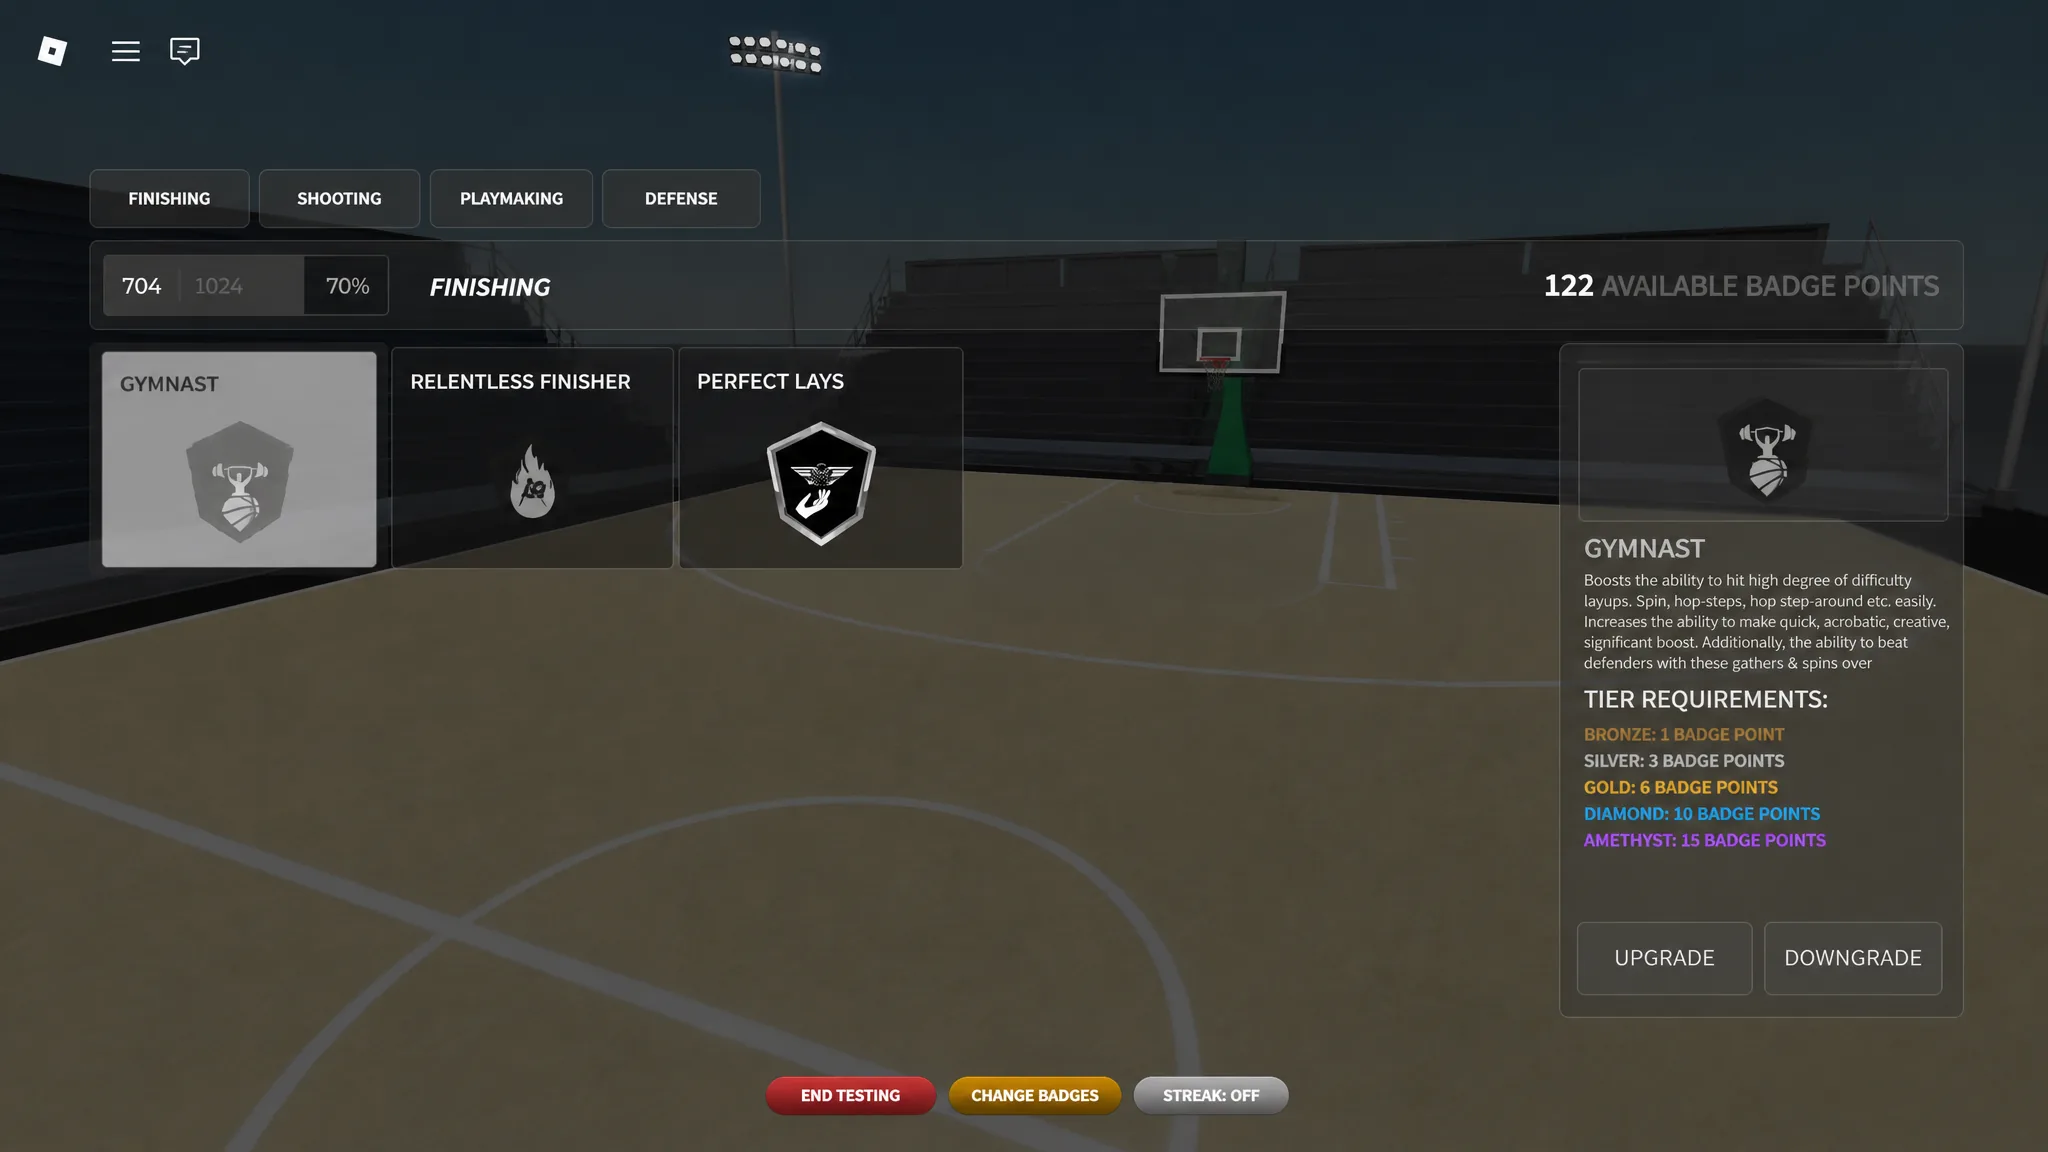
Finishing badge thresholds
| Badge | Bronze | Silver | Gold | Diamond | Amethyst |
|---|---|---|---|---|---|
| Aerial Assault | Close Shot 59 / Layup 67 | Close Shot 64 / Layup 75 | Close Shot 72 / Layup 80 | Close Shot 77 / Layup 86 | Close Shot 83 / Layup 94 |
| Alley-Oop Finisher | Dunk 64 / Vertical 60 | Dunk 71 / Vertical 67 | Dunk 76 / Vertical 75 | Dunk 84 / Vertical 82 | Dunk 97 / Vertical 88 |
| Gymnast | Layup 75 / Vertical 62 | Layup 81 / Vertical 68 | Layup 86 / Vertical 74 | Layup 91 / Vertical 79 | Layup 95 / Vertical 85 |
| High Flyer | Dunk 65 | Dunk 73 | Dunk 80 | Dunk 87 | Dunk 95 |
| Paint King | Layup 65 / Strength 60 | Layup 72 / Strength 67 | Layup 80 / Strength 73 | Layup 87 / Strength 80 | Layup 94 / Strength 87 |
| Perfect Lays | Layup 65 | Layup 73 | Layup 80 | Layup 87 | Layup 95 |
| Putback Finisher | Off. Reb 60 / Close Shot 60 | Off. Reb 68 / Close Shot 68 | Off. Reb 75 / Close Shot 75 | Off. Reb 82 / Close Shot 82 | Off. Reb 90 / Close Shot 90 |
| Relentless Finisher | Layup 65 / Strength 60 | Layup 72 / Strength 67 | Layup 80 / Strength 73 | Layup 87 / Strength 80 | Layup 94 / Strength 87 |
Shooting badge thresholds
| Badge | Bronze | Silver | Gold | Diamond | Amethyst |
|---|---|---|---|---|---|
| Catch and Pop | Three 63 / Mid 68 | Three 71 / Mid 76 | Three 83 / Mid 80 | Three 91 / Mid 86 | Three 96 / Mid 90 |
| Corner Spot-Up | Three 68 | Three 75 | Three 83 | Three 88 | Three 93 |
| Fade Artist | Moving 65 / Mid 75 | Moving 74 / Mid 80 | Moving 75 / Mid 85 | Moving 81 / Mid 91 | Moving 86 / Mid 97 |
| Formless Shooter | Mid 66 / Stamina 63 | Mid 74 / Stamina 69 | Mid 85 / Stamina 75 | Mid 93 / Stamina 87 | Mid 98 / Stamina 94 |
| Limitless Shooter | Three 76 | Three 82 | Three 88 | Three 93 | Three 96 |
| Mid-Range Maestro | Mid 67 | Mid 74 | Mid 81 | Mid 87 | Mid 95 |
| Relentless Shooter | Three 64 / Stamina 65 | Three 73 / Stamina 70 | Three 81 / Stamina 78 | Three 90 / Stamina 86 | Three 96 / Stamina 92 |
| Tunnel Vision | Three 66 | Three 75 | Three 83 | Three 90 | Three 97 |
| Quick Draw | Mid 68 | Mid 75 | Mid 84 | Mid 91 | Mid 96 |
| Whistle Wizard | Free Throw 70 | Free Throw 80 | Free Throw 85 | Free Throw 90 | Free Throw 97 |
Playmaking badge thresholds
| Badge | Bronze | Silver | Gold | Diamond | Amethyst |
|---|---|---|---|---|---|
| Dimer | Pass Acc 63 | Pass Acc 71 | Pass Acc 81 | Pass Acc 88 | Pass Acc 96 |
| Dish Out | Pass Acc 63 / Vert 40 | Pass Acc 71 / Vert 45 | Pass Acc 81 / Vert 50 | Pass Acc 88 / Vert 55 | Pass Acc 96 / Vert 60 |
| Glove | Ball 65 / Post 65 / Str 65 | Ball 73 / Post 72 / Str 71 | Ball 82 / Post 82 / Str 81 | Ball 90 / Post 90 / Str 90 | Ball 96 |
| Iron Grip | Ball 71 / Post 62 / Reb 62 | Ball 81 / Post 69 / Reb 69 | Ball 85 / Post 76 / Reb 78 | Ball 90 / Post 81 / Reb 81 | Ball 96 / Post 93 / Reb 93 |
| Quick Handles | Ball 67 / Speed 59 | Ball 73 / Speed 65 | Ball 81 / Speed 70 | Ball 88 / Speed 83 | Ball 96 / Speed 88 |
| Quick Pass | Pass Acc 63 | Pass Acc 71 | Pass Acc 81 | Pass Acc 88 | Pass Acc 96 |
| Soul Snatcher | Ball 67 | Ball 74 | Ball 81 | Ball 89 | Ball 96 |
| Space Maker | Ball 58 / Speed 66 | Ball 64 / Speed 73 | Ball 70 / Speed 80 | Ball 81 / Speed 87 | Ball 88 / Speed 96 |
| Tireless Handles | Ball 64 / Stamina 59 | Ball 70 / Stamina 67 | Ball 79 / Stamina 75 | Ball 88 / Stamina 82 | Ball 96 / Stamina 90 |
Defense and rebounding badge thresholds
| Badge | Bronze | Silver | Gold | Diamond | Amethyst |
|---|---|---|---|---|---|
| Intimidator | Perim D 64 | Perim D 73 | Perim D 80 | Perim D 90 | Perim D 97 |
| Locks | Perim D 64 / Lat 62 | Perim D 72 / Lat 68 | Perim D 81 / Lat 74 | Perim D 89 / Lat 81 | Perim D 95 / Lat 85 |
| Lurker | Block 65 / Vert 60 / Speed 57 | Block 75 / Vert 73 / Speed 67 | Block 83 / Vert 79 / Speed 73 | Block 89 / Vert 85 / Speed 78 | Block 94 / Vert 92 / Speed 82 |
| Navigator | Lat 63 / Str 32 | Lat 72 / Str 43 | Lat 83 / Str 55 | Lat 87 / Str 66 | Lat 91 / Str 70 |
| Rebound Chaser | Rebound 59 | Rebound 71 | Rebound 82 | Rebound 90 | Rebound 97 |
| Rim Saver | Block 60 / Int D 64 | Block 70 / Int D 72 | Block 81 / Int D 78 | Block 89 / Int D 84 | Block 96 / Int D 88 |
| Thief | Steal 61 | Steal 72 | Steal 84 | Steal 90 | Steal 97 |
| Tough Ankles | Perim D 64 / Stamina 62 | Perim D 69 / Stamina 67 | Perim D 76 / Stamina 74 | Perim D 81 / Stamina 78 | Perim D 93 / Stamina 84 |
| Trampoline | Block 58 / Vert 61 | Block 64 / Vert 68 | Block 74 / Vert 76 | Block 85 / Vert 81 | Block 95 / Vert 91 |
Post-scoring badge thresholds
| Badge | Bronze | Silver | Gold | Diamond | Amethyst |
|---|---|---|---|---|---|
| Deep Post Bag | Post 67 | Post 77 | Post 83 | Post 88 | Post 94 |
| Paint King | Post 65 / Str 70 | Post 75 / Str 80 | Post 85 / Str 86 | Post 90 / Str 91 | Post 95 / Str 95 |
| Post Footwork | Post 68 / Speed 46 | Post 78 / Speed 50 | Post 83 / Speed 53 | Post 88 / Speed 56 | Post 94 / Speed 65 |
| Post Lockdown | Str 62 / Int D 65 | Str 69 / Int D 70 | Str 76 / Int D 75 | Str 88 / Int D 81 | Str 95 / Int D 88 |
Physical badge thresholds
| Badge | Bronze | Silver | Gold | Diamond | Amethyst |
|---|---|---|---|---|---|
| Fast Breaker | Speed 65 / Stamina 60 | Speed 72 / Stamina 67 | Speed 80 / Stamina 75 | Speed 87 / Stamina 82 | Speed 95 / Stamina 90 |
| Hustler | Stamina 65 | Stamina 72 | Stamina 80 | Stamina 87 | Stamina 95 |
| Iron Screens | Strength 65 | Strength 72 | Strength 80 | Strength 87 | Strength 95 |
| Traffic Finisher | Str 65 / Layup 65 | Str 72 / Layup 72 | Str 80 / Layup 80 | Str 87 / Layup 87 | Str 95 / Layup 95 |
How to confirm a badge unlocked
You know a threshold worked when the badge shows up as selectable in the build screen at the tier your stats reach. If a badge stays locked or sits a tier lower than expected, the cause is almost always a stat that is one point short. Badges built on multiple attributes only reach a given tier when every listed stat meets its number for that tier, so a single lagging stat caps the whole badge.
Note: some badges such as Iron Screens, Navigator, and Fast Breaker come from physical and utility stats that are easy to overlook, so check those attribute lines if a hidden badge is not appearing. With every threshold mapped out, you can set your attributes to match the badges your playstyle actually uses and avoid spending points on effects you will rarely trigger.