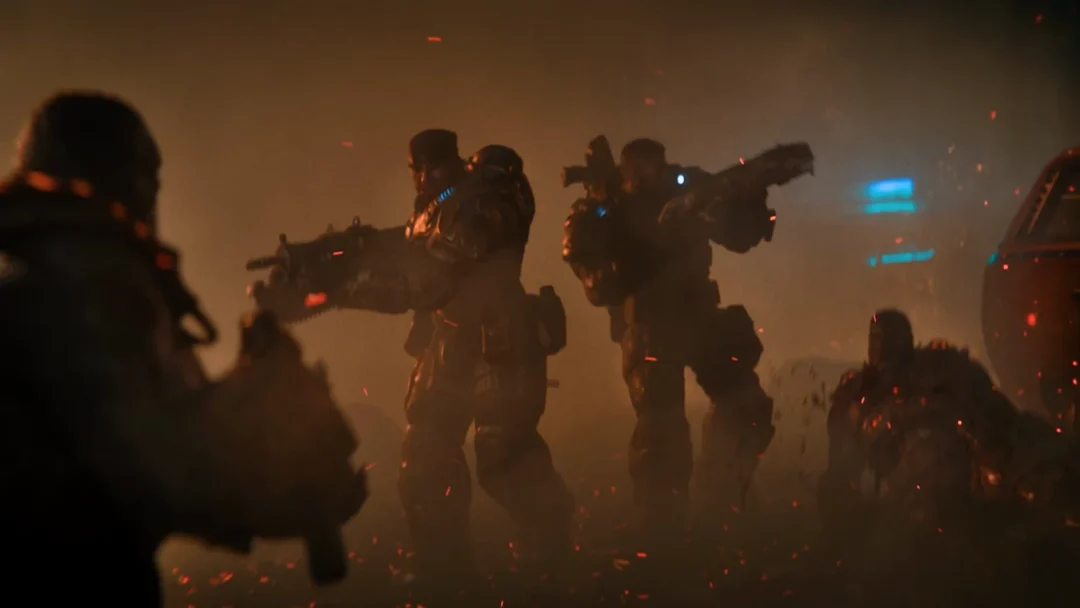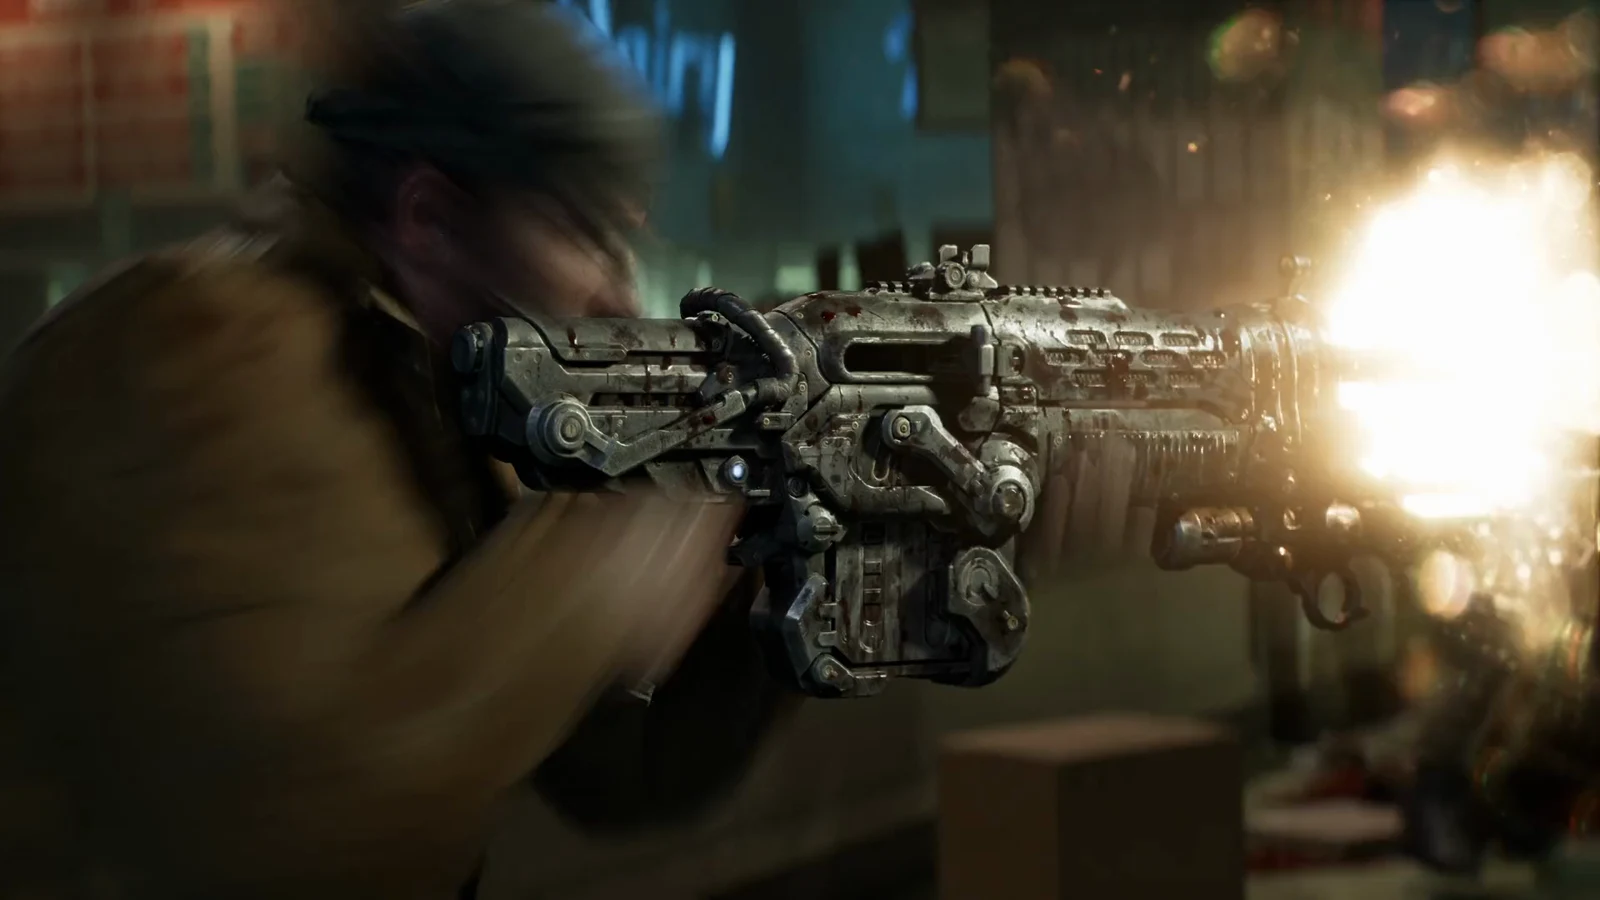
A Gear in Need is the third chapter of Act 1 in Gears of War: E-Day, picking up right after the squad reaches the Police Station at the close of Survival of the Fittest. A Gear calls in for help at the Pay-N-Save, and the whole chapter runs from that first wave of monsters on the street to a last stand inside the store. Two collectibles sit along the route, and both are easy to walk past if you rush.
Quick answer: Fight to the Pay-N-Save through the collapsed building, grab Tomatoes, Canned in the warehouse before the cutscene, defend the store, then take the Broken Lancer Bayonet off the Drone after Tai’s rescue and follow him to the base.
Clear the opening monster wave
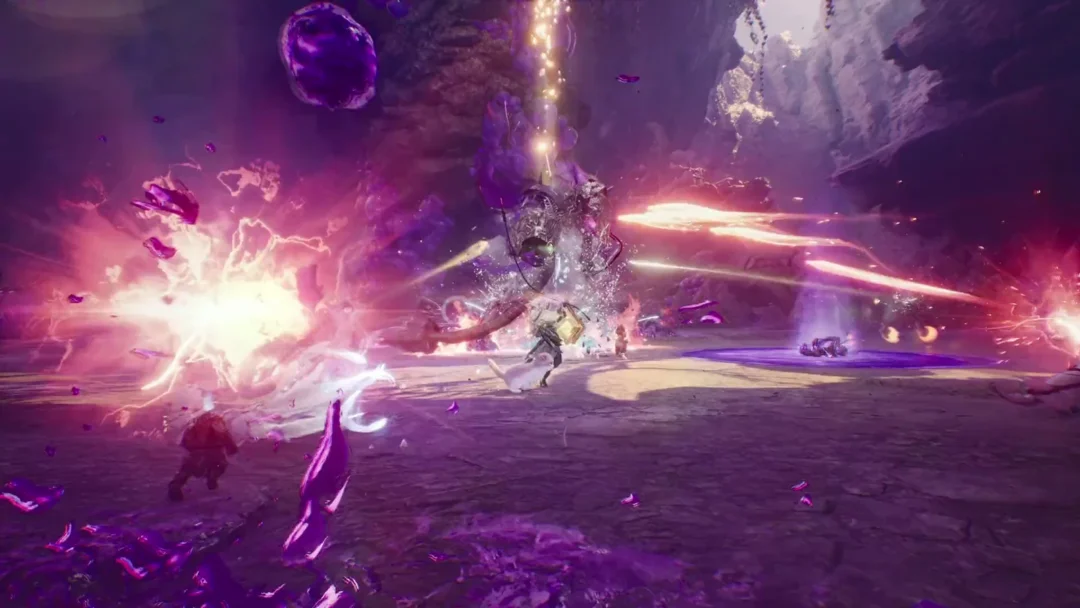
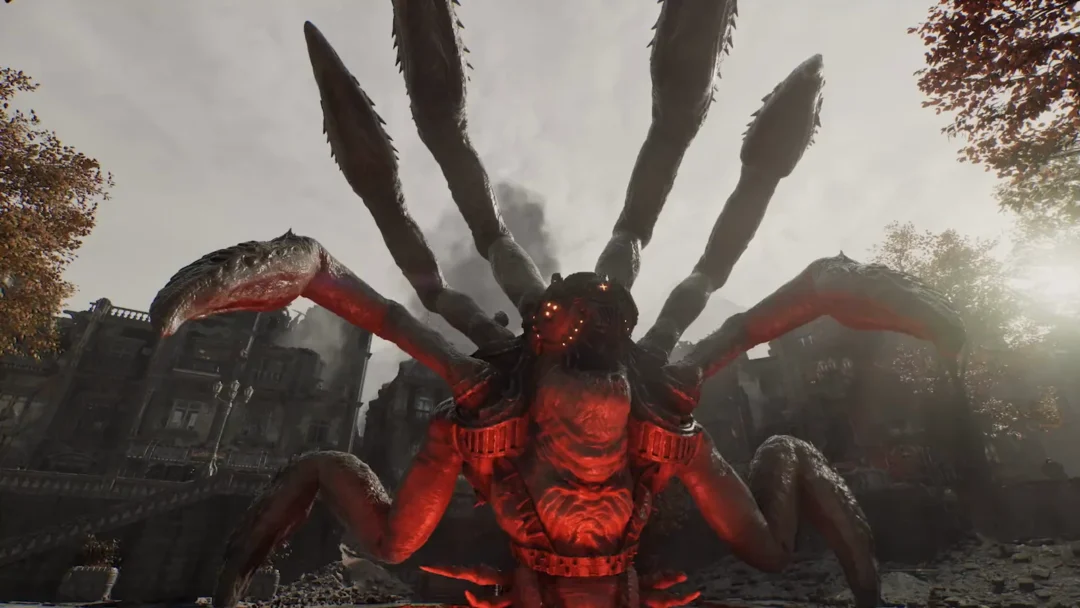
The chapter opens with a Gear radioing for backup at the Pay-N-Save. A large claw bursts up through the ground and tears open a hole that the enemies pour out of. Locusts, Crawlers, and Drones all charge your position at once.
Take cover immediately rather than trading shots in the open. Push toward the right side of the area, where the extra height gives you a cleaner line on the enemies below. Deal with the Crawlers first, then press forward toward the hole to finish off the Drones and grab the ammo they drop.
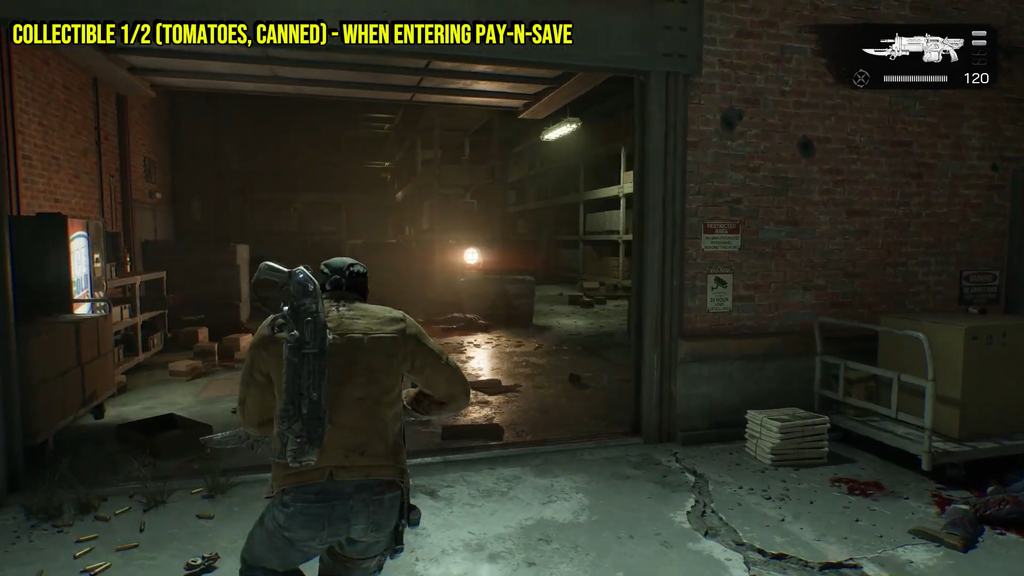
Reach the Pay-N-Save through the collapse
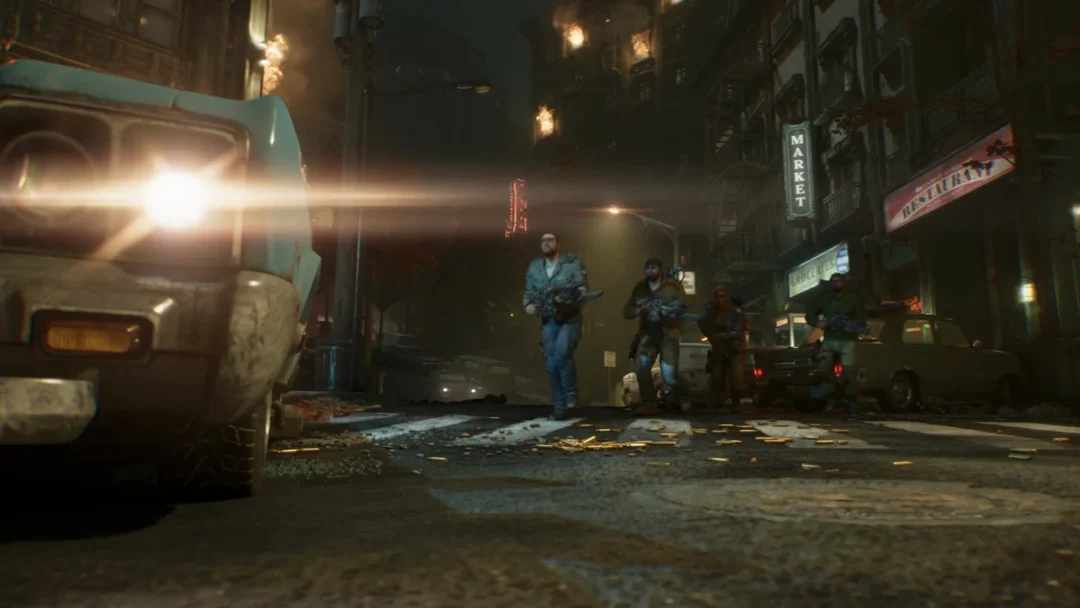
With the street clear, the route to the store cuts straight through a fallen apartment building. The path is linear but has a couple of turns that are easy to miss.
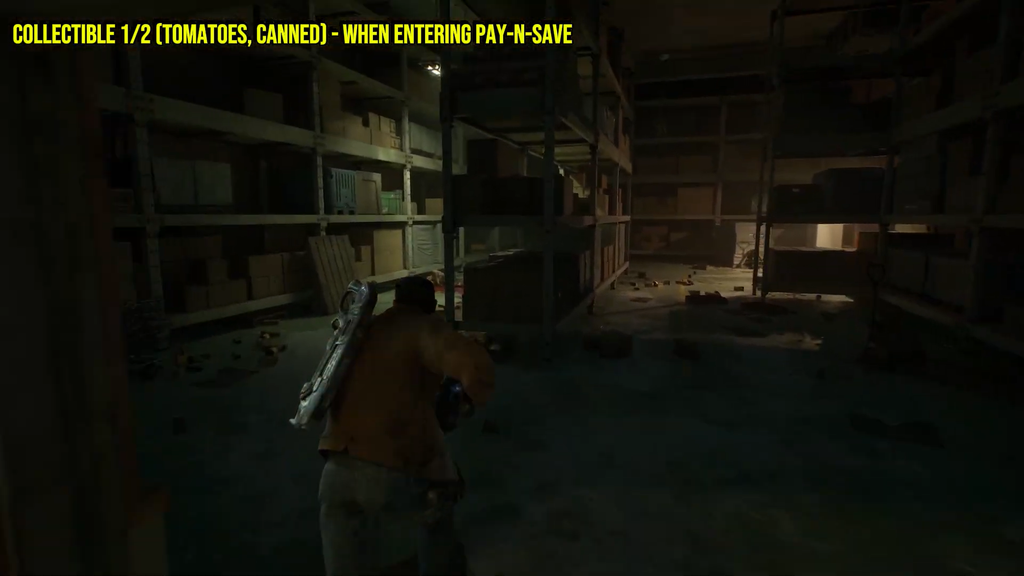
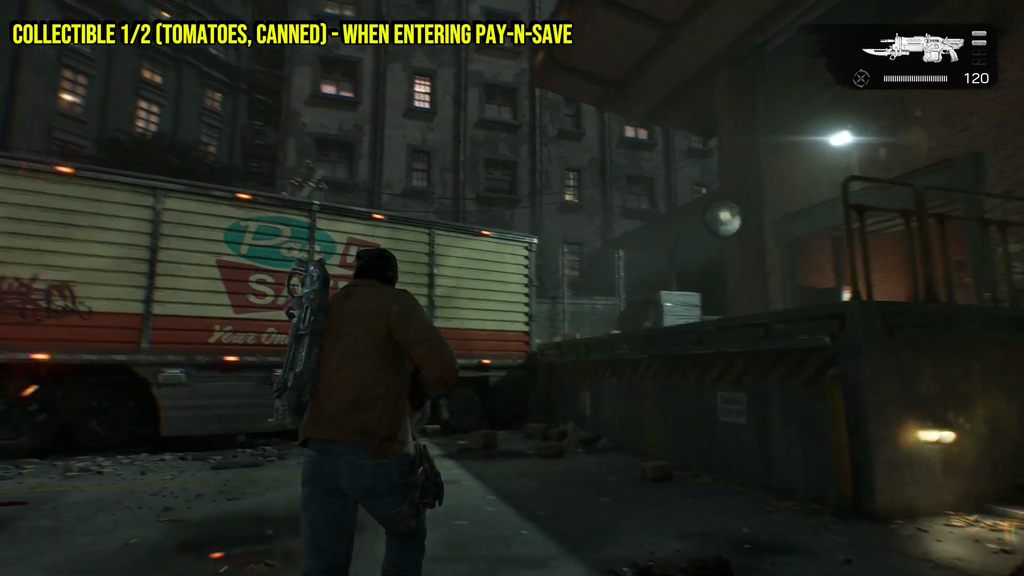
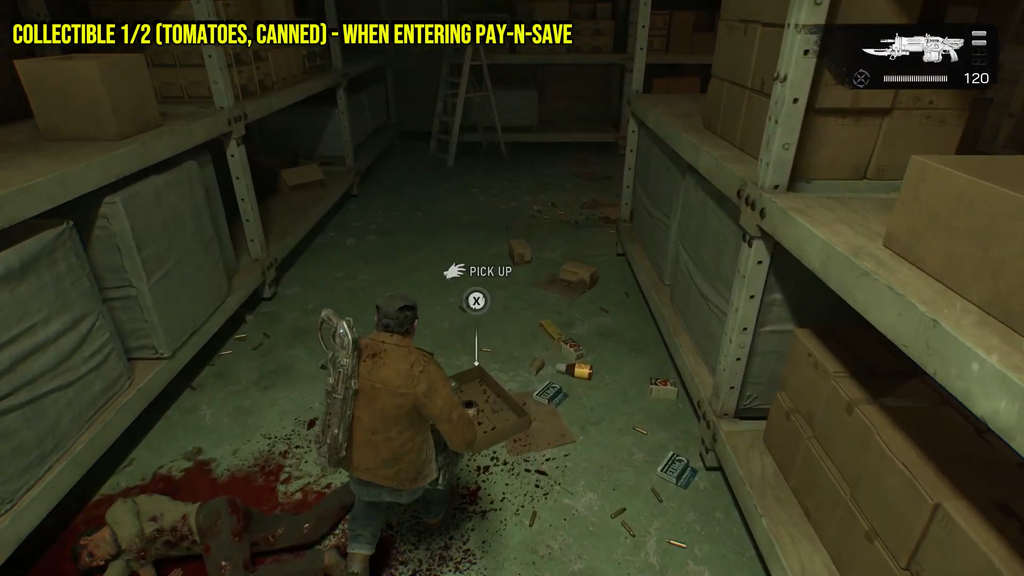
Collectible 1: Tomatoes, Canned
Inside the warehouse, work past the refrigerators and shelving into the back storage space. In the second aisle, look on the floor for an open cardboard box sitting next to a corpse and scattered supplies. Pick up Tomatoes, Canned here. Grab it before you touch the Exit door at the end, since interacting with that door triggers a cutscene and locks you out of the warehouse.
Defend the Pay-N-Save
Once the cutscene ends, a large swarm of Locusts and Drones floods the store. Join the rest of the squad and hold the line. With this many enemies, you will be ducking behind the checkout counters constantly, so keep moving between cover, scoop up ammo whenever you pass it, and fire in short, accurate bursts.
The Gnasher is strong at close range against the Drones that push into the aisles, so let them close the gap and finish them up close.
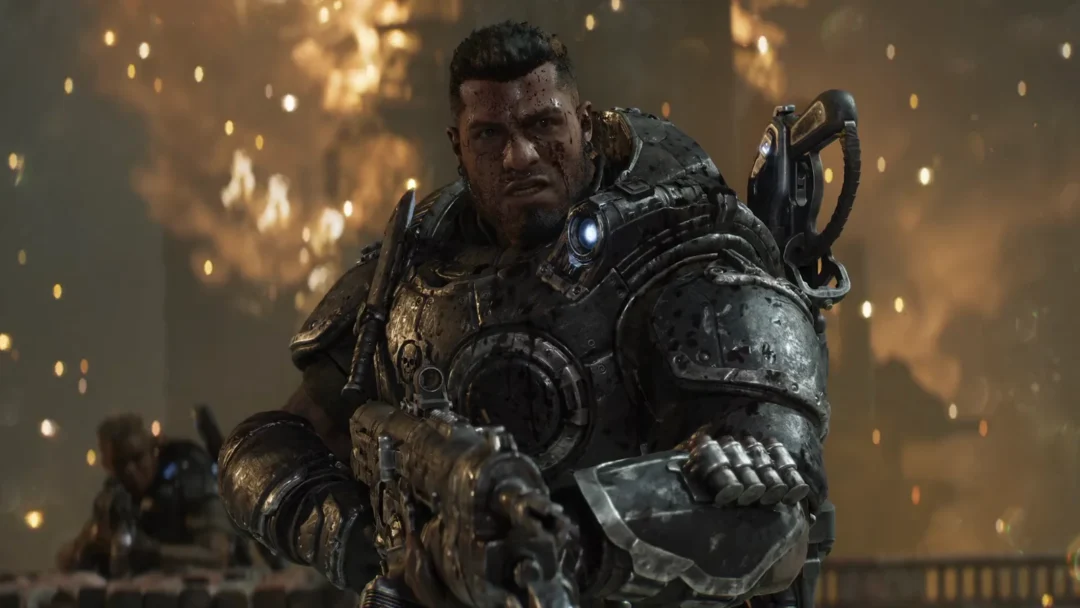
Partway through the defense a scripted moment plays out. A Drone grabs Marcus by the neck while he is out of ammo, and Tai steps in to save him, tearing the enemy apart with his chainsaw.
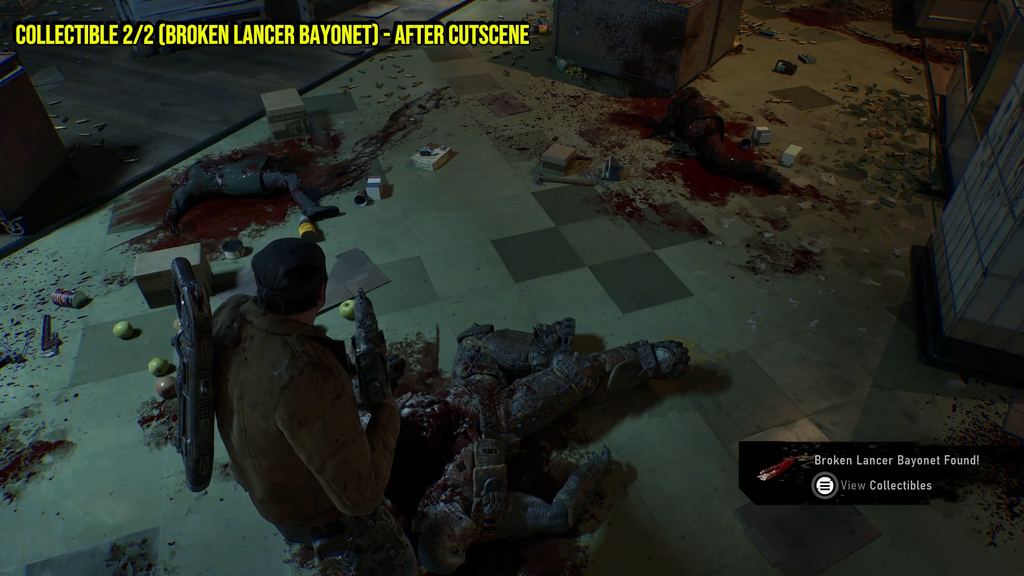
Collectible 2: Broken Lancer Bayonet
When control returns after that cutscene, the Broken Lancer Bayonet is right at your feet, lying beside the Drone’s body on the store floor. Collect it before you leave and follow Tai, because stepping out ends your chance to grab it.
Follow Tai to finish the chapter
With both collectibles in hand, exit the store and follow Tai. The route to the squad’s temporary base is a straight shot down the road, and you regroup with Manu and the other survivors on arrival. Reaching the base ends A Gear in Need, rolling straight into a meeting with Mayor Shaw.
You will know the chapter is complete when the reunion cutscene plays at the base. Top off your ammo before heading out, since the next chapter, Back in the Fold, has you escorting the Mayor to City Hall.
Both A Gear in Need collectibles
| Collectible | Location |
|---|---|
| Tomatoes, Canned | Back storage area of the Pay-N-Save warehouse, in the second aisle behind the refrigerators, beside a corpse. |
| Broken Lancer Bayonet | On the store floor beside the Drone, directly below you after Tai’s rescue cutscene. |