Every puzzle solution for the first map, from the red-hand scanner to the final vertical climb.
Every puzzle solution for the first map, from the red-hand scanner to the final vertical climb.
by AllThingsHow Staff · Edited by Pallav Pathak
Map 1 in A Grabpack Test is the game’s teaching level. It walks you through each Grabpack hand one at a time, starting with simple box drags and swings before layering in power routing, charge transfers, and hand-swapping under pressure. Experienced players finish it in about five minutes, while newcomers can take up to 15 while learning what each hand does.
Quick answer: Scan the red hand on the door scanner, then progress by grabbing boxes, swinging on yellow handles, routing power cells into outlets, and swapping hands with the mouse wheel. You clear the map by climbing the final vertical grill using swing handles and stepping onto the teleport pad, which returns you to the hub.
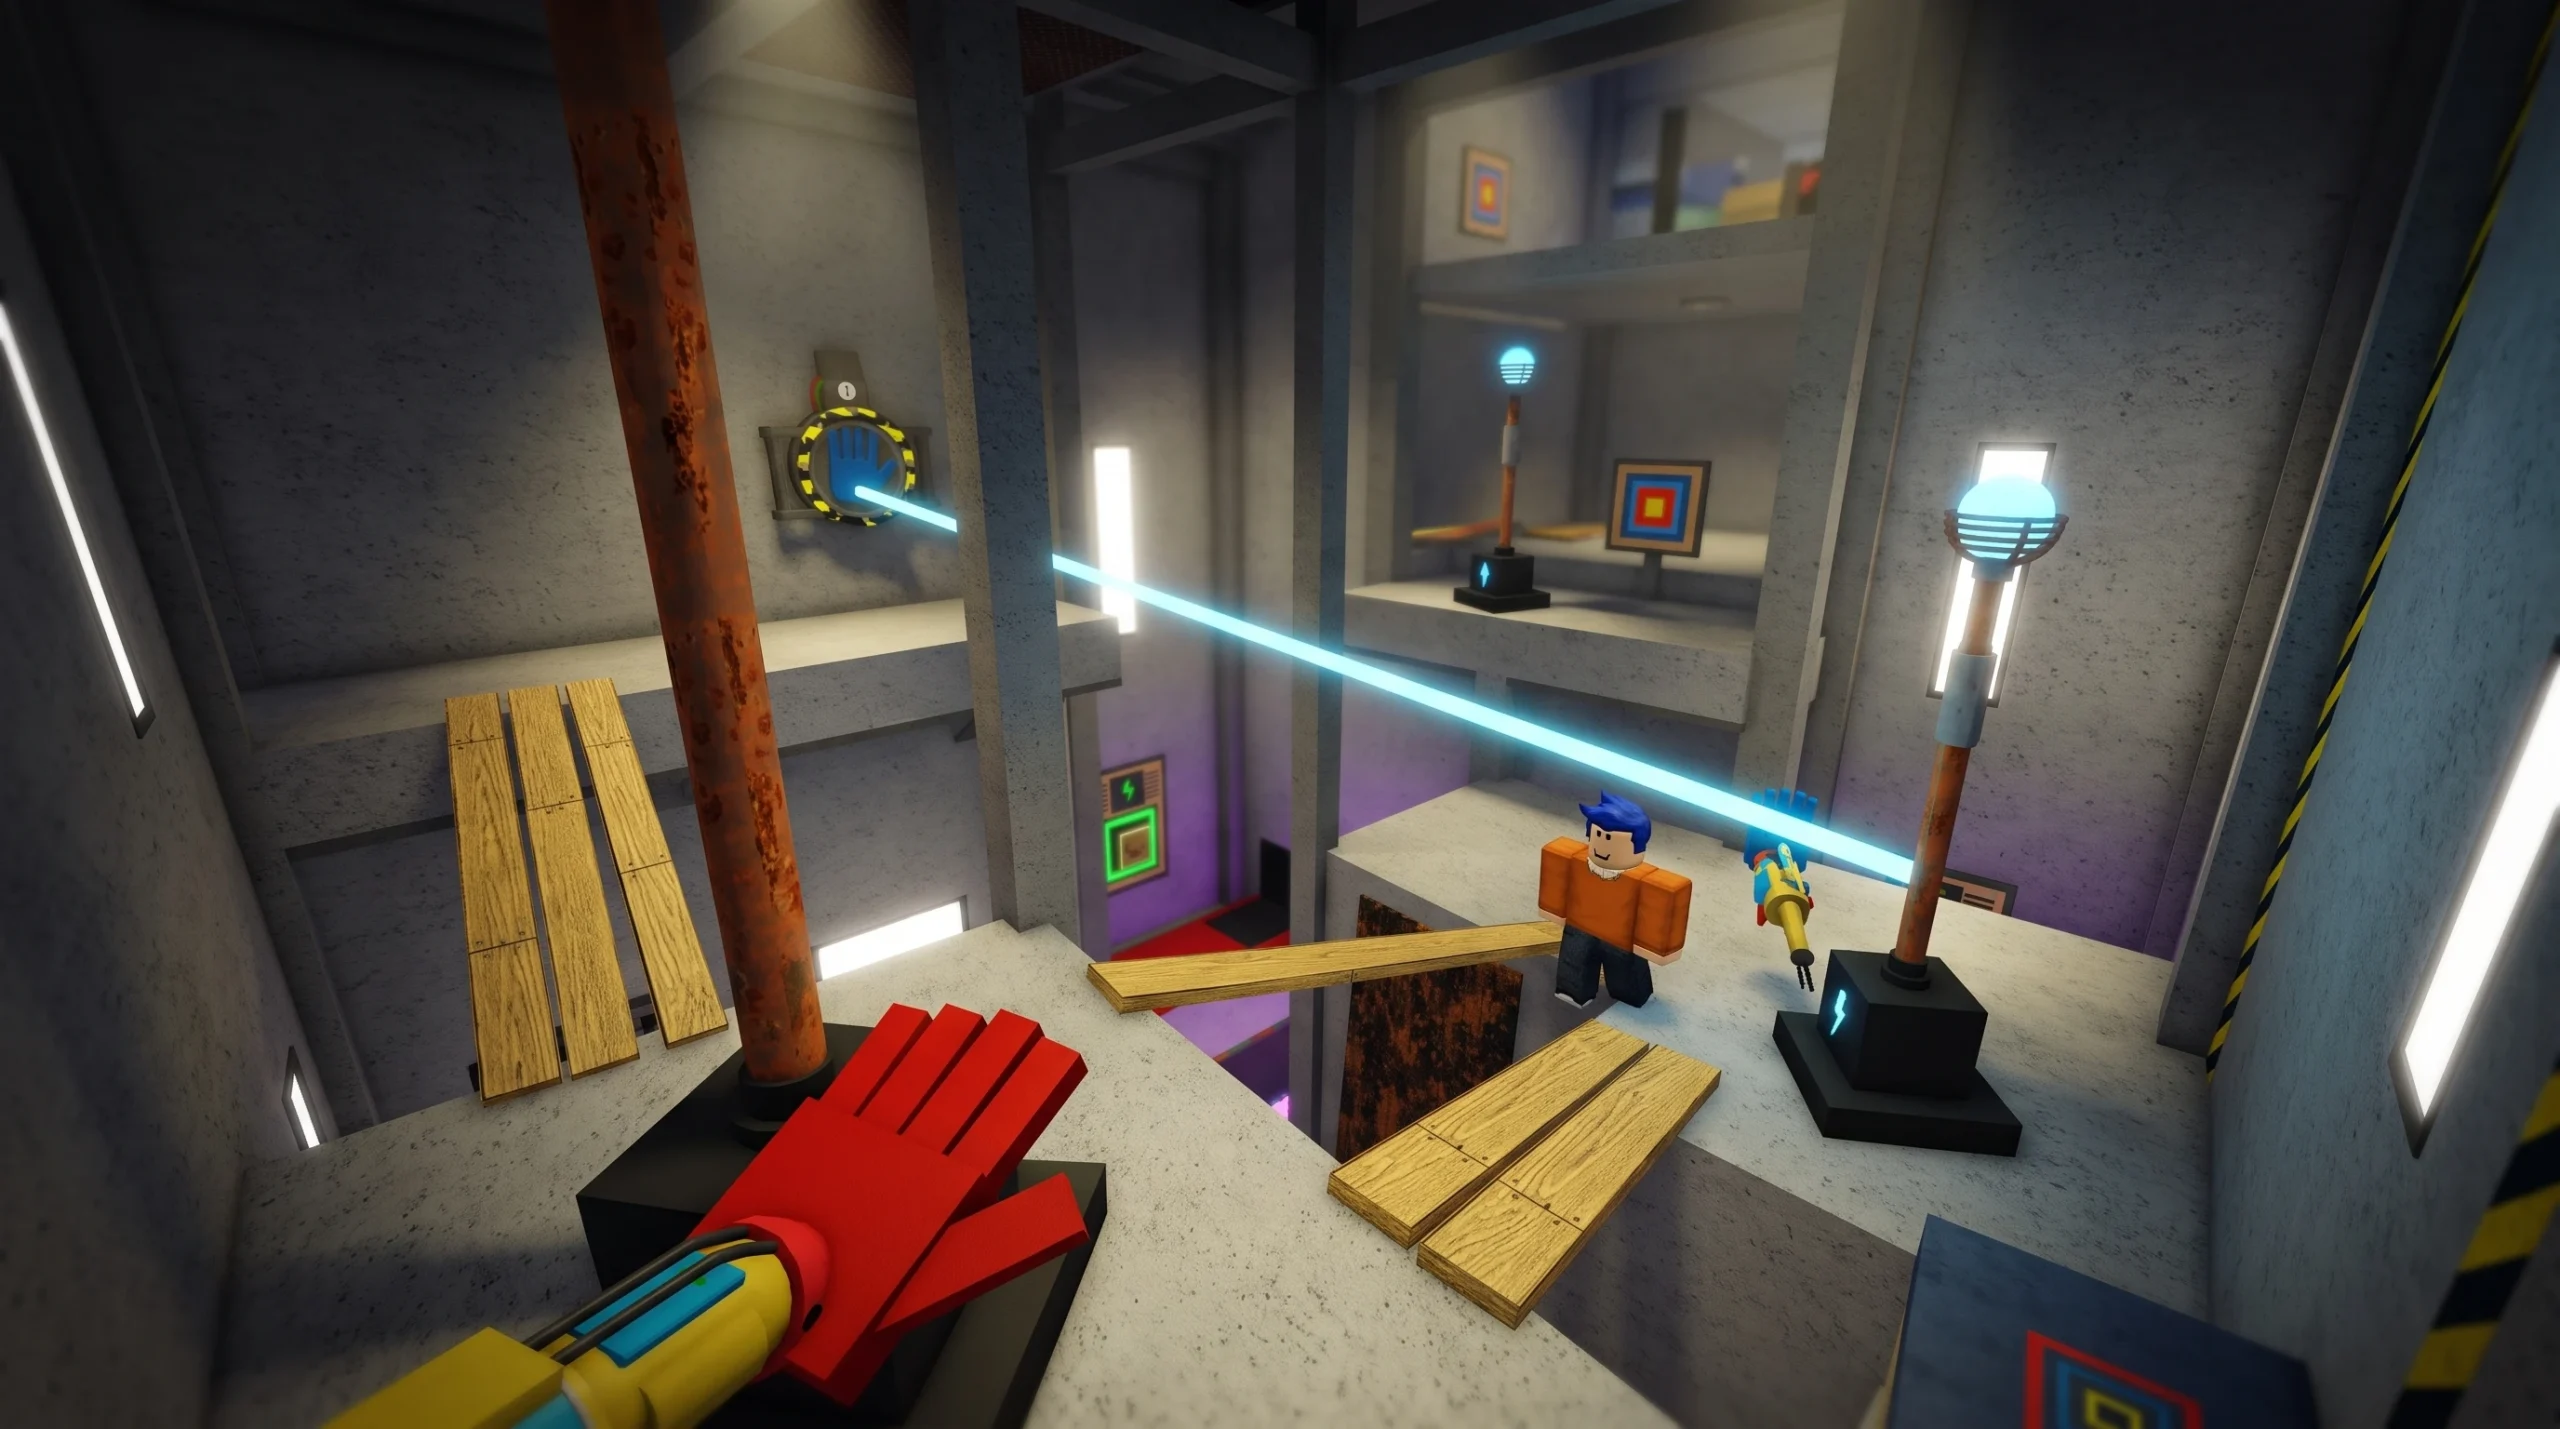
Image credit: Roblox
Grabpack hands and controls you need
By default you carry a blue hand on the left and a red hand on the right. You unlock and cycle through more hands as the map continues. Scroll the mouse wheel to swap the hand on your right arm, and grab or shoot by holding the left or right mouse button.
Hand
What it does
Red / Blue
Grab boxes, pull panels and levers, swing on handles, and open door handlers. Each color scans on its matching scanner.
Purple
Right-click on a purple pad to launch upward to a higher ledge.
Green
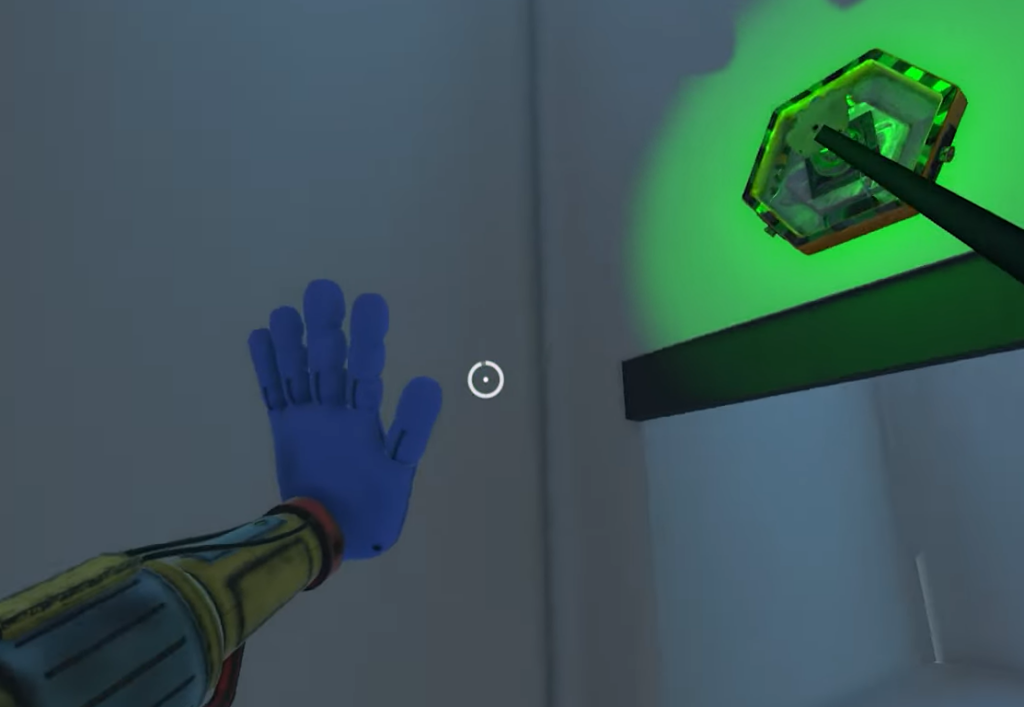
Grab a glowing charge from a hexagonal panel and transfer it to a triangular receiver. The charge drains, so move fast.
Flare
Burns taped rope bindings and shatters glass windows.
Magnet
Latch onto metal plates to pull yourself across wide gaps.
Only one hand can hold a box at a time. Trying to grab the same box with both hands will not work.
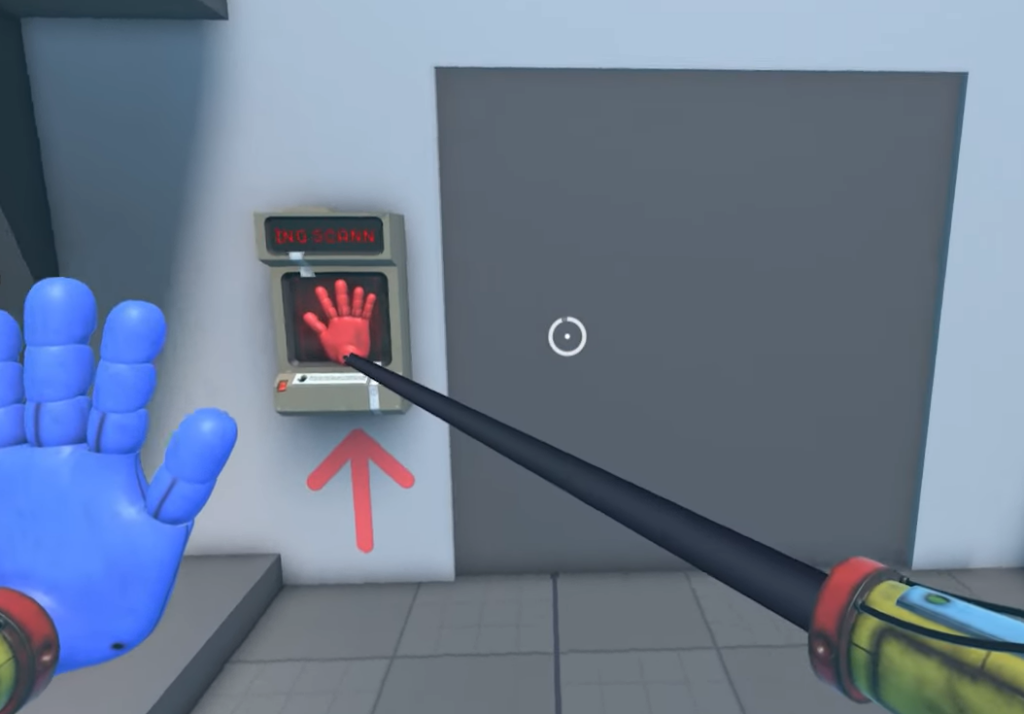
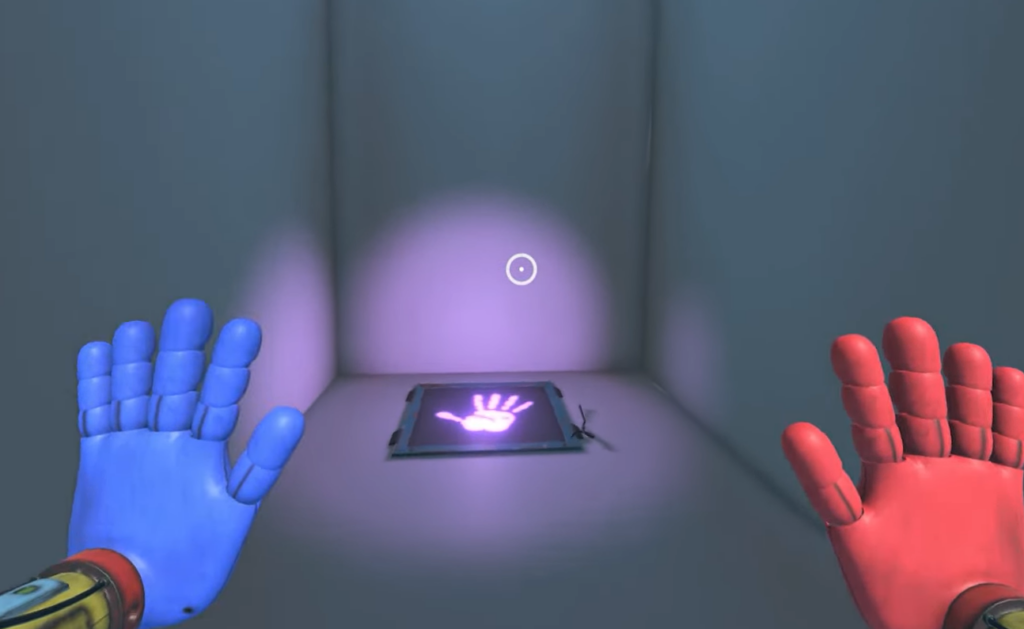
From the spawn point, walk forward to the Map 1 entrance and shoot your red hand at the red scanner beside the door. It flips to green and reads VERIFIED, opening the door.
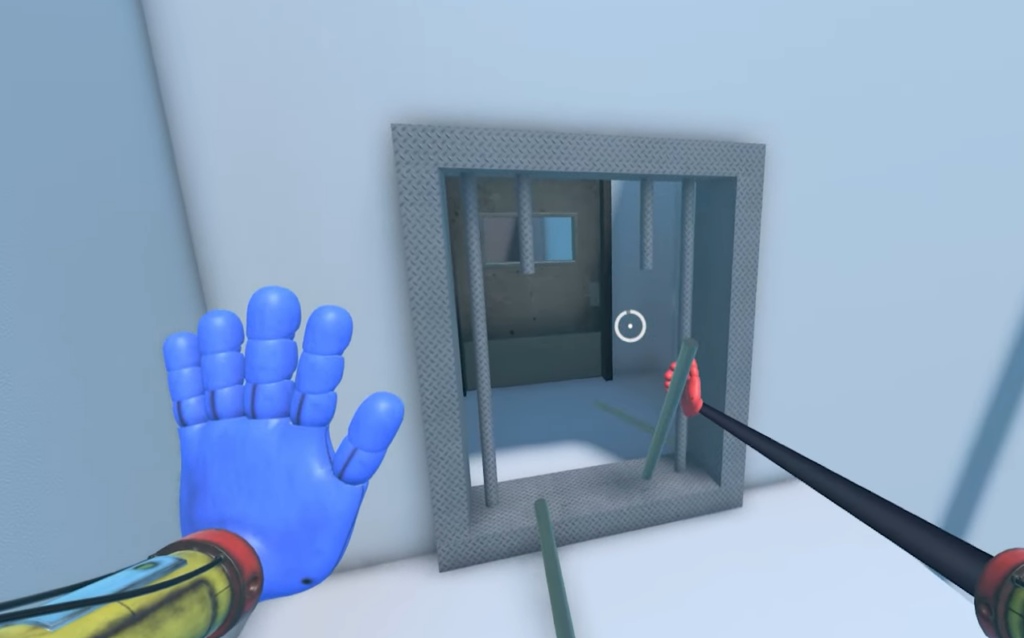
Pull the green metal plate down off the doorway, then use both hands to bend the green bars apart. Walk through the bars and press E to open the metal door.
In the narrow hallway, pull the red lever on the left wall with one hand while grabbing the yellow handle on the raised platform with the other to pull yourself up. Avoid the purple-glowing section that teleports you back to spawn.
Open the next door with E, then shoot the purple hand at the high yellow handle and pull yourself up through the ceiling opening.
Image credit: Roblox / SholoGamingToo
Power routing puzzles with the power cell
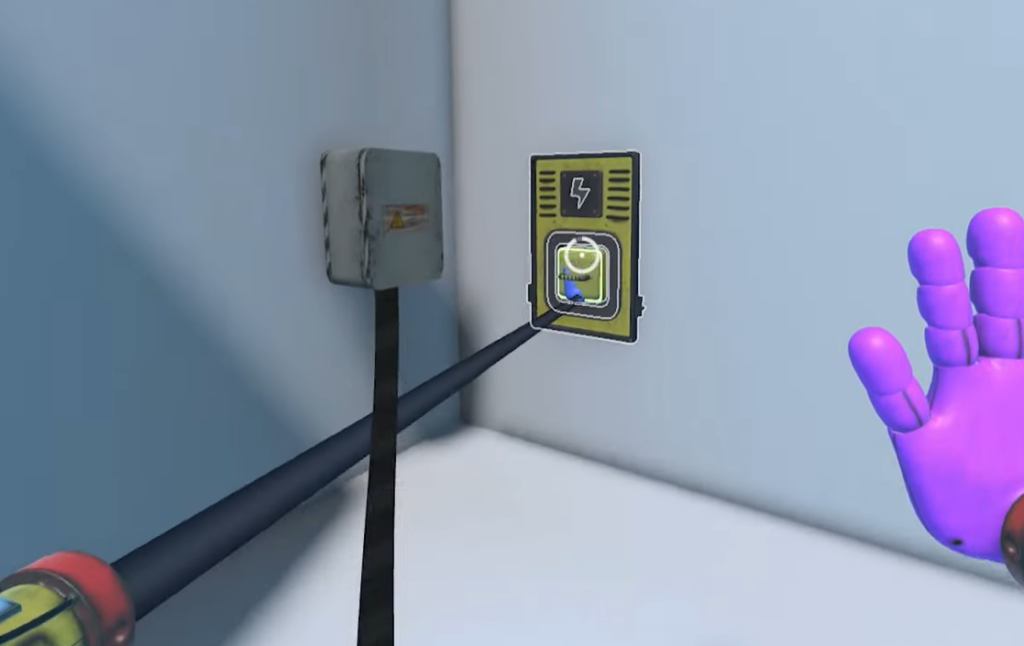
These rooms hinge on moving a single green power cell (battery) between outlets. A cell placed in a door outlet keeps that door open, while the same cell in a pad outlet powers the purple boost. Pulling the cell back out depowers whatever it was feeding.
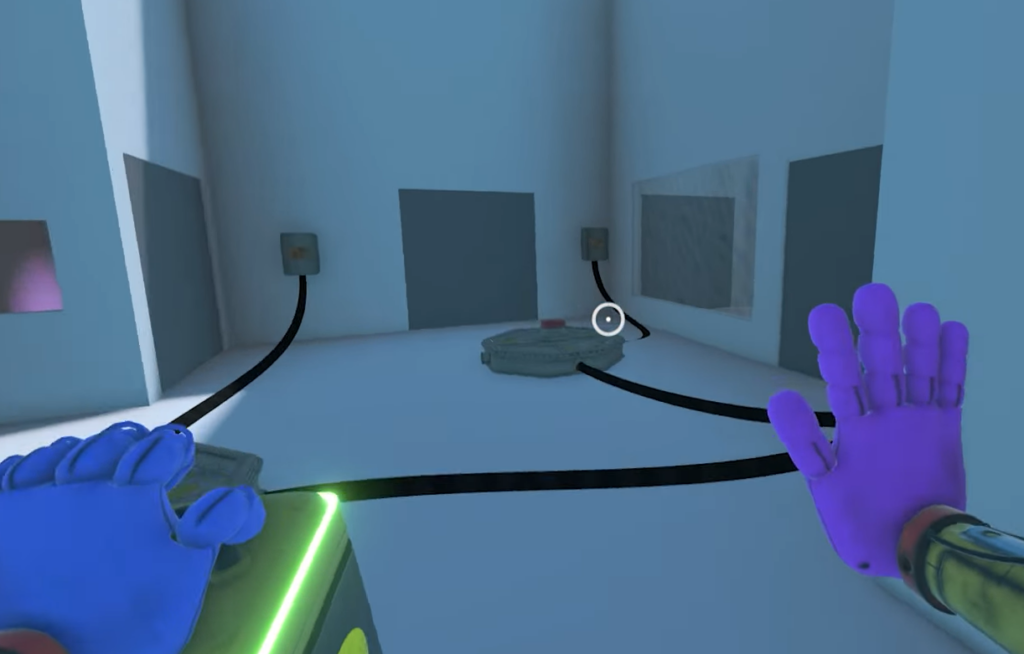
Pull the red lever to open the shutter and expose the green power cell. Grab it with your blue hand and place it in the wall outlet so the wires glow cyan.
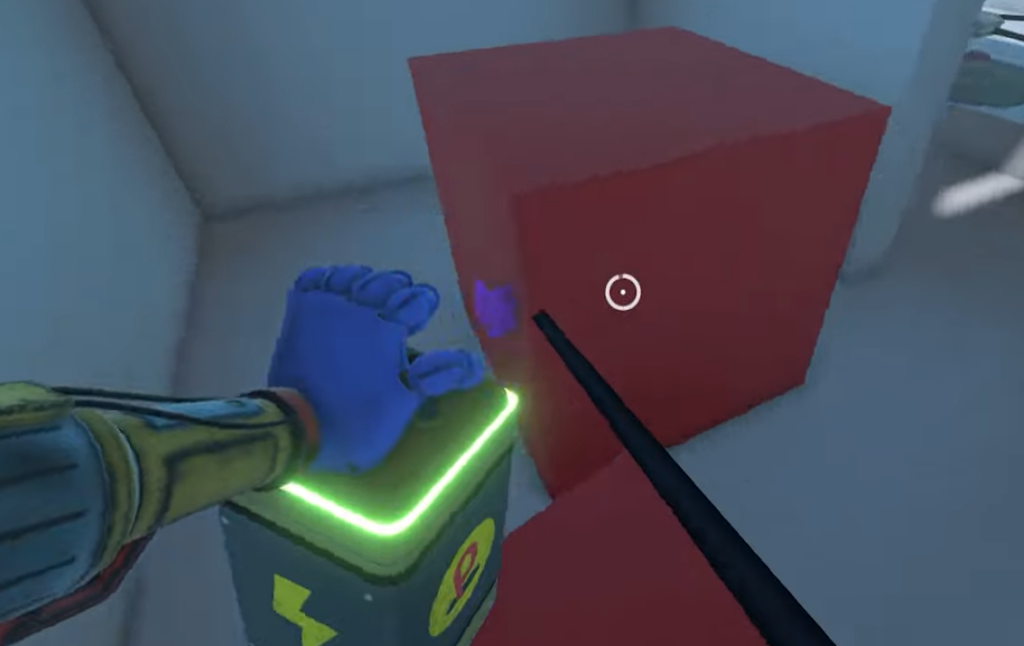
Press the large red floor button to open the door, revealing a purple pad. Then pull the power cell back out through the window to redirect the power to the pad, and boost up to the next level.
In the two-button room, feed the cell into a socket to open a door, then move it to a different socket to power the purple pad. Boost up, pull the ledge lever to open a shutter, and use the buttons to reach the second power cell.
Place the second cell in the socket above eye level, then press the main button twice to open the final locked doors. Drag the small red box inside and position it with the larger box so you can climb through the gap.
Swap to the green hand, grab the glowing charge from the hexagonal panel, and quickly move it to the triangular receiver before it drains. This opens the door.
Equip the flare hand and shoot the white tape binding on the double doors to burn it away. Pull the lever to open the box on the right and take the power cell.
Swing across the gap using the yellow handle on the far right and drop the cell into the console. Move the boxes on the left aside and squeeze through the gap between the grill and the trash bags.
The grassy hallway you pass through is a safe checkpoint area. Touching the grass is purely cosmetic and does not block progress.
At the chain-link fence, move the red box to climb over. Use the flare hand to shatter the glass window, then use the green hand to pull the charge through the broken window and carry it to the receiver to open the next door.
Equip the magnet hand and shoot it at the black metal plate on the far wall to pull yourself across the gap. Push the two red boxes aside and shimmy through the tight crate maze.
Once across, pull the large red box away from the crates to expose a small gap and walk through it. Go through the door on the left, climb the stairs, and clear the boxes to grab the power cell on the door.
Return to the base of the stairs and place the cell in the console. Collect the charge with the green hand, then use the magnet hand to reach the elevated platform.
Go through the door and transfer the charge to the triangular panel. Follow the path and use the handles to pull yourself up, swapping between hands from one handle to the next until you reach the base of the vertical metal grill.
Climb the shaft using the series of yellow swing handles until you reach the rooftop platform at the top.
Image credit: Roblox / SholoGamingToo
How to confirm Map 1 is complete
When you reach the outdoor rooftop, an on-screen message reads THIS MAP IS FINALLY FINISHED. Step onto the marked teleport pad and you are sent back to the main lobby, facing the Map 1 entrance again. Reaching the lobby is your confirmation that the map is cleared. From the hub you can either retry Map 1 or move on to another map.
The most common way to lose progress is touching a purple-glowing teleport section, which sends you straight back to spawn. Watch for the warning signs marking those areas and route around them rather than through them.