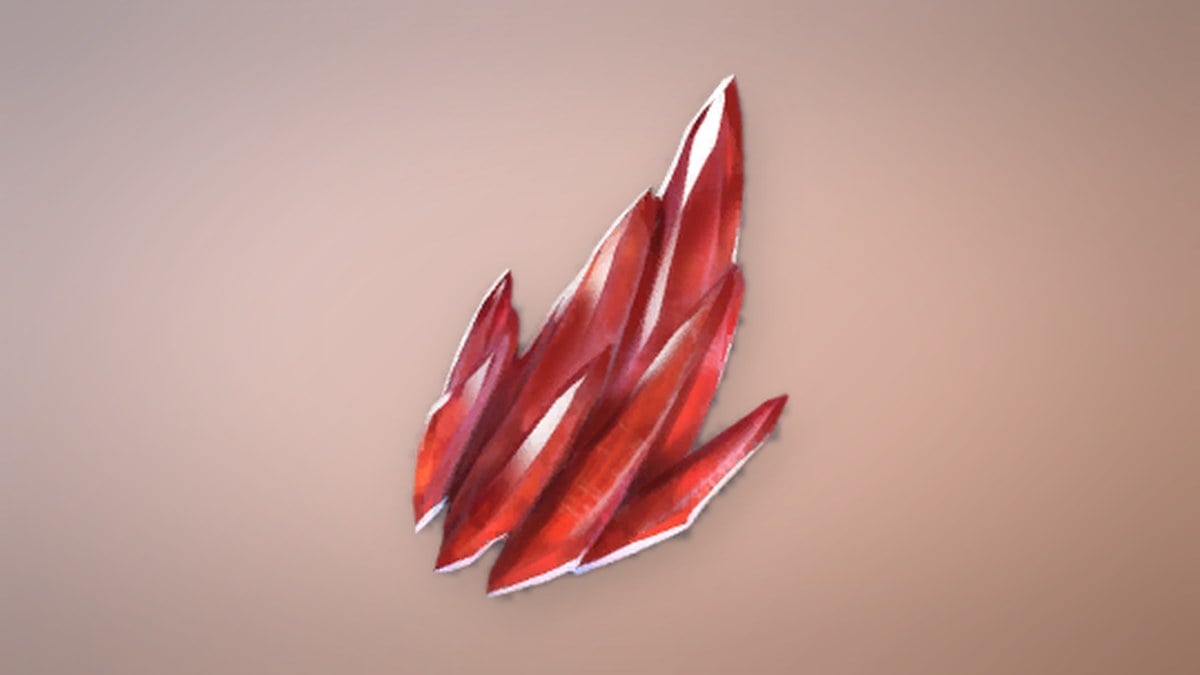
Ruby is a Novice-grade gem resource in AION 2, and Verteron holds the largest concentration of it in the game. A tight cluster of 13 Ruby deposits sits along the cliffs, ruin foundations, and rocky crevices around the Verteron Fortress Ruins and the nearby Destroyed Abyss Gate. Because the nodes hug narrow ledges below the main plateaus, reaching them is as much about careful gliding and climbing as it is about finding them.
Quick answer: All 13 deposits ring the Verteron Fortress Ruins and the Destroyed Abyss Gate. Gather each one with Essence Extraction, and remember a single node can be worked a maximum of three times before it is spent.
What you need to gather Ruby
Ruby nodes are harvested with the Essence Extraction gathering skill, and they fall under the Novice gathering grade, so you do not need a high proficiency level to start. Every extraction also feeds Essence Extraction EXP, which is why the route below can carry a character from early Novice ranks up to Novice Lv. 32 in a single pass.
- Each Ruby source can be gathered a maximum of three times before it depletes.
- Other players share the same nodes, so a crowded area leaves you fewer pulls.
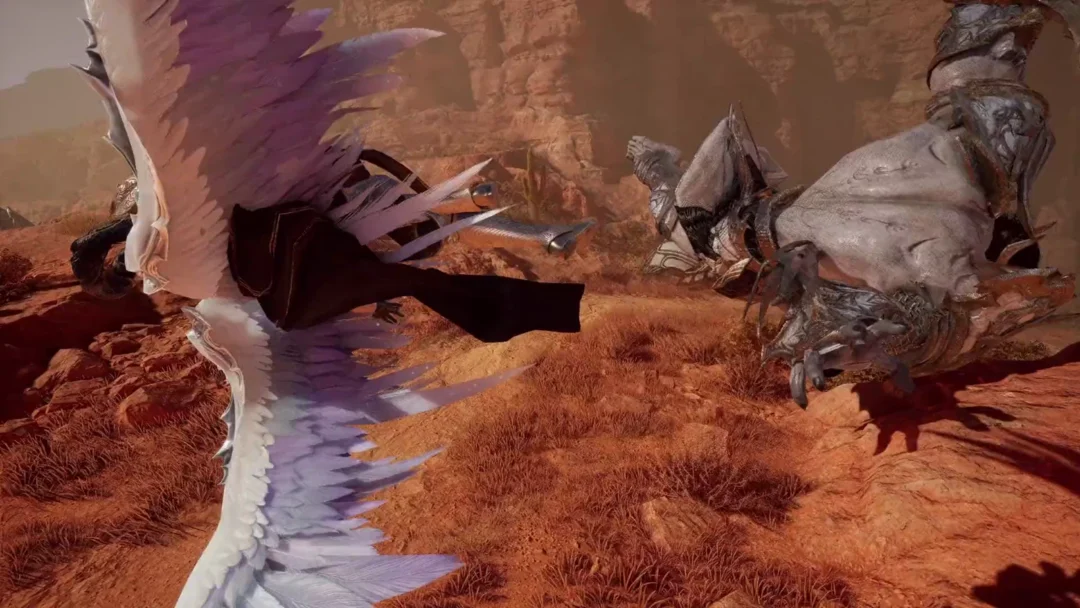
- Numerous deposits occupy cliff ledges and recesses beneath the plateaus; reach them by jumping, gliding with your wings, or climbing walls.
Deploy your wings when dropping toward a lower ledge. Several of these nodes sit at the bottom of steep rock walls where an uncontrolled fall can kill you before you reach the deposit.
All 13 Ruby deposit locations in Verteron
Each deposit is listed in a practical gathering order, starting at the Verteron Fortress Ruins and working around toward the Destroyed Abyss Gate and the Kraka Foothpath. Open your regional map and track your position against the landmarks named in each row.
| # | Landmark area | How to reach it |
|---|---|---|
| 1 | Verteron Fortress Ruins (west) | Drop down the western cliff ledges |
| 2 | Destroyed Abyss Gate | Descend into the cliff-face crevice |
| 3 | Between Kraka Foothpath and the Gate | Drop down the rock ledges |
| 4 | Edge of Verteron Fortress Ruins | Approach the cliffside outcrop |
| 5 | East of Verteron Fortress Ruins | Glide down a cliff fissure |
| 6 | Fortress Jail Entrance / Kraka Sentry | Climb the rock crevices |
| 7 | Ruined bridge, Fortress Ruins | Glide to the lower stone ledge |
| 8 | South of Kraka Cave / Fortress Ruins | Climb the rocky mound |
| 9 | Southwest of Fortress Ruins | Descend the cliff walls to a stone ledge |
| 10 | Western ruin cliffs | Work the ledges below a ruined structure |
| 11 | Ruin perimeter | Drop to the crevice ledge |
| 12 | Behind ruin fortifications | Run behind the outer stone wall base |
| 13 | Kraka Foothpath cliff edge | Drop down overlooking the Destroyed Abyss Gate |
Navigating the cliffs and ruins
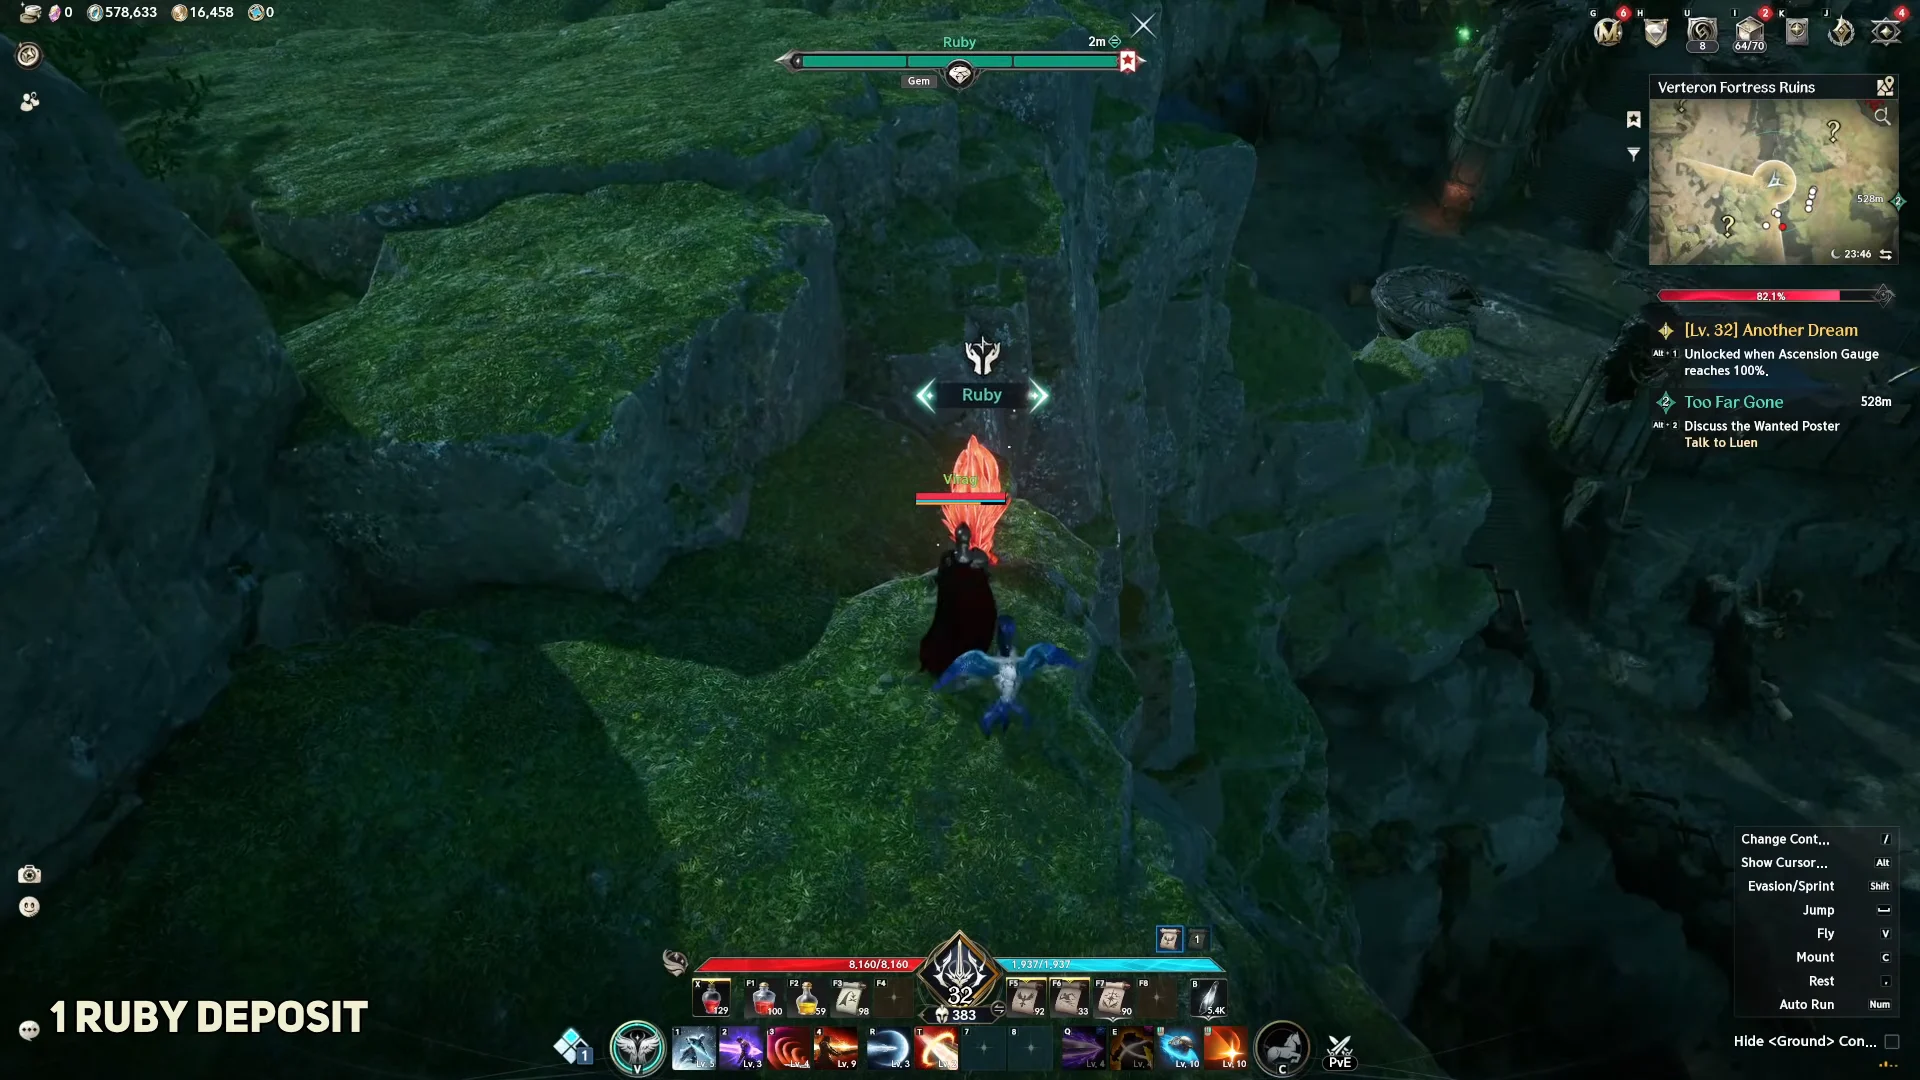
The first deposit sits on a rocky ledge below the western edge of the Fortress Ruins. Line up with the ledge from the plateau above and glide straight down to the glowing node rather than walking the long way around.
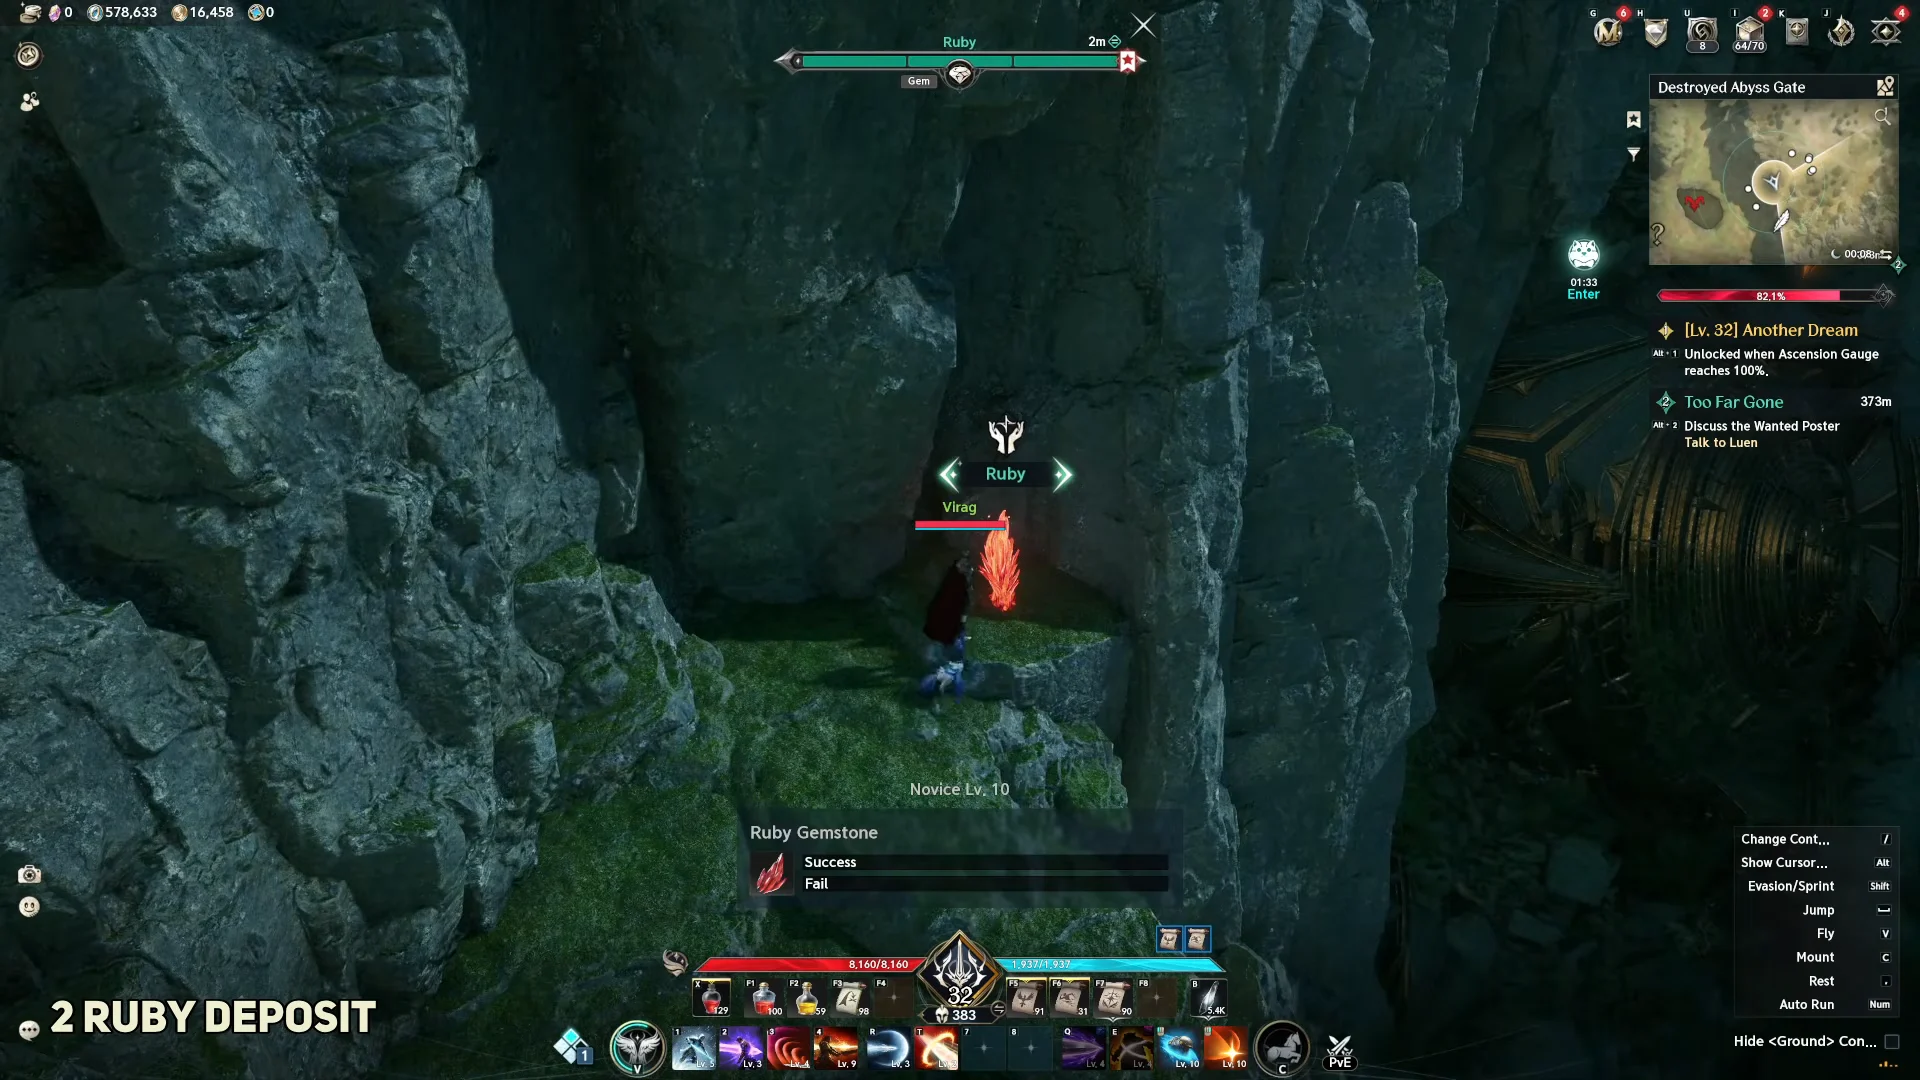
Deposit 2 is tucked inside a crevice in the cliff face near the Destroyed Abyss Gate. Drop into the gap carefully rather than overshooting the ledge below it.
Deposit 3 is found on the rock ledges between the Kraka Foothpath and the Destroyed Abyss Gate. Step down the staggered ledges until the node comes into view against the gate structure.
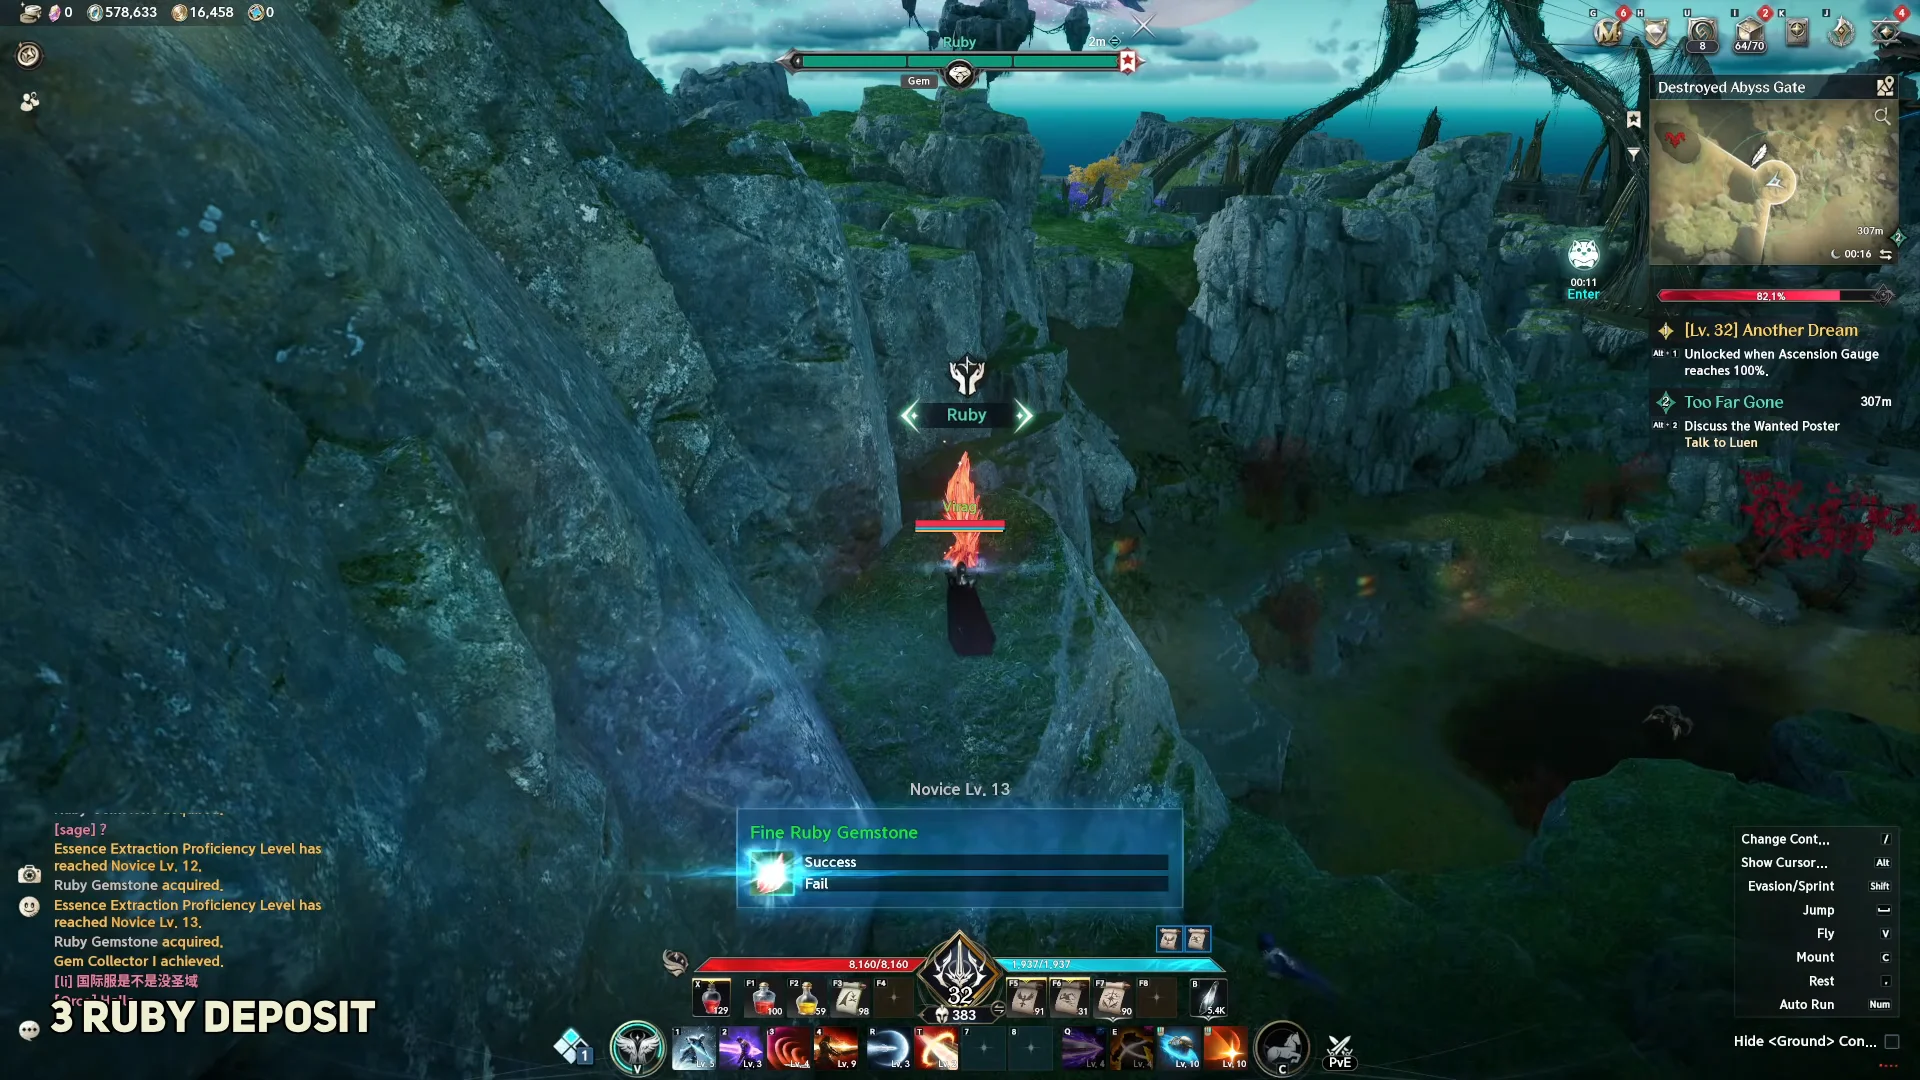
East of the Fortress Ruins, deposit 5 waits at the base of a narrow cliff fissure flanked by steep rock walls. Glide down into the fissure and gather before climbing back out.
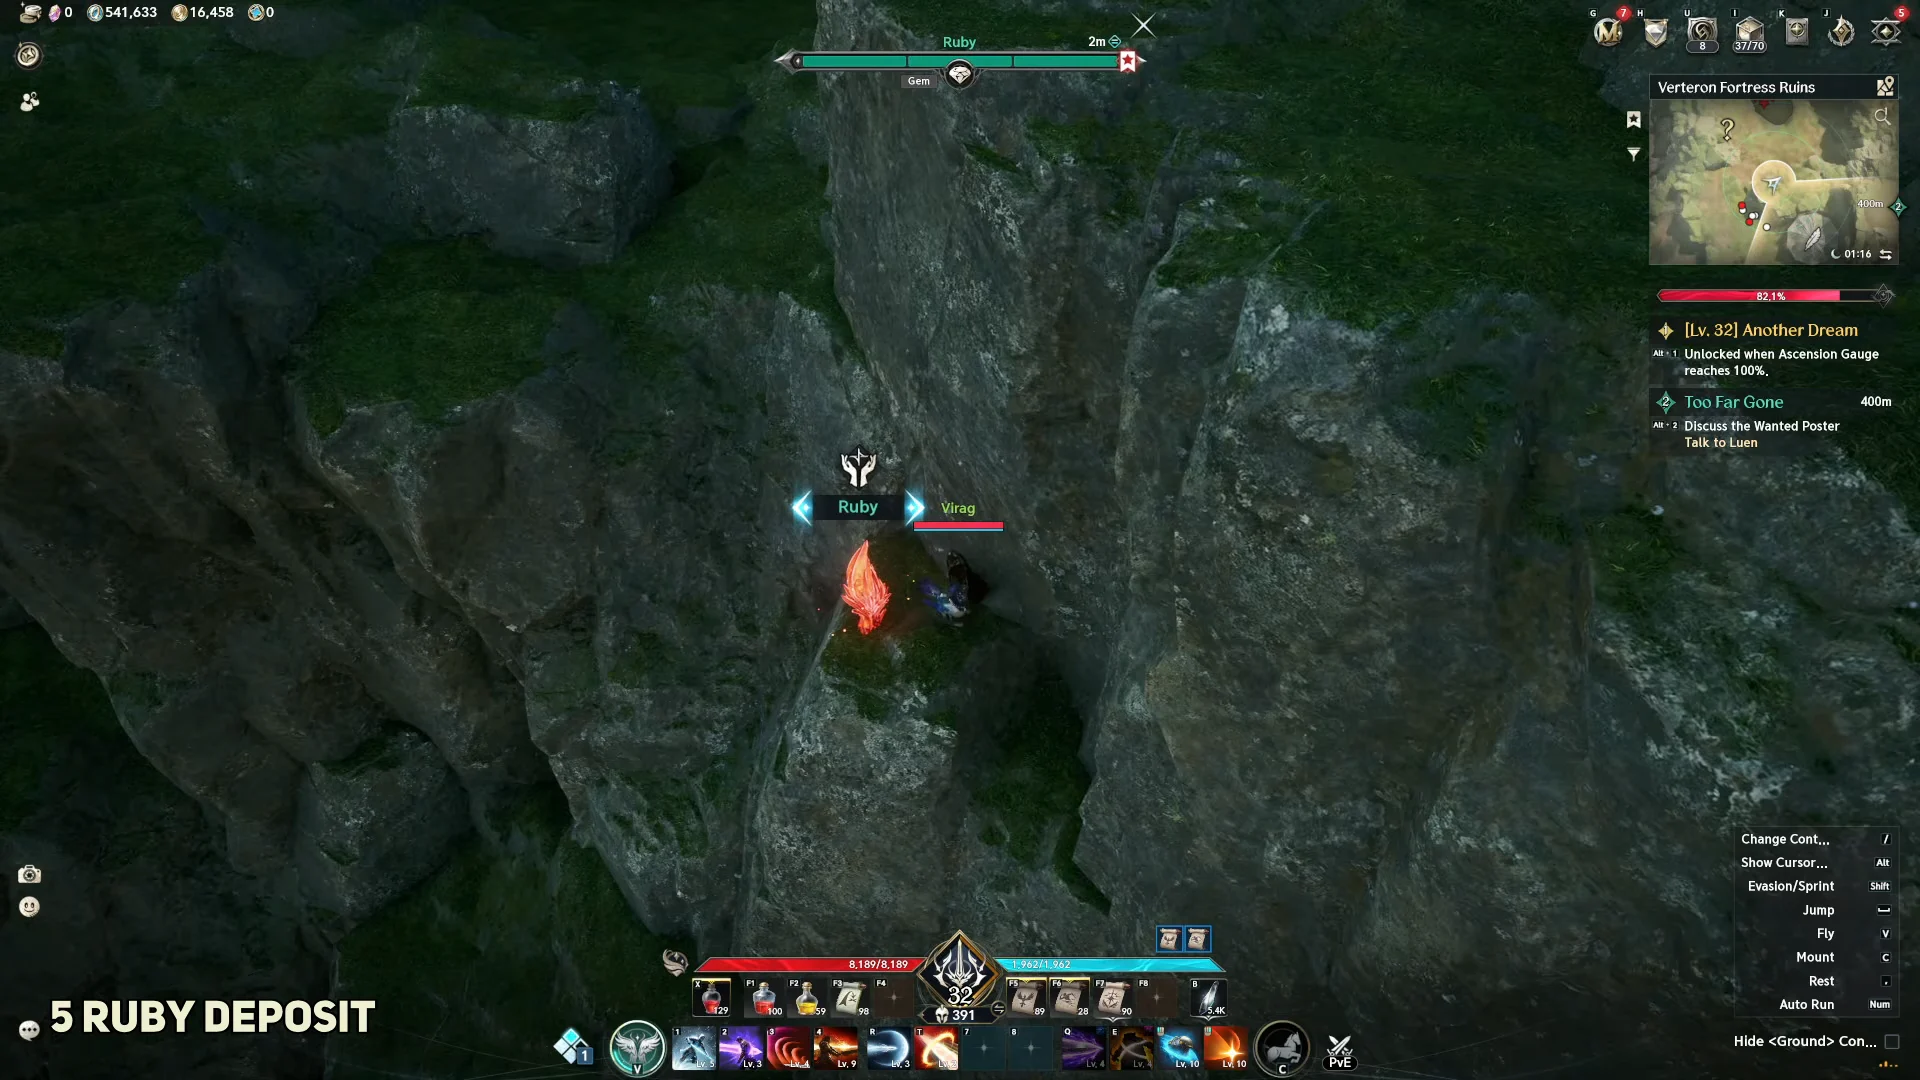
Deposit 6 is near the Fortress Jail Entrance, by the Kraka Sentry. Climb up the rock crevice until the F Gather prompt appears, then extract while hanging on the wall.
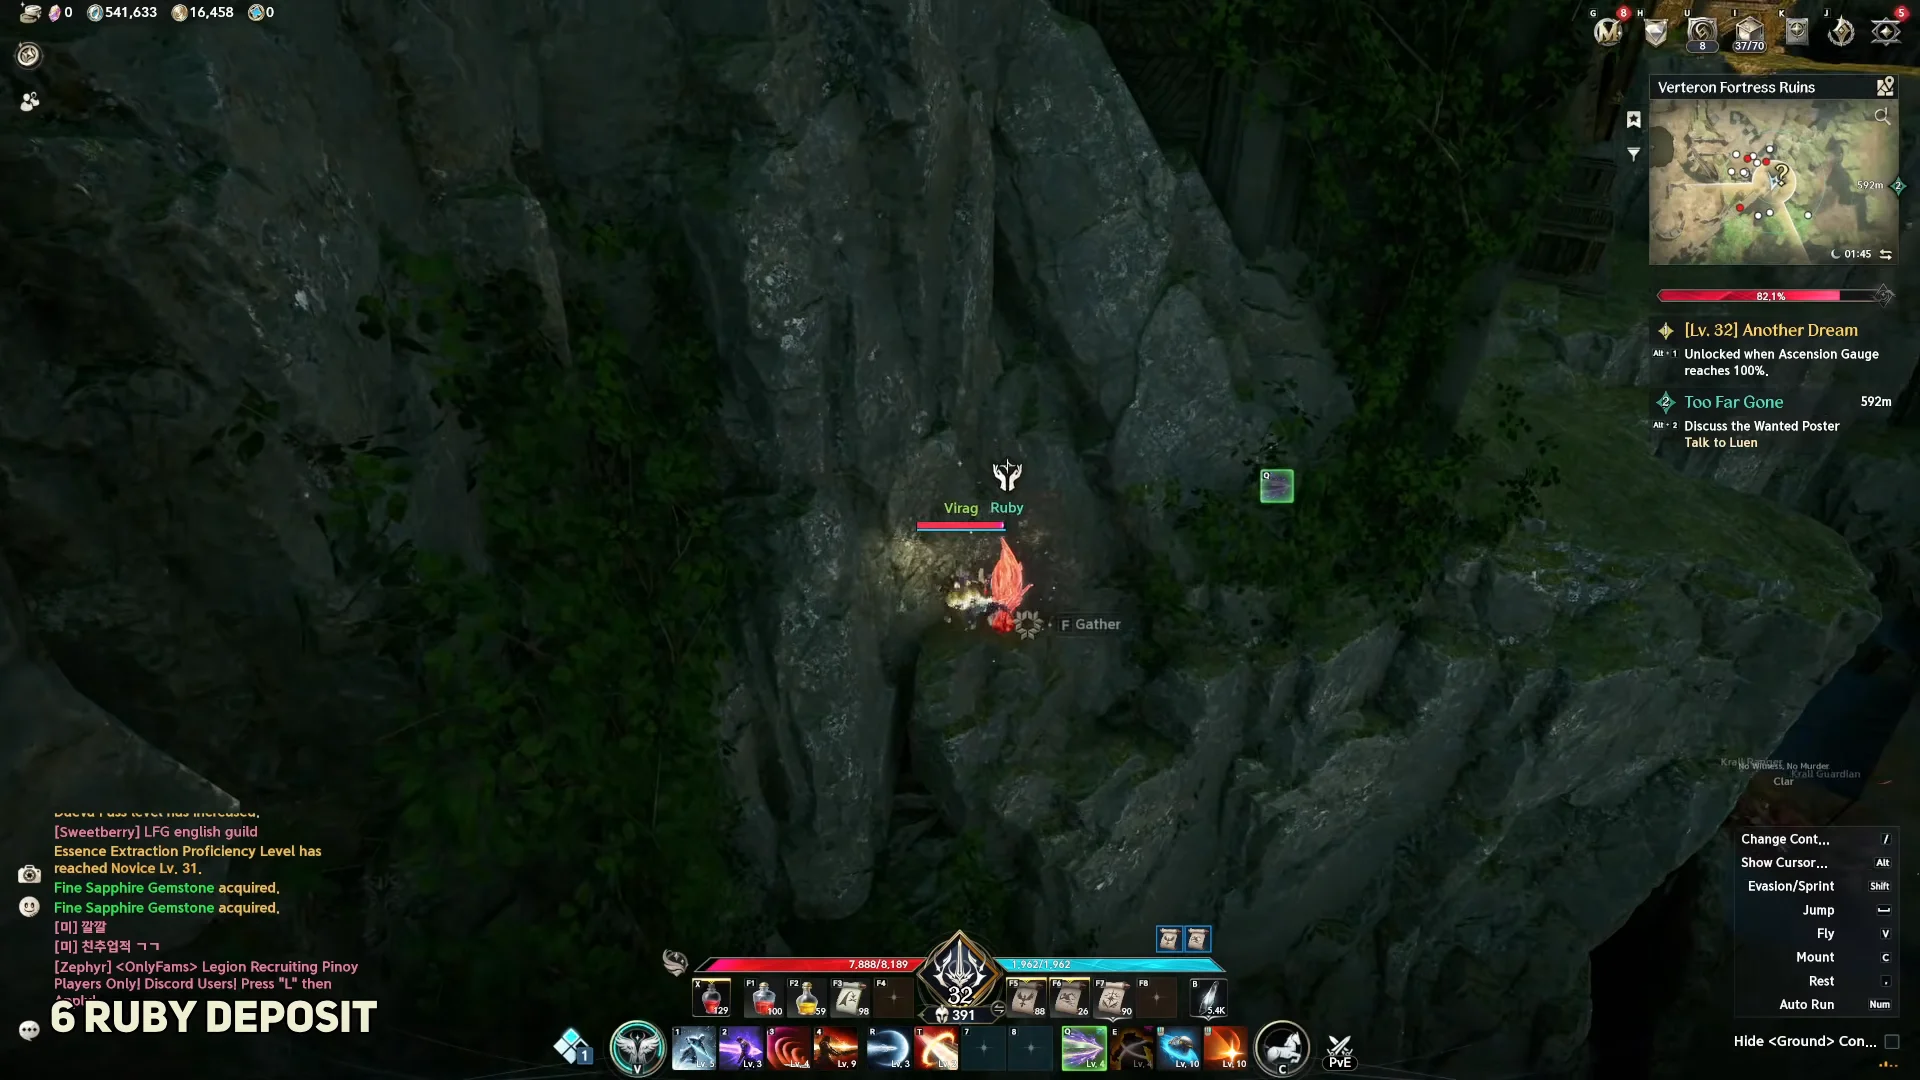
Deposit 7 sits on a lower stone ledge beneath the ruined bridge at the Fortress Ruins. Glide down to the ledge and stand beside the node to work it.
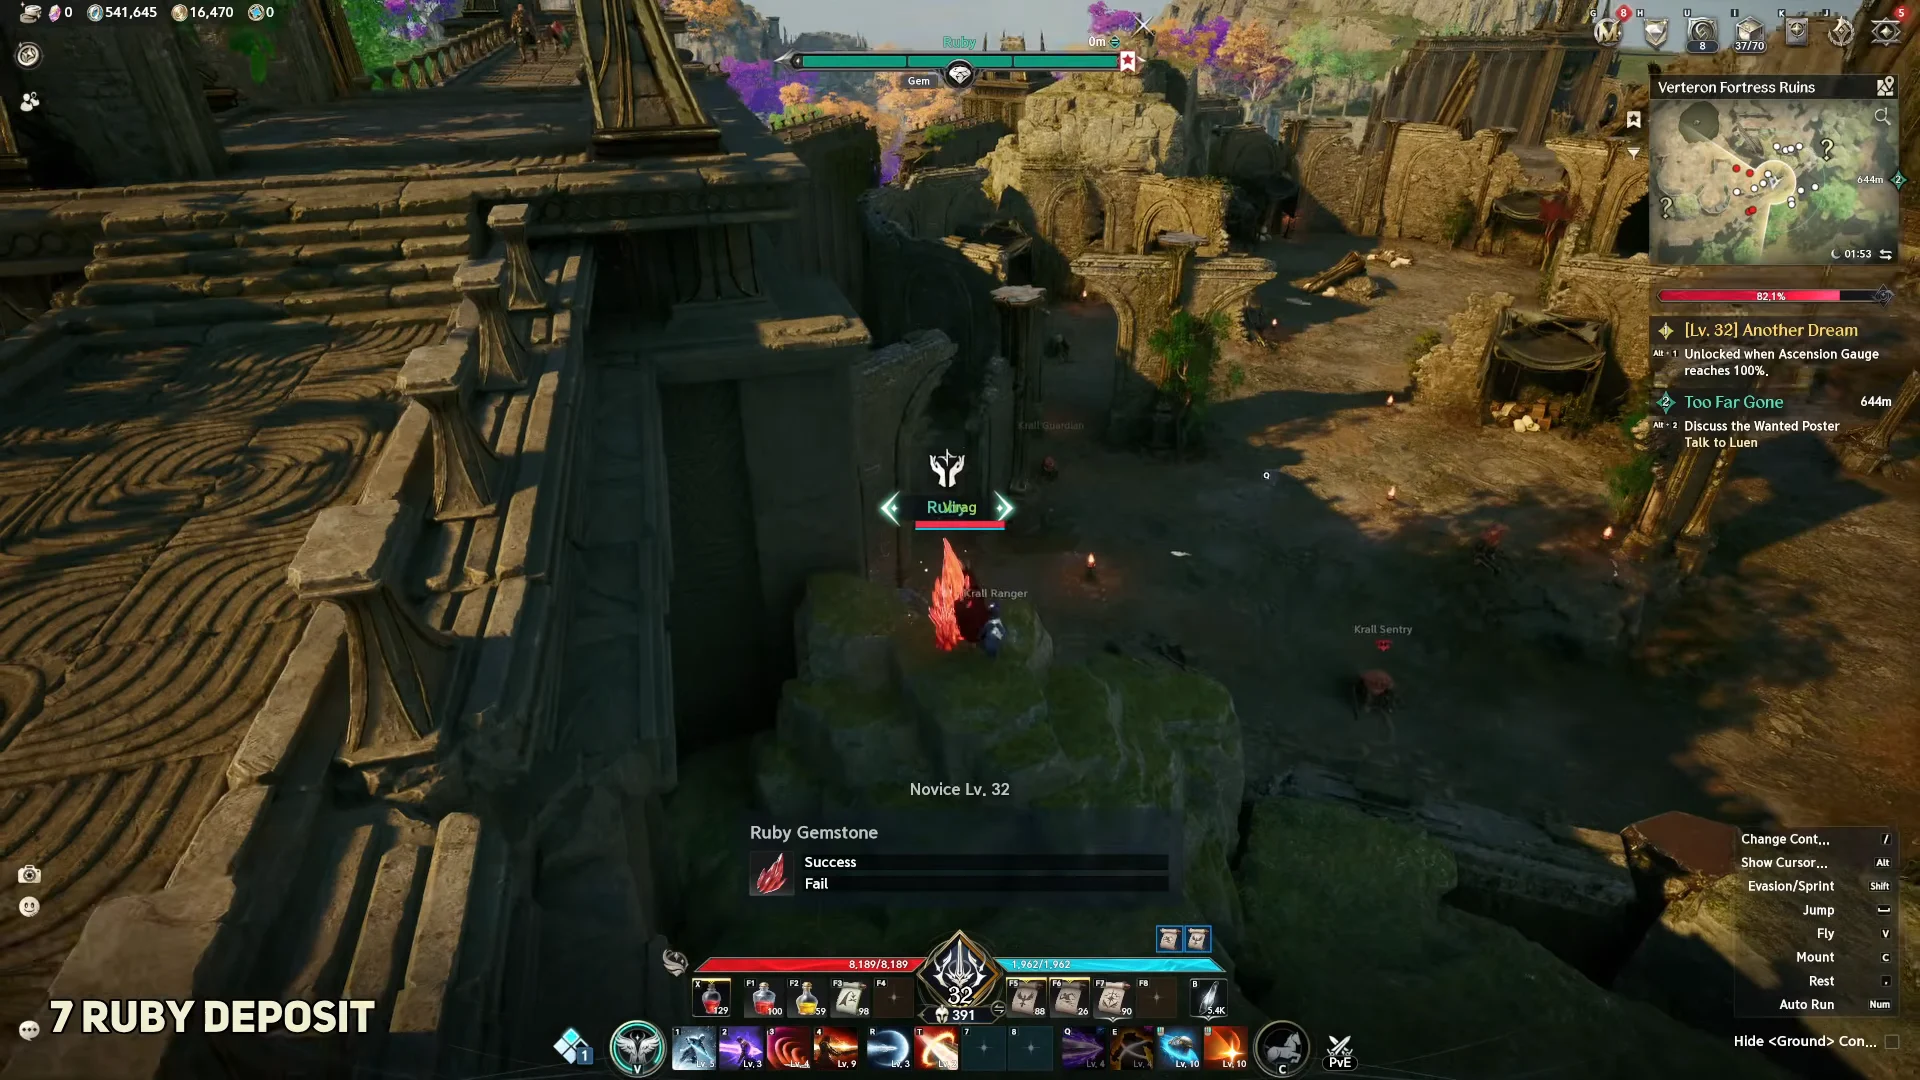
The remaining deposits follow the same pattern. Nodes 8 through 13 sit on a rocky mound south of Kraka Cave, along the southwestern and western ruin cliffs, around the ruin perimeter, behind the outer stone wall, and finally at the Kraka Foothpath cliff edge overlooking the Destroyed Abyss Gate. Approach each from the plateau above and glide or climb down.
Krall Combatants and Enhanced Krall Warriors patrol the ruins, and a Kraka Sentry guards the area near deposit 6. Clear or avoid them before committing to a climb so you are not knocked off a ledge mid-gather.
What Ruby deposits yield and what it is for
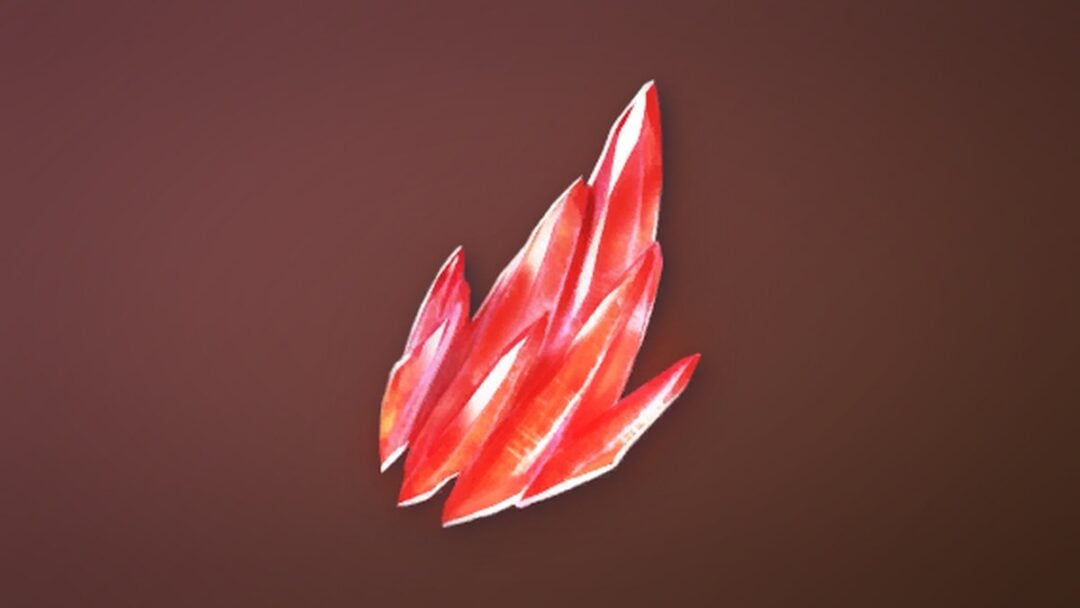
A single Ruby node can produce gemstones across four rarities, so repeated visits are worth it even once you have the common tier stocked. The rarity you pull determines which gear it can craft.
| Gemstone | Rarity |
|---|---|
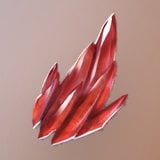 Ruby Gemstone Ruby Gemstone | Common |
 Fine Ruby Gemstone Fine Ruby Gemstone | Rare |
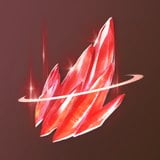 Pure Ruby Gemstone Pure Ruby Gemstone | Epic |
 Radiant Ruby Gemstone Radiant Ruby Gemstone | Unique |
Rubies are crafting materials for gear, and higher-rarity gear calls for higher-rarity gemstones. If you are aiming at a specific piece, keep the matching tier stocked. When you fall short, the same gemstones can be bought from other players on the Market, and some Duty quests hand them out as a bonus reward.
Confirming a successful gather
When an extraction lands, an on-screen message names the item you received, such as “Ruby Gemstone acquired” or “Fine Ruby Gemstone acquired,” and your Essence Extraction proficiency bar ticks up. A milestone line like “Essence Extraction Proficiency Level has reached Novice Lv. 31” confirms the gathering XP is being counted. Once the node has been worked three times, it stops responding to the gather prompt, which is your cue to move to the next deposit on the list.