Hitting Level 45 in Aion 2 ends the guided part of the game. Quest markers stop steering your growth, and almost every tougher activity checks Gear Power rather than character level. From here, progress comes from focused dungeon runs and account-wide systems that build up over weeks, so the order you tackle them in matters more than raw playtime.
Quick answer: The Abyss and Forgotten Commander questline become available once you hit Level 45 and 1,000 Gear Power. Advance through the requirements in sequence: Conquest at 1,400, Transcendence at 1,600, then Sanctuary raids at 2,800.
Reach 1,000 Gear Power before chasing anything else
You need Level 45 and 1,000 Gear Power to access endgame systems. Reaching that threshold advances the Forgotten Commander quest, unlocking most of the activities you will rely on afterward. Rather than looking for a shortcut, build Gear Power through activities that also provide useful items.
- Regional missions award progress toward the Daevanion board, along with accessories.
- Strongholds provide Belt Enhance Scrolls along with materials.
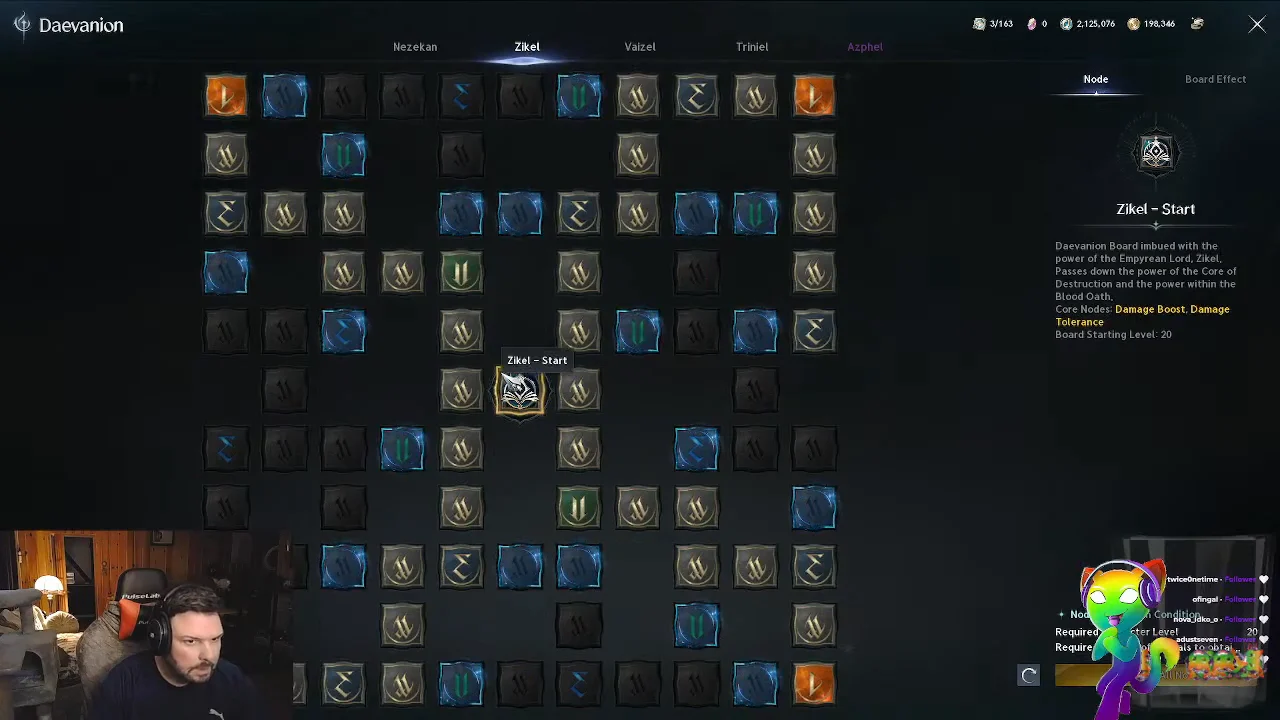
- Run Sealed Dungeons to gain skill points and progress for the Daevanion board.
- Empyrean Traces provide permanent account stats and Amulet Enhance Scrolls.
- Expeditions for Unique gear.
Give Empyrean Traces a real look rather than skipping them. Each trace adds a small, permanent Attack, HP, or Defense bonus to the whole account. One alone feels trivial, but the full collection runs well past a hundred, and together they outweigh fully upgrading a weapon.
Once your Gear Power reaches 1,000, go into the Abyss and meet Koro, a Shugo posted at the Abyss base. Doing so closes the setup for the last main quest and awards a class-appropriate Unique item. Other side activities set up the final ascension mission, The One Who Witnesses the Nightmare. It sends you through three dungeons consecutively and pays out the Ascension Bracelet.
This bound Unique item cannot be traded. The Ascension Bracelet has item level 51, four manastone slots, and an enhancement limit of +15; its starting stats are 65 Attack and 156 Defense. At +15, it gains 43 more Attack and 108 more Defense.
Gear Power tiers and what each one unlocks
Treat these figures as gates. Reach the next bracket before trying the content behind it, because attempts below the stated requirement generally fail.
| Gear Power | What opens | Main reward |
|---|---|---|
| 1,000 | Abyss, Forgotten Commander, final story | Class Unique gear |
| 1,200 | Spacetime Rifts | Enhance Stones, Abyss Points |
| 1,400+ | Conquest runs, Abyss RvR | Unique gear, Kina |
| 1,600+ | Transcendence runs, Arena | Arcana cards |
| 2,800+ | Sanctuary raids | Top-tier gear |
Endgame dungeon reference
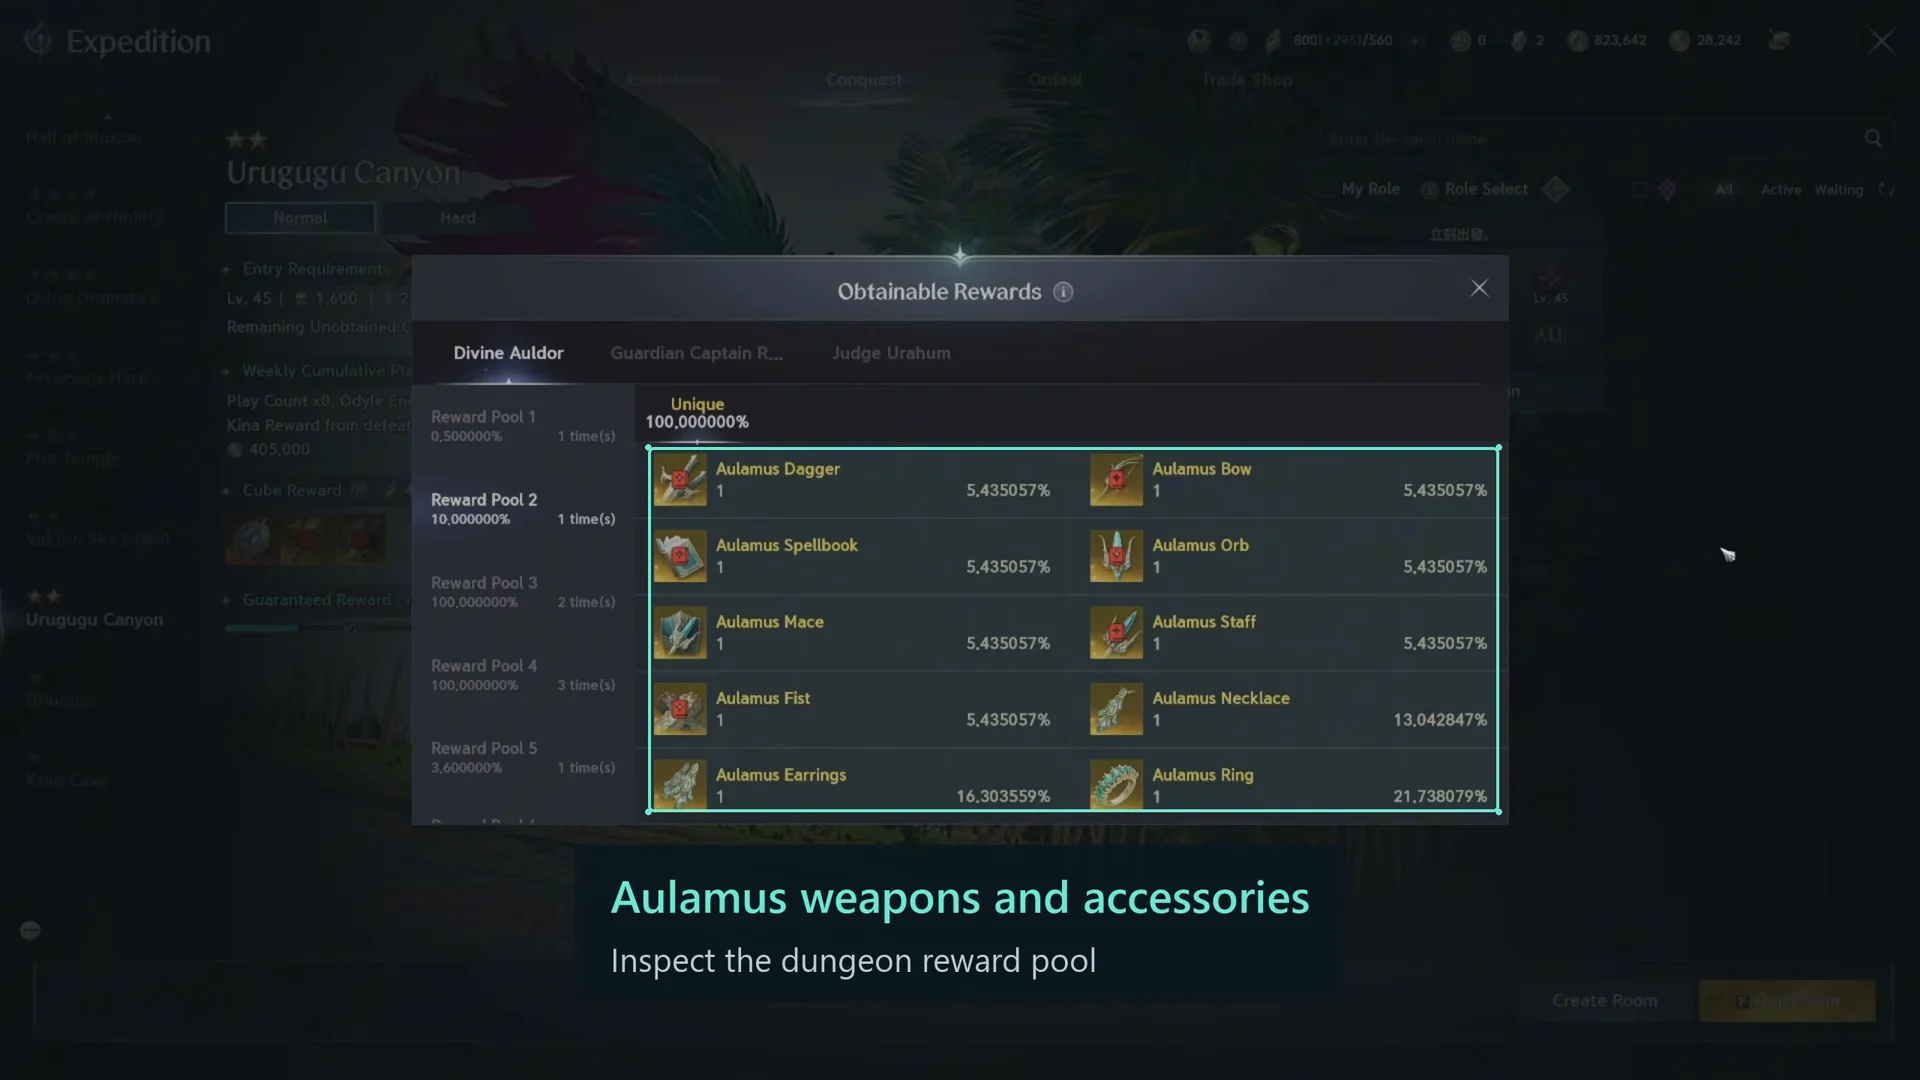
The party dungeons in your rotation share the same loop: run Exploration to fill empty slots, then grind Conquest for better Unique gear and Kina. Krao Cave is a strong early Conquest pick for accessories, a chance at your class weapon, and a large Kina payout. From there, work through Urugugu Canyon and Vakron Sky Island, then Fire Temple and Ferocious Horn Den for their Unique armor sets.
| Dungeon | Boss level | Modes | Players |
|---|---|---|---|
| Krao Cave | 45 | Exploration, Conquest | 1-5 |
| Vakron Sky Island | 54 | Exploration, Conquest | 2-5 |
| Shattered Arkanis | 56 | Exploration, Transcendence | 2-5 |
| Ferocious Horn Den | 63 | Exploration, Conquest | 1-5 |
| Deus Research Base | 45 | Exploration, Transcendence | 2-5 |
| Abyssal Forge: Ludra | 75 | Conquest (raid) | 10 |
Krao Cave, Vakron Sky Island, and Ferocious Horn Den all run on 60-minute timers. Deus Research Base has four difficulty steps that require 1,600, 1,900, 2,200, and 2,500 Gear Power to enter, and Shattered Arkanis uses the same four thresholds. Abyssal Forge: Ludra is the 10-player raid, capped at 120 minutes with only 2 revives.
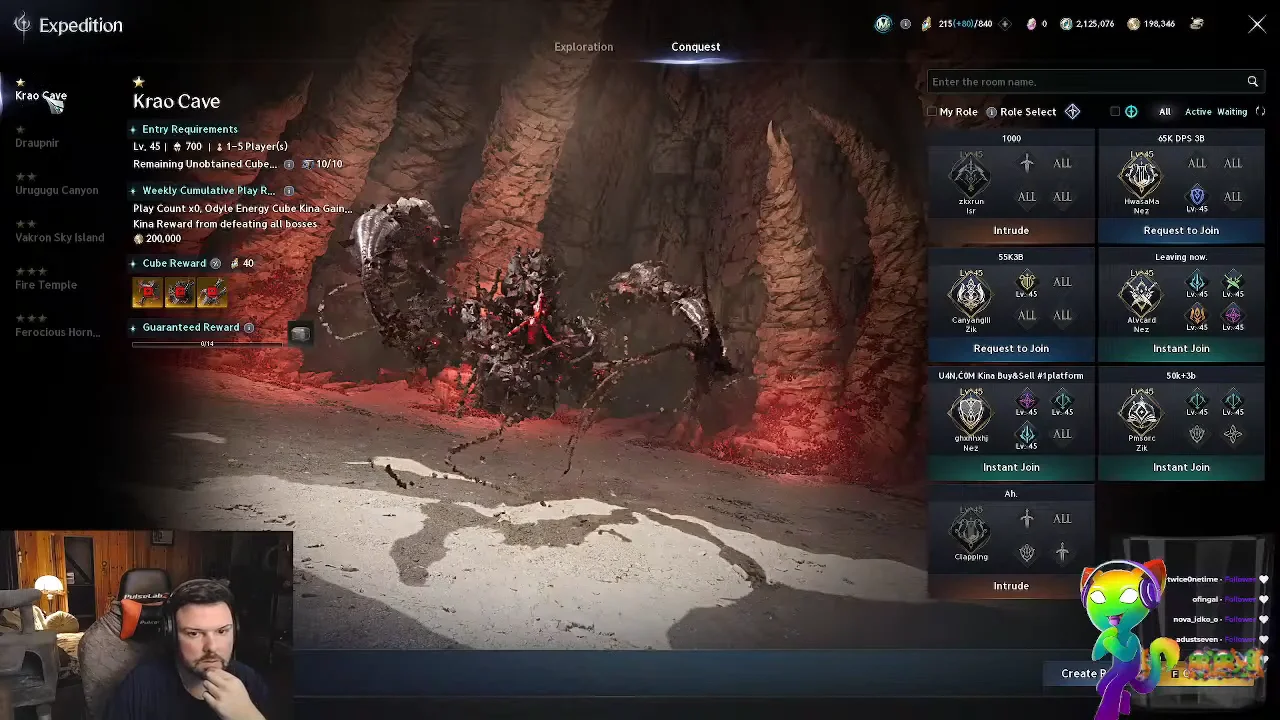
Use drop rates to choose targets. Ultimate Berk in Krao Cave has a 30% chance to drop Balaur’s Essence. Enhanced Harcon and Neglected Gadioton each carry a 20% chance of yielding the Unique Amplify Stone Fragment. At Ferocious Horn Den, Ferocious Horn Nuakum has the dungeon’s top rates: 12.2% for the Black Claw Ring and 9.2% apiece for the Black Claw Gloves, Cloak, and Earrings.
Expeditions: Exploration, Conquest, and the pity rule
Expeditions offer two difficulty options. Exploration is the easier mode, with one pity reward box per dungeon after three clears. Conquest raises the difficulty and offers much better Unique drops; its pity box becomes available again after every 21 clears.
Hold off on claiming the Exploration pity box until you have completed 21 Conquest runs. Taking it sooner could give you an item for a slot that Conquest later fills, so waiting ensures the reward goes to an unfilled slot.
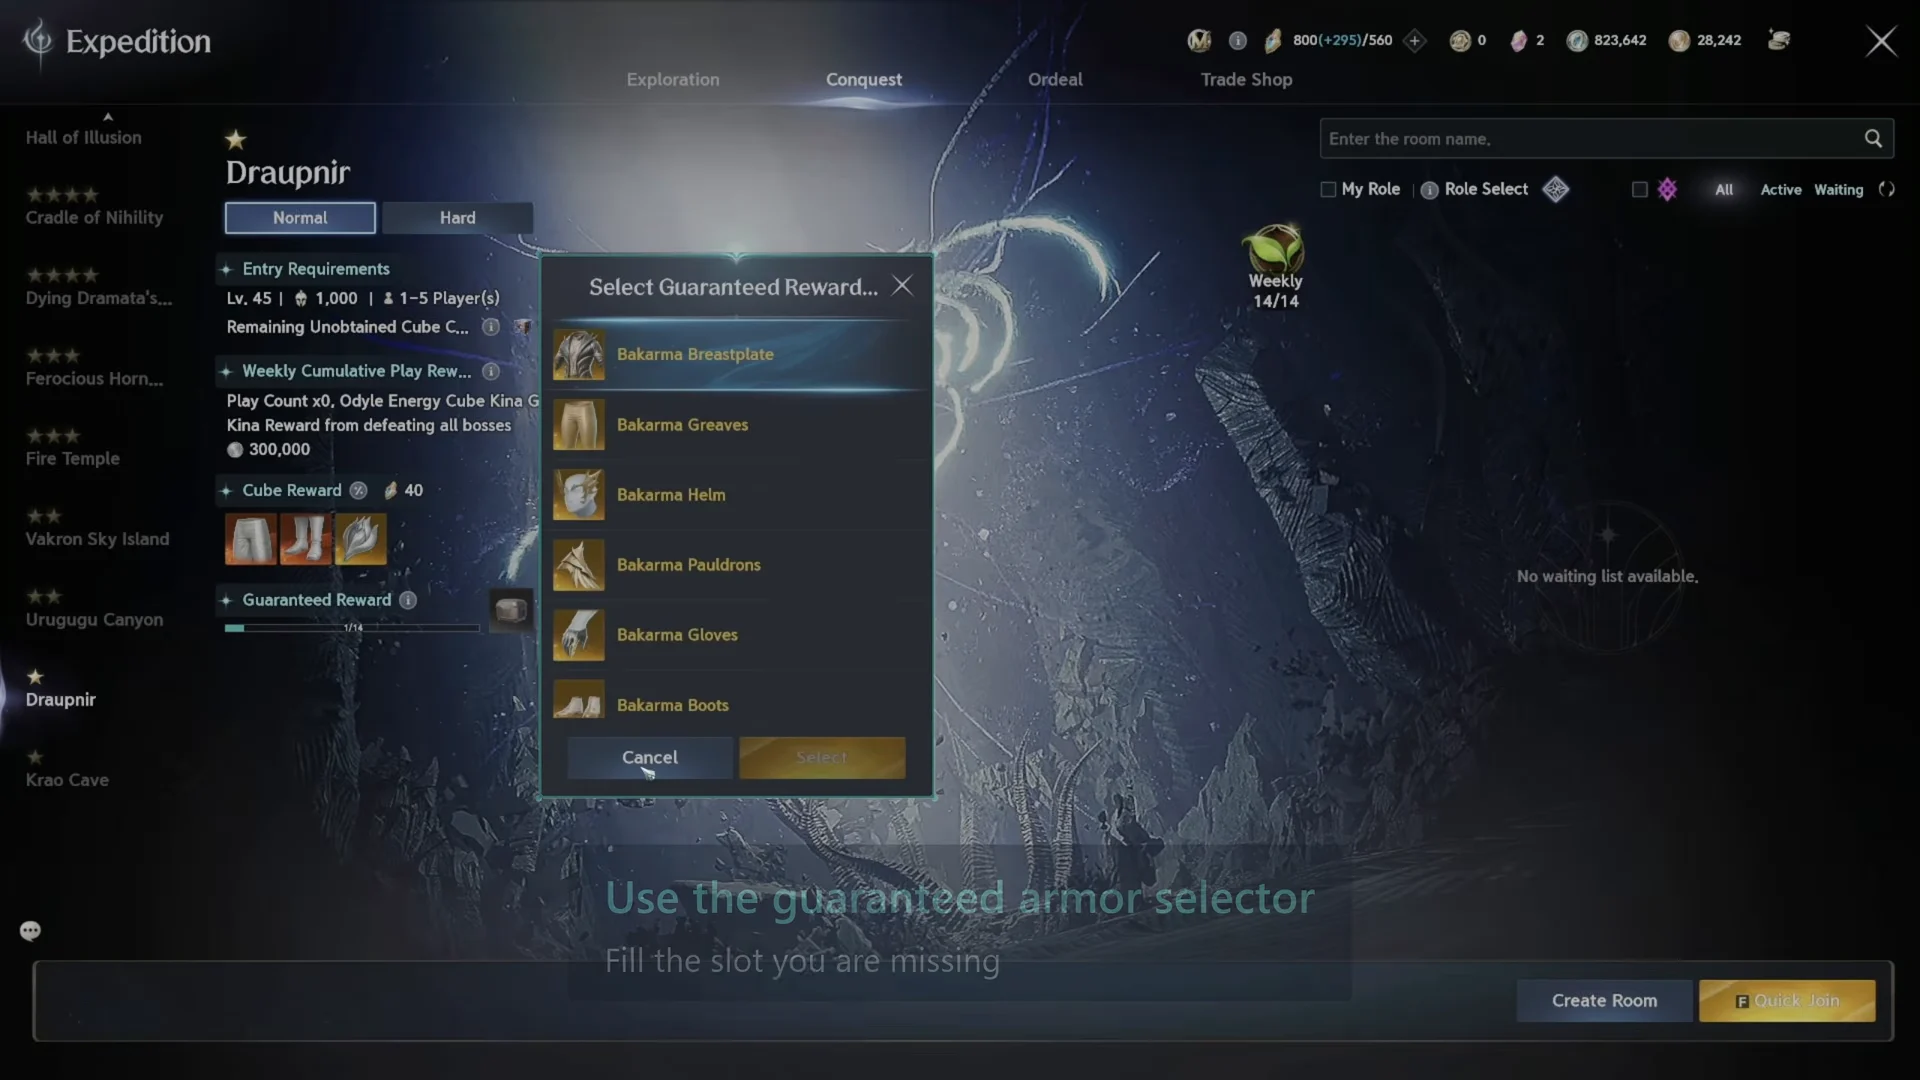
If a boss lets you choose between one specific weapon and Gear Change Vouchers, choose the vouchers. Two vouchers can make a weapon or guard, or be exchanged for accessories like rings, necklaces, and earrings, giving you more options than one random reward.
Enhancement systems that raise Gear Power
Manastones and Theostones
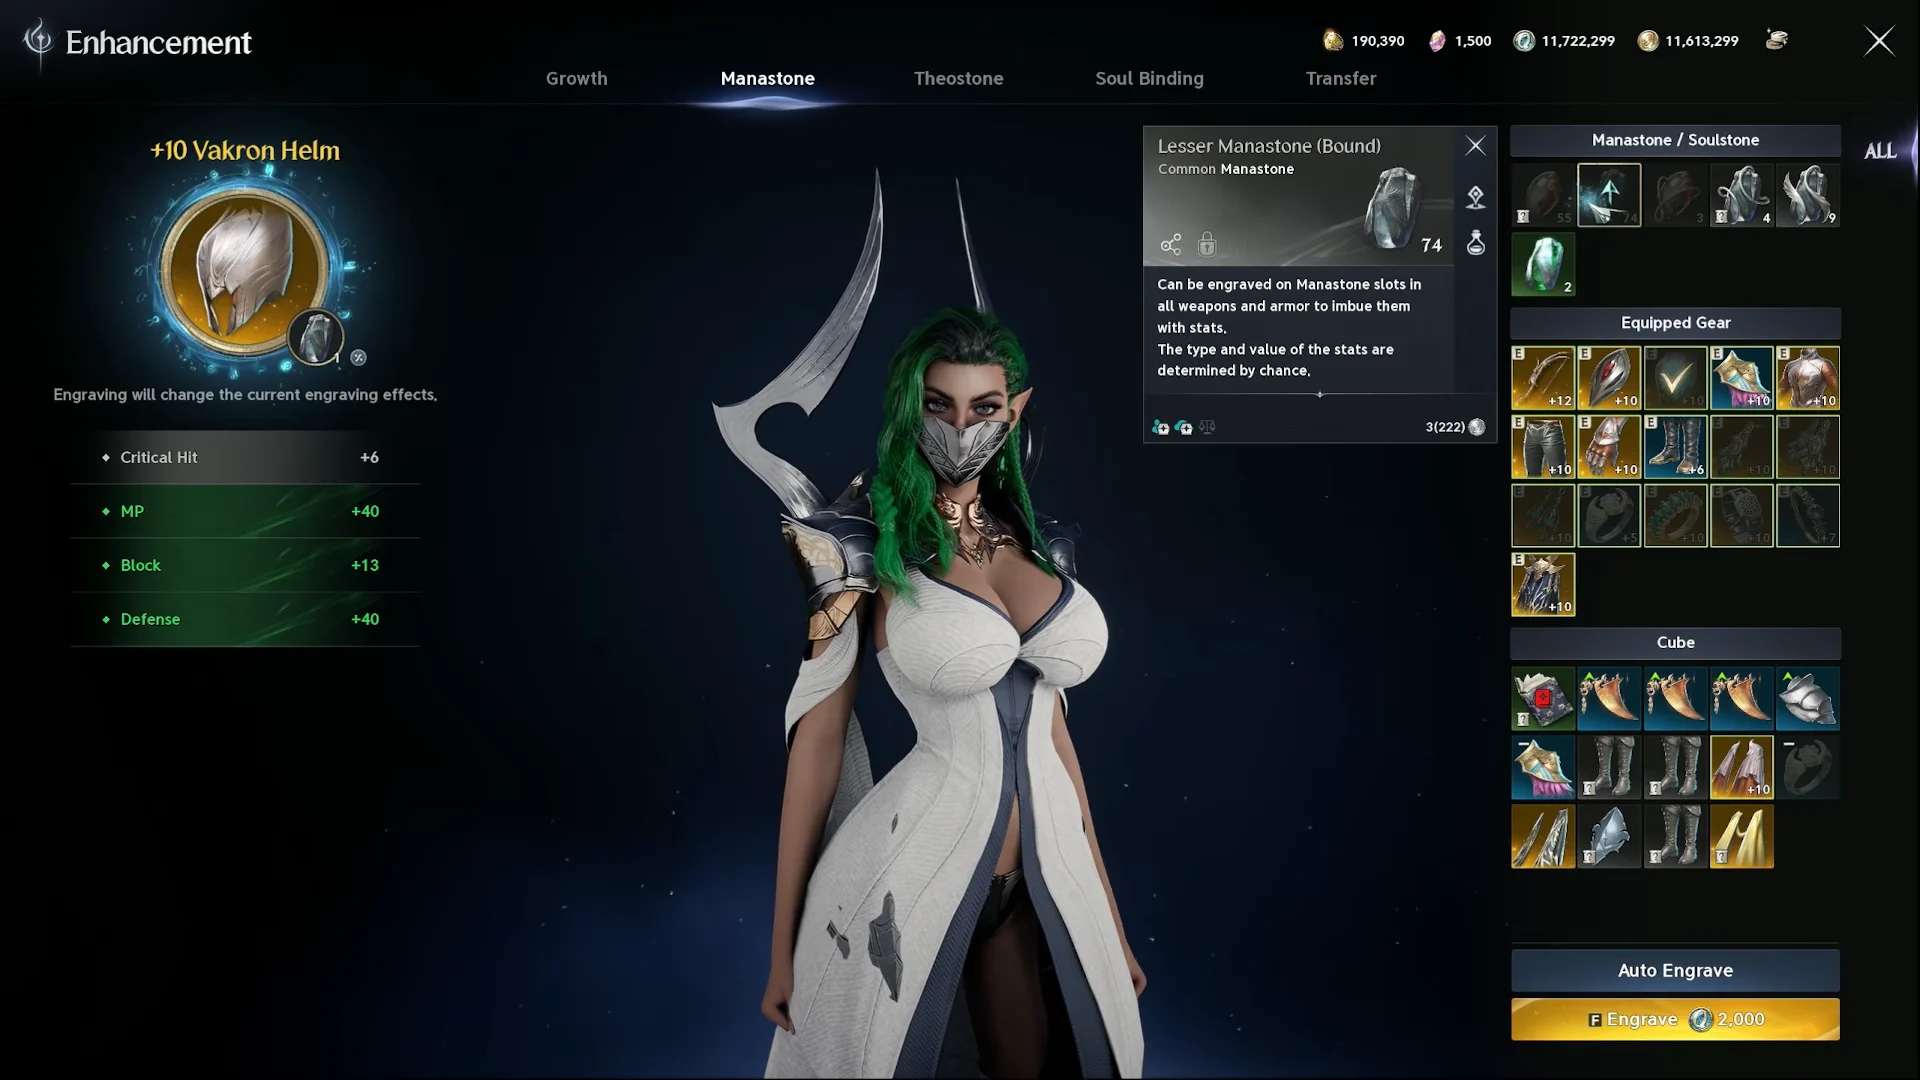
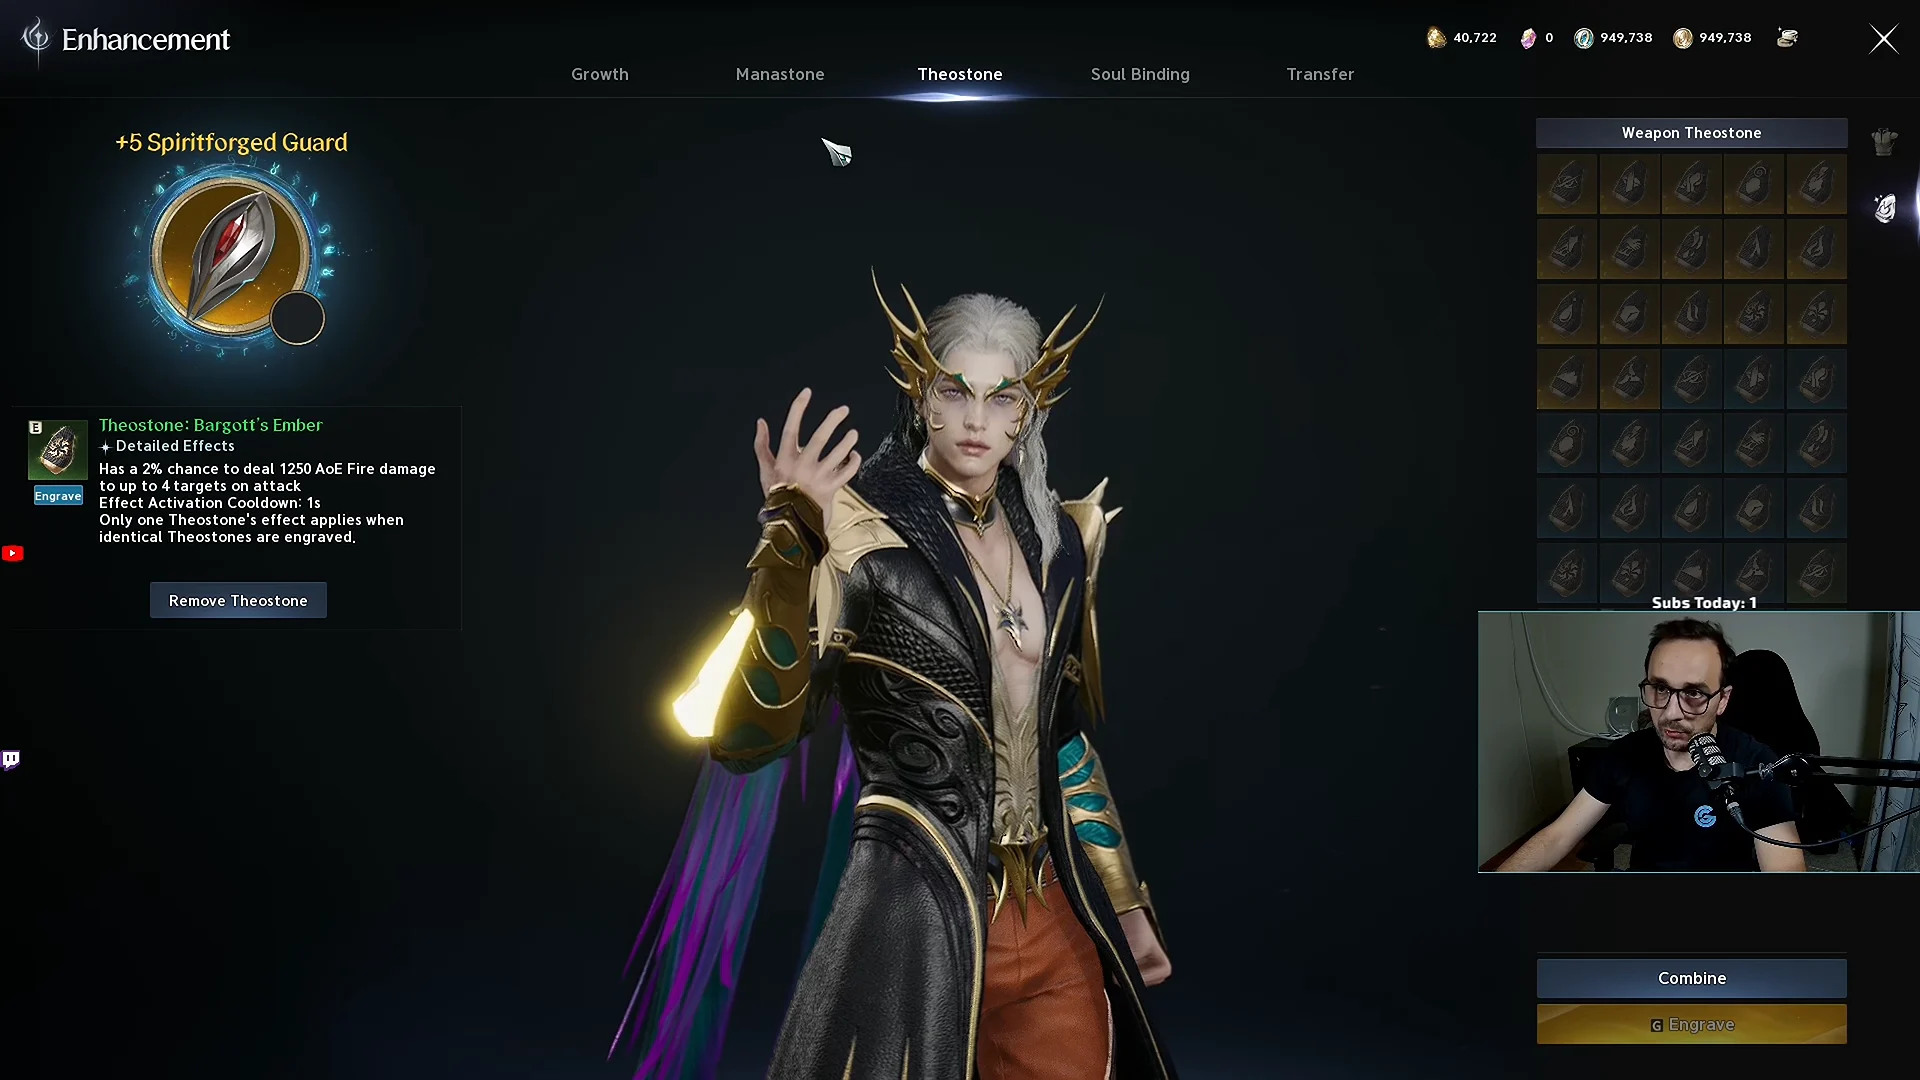
Soulstone engraving on armor provides passive stats and boosts Gear Power. Green outcomes offer the smallest increase, blue results a greater one, and gold the largest. Put Lesser Manastones into blue gear; keep Intermediate Manastones for rare or legendary items you plan to retain. Use Theostones on weapons to add stats.
Belt, amulet, and Substance Morph
Make Noble Belts and Revelation Amulets your first targets; no other gear pieces have an independent, permanent progression path. Upgrade them with Belt/Amulet Enhance Scrolls earned from Strongholds and Empyrean Trace monoliths. Amulets are forgiving early on: all enchant attempts up to +10 have a 100% success rate.
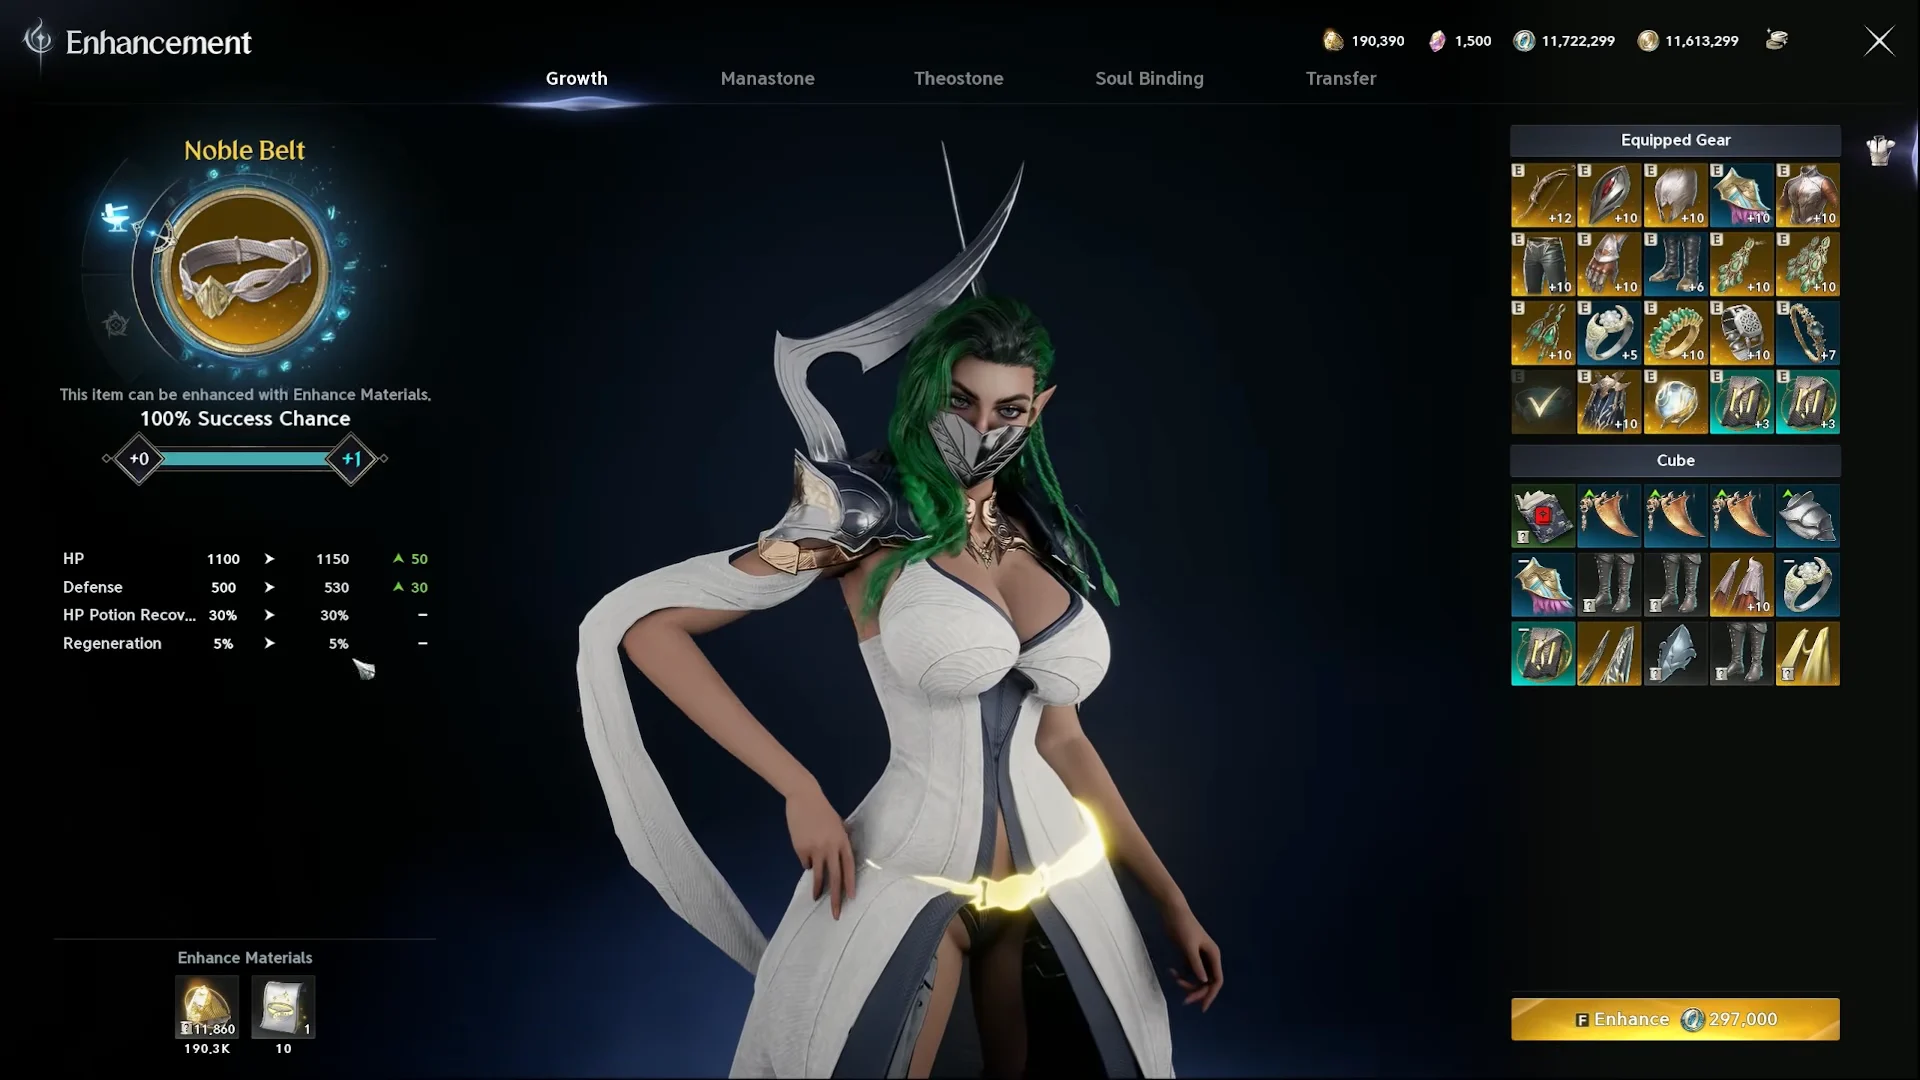
After a belt or amulet hits Rank 10, take it off and use Substance Morph to improve its rarity, moving from green through blue to gold. Keep repeating the process until it reaches gold; it will remain useful for a long time.
Clash Runes
Early Nightmare bosses drop Clash Runes. Since enhancing these runes can fail above +2, equip a spare before attempting higher levels, so a failure does not leave the slot empty.
Transcendence dungeons and Arcana cards
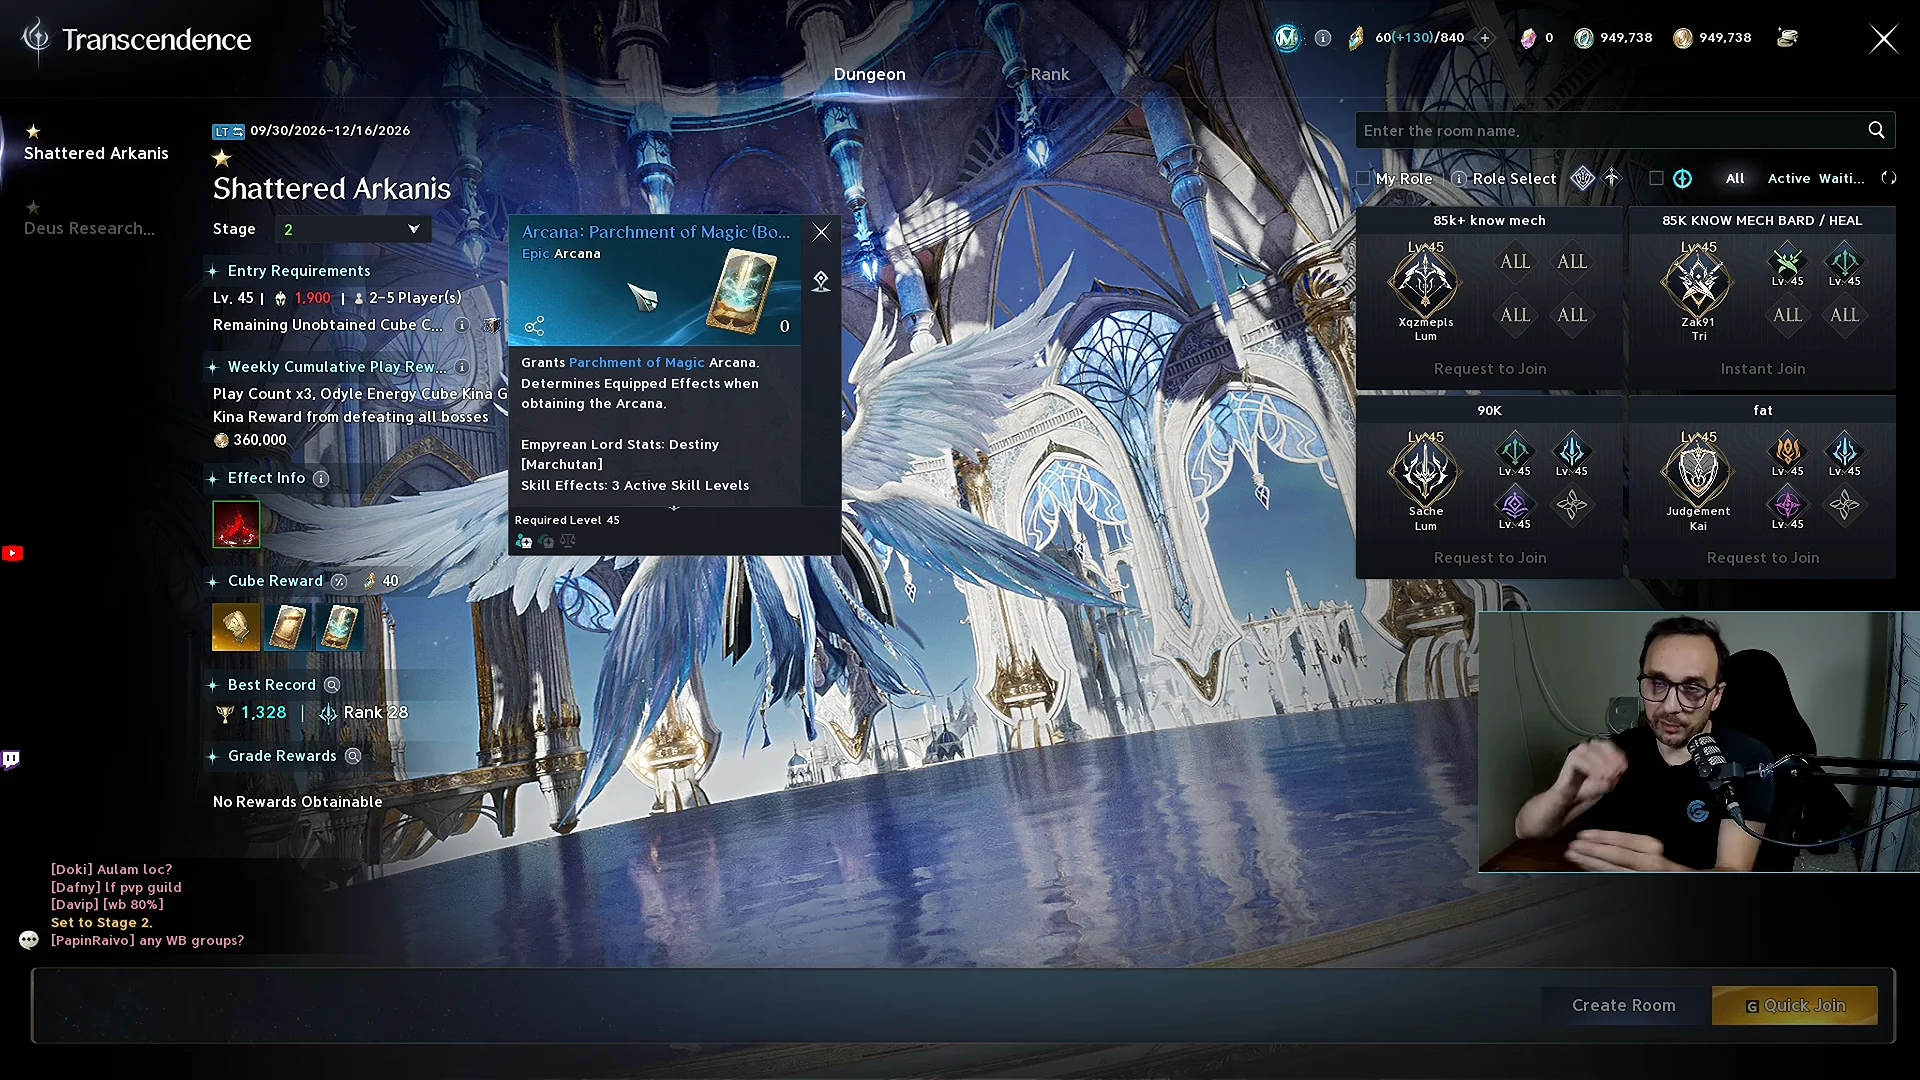
Reaching 1,600 Gear Power unlocks Transcendence. Dungeons such as Deus Research Base and Shattered Arkanis have four stages, each harder than the last, with modifiers like Poison Blood adding difficulty to later stages. Higher tiers improve Arcana rarity. Arcana provide God-based stats, grant set bonuses for two or four pieces, and are the sole way to power up active skills beyond their base strength. If you fall behind on Arcana, your damage will suffer even with high Gear Power.
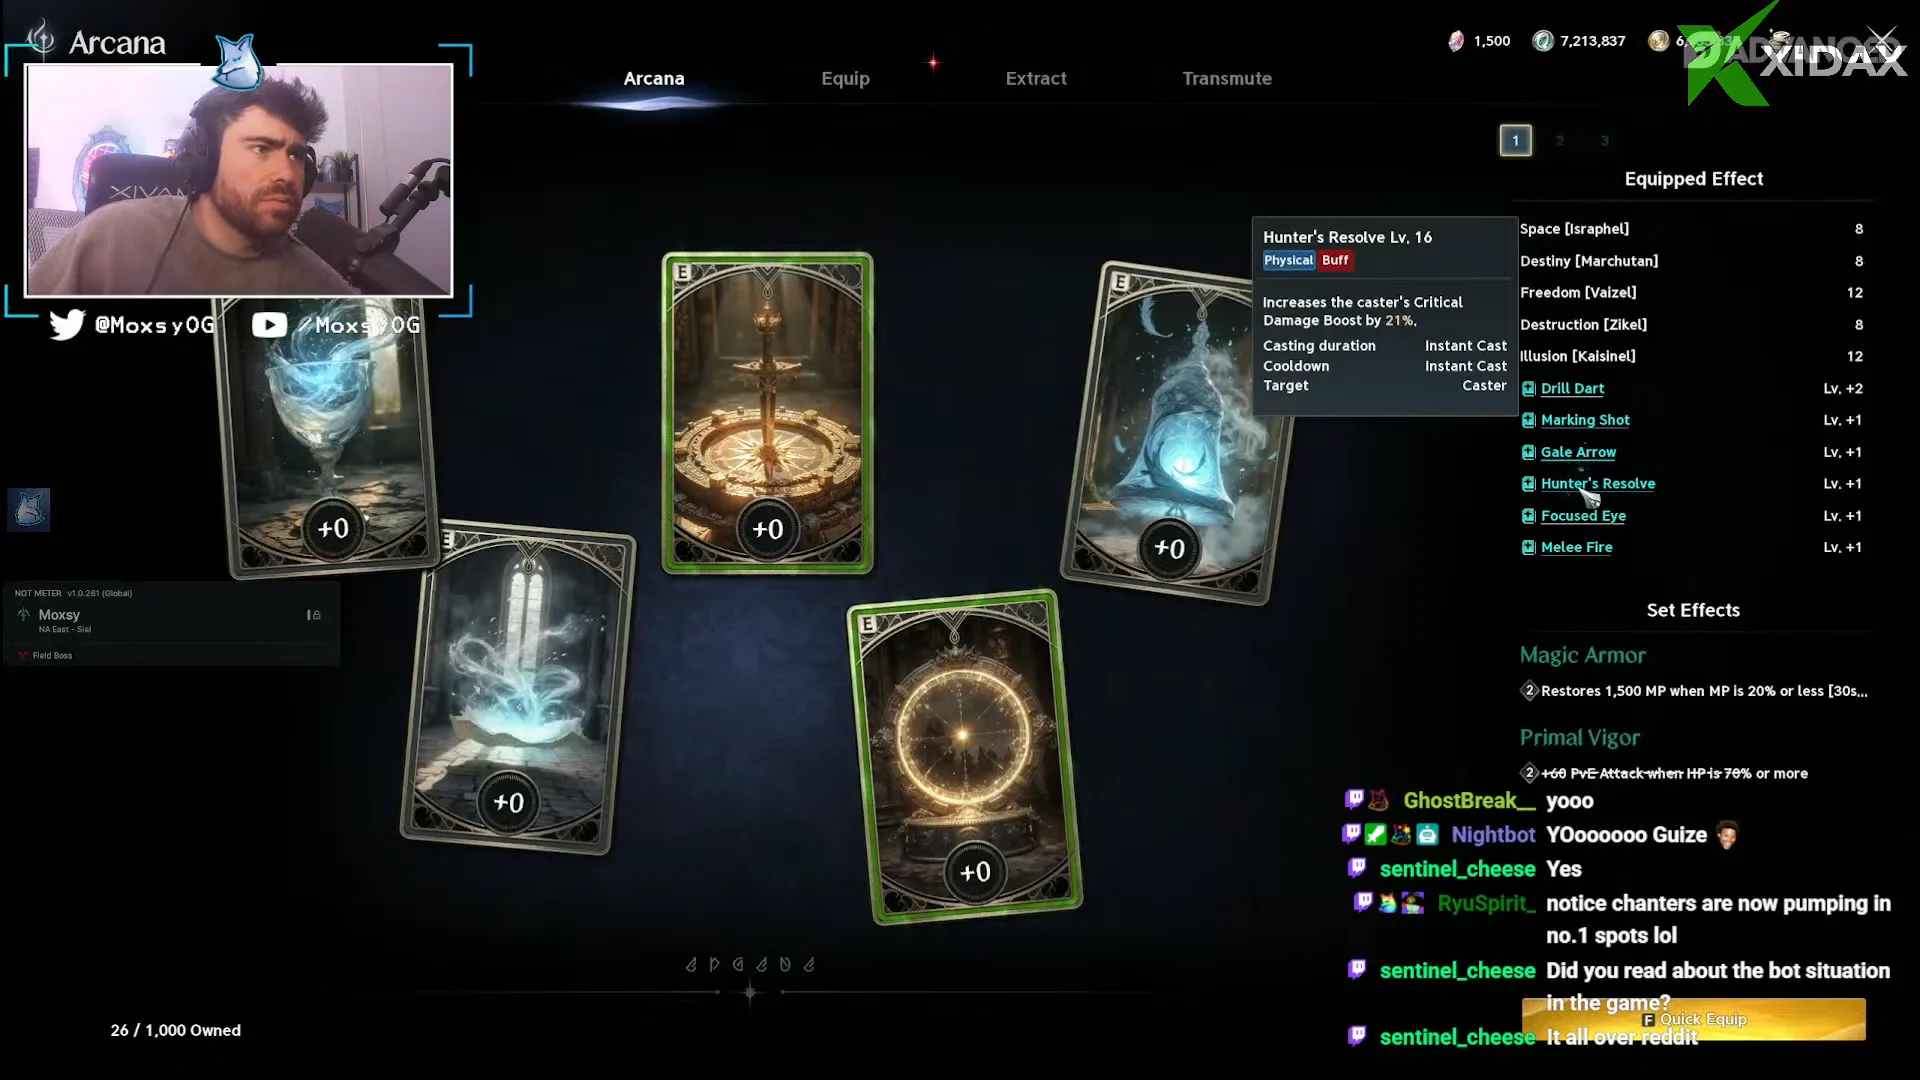
Check the Obtainable Rewards panel in the lobby before entering, and verify that the run will use your Odyle Energy for the Arcana you want. Once every equipment slot is occupied, prioritize Arcana instead of farming duplicate gear.
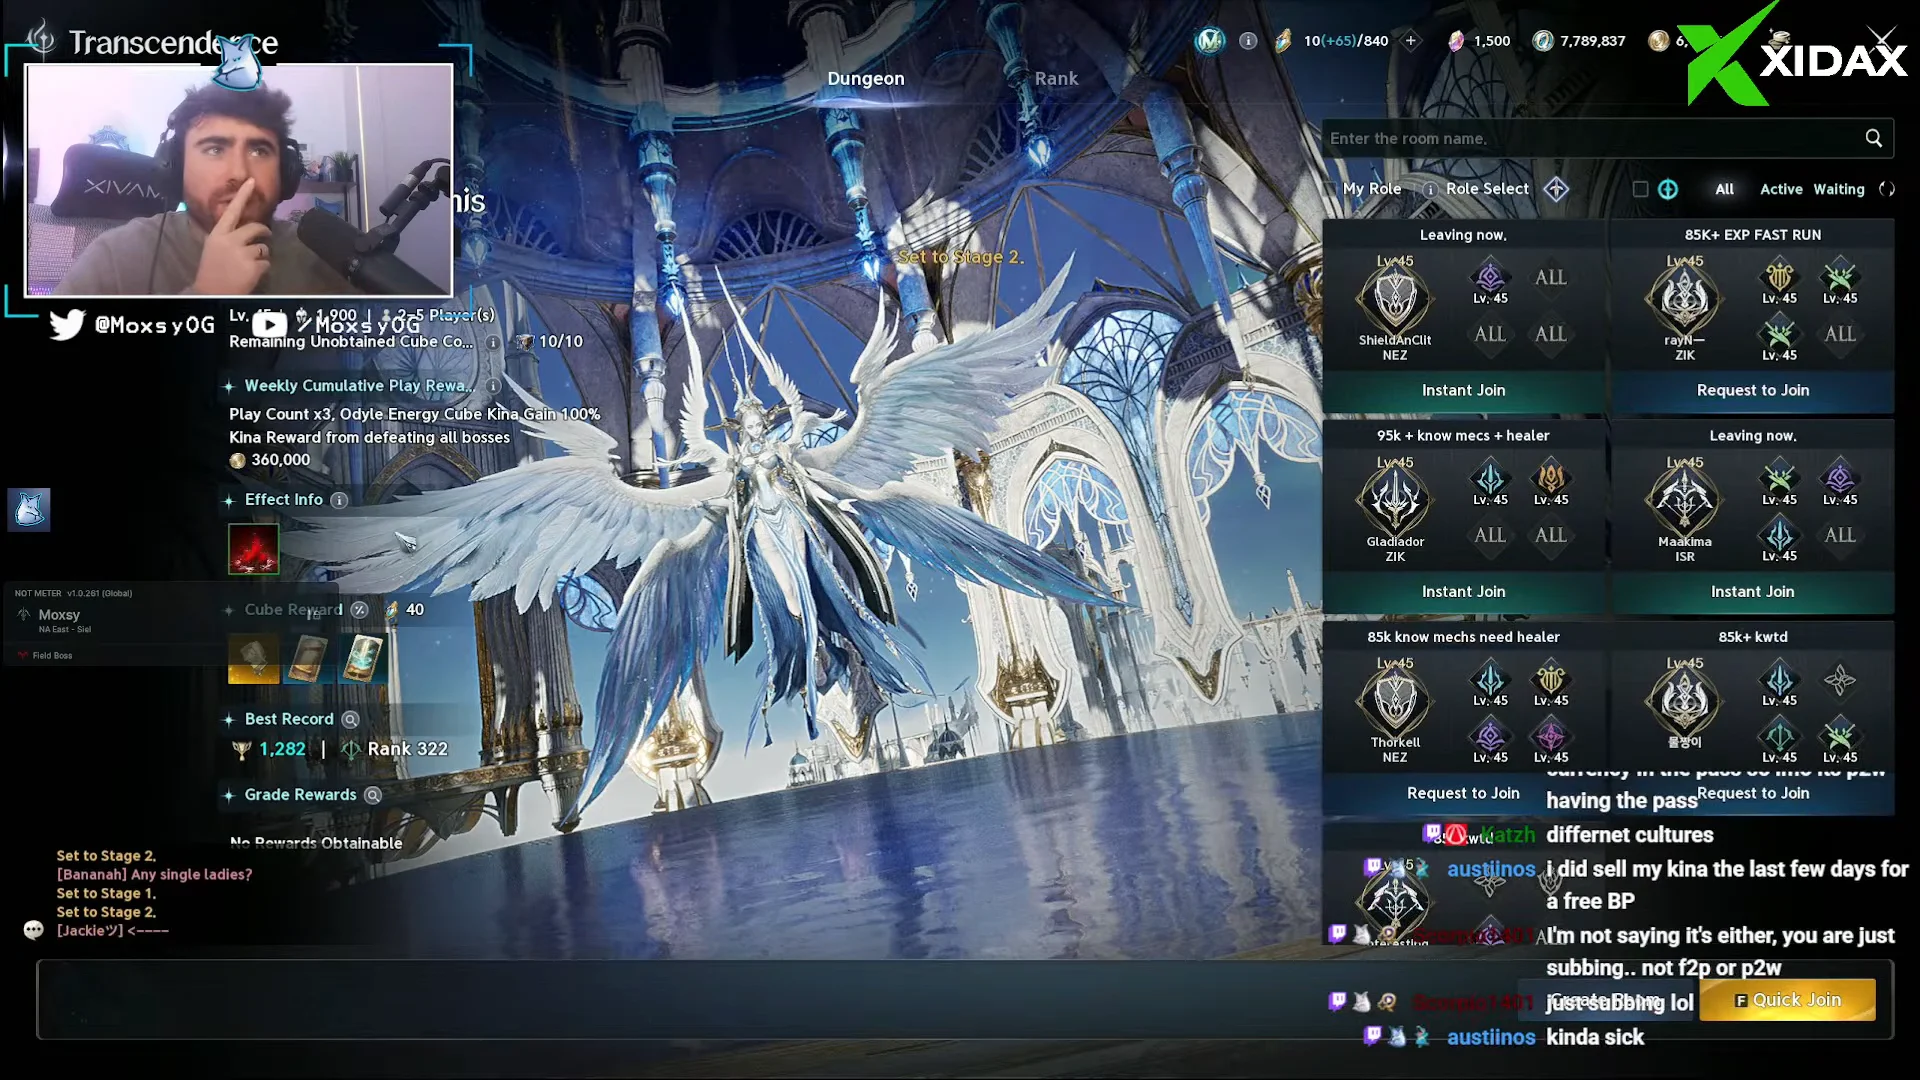
Opening reward cubes from Expedition, Transcendence, and Sanctuary runs uses Odyle Energy. You can store up to 560 Odyle Energy, or 840 as a member, and each consumable restores 40. Avoid reaching the cap so you do not waste progress. Field Odyle gathering nodes do not use this energy reserve.
The daily and weekly routine
The weekly reset shapes the endgame routine and keeps daily demands modest. Duty Quests are the activity you should always complete.
| Activity | Cadence | Reward |
|---|---|---|
| Duty Quests | 5 per day (account) | Kina, crystals, materials |
| Conquest | 2 per day | Unique gear, Kina |
| Transcendence | 1 per day | Arcana |
| Nightmare | 2 per day | Clash Runes, Phantasmal Fragments |
| Ascension Trial | 3 per week | Mana Stones, fragments |
| Sanctuary | 2 per week | Top-tier gear |
Duty Quests are account-wide rather than character-specific, and rerolling them can improve their rewards. Choose quests with crystals in reward slot one: that slot guarantees the drop, and the crystals are used by the pet system. Completing the entire set takes about 15 to 20 minutes daily.
Each account gets 14 weekly entries to Unknown Fissure daily dungeons, with the allotment shared across its characters. Farm Enhance Stones in Daeva Bio-Research Base; go to the Odylium Repository for pet rewards. During Bio-Research Base wave battles, target elite foes identified on your minimap by yellow triangle icons, since they drop Enhance Stones.
Nightmares, Ascension Trials, and Gold Arcana
Nightmares pit you alone against bosses and pay out Clash Runes and Phantasmal Fragments. Defeat the four opening bosses to collect four Clash Runes for your first enhancements. With more Gear Power, revisit to challenge bosses in tiers two and three, then use your fragments at the Nightmare shop.
You get three attempts each week at these timed, solo Ascension Trials. At 2,000 Gear Power, clear Hard mode and earn 4,000+ points within 3 minutes, 12 seconds to receive Mysterious Crystals. Combine five crystals to make a guaranteed Unique/Gold Arcana card carrying the skill bonus of your choice; that makes Ascension a key goal once you reach this point.
Use Daevanion Crystals earned from the hourly Shugo Festival and Abyss shops to bring your Daevanion board to about 380 to 400 points. After that, shift purchases to Stigma Shards to improve your Stigma skills.
The Abyss: supply requests, sieges, and command quests
The Abyss is an open PvP area that rewards Abyss Points. Its Supply Request system includes regular, emergency, and boss requests. Delivering extra crafted gear or world boss drops can yield large quantities of Abyss Points; crafting the requested items lets you use this method without direct PvP.
In Reshanta, Artifact Sieges occur every 48 hours on a set schedule, alongside portal defense events. The Trade Shop offers Stigma Shards and Lesser Abyssal Manastones. Put Abyss Points toward Stigma Shards first; if you are assembling a PvP set, buy its weapon before the other pieces because PvP Attack is calculated last and multiplies your other buffs.
Get all available quest scrolls from the Command Merchant, then reroll them to target goals such as Abyss Points or Ascension tickets. Activate multiple scrolls at once so the same monster kills can count for objectives they share, reducing your time in the zone. At 1,200 Gear Power, Spacetime Rifts also let you enter enemy-faction Sealed Dungeons and Strongholds to earn Enhance Stones and Abyss Points.
Sanctuary raids and Abyssal Forge: Ludra
Sanctuary raids are the current ceiling, requiring 2,800 Gear Power. Abyssal Forge: Ludra is a 10-player raid against level 75 bosses — Isolation Specialist Rahu, Abyssal Wings Ketu, the Central Abyss Fusion Reactor, and Eternal Ludra. It runs on a 120-minute limit with only 2 revives, and each class has a specific job, so a single failure can wipe the group. Its drops are the best gear available, including the Berk Ring, Bakarma Gloves, and Bakarma Cloak, and you can craft Ludra’s Bracelet through Substance Morph with pity vouchers.
Sorcerer stagger skills for boss checks
Some late-game bosses require the party to break their stagger meter before the timer expires; miss the check and the group wipes. Sorcerers should include high-stagger abilities in their rotation. Glacial Smite, a Stigma skill, inflicts 20 Stagger Gauge Damage per cast, while Bittercold Wind and Winter’s Shackles maintain Frost and Slow.
| Skill | Cooldown | Max level | Required level |
|---|---|---|---|
 Bittercold Wind | 15s | 40 | 3 |
 Winter’s Shackles | 45s | 40 | 8 |
 Glacial Smite (Stigma) | 90s | 25 | 22 |
Winter’s Shackles deals Water damage to as many as four enemies in a 4m radius around its target. At level 1, damage is 275 (+145% of Attack); by level 40, it rises to 3,345 (+145% of Attack). It reaches 20 meters, costs 200 MP, and applies Slow for 3 seconds.
Account-wide power: pets, titles, and field bosses
Several systems keep adding power even after your core equipment is set. Pet appearance is cosmetic only; kill collection determines a pet’s stats. For every monster type, kills at 5, 25, and 75 raise a pet to ranks 1, 2, and 3, each unlocking permanent passive bonuses. Faction wheels rolled with Genius Insight also raise late-game attributes such as Might and Front Attack.
Titles provide a visual choice and stat loadout separately: show whichever title you like, while equipping three passive titles for attack and defense stats, including PvE Attack bonuses. When you dismantle extra Unique equipment, its skin and a stat bonus are added to the Closet screen.
Field bosses complete the picture. Add their Artworks to your Pantheon to gain substantial stat boosts. In Verteron, Eternal Gartua can drop Level 70 gear as well as valuable paintings worth as much as 150 million Kina. Progress is on track when you can clear each bracket consistently: advance through the gates in sequence, stay below the caps for Duty Quests and Odyle Energy, and after reaching 2,800 Gear Power, make Sanctuary raids your weekly priority—the destination all the earlier tiers prepared you for.