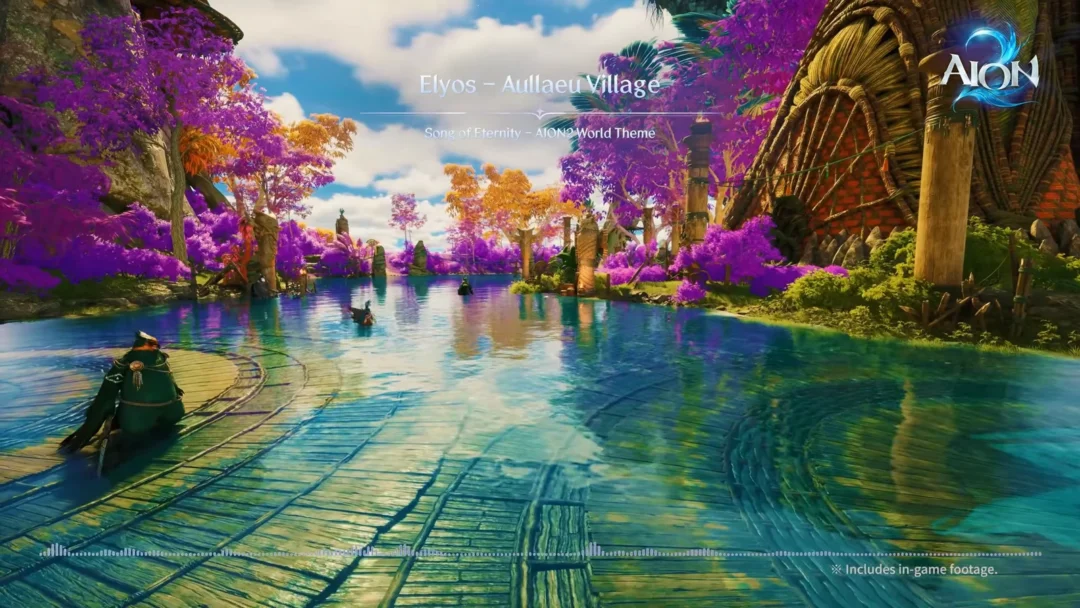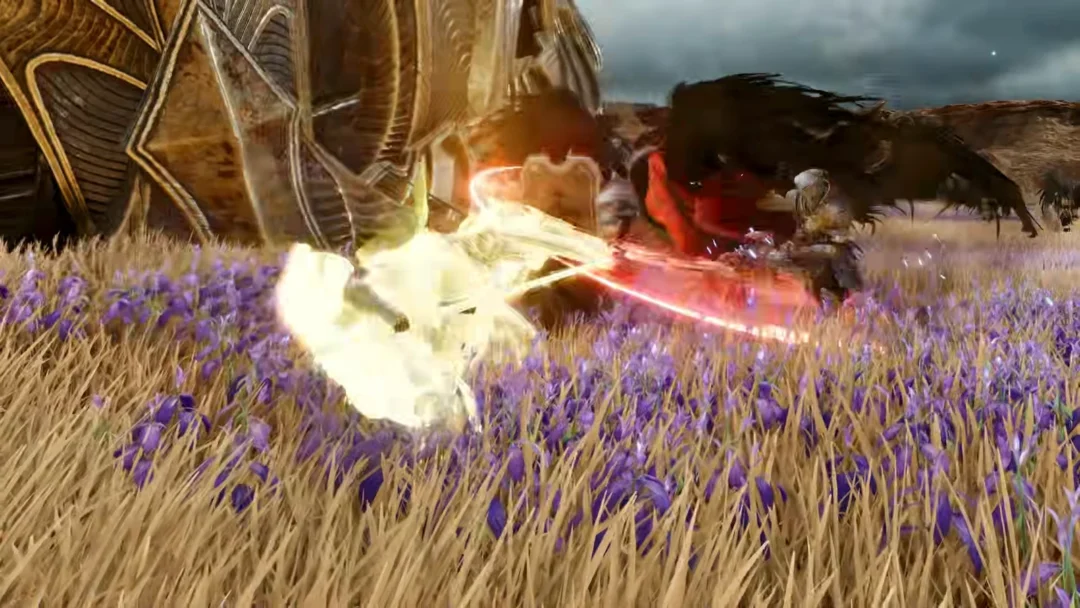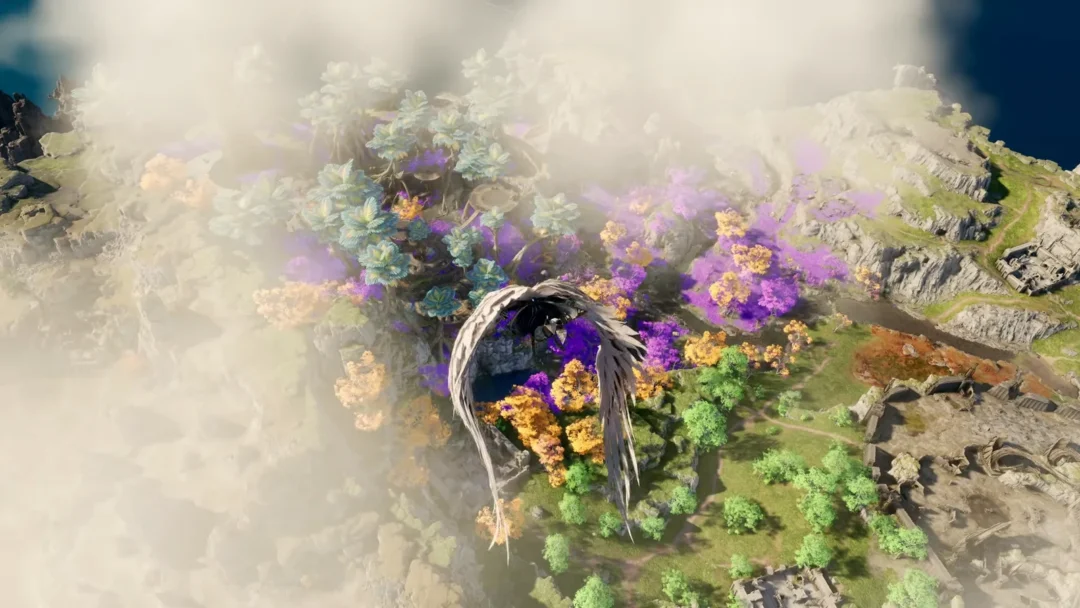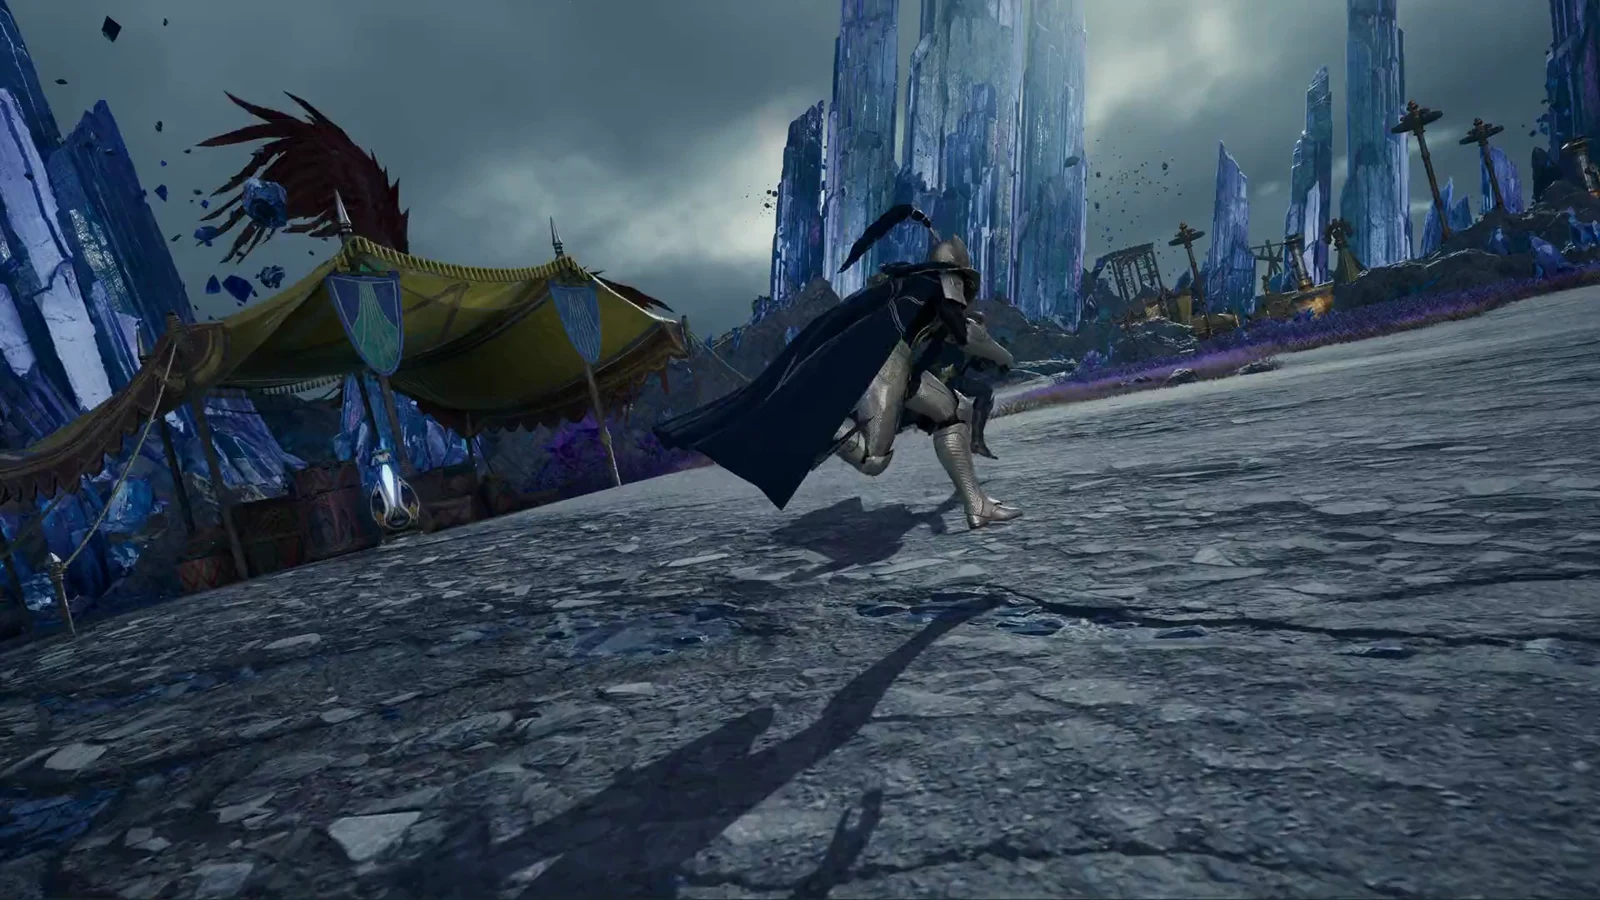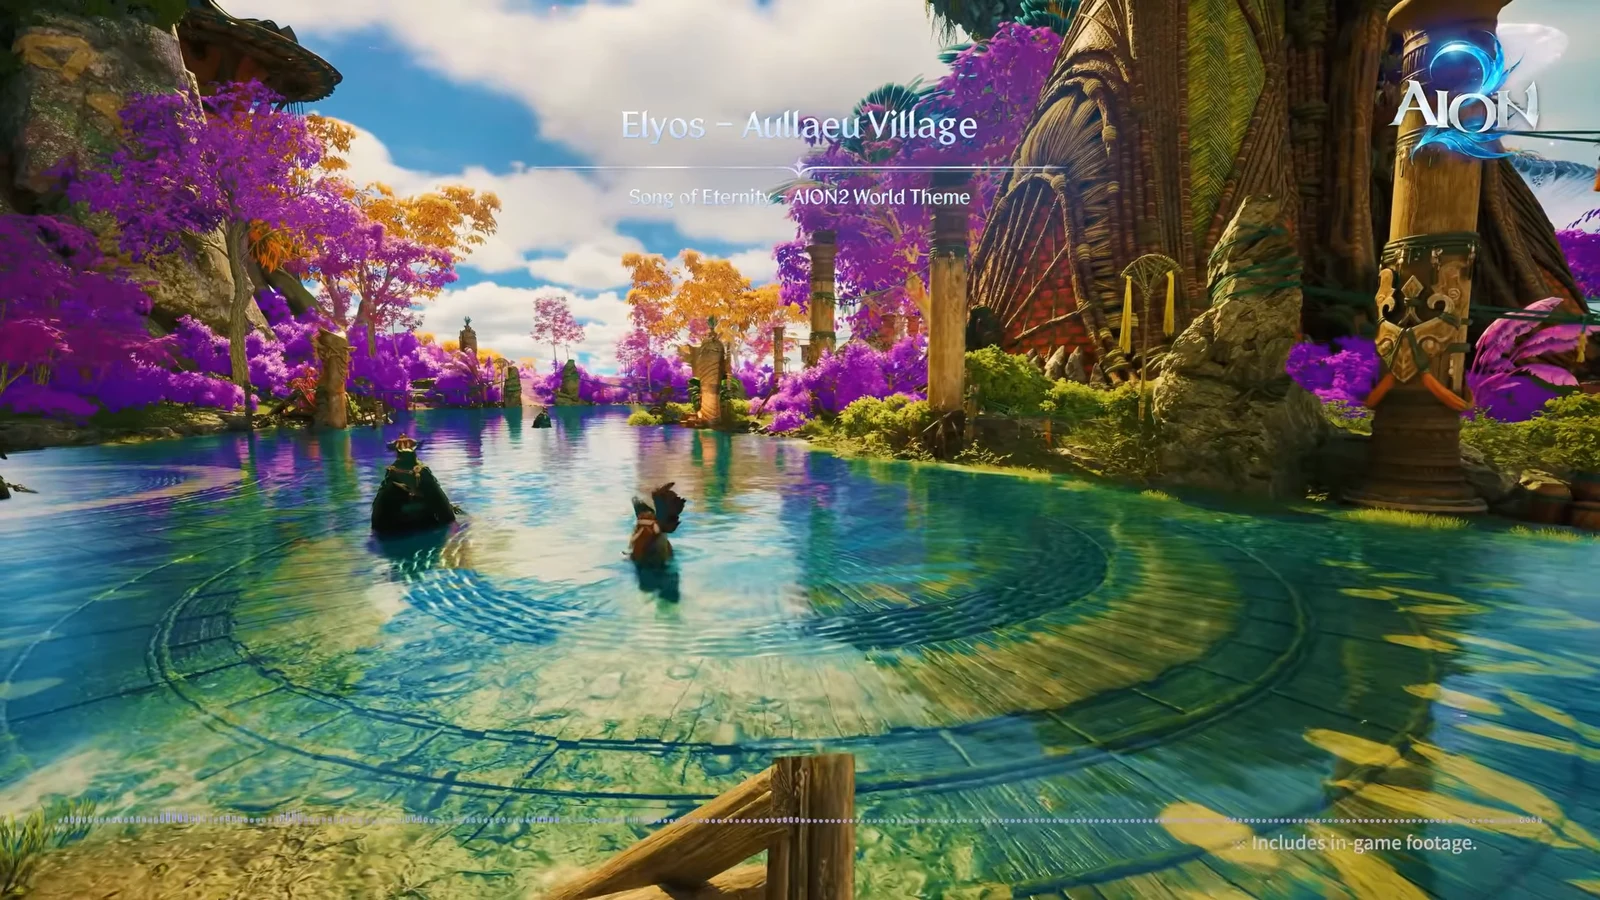
Two-Faced is the fifth Elyos episode in AION 2, and it is the stretch where the Dawn Legion finally runs High Priestess Reda to ground inside Altamia Canyon. The chapter opens with a tense bargain for the Notos Legion’s help and ends with a brutal fight in the Fire Temple, taking in a hunt for petrified priests, a holy relic, and a Dragon Lord’s blood along the way. Everything plays out in Verteron, mostly around Zumion Village.
Quick answer: Two-Faced is an 18-quest Elyos Episode chapter in Verteron, recommended for levels 32 to 37, worth 136,130,929 total EXP. Complete the quests in the order below, starting with An Uneasy Alliance from Nania.
Where Two-Faced starts and what you need
Every quest in this chapter unlocks at character level 10, but the recommended levels climb from 32 up to 37, so you want to be in that band before the first fight. The questline is linear: each entry hands straight into the next, so you cannot skip ahead or tackle them out of order. Nania starts the chain at the Wind Breeze Merchant HQ, and Caelid meets the group at Zumion Village near Altamia Canyon.
Winning over the Notos Legion
1. An Uneasy Alliance
An Uneasy Alliance sends you to the Notos Legion’s base in Zumion Village to ask for their cooperation. The problem is that many of the legionnaires still resent Caelid, so the welcome is cold. “Aren’t you Caelid?” asks Alena, before noting that his name sours the mood among her comrades. You eventually earn the support of commander Dymones only because of his trust in Phernos.

2. Rocky Tomb
Rocky Tomb deals with the Illusion Barrier that once protected the area and has since vanished. Rodelos explains that the Illusion God’s barrierstones sat on the east and west sides of Rock Tomb Hill, but renegade Daeva and Sura have made them hard to reach. By the end you confirm every barrierstone is destroyed, which is why Kaisinel’s grace has faded from the region.
3. Protectors of the Rock Hill
Protectors of the Rock Hill has you recover the belongings of fallen legionnaires so their comrades can honor them. Rodelos is grateful enough to write a report on your help, and that report is what finally warms Dymones to the cause. “So you were sincere about helping,” he admits on completion.

4. Another Dream
Another Dream begins without prompting, sending you to the Dream Crossroad when Asahr calls. You experience Narun’s dream again—Narun was the first Arch Daeva—and see the resolve an Empyrean Lord left behind. Finish The One Who Dreams, then go back to Dymones. At this point, the chapter reveals that the Arch Daeva is the bearer of AION’s shattered core.
Tracking Reda through Altamia Canyon
5. Shadow of the Canyon
Shadow of the Canyon follows a reported sighting of the high priestess deep in Altamia Canyon. At the Canyon Campsite you find Dark Spiritstones summoning Dark Spirits against the Daeva, the same magic used for Scarlotus at the Aullaeu Underground Altar. For the single objective, talk to Caelid to find Odite at the Canyon Campsite, defeat the Dark Spirits to rescue the legionnaires, then report to Odite.
6. Barrier Traces
Barrier Traces ties Reda to the strange events: butterflies, Scarlotus’s traces, corrupted spirits, and the mysterious barrier. Since ordinary methods cannot remove it, Phernos suspects she is hidden inside. “And of Reda’s making, there is no longer any doubt of that.” he concludes.

7. Between Faith and Doubt
Between Faith and Doubt is where Phernos reveals his plan to dissolve the barrier with the blood of Dragon Lord Meslamtaeda. It splits the Dawn Legion, with Caelid and Hithanya refusing to follow, but nobody offers a better idea. Because the poison needs a special vessel, the team decides to awaken Zumion’s petrified priests. For the two objectives, head to the Notos Legion Office to discuss plans, then talk to Adrian to receive Zumion’s holy relic before reporting to Lachesis at the Alert Observation Post.

Restoring Zumion’s priests and the Warding Feather
8. Headless Statue
Headless Statue checks the petrified priests, who turn out to be damaged and missing their heads. They only mutter broken phrases about Zumion and cannot hold a conversation. Luteros, meanwhile, finds Monoliths near the temple ruins that may hold answers.
9. Priests of Zumion
Priests of Zumion works toward repairing the statues so the priests can speak again. Reading the nearby Monoliths turns up a record of the Warding Feather, a holy relic said to block all poison and attacks, which may be exactly the vessel Phernos wants. Phernos is impressed: using both relics, he says, would let the group handle Meslamtaeda’s poison at will.
10. Fragmented Tale
Fragmented Tale finishes the restoration and wakes the three priests. Using Zumion’s Mace to resonate with the repaired statues, they regain full clarity and reveal both the temple’s location and the incantation to open it. “Pilgrims, I entrust the holy relic to you,” they tell you, pointing toward the relic storage hidden below Zumion Temple.
11. Zumion’s Ward
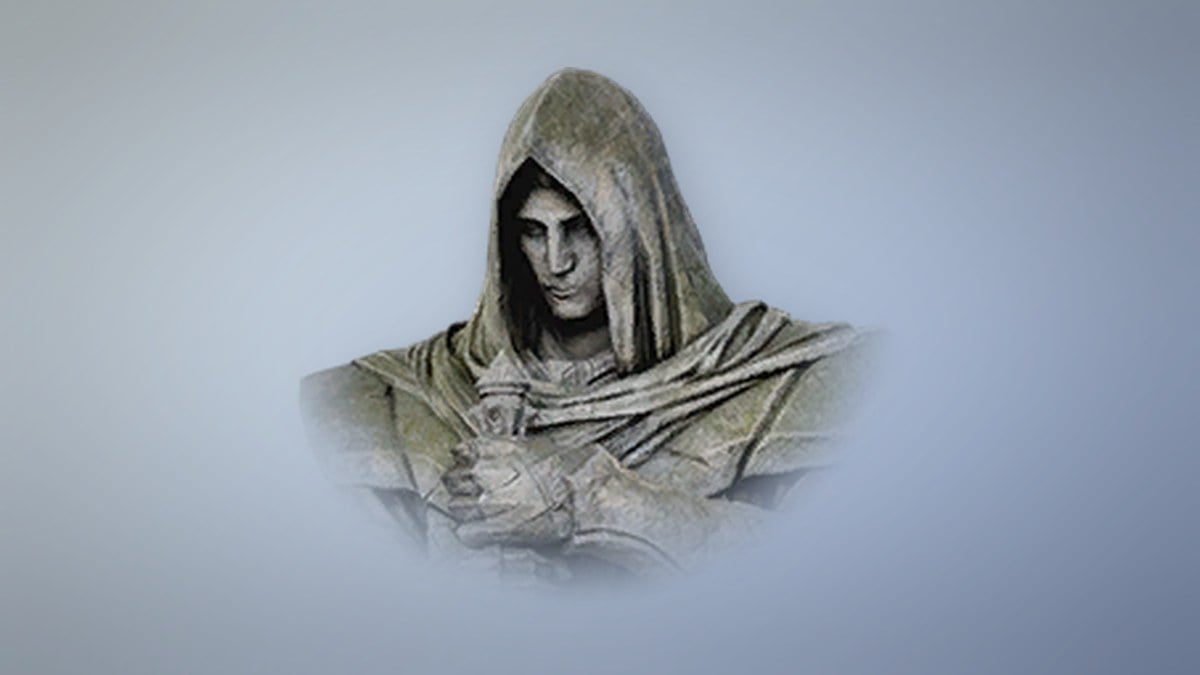
Zumion’s Ward takes you inside the temple to claim the Warding Feather. Nania opens the gate with Zumion’s Mace, and you face a trial from the Incarnated Warding Feather before carrying the relic out. Phernos confirms it when you return, noting the powerful healing aura it gives off.

Purifying the Sanctum and taking Meslamtaeda’s poison
12. Purifying Flame
Purifying Flame moves to the Contaminated Sanctum, where Meslamtaeda’s blood sits in the Purifying Altar. Gustino, a Notos legionnaire, explains the ground here is the exact spot the Dragon Lord’s blood first spilled, so the toxic aura is too strong to approach safely. Lighting the braziers is how you start cleansing it.
13. Perilous Purification
Perilous Purification is a holding action while the brazier aura spreads. The fire is burning, but the purifying aura has not reached far enough yet, and a destroyed brazier would trap the group in the contaminated area. For the single objective, defeat 6 Contaminated Scorpion and 3 Yellow-Tailed Skama to protect the brazier, then talk to Gustino once the aura has dispersed.
14. Activating Altar Purification Devices
Activating Altar Purification Devices repairs the dedicated purification devices in front of the Purifying Altar, where the contamination is worst. The devices were built by Zumion’s Priests, so once fixed they work effectively. Across the two objectives, defeat 9 Contaminated Guardite and collect the Weak Odyle Aura 3 times for repair materials, then activate the Left, Central, and Right Altar Purification Devices and report to Gustino.
15. Path to the Altar
Path to the Altar keeps the repaired devices safe, since the fix is only temporary and even a small hit could break them again. Clearing the surrounding creatures lets the party reach the altar in one piece.
16. Meslamtaeda’s Poison
Meslamtaeda’s Poison finally opens the path to the altar so you can collect the Dragon Lord’s blood with the Warding Feather. Caelid still doubts the whole plan but cannot talk Phernos out of it. For the two objectives, open the Purifying Altar Door to retrieve Meslamtaeda’s poison, then talk to Gustino to exit before reporting to Caelid at the Canyon Campsite.

Meeting Reda and the Fire Temple
17. Those Who Remain
Those Who Remain lets the poison break through the barrier, bringing you before Reda, the High Priestess of Illusion. The clues from your investigation all check out: while protecting the Core, she lost her daughter Teina; she sought to revive her with dark magic, gradually lost her mind, and held Phernos responsible for leaving her to bear the burden alone. “Ha! So it’s for my sake? For Atreia’s? Do not insult my intelligence, Akarios!” she snaps back at him. Reda will not disclose where the Core is until you bring back Teina’s bracelet. Your only objective is to dispel the Illusion Veil, investigate the hideout, and then report to Dymones at Zumion Village.
18. Fire Temple
Fire Temple brings the chapter to a close. Teina’s bracelet serves as a holy illusion relic; Daeva relics are discarded in Nahid Brigade Fortress, but an entrance to the Fire Temple has opened nearby first. The temple once received offerings as a shrine, then became Kromede’s prison, where she was sealed with the relics she had stolen. The Mirror of Desire has taken hold of Kromede; defeat her in a tough battle to claim the treasure. For the two objectives, speak with guard Phion, enter the Fire Temple and investigate it, then report to Dymones. After clearing the chapter, the group is prepared to infiltrate Nahid Brigade Fortress.

Two-Faced quest rewards
Every quest pays out Kina and EXP, with a Drifter armor piece or scroll bundle attached to most. The final three quests carry the chapter’s standout items, including a title, a relic colossus, and an accessory chest.
| Quest | Lv | EXP | Rewards |
|---|---|---|---|
| An Uneasy Alliance | 32 | 3,814,040 | Kina x21,000, Life Serum x20 |
| Rocky Tomb | 32 | 3,814,040 | Kina x21,000, Courage Scroll x5, Drifter Gloves x1 |
| Protectors of the Rock Hill | 32 | 3,814,040 | Kina x21,000, Drifter Greaves x1 |
| Another Dream | 32 | — | — |
| Shadow of the Canyon | 33 | 5,769,136 | Kina x22,000, Superior Courage Scroll x5 |
| Barrier Traces | 33 | 5,769,136 | Kina x22,000, Drifter Cloak x1 |
| Between Faith and Doubt | 33 | 5,769,136 | Kina x22,000, Status Effect Resist Scroll x5 |
| Headless Statue | 34 | 7,330,196 | Kina x24,000, Drifter Guard x1 |
| Priests of Zumion | 34 | 7,330,196 | Kina x24,000, Drifter Breastplate x1 |
| Fragmented Tale | 35 | 9,313,661 | Kina x26,000, Resurrection Spiritstone x1, Drifter Boots x1 |
| Zumion’s Ward | 35 | 9,313,661 | Kina x26,000, Colossus: Incarnated Warding Feather x1 |
| Purifying Flame | 36 | 9,230,386 | Kina x27,000, Healing Potion x10 |
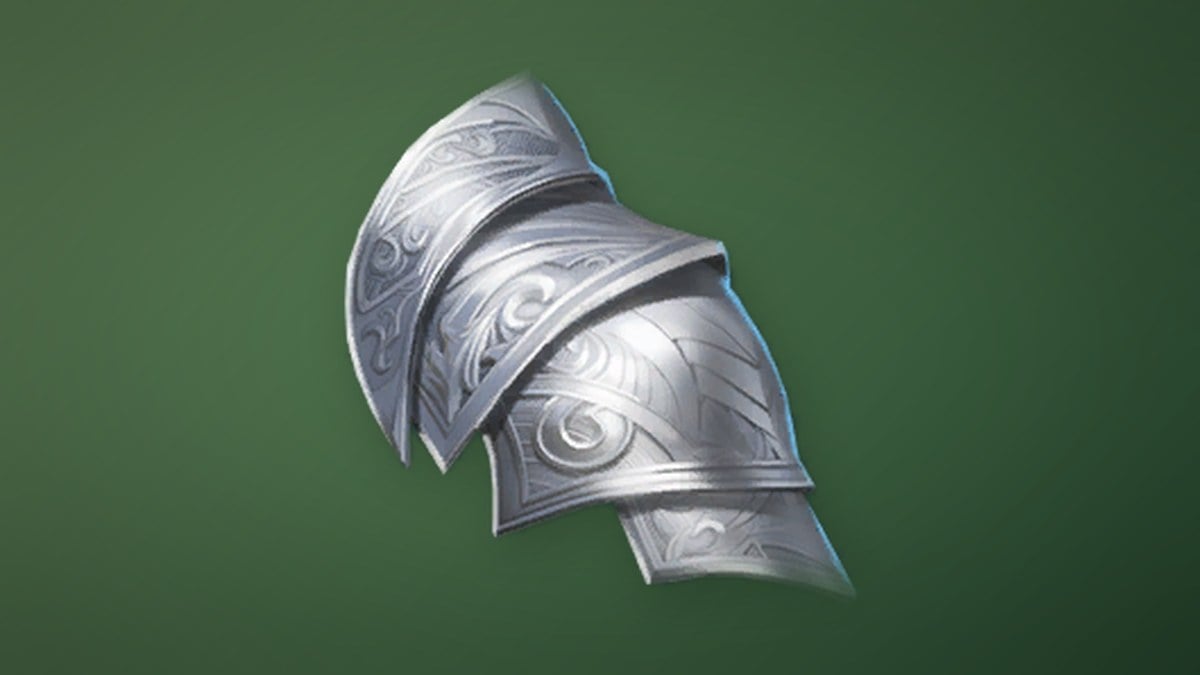
| Perilous Purification | 36 | 9,230,386 | Kina x27,000, Drifter Pauldrons x1 |
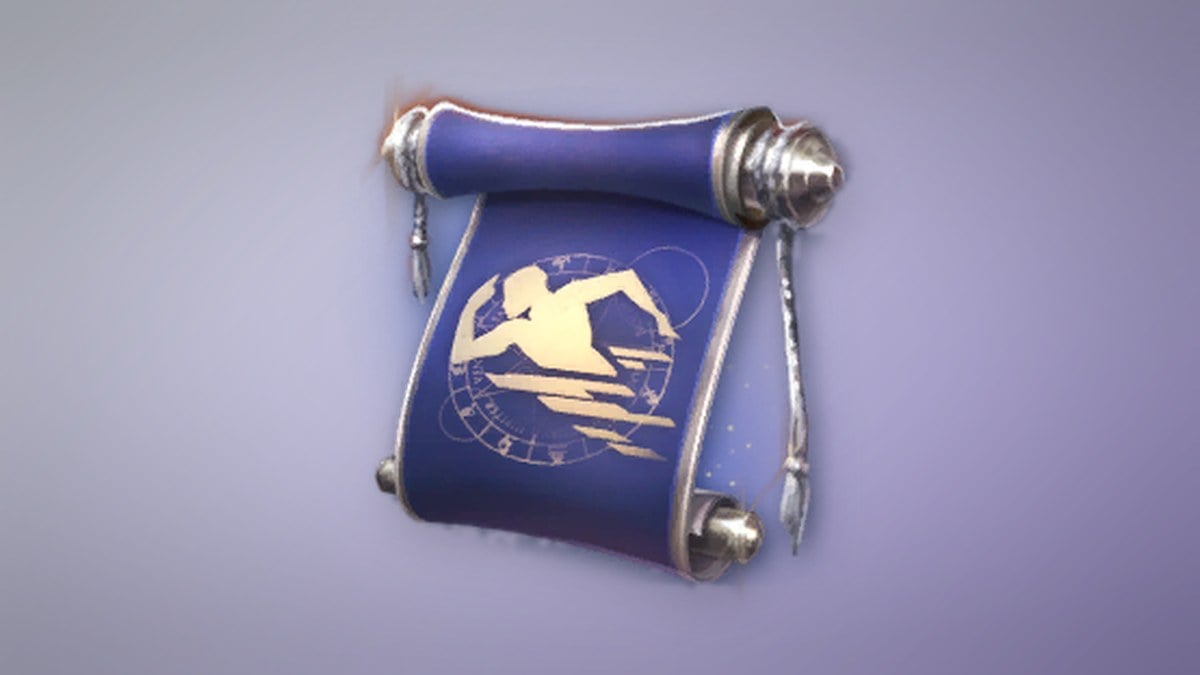
| Activating Altar Purification Devices | 37 | 11,126,583 | Kina x29,000, Superior Speed Scroll x5 |
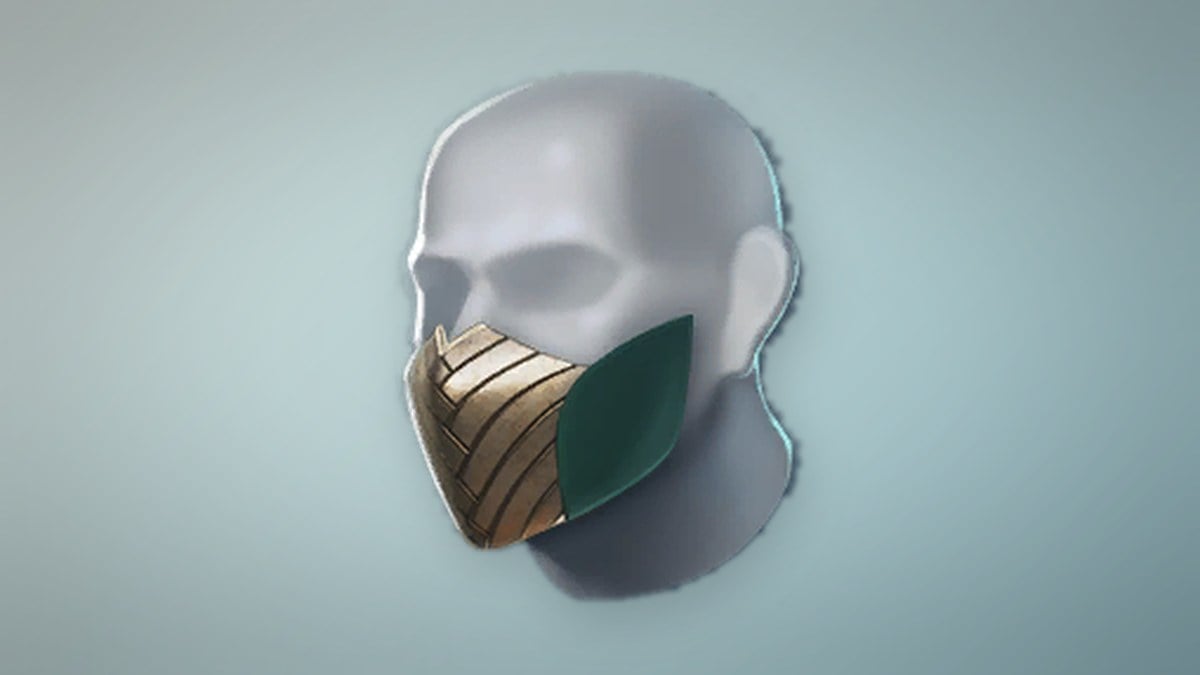
| Path to the Altar | 37 | 11,126,583 | Kina x29,000, Drifter Helm x1 |
| Meslamtaeda’s Poison | 37 | 11,126,583 | Kina x29,000, Superior Benediction Scroll x5 |
| Those Who Remain | 37 | 11,126,583 | Kina x29,000, Title: Discerner of Illusions x1, Lesser Manastone x5, Lesser Soulstone x5 |
| Fire Temple | 37 | 11,126,583 | Kina x29,000, Fire Temple Accessory Selection Chest x1 |
All Kina rewards are the Bound variety, as are the scrolls, stones, and chests. Clearing the full set leaves you around level 37 and heading straight into the Nahid Brigade Fortress, where the search for Teina’s bracelet and Kaisinel’s Core continues.