Most of the damage players do to an Aniimo account happens quietly, in the first few dozen hours, and none of it looks like a problem at the time. A duplicate gets released. Star-ups go into a creature that was never going to be the final pick. A collectible on a cliff face gets skipped because the story marker is somewhere else. The bill arrives later, when a mode is locked, a Perfect roll is gone, or an evolution refuses to trigger.
Quick answer: Before releasing anything from your box, verify its Alpha status, form and Potential grade; reserve rare Aniipods for catches that cannot be repeated, and pick up Lumin Ambers whenever you encounter them.
The 13 mistakes and what each one costs
| Mistake | What it costs |
|---|---|
| Rushing the first-login account prompt | Progress split across accounts or servers |
| Leaving auto-release on defaults | Keepers cleared without a second prompt |
| Releasing without checking form and grade | A special or Perfect creature, permanently |
| Treating Alpha as proof of quality | Materials poured into a bad roll |
| Star-ups into an individual, not a family | Non-refundable Resonance investment |
| Feeding Capafruit early | The one upgrade each creature ever gets |
| Auto-assigning Capability Points | A stat spread you did not want |
| Ultras and Sparkling Cubes on commons | Nothing left for rare encounters |
| Hunting a wild Pawney | Hours on a spawn that does not exist |
| Walking past Lumin Ambers | Abilities and game modes stay locked |
| Leaving regions under-explored | Region privileges and weather control |
| Skipping daily nurtures and capping Primegy | Free spawn events and weekly rewards |
| Running an all-damage team | Energy droughts and long, losing fights |
Setup choices you cannot redo: account linking, names and auto-release
The first screen that can cost you something is the account prompt, not the character creator. Progress on different servers is separate, and console players who already have an account need to follow the existing-account linking path at first login rather than clicking through it. If you plan to play across platforms or with friends, settle the Aniimo Pass and the regional server before you touch anything else.
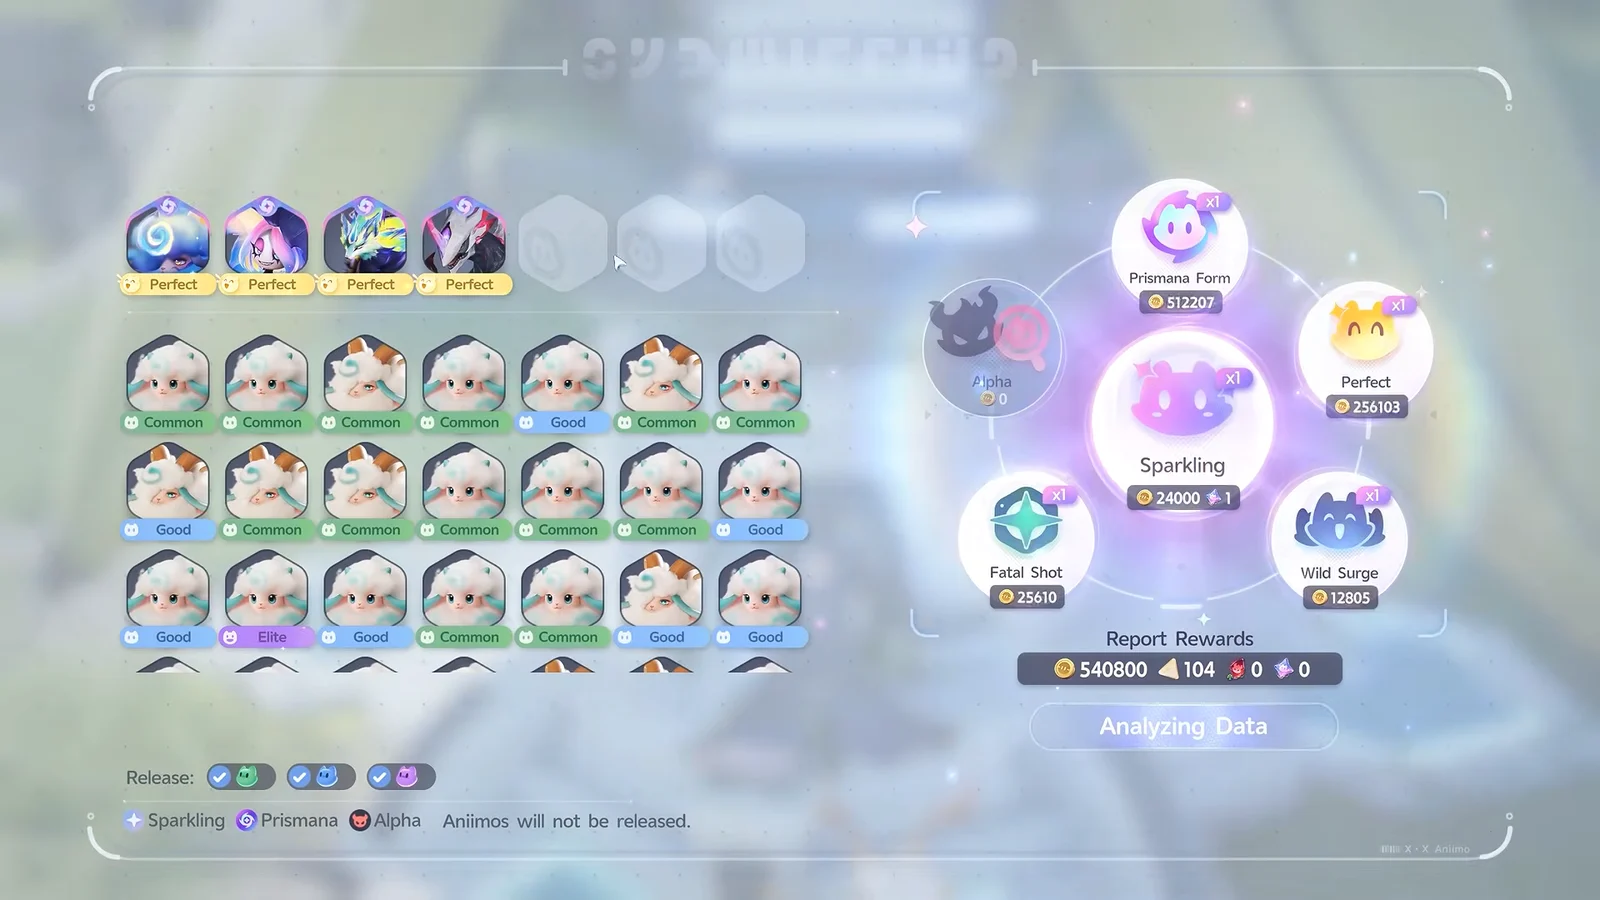
Open the auto-release settings and inspect them carefully. If the rule set is too broad, it will discard a creature you meant to keep without requesting confirmation. Apply that same care to manual releases and registrations: verify the creature’s Alpha status, check for a special or weather form, and review its Potential grade. These checks take only seconds, while a release cannot be undone.
Decide on a character name before you spend an hour in the creator, because common names get taken.
Potential grades and why Alpha status is not a shortcut
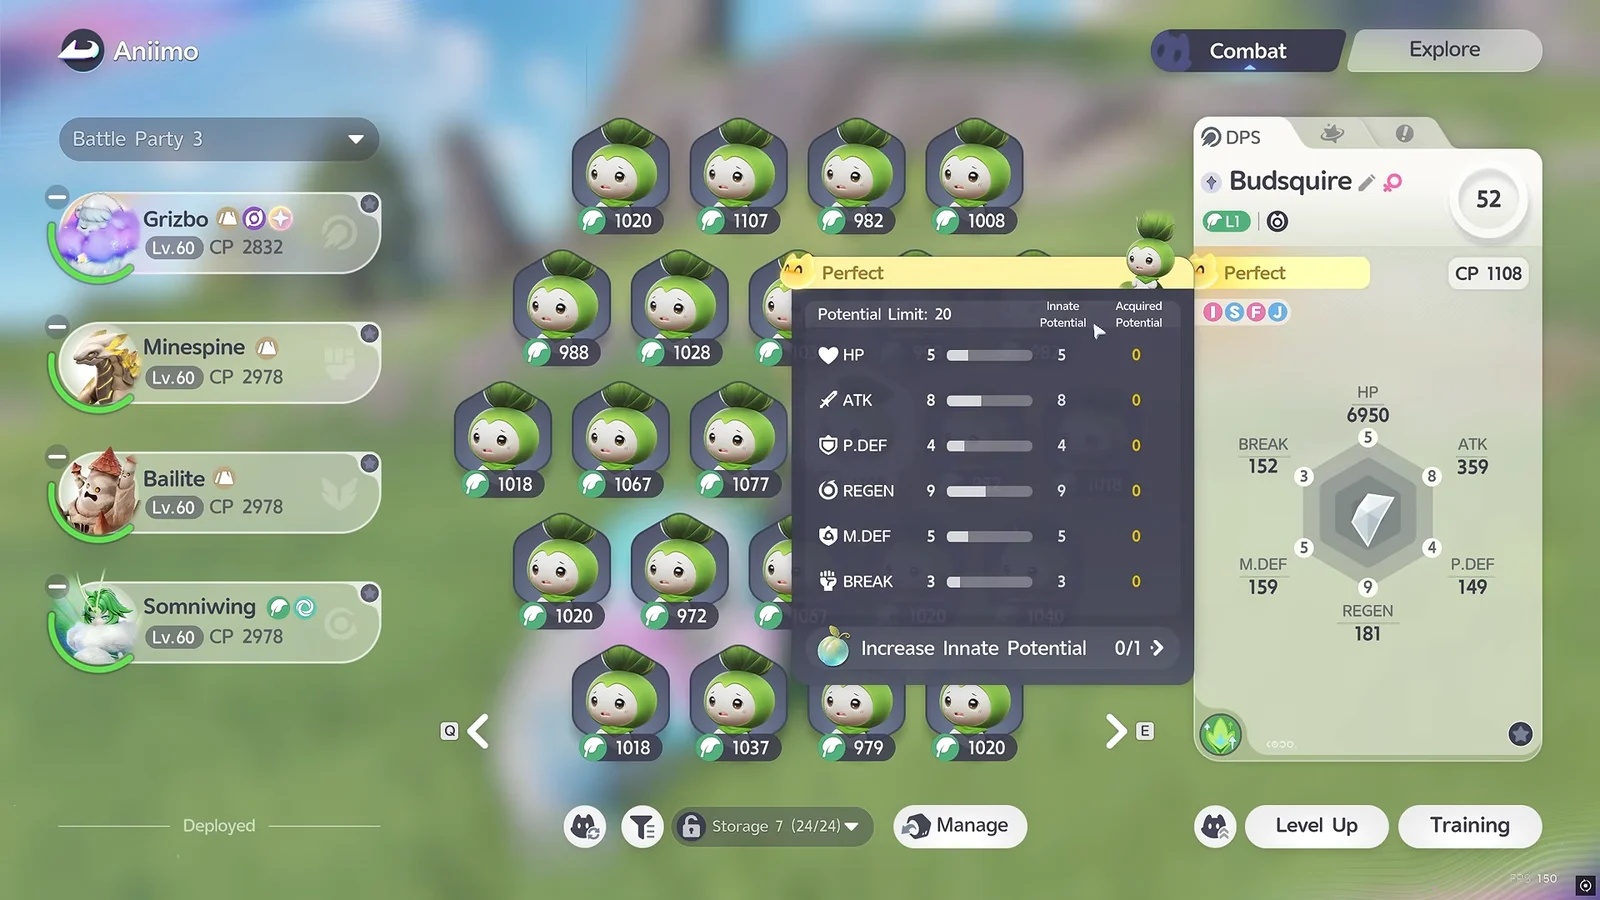
A creature’s Potential is determined when you capture it, and that value sets the eventual limit of its growth. The system has four grades, with meaningful differences between them rather than merely cosmetic ones.
- Common — the lowest grade.
- Good — one step up.
- Elite — one step below the top.
- Perfect — the highest grade, and the one worth investing in.
An Alpha is a boss-grade version of a species, and it has to be beaten before you can capture it with a special Aniipod. What it is not is a guarantee of a good roll. An Alpha’s stats can land above or below the standard for its species, so catching one is worth doing, but treating the label as a quality stamp is how people end up funding a creature that rolled badly.
Innate potential is what you get at capture. Acquired potential is what you build afterwards through training, and the Research Console is where you compare the two side by side. Even inside the Perfect tier, individual stat spreads vary, so farming duplicates of a species you intend to build around is not wasted effort.
Resonance star-ups, Capafruit and Capability Points
Materials spent on Resonance star-ups are never refunded. Inheritance is the sole way to relocate them, carrying levels, star-ups and capabilities to another creature from the same family. Because that is your only recourse, choose investments by family instead of by individual creature.
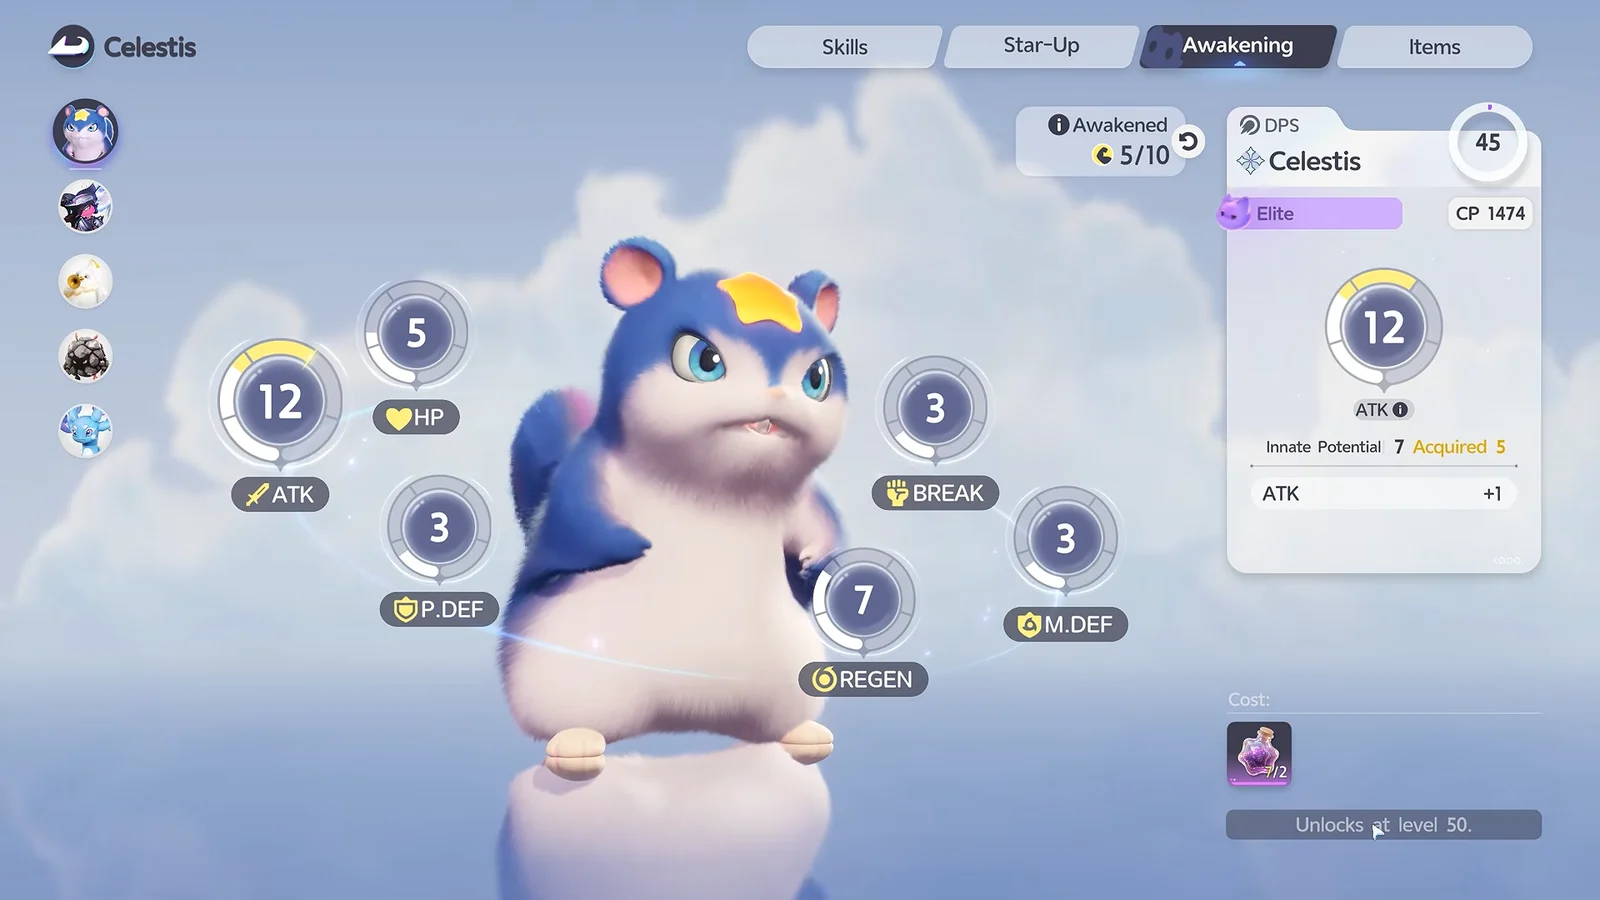
Capafruit is even more final. It grants +1 to innate potential, and a creature can eat exactly one, ever. Used on a high-stat Elite, it promotes that creature to Perfect, which makes it far more valuable held in reserve than spent on the first Elite you happen to catch.
Capability Awakening points are the last stage. Allocating them alongside star-ups is what pushes a stat to the 20/20 ceiling and earns Crown Level, and gathering awakening materials in the field is part of that pipeline. You are not required to follow the game’s recommended allocation, so read what the creature is actually for before you confirm the spread.

Development materials spent on a creature before you know its intended role do not come back. Decide the job first, then invest.
Sparkling Cubes, Anipod Ultras and guaranteed Perfect catches
The expensive errors are made with the items you own fewest of. A Sparkling Cube guarantees Perfect Potential on whatever it catches, which makes it the tool for a creature you cannot easily meet again. An Anipod Ultra raises the capture rate and is the right answer for Alpha encounters. Neither belongs in a throw at a common wild spawn.
Umbral Aniimo found in the wild are another route to guaranteed quality, and Tumblers are the cheap workhorse for field catching, particularly during Wild Surge events when a region floods with native spawns. Basic pods handle the ordinary catches perfectly well, and a missed Aniipod returns to you if it hits nothing, so there is no reason to ration ordinary throws.
Improve the odds before you spend anything. Approaching undetected and throwing from behind lands the Backstab bonus, which raises the capture rate by 150% and usually skips the fight entirely. Applying Break to an alerted target does similar work. If the displayed percentage is low, fix the setup rather than emptying your bag into it.
Lumin Ambers, Branch upgrades and exploration milestones
Lumin Ambers look like optional collectibles and are not. They gate abilities and entire game modes, and you hand them in at a region’s Branch to buy upgrades. The Breezy Plains Branch alone sells full-stamina flight through Wanderer’s Might and cave reveals through Earthquake Revelation, alongside catch-rate and Sparkling-rate boosts and weather control. Skipping Ambers does not save time, it stalls you and leaves you staring at content you can see but cannot enter.
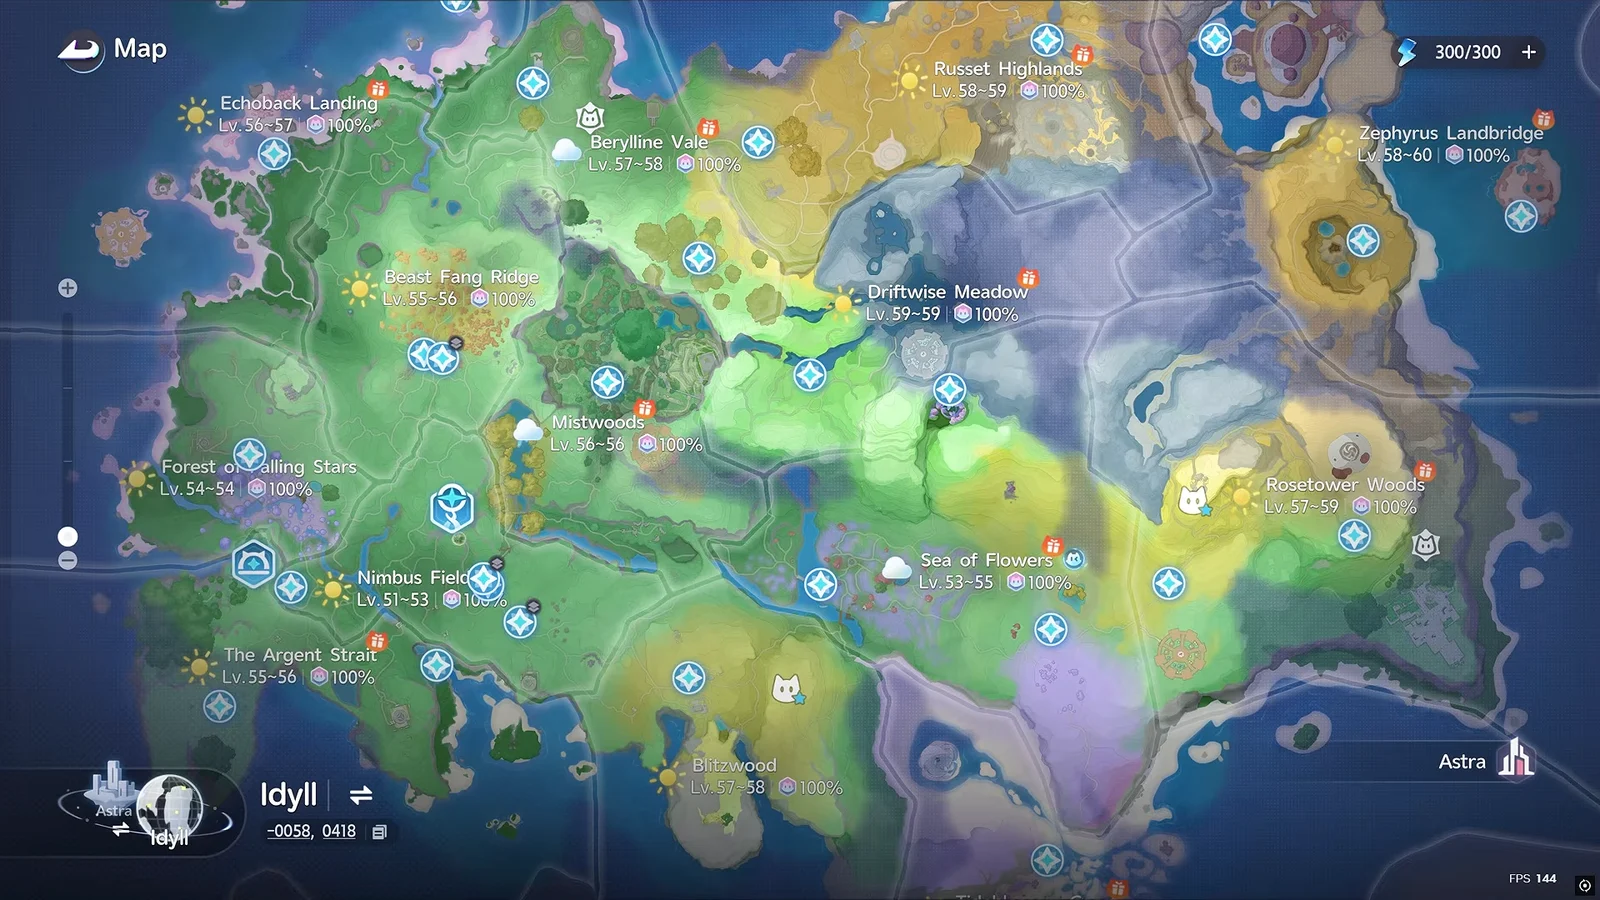
If you are hunting the last few in a region, zoom the map in. Uncollected Ambers are marked, and most of the awkward ones are platforming problems rather than hidden ones. Nimbus Fields holds 11 Lumin Ambers across its level 5 to 15 stretch; Zephyrus Landbridge holds 6.
Region privileges are tied to exploration percentage, with thresholds at 40%, 70% and 100%. Weather alteration sits behind that progression, which matters because several creatures only spawn under specific conditions. Thunderstorm forms are the obvious case, and some lines such as Interlupa are locked behind quests rather than weather at all.
Helmut, Pawney and the free Perfect from the Warrior quest
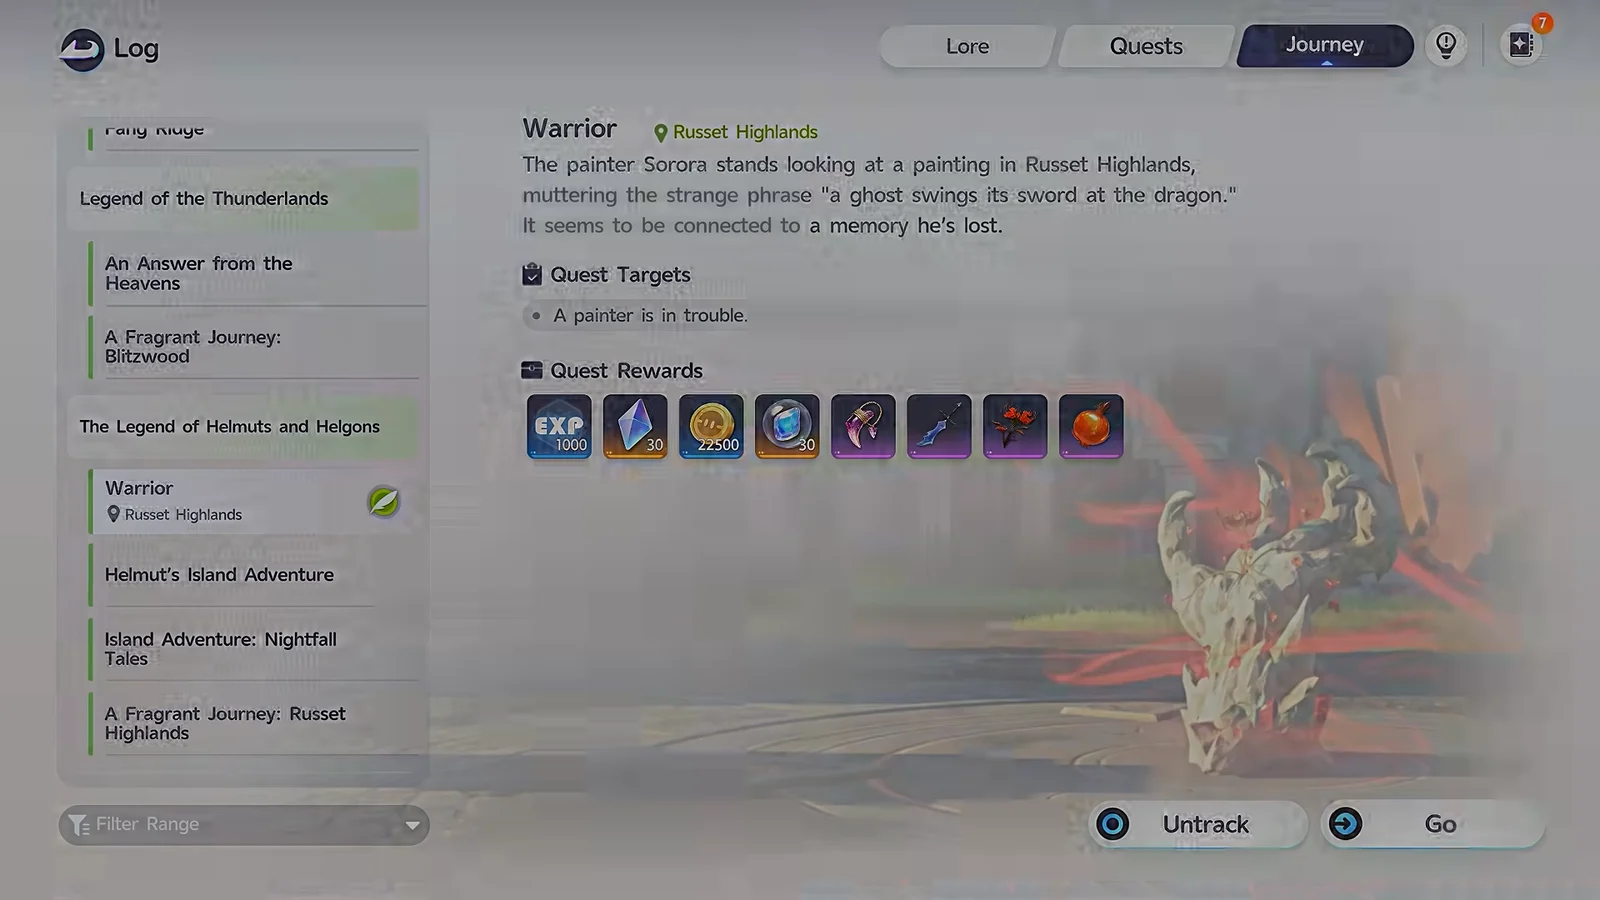
Pawney cannot be caught in the wild. Not in a specific zone, not at a specific level, not rarely. The only way to get one is by evolving Helmut, so any time spent searching for a spawn is time you will not recover.

That matters because the Warrior quest chain involving Helmut hands out free creatures, and the grade of what you receive depends on what you bring. Start the chain with a Perfect Helmut and the resulting Pawney and Infergon are also Perfect. Feed it a mediocre Helmut and you have spent a one-time quest reward on a creature you will replace.
Before spending materials, remember that evolution has additional requirements. Personality traits provide their own combat bonuses, while certain evolutions demand a particular personality; Psyche Fruit is used to change it. Promise Eggs also have restrictions: Prismana and other special creatures cannot be sealed in one as a carryover reward, making that strategy impossible.
Hidden underground caves and the Magmarex fight
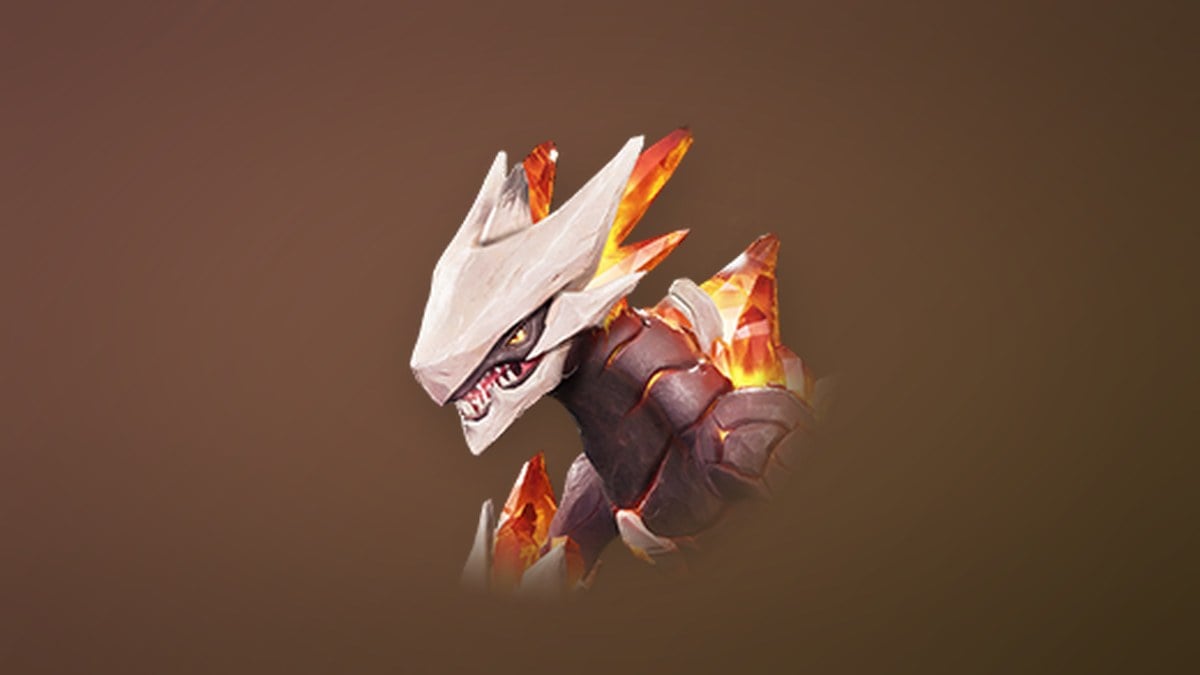
Once Earthquake Revelation is purchased at the Branch, concealed cave entrances appear on the map that were invisible before. These are not decorative side rooms. Boss encounters sit inside them, including Magmarex in Zephyrus Landbridge, a region running from level 47 to 57 with 58 chests, 18 ecological points and three pathfinder challenges across it.
Map challenges fall into the same category. Clearing them as you pass is cheap; coming back for them after you have outlevelled the region is a chore nobody does.
Talents and daily routines that raise your catch rate
Skill points earned from levelling go into the character talent tree, and a handful of entries there change how catching feels. Mode Switch gives you dedicated Catch, Attack and Defense stances. Master Catcher and Quick Twine speed up the routine directly. Gravity Pull is a Control talent that costs no EP and has no cooldown, which makes it usable in every encounter rather than saved for one.
On the daily side, nurturing Blooms at a region Branch triggers Wild Surges and raises regional Prismana Energy, which is what produces Prismana encounters. You get three free nurture charges per day, and unused charges are simply lost. Primegy behaves the same way: it refills over time, so letting it sit at maximum wastes the activities it pays for.
Weekly tasks such as Omega Aniimo and limited vendor stock are on the same list, and the Elite Program run by Dr. Lewis is the fastest source of character EXP when story quests start demanding a level you do not have. Capture objectives are the ones to clear first, since catching a species for the first time pays a bonus on its own.
Team roles: why an all-damage lineup runs dry
Combat is built around five roles, and stacking one of them breaks the system. DPS deals health damage, Break pressures the poise gauge, Support applies buffs and debuffs, Heal restores health, and Regen speeds up skill recovery. A field team of four pure damage dealers runs out of Energy Points and loses more damage than it gained.
The stat most often misread is REGEN. It governs energy recovery, not passive healing, so a creature that keeps your skills firing and a creature that keeps you alive are solving different problems. Break carries hidden value too, because a broken target is both easier to damage and easier to capture.
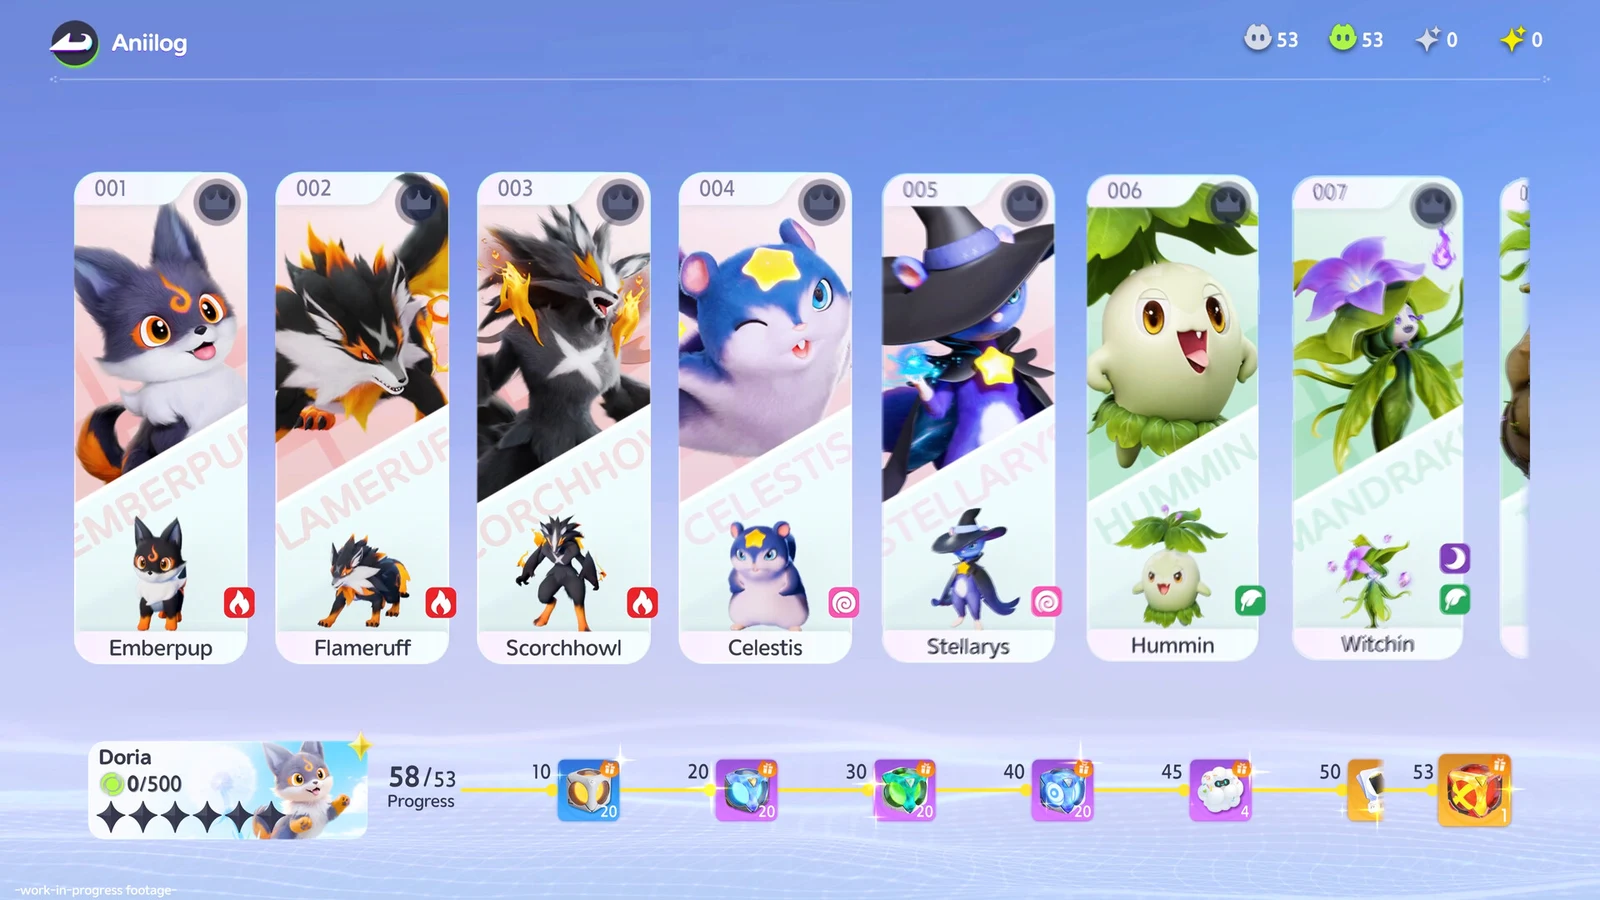
Roster width matters as much as roster depth. Exploration abilities such as flying, swimming, diving and tunnelling come from the creature you Twine with, which means a weak fighter with the right traversal tool earns its slot. Sprinting past everything in the early zones hunting for a better catch leaves you with nothing to develop when the game starts asking for a full team, and a low base-stat total is not a reason to skip a creature. Emberpup, the first Aniimo you catch in the tutorial, has one of the lowest totals in the game at 382, split across HP 67, BREAK 40, ATK 90, M.DEF 57, P.DEF 60 and REGEN 68, which is normal for an early-stage Lumin form.
The pattern running through nearly all of this is rushing. The systems that look skippable, Homeland and the RV among them, are straight power gains that compound the longer they sit idle, and the two habits that protect you most cost nothing: read your auto-release rules once, and check Alpha status, form and Potential grade before anything leaves your box.