Traits are Net a Fish’s permanent stat rolls. Each one multiplies the money you earn and the fish you catch, wraps your avatar in an aura, and adds a chat tag with the trait’s name. The system stays hidden until you reach a specific rebirth rank. Once it opens, rolling and equipping a trait takes only a few clicks.
Quick answer: Complete Rebirth 7 to become a Storm Chaser. Then click the new Traits button on the left of your HUD, spend the free roll, and click any unlocked trait to equip it.
Traits unlock requirement: Rebirth 7 (Storm Chaser)
No level, quest, or pass unlocks Traits. The only trigger is the rebirth that takes you from Captain to Storm Chaser, which is Rebirth 7. Until that rebirth goes through, the Traits button does not appear on your HUD.
Like every rebirth, this one checks two counters on the Rebirth screen. Each counter shows your current total next to the target, and both have to be met before the rebirth button works.
| Rebirth | New rank | Fish caught (all time) | Money held |
|---|---|---|---|
| Rebirth 7 | Storm Chaser | 2.9K | $21.88B |
| Rebirth 8 | Deep Diver | 3.7K | $1.06T |
The fish counter is an all-time total, so every catch since your first session counts toward it. The money counter is different. Rebirth resets your cash to $0, which means you rebuild that balance from scratch after each one. Your fish, Fish Cooler, showcase, nets, and upgrades carry over.
Reaching the Rebirth 7 fish and money targets
Both targets come from the same loop. You catch fish, put your best ones on showcase pedestals so they earn money every second, and spend that money on gear that catches more and rarer fish. Every piece below feeds one of the two Rebirth 7 counters.
Casting and reeling the net
Stand at the dock or riverbank and use the Throw Net prompt. On a keyboard that’s E, and C also casts. A yellow reticle in the water marks where the net lands. Fish swimming through it are trapped until you reel it in.
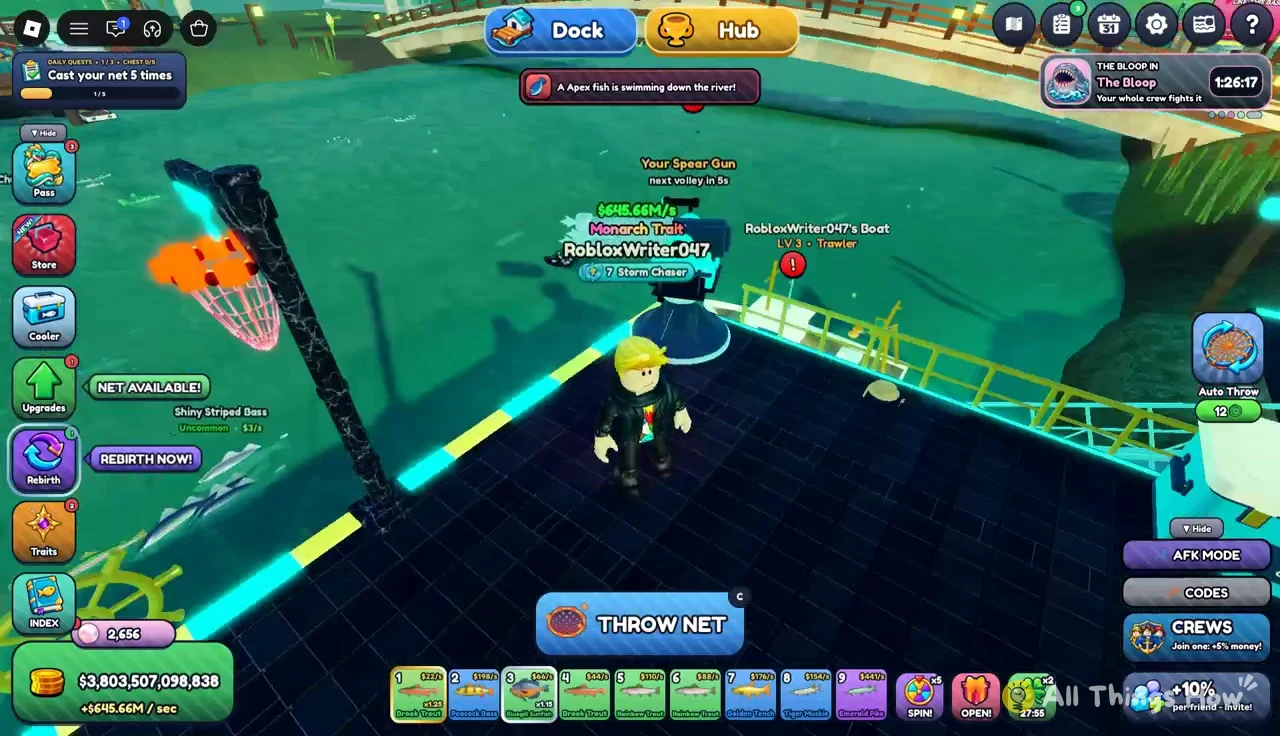
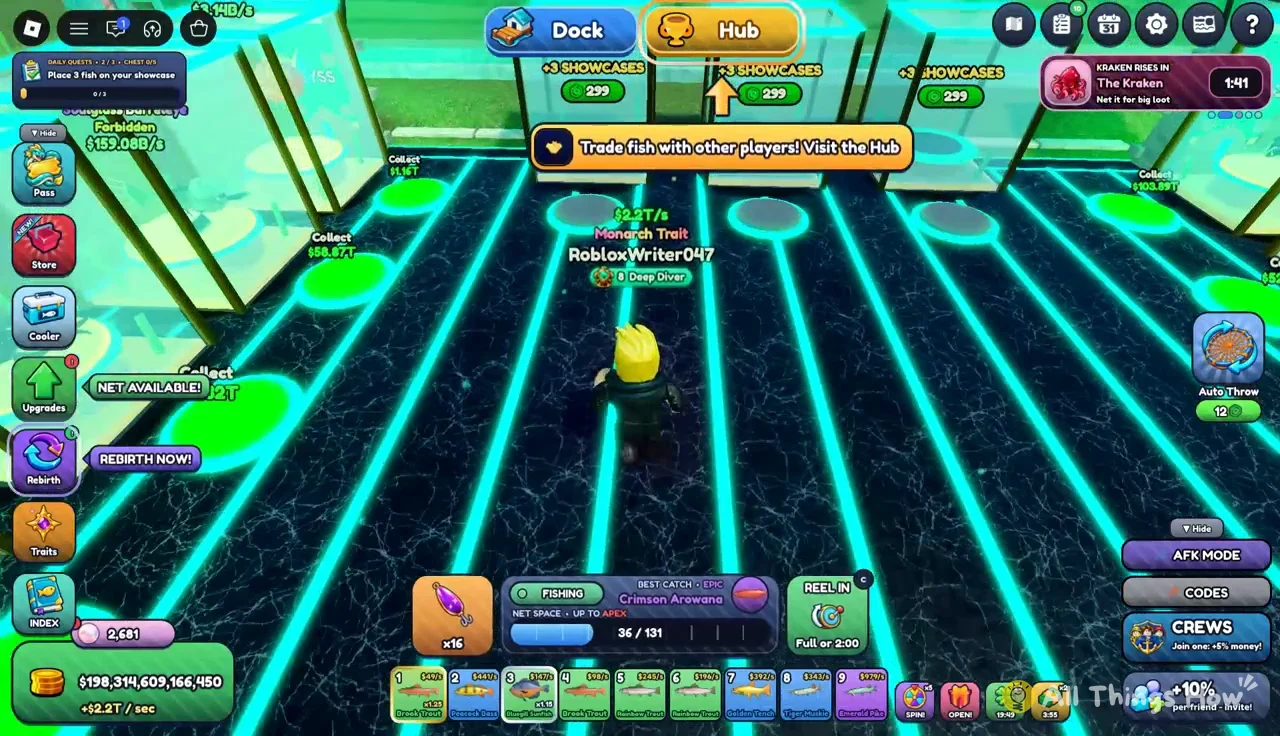
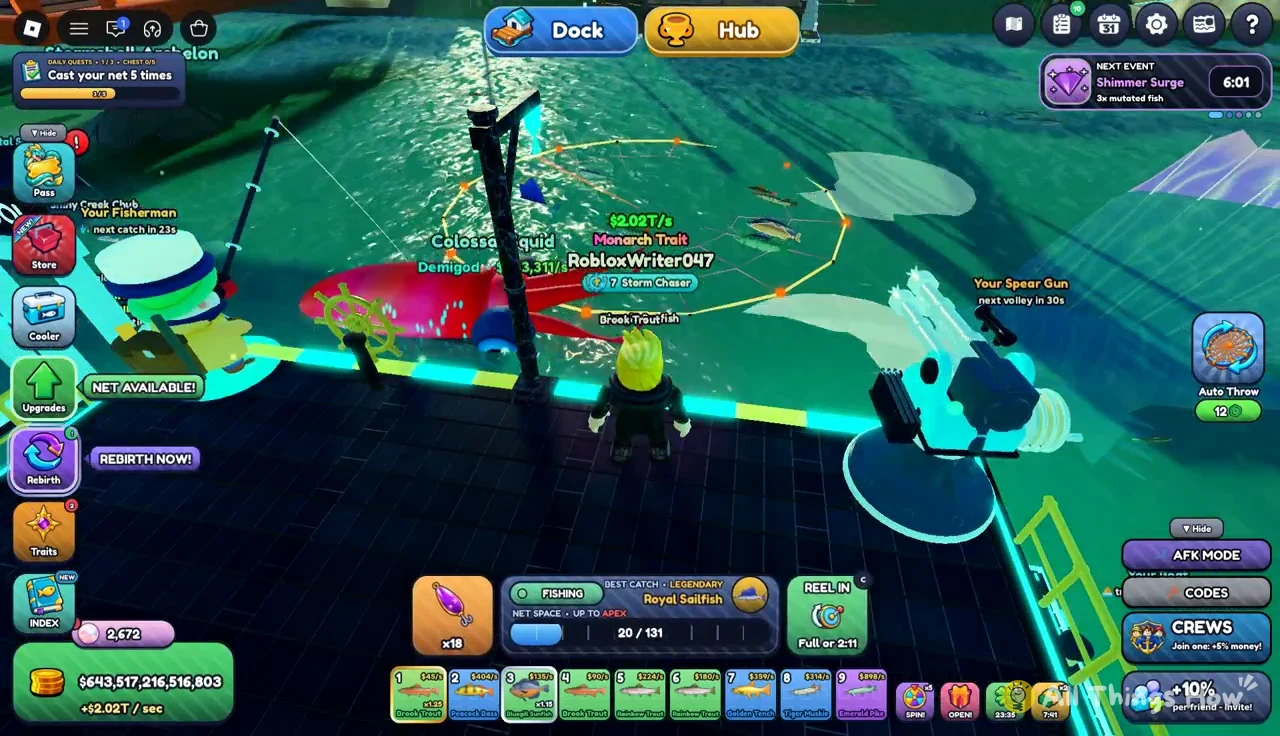
The Fishing panel tracks how full the net is against its capacity, shown as a count such as 36/131. Leaving the net out until it is nearly full gets you more fish per cast. That’s the fastest way to push the all-time fish counter toward 2.9K.
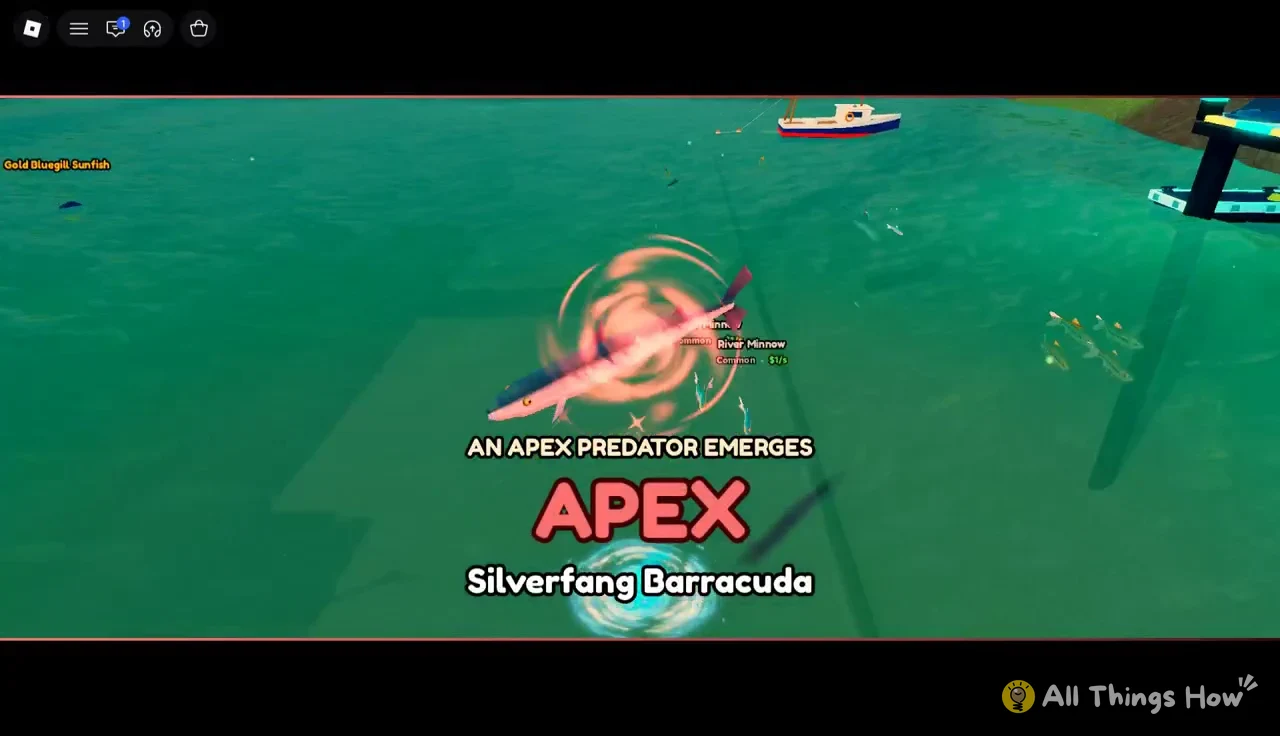
When a valuable fish is inside the circle, press Reel In to pull the whole net back. Higher-rarity catches set off pink light beams and celebration banners. Apex fish such as the Silverfang Barracuda get their own announcement as they surface.
Upgrading the net
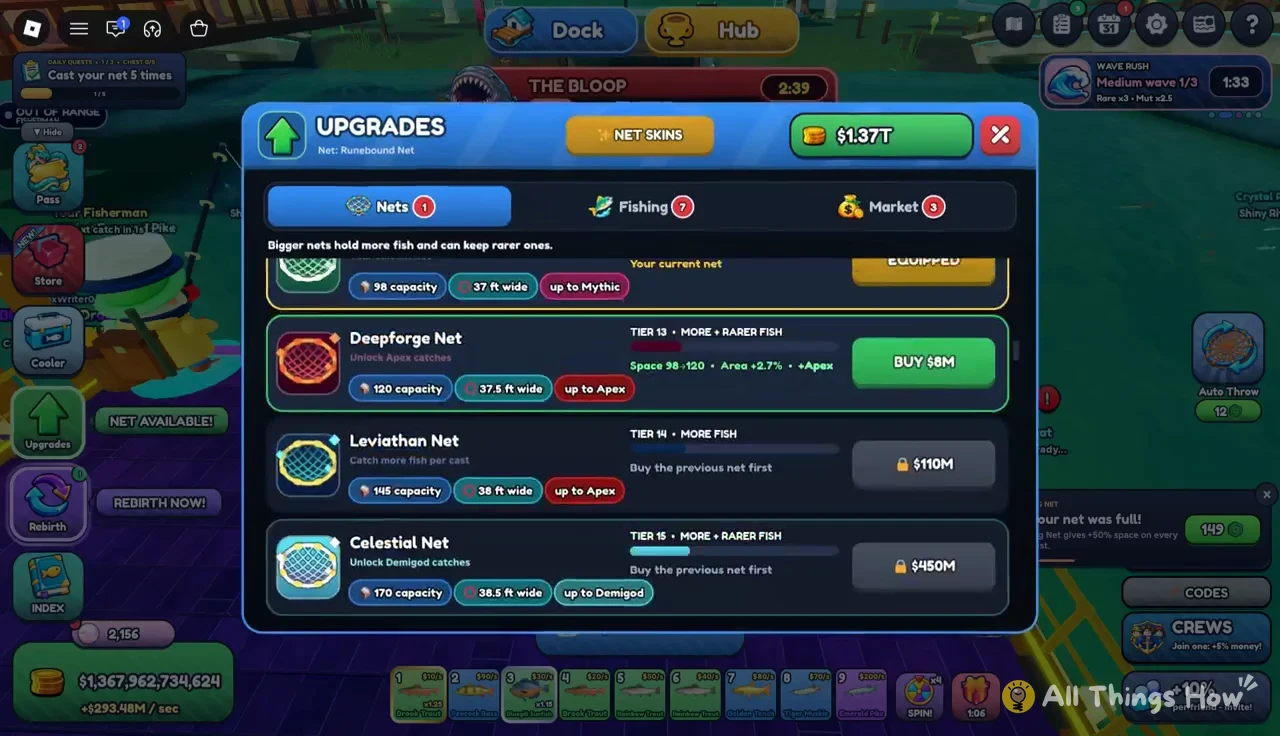
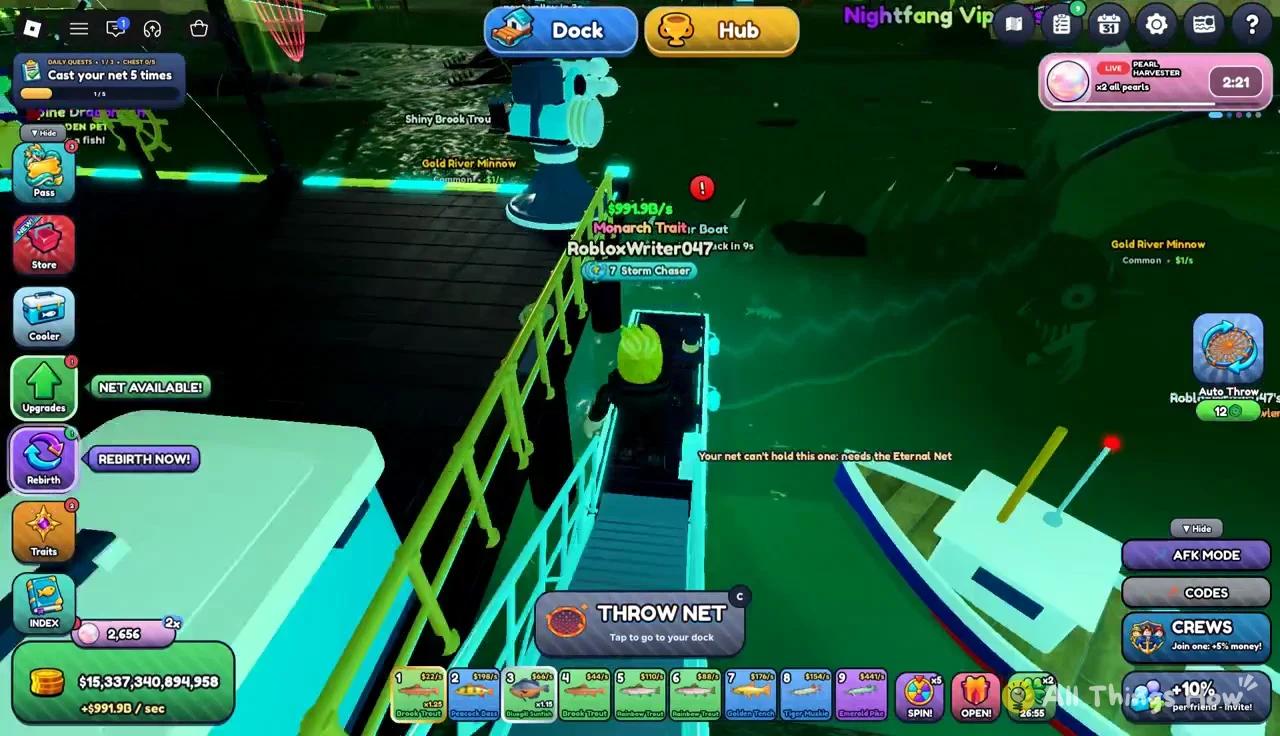
Some fish escape no matter how well you aim. If a fish needs a better net, a floating label over it names the one you need, such as “Needs Aurora Net.” Open the Upgrades menu, switch to the Nets tab, and buy the next net in line. In the mid-game range, Deepforge Net costs $8M, Leviathan Net $110M, Celestial Net $450M, and Seraphic Net $1B.
Showcase income from the Fish Cooler
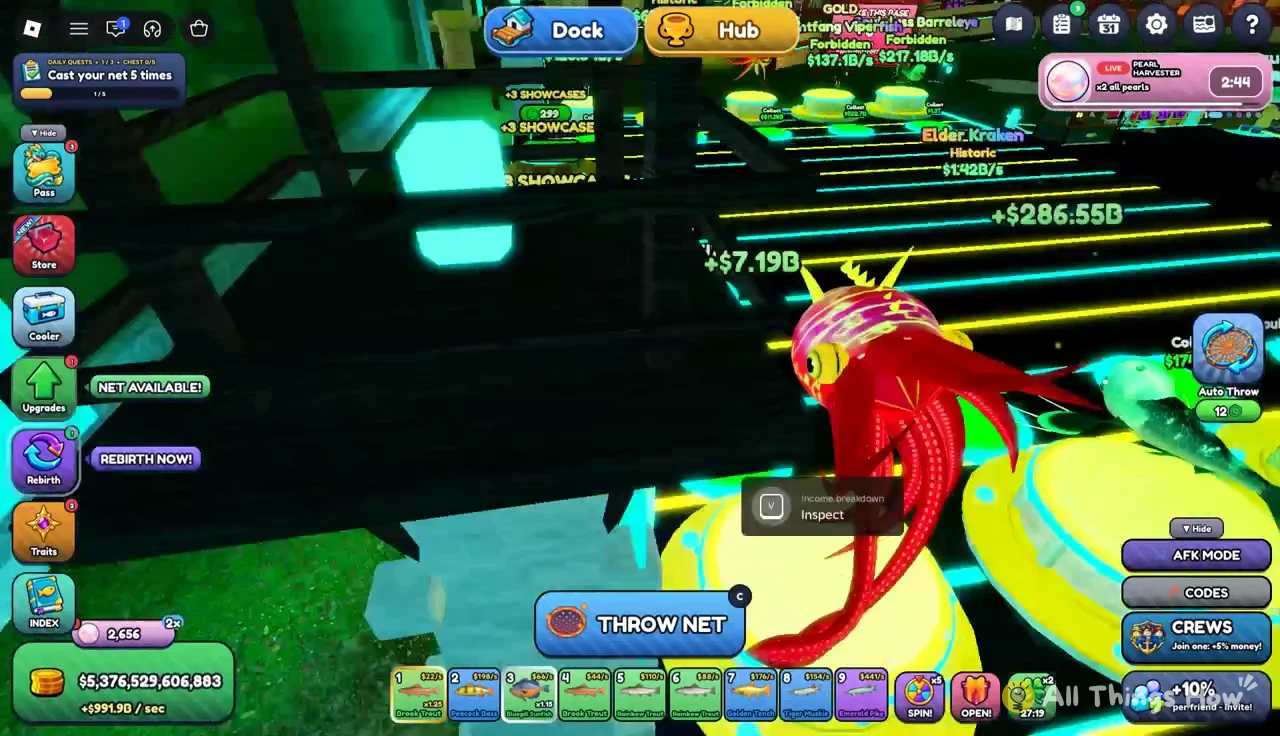
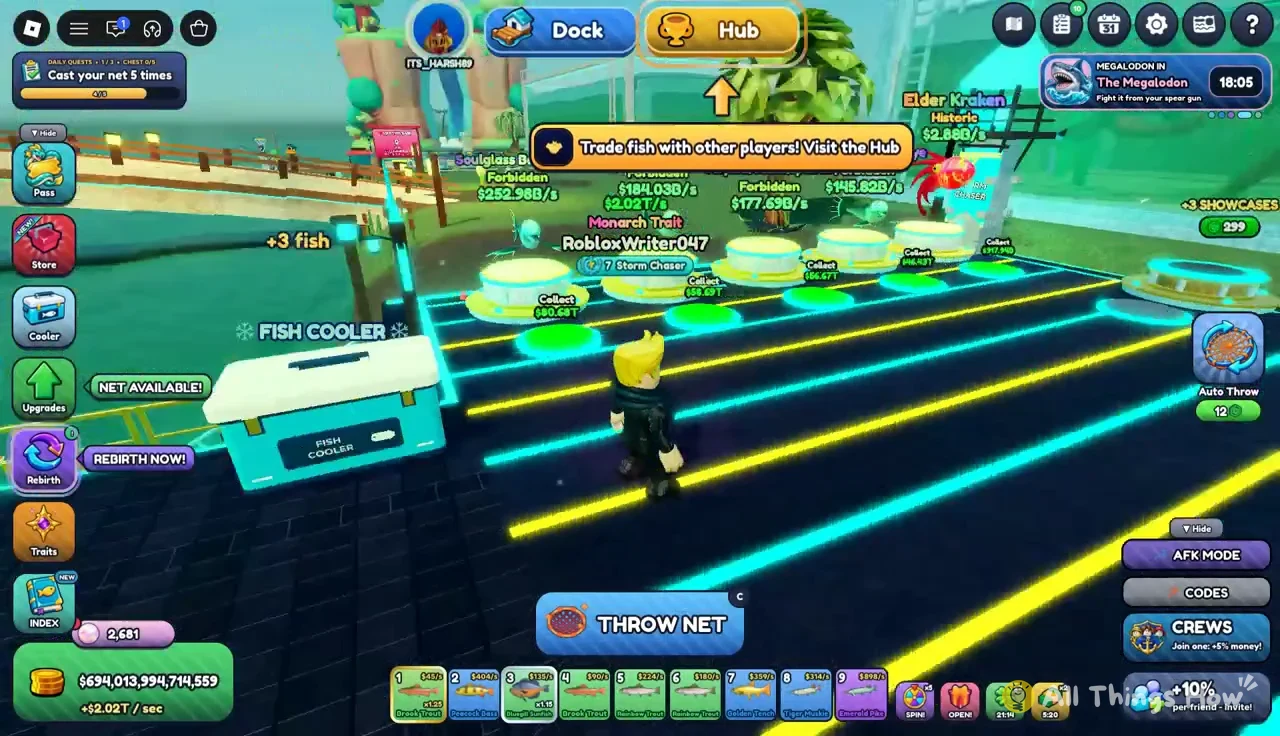
Most of your money is generated by displayed fish, rather than by selling them. In Fish Cooler, choose Equip Best to place your highest earners on the showcase pedestals. Use Fuse All to merge duplicate stacks into stronger variants. Approach any displayed fish and select its Inspect prompt to view its income breakdown, then run along the pedestals to collect their earnings.
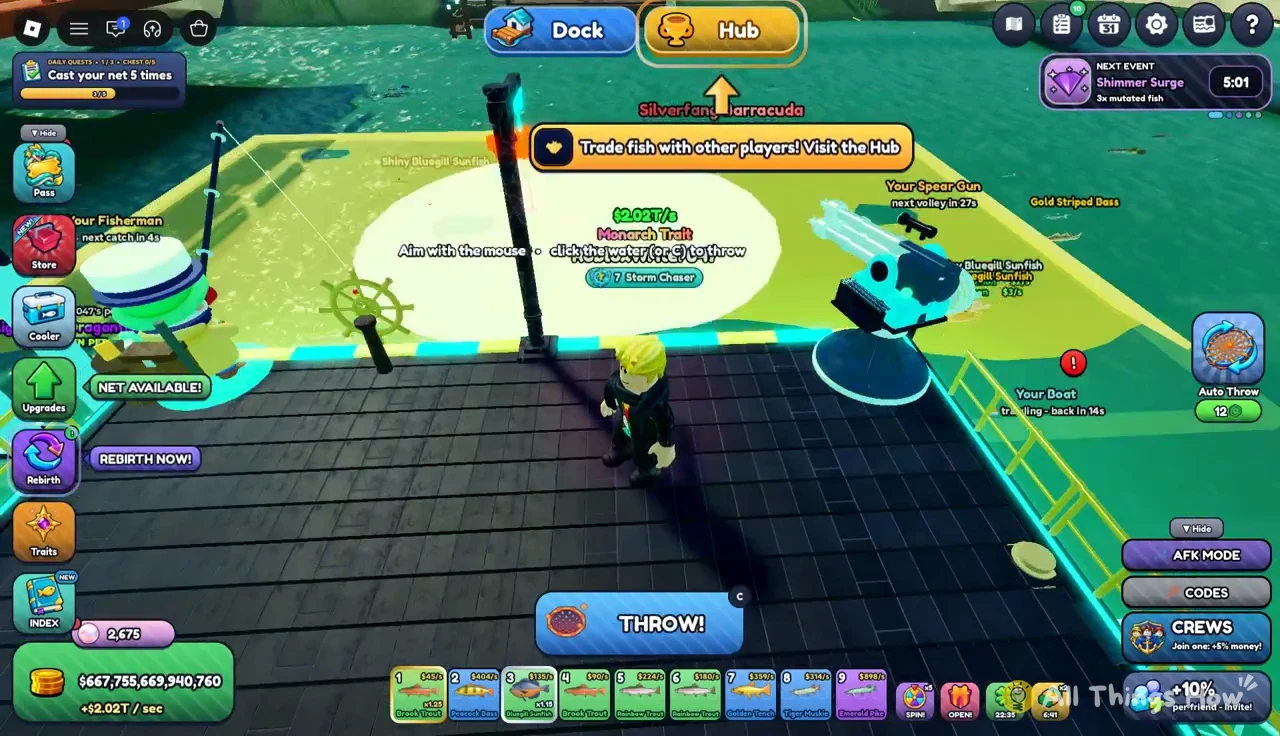
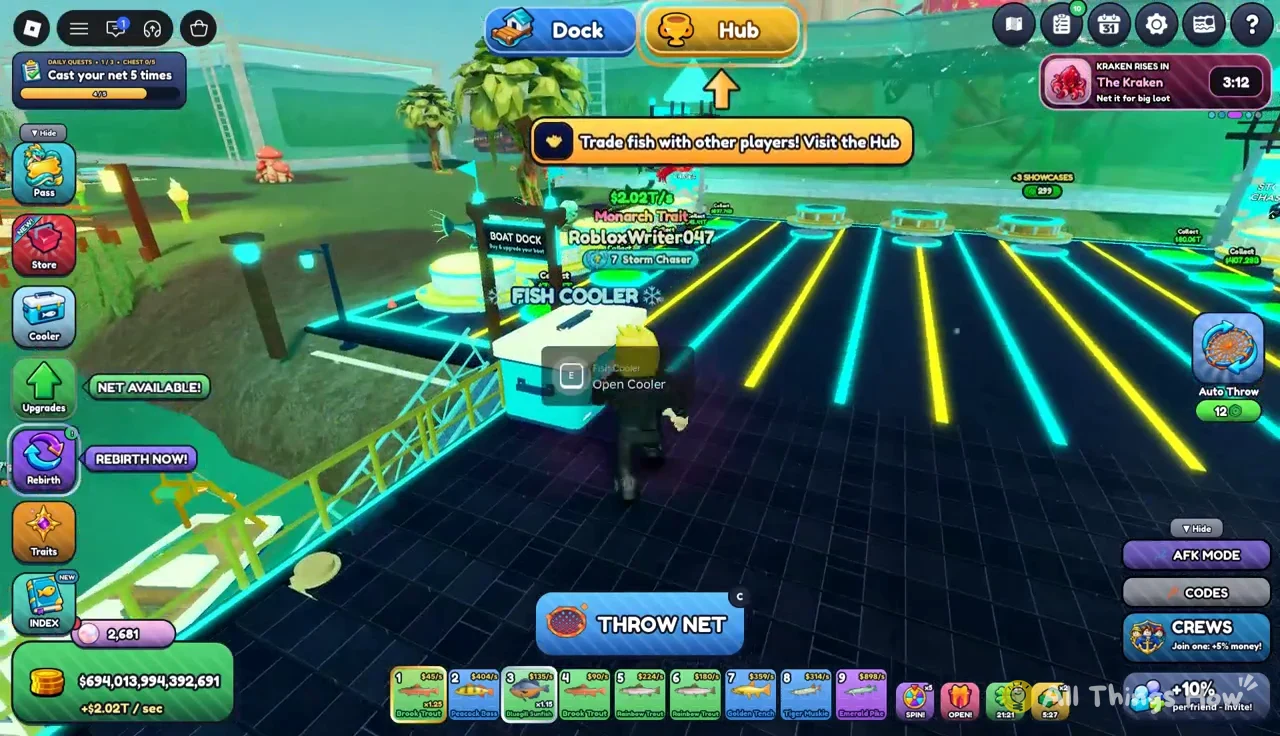
The Fish Cooler also sits by the river in the Hub, so you can keep casting there too. The Hub is where you trade fish with other players. A highlighted Hub button on your HUD takes you there.
Dock helpers: Spear Gun, Fisherman, and Boat
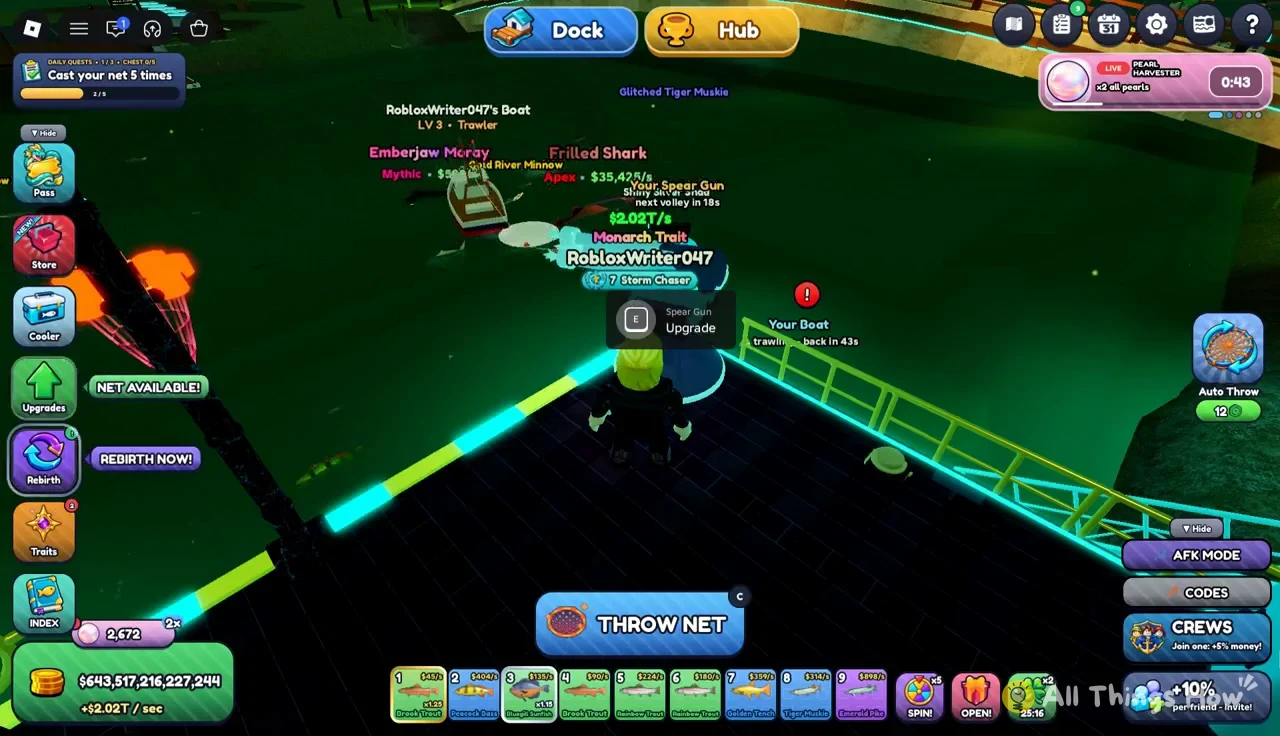
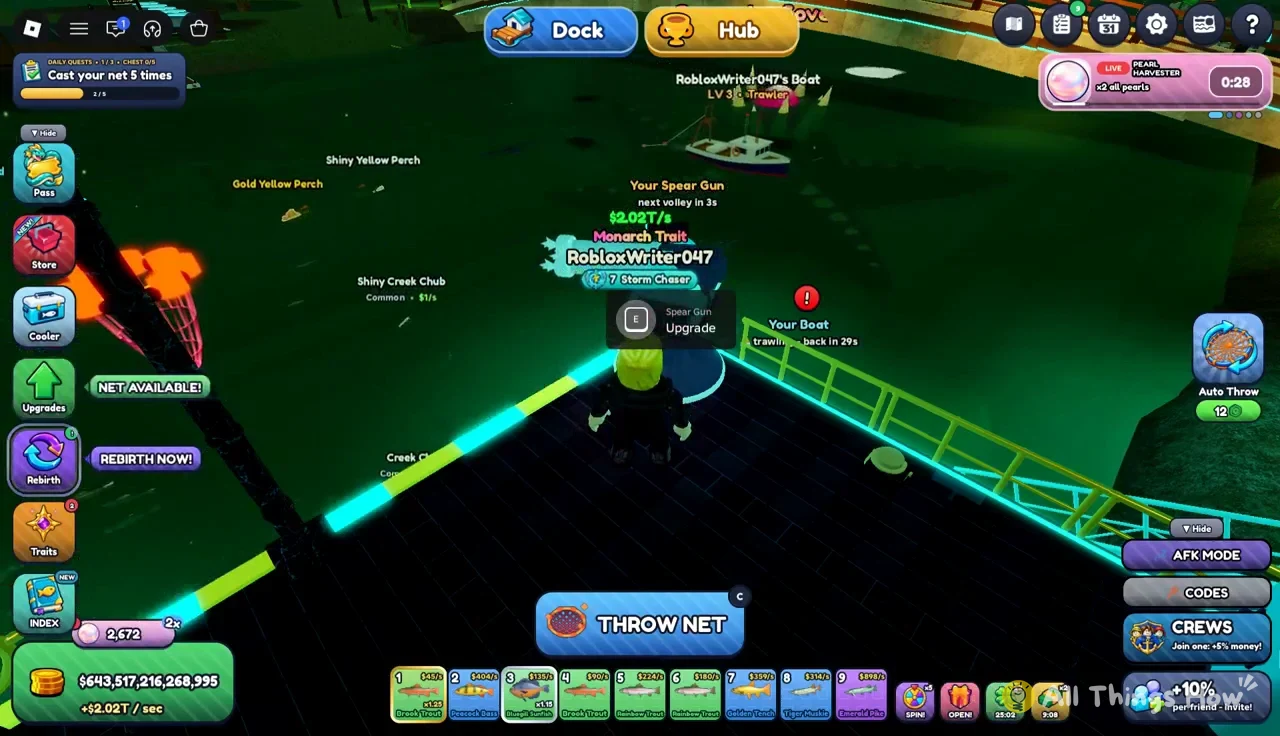
Three helpers catch fish without you. The Spear Gun is mounted at your dock and spears passing fish on its own. Walk up to it and press E at the Spear Gun Upgrade prompt to buy upgrades such as Fast Reload and Barbed Tips, which you can level up more than once.
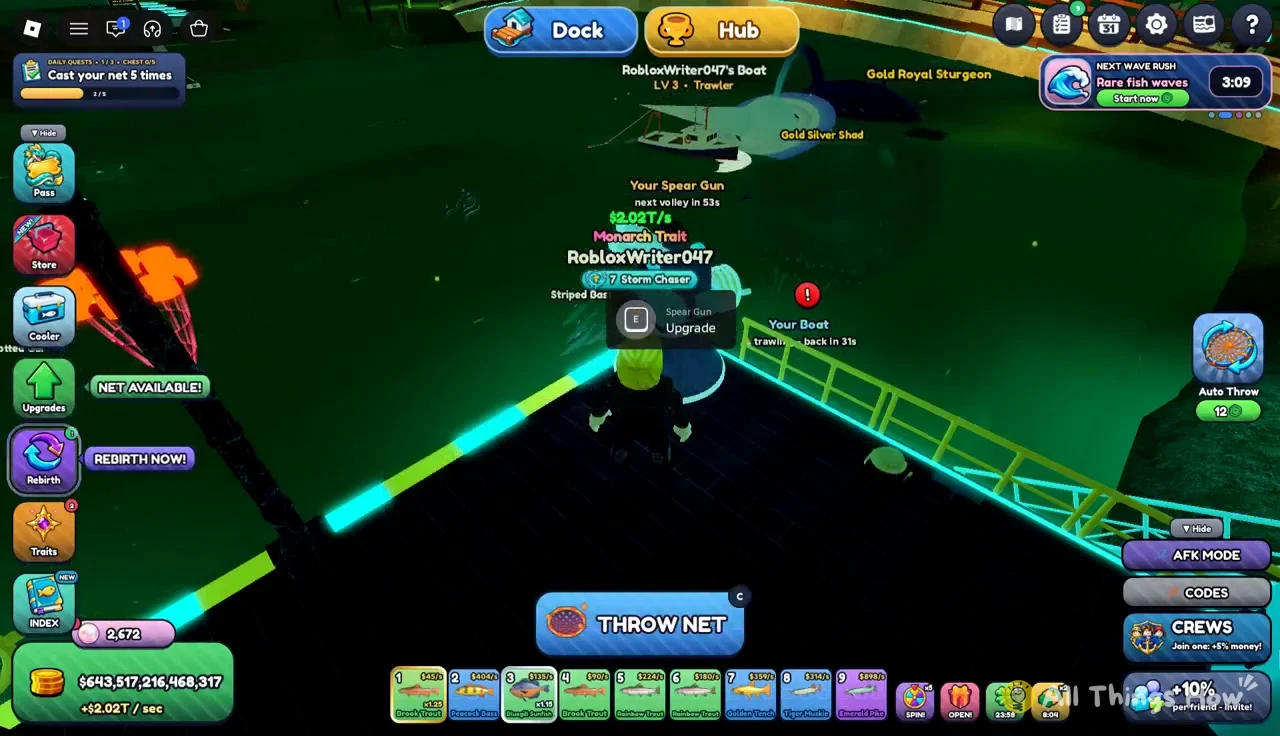
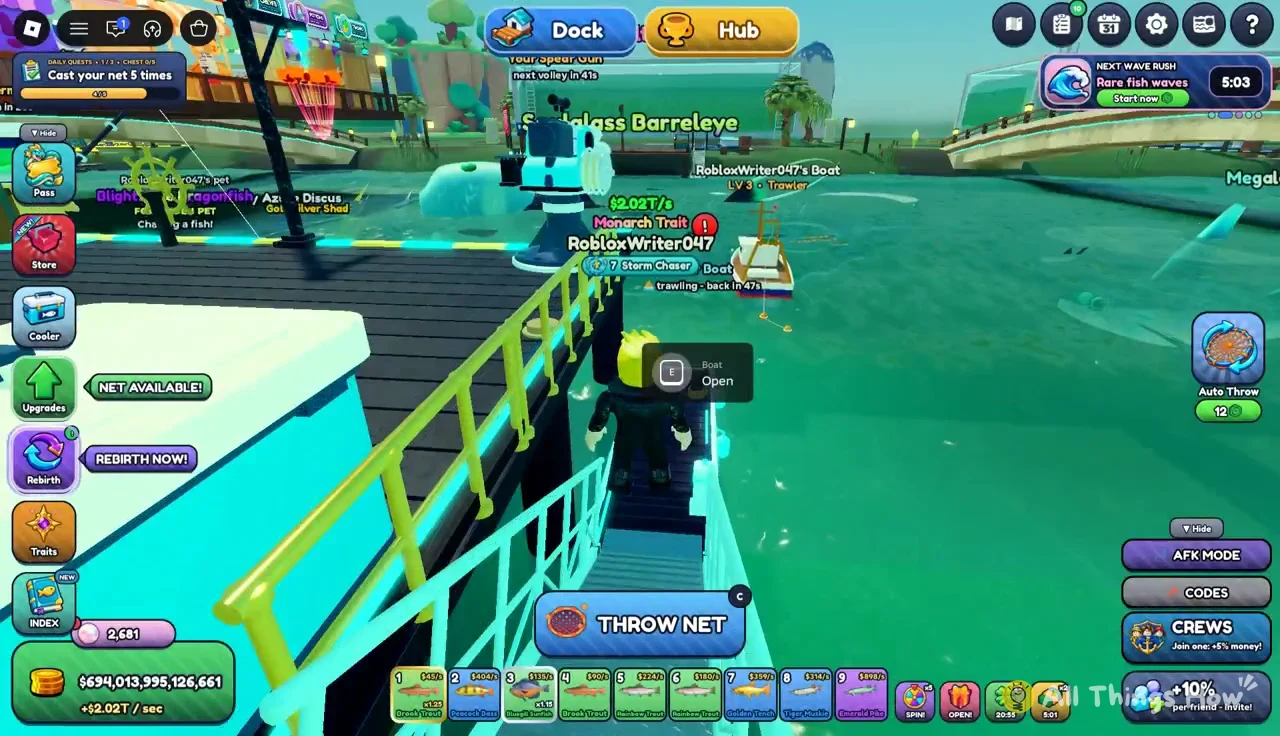
The Fisherman helper has its own upgrade window, and its Range stat controls how far he casts. The Boat goes out and brings back a haul on a timer. Press E at the Boat Open prompt to reach its console, where you can buy parts such as Trawl Net, Engine, Sonar, Cold Storage, and Lucky Figurehead. A new hull, like the Catamaran at $300B, raises what the boat can bring back.
Bait, Index rewards, and the Leviathan Pass
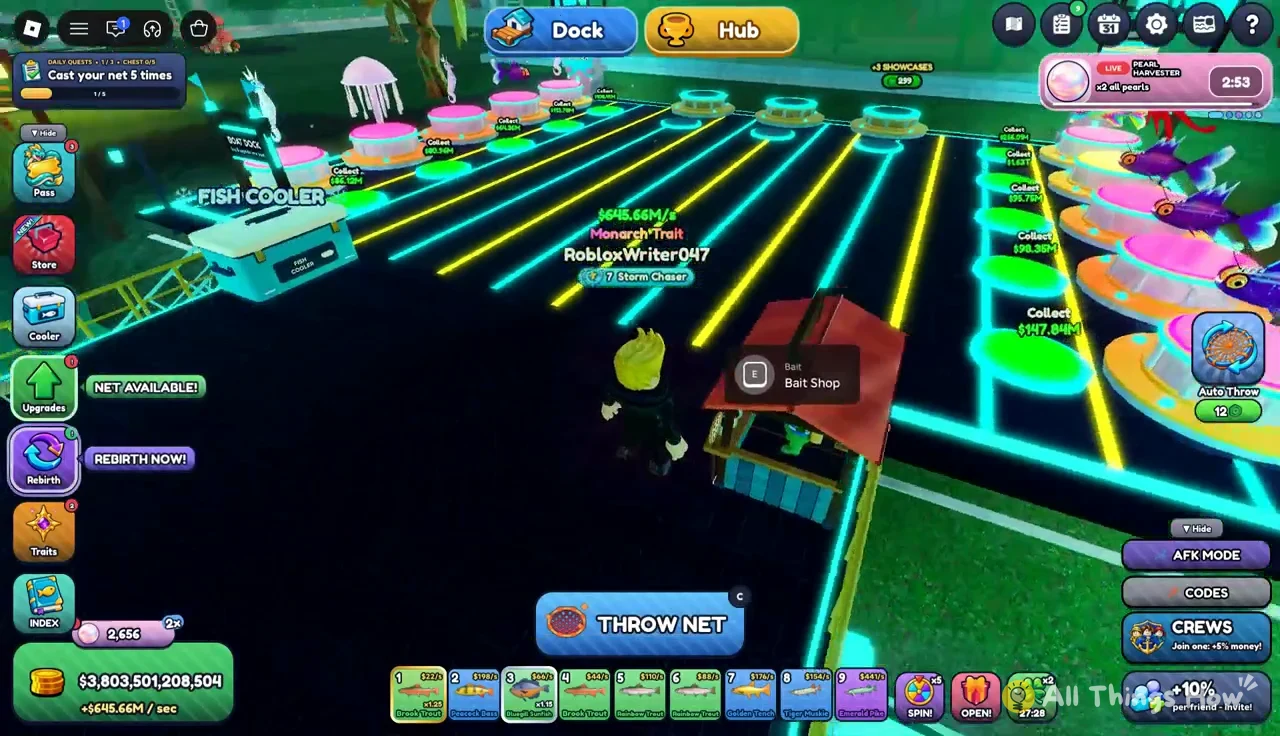
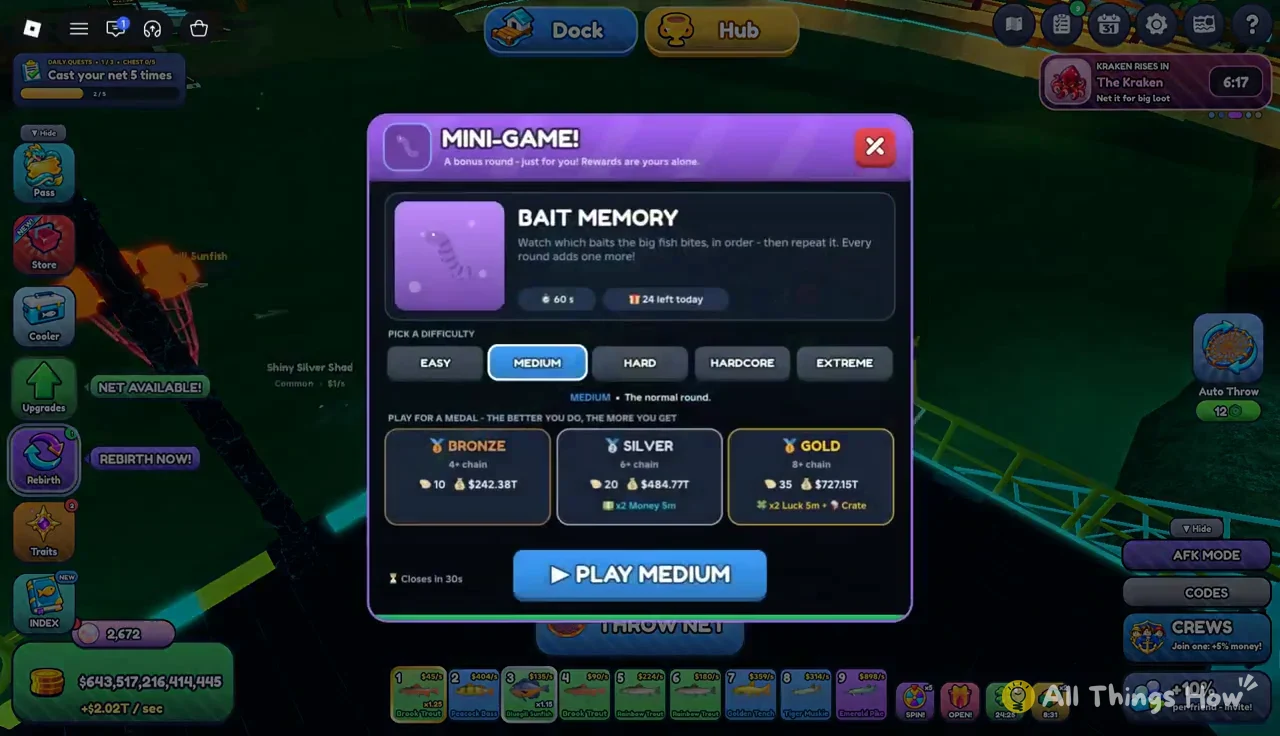
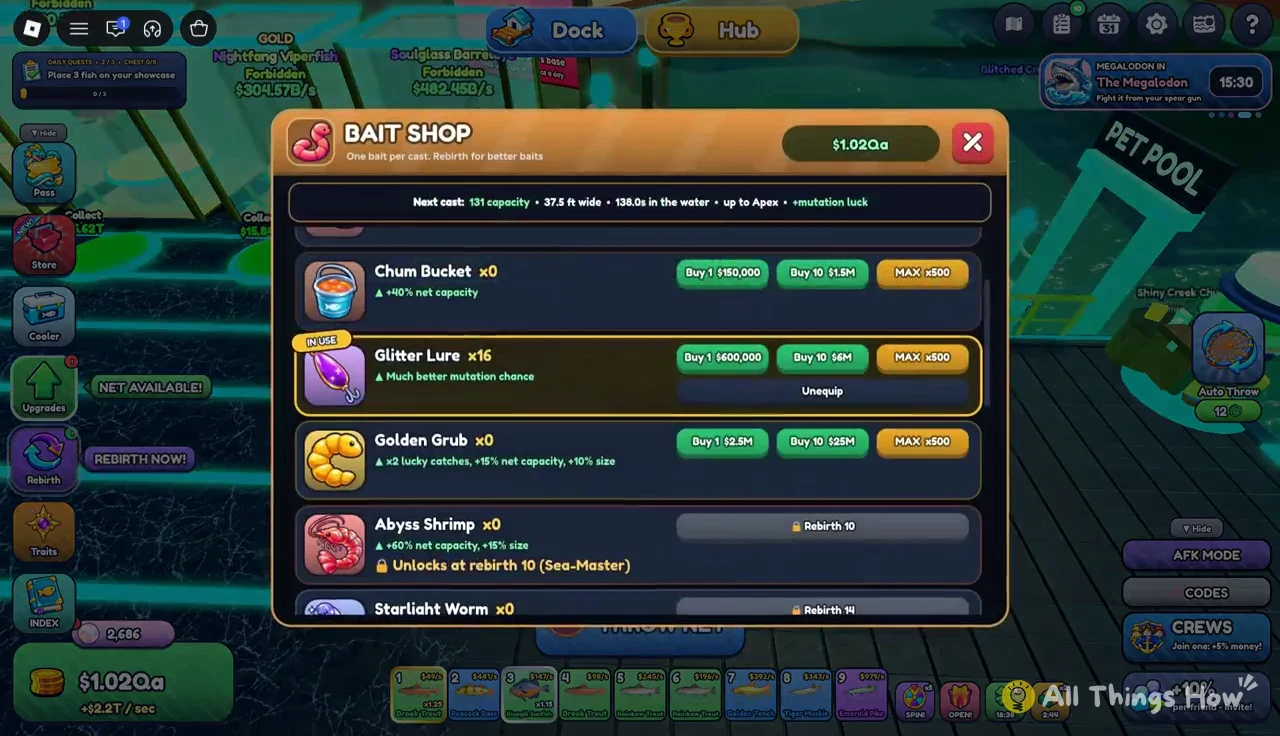
The Bait Shop stand sells lures that add effects while you fish. Buying bait and using it are two separate steps. After you buy a lure such as Glitter Lure, select it and equip it, and the shop marks it IN USE. The Bait Memory mini-game is another bait-related activity, with difficulty choices such as Medium.
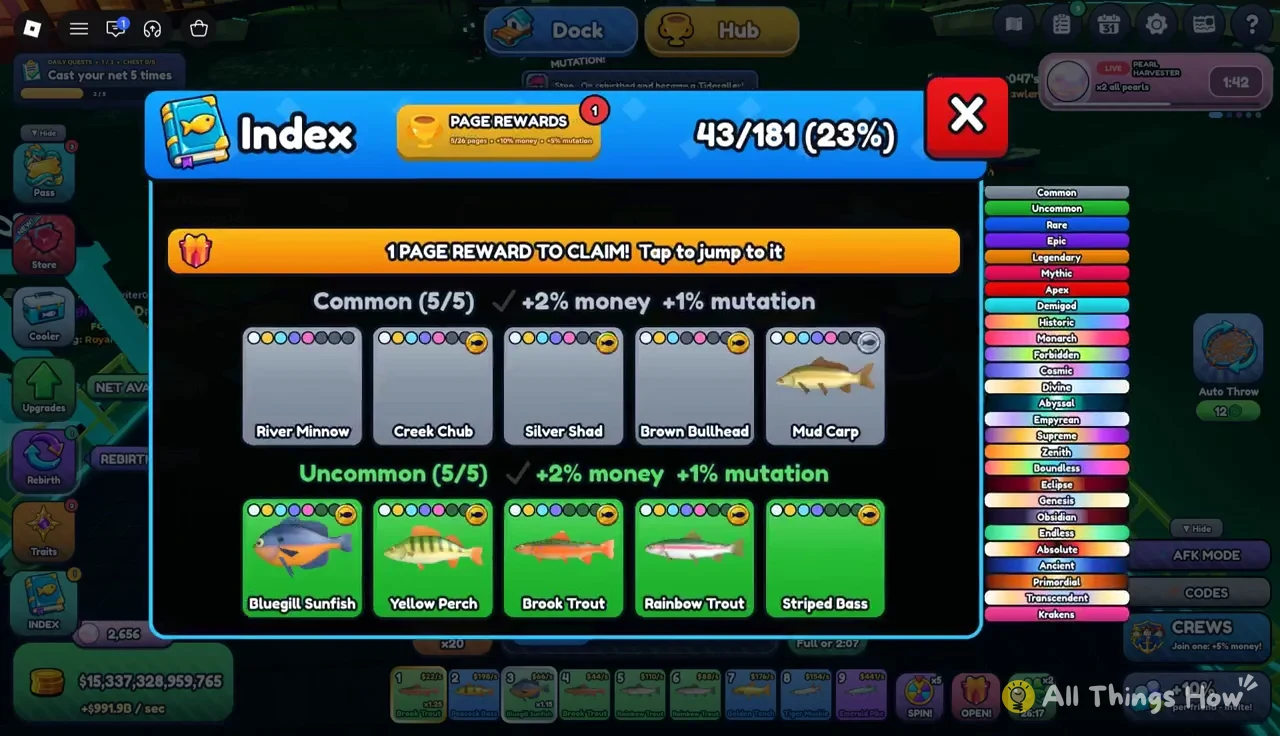
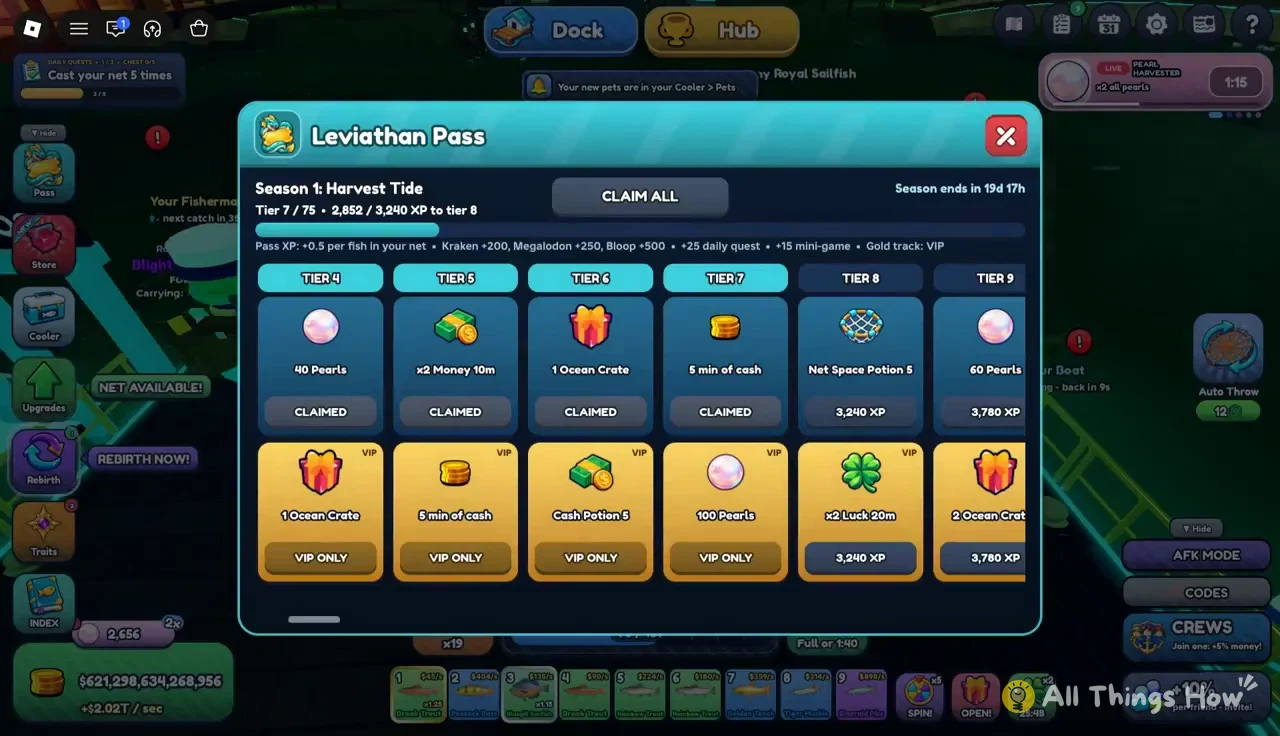
The fish Index pays a one-time reward whenever you complete a page. A Page Rewards button shows how many are waiting, and tapping it jumps straight to the reward. The Leviathan Pass works the same way. Season 1: Harvest Tide tracks your tier, and a CLAIM ALL button collects everything you have earned, including Ocean Crates.
Confirming Rebirth 7 to unlock Traits
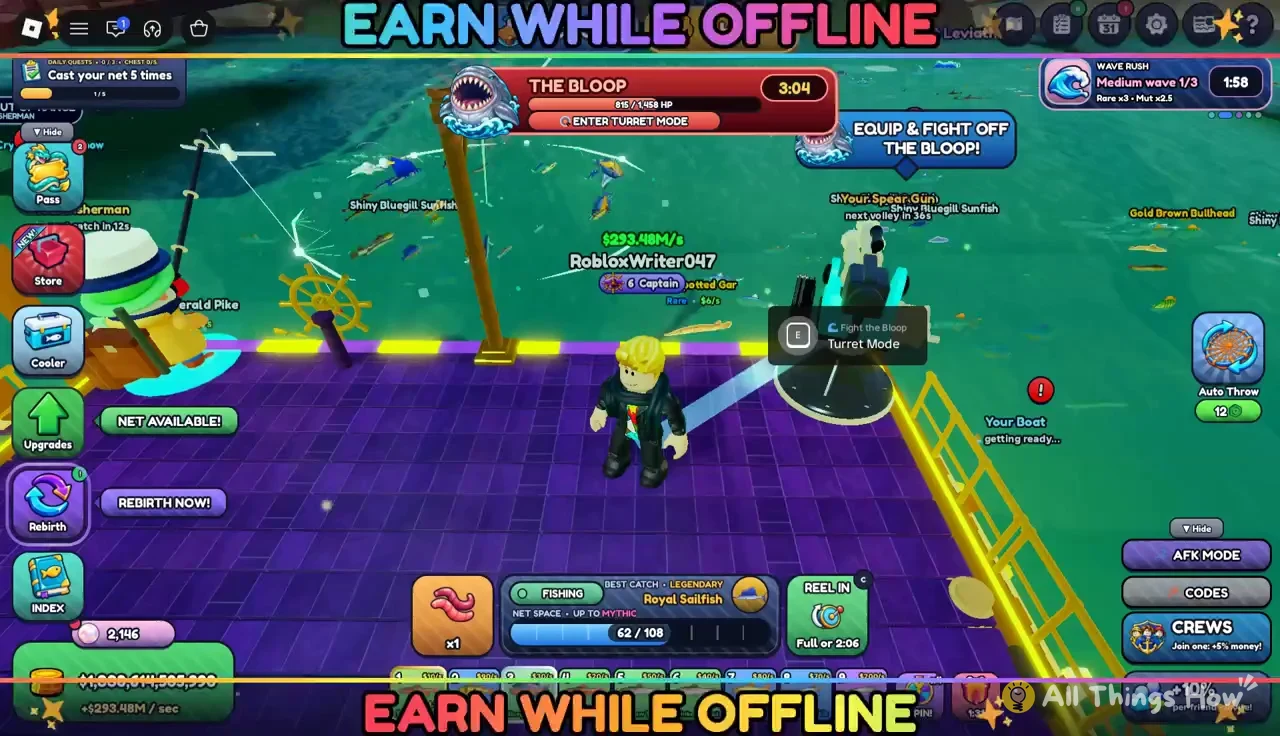
The Bloop is a boss that arrives on a timer while you fish at the dock. A turret takes the fight to it. When “Fight the Bloop — Turret Mode” appears beside the turret, use it and keep firing until the Bloop Defeated screen shows up, then claim the rewards. Rewards from boss fights such as The Bloop can include trait rolls, which you can save for later.
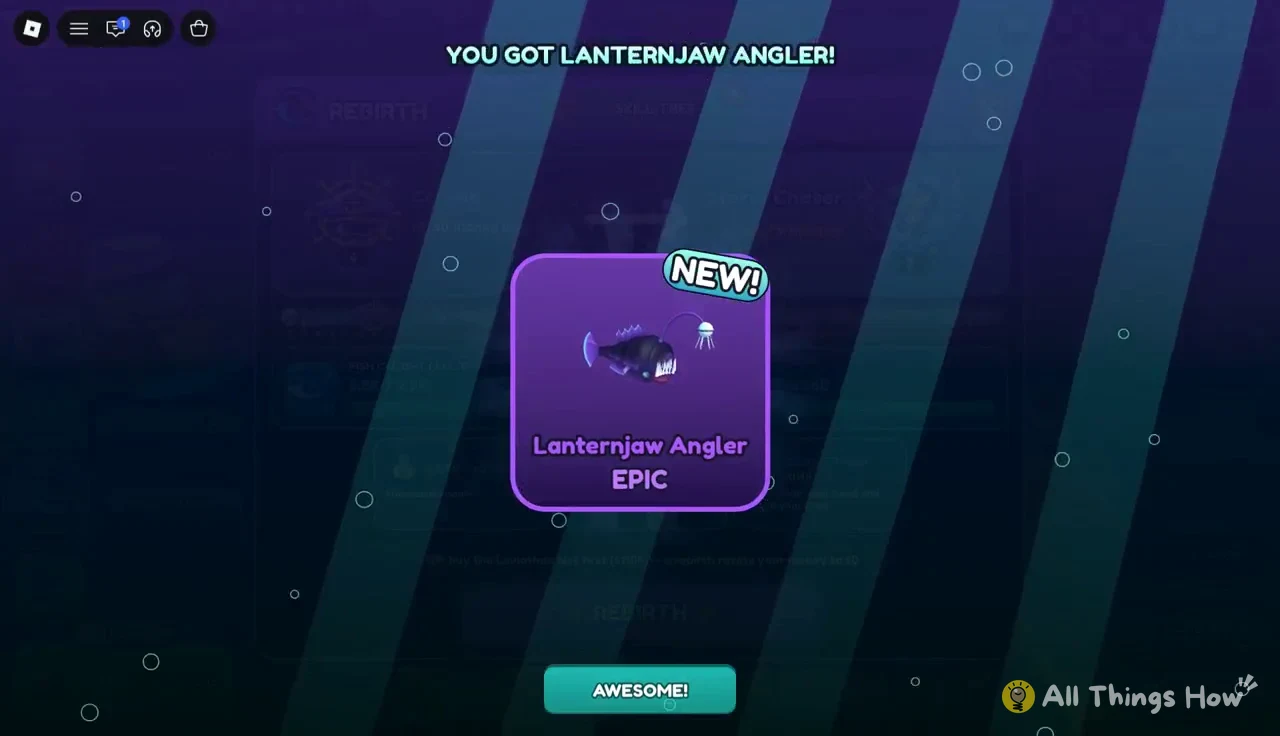
Boss loot can also include crates. An Abyss Crate can hatch pets such as the Epic Lanternjaw Angler. Press AWESOME! to close the reward popup and move on.
Once both counters are met, the rebirth itself takes three actions.
Rebirth 7 grants these unlocks:
- Traits, opened with the new Traits button on your HUD
- x2.75 money on showcase income from then on
- The Storm Chaser base, which reskins your whole base
- The Storm Chaser title, shown over your head and above your base
- The Catamaran boat, which can bring back fish up to Monarch
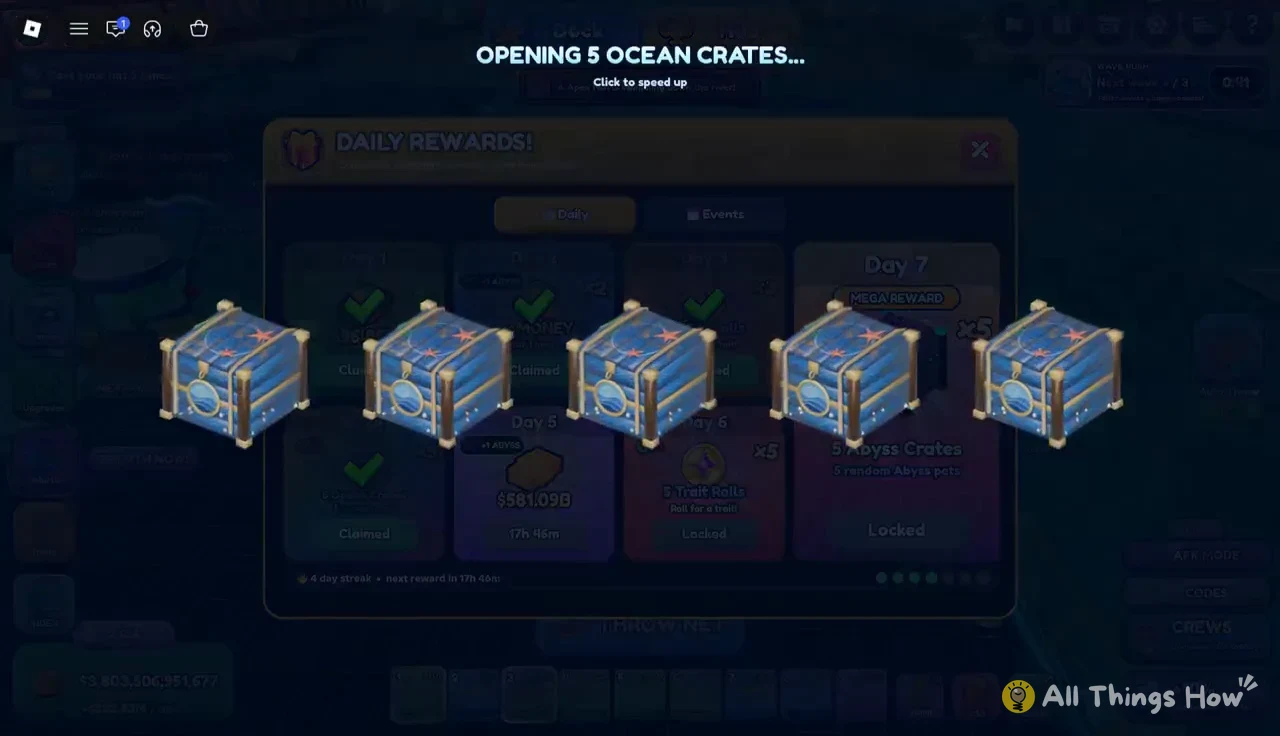
Rebirth 7 also tends to land right around your daily login. The welcome-back screen pays out offline dock earnings, and the Daily Rewards screen can hand out crates. Day 4, for example, gives five Ocean Crates, and you can click to speed up the opening animation. Daily login rewards are one more place where trait rolls can show up.
How to roll a trait in Net a Fish
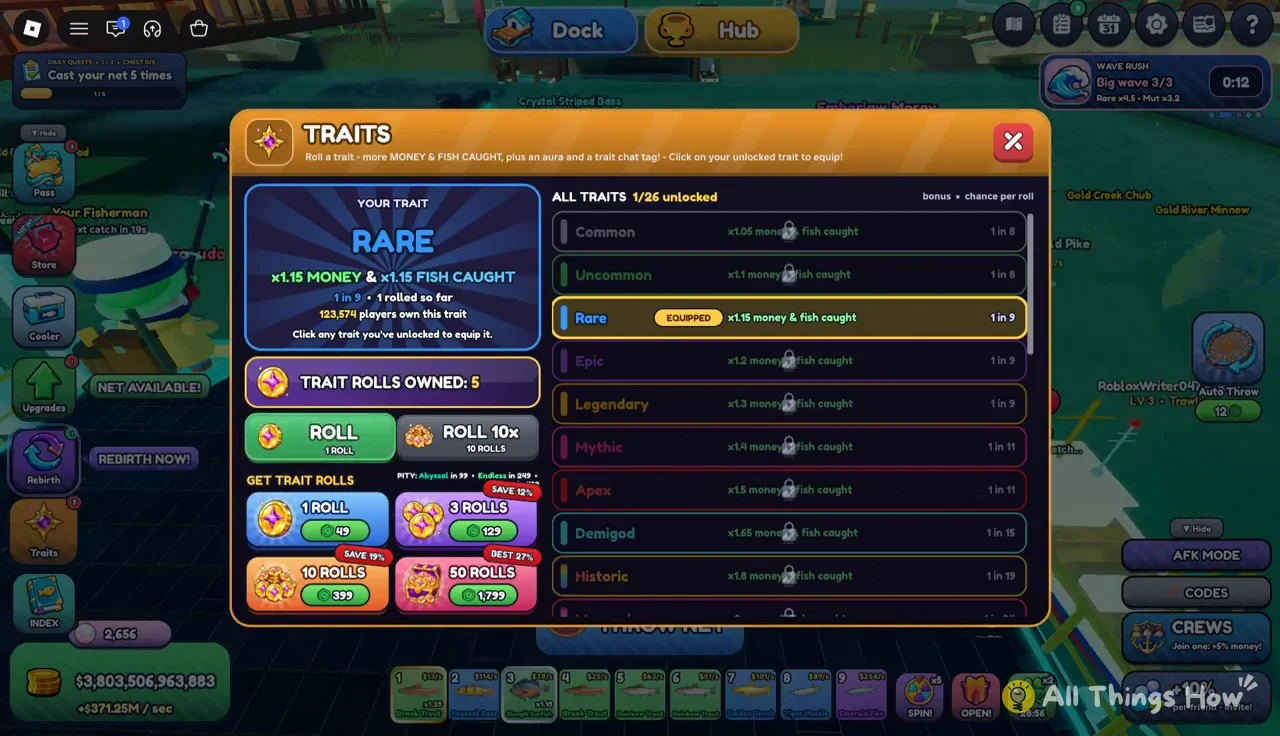
If the wheel stops on a trait you already own, the game shows “You already have this trait,” and your list does not change. Duplicates are common at the bottom of the table, where Common through Legendary all sit between 1 in 8 and 1 in 9.
How to equip a trait and confirm it is active
Equipping is a single click. In the Traits window, click any unlocked trait in the right-hand panel. Nothing else is needed, and the trait applies immediately. You can switch freely between any traits you have unlocked, including going back to one you equipped earlier.
You can wear just one trait, and owning others won’t add their multipliers. Equip the strongest trait you’ve unlocked.
Three things change when the trait is live:
- The YOUR TRAIT box on the left of the Traits window shows the new trait
- A tag above your avatar reads the trait’s name, such as “Monarch Trait”
- The matching aura appears around your character
Your income rate also floats above your head next to your rank and trait tags. Swapping from a weaker trait to a stronger one, such as Legendary to Monarch, should visibly raise that number.
Every Net a Fish trait: multipliers and roll odds
Each trait applies one multiplier to both money and fish caught. Scroll down the trait library to see the full ladder.
| Trait | Money & fish caught | Odds |
|---|---|---|
| Common | x1.05 | 1 in 8 |
| Uncommon | x1.1 | 1 in 8 |
| Rare | x1.15 | 1 in 9 |
| Epic | x1.2 | 1 in 9 |
| Legendary | x1.3 | 1 in 9 |
| Mythic | x1.4 | 1 in 11 |
| Apex | x1.5 | 1 in 11 |
| Demigod | x1.65 | 1 in 15 |
| Historic | x1.8 | 1 in 19 |
| Monarch | x2 | 1 in 24 |
| Forbidden | x2.2 | 1 in 42 |
| Cosmic | x2.4 | 1 in 61 |
| Divine | x2.6 | 1 in 116 |
| Abyssal | x2.8 | 1 in 168 |
| Empyrean | x3 | 1 in 236 |
| Supreme | x3.25 | 1 in 358 |
| Zenith | x3.5 | 1 in 691 |
| Boundless | x4 | 1 in 1,388 |
| Eclipse | x4.5 | 1 in 1,824 |
| Genesis | x5 | 1 in 2,420 |
| Obsidian | x5.75 | 1 in 2,932 |
| Endless | x6.5 | 1 in 3,715 |
| Absolute | x7.25 | 1 in 4,955 |
| Ancient | x8 | 1 in 7,431 |
| Primordial | x9 | 1 in 14,864 |
| Transcendent | x10 | 1 in 21,651 |
The jump in value is steep at a few points. Monarch doubles everything at odds of 1 in 24, which is realistic to land within your first handful of rolls. Past Abyssal, the odds climb into the thousands. Transcendent, at 1 in 21,651, is the top of the list.
Getting more trait rolls and the pity counter
After the free Rebirth 7 roll, rolls come from rewards or from Robux. Free rolls can come from boss fights such as The Bloop, daily login rewards, and rebirth rewards. The Traits window sells rolls in four bundles.
| Bundle | Price | Discount shown |
|---|---|---|
| 1 roll | 49 Robux | None |
| 3 rolls | 129 Robux | Save 12% |
| 10 rolls | 399 Robux | Save 19% |
| 50 rolls | 1,799 Robux | Best 27% |
A pity counter sits in the Traits window and guarantees two high tiers. A fresh counter reads “Abyssal in 99 – Endless in 249,” and both numbers drop by one with every roll. After five rolls, for example, it reads “Abyssal in 94 – Endless in 244.” In practice, that guarantees Abyssal within 100 rolls and Endless within 250.
Rebirth 8 (Deep Diver) after unlocking Traits
The next rank adds tools that help a trait-boosted dock grow. Rebirth 8 needs 3.7K fish caught all time and $1.06T in money. Confirm it with the purple REBIRTH button to move from Storm Chaser to Deep Diver.
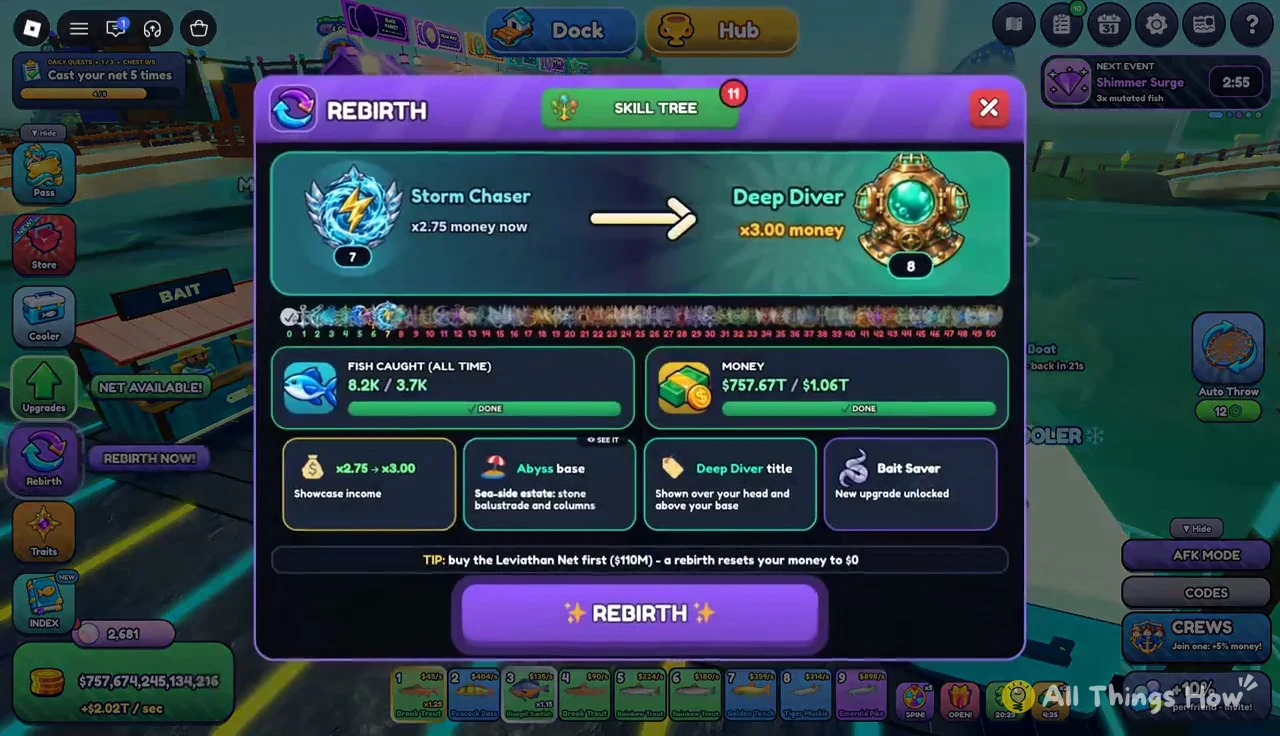
Rebirth 8 unlocks x3.00 money, the Abyss base, the Deep Diver title, Bait Saver, Showroom Lights, upgrades up to level 20, Golden Grub, and Shiny Hook. Golden Grub joins the Bait Shop stock, where it works like any other bait. Buy it, then equip it.
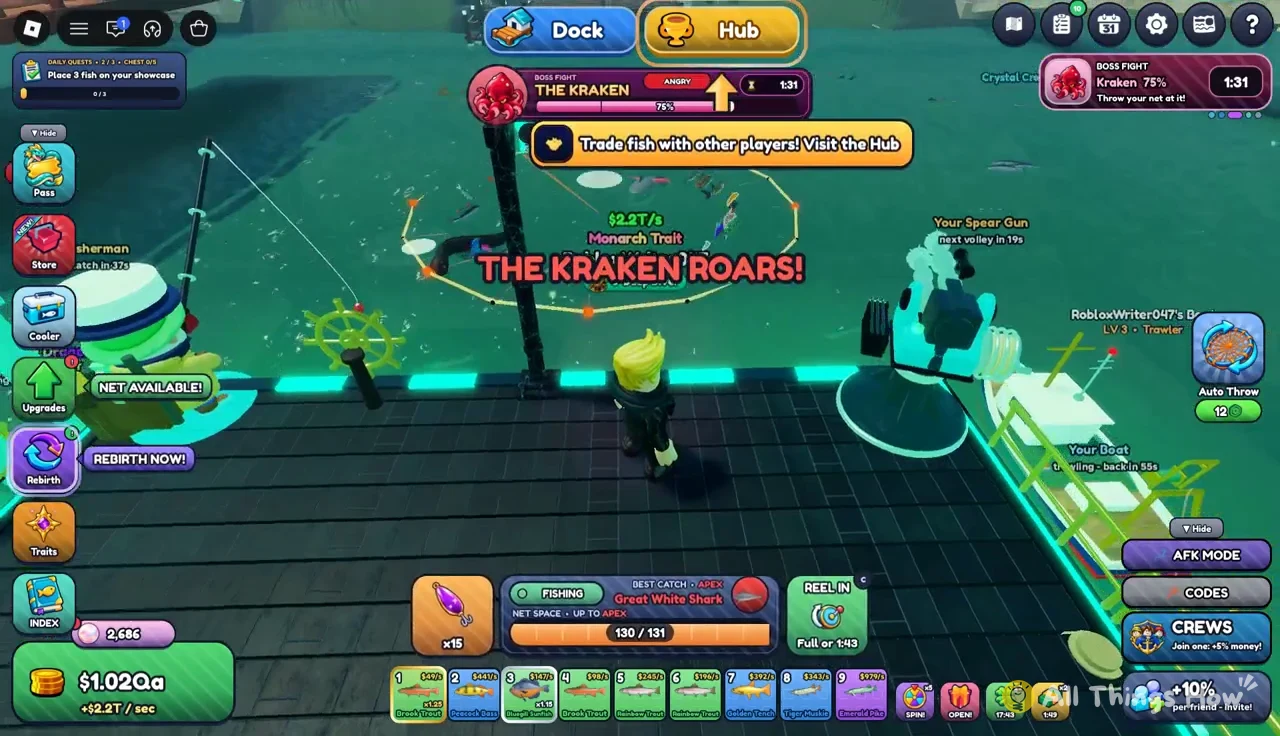
Your showcases start empty after the rebirth, so the first job is refilling them by casting and reeling full nets. World bosses keep appearing during this stretch. A siren and banner warn that The Kraken rises in 60 seconds. It then surfaces in front of the dock with a full HP bar, and you damage it by throwing nets at its body while it roars and turns angry.
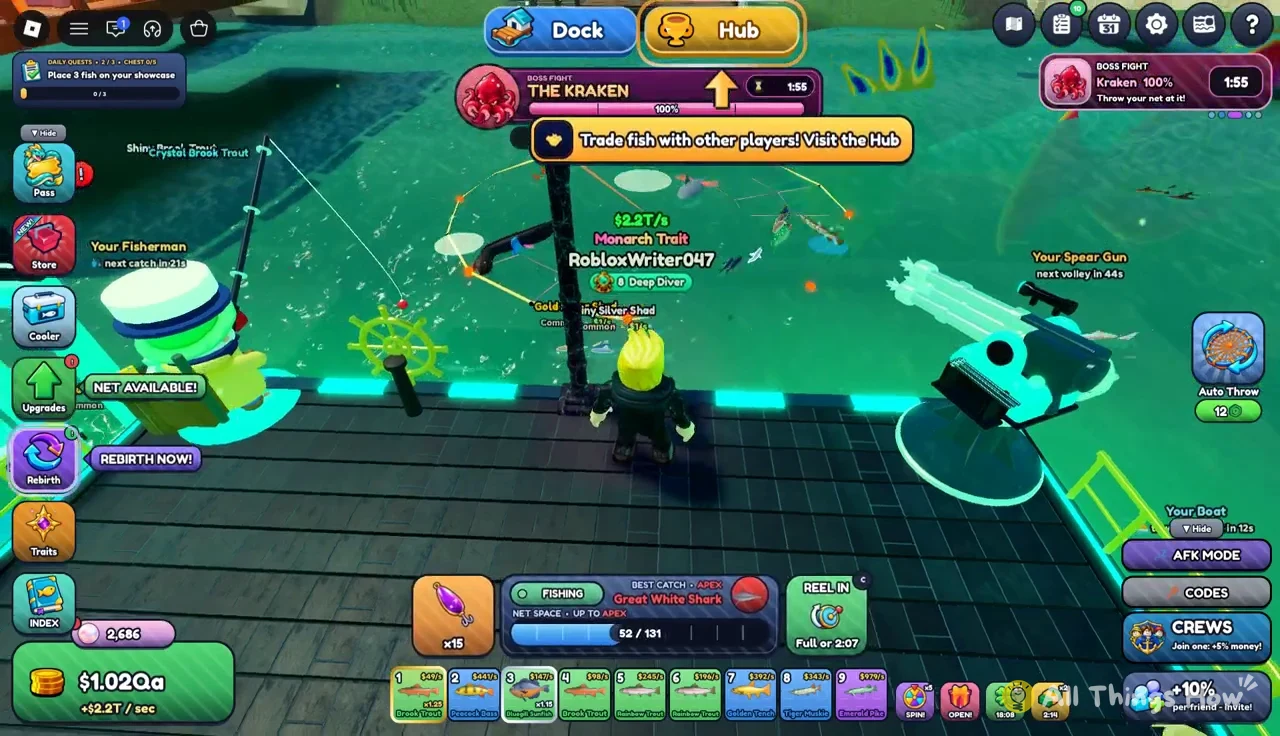
Regular fishing keeps going between net throws at the boss. A net close to capacity, like 130/131, is worth reeling before you throw again. Apex catches such as the Great White Shark can still land mid-fight.
Pressing Escape opens the Roblox menu. Its People tab lists everyone in the server, which caps at eight players. Press Resume to drop back into the fishing screen with your trait, aura, and tags still active.