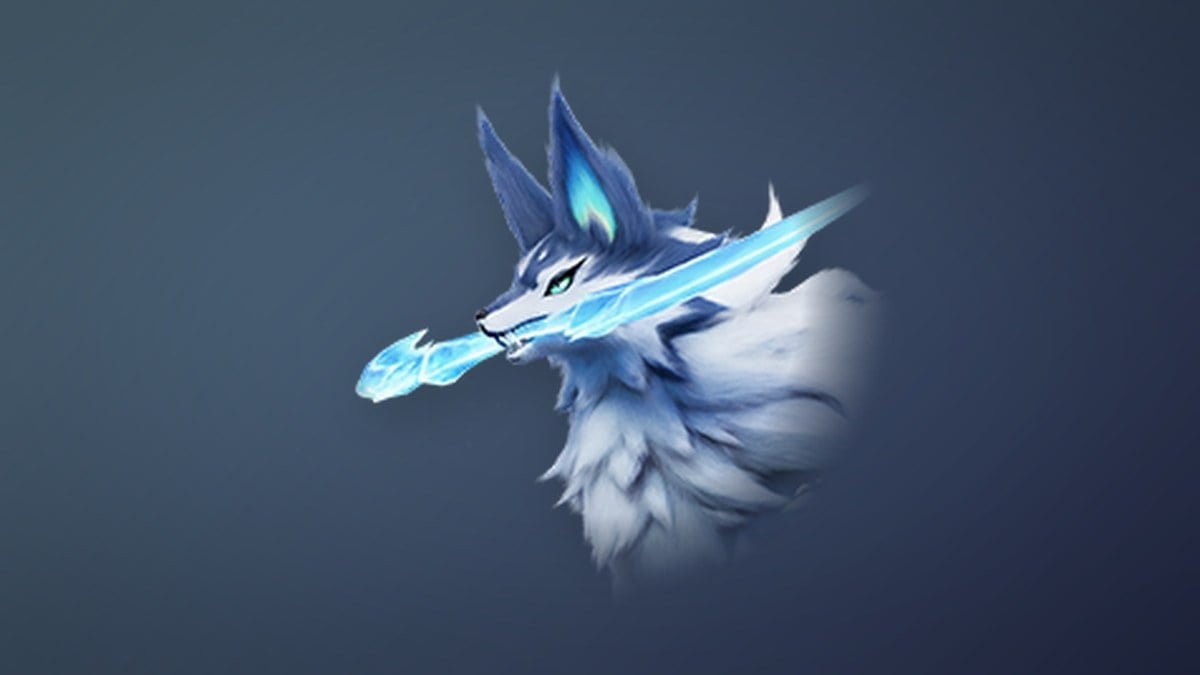
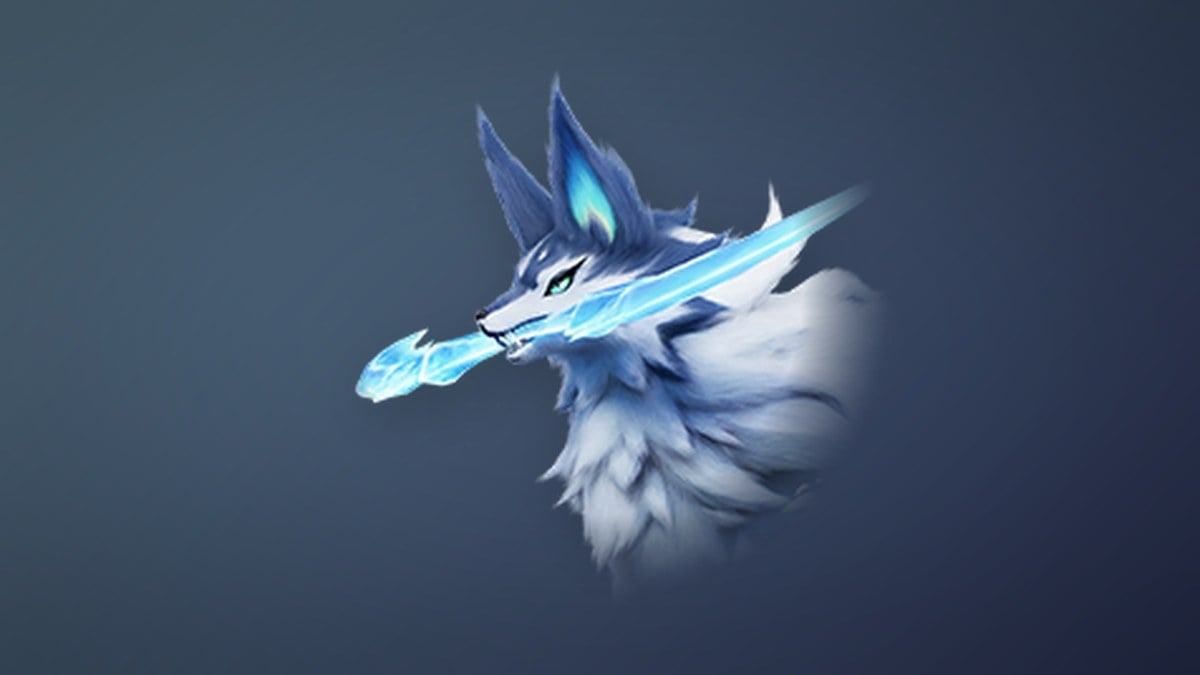
Alpha Glynsera is the Ice alpha found below Beast Fang Ridge. It is among the rare open-world bosses that alters its battlefield during combat. Its thrown ice blades remain after landing and accumulate, gradually covering the ground with hazards during a prolonged battle. Fire handles both the entrance and the boss.
Quick answer: Fast travel to Sanctum: Water to Ice in Beast Fang Ridge, head south, and burn the ice or vines sealing the cave. Defeat the boss, then throw an Aniipod Ultra.
Alpha Glynsera location: The sealed ice cave in Beast Fang Ridge
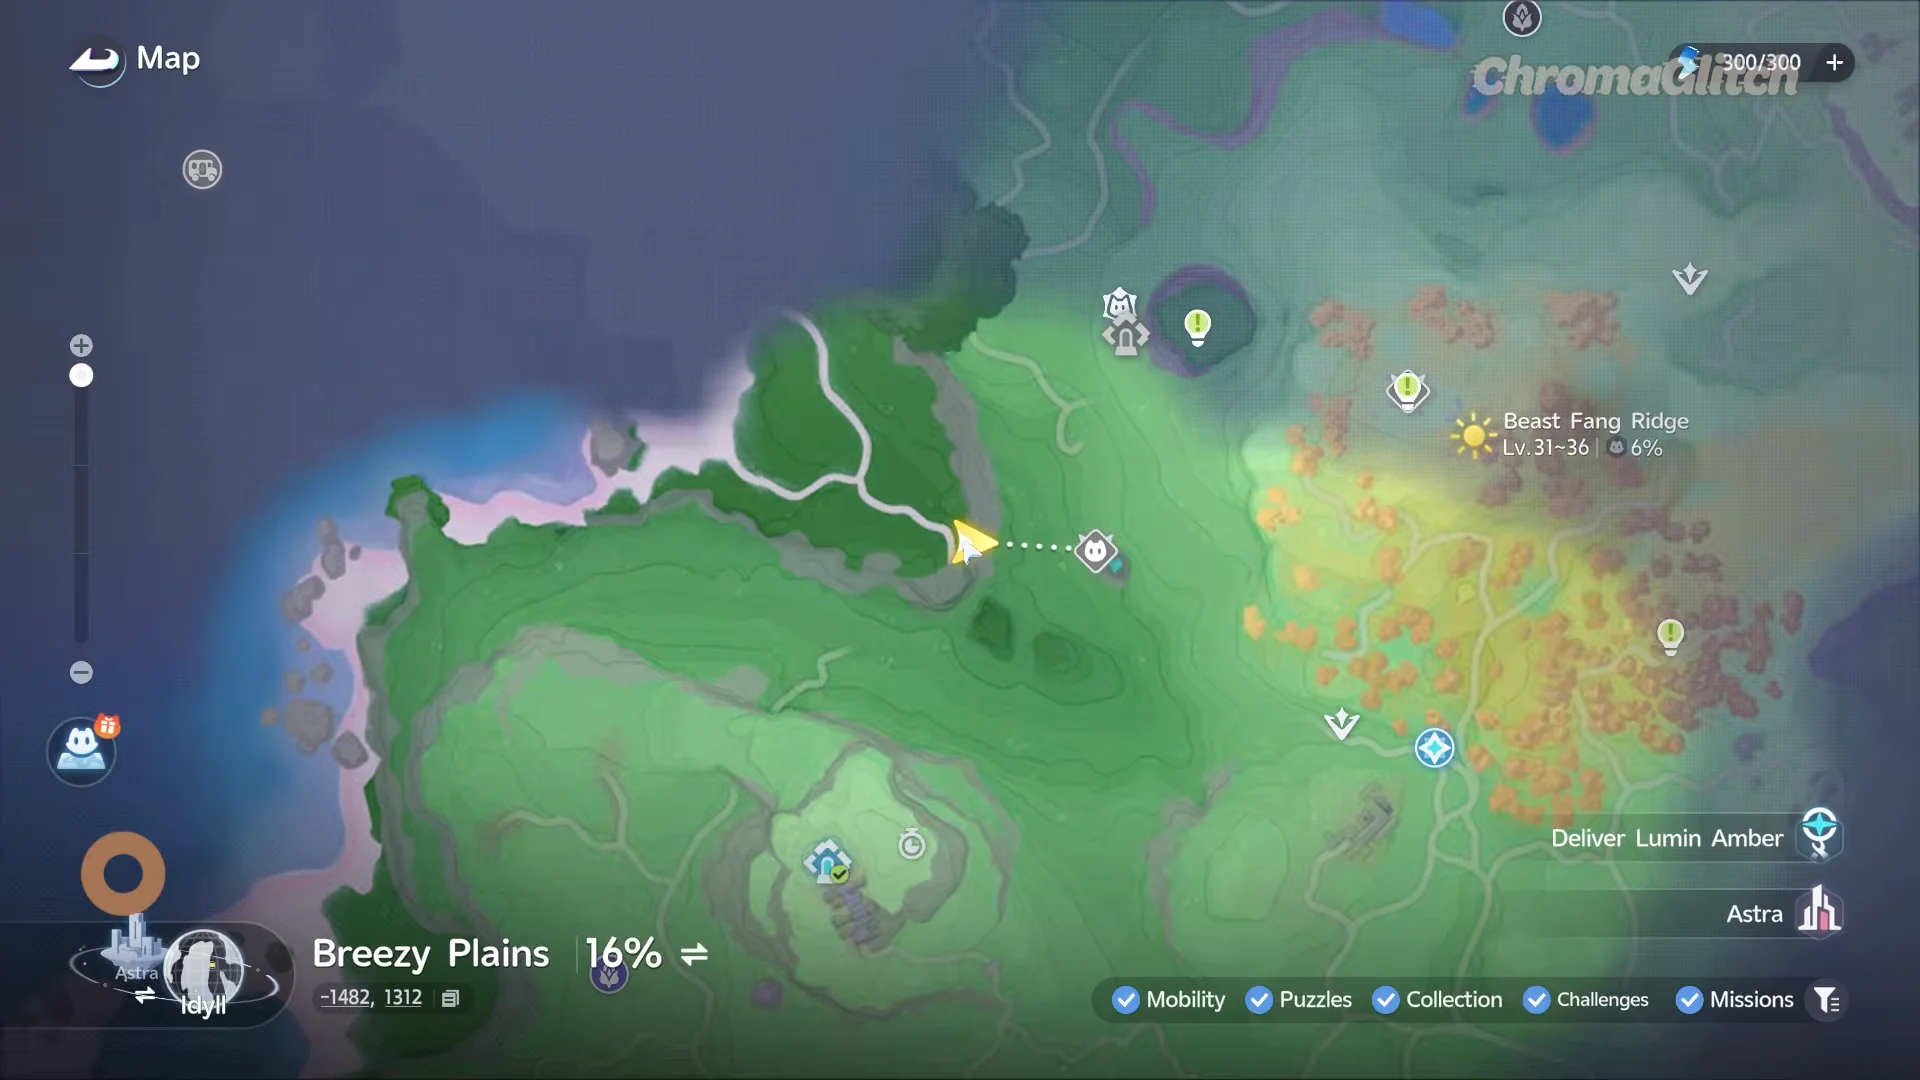
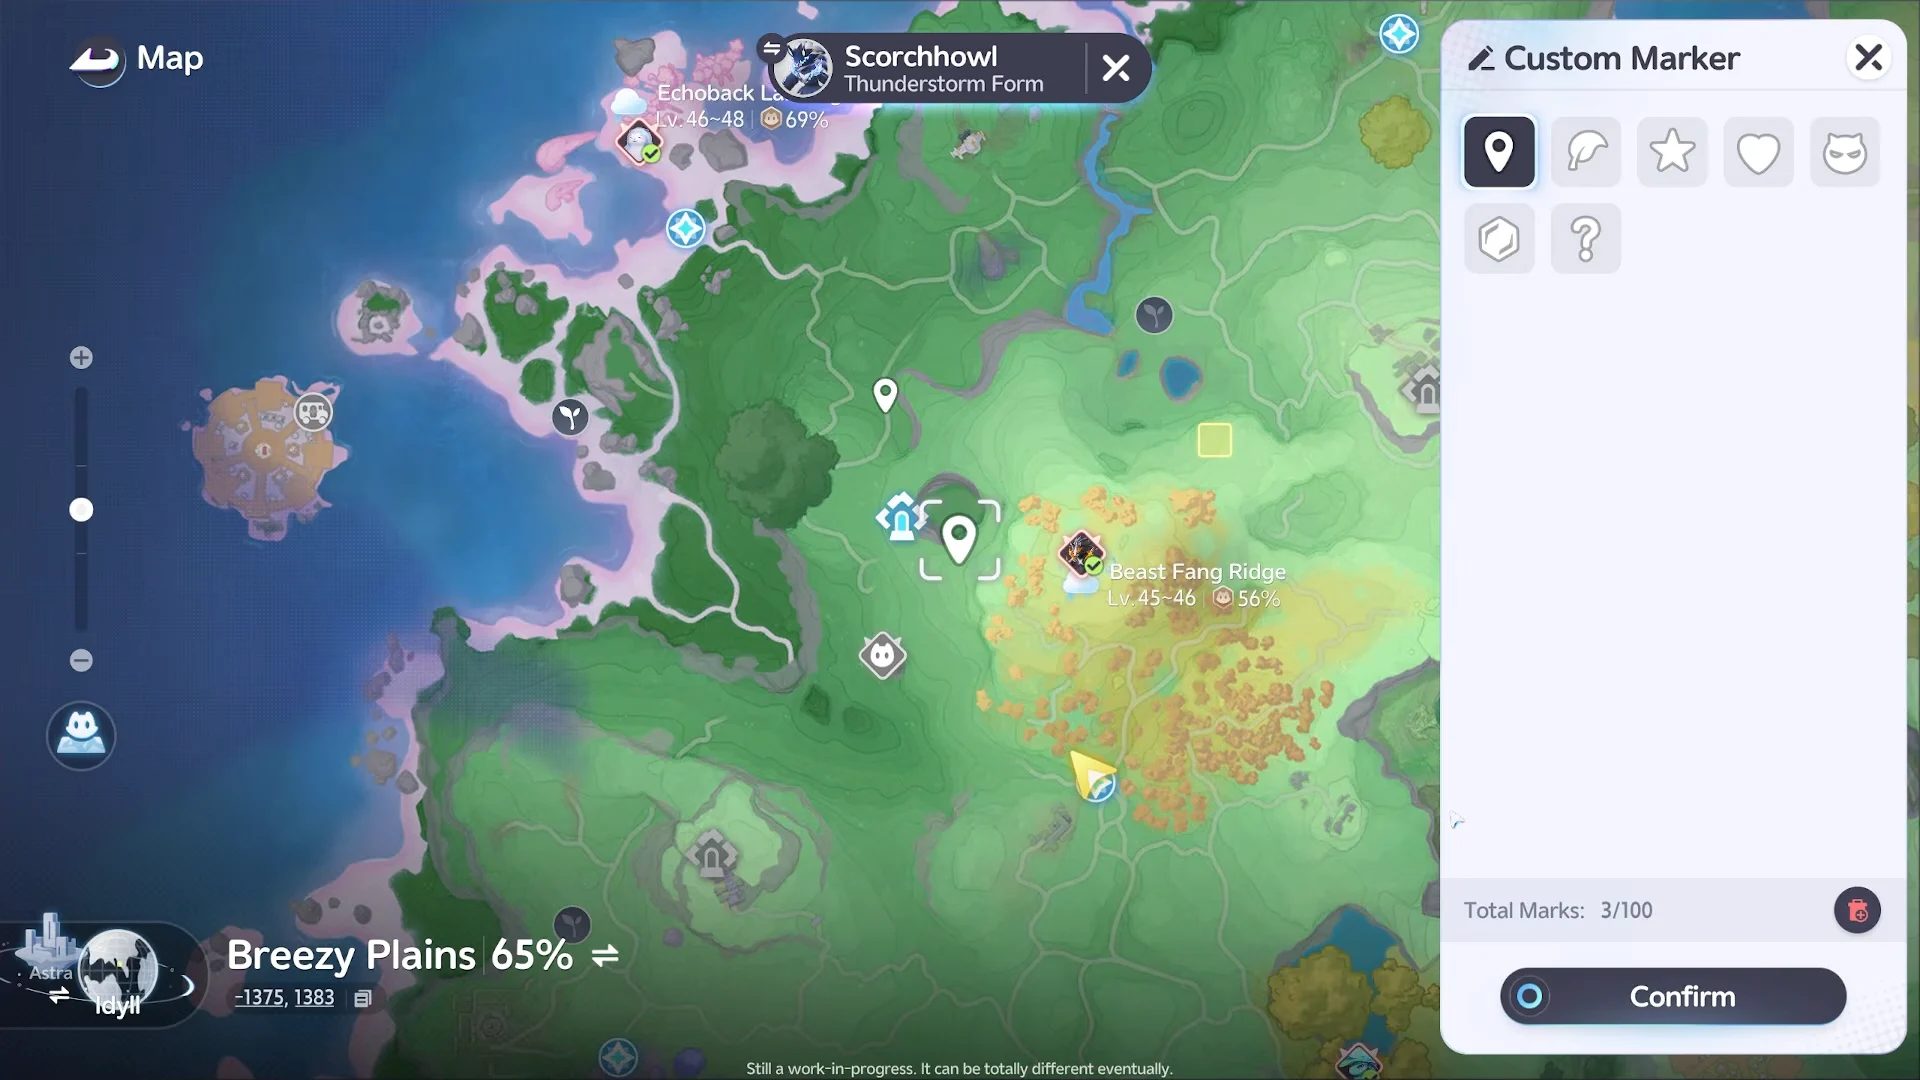
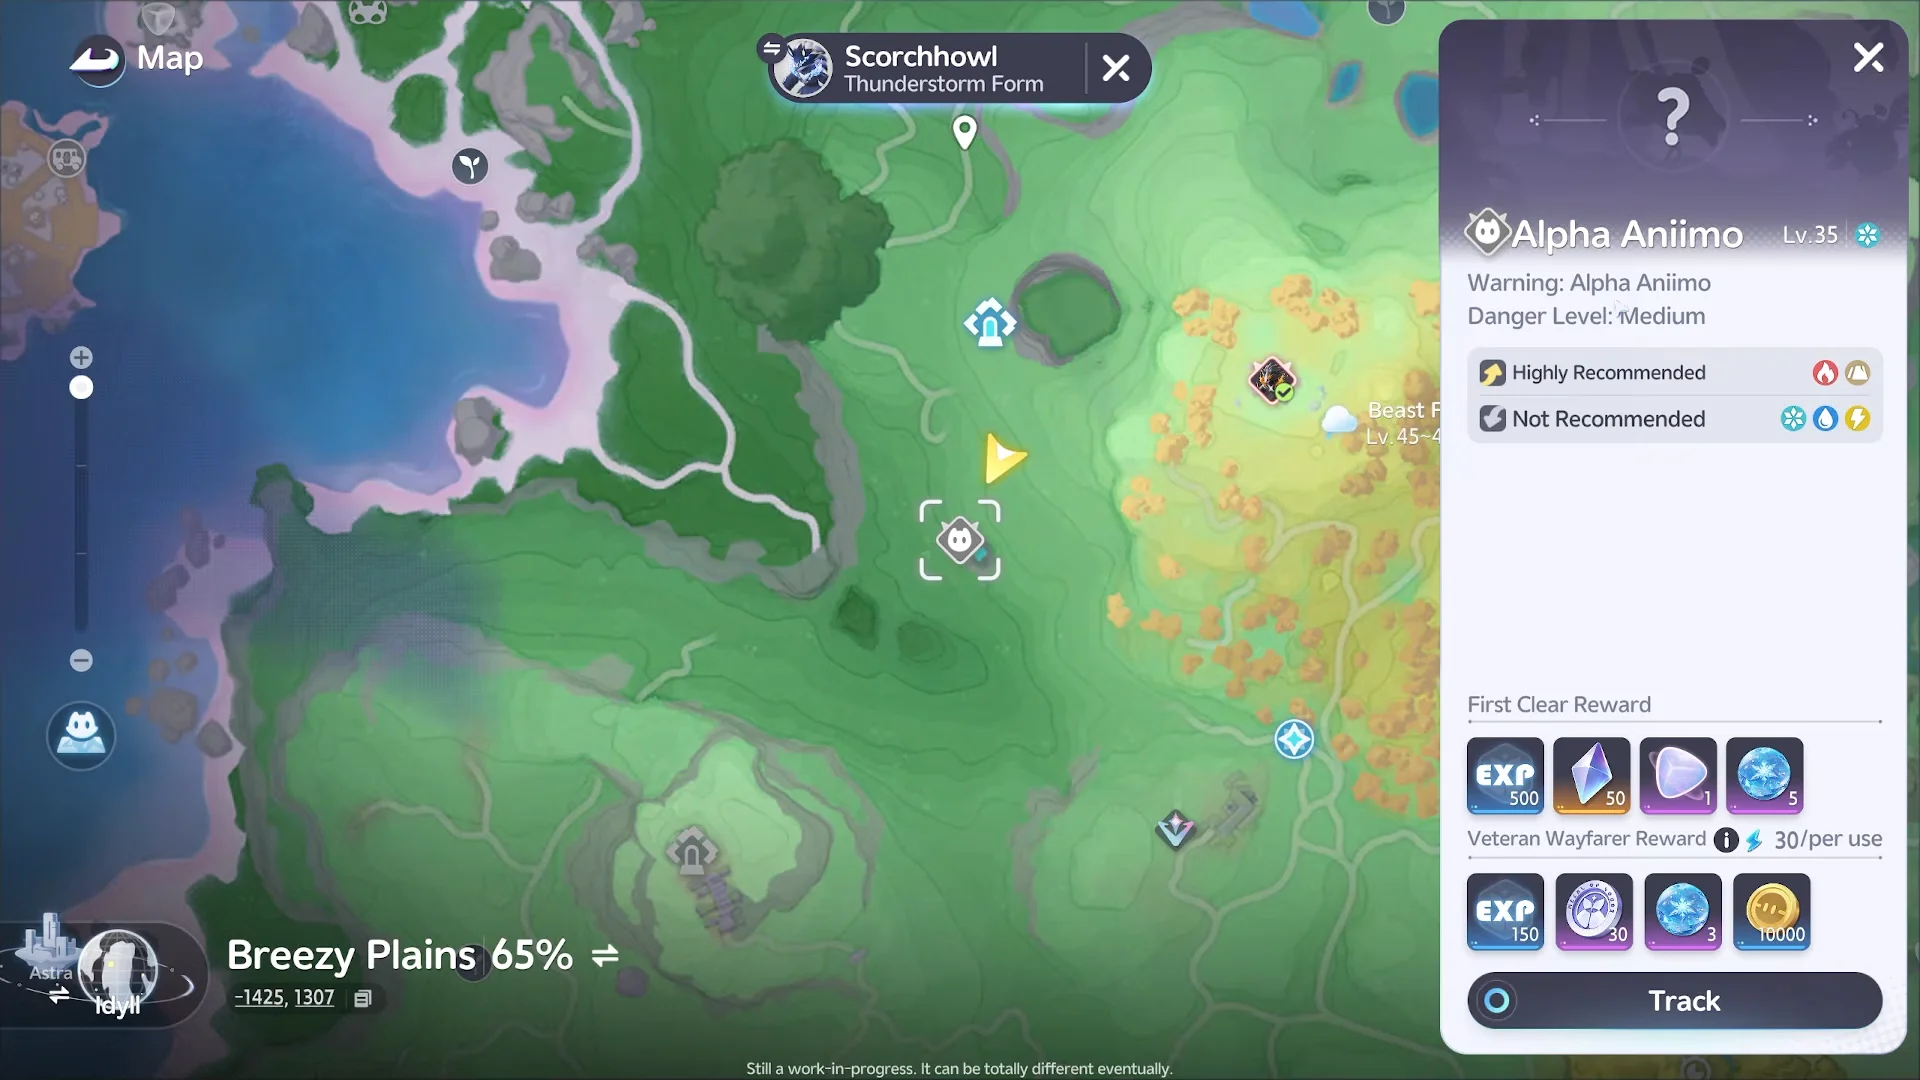
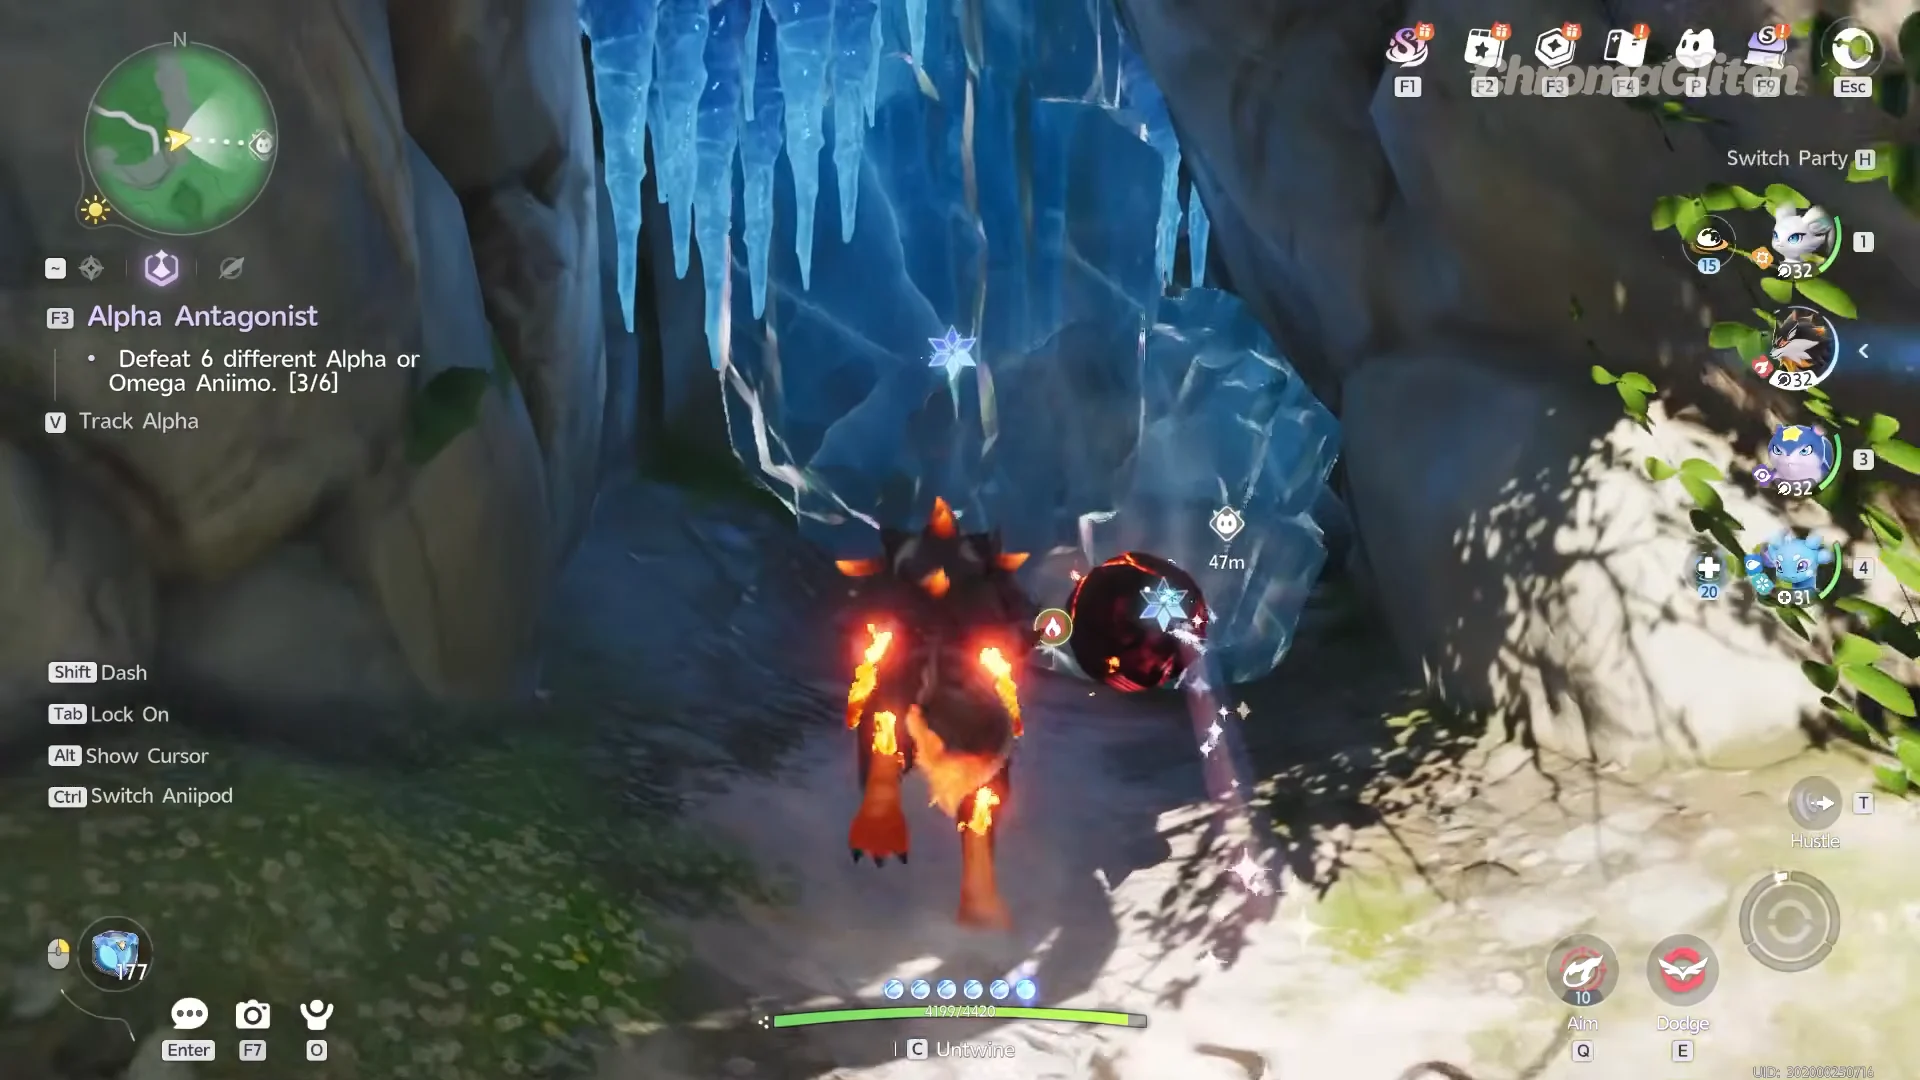
Use the Fire Aniimo you intend to battle with, rather than bringing one out only to unlock the entrance. Fire skills must remain available throughout the encounter, not just while entering.
Alpha Glynsera element, weaknesses and fight details
The matchup largely determines the time required. Since Glynsera is Ice, Fire and Earth deal 1.6× damage, whereas three elements are reduced to 0.625×. Using an Ice or Water team makes this battle an extremely slow grind.
| Detail | Value |
|---|---|
| Type | Alpha Challenge, Ice |
| Region | 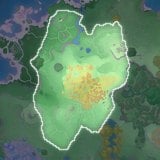 Beast Fang Ridge Beast Fang Ridge |
| Weak to | Fire 1.6×, Earth 1.6× |
| Resists | Ice, Lightning, Water 0.625× |
| Catch rate | 6%, after defeat |
| Claim cost | 30 Primegy |
| Respawn interval | 20s |
Grass, Wind, Light and Dark all land at a flat 1×, so they are neither a trap nor a solution. The encounter sits near the top of the Beast Fang Ridge level range, in the mid-30s, and it is available at any time of day.
How to beat Alpha Glynsera
The fight opens the moment you engage, and the arena is small enough that hazards matter quickly. Bring a healer alongside your damage, because the boss leans on chip damage and close-range pressure rather than one big telegraph.
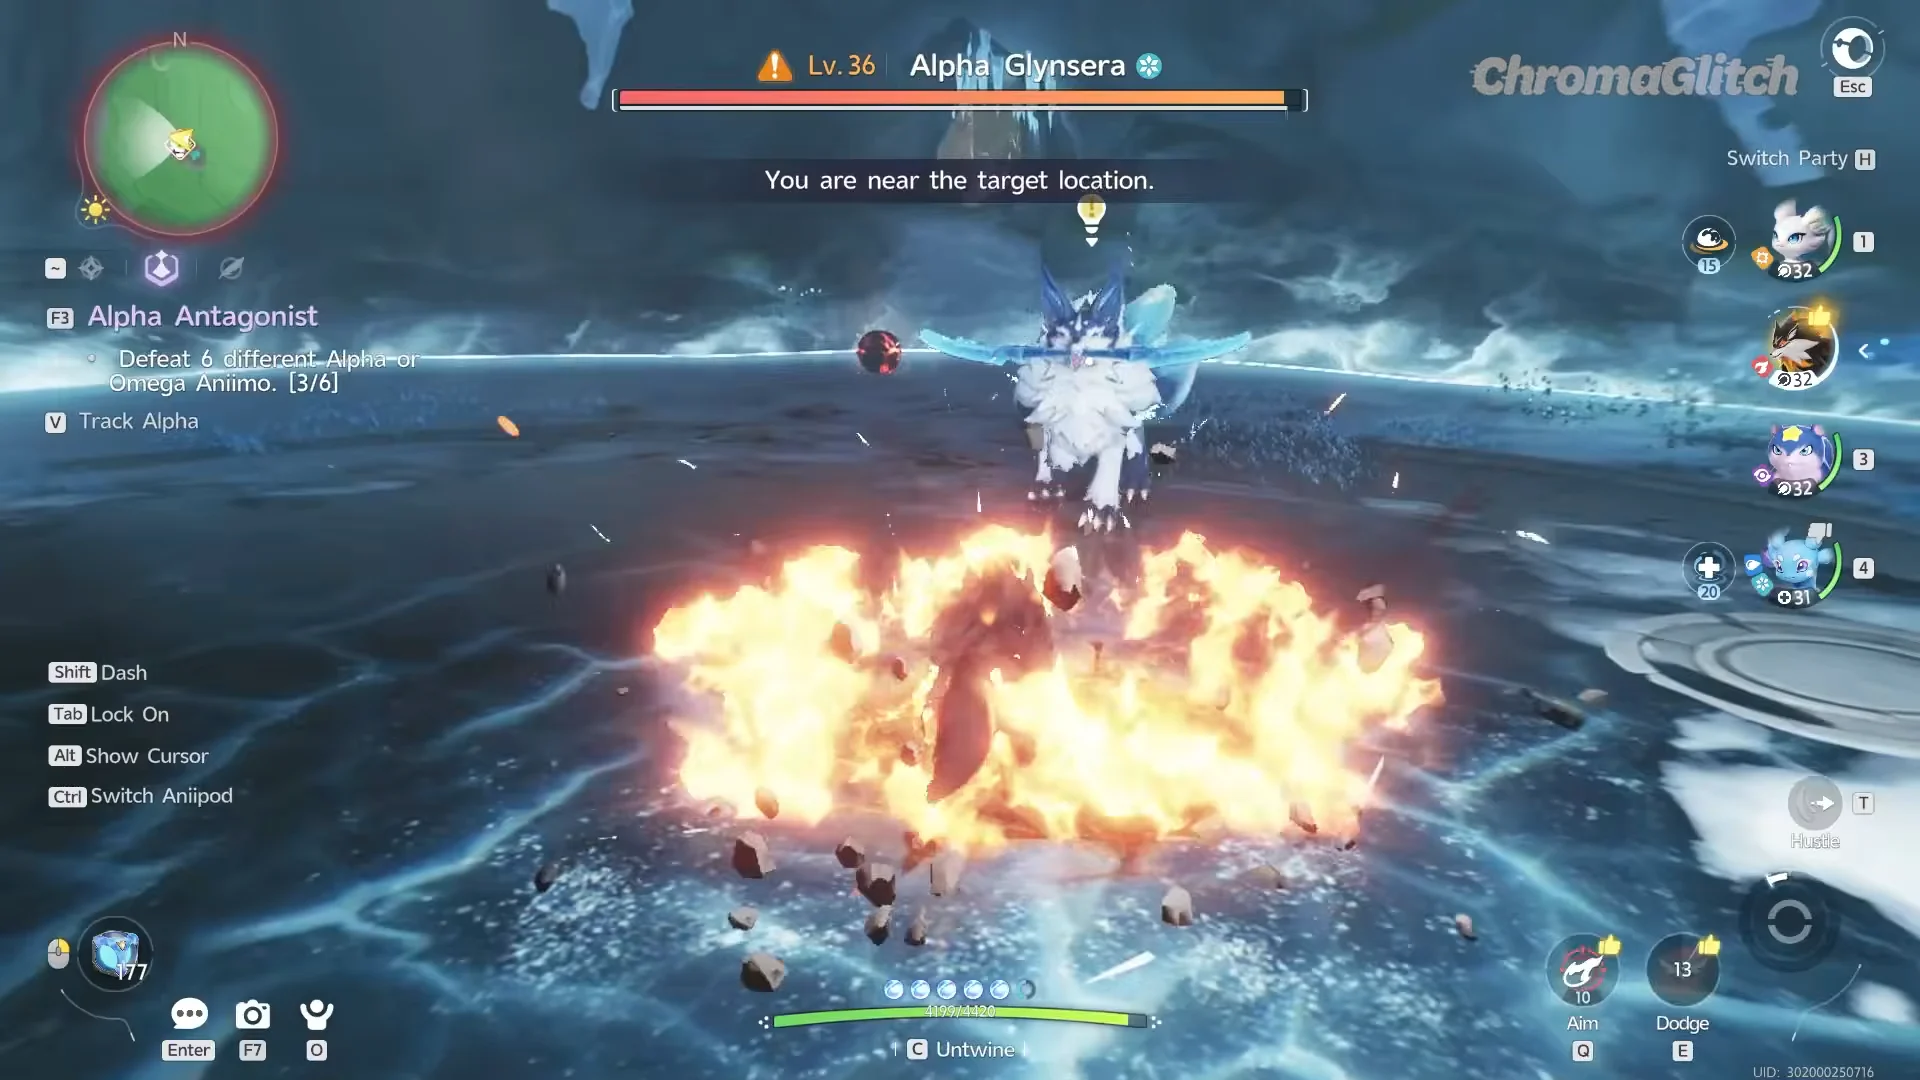
Burn the ice blades as they land
At intervals Glynsera scatters ice blades across the floor. They stay there for the rest of the encounter, they rotate and deal continuous damage to anything caught inside them, and nothing removes them on its own. Fire skills destroy the blades, which makes clearing each one on sight the single most important habit in this fight.
Glynsera signals before pulling its blades back and unleashing the frost held within them. Each blade still active increases that attack, so move away as soon as the warning appears and destroy the field early rather than saving your cooldowns.
Watch your Ice Debuff stacks
Glynsera’s abilities build Ice Debuff on your party before converting those stacks into damage. Ice Strikes launches three blades and adds 5 stacks immediately. Frost Tail Strike follows with a forward flip and ground slam, consuming as many as 10 stacks for 85% extra damage.
Boomerang Blade worsens the buildup by sending out a rotating ice blade that continues adding stacks until Glynsera calls it back. Biting Wind also grants 15% Crit Rate against targets with over 5 stacks, making heavily stacked allies take substantially more damage. Move clear of the blade zones instead of absorbing their hits.
Use the BREAK window, then expect a faster boss
Breaking Glynsera marks the target as weakened and causes its BREAK Resistance to fall sharply. Save your strongest Fire or Earth skill for that notification instead of using it against the armored boss, then continue attacking during the brief BREAK Recovery window while damage remains increased.
After the first break, Glynsera becomes far more aggressive and commits to close-range strikes much more often. Dodge those rather than trading into them. If you are under-levelled, player skills that boost critical and overall damage are the cheapest way to close the gap.
Best Aniimo to bring against Alpha Glynsera
| Aniimo | Element | Role |
|---|---|---|
 Infergon Infergon | Fire | DPS |
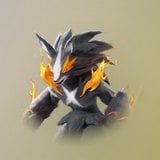 Scorchhowl Scorchhowl | Fire | DPS |
 Grizbo Grizbo | Earth | DPS |
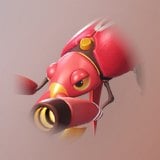 Waleetle Waleetle | Earth | DPS |
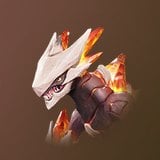 Magmarex Magmarex | Fire | BREAK |
 Squashel Squashel | Fire | BREAK |
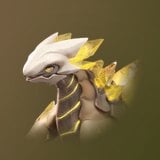 Minespine Minespine | Earth | BREAK |
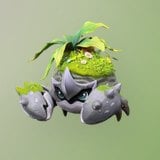 Shrubclaw Shrubclaw | Earth | BREAK |
 Flamerion Flamerion | Fire | ENERGY |
 Sparkelf Sparkelf | Fire | SUP |
 Bailite Bailite | Earth | SUP |
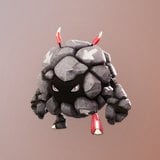 Bouldus Bouldus | Earth | SUP |
A balanced party is the strongest choice. You effectively need one Fire unit because other elements cannot remove the blades, and an Earth breaker reaches the weakened phase sooner. Earth also receives the full 1.6× multiplier, so choosing it does not reduce your damage.
Scorchhowl is the accessible Fire DPS option for this level range, sitting on 119 Attack and 119 Magic Attack with a Fire kit that includes Fire Bolt, Fire Kick and Falling Star. Any of those clears a blade the moment it lands.
Minespine is the breaker to beat here. It carries 105 BREAK Attack and 110 HP, and its Rock kit — Stone Shell, Earth Spikes, Seismic Wave and Meteor Shower — all counts as super-effective damage while it chews through the BREAK gauge.
If you are still early, Flameruff, Minespine, Flamerion and Grizbo form a serviceable party from easily obtained units, with high damage, high break and high energy but thin healing. Flamerion or Sparki cover regen on the Fire side; Bailite and Bouldus resist Glynsera’s Ice attacks outright.
How to catch Alpha Glynsera after the fight
Alpha Aniimo become catchable only after they are down, eliminating the chance of accidentally killing one and preventing you from throwing a pod while Twined during the battle. Once Glynsera collapses, the Catch Countdown screen provides a free Aniipod and a brief opportunity to use it.
The standard catch chance is 6%, and regular Aniipods change it very little. If you truly want this specimen, use an Aniipod Ultra or a Sparkling Cube — the countdown screen shows the Ultra at 100%.
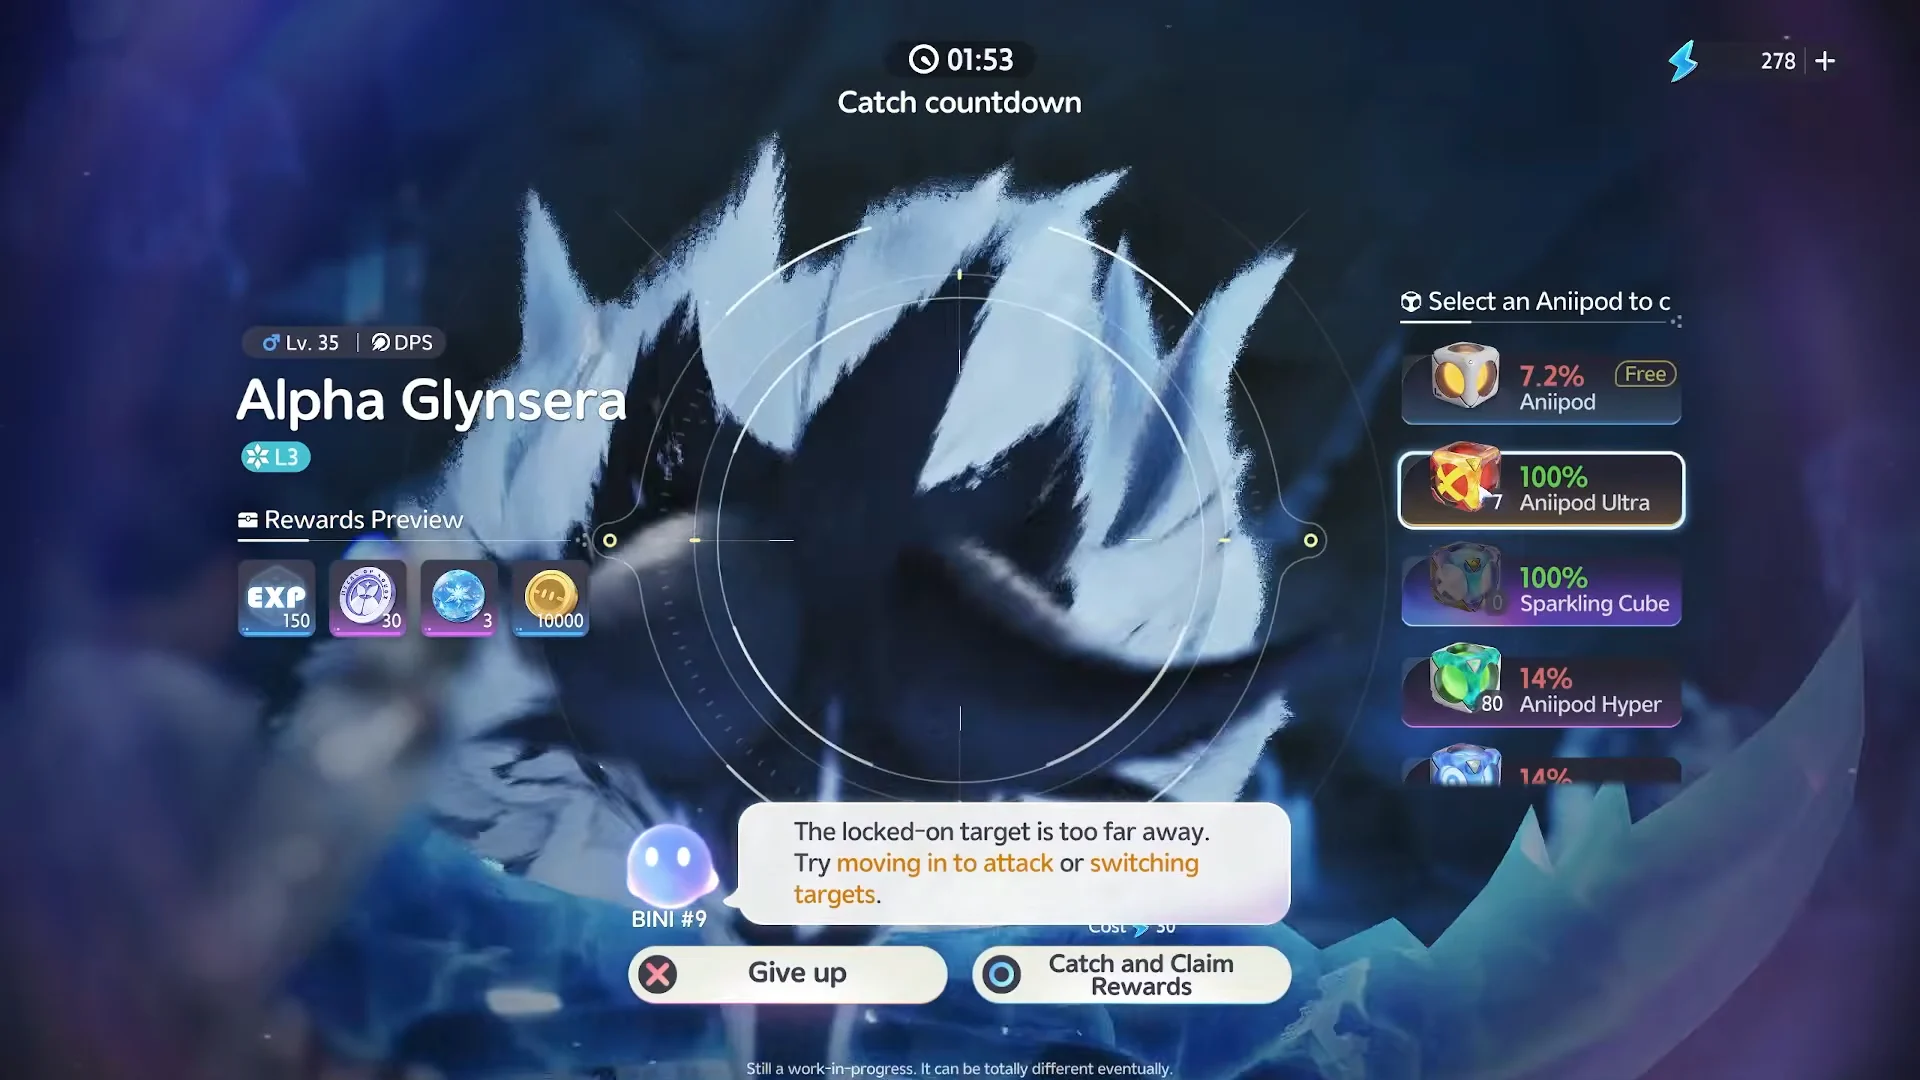
The rewards require 30 Primegy. You still receive them after a failed catch, so anyone farming only Freeze Stone can throw the free pod and claim the payout. Leaving the catch prompt without throwing gives no rewards, but it also does not consume Primegy.
The attempt has registered once the post-throw reward screen opens and Freeze Stone appears in your inventory. Another Glynsera becomes available 20 seconds later.
Alpha Glynsera rewards and repeat drops
Your first victory also grants a one-time bundle in addition to the normal material drop.
| First clear reward | Amount |
|---|---|
 Freeze Stone Freeze Stone | x5 |
| Glimmer | x50 |
| Safaris | x500 |
 Irisalis Petal Irisalis Petal | x1 |
| Lumin Amber: Breezy Plains | x1 |
Freeze Stone is the recurring reward and the main reason to repeat the fight. Its payout increases with your current title, and every rank includes Windborn Stamps x10.
| Title | Safaris | Freeze Stone | Credits |
|---|---|---|---|
| Empty Title | x150 | x2 | 4,000 |
| Special Admission Rookie | x150 | x2 | 4,000 |
| I Student | x150 | x2 | 5,000 |
| II Student | x150 | x2 | 6,000 |
| III Student | x150 | x2 | 7,000 |
| I Wayfarer | x150 | x2 | 8,000 |
| II Wayfarer | x150 | x2 | 9,000 |
| III Wayfarer | x150 | x3 | 10,000 |
| I Trailblazer | x150 | x3 | 11,000 |
| II Trailblazer | x150 | x3 | 12,000 |
Clear the rest of the cavern before you leave
The arena has more in it than the boss. Once Glynsera is down, pick up the Canid Battle Bone from the floor, which opens a lore entry on the Glynsera Recas. Then turn your Fire skills on the frozen blocks around the edges of the chamber to reveal treasure chests and Bonesky you can catch with ordinary Aniipods.
The Alpha also feeds two quests that ask you to defeat it outright, Clue: Legends of Beast Fang Ridge and Fists II, so a single clear can close multiple objectives at once.
You need Freeze Stone to evolve Fenrier into Glynsera at level 34, so repeatedly defeating this alpha advances your own Ice line even if the capture fails. Once the cave is accessible, the 20-second respawn and the simple “bring Fire” answer make this one of the region’s more convenient farming loops.