

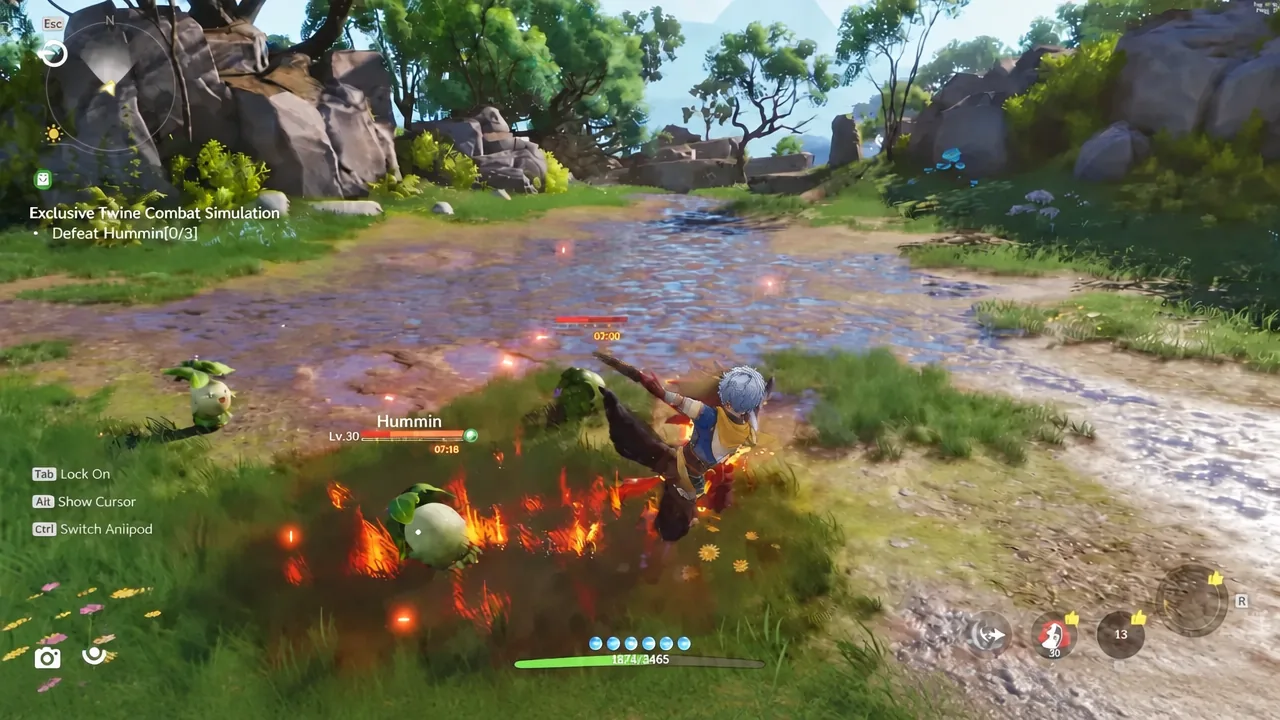
Aniimo hands you a starter, an open world called Idyll, and about a dozen systems that all want your materials at once. It is a creature collector with real-time action combat, a farming van, a research index, and a stat-awakening tree, and none of those systems warn you when you are wasting resources. The game is live on PC, PlayStation 5 and Xbox Series X|S, with iOS and Android arriving on September 23, 2026.
Quick answer: Link your account to the right regional server before you commit, build around one damage dealer, one Break unit and one healer, and drain a target’s Break bar before you throw an Aniipod.
Decisions you cannot undo: server, account link, and starter
There are three regional servers, Aniimo-America, Aniimo-Europe and Aniimo-Apac, and progress does not move between them. If you plan to play with friends, agree on a server before anyone creates a character. Cross-platform play works within one server as long as every platform account is tied to the same Aniimo Pass.
Console players get one shot at this. The linking prompt appears exactly once at first login, so if you already have an account, pick the existing-account path rather than clicking through it. The rules for each platform are laid out in the official account notice.
After the tutorial you choose between Helion and Lunara. Both are Light element with identical statlines, so this is not a power decision, it is a control decision, and it is permanent for that character.
| Starter | Playstyle | Evolution |
|---|---|---|
 Lunara Lunara | Ranged moon fox, wide-area magic, marks, self-sustain through boosted basic attacks | Fennelun |
 Helion Helion | Close-range sun lion, dives in, charges empowered skills through melee | Soleon |
Both evolutions trigger through their Ultimates. You will spend dozens of hours controlling this creature directly, so pick the loop you enjoy holding the controller for. The only way to try the other one is a second character.
How to catch Aniimo without burning your good pods
Catching is not a random pull. The game shows you a capture percentage next to the target before you commit, and that number reacts to distance, whether the creature has spotted you, and which pod you have equipped. If the percentage looks bad, the fix is the setup, not more throws.
The catch routine
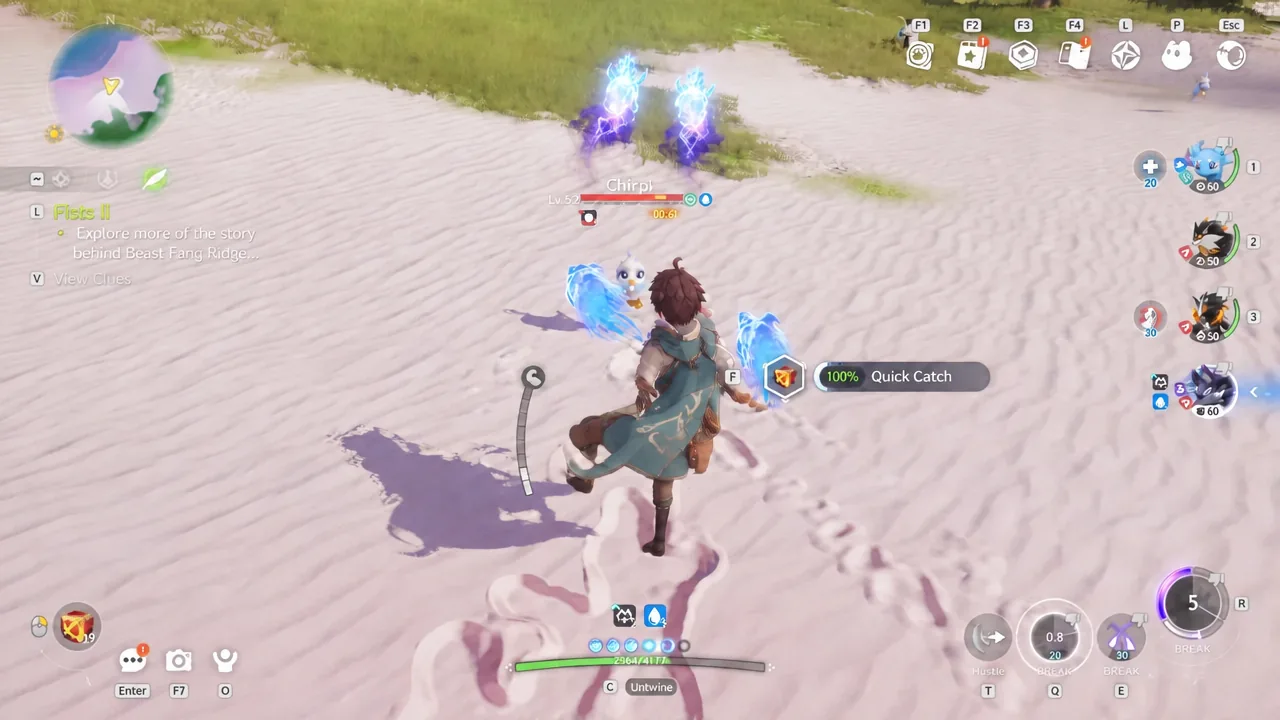
The Aniipod ladder
| Pod | What it does |
|---|---|
| Aniipod | Baseline catch rate, your default throw |
 Aniipod Pro Aniipod Pro | Upgraded catch rate over the standard pod |
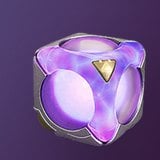 Aniipod Mega Aniipod Mega | 2x catch odds, for when aim is already solved |
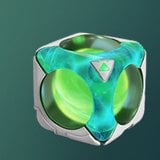 Aniipod Hyper Aniipod Hyper | 2x odds plus faster, longer throws |
| Aniipod Trace | 2x odds plus tracking on targets that turn mid-throw |
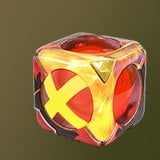 Aniipod Ultra Aniipod Ultra | Highest base rate of the standard ladder |
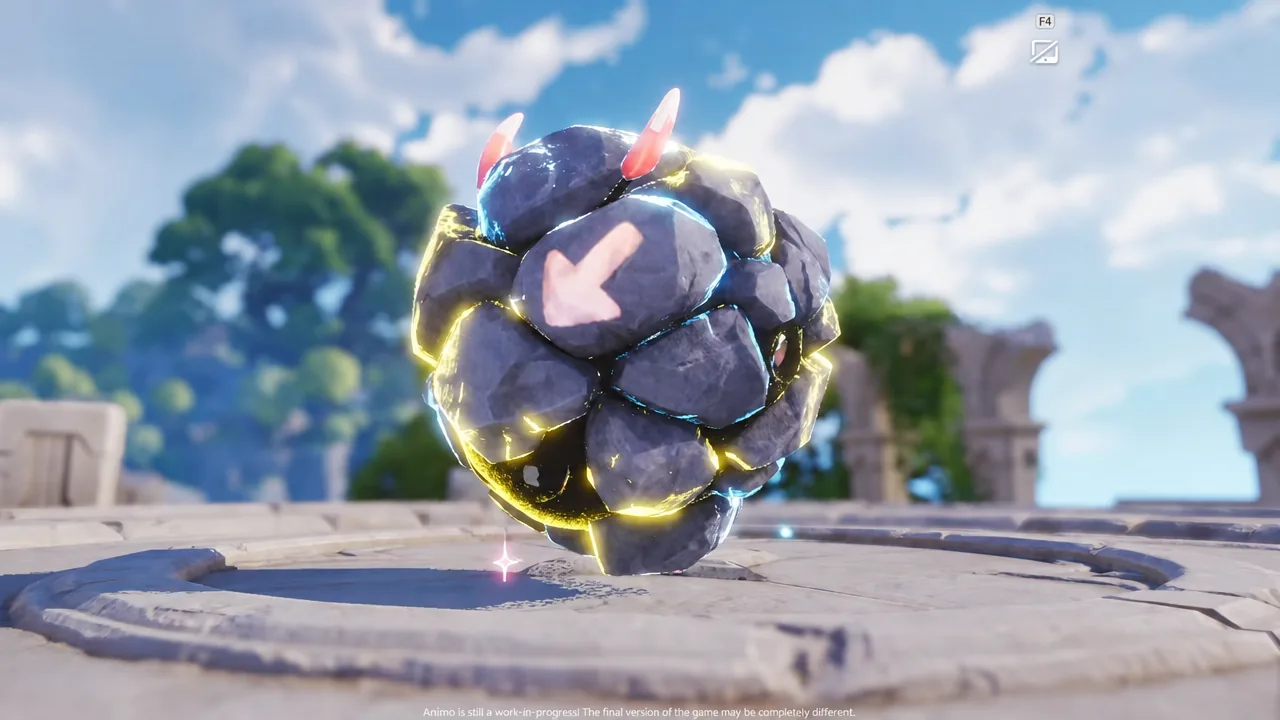
 Tumbler Tumbler | 2x base rate normally, 6x against groups drawn together by Nourishment |
 Sparkling Cube Sparkling Cube | Guarantees Perfect Potential on whatever it catches |
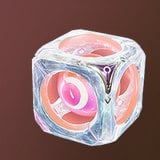 Legendary Aniipod Legendary Aniipod | Crafted from exploration and story tokens for one-time encounters such as Irisalis |
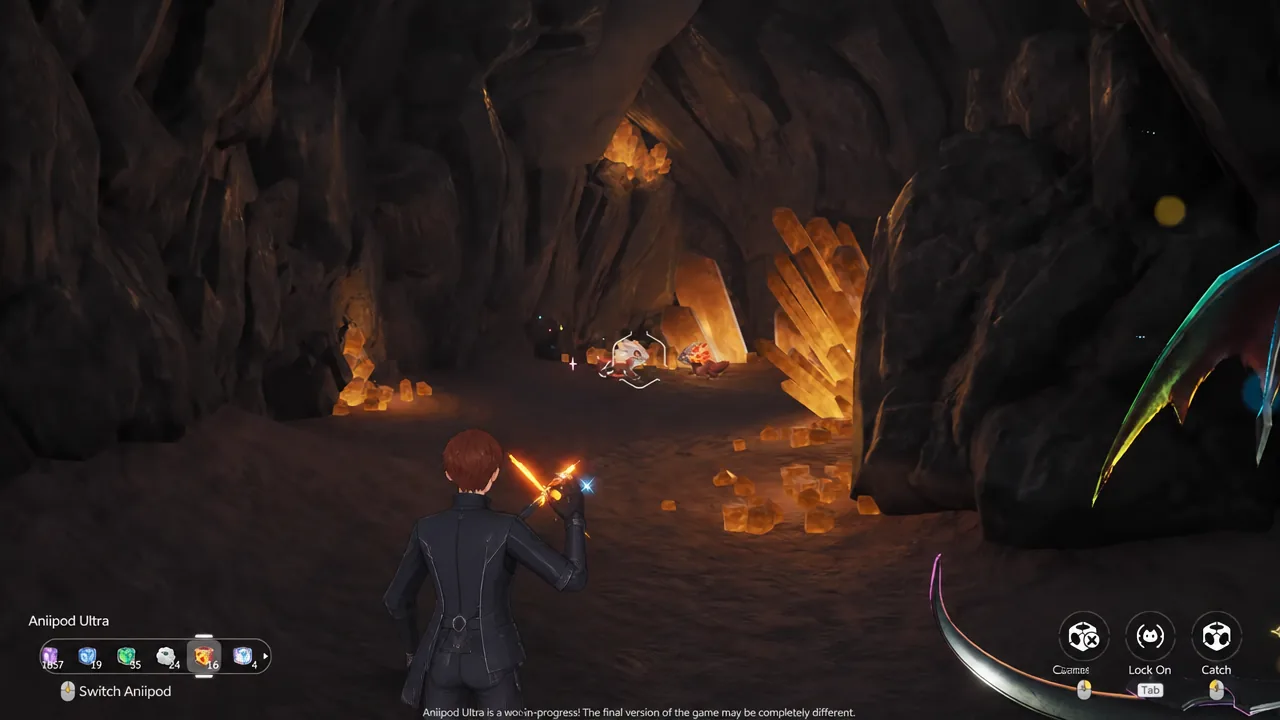
Upgraded pods come back to you when a catch fails, which makes them less wasteful than they look. Even so, throw basic pods, Pros and Megas at common creatures, and hold Ultras, Sparkling Cubes and crafted Legendaries for encounters you cannot walk back to. Your launch rewards include an Aniipod Ultra, a Sparkling Cube and a Tumbler.
The Tumbler is a group tool, not a single-target upgrade. Gather creatures with Nourishment first, then throw it.
Twine Mode, Command Mode, and Break in combat
Combat runs in two modes and the tutorial teaches both. In Command Mode you stay on the field as the Pathfinder and direct your Aniimo while using your own skills. In Twine Mode you merge into a creature and control its movement, attacks and Ultimate yourself.
Command is safer when you want distance and a body soaking hits. Twining is stronger when you need precise dodges or a creature-specific tool right now. Swapping between modes and across your active team mid-fight is how elemental combos come together, so practise the swap in early encounters rather than picking one mode and living in it.
Two resources decide most fights. Break is enemy poise, and forcing it open creates the window your damage dealer needs. EP is Energy Points, spent on active skills, and every creature restores it differently through basic attacks, zero-cost actions or team effects. Read the skill text instead of assuming a shared rotation.
REGEN is energy recovery, not passive healing. A creature that keeps your skills firing and a creature that restores your health are solving different problems.
Against tougher enemies, learn the attack pattern before you empty your kit. Dodge the dangerous move, punish the recovery, and when a fight goes badly ask what actually caused it, because being out of EP and standing in the same attack four times are not fixed by the same thing.
Team roles and the nine elements
Your field team has four slots, and combat roles are listed on each creature’s stats panel. An all-attacker squad looks fine until something needs sustain or control, and because Twining swaps your own abilities, a gap in the roster is a gap in your moveset.
- DPS — carries the team’s damage output
- Break — drains stance bars to stun and to set up catches
- Healer — keeps the team alive through longer fights
- Support — applies buffs and debuffs, scales well in co-op
- REGEN — restores energy so your skills stay available
Get a reliable damage dealer first, then a Break unit, then a healer, and keep the fourth slot flexible for a traversal ability or a missing element. Some Aniimo cover two jobs at once, which frees a slot. Read traits alongside active skills, since a buff that only triggers for one element or one condition is worth nothing to a team that cannot meet it.
Nine elements exist, and some Aniimo carry two of them. Outside combat, different creatures unlock flying, swimming, diving, tunneling and puzzle interactions, so keep a traversal specialist even when it will never win a fight.
| Element | Strong against | Weak against |
|---|---|---|
 Fire Fire | Ice, Grass | Water, Earth |
 Water Water | Fire, Earth | Ice, Light |
 Grass Grass | Earth, Water | Fire |
| Lightning | Wind, Water | Ice, Dark, Earth |
 Ice Ice | Lightning, Water | Fire, Wind, Grass |
| Earth | Ice, Lightning | Water, Wind |
 Wind Wind | Dark, Grass | Earth |
| Light | Dark, Earth | Ice, Lightning |
 Dark Dark | Light, Fire, Grass | Earth, Water |
Dual-element creatures and regional forms complicate this, so check the in-game matchup display when you meet something unfamiliar rather than trusting a type chart from another game.
Evolution stages and rare forms
Evolution runs Lumin, then Gamma, then Nova. Advancing is gated by some mix of level, materials and a boss kill, and several lines branch. Emberpup into Flameruff into Scorchhowl is the clearest example, with level requirements plus an Alpha defeat, and Inferlupa sitting as an alternate Nova of the same family.
Regional forms such as the Budclaw and Reefish variations change element and abilities, which affects both your coverage and what that creature is good at fighting. Always check the exact form, not just the species name.
Then there are the forms you never evolve into. Sparkling variants are rare colour-shifted catches. Prismana forms are the Light-aligned alternates tied to Prismana flows and Nurture, and Umbra forms such as Umbrabow come out of Egg Heist runs and wild surges. Thunderstorm and Prismana variants appear in the wild during specific weather, and a weather event typically produces one rare form, so treat each window as a single clean shot.
Base forms stay useful longer than you expect. Twining abilities do not always scale with stats, so a Lumin-stage flyer or burrower can open more of the map than a stronger Nova that cannot get off the ground.
Where to spend resources, and when to hold back
The expensive beginner mistake is dumping rare materials into the first creature you liked the look of. Several of a creature’s ceilings are locked the moment you catch it, and those materials are hard to get back.
Potential and personality
Every catch is appraised on four rarity tiers, Common, Good, Elite and Perfect, and split between Innate Potential and Acquired Potential. Capability Fruit can raise Elite-grade creatures further. On top of that sits a four-letter personality trait in the style of an MBTI code, which grants both combat bonuses and work bonuses back at your Homeland.
Clear early content with whatever Good or Elite creatures you have, and hold your high-tier materials until you catch one with the traits and potential you want. Filling in Aniilog entries raises your chances of running into high-potential wild creatures, which is a far better use of your time than rerolling catches.
Stats, Resonance and Carried Items
Six core attributes drive everything: HP, ATK, P.DEF, M.DEF, REGEN and BREAK. Deep stat awakening spends Star Dust, Star Sand and Star Essence to push each one up to a capped threshold, and hitting that cap gives you a Crown Stat.
Resonance Star-Up is the ascension track. It consumes Dewdrop Crystals along with Loam or Flux Crystals to move a creature through star stages, and it also unlocks Capability Points you can spend to shape stats toward the job you want that creature doing. Carried Items such as the Spirited Feather, Giant Tortoise Shell and Ferocious Fang scale specific stats on top of that.
Inheritance
Inheritance is the safety net. For a credit cost, it migrates levels, tier ratings and invested resources from one Aniimo to another in the same family. If you level a decent Emberpup and later catch a better one, you are not starting over.
Elite Training and level caps
Your account level cap is tied to Elite Training courses, split across the Path of Twining, the Path of Discovery, the Path of Victory and the Path of Splendor. Clearing them earns promotion badges that raise your maximum level. When progression stalls, check whether you are capped before you go grind more experience, because grinding does not fix a requirement you have not completed.
Set up the Homeland RV as soon as it opens
Your home base is a campervan you can park in different regions of the world, and it runs on three things: expanding the plot, constructing buildings, and assigning Aniimo to jobs. Crops and facilities produce resources, the Hatchinator incubates eggs, and production timers keep running while you are offline.
Because those timers run in real time, every day you delay the RV mission chain is income you never collect. Crops turn into dishes that restore your team’s energy, and completing Homeland requests earns materials for RV decorations that grant passive elemental bonuses across your team.
Aniimo assigned to Homeland work leave your active roster, so keep a separate field squad before you staff the place. Hold on to overworld collectibles too, since Homeland requests keep asking for them.
Exploration routines that actually pay
Chests across Idyll hold Experience Gems, which are the main currency for levelling creatures, so sweeping a region properly is worth more than farming the same enemies near town. Activate every Bloom Branch you pass for fast travel and pick up Lumin Amber while you are moving through an area.
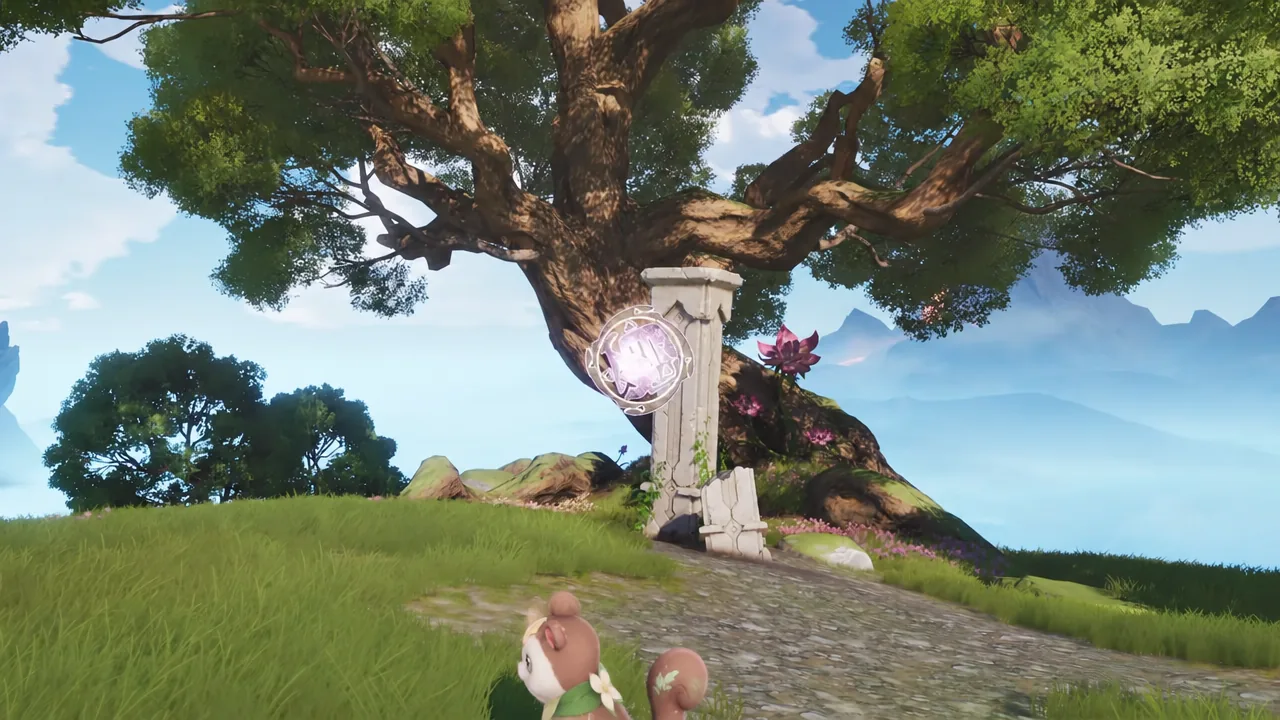
Sanctum mini-dungeons are short puzzle runs and work well in co-op. Alpha bosses cost daily energy and drop the materials that feed Resonance, while Omega bosses run on a weekly cycle. Spending your daily energy is the single most reliable way to keep ascension materials flowing.
The Aniilog is your research index. Use it to check what you have uncovered on a species and which evolution routes are open, and remember that filling it out feeds back into better wild encounters. Astra City is the social hub, with vendors and cosmetic shops.
None of the endgame needs your attention yet. The Irisalis Legendary Trial, the Holo-Battle Interlink survival mode and Operation: Egg Heist will still be there once your core three creatures can clear content comfortably. Aniimo is not a gacha, so there is no banner clock forcing you to rush, and the premium currency points at cosmetics rather than creatures. Take the first week to learn what each of your Aniimo feels like under direct control, because that is the knowledge everything else is built on.





