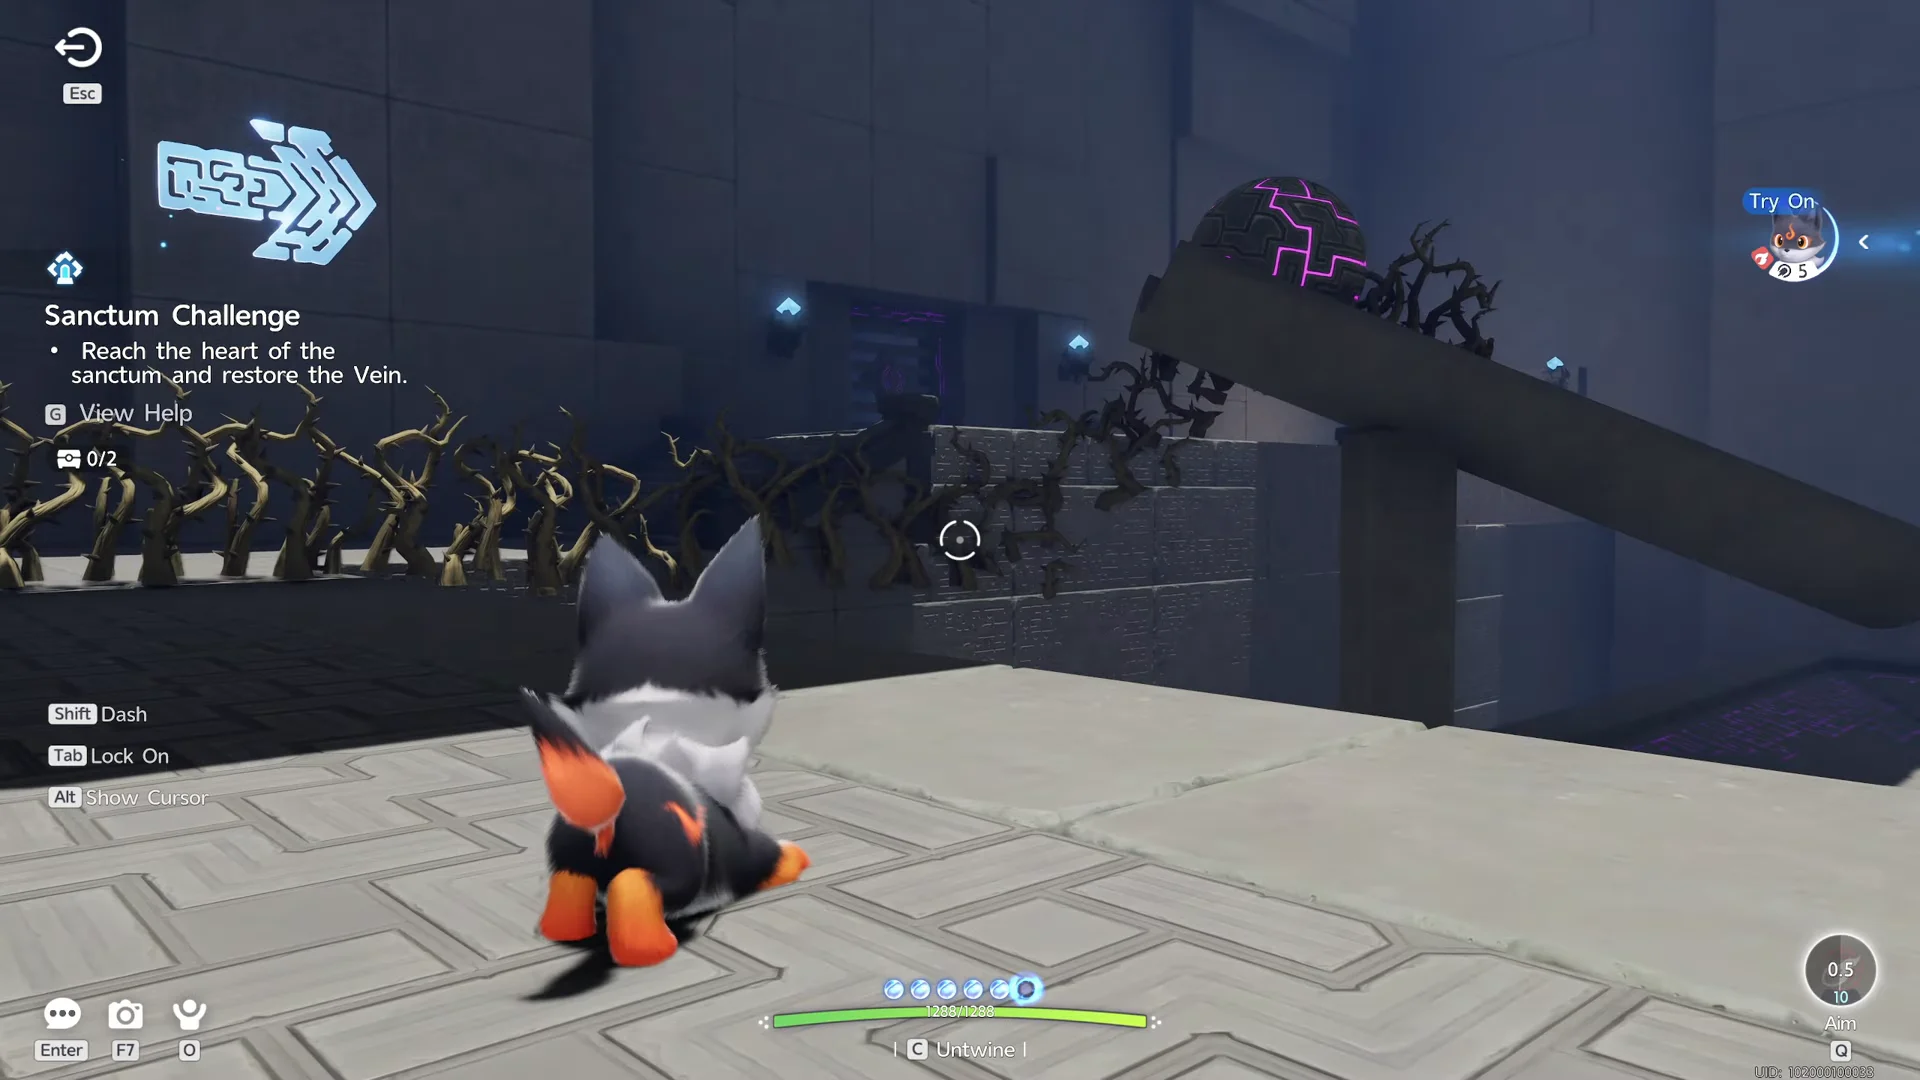
Burning Brambles is a solo Sanctum in the Mistwoods area of Breezy Plains, built around a single tool. You Twine with a trial Emberpup at the entrance and use its Fire Bolt to burn wood, vines, and thorn braces. Every locked door in the room opens when a large purple ball drops into a round floor pad, and each ball is held in place by something flammable. Burn the support, let the ball settle, and the next gate opens.
Quick answer: Twine with Emberpup, burn the wooden gate on the stairs, then burn the brace, vine trail, or plank holding each purple ball so it reaches its pad. Grab Chest 1 in the flooded alcove and Chest 2 on the final staircase, then touch the Terminus.
Burning Brambles location and requirements
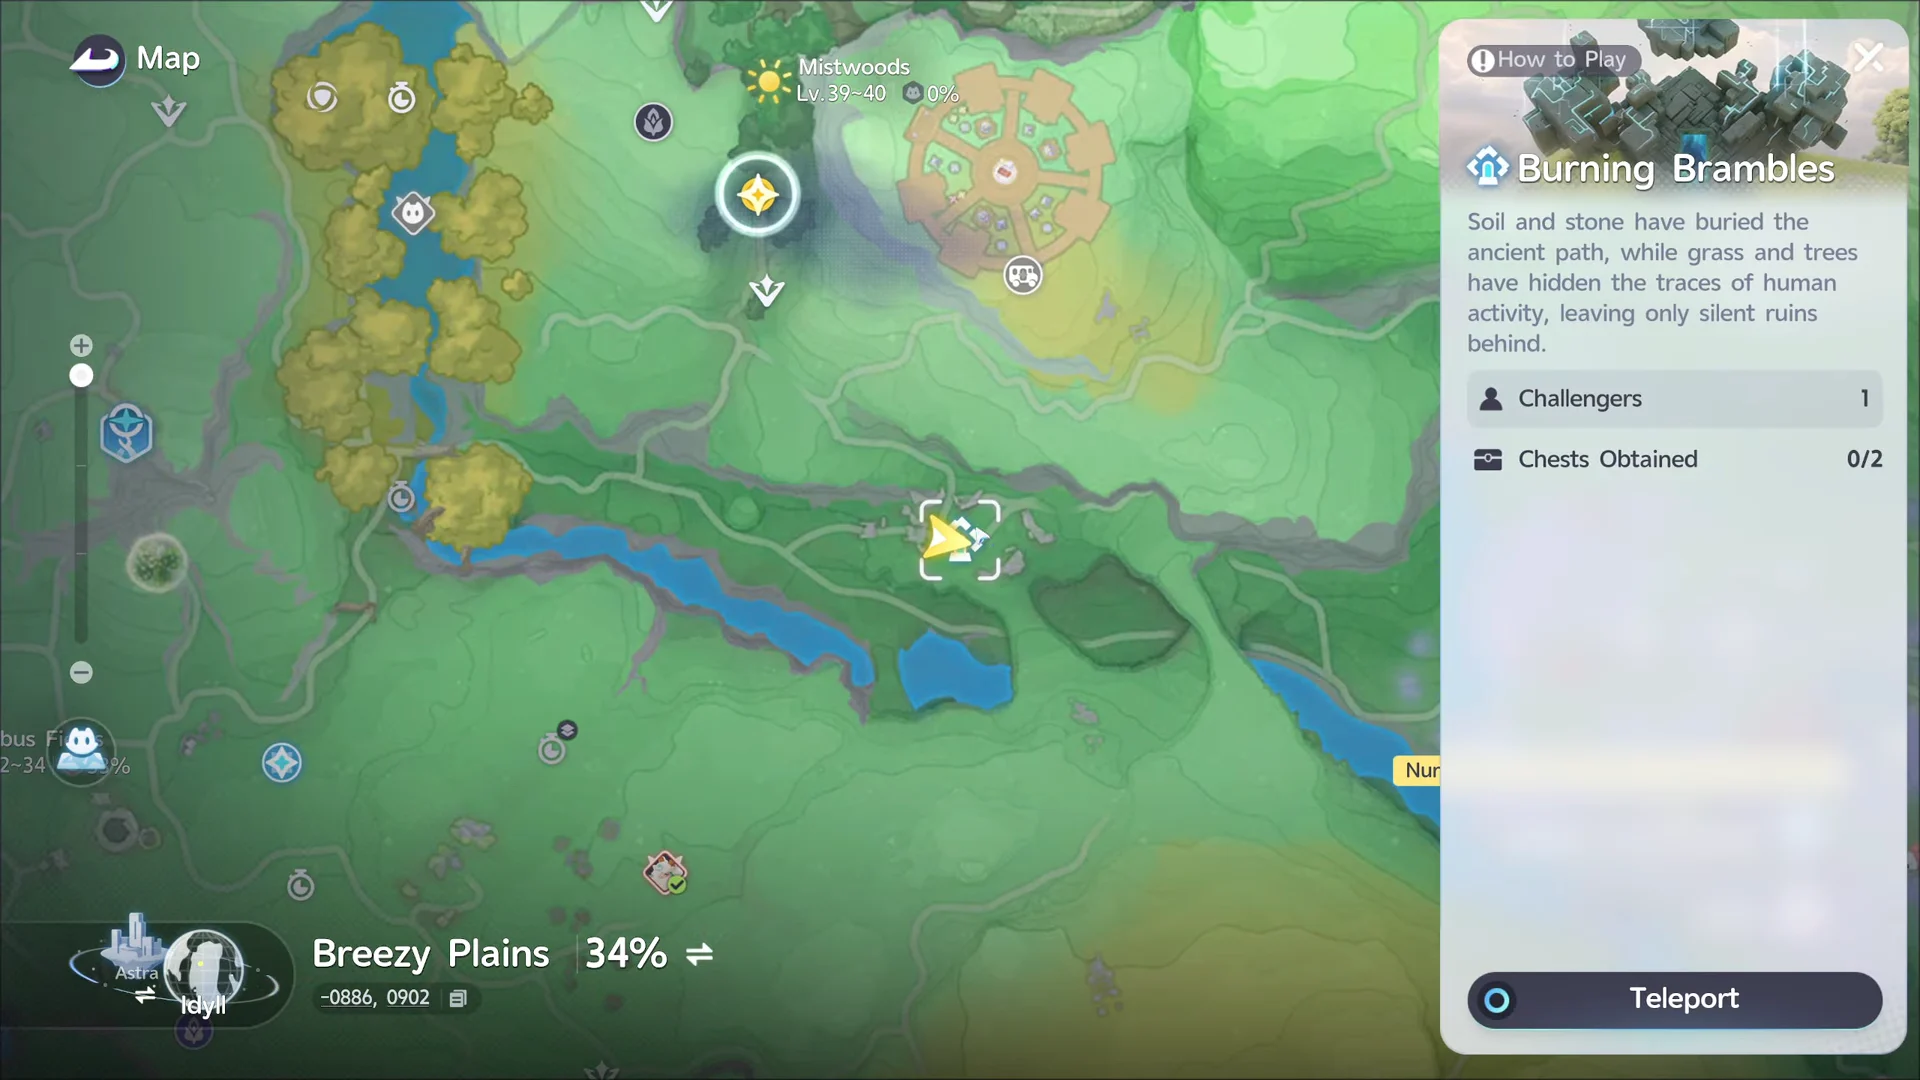
Burning Brambles sits in the stone ruins in the southern part of Mistwoods, at map coordinates around -0886, 0902. Open the Breezy Plains map, select the Sanctum marker, and teleport straight to the portal. It is a single-player challenge, and the chest counter reads 0/2 when you enter.

| Detail | Value |
|---|---|
| Region | Mistwoods (Breezy Plains) |
| Players | 1, solo |
| Optional chests | 2 |
| Trial Aniimo |  Emberpup (Fire) Emberpup (Fire) |
| First-clear reward | Lumin Amber x1, 500 EXP |
Emberpup and the Fire Bolt skill
Interact with the glowing purple Animo Statue by the entrance to awaken Emberpup, then Twine with it before you climb the stairs. Fire Bolt is the only skill this Sanctum uses. It costs 10 EP, deals 30 power, has a 1 second cooldown, and applies 2 stacks of Fire Debuff for 5 seconds.

Tap the skill button to fire straight ahead, or hold it to bring up an aiming reticle and place a shot through fences and gaps. The PC default binding is Q. Aim at the wood, vine, or thorn brace, not at the purple ball itself, and wait for the object to finish burning before you move on.
Instant-death pit floors sit under the ball pads and the carrier run. Fire cannot hurt you and nothing is on a timer, so stay on the stone paths and let each burn finish at your own pace.
Step-by-step walkthrough
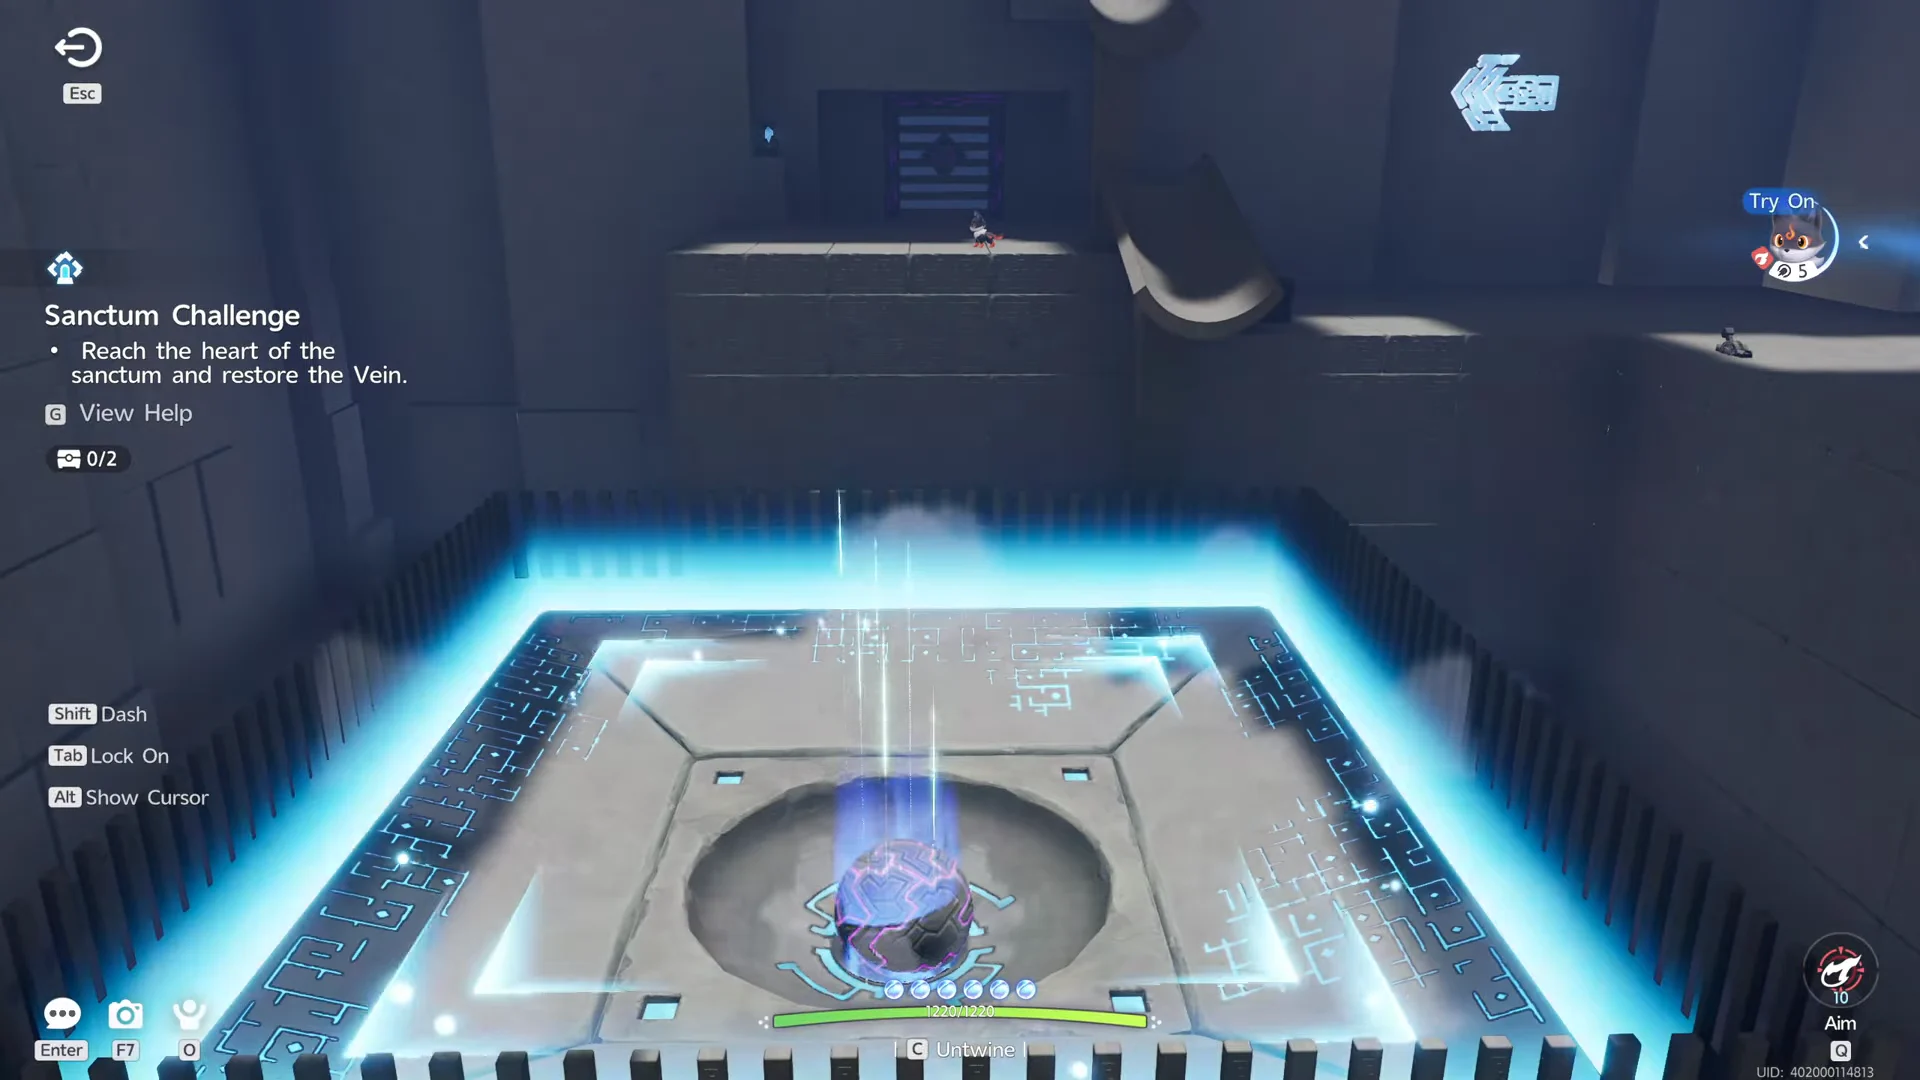
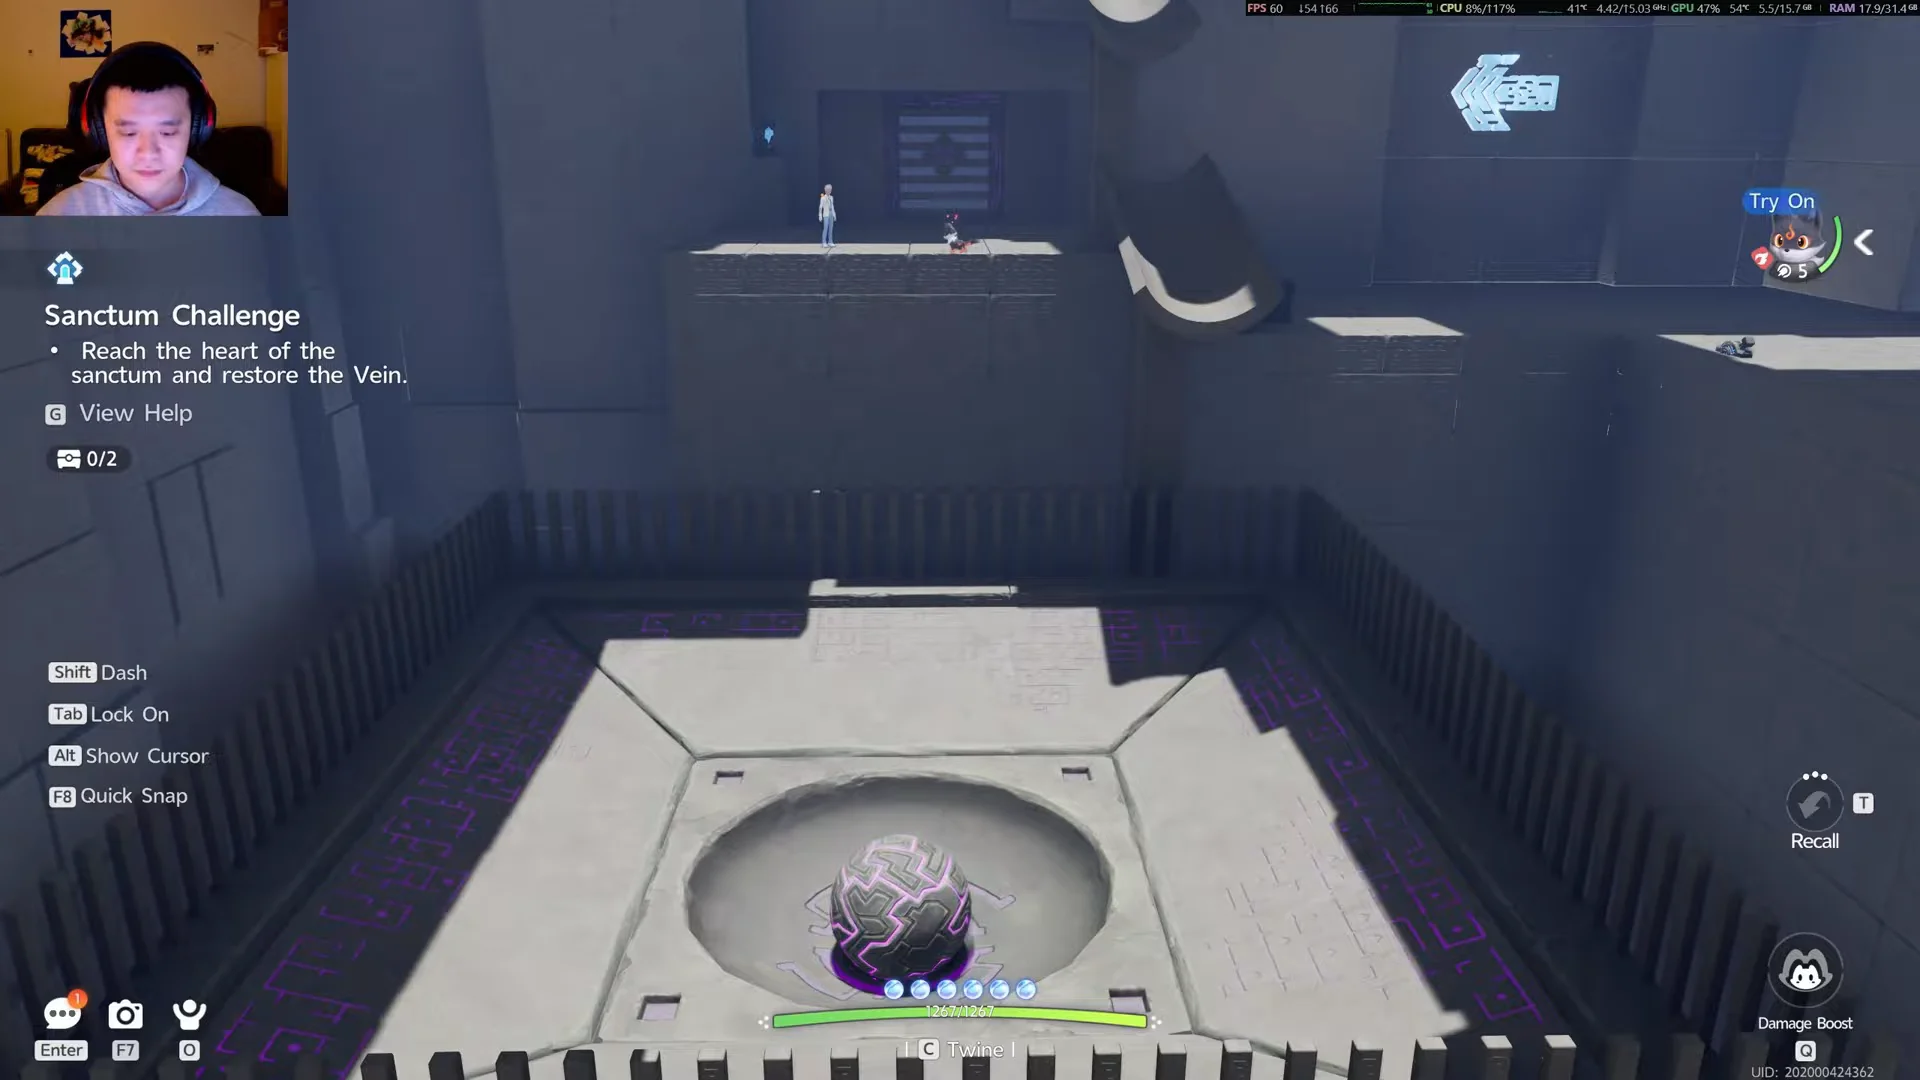
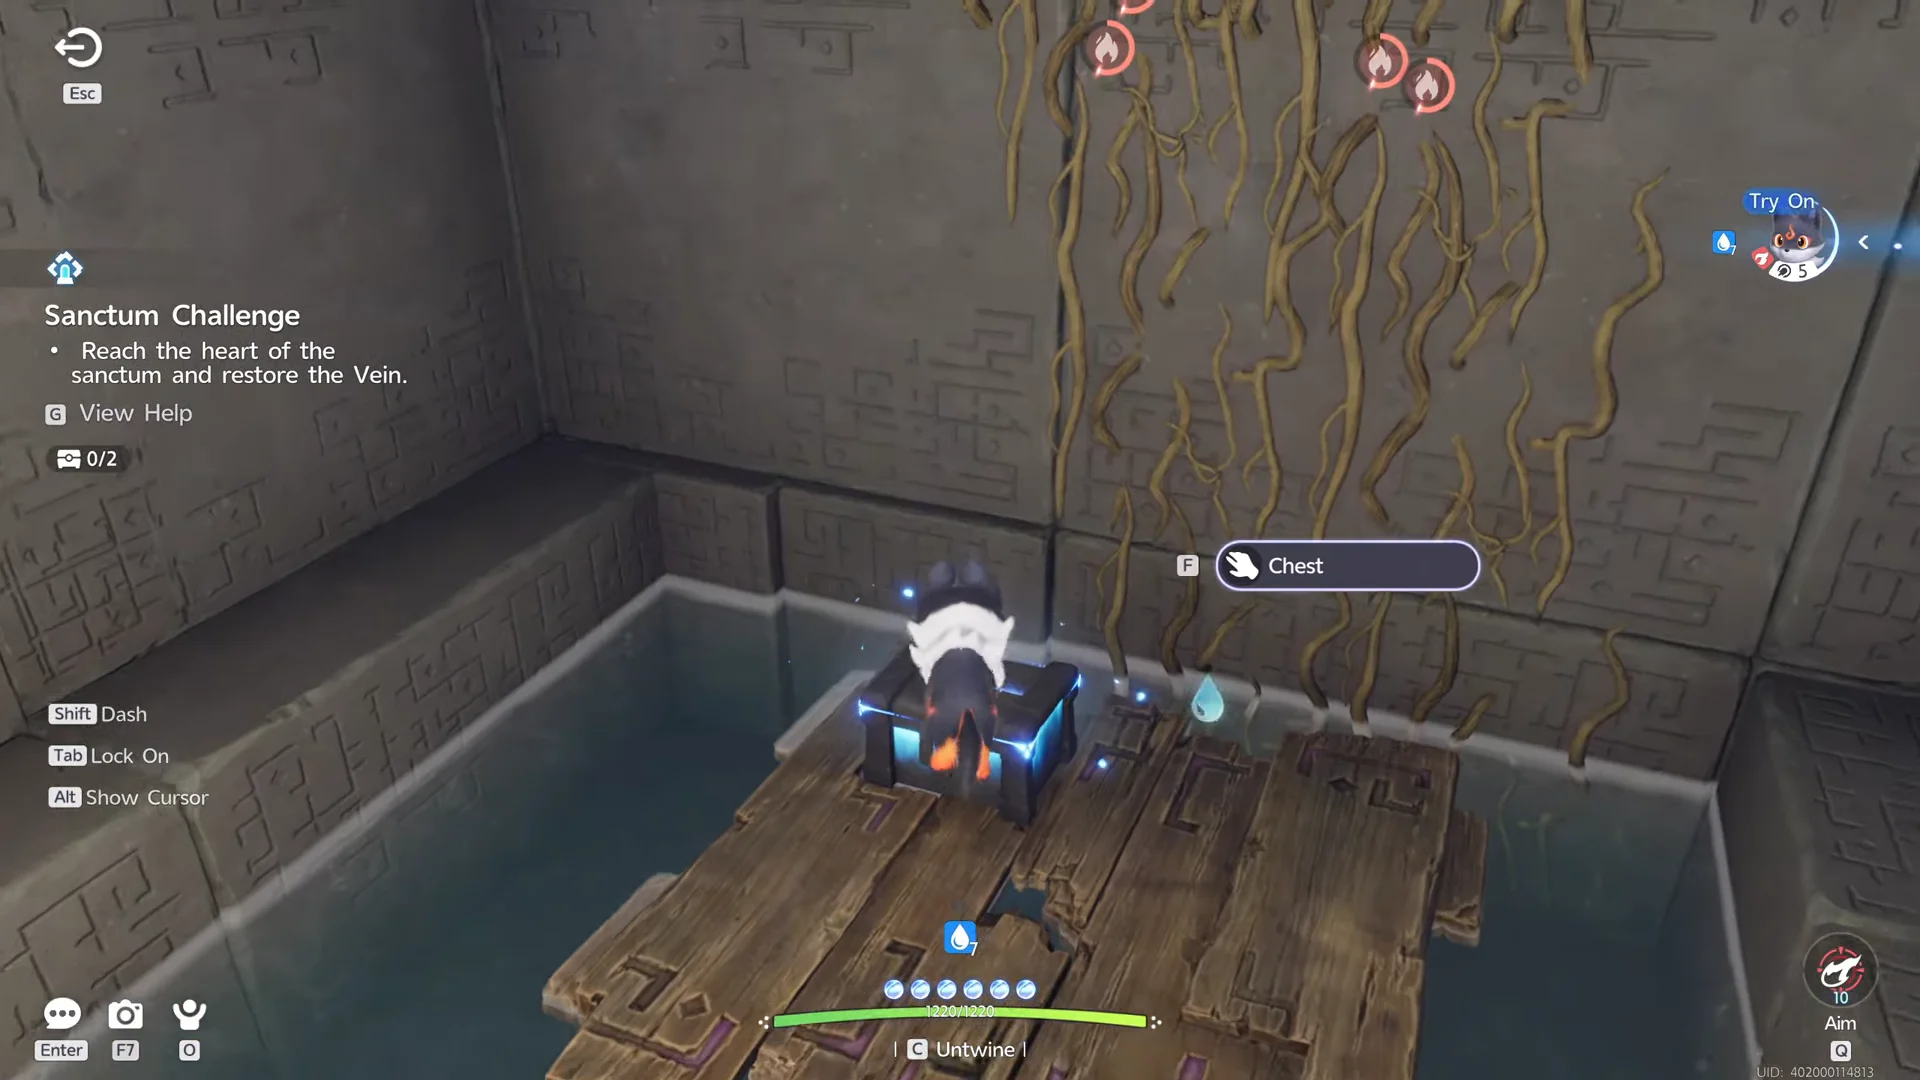
Every rolling piece has a nearby Reset switch. If a carrier or ball goes wrong, use the local Reset prompt to send it back to the top instead of restarting the whole Sanctum.
Both chest locations
Chest 1 is the easy one to miss because the route pushes you north after the second ball settles. Turn into the flooded alcove first. Chest 2 sits directly on the final staircase and is hard to walk past.
| Chest | Location | How to reach it |
|---|---|---|
| Chest 1 | Flooded alcove after the second ball pad | Burn the vine curtain, cross the existing planks |
| Chest 2 | Landing on the final staircase | Complete the fourth ball pad, then climb |
Rewards and completion
Clearing the Sanctum for the first time awards Lumin Amber x1 and 500 EXP. The two optional chests carry the bulk of the loot.
| Reward | Chest 1 | Chest 2 |
|---|---|---|
| Glimmer | x5 | x20 |
 Sparkling Crystal Sparkling Crystal | x5 | x15 |
| Credits | x5,000 | x20,000 |
| Rare item | — | x1 |
You know the room is done when the chest counter reads 2/2 and touching the Terminus plays the Vein-restore effect and returns you to the overworld. If the counter still shows 1/2 as you near the altar, head back to the flooded alcove and burn the vine curtain for Chest 1 before you touch the cube, since interacting with the Terminus ends the run.