Aniimo Co-op Sanctums Walkthrough: All 14 Chests and Puzzle Solutions
How two Pathfinders clear Lightning Gale, Courageous Wit, and Blazing Wings, plus what every chest inside pays out.
How two Pathfinders clear Lightning Gale, Courageous Wit, and Blazing Wings, plus what every chest inside pays out.
by AllThingsHow Staff
Image: Pawprint Studio
Co-op sanctums are the two-player puzzle dungeons scattered around Breezy Plains in Aniimo. Each one locks you out until a second Pathfinder joins, then hands both players a different awakened Aniimo and asks you to trade favors — one of you holds a pressure plate while the other crosses, one burns a barrier while the other flies through the gap it opens. Three of them sit close together on the map: Lightning Gale, Courageous Wit, and Blazing Wings.
Quick answer: Bring a second player, awaken the statue Aniimo inside, twine with it, and use its ability to open the way for your partner. Both of you must touch the core at the central altar.
Requirements before you enter a co-op sanctum
A party of two players. The lobby screen lists Challengers 2, and the puzzles are built so one person alone cannot reach the exit.
A discovered teleporter near the sanctum, so you can select it on the map and travel straight there.
The portal itself, which you interact with to open a lobby. Invite your friend from that screen, then load in together.
No gear prep or items. Everything you need to solve the rooms comes from the Aniimo statues inside.
The lobby also shows a Chests Obtained counter, which is the fastest way to see whether you have swept a sanctum clean or left loot behind.
Co-op sanctum locations and the Aniimo you awaken
Sanctum
Area
Aniimo to awaken
What it gives you
Lightning Gale
Beryline Vale
Wisptis / Bolty
Flight and grabbing / powering nodes
Courageous Wit
Zephyrus Landbridge
Pawney
Grappling hook
Blazing Wings
Sea of Flowers
Gracewing / Sparki
Flight and gliding / burning thorns
All three areas sit inside the Breezy Plains region. Beryline Vale reads Lv. 41–48 on the map and Sea of Flowers reads Lv. 20–29, so Blazing Wings is the friendliest of the three for a newer account. Courageous Wit sits in a cave in Zephyrus Landbridge, and the portal is a short walk in from the entrance.
The five mechanics every co-op sanctum reuses
Once you know the vocabulary, the rooms stop looking like puzzles and start looking like checklists. The floating prompts do most of the teaching — Awaken, Twine, Fly, Chest, Touch, and Seal all appear as on-screen cues.
Awaken and twine. Interact with a purple statue to wake the Aniimo inside, then twine to borrow its ability.
Pressure plates. Purple glowing plates hold a platform or gate open only while someone stands on them, so one player commits while the other moves.
Dual terminals. Matching glowing terminals must be triggered at the same time by both players to open the big gates.
Movable blocks and balls. Metal blocks can be carried, stacked, or thrown onto plates. Metal balls go into receptacles.
The core. Every sanctum ends at a central altar, and both players need to be there to seal it.
Chests almost never sit on the main path. Look for ledges above launchpads, side rooms below gates, and dead ends at the far side of water channels.
Use the map to select Beryline Vale in Breezy Plains, then teleport to the Lightning Gale marker. Go up the stairs, activate the portal to bring up the Sanctum: Lightning Gale lobby, and invite your partner.
After the tutorial screen, split the two statues. One player awakens and twines with Wisptis for flight and object grabbing, the other takes Bolty for electrical power.
As Wisptis, step on the yellow launchpad to reach the first high platform. Then drop onto the pressure plate so the moving platform slides over for the Bolty player.
Use Wisptis’s grab ability on the purple metal block and set it down on the pressure plate to hold the gate open. In the next room, Bolty powers the electrical node while Wisptis rolls the metal ball into its receptacle.
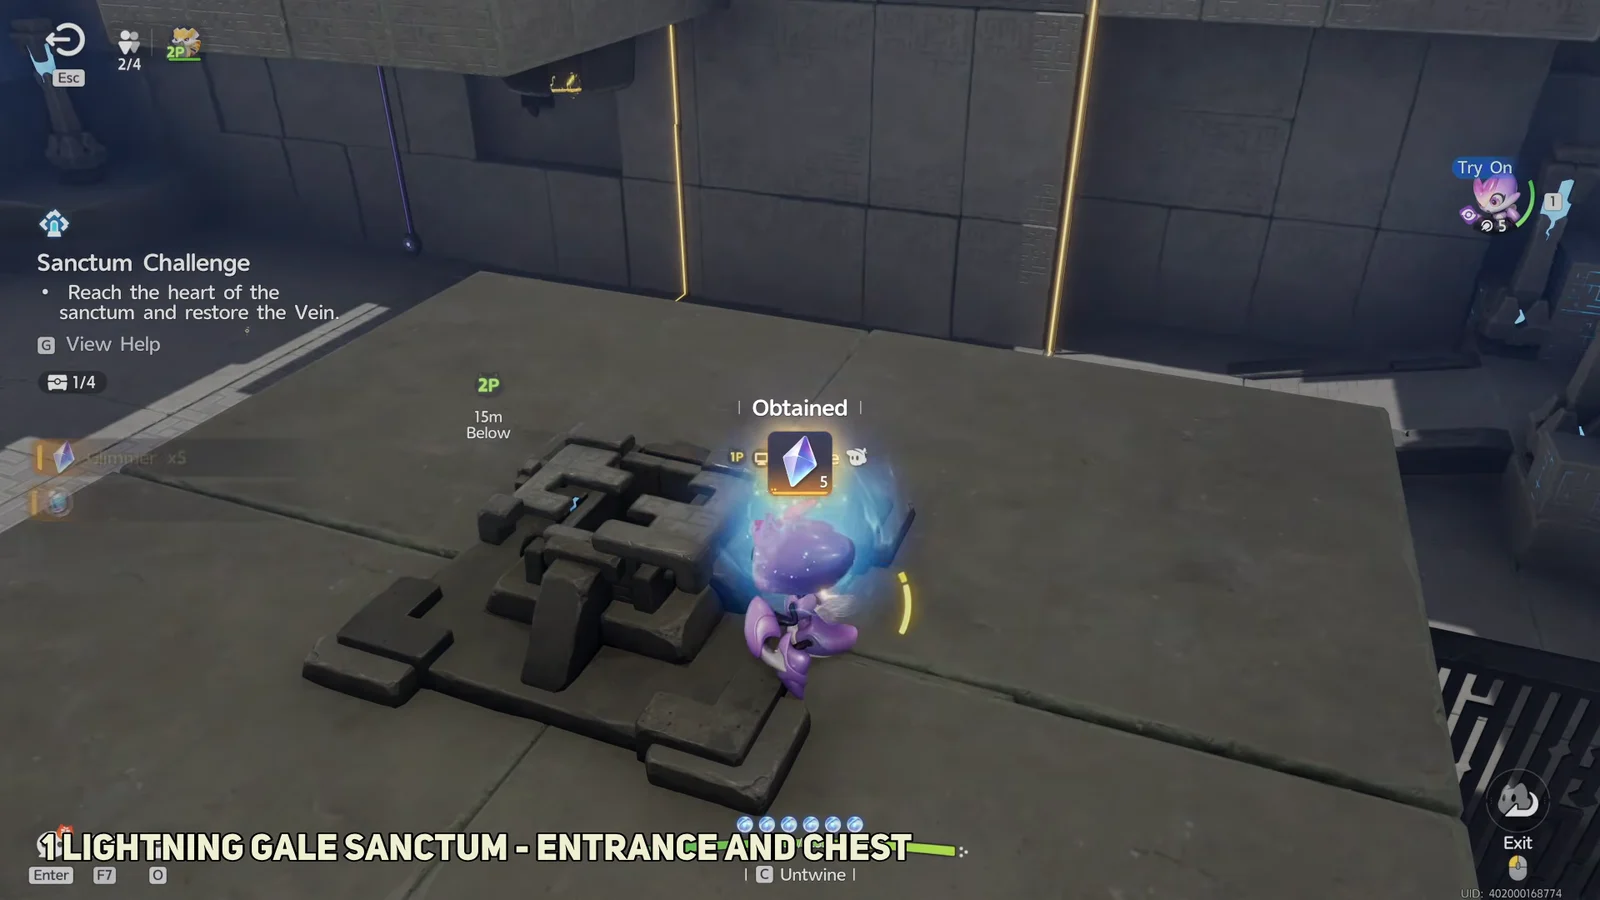
Ride the launchpads and wind currents up to the highest ledge in this room. The first chest is waiting there.
02:38First ChestThe first chest opens on a high ledge, revealing Glimmer x5, Sparkling Crystal x5, and Credits x5000. Shown at 02:38 in WoW Quests’s video.
Hold the next pressure plate so your partner can reach the terminal that opens the following gate, then trigger both matching terminals together for the large gate. Before moving on, drop into the side room below for the second chest.
Have the Bolty player charge the generator beside the water to open the next gate. On the other side, grab a metal block out of the side room and place it on the high platform, then fly up to it with the launchpads.
Hold another pressure plate to bring the platform over for your partner, trigger the paired terminals, then fly up through the wind currents and spinning fans.
From the map, choose the Courageous Wit sanctum in Zephyrus Landbridge and teleport there. Enter the cave, then use the portal inside to bring up Sanctum: Courageous Wit.
Grapple between the glowing anchors to cross the first fire traps. Land on the side platform and pull the lever to shut the flames off so your partner can walk through.
At the low gate, twine with the mushroom-shaped Aniimo and squeeze through the narrow gap underneath. From inside, step on the plate to raise the gate for your partner, then hit the paired terminals together.
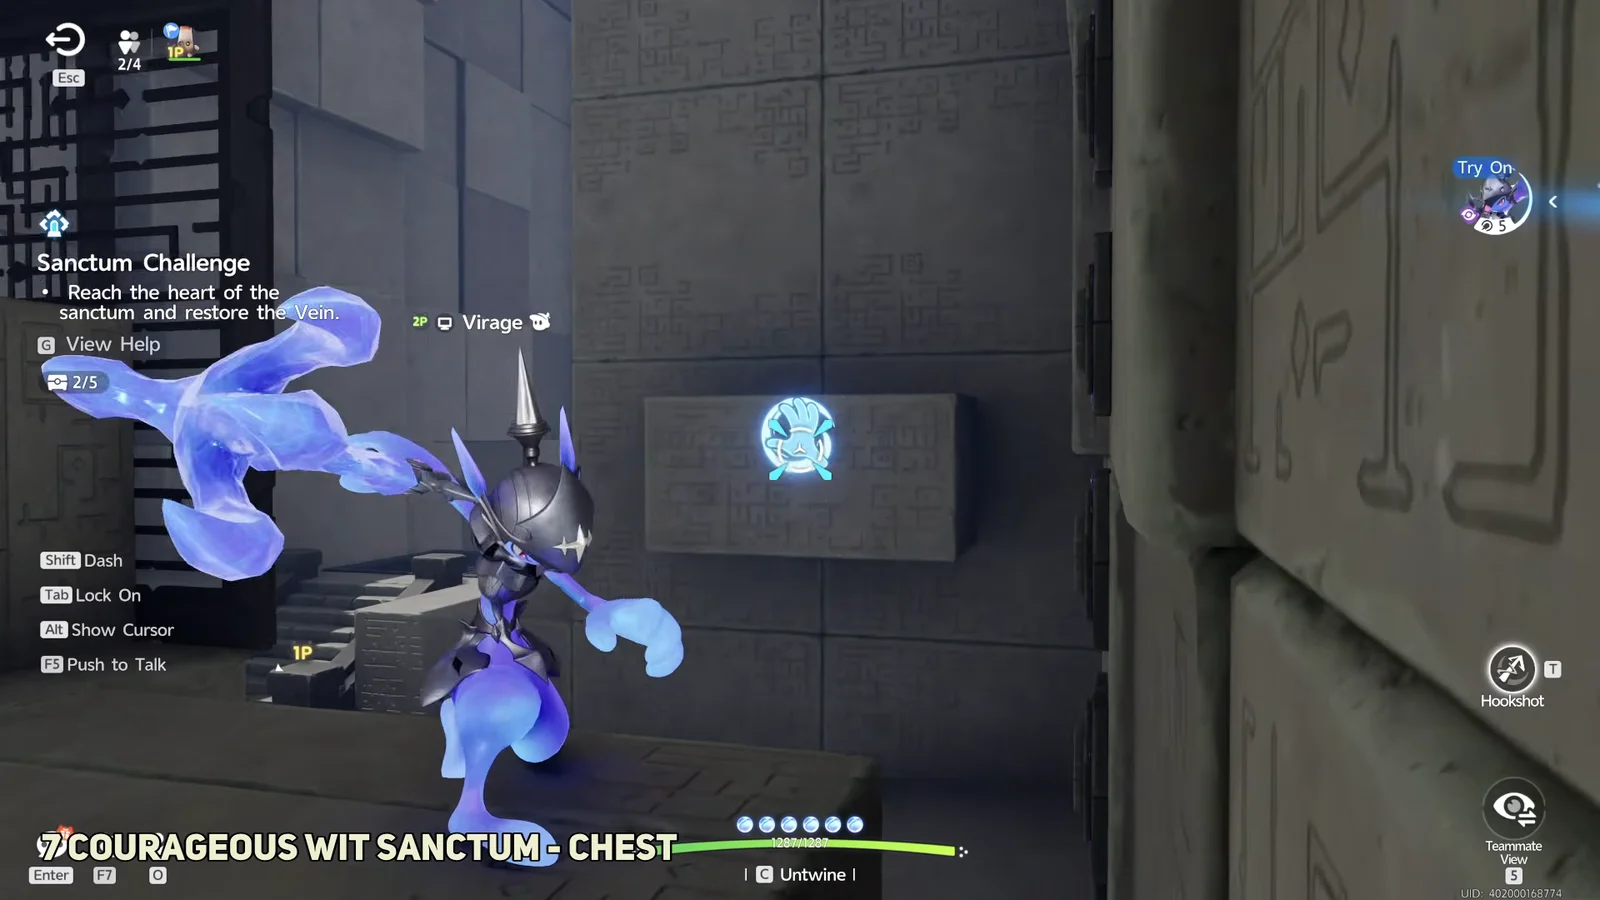
Walk the retracting spike floor, then hook up to the high ledge above it for the seventh chest, which holds a Giant Tortoise Shell. Trigger the paired terminals afterwards.
One player awakens Gracewing for flight and gliding, the other takes Sparki to set fire to the dry thorn barriers. Those roles stay fixed for the whole run.
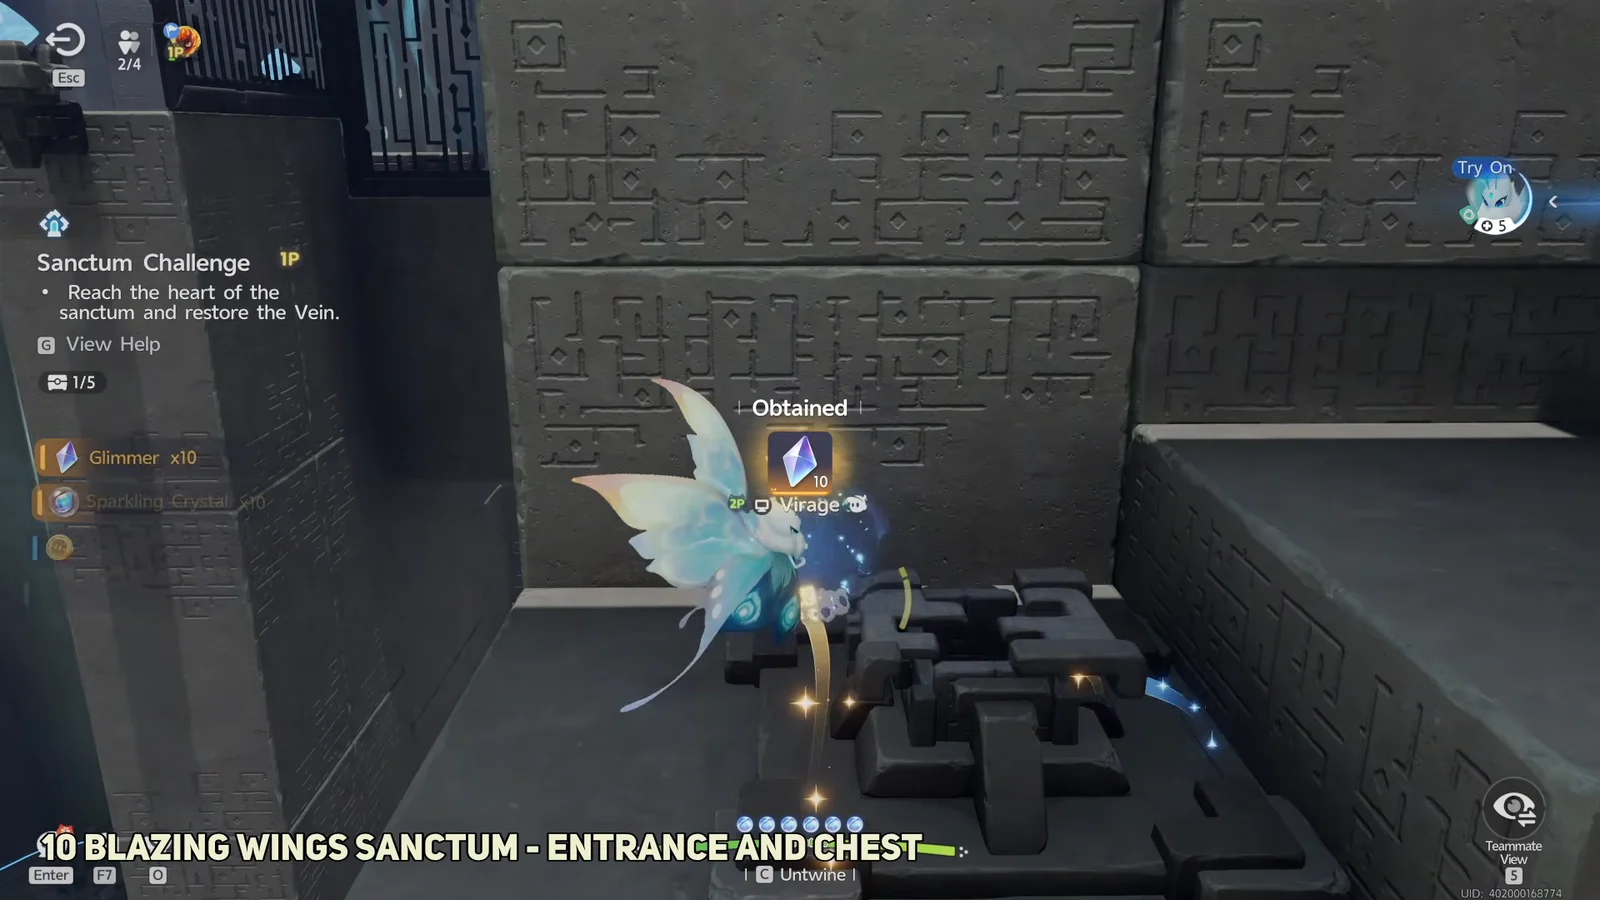
Glide through the wind currents to cross the wide gap. Fly onto the pressure plate on the far side so the platform moves into place for your partner, and grab the twelfth chest nearby.
Glide over the water channel, steering around the obstacles in it. Have Sparki burn the thorns blocking the vent so a wind current opens and carries you higher.
Pick up chest fourteen, rendezvous with your partner at the central altar, and activate the core to complete Blazing Wings.
Co-op sanctum chest rewards
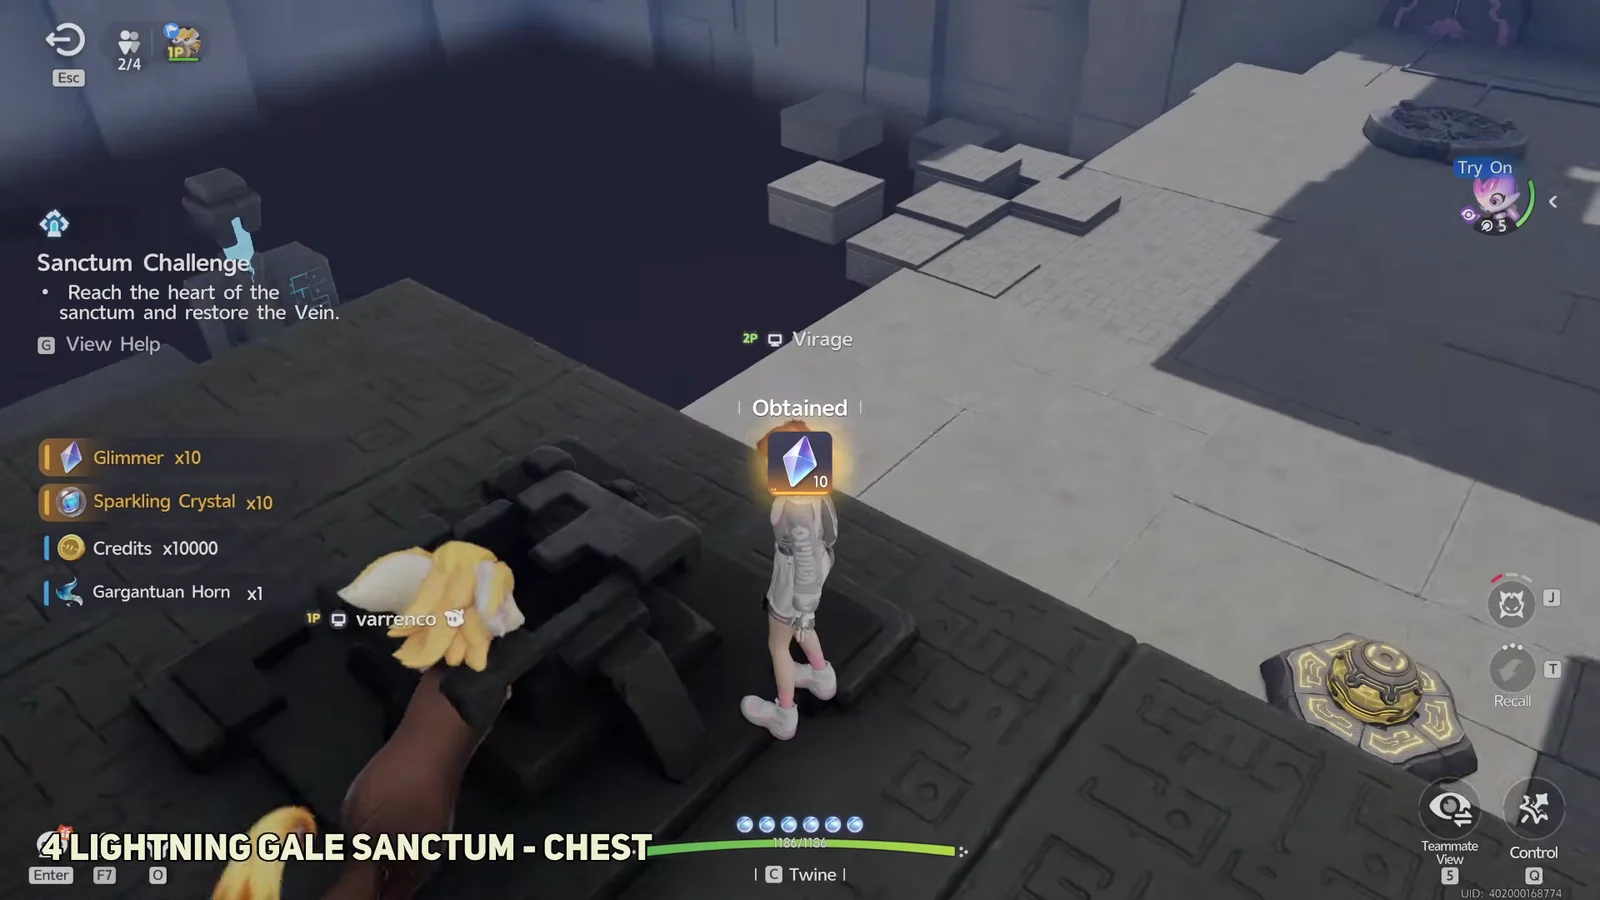
Fourteen chests are spread across the three sanctums. Every one pays Glimmer, Sparkling Crystal, and Credits, and the larger chests add an accessory or a material on top.
Lightning Gale chest rewards
Chest
Glimmer / Sparkling Crystal
Credits
Bonus item
1
5 / 5
5,000
—
2
10 / 10
5,000
—
3
15 / 10
10,000
Capacious Battery x1
4
10 / 10
10,000
Gargantuan Horn x1
Courageous Wit chest rewards
Chest
Glimmer / Sparkling Crystal
Credits
Bonus item
5
5 / 5
5,000
—
6
5 / 5
5,000
—
7
20 / 15
20,000
Giant Tortoise Shell x1
8
20 / 15
20,000
Giant Tortoise Shell x1
9
5 / 5
5,000
—
10
10 / 10
10,000
Capacious Battery x1
Blazing Wings chest rewards
Chest
Glimmer / Sparkling Crystal
Credits
Bonus item
11
10 / 10
10,000
Heartseeker Pendant x1
12
20 / 15
20,000
Capacious Battery x1
13
20 / 15
20,000
Marching Flask x1
14
20 / 15
20,000
Heartseeker Pendant x1
Sparkling Crystal is the material you want most out of these runs. It is used to craft Sparkling Cubes, and Tesella Pod in Astra buys it in bulk.
How to confirm a co-op sanctum is complete
The chests do not determine completion: the sanctum only finishes once each player has used the core at the central altar, triggering the Seal prompt and closing the area. One player’s interaction alone is insufficient.
To check your loot, return to the sanctum’s portal and read the Chests Obtained line in the lobby. It shows how many of that sanctum’s chests you have already claimed, so anything short of the full count means there is still a ledge or side room you skipped.
If you are running all three in one session, Blazing Wings is the gentlest starting point and Courageous Wit is the longest, mostly because the grappling hook sections stack fire traps and spike floors back to back. The teammate distance marker helps here — keep an eye on the blue indicator showing where your partner is, since most stalls happen when one player wanders off a pressure plate the other is relying on.


 Zephyrus Landbridge
 Sea of Flowers