


Electric Flow is the lightning-themed Solo Sanctum in Blitzwood, and it is built almost entirely around moving objects into the right spot. There are no timers and no co-op requirement here. What the room asks is that you read where the current stops, then physically bridge the gap with a conductive cube, a wooden crate, or a puddle of water.
Quick answer: Use Grab to place conductive cubes and crates across each broken circuit, shock every battery and orb with the trial Animo, and collect all three chests before you touch the Terminus.
Electric Flow Sanctum requirements and chest count
Treat the entrance card as the run’s contract. Use it once to activate the entrance, permanently adding it to the map’s Transport destinations. Next, check the required player count and optional chest tally, then interact with it a second time to enter.
| Detail | Value |
|---|---|
| Area |  Blitzwood Blitzwood |
| Players | 1 · Solo |
| Optional chests | 3 |
| Trial Animo |  Bolty (supplied inside) Bolty (supplied inside) |
| Objective | Restore the Vein in the sanctum’s heart. |
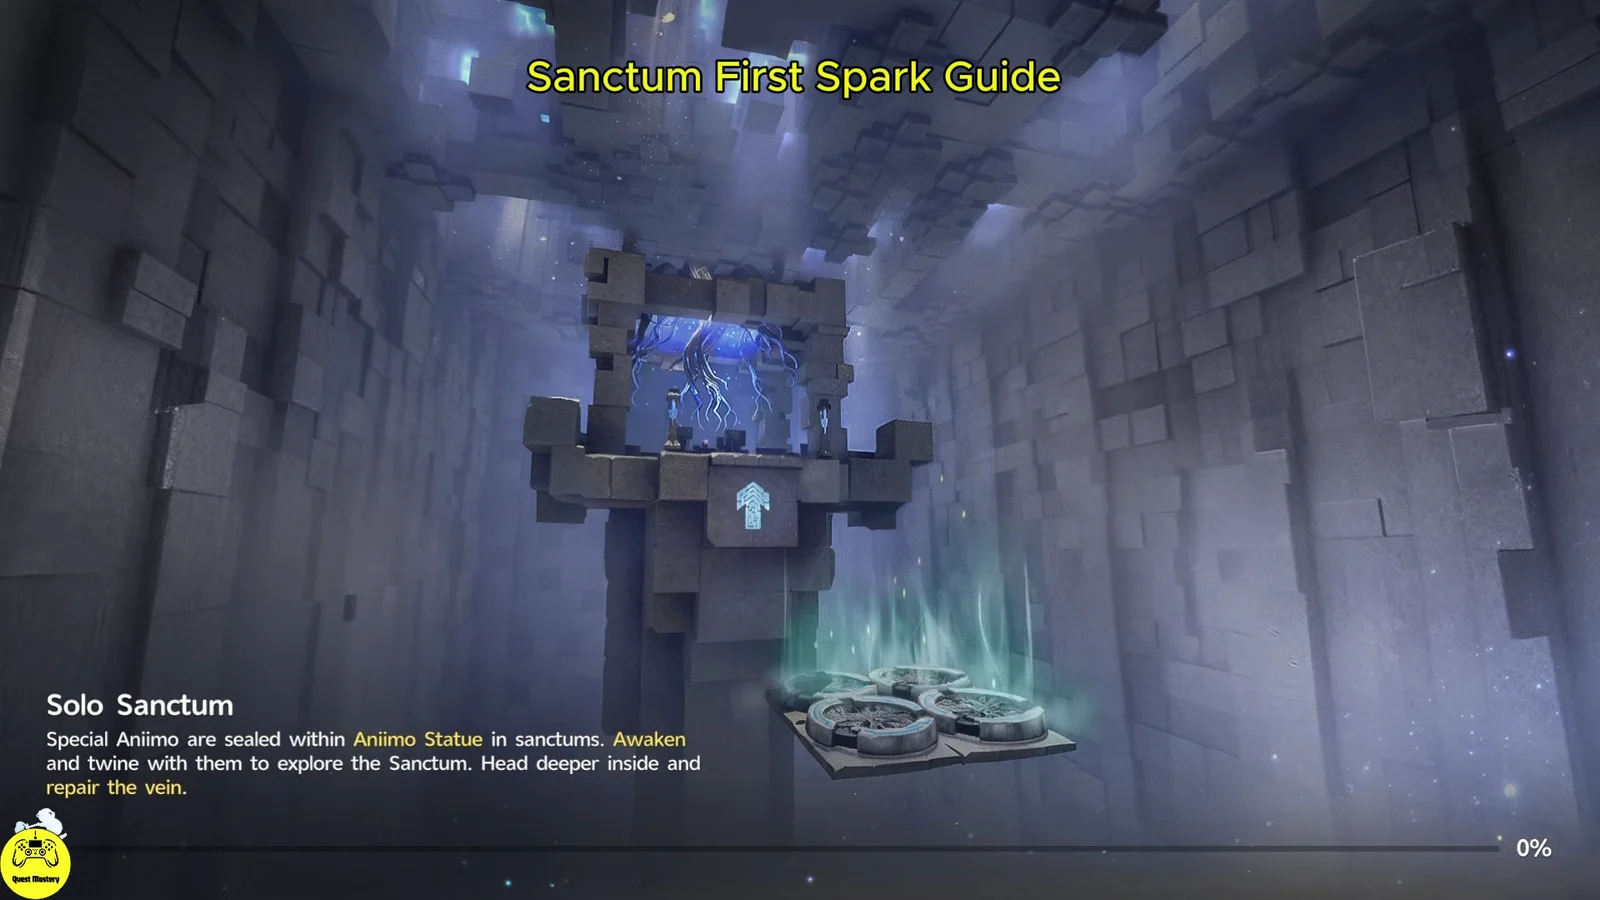
You do not bring your own team into the puzzle rooms. The Sanctum hands you a sealed trial form at a statue near the start, and that creature’s shock attack is the only power source in the dungeon.
How the Grab and shock mechanics work
Two systems solve every puzzle in the room. Grab lets you lift and reposition objects, and the trial Animo’s skill sends current into anything conductive.
- Activate Grab, then move the reticle over an object; anything you can pick up is highlighted.
- The mouse wheel pushes the held object nearer or further away.
- Use
[E]to place the object, or[L-Click]to hurl it. - Link with the Animo to control it head-on, then activate its skill to charge batteries and energize conductive objects.
- Wet surfaces and metal objects both carry current, which is how you bridge gaps the cubes cannot reach.
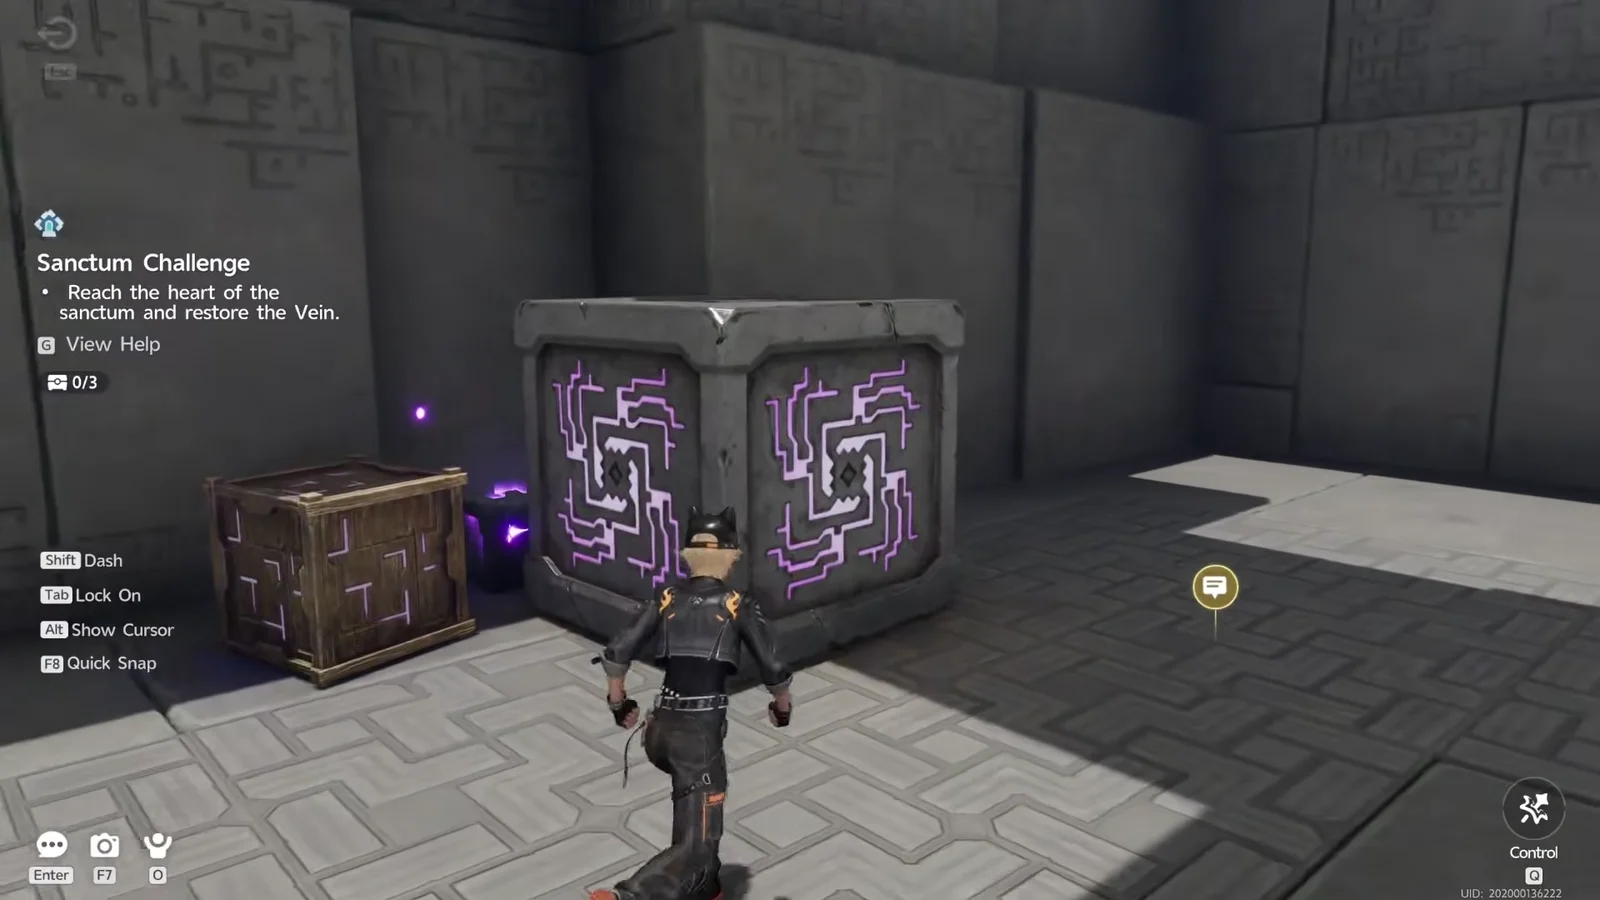
Not every movable object belongs to a circuit. Plain wooden crates are usually there to be climbed on or soaked in water, while the cube with the glowing circuit pattern is the piece that completes a line.
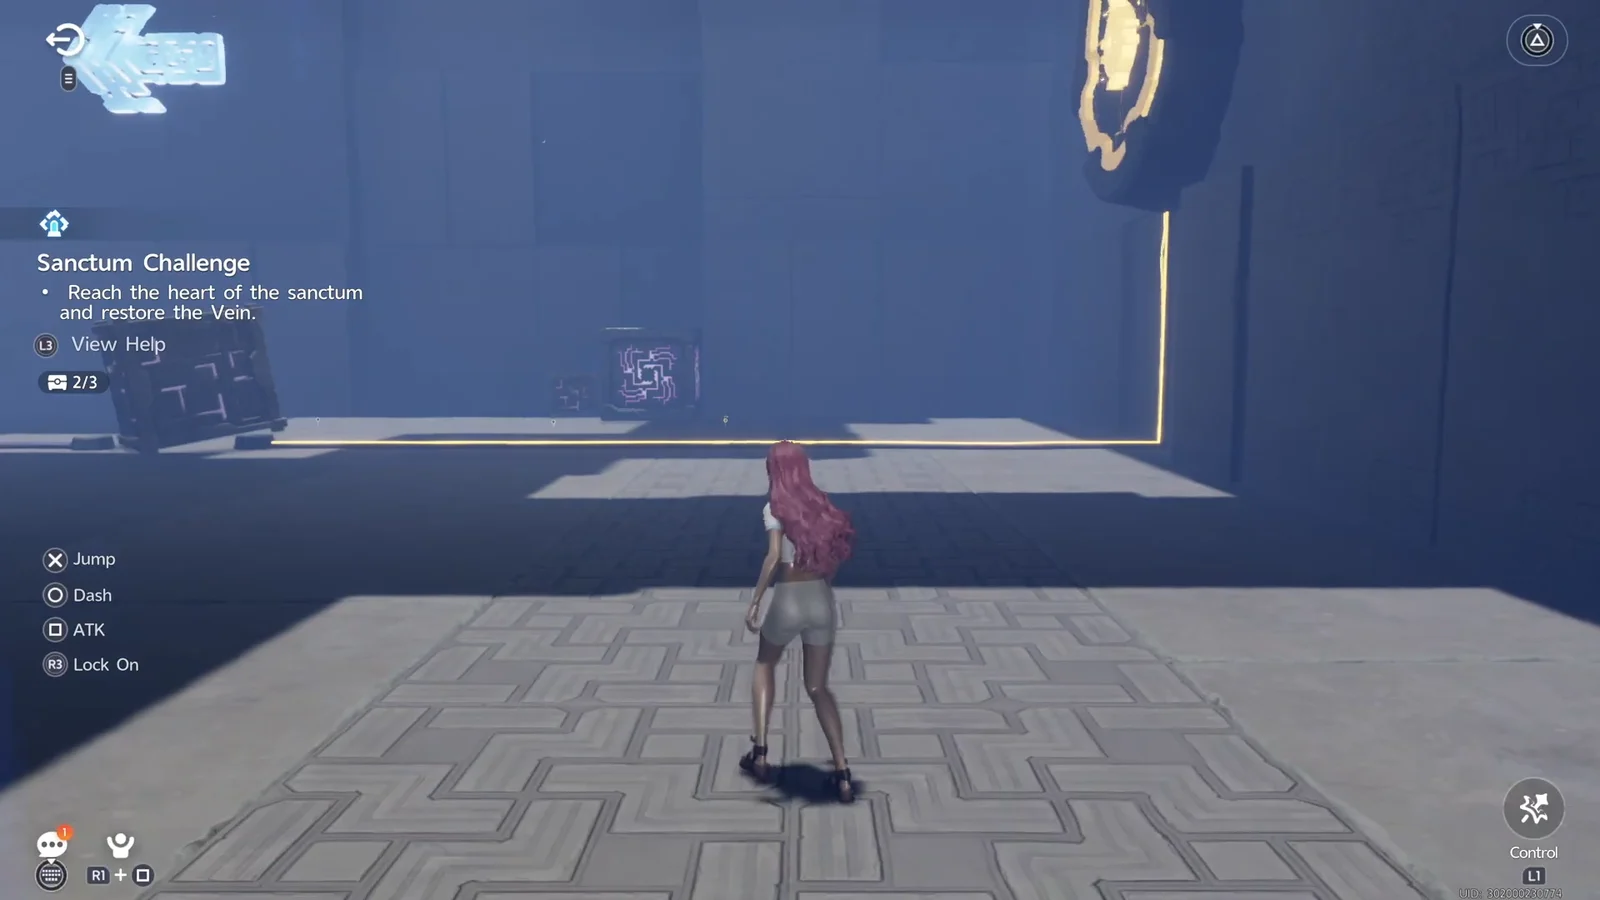
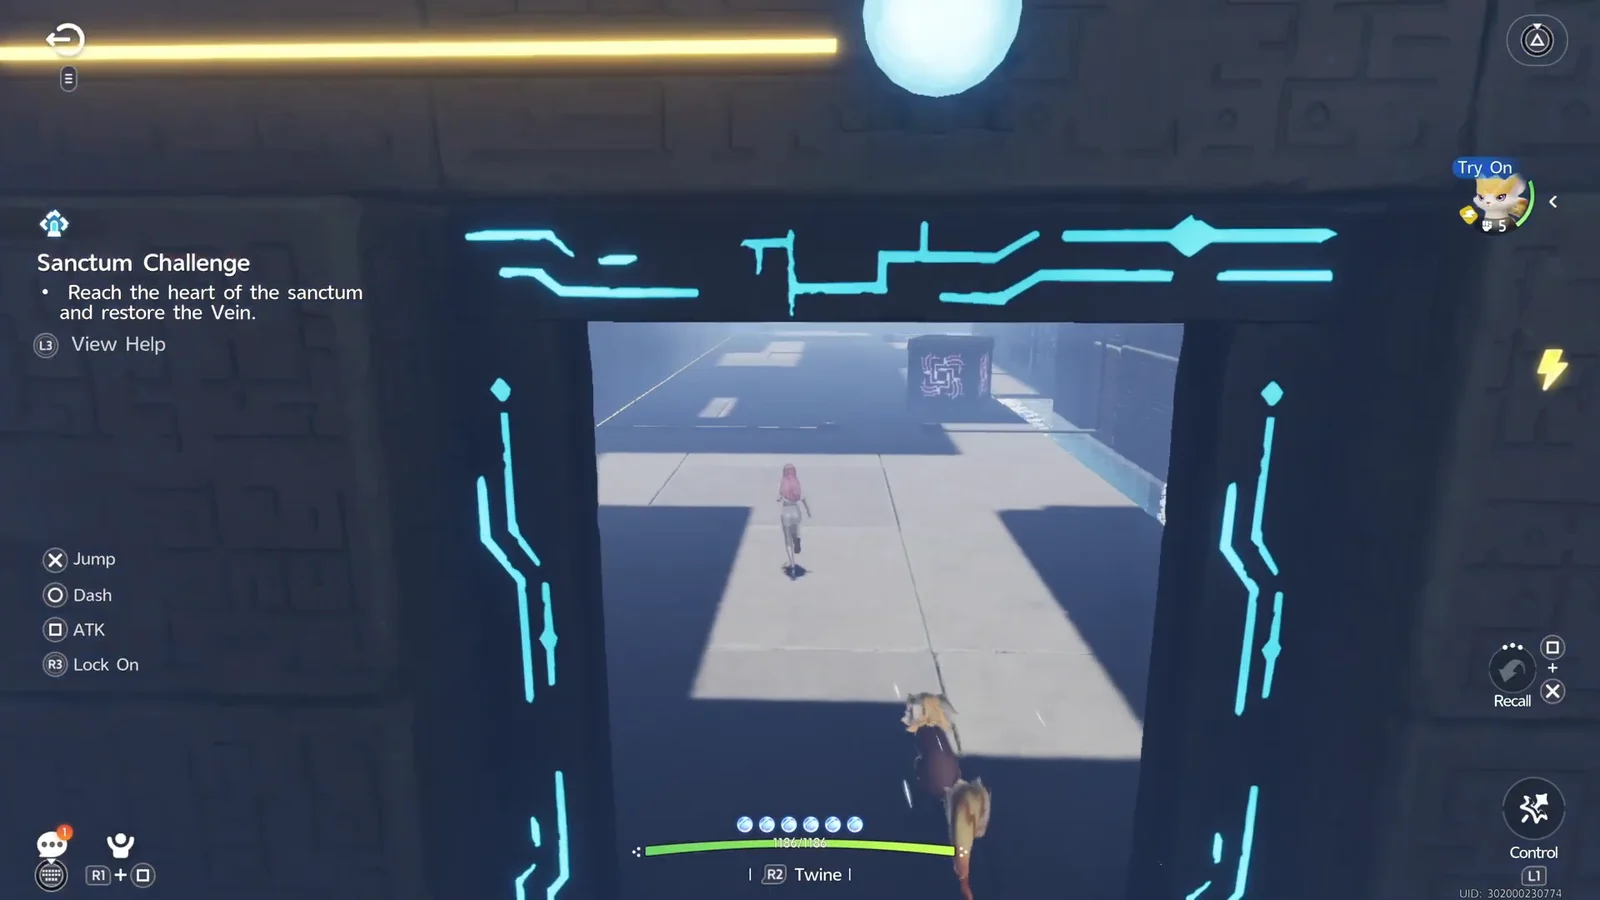
First room: chest 1 and the yellow line
Lift section: powering the two batteries
Second chamber: chest 2 and the water bridge
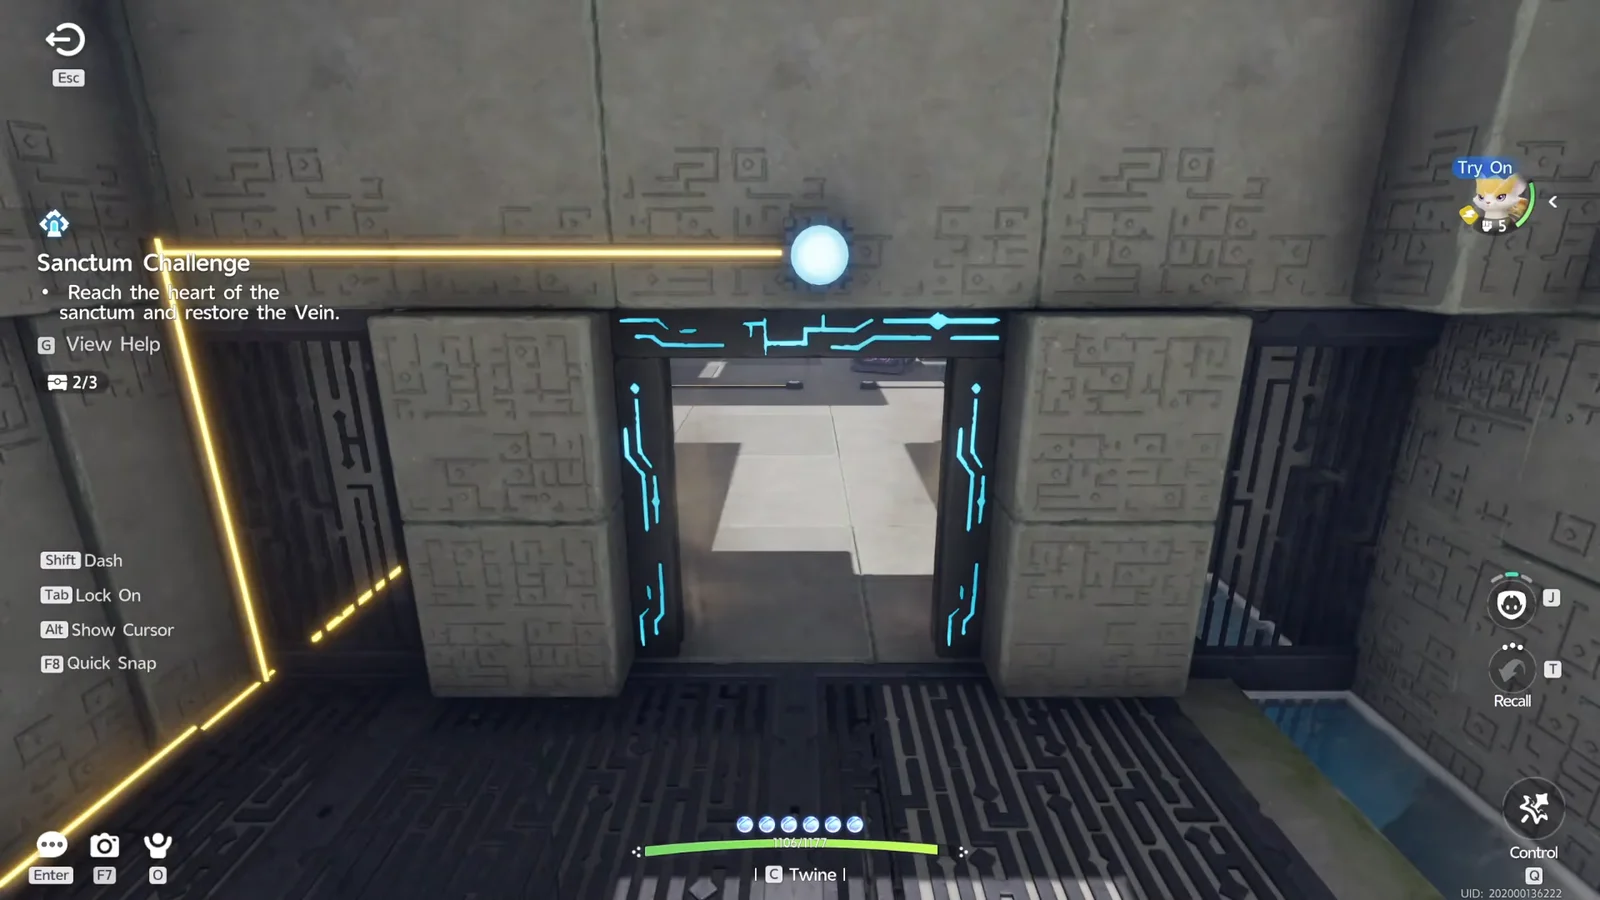
Third chamber: the pool passage and chest 3
Electric Flow chest rewards and first-clear reward
Chest contents are fixed per chest rather than rolled, so the grade you see in one run is the grade you would see in another. The higher tiers add a held item on top of the currency.
| Grade | Glimmer | Credits | Extra |
|---|---|---|---|
 Basic Basic | 5 | 5,000 | Sparkling Crystal x5 |
| Standard | 10 | 10,000 | Sparkling Crystal x10, Echoing Grimoire x1 |
| Premium | 20 | 20,000 | Sparkling Crystal x20, Spirited Feather x1 |
Your first Sanctum clear grants a separate reward of one Lumin Amber: Breezy Plains and 500 EXP. It also advances the Sanctum Delver badges at room counts 3, 5, 10 and 15. Returning afterward leaves the Transport destination available but gives no further payment, so this cannot be farmed.
How to confirm the Sanctum is fully cleared
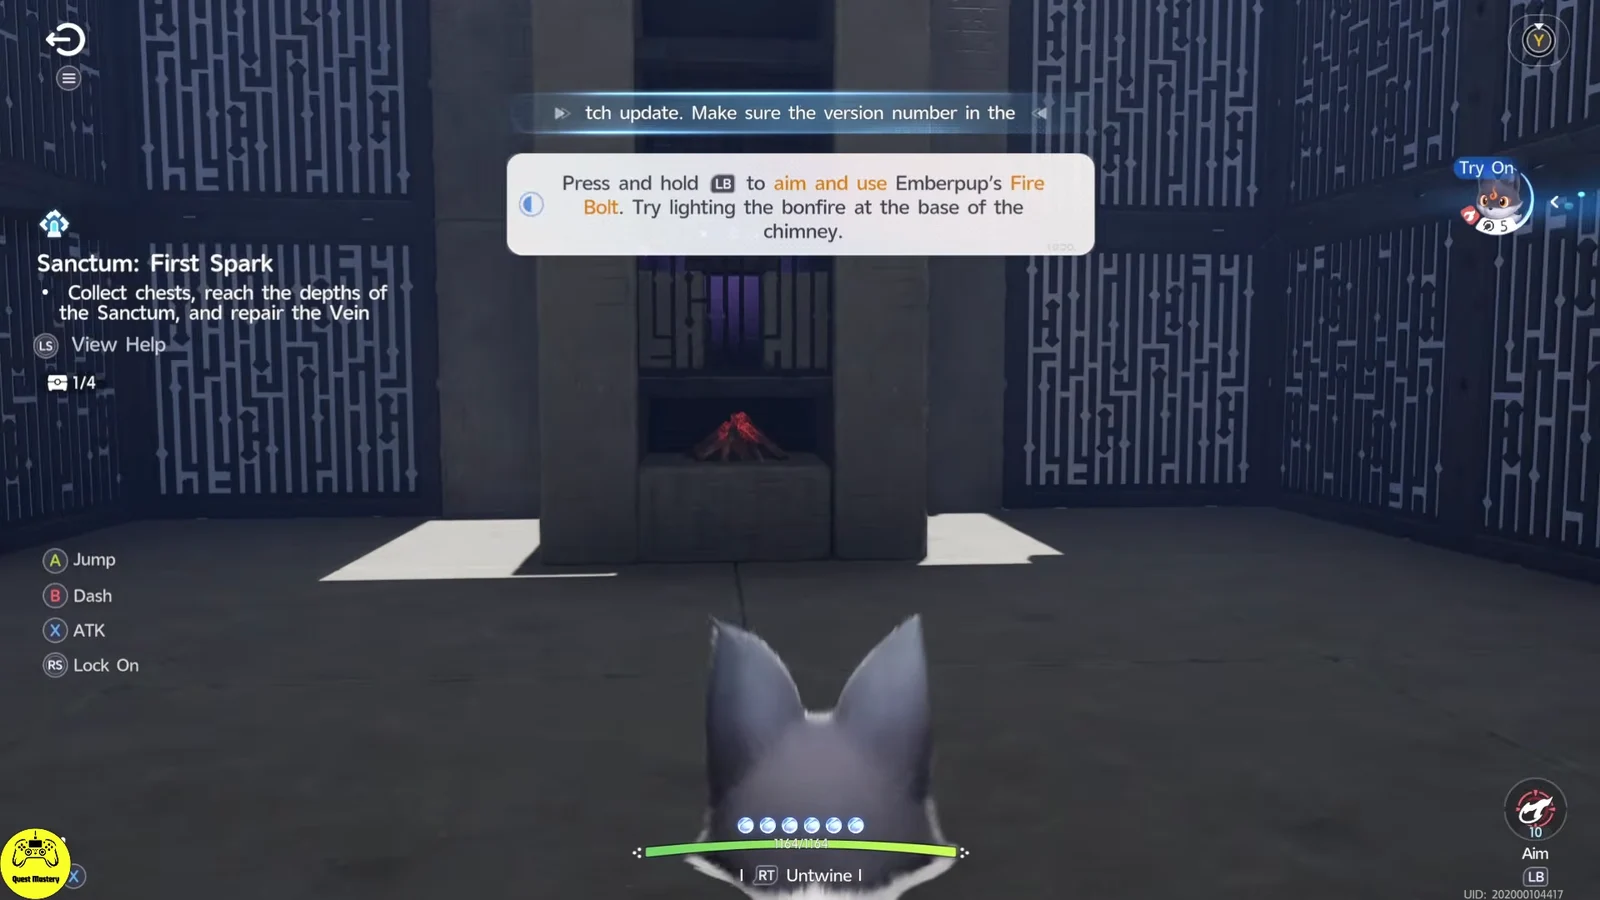
Check the chest counter in the corner of the screen before you commit to the ending. It has to read 3/3, because the optional chests and the Vein are tracked as two separate layers and restoring the Vein does nothing for the counter.
Once the counter matches, charge the final battery platform with the Animo, ride the lift to the heart of the sanctum, and interact with the Terminus core. The Vein energy restoration plays out and the Sanctum Challenge resolves as complete, dropping you back into the overworld at the entrance.
Activation remains marked on the map, but returning for a chest you skipped is a poor gamble. Verify the counter first, and only then touch the core.





