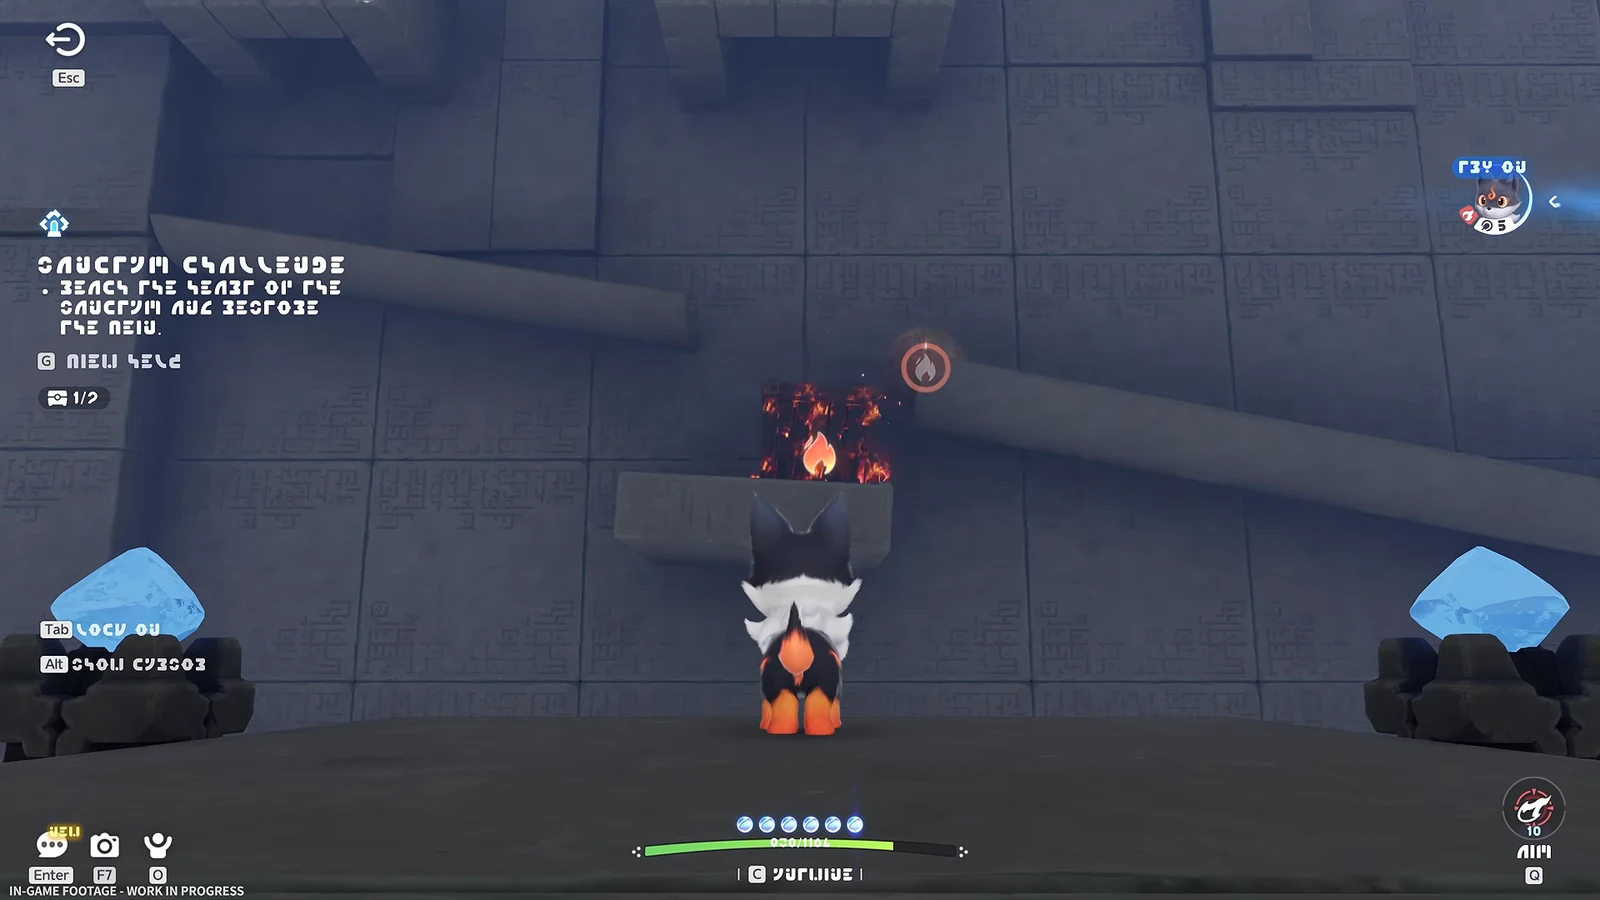
First Spark is the gentlest of Aniimo’s 17 Sanctums and the one the game uses to teach Fire puzzles. It is a solo room, it hands you the creature you need at the door, and every obstacle inside answers to a single ability. The only thing that can go wrong is leaving with fewer than four chests, because restoring the Vein ends the run whether or not you finished the collecting.
Quick answer: Claim the trial Emberpup from the Animo Statue, Twine with it, then use Fire Bolt on the vine tangle, the bonfire under the ice block, the chimney bonfire and the explosive barrel. Confirm 4/4 before touching the exit device.
First Spark Sanctum location and entrance requirements
Find the entrance at -1018, 0648 in Nimbus Fields, within the larger Breezy Plains region. A sizable stone cube hangs above the top of a short staircase. Use it once to activate the entrance and register it as a Transport destination on the map; interact with it a second time to view the card and begin the challenge.
| Check | Value |
|---|---|
| Area | Nimbus Fields, Breezy Plains |
| Map coordinates | -1018, 0648 |
| Players | 1 · Solo |
| Optional chests | 4, all Standard tier |
| First-clear reward | Lumin Amber: Breezy Plains ×1 · EXP 500 |
| Aniimo used | Trial Emberpup supplied inside |
Two things worth knowing before you load in. Your own roster stays outside, so there is no point building a Fire team for this. And the entrance card for Chasing Clouds sits nearby in the same area and also advertises four optional chests, so read the title on the card rather than trusting the counter. If you are working from older notes, First Spark was called First Flame during the closed beta and appears as Fresh Fire in some legacy lists.
What Fire Bolt can burn inside the Sanctum
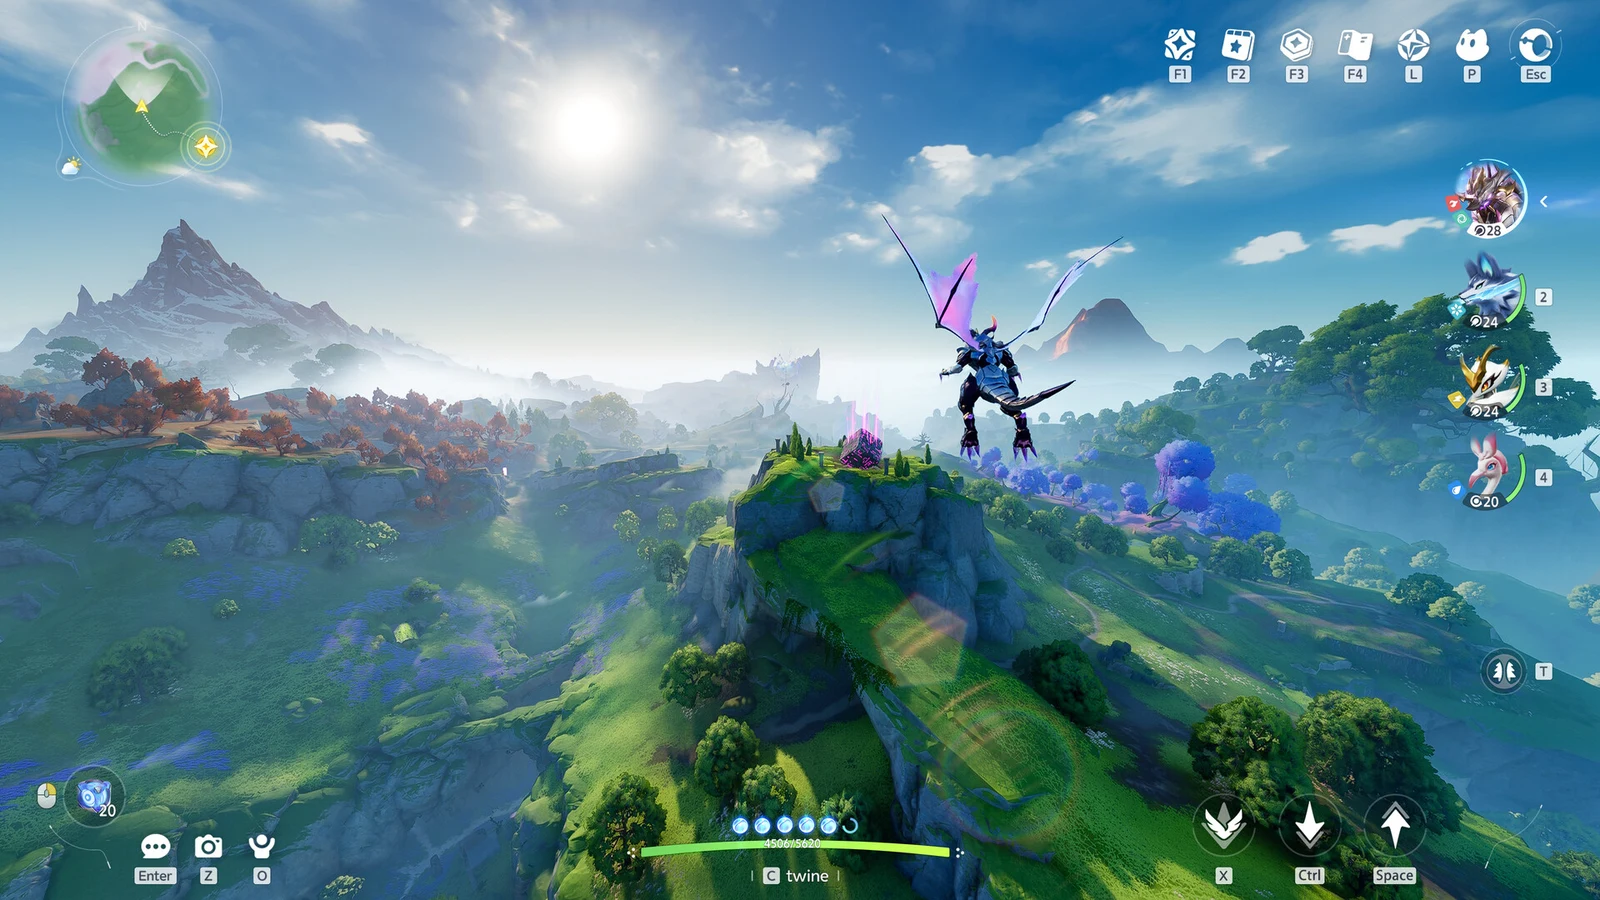
The Animo Statue in the opening chamber grants a Sanctum-exclusive Emberpup, and Fire Bolt is its only ability. Hold the skill button to enter aiming mode (Q on keyboard, the right trigger on a controller) and release to launch the fireball. Nothing else in the room can clear an obstacle, so if a target refuses to react, the usual cause is that you have not Twined with Emberpup yet.
Four kinds of object respond to it, and every puzzle in First Spark is one of them:
- Wooden crates, barrels and gates, which burn away completely
- Wall vines and hanging tangles, including the ones holding a chest
- Unlit bonfires, which melt ice and create a rising column of heat
- Ancient Explosive Barrels, which knock raised chests off their ledges
Aim at the thing holding the chest, never at the chest itself. Ice shells and wooden chests do not react to fire, but the bonfire underneath or the barrel behind them always does.

First Spark walkthrough: route and all four chests
The layout follows one direct line, interrupted by a three-way junction roughly two-thirds of the distance from one end. Chest numbering below uses that path rather than a fixed room sequence, so reversing the order of the side rooms still gives the same final counter.
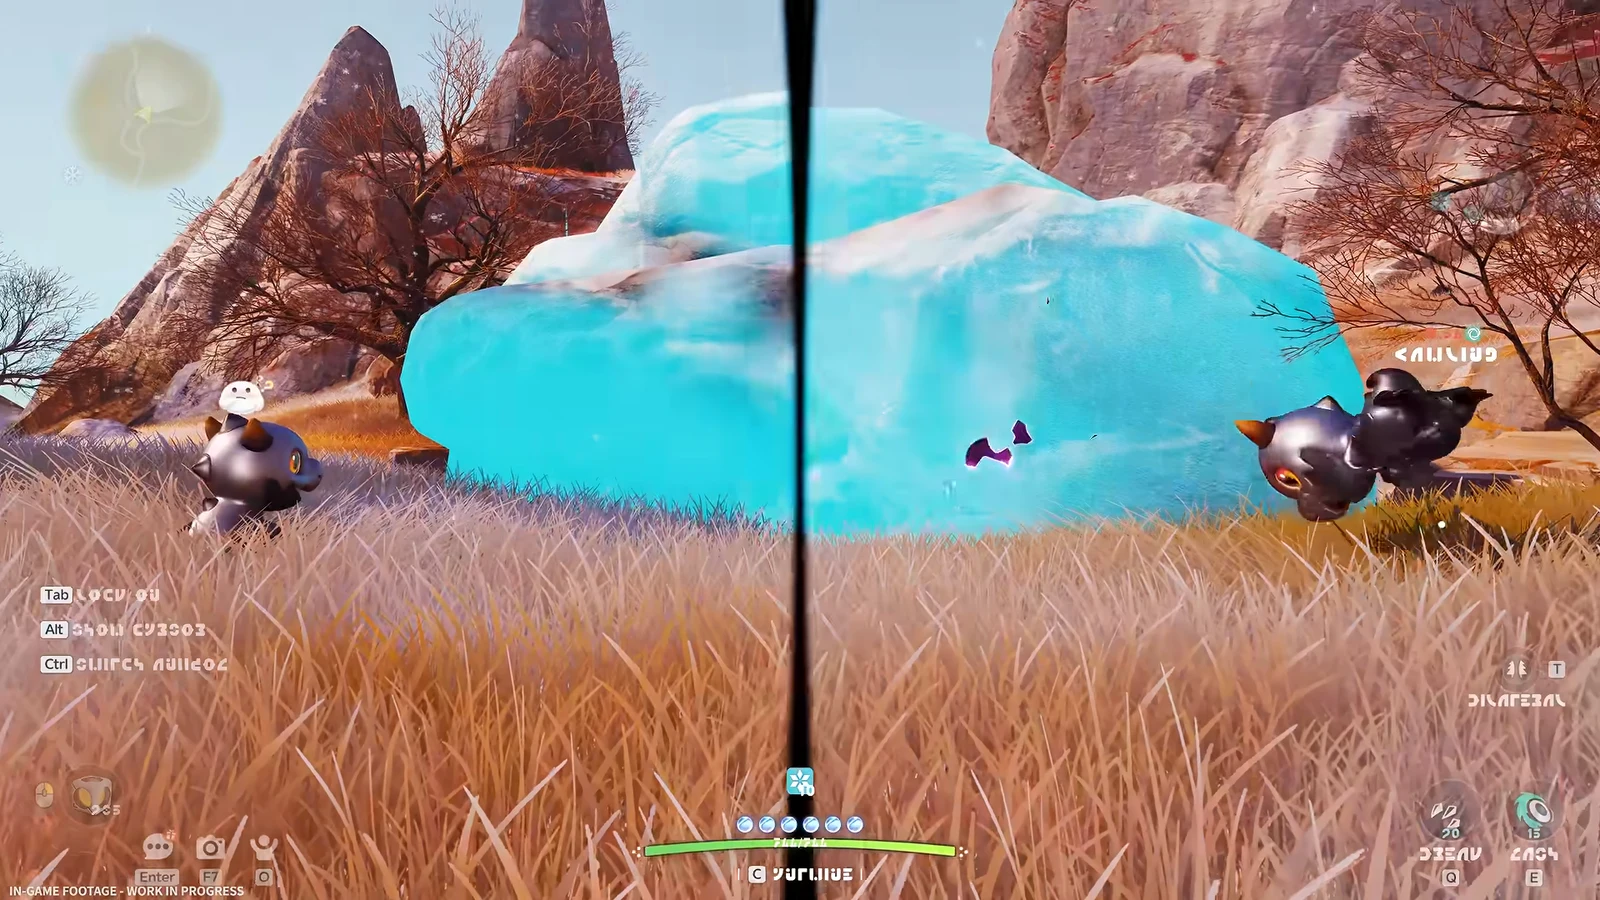
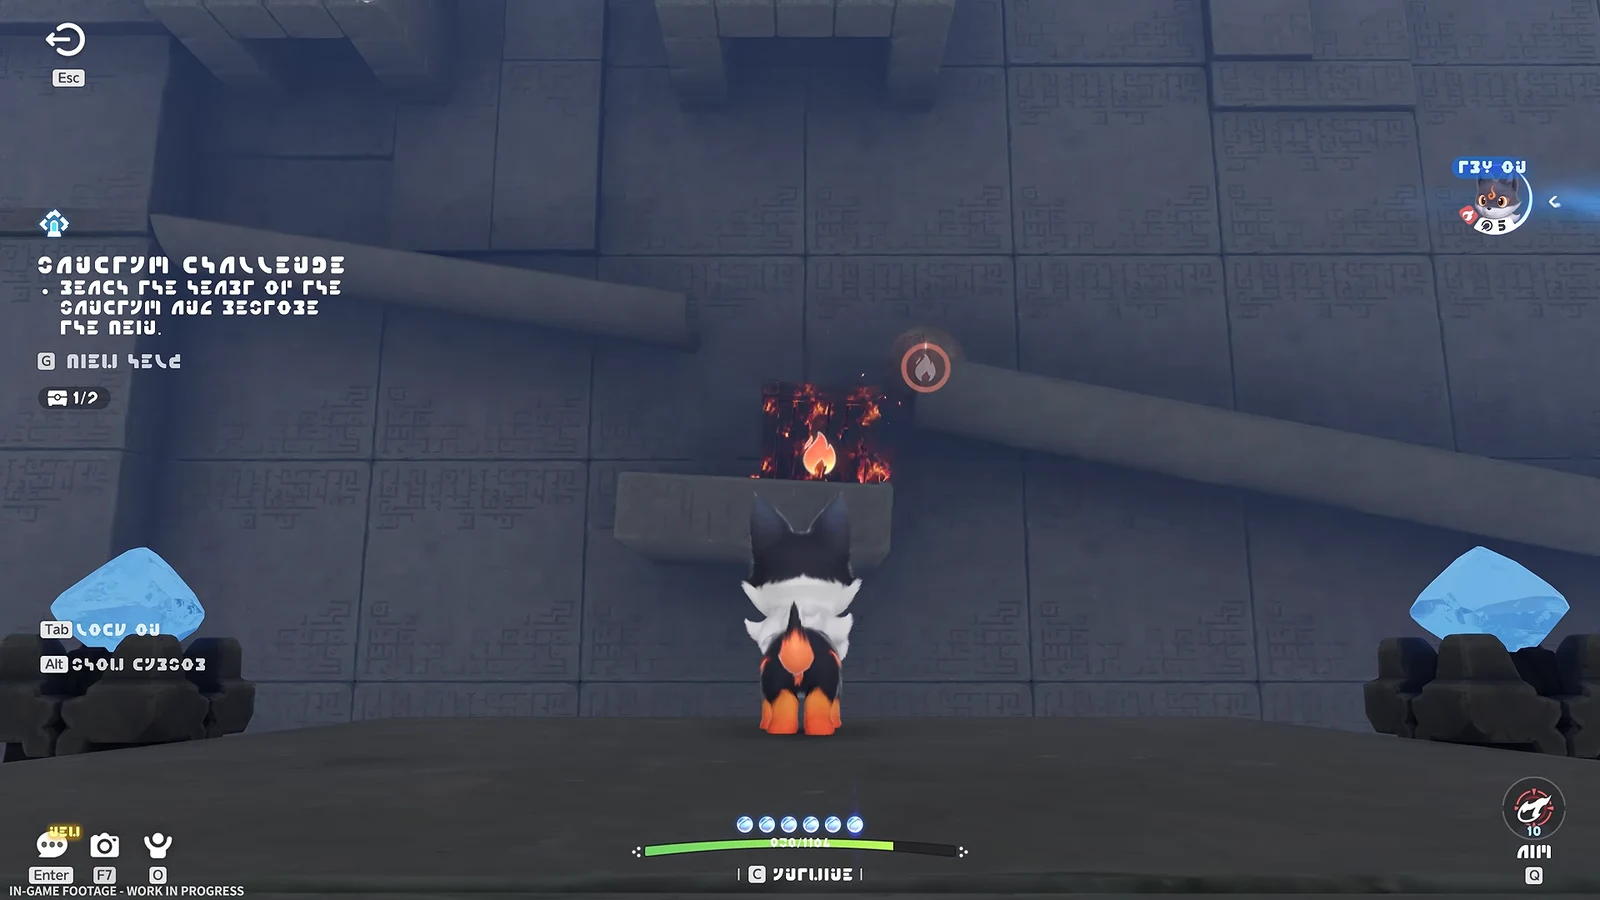
A spare Ancient Explosive Barrel also sits low against the wall near the chimney chest. If the bonfire there is not cooperating, detonating that barrel knocks the same chest down.
Chest rewards and first-clear payout
All four chests are Standard tier, so each one pays the same currency line plus one Rare held item drawn from a pool of 15. That means the specific items differ between runs and between players. Commonly seen pulls here include Capacitive Battery, Ferocious Fang, Heritage Amulet, Giant Tortoise Shell, Gargantuan Horn, Avenging Gear, Marching Flask and Explosive Gloves.
| Reward | Per chest | All four chests |
|---|---|---|
| Glimmer | 10 | 40 |
| Credits | 10,000 | 40,000 |
 Sparkling Crystal Sparkling Crystal | 10 | 40 |
| Rare held item | 1 | 4 |
The clear has a separate, one-time reward: one Lumin Amber: Breezy Plains and 500 EXP, shown on the entrance card as First Clear Reward. Completing it illuminates the room node in the Leyline Tree and advances the Sanctum Delver badge milestones at 3, 5, 10 and 15 clears. Reentering preserves Transport as a destination, while no rewards are issued and tutorial cards are omitted, leaving the chests as the only reason to return.
Pits at the crossing and where you respawn
First Spark has no timer, and no checkpoints need to be lit during the challenge. The only respawn pads are the two by the entrance, both active as soon as you load in. The sole actual hazard is the vertical layout: three open pits are positioned at the crossing, beneath the ice chamber, beneath the chimney chamber and beneath the central corridor. Falling into any of them kills you instantly and returns you to the entrance ramp.
Cast Fire Bolt while standing on solid floor, not at the edge of a drop. Aiming mode restricts your view, and most falls occur when players step backward to improve their angle.
The walking route needs no updraft and no flight. Stairs and painted arrows carry you from the crossing to the Terminus, and the one rising column in the room lifts the chimney chest rather than you.
How to confirm 4/4 before you restore the Vein
The on-screen Chests Obtained tally begins at 0/4 and increases with every opened chest. At 4/4, the room changes its card to an exit prompt, directing you toward the central room’s highest point. Use that change as the cue, then verify the tally again at the base of the last ascent.
The two completion layers are independent. The Terminus restores the Vein and resolves the challenge regardless of how many chests you left behind, and the entrance staying activated on the map is no guarantee that a skipped chest can be recovered. If the counter reads anything under 4/4, go back to the crossing and check all three branches before climbing.
Success is unmistakable. Interacting with the Terminus plays a short cutscene of your character channelling energy into the core, blue Vein tendrils light up through the room, and a loading screen returns you to the exterior of the entrance. The Emberpup you claimed then appears in your Animo lineup, and a contact call comes through as you step outside.
As Fire tutorials go, First Spark is the cleanest one in the game, and it doubles as a template for the rest of the Sanctums: read the target, trigger the state change, then check the route. If you want to keep going in the same area, Chasing Clouds is the neighbouring entrance, and it runs on wind and battery plates rather than fire.