


Alpha Aniimo are the oversized minibosses roaming the open world, and they behave nothing like the wild creatures you toss a pod at while they nap. You cannot weaken an Alpha and pocket it mid-fight. It has to lose the battle first, and only then does a short catching window open.
Quick answer: Beat the Alpha in combat, then use the free Aniipod it hands you during the timed window. Pick an Aniipod Ultra or a Sparkling Cube for a guaranteed catch, and pay the Primegy shown on screen.
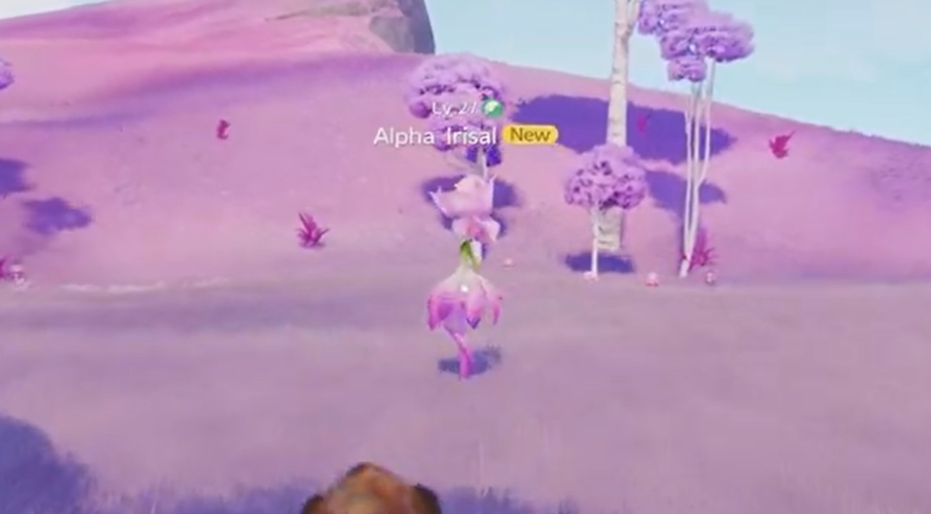
What sets an Alpha apart from a wild catch
An Alpha is a supersized version of a creature you already meet in the wild, with a much larger model and a boss-tier health pool. Because it counts as a battle target, the usual capture rules flip.
- Normal Aniimo can be caught without draining their HP. An Alpha has to be defeated first.
- There is no risk of “killing” the Alpha or wasting a pod during the fight, so hit as hard as you like.
- Alphas respawn, so a missed catch is not a permanent loss.
Level and team requirements before you engage
Each Alpha gates you behind a companion level. The first one you run into asks for an Aniimo at level 13 or higher. You can still fight under-leveled companions, but the battle becomes a slog, so bring a team that meets the requirement.
Round out that team with more than raw damage. A Break role matters here, because dealing Break damage staggers the Alpha and raises your capture chance later. Element advantage speeds up how fast you build to that opening.
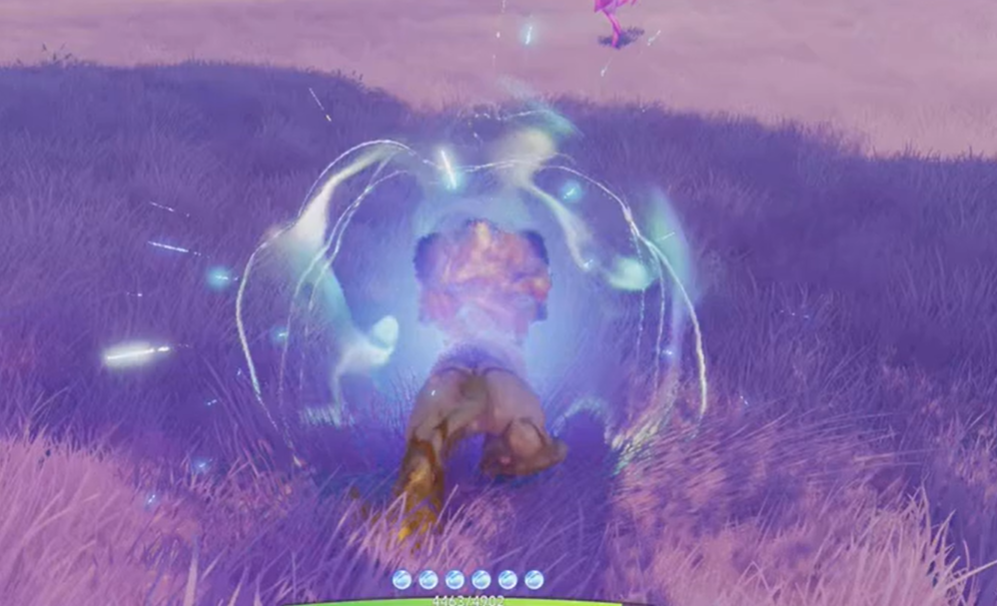
Defeat the Alpha in battle
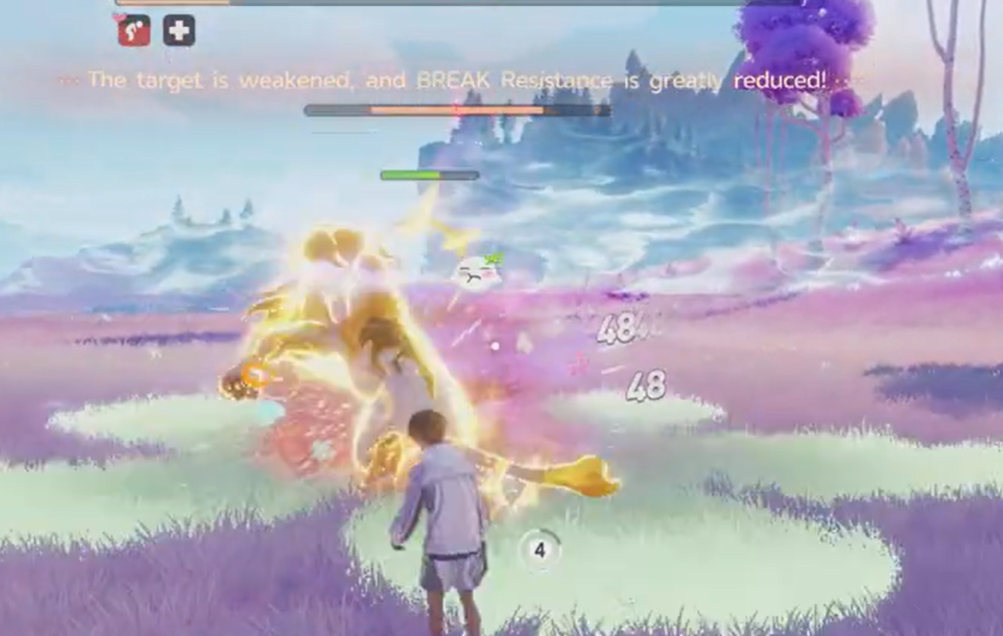
Catch it during the timed window
Once the Alpha falls, you get a limited time to catch it, and the game hands you a free Aniipod to use. The catch is not automatic, and the pod you choose changes everything.
Higher-tier Aniipods come from Outpost Vendor Joff, alongside the standard Aniipod, Pro, Mega, and the group-catch Tumbler. Stock the good pods before you head out hunting.
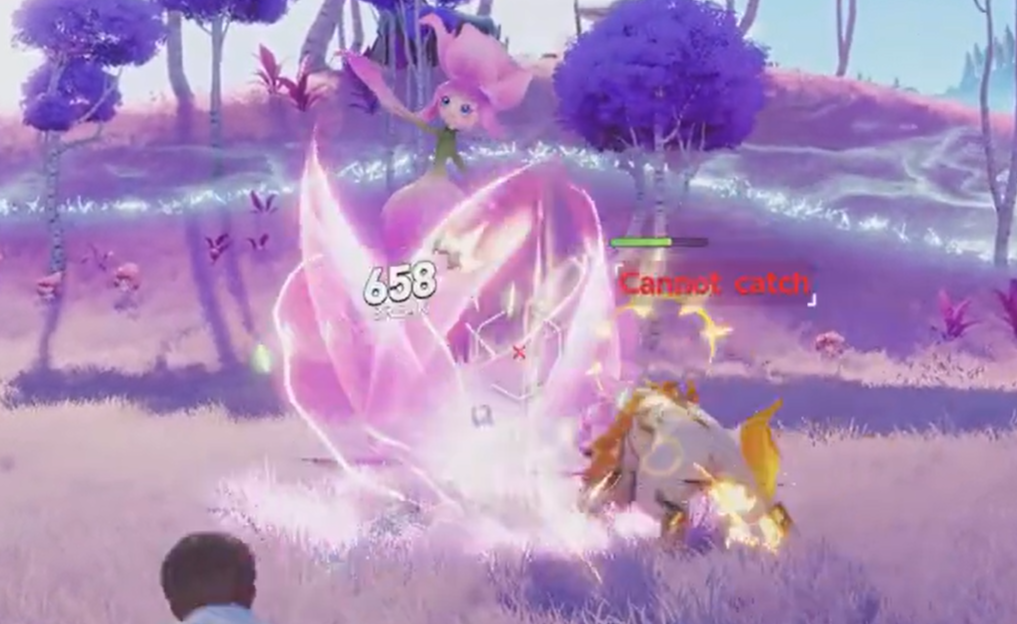
Primegy cost, rewards, and how to confirm the catch
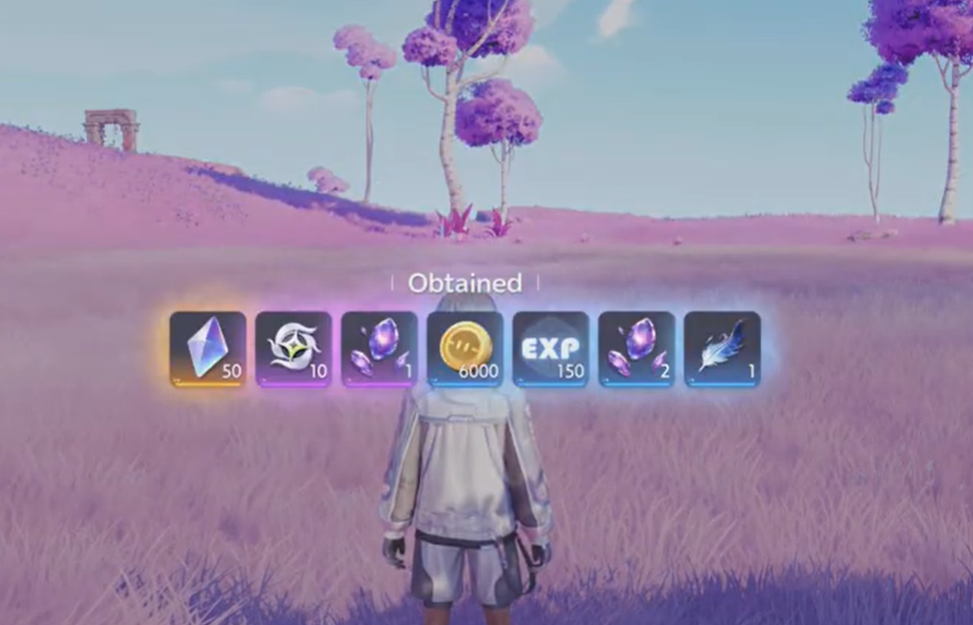
The catch attempt itself pays out. Even if the pod fails, you still receive the Alpha’s drops as long as you commit to the attempt. Spending 30 Primegy on the free pod is enough to secure those rewards, which makes Alphas a solid material farm regardless of the catch result.
Backing out is the one thing that costs you the loot. Quitting the catch prompt hands over no rewards, though your Primegy is not deducted in that case. A successful catch adds the Alpha to your collection, and the reward mail arrives once the attempt resolves.
The exact drops scale with the title you currently hold, and each Alpha yields a specific Aniimo Material or Held Item tied to it.
Where to find each Alpha
Alphas amble around fixed spots across the world. Use the table to head straight for the one you want, then run the fight-and-catch loop above.
| Alpha | Element | Location | Signature drop |
|---|---|---|---|
 Alpha Turbo Alpha Turbo | Wind | Nimbus Fields | Gust Stone |
 Alpha Stellarys Alpha Stellarys | Dark | Forest of Falling Stars | Night Stone |
 Alpha Scorchhowl Alpha Scorchhowl | Fire | Beast Fang Ridge | Blaze Stone |
 Alpha Leafy Alpha Leafy | Grass | Mistwoods | Sprout Stone |
 Alpha Glynsera Alpha Glynsera | Ice | Beast Fang Ridge | Freeze Stone |
 Alpha Panpanta Alpha Panpanta | Water | Echoback Landing | Wave Stone |
 Alpha Bouldus Alpha Bouldus | Earth | Berylline Vale | Loam Stone |
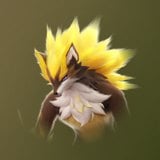 Alpha Blazen Alpha Blazen | Lightning | Blitzwood | Roar Stone |
 Alpha Tubster Alpha Tubster | Wind | The Argent Strait | Dewdrop Crystals |
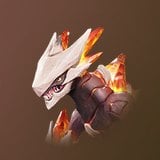 Alpha Magmarex Alpha Magmarex | Fire | Zephyrus Landbridge | Dewdrop Crystals |
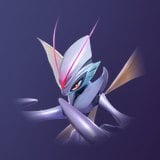 Alpha Ignitis Alpha Ignitis | Dark | Berylline Vale | Ferocious Fang |
 Alpha Grizbo Alpha Grizbo | Earth | Rosetower Woods | Gargantuan Horn |
 Alpha Geoclaw Alpha Geoclaw | Ice | Nimbus Fields | Heartseeker Pendant |
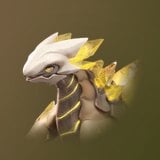 Alpha Minespine Alpha Minespine | Earth | Beast Fang Ridge | Explosive Gloves |
 Alpha Irisal Alpha Irisal | Grass | Sea of Flowers | Spirited Feather |
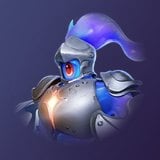 Alpha Rookey Alpha Rookey | Dark | Russet Highlands | Star Sand |
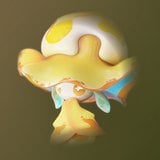 Alpha Luminelle Alpha Luminelle | Lightning | Tideblossom Coast | Star Sand |
With a team that clears the level gate, a breaker to soften the Alpha, and a top-tier pod in your bag, every Alpha becomes both a reliable material source and a straightforward addition to your roster. Since they respawn, an unlucky throw just means another attempt later.





