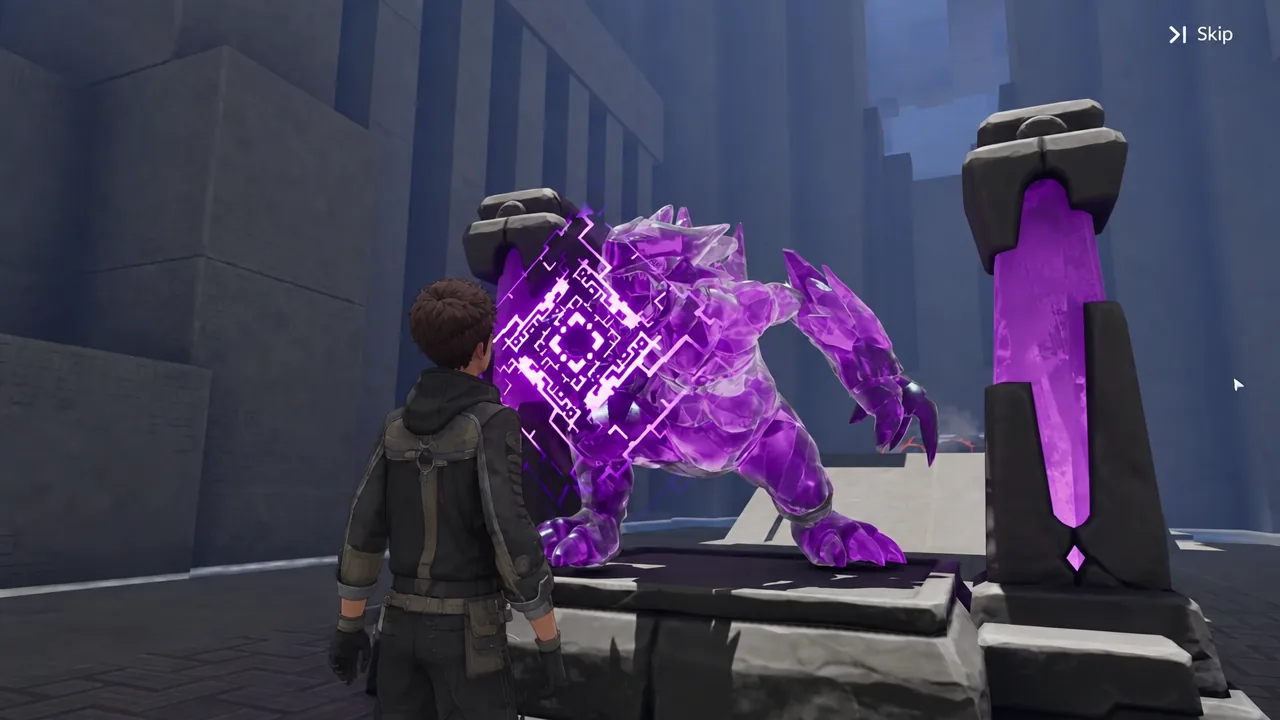
Most Sanctums in Aniimo reward patience. Shatterstone punishes it. The room, listed as Shattering Stone outside the beta build, is a solo timed sprint under Zephyrus Landbridge where a borrowed Magmarex plows through lava rock at speed, and two of its three optional chests sit behind barriers that slam shut on a clock. Miss the deadline and the chest is gone for that attempt.
Quick answer: Smash the red-seamed rock for chest 1 before the start line, then run the course and open the north alcove chest before 95 seconds and the south alcove chest before 125.
Shatterstone Sanctum entrance location in Zephyrus Landbridge
The entrance is not on the surface. It sits underground, in the red-lit cavern system beneath Zephyrus Landbridge, at atlas coordinate 3595, 744. Follow the cave passage inward until it opens out around an enormous stone mass covered in purple glyphs. The Sanctum stairs are directly in front of that boulder, and the entrance title card appears as you approach.
| Entrance detail | Value |
|---|---|
| Area |  Zephyrus Landbridge (Breezy Plains) Zephyrus Landbridge (Breezy Plains) |
| Atlas coordinate | 3595, 744 |
| Players | Solo |
| Optional chests | 3 |
| Trial Aniimo |  Magmarex Magmarex |
| First-clear reward | Lumin Amber: Breezy Plains ×1, EXP 500 |
Interacting with the entrance once activates it and adds it as a Transport destination on the world map. Interact again to drop into the room. Check the chest counter on that card before you start, because the run tracks chests and Vein completion as separate layers.
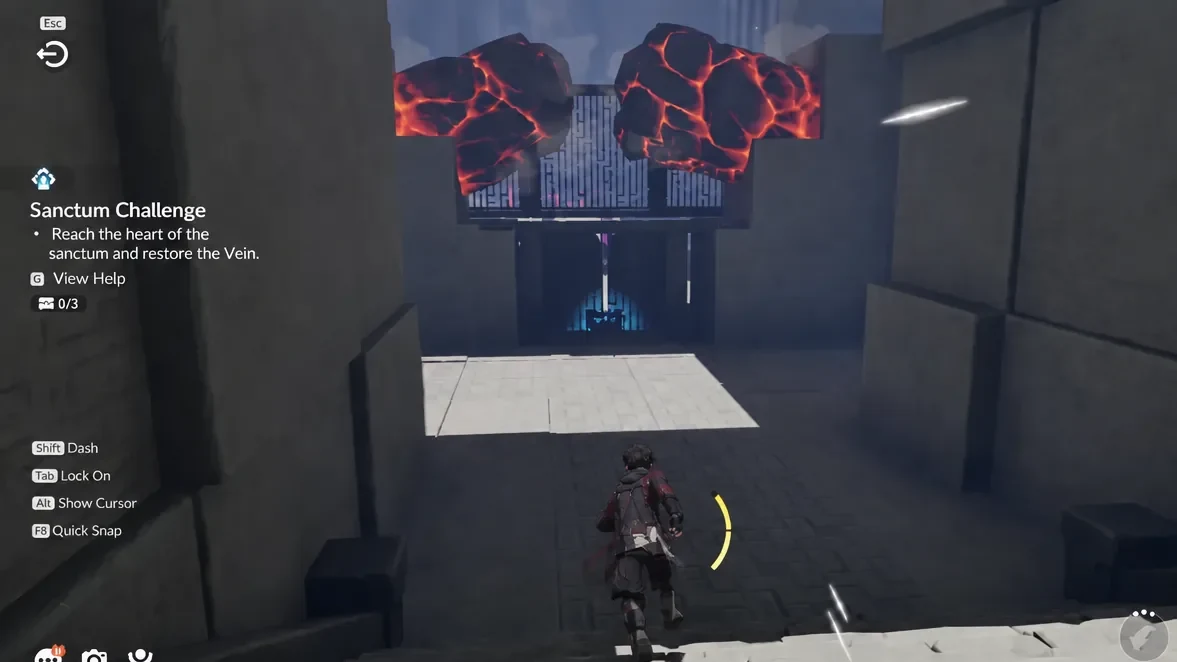
Magmarex and Hustle: what breaks and what knocks you back
Follow the opening hall west, drop to the lower terrace, and Twine with trial Magmarex at the stone statue base. Its ability is Fast and Furious, with a 0.5 second cooldown, and the in-game description is blunt about what it does: it “enters Fast and Furious state, increasing movement speed while allowing you to knock away certain obstacles, consuming stamina.”
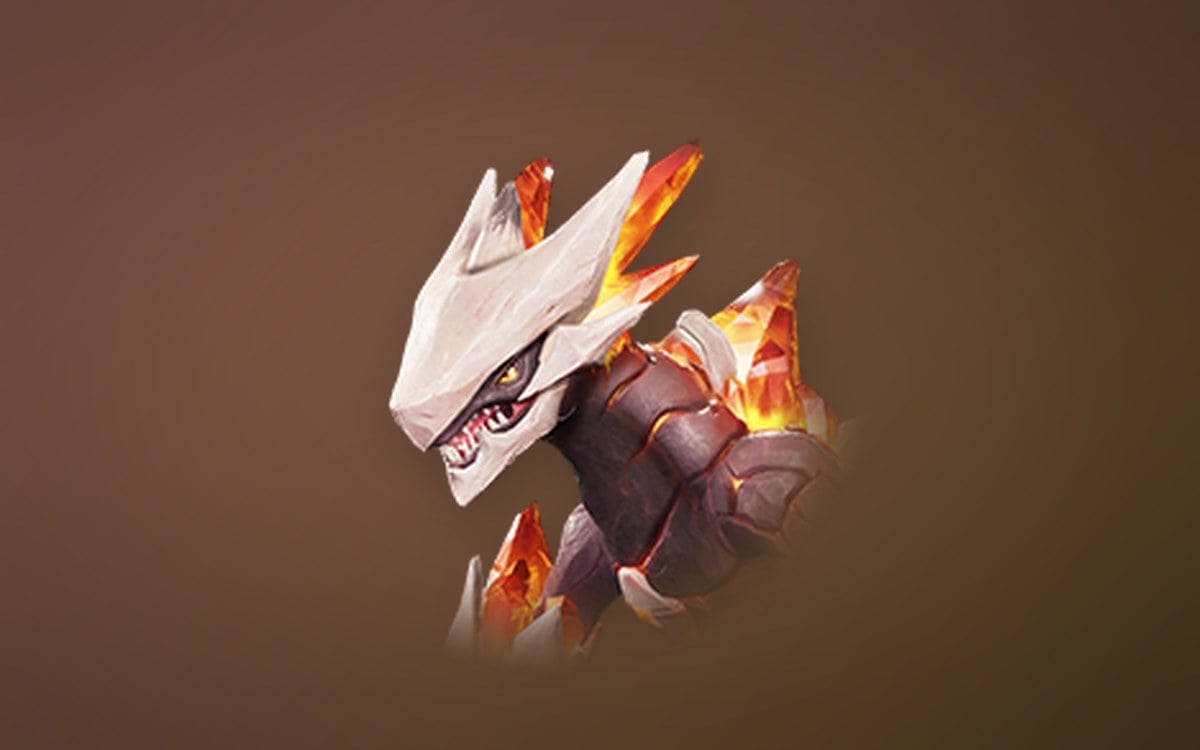
That state is Hustle, and it is the only thing in the room that breaks lava rock. Every crystal or sphere you smash returns a little stamina, which is how the run sustains itself over seven legs. The trap is that the room is full of hot-looking objects that are not targets.
| Object | Effect | Response |
|---|---|---|
| Lava Crystals | Break in Hustle, restore stamina | Hit square and drive through |
| Lava Spheres | Break in Hustle, restore stamina | Smash on the run |
| Explosive Barrels | Detonate, knock you backwards | Steer wide |
| Ancient Explosive Balls | Detonate, can throw you into pits | Hold your lane |
| Hot Fountains | Launch you upward, cancel Hustle | Re-tap the ability on landing |
Lava Spheres and Explosive Balls look nearly identical when they are rolling at you at speed. Pick a lane and commit rather than swerving to chase a sphere for stamina.
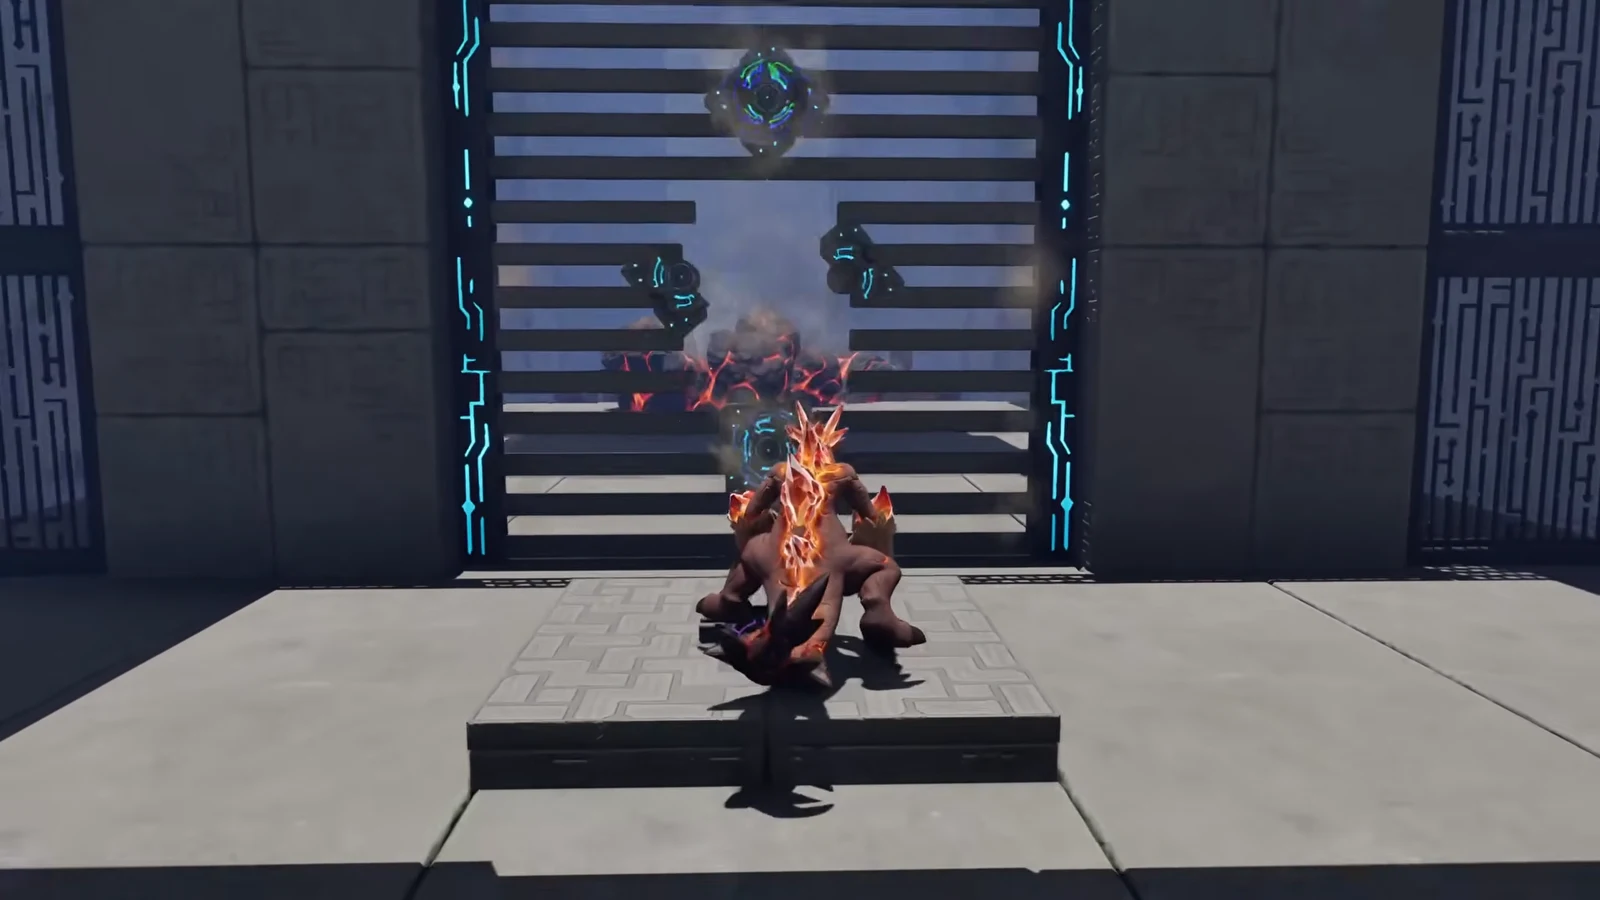
Chest 1 location: the red-seamed rock face before the start line
Everything before the start line is untimed, so there is no reason to rush this half of the room. You reach it by dropping onto the entrance pad at the south end of a long rising corridor, running north over trap bridges that fall away behind you, and riding a Hot Fountain at the top instead of edging around the lethal pit beneath it. Past the fountain, weave the two staggered bands of spike cones and the spike wall at the corridor mouth to reach the wide hall and its first save pillar.
Running the timed course: seven legs across five rooms
The clock goes live on GO. Save pillars and automatic checkpoints are scattered along the route, so a death is a setback rather than a restart, but every second spent recovering eats into the two chest deadlines.
Legs one and two: the west lane and the south descent
Legs three and four: the sphere vault and the explosive corridor
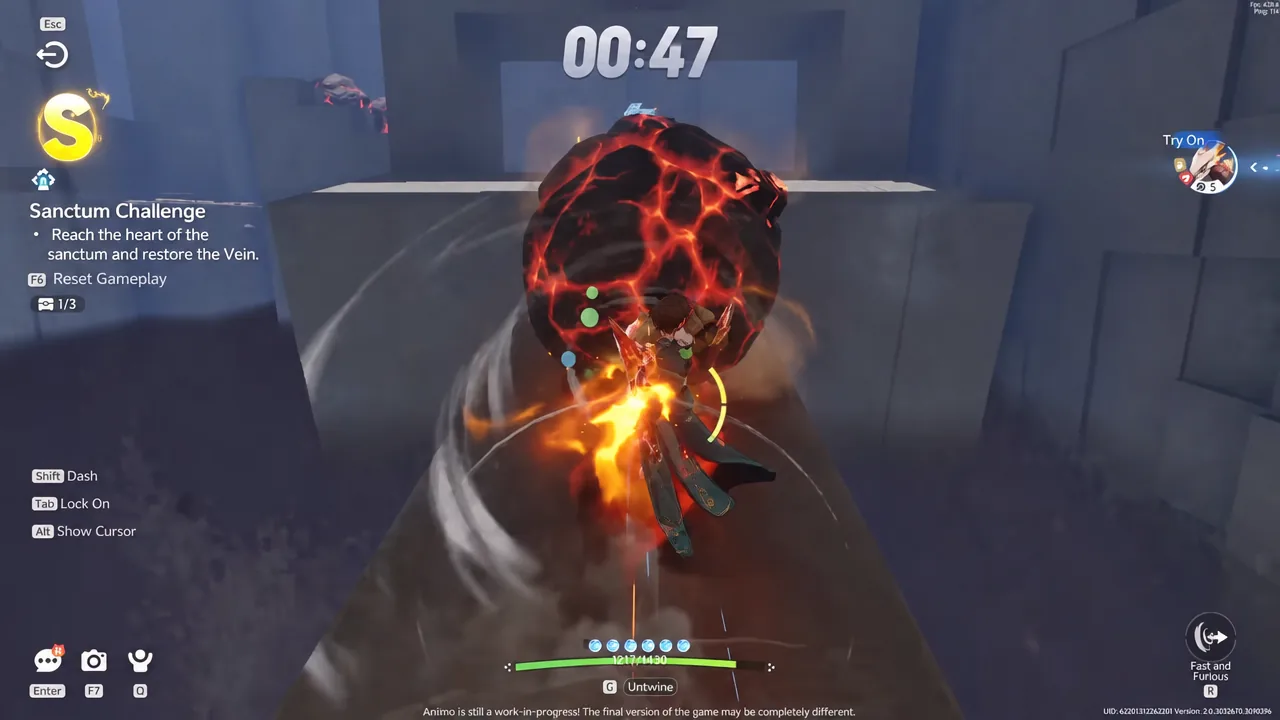
Legs five to seven: the fountain ladder, sky gauntlet and finish flat
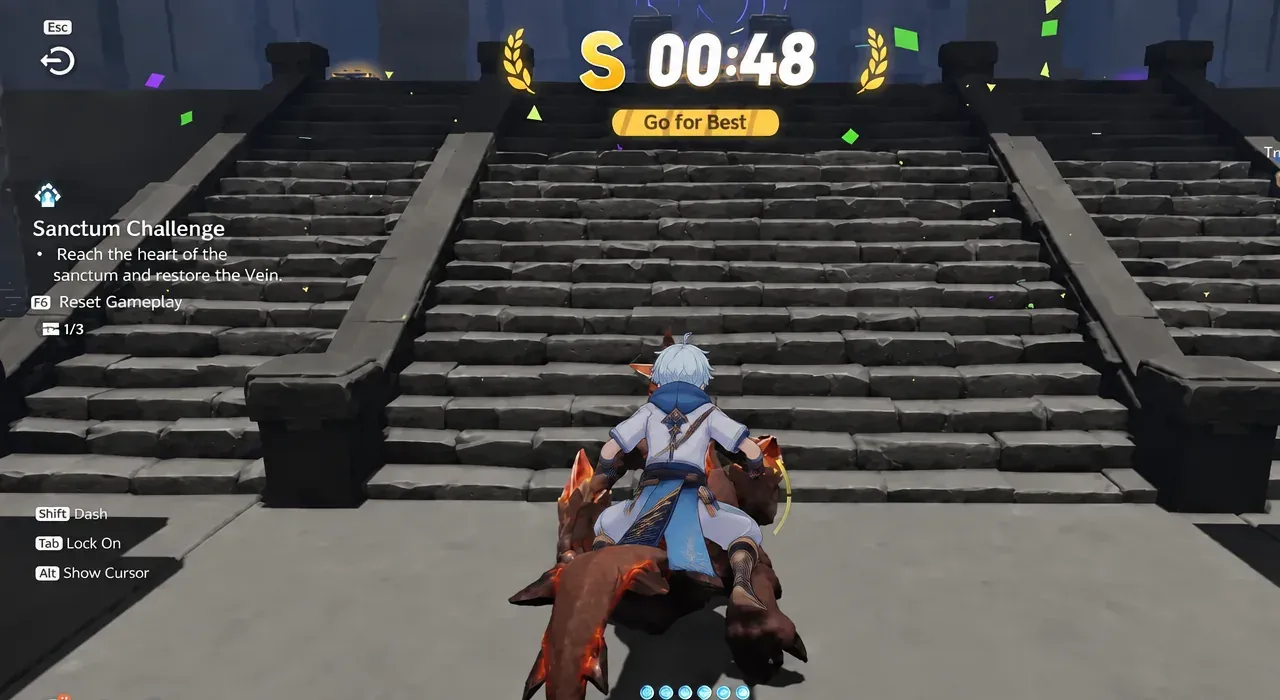
A clean run lands an S rank at roughly 1:32 to 1:33, but no grade is required to clear the room. Chest count is the only thing worth optimising for.
Chests 2 and 3: the 95-second and 125-second barriers
Crossing the line stops the clock but does not clear the Sanctum. Both finish-room chests start open, and a barrier drops over each one as its deadline passes. The result screen tells you which alcoves are still live.
| Chest | Location | Deadline |
|---|---|---|
 Basic Basic | Red-seamed rock face, before the start line | None |
| Premium | North alcove past the finish line | 95 seconds |
| Standard | South alcove on the approach | 125 seconds |
Walk east past the line and take the north alcove first, since its barrier is on the tighter clock. The Premium chest inside pays the largest Glimmer and Credits split plus a held item, and the counter moves to 2/3. The matching alcove on the south side of the approach holds the Standard chest behind the later barrier. Confirm 3/3 before moving on.
Reset Gameplay restores both barriers and rebuilds every obstacle, which is the practical fix if a run went long. Splitting the attempt into two fast runs is usually easier than forcing a single sub-95-second clear.
Restore the Vein last and confirm the clear
The Sanctum Terminus stands at the far east end of the finish room, well past both alcoves. Touching it restores the Vein and resolves the challenge, and it is the only action the room strictly requires. It also ends the instance, so the chest counter has to be settled first. Restoring the Vein does nothing for that counter.
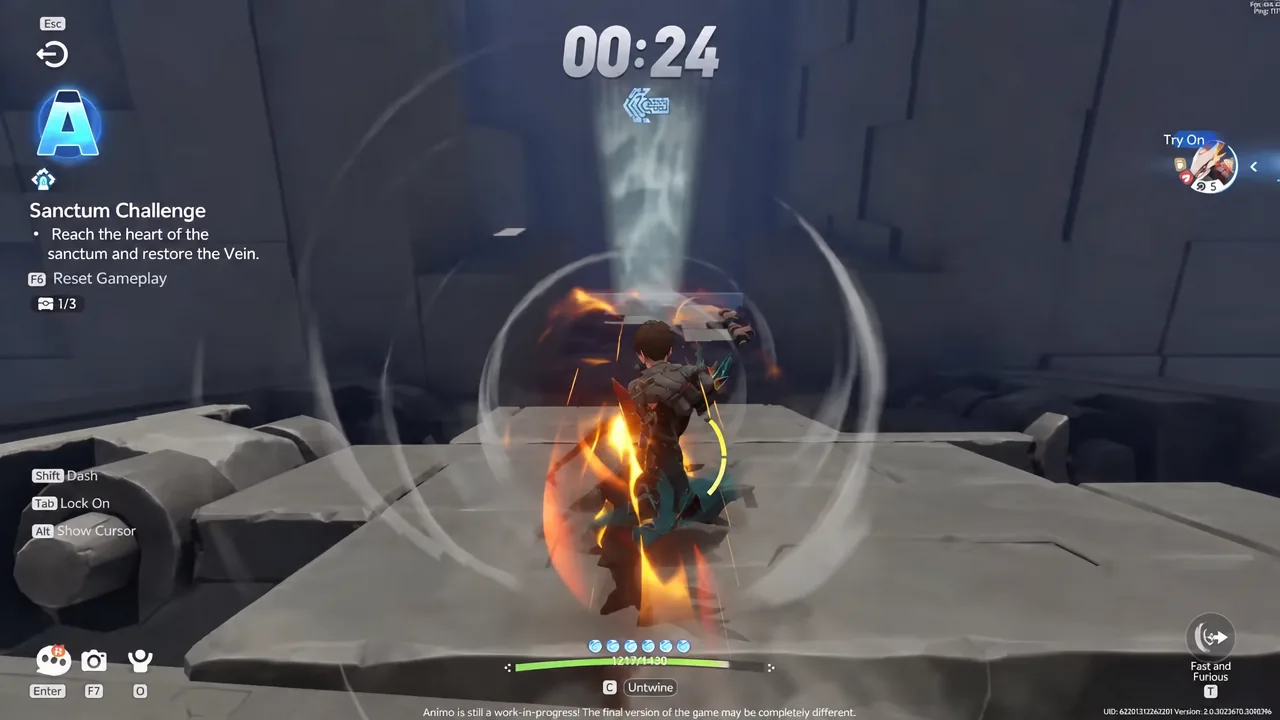
You know the run landed when the counter reads 3/3, the Vein resolves on the Terminus interaction, and the result screen shows the first-clear payout of Lumin Amber: Breezy Plains ×1 and EXP 500. Later visits keep the Transport destination on the map but not that first-clear reward, so it is worth making the first trip the complete one.