

Catch rates in Idyll are generous enough that a few hours of field work will fill several numbered storage boxes with duplicate Chirpi, Emberpup and Dewy. The Aniimo Management screen has the tools to fix that, but they are hidden behind five small icons along the bottom edge and a toggle buried in an Outpost Research Console. Once you know what each one does, a bloated box takes about two minutes to clean.
Quick answer: Open Aniimo Management, sort with button 1, filter by rarity or rating with button 2, multi-select with button 4, and release the leftovers for Farewell Gifts.
Opening Aniimo Management and switching storage boxes
Press Escape to bring up the main menu, then pick the Aniimo option. On controller, the same destination sits in the radial menu as Aniimo Management. The screen that opens shows your Combat Roster and active party along the side, with the current storage grid filling the rest of the page.

Storage is split across numbered boxes rather than one endless grid. Use the Storage List dropdown at the top to jump between them, so Storage 7 and Storage 9 can hold completely different collections. Each box is treated as its own page by the sort and lock tools below, which is what makes the whole system worth setting up properly.
What the five storage buttons do
| Button | Name | Function |
|---|---|---|
| 1 | Sort | Reorders the box by a chosen criterion |
| 2 | Filter | Hides everything outside your chosen rarity, element, rating or role |
| 3 | Lock | Freezes the page so sorting cannot rearrange it |
| 4 | Manage | Multi-select mode for moving or releasing in bulk |
| 5 | Favorite List | Opens your favorites and box renaming |
A separate Release icon also sits in the bottom-right corner of the storage screen, and it is the faster route when the only thing you want to do is clear duplicates.
Sorting a box by Potential Score, level or Aniimo No.
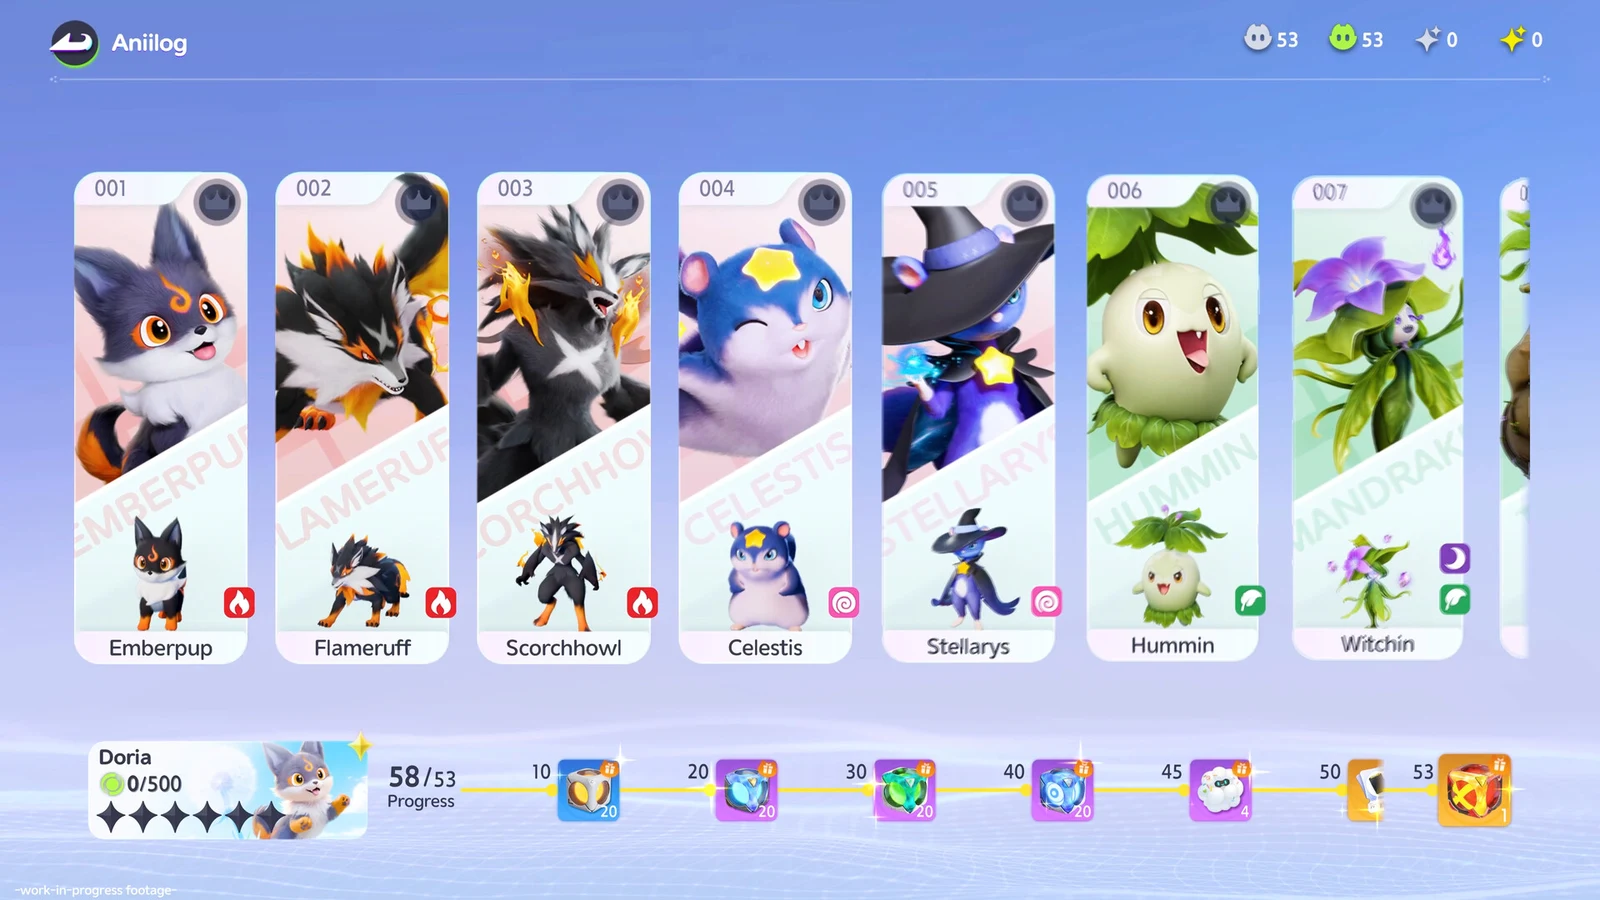
Filtering by rarity, element, rating and combat role
Button 2 opens the filter and search panel, and it narrows the box down by four things. You can filter by Rarity, by Element, by Rating, and by Combat Role. Setting Rating to Perfect, for example, leaves only your Perfect-rated specimens visible and hides everything else.
The filter is the front half of almost every bulk action. Narrow the view to Common and Good before you start selecting, and you physically cannot tap an Elite or Perfect creature by mistake.
Locking a storage box so sorting leaves it alone
Once a box is arranged the way you want, click button 3. A padlock animation plays over the page and the arrangement is frozen, so a later Sort All will not rearrange it. This is the tool that makes a hand-built themed box survive contact with the rest of the system.
Lock the box again after any cleanup pass. Re-sorting by Aniimo No. in ascending order and then re-locking keeps a box tidy permanently rather than until the next time you touch the Sort menu.

Moving Aniimo between boxes and renaming them

Aniimo Mark: custom icons and how to filter by them
Rarity and rating are not the only ways to group your collection. Open an individual Aniimo’s profile and click the star icon in the bottom-right corner to bring up Aniimo Mark, which attaches a custom symbol to that creature. Crowns for Perfect specimens and diamonds for Elite ones are the obvious use, but the marks are yours to assign however you like.
Marks then feed back into the filtering system. In the Filter and Sort menu, the Favorite section lets you show only the creatures carrying a specific mark, which turns an arbitrary personal category into something the game can sort on.
Bulk releasing Aniimo for Farewell Gifts


Release is permanent. The filter step exists so that a crowned Perfect specimen never ends up inside a 13-creature selection by accident.
Auto release by potential score at the Research Console
Manual cleanup is only half the answer, because the boxes refill every time you go out catching. The other half sits at an Outpost Research Console. After a capture run, teleport to an Outpost and interact with the console to bring up the report screen for what you brought back.
That report screen carries the automatic release toggles, which are keyed to potential score. Switch them on and low-score catches are released as they come in, so the creatures that reach your storage boxes are the ones worth appraising. Combined with a locked, marked, renamed box, it means the only creatures you ever scroll past are the ones you chose to keep.





