The Jujutsu Kaisen Update 01 on the World 2 revert added a batch of new units, including Itadoki, Mojito, Jog, Blood Brother, Hanabi, and Best Friend. Two of them matter most for a Shibuya team, and neither comes from a summon banner. Itadori is a stage drop, and Todo evolves through a material you farm on a separate act.
Quick answer: Run Shibuya Legend Stage Act 3 (Purgatory Mode) until Itadoki (Shrine) drops at 2.5% or the 25-run pity fires, then farm Slaughter Demon from Shibuya Legend Stage Act 2 to evolve him into Itadoki (Celestial).
Where Itadori drops in Anime Last Stand
Checking the summon portal for Itadori is a dead end. The unit obtainment panel points to Shibuya Legend Stage Act 3, which runs in Purgatory Mode, at a 2.5 percent drop rate with a pity counter of 25. That means 25 completed runs guarantee the drop even if the roll never lands, so the worst case is fixed and predictable.

You can confirm both numbers mid-run. Open the stage info panel during Act 3 and it shows the Itadori drop rate alongside how far your pity has progressed, so there is no guesswork about how many attempts remain.

Farm Shibuya Legend Stage Act 3 with the macro

Evolution materials for Itadoki and Todo
Both evolutions pull from the same Shibuya Legend Stage set, just different acts. Open the evolution screen on each unit to see the live material count before you commit to farming.
| Evolution | Material | Where it drops |
|---|---|---|
| Itadoki (Shrine) → Itadoki (Celestial) | Slaughter Demon | Shibuya Legend Stage Act 2 |
| Itadoki (Shrine) → Itadoki (Celestial) | Spirit Shards | Crafting materials |
| Todo → Best Friend (Celestial) | Locket | Shibuya Legend Stage Act 1 |
Note: Slaughter Demon is not a Raid Shop purchase. Checking the shop first wastes time, since the item comes straight off Act 2 clears. The same macro you recorded for Act 3 can be pointed at Act 1 and Act 2 to collect the Locket and Slaughter Demon without replaying by hand.
You know each evolution landed when the confirmation goes through and the new form shows in the inventory as Itadoki (Celestial) or Best Friend (Celestial). If the confirm button does nothing, a material count is still short.
Rolling techniques on Itadoki
Techniques are rolled with technique shards at the Crafting station, and the reroll machine lists the percentage behind every possible result. Glitched sits at the bottom of that list at 0.03 percent, which is why most runs land on something else long before it appears. Celestial Technique Overlord is the strong practical outcome for Itadoki and shows up far more often than the 0.03 percent roll.
Budget your shards before starting. The reroll has no pity, so a long streak of low-tier techniques is normal and does not improve your odds on the next pull.
Itadoki and Todo abilities and placement synergy
Itadoki’s kit runs on four passives. Black Sparks and The Zone drive his damage scaling, Delayed Impact staggers when that damage lands, and Brothers keys off Todo. His attack animations cycle through Manji Strike and Black Flash, and his range is generous enough that a mid-track placement covers most of a lane.
Best Friend Todo pairs directly into that. His Woogie skill swaps positions with Itadoki, and his Brotherly passives apply buffs off the swap, so the pair is meant to be deployed together rather than slotted independently. Placing one without the other leaves a chunk of both kits inactive.
Shibuya Train Station Raid difficulty by act
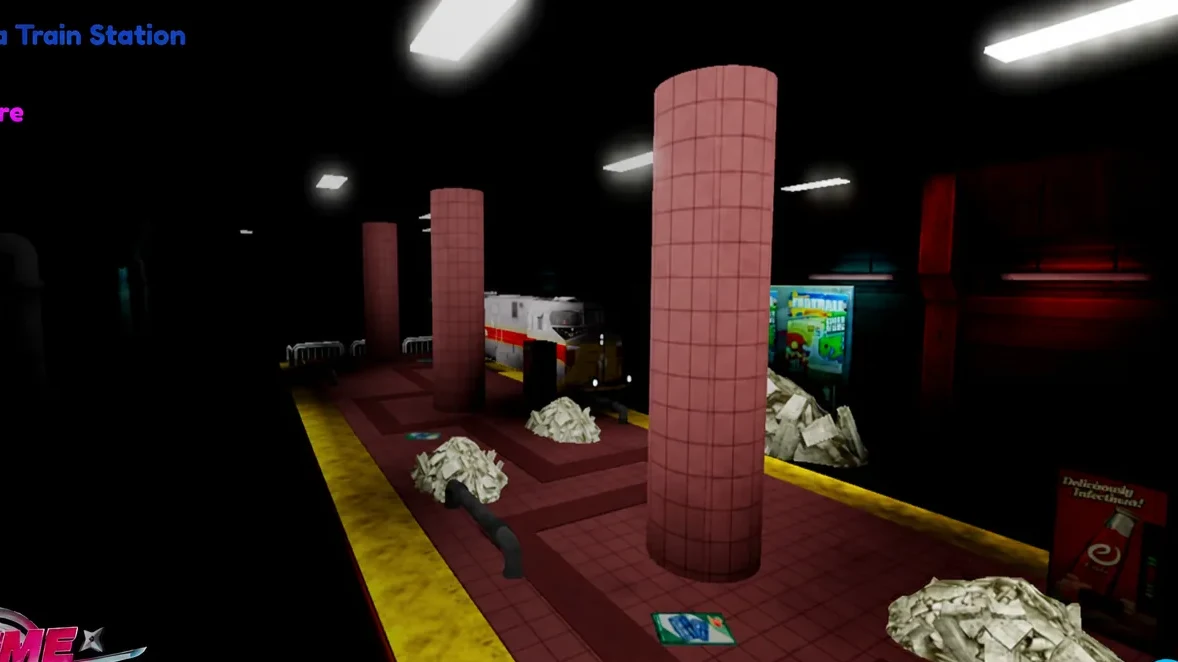
The raid runs across six acts on the train station map and is where Mojito drops. Boss health climbs sharply, and the later acts stop being a pure damage check.
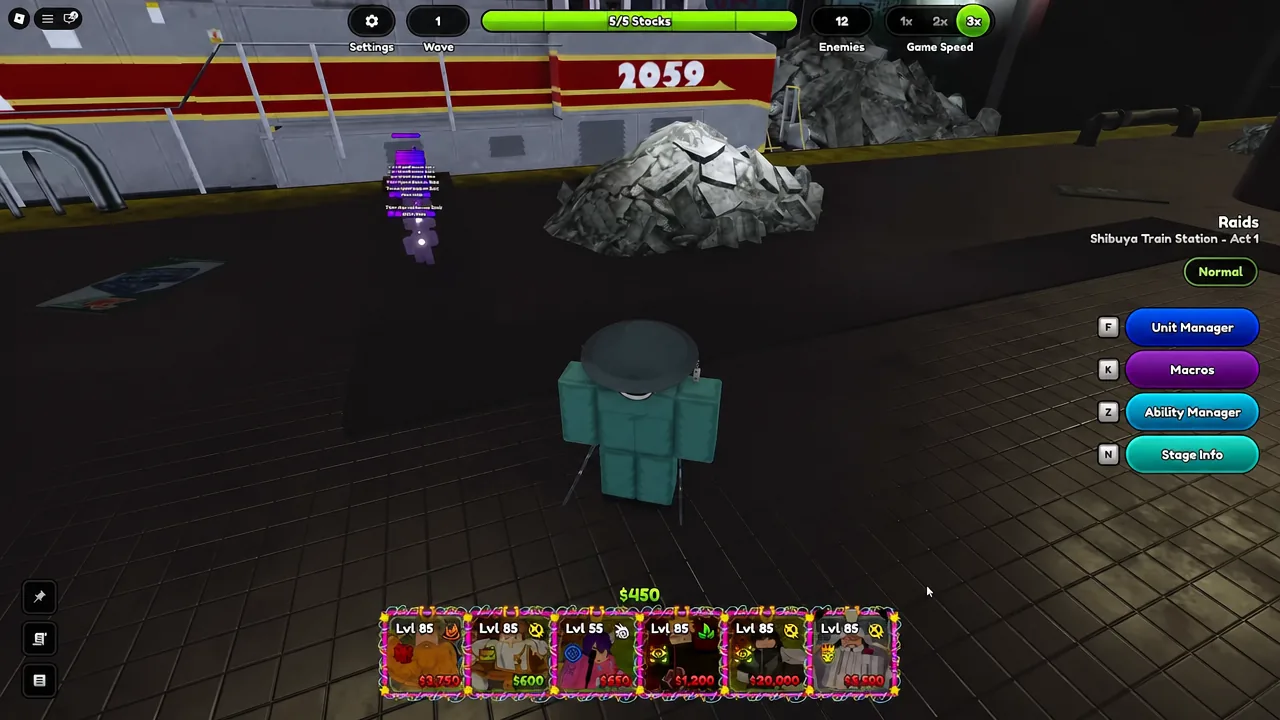
| Act | What to expect |
|---|---|
| Act 1 | Curse Tamer Boss at wave 20, clearable with a single strong carry such as Pride (The One). |
| Acts 2–3 | Same structure, sharply higher boss health bars. |
| Act 4 | Boss pathing needs slowing. Green Esper’s slow effect makes the clear reliable. |
| Act 5 | Nightmare Mode. Requires repositioning supports around the wave 20 boss. |
| Act 6 | Curse Tamer Boss with 3.21B HP, a hard wall for most lineups. |
Bringing light element units and dedicated supports into the raid menu before you queue saves a restart. Upgrading King Pendragon and adding Overtime Sorcerer for status effects gives the team enough sustained pressure to hold the later waves.
The shortest path is to set the macro on Act 3 first and let pity handle Itadori while you are away, then sweep Act 2 and Act 1 for the Slaughter Demon and Locket in the same session. Technique rerolls come last, because a Celestial Technique Overlord on an unevolved unit does far less than the evolution itself.