Memory of Chaos 12 in Honkai: Star Rail version 4.5 is the Stormcleanse (XII) stage, and Robin • Summeretto slots neatly into both halves of it. Her Vibes engine, DEF ignore Zone, and action advance let an Aglaea Remembrance squad and a Himeko • Nova Erudition squad each burst down their boss in a single Fever window. The result is a clean two-cycle run that clears both nodes for the full three stars.
Quick answer: Run Aglaea, Cyrene, Robin • Summeretto, and Hyacine on Node 1 to beat Stellaron Hunter: Sam, then Himeko • Nova, Welt, Robin • Summeretto, and Dan Heng • Permansor Terrae on Node 2 to beat Alloy Mechatron: King Pom-Pom. Open each side with Robin’s Technique for early Vibes, reach Fever before the boss wave, and you finish with 28 of the 30 cycles remaining and all three stars.
Stormcleanse XII setup and the active cycle buff
Stormcleanse (XII) starts with 30 remaining cycles and splits into two nodes, each with two waves. The current Memory of Chaos buff rewards fast-hitting damage dealers on specific Paths, so team building leans toward carries that can act early and often.
| Element | Detail |
|---|---|
| Stage | Stormcleanse (XII) |
| Starting cycles | 30 |
| Node 1 boss | Stellaron Hunter: Sam |
| Node 2 boss | Alloy Mechatron: King Pom-Pom |
| Cycle buff | At the start of each cycle, a random Hunt or Erudition ally acts immediately and deals 80% more DMG for 1 turn |
That buff matters most on Node 2, where Himeko • Nova follows the Path of Erudition and can pick up the free turn and damage boost. Node 1 leans on Robin’s Zone instead, since the Remembrance carry there does not benefit from the Hunt/Erudition trigger.
Node 1: Aglaea Remembrance team vs Stellaron Hunter: Sam
The first half runs Aglaea as the primary DPS, backed by Cyrene, Robin • Summeretto, and Hyacine. Aglaea’s memosprite acts constantly, which feeds Robin large amounts of Vibes and gets her into Fever quickly. Once the Zone is up, the whole team ignores a big chunk of enemy DEF, and Aglaea’s already high output climbs further.
Wave 1 opens against a Frigid Prowler alongside the Memory Zone Meme “Shell of Faded Rage.” Clear this first pack while building Vibes so that Robin has all three Summer Songbirds out before the boss arrives.
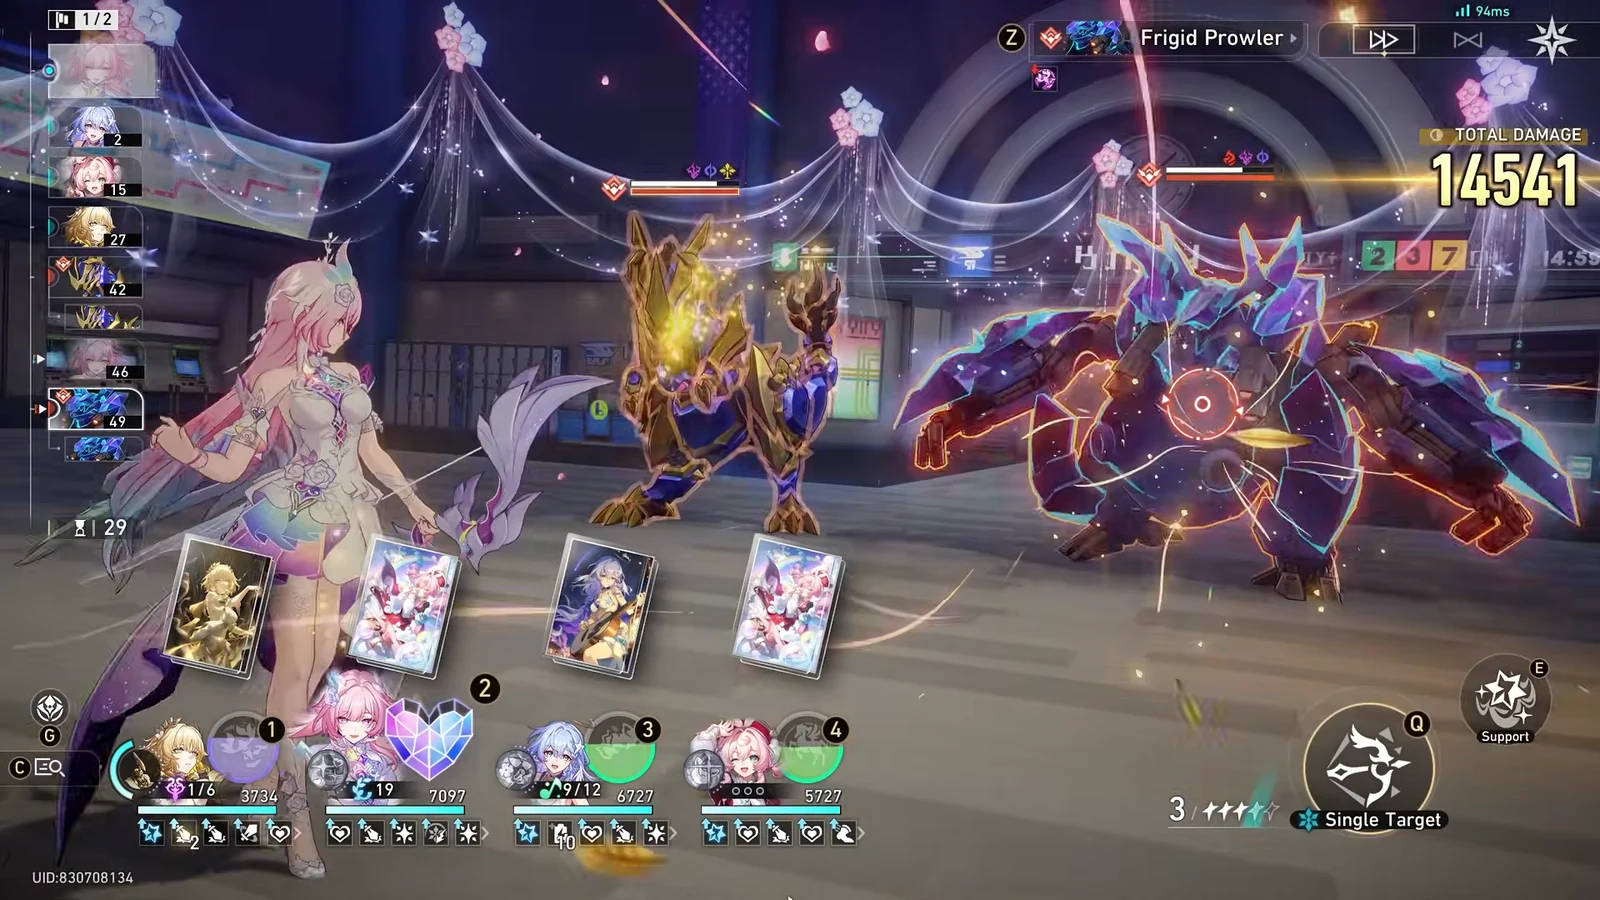
Wave 2 brings in Stellaron Hunter: Sam. Time Robin’s Fever so the Zone is active as Sam enters, then front-load Aglaea’s strongest hits, since the DEF ignore is highest at the start of Fever and drops as Vibes are consumed. Robin’s Ultimate should advance Aglaea and top off her Energy for another burst.

Hyacine covers healing, which is not just survival insurance here. Each first-time heal on a target’s turn can hand Robin another Vibe, so the sustain doubles as Fever fuel. Cyrene rounds out the Remembrance core and keeps the damage flowing into the Zone window.
Node 2: Himeko • Nova Erudition team vs King Pom-Pom
The second half pairs Himeko • Nova with Welt, Robin • Summeretto, and Dan Heng • Permansor Terrae. Himeko • Nova is the carry, Welt supplies delay, and Robin provides both the DEF ignore Zone and the action advance that lets Himeko squeeze extra turns into a single burst. Because Himeko follows the Path of Erudition, she can also catch the stage’s free turn and 80% damage bonus at the top of a cycle.
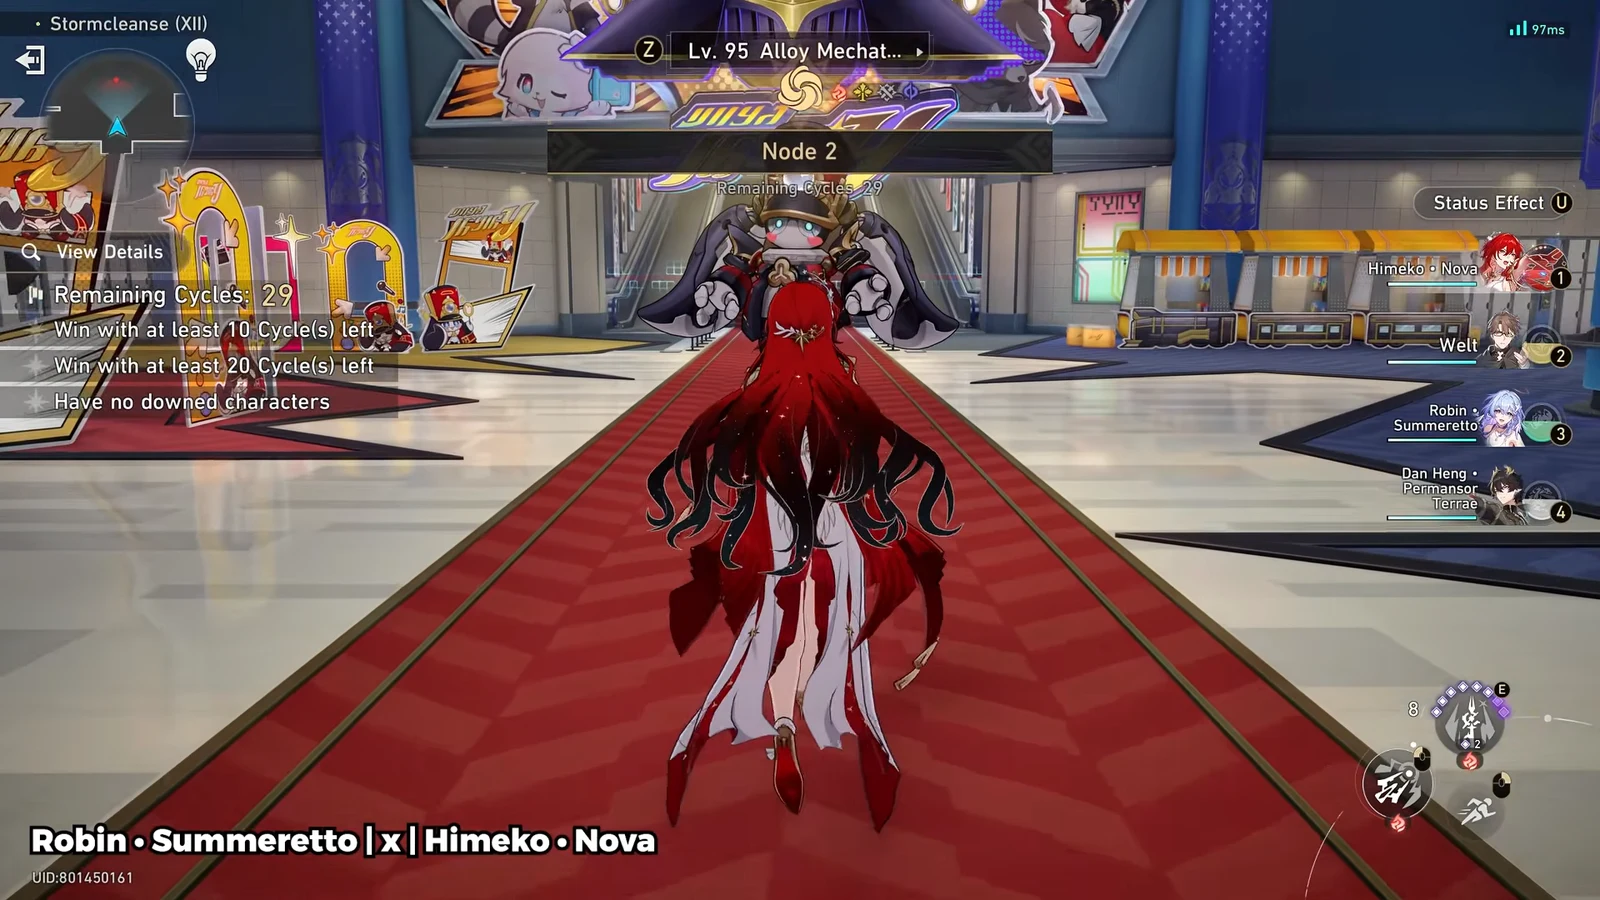
Wave 1 opens on Daybreak Squadron: Azurewing. Himeko • Nova’s frequent Assist Skills generate Vibes fast, so Robin reaches her full trio of birds and enters Fever right as the first pack falls.
Wave 2 is Alloy Mechatron: King Pom-Pom. With the Zone live, push Himeko’s biggest hits early, let Robin’s Ultimate advance her for an extra action, and lean on Welt’s slows to keep the boss off its own turns while the burst finishes.
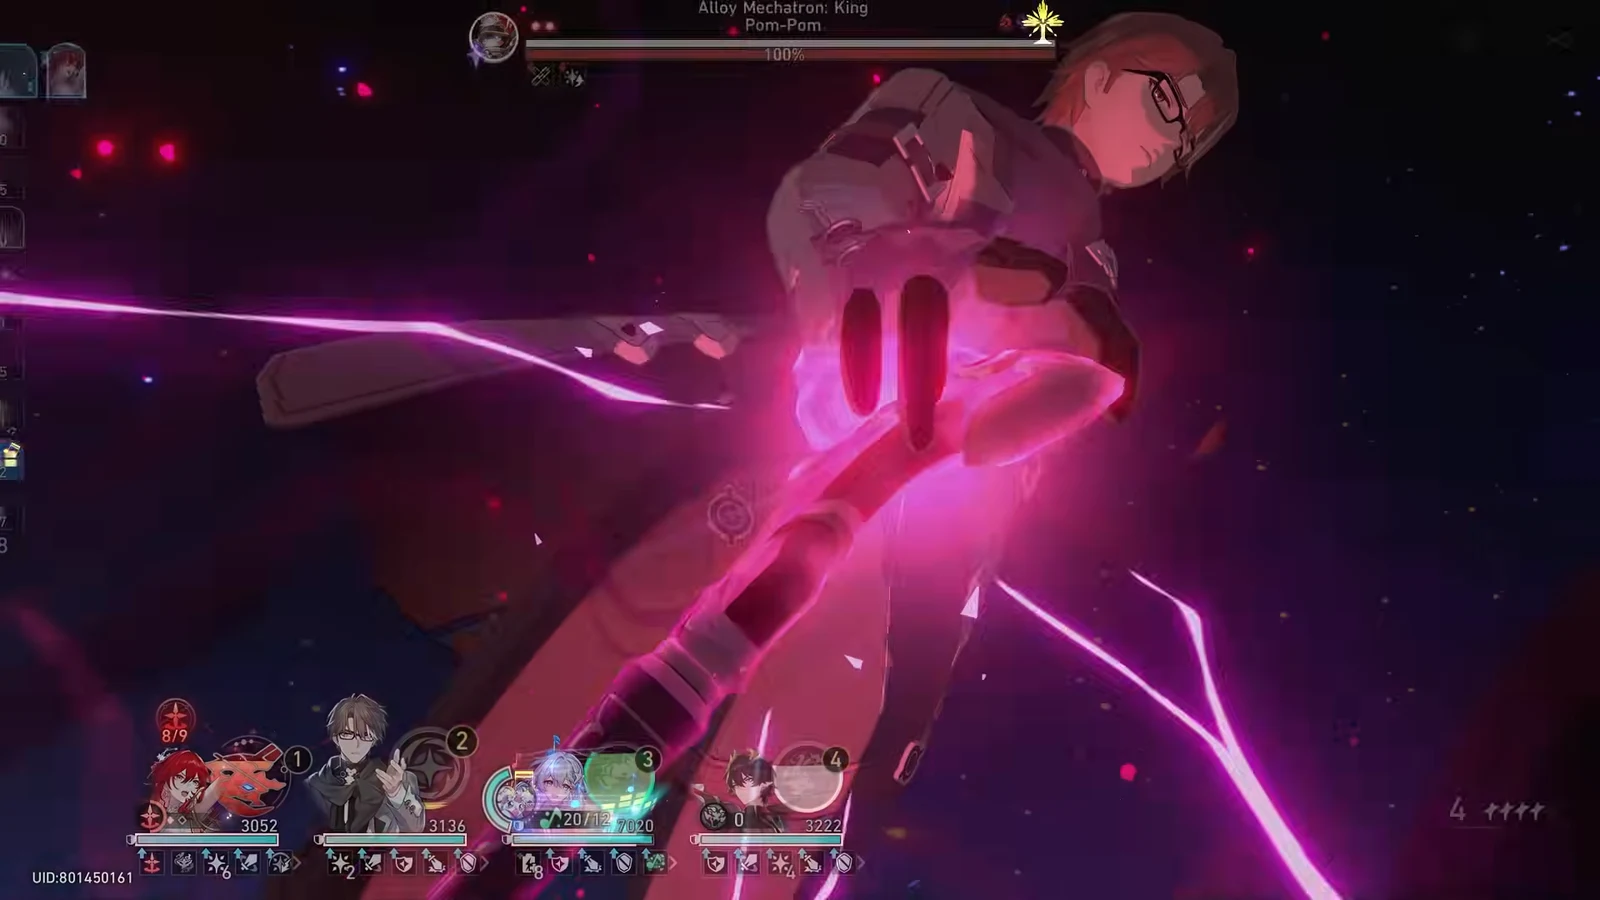
Dan Heng • Permansor Terrae shields the team and boosts the carry’s ATK, which suits Robin’s kit. When a teammate has higher ATK than Robin, her bonus ability hands them an ATK increase scaled off her Max HP, so an ATK-heavy Himeko build gets more out of her presence.
Robin • Summeretto build for both nodes
Robin • Summeretto is a Wind, Remembrance support who scales off HP and works as a universal buffer for both ATK and HP teams. She wants enough SPD to summon her memosprite early, enough HP to inflate her buffs, and near-full CRIT so her birds still hit hard inside the Zone. The same build carries her across both halves of Stormcleanse XII.
| Slot | Recommendation |
|---|---|
| Light Cone | Rise and Sing (alternatives: Memory’s Curtain Never Falls, To Evernight’s Stars) |
| Relic set | World-Remaking Deliverer |
| Planar Ornament | Amphoreus, The Eternal Land |
| Body | HP% |
| Feet | SPD |
| Sphere | HP% |
| Rope | Energy Regen |
| Sub-stats | HP%, SPD, CRIT Rate, CRIT DMG |
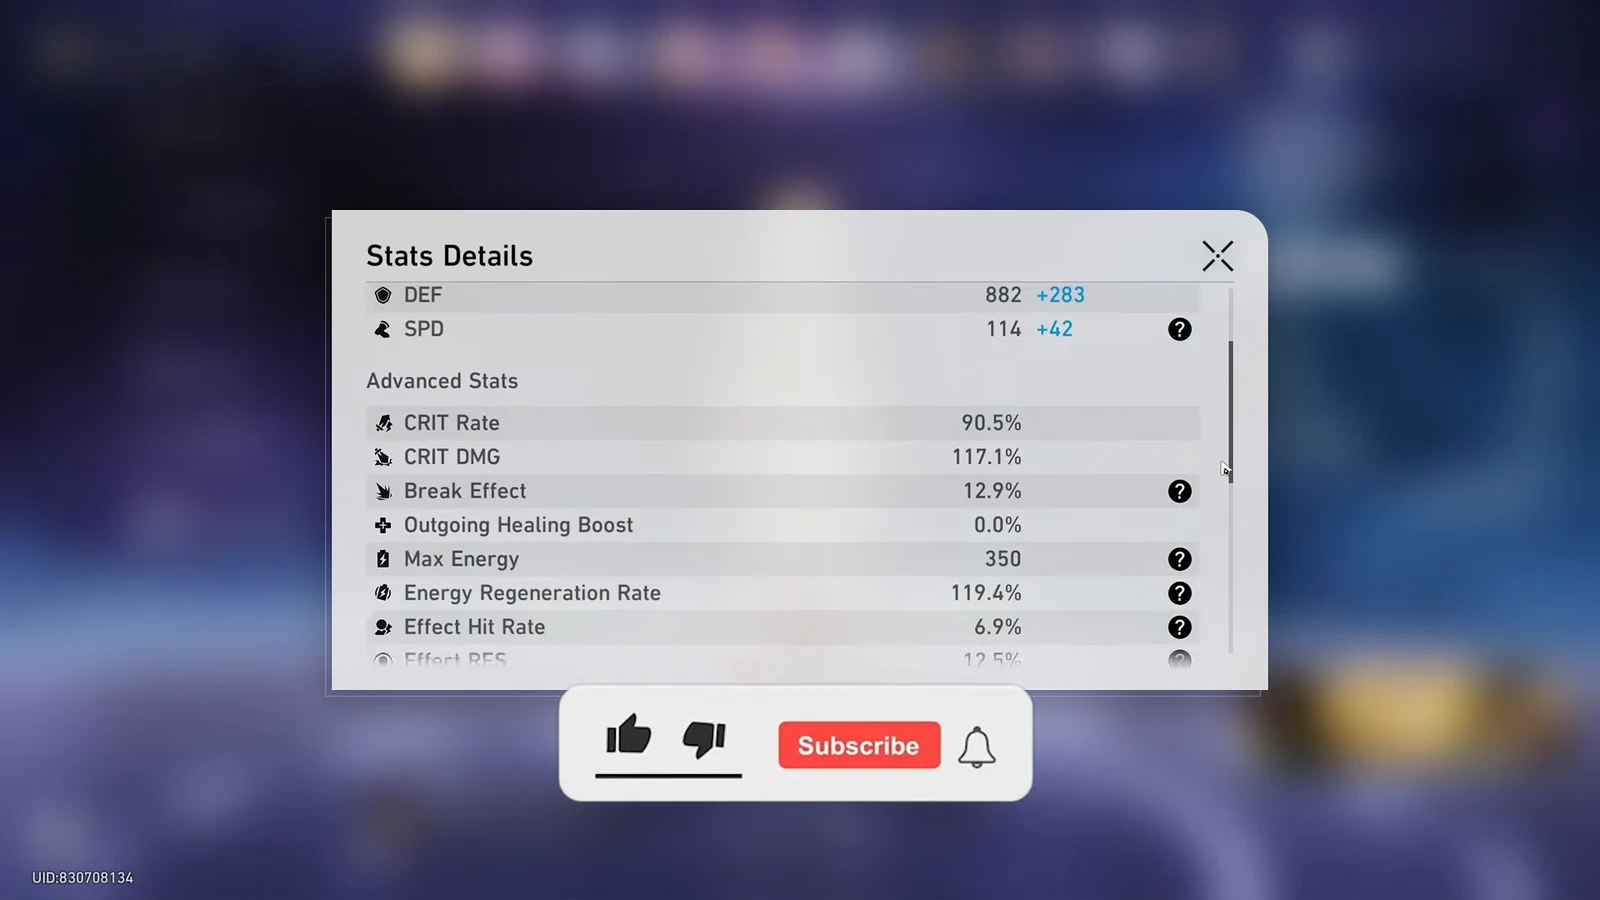
Aim for 6,000 HP or more to strengthen the ATK buff she passes to the carry, CRIT Rate as close to 100% in combat as you can manage, and 160 SPD to get her birds acting sooner. She already gains 50% CRIT Rate from a bonus ability plus more from relics, so crit is easy to top off with a few sub-stats.
Open every fight with her Technique. It grants 6 Vibes at the start of battle and a 30% DMG boost to the whole team for two turns, which lets Drummie appear earlier and shortens the run-up to Fever. From there, Skill to keep Bessie healthy, Ultimate on the main carry to advance them and recharge Energy, and let the Summer Songbirds carry the active turns during Fever.
You know it worked when the end screen reads Challenge Completed with all three stars and 28 remaining cycles, confirming both bosses died inside a single Fever burst each. If the clear stalls, it almost always comes down to Fever arriving late, so make sure both carries have their damage buffs and turn advances lined up before the boss wave rather than after it.