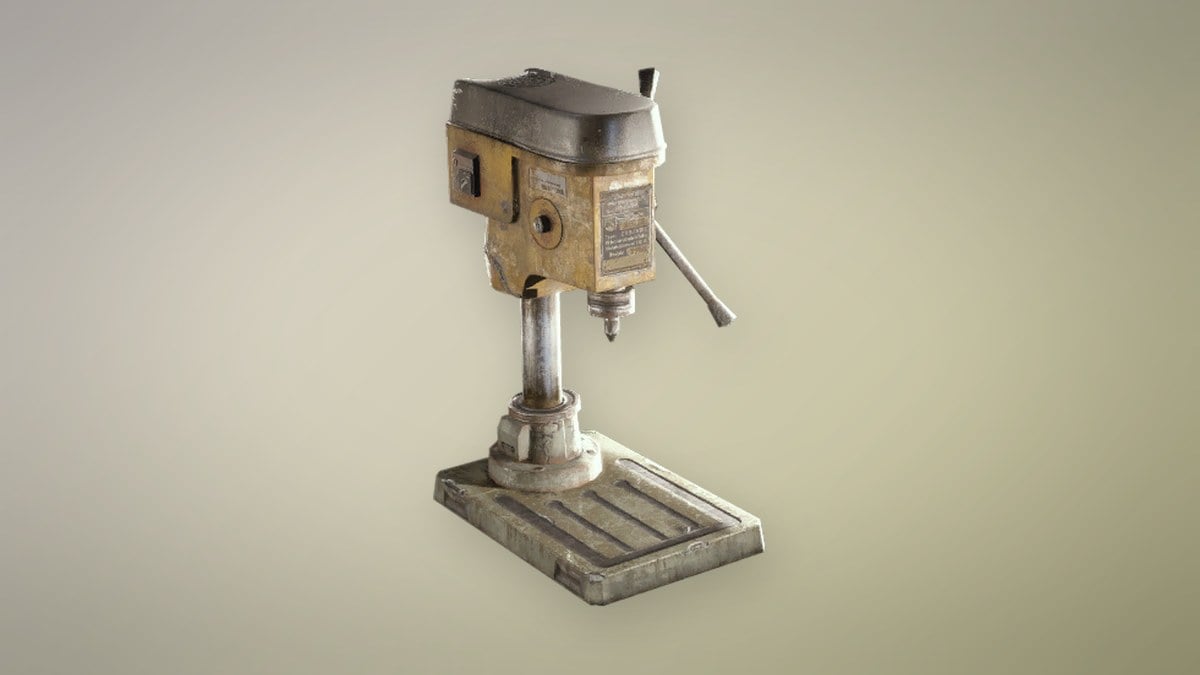
Radial Press is an Epic topside material that arrived in ARC Raiders with the Frozen Trail update. Most raiders go looking for it for one reason. The Gunsmith won’t go from level III to level IV without three of them, and Gunsmith IV is the station level that lets you amplify weapons. No recipe makes it, and no trader sells it. You have to find it lying around topside.
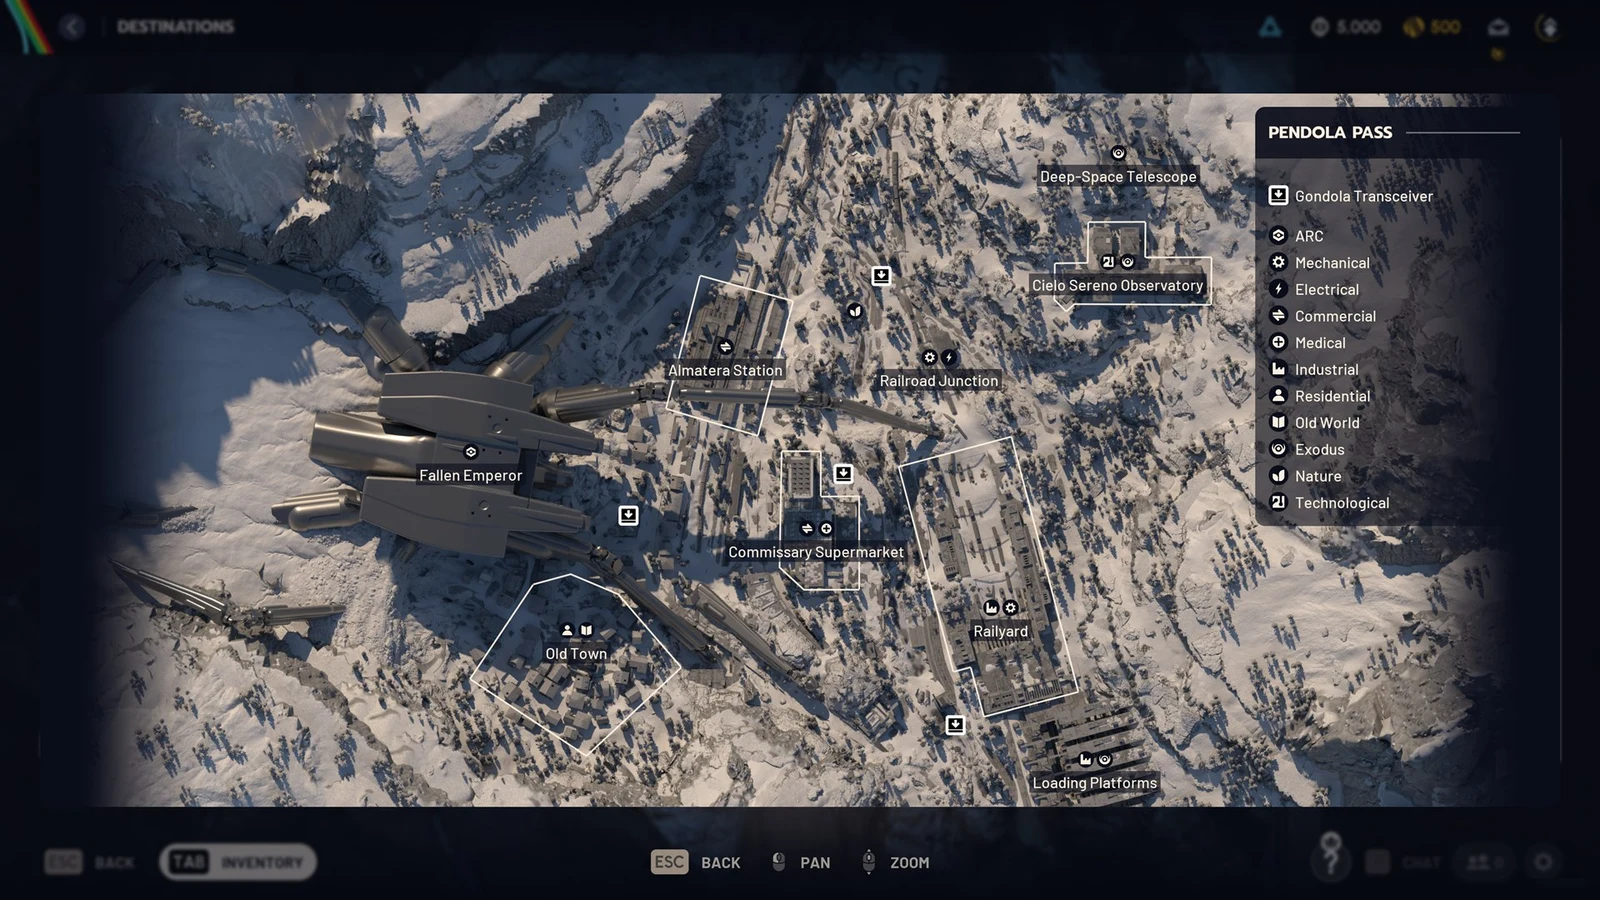
Quick answer: Deploy into Pendola Pass and check the metal shelves on Almatera Station’s second floor, then the train-car tables and seats below it. After the 25-minute mark, raid Storm Huts.
Radial Press stats and loot tags
Before you spend time searching a train station, it helps to understand the item. Its loot tags are Industrial and Mechanical, putting Radial Press in machinery-filled spaces and freight zones, not houses or stores. It weighs very little, so carrying a full stack barely affects your load.
| Property | Value |
|---|---|
| Category | Topside Material |
| Rarity | Epic |
| Loot tags | Industrial, Mechanical |
| Weight | 0.5 |
| Max stack | 3 |
| Added in | Frozen Trail update |
| Recycles into | 1x Advanced Mechanical Components |
| Salvages into | 1x Mechanical Components |
A single stack holds exactly the three you need for the Gunsmith, which is convenient. Its tooltip simply notes that it’s used in crafting.
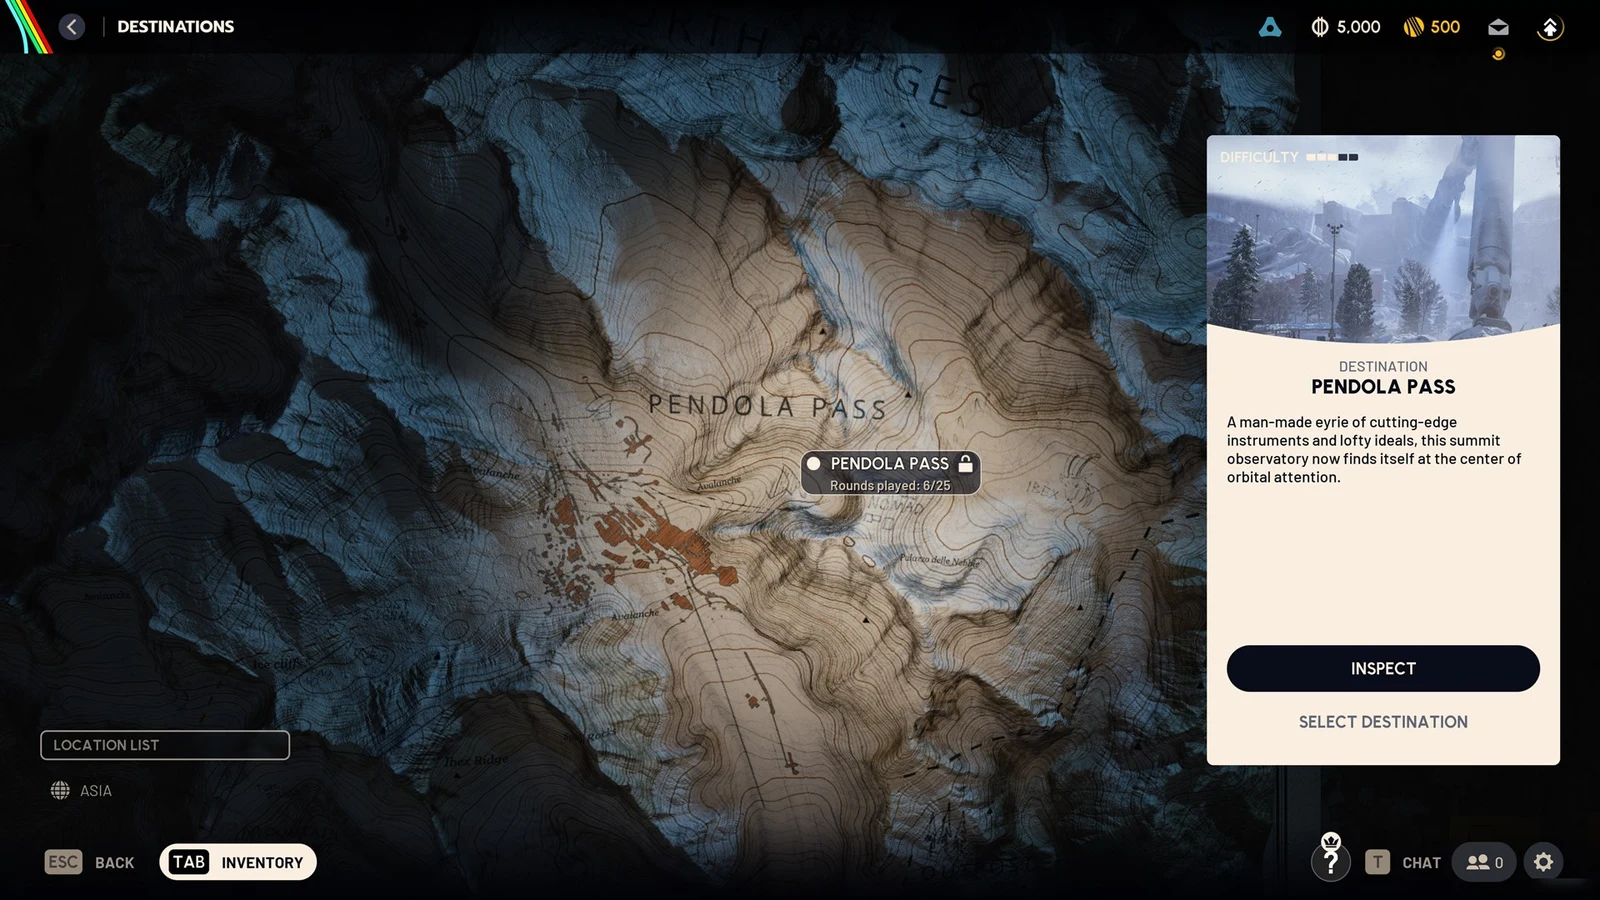
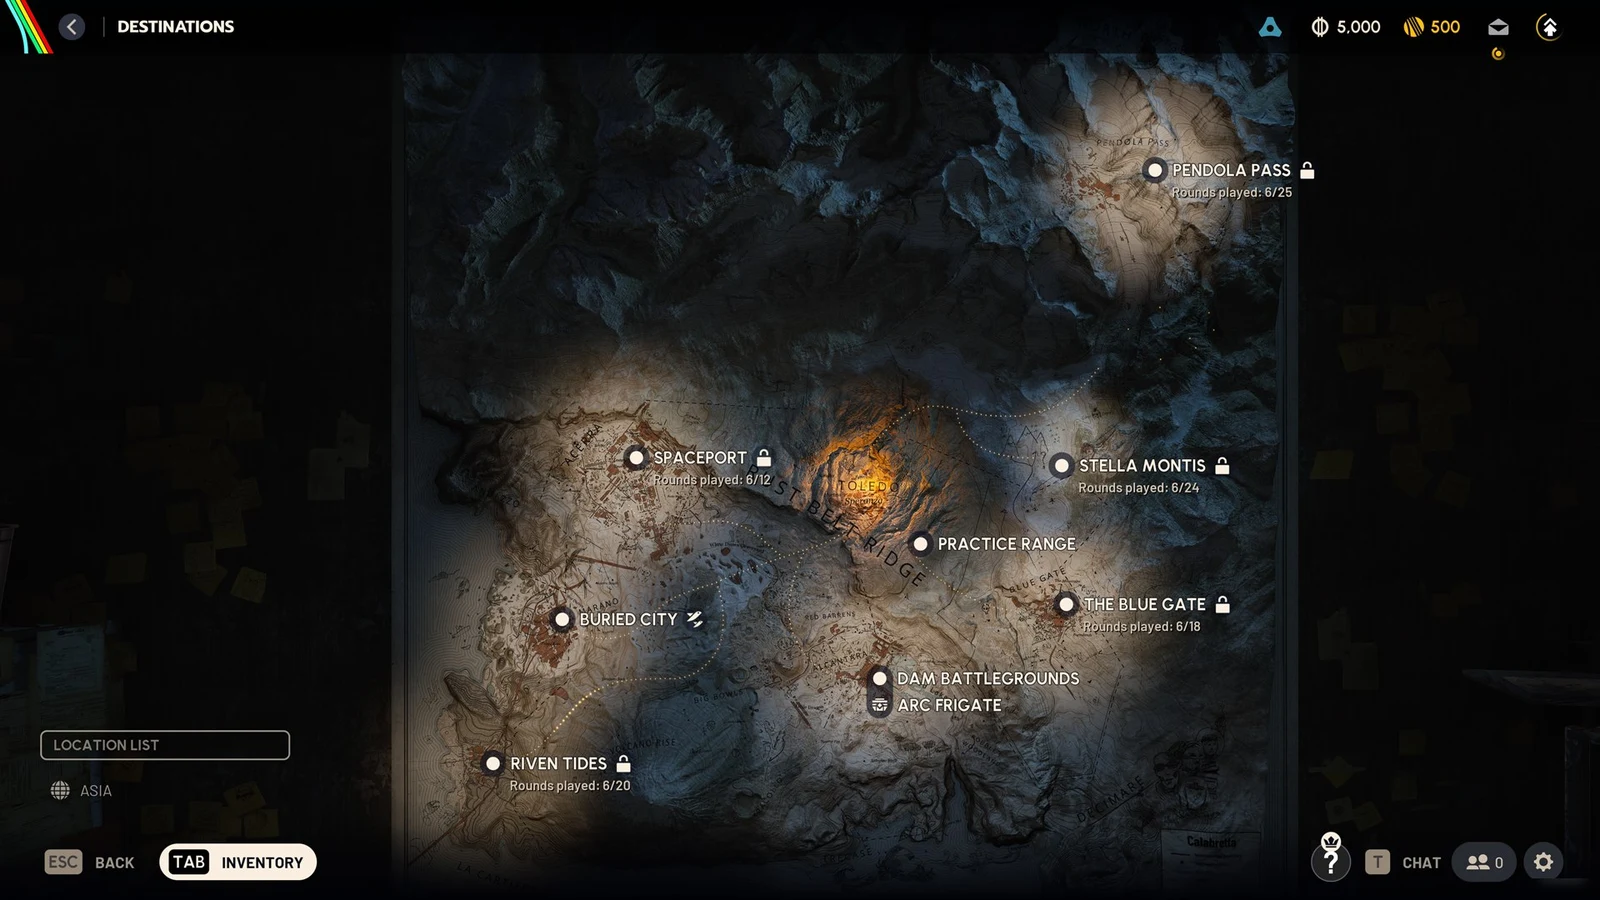
Where Radial Press spawns on Pendola Pass
The regular map spawns for Radial Press are on Pendola Pass, the snowbound observatory map with a disused rail network running through it. Pendola Pass unlocks after 25 rounds played and is rated 3 out of 5 for difficulty. If you haven’t hit that count yet, finding a Radial Press has to wait.
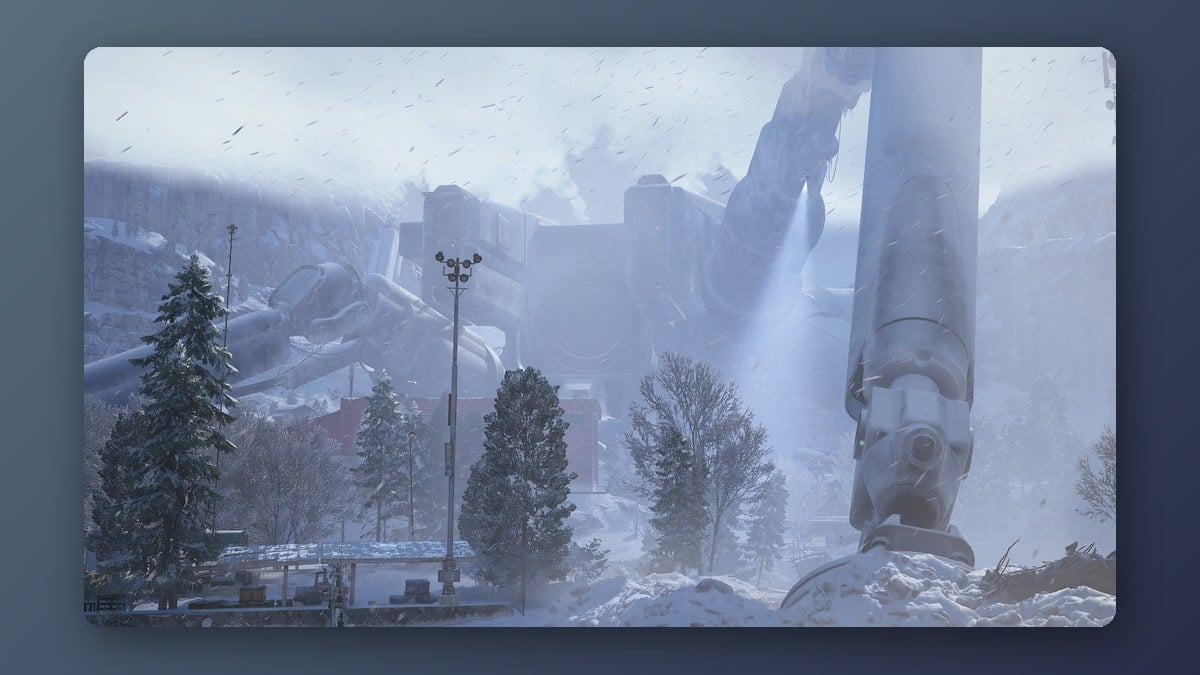
Nearly every spawn point sits at Almatera Station, which accounts for 304 of the item’s 308 spots on the map. Porta Benvenuti holds the other four. Every one of those spots is loose loot, out in the open on a surface. Ordinary containers in the open world don’t roll it, so prying open every crate along the way won’t help. Watch the shelves and tabletops instead.
| Spawn surface | Share of spots |
|---|---|
| Shelves and storage racks | 54% |
| Train car tables and seats | 35% |
| Tables, chairs and counters | 7% |
| Parked vehicles | 2% |
None of these locations guarantees a Radial Press; another item may appear instead. Check the tactical map right after spawning: each raid marks several loot areas, with yellow indicating Medium value and red indicating High value. The marked areas shift between raids. Almatera Station offers better finds when marked yellow or red, and a red zone contains a larger quantity of loot.
Almatera Station shelf room route
Almatera Station sits directly east of the Fallen Emperor, the giant ARC walker stuck in the snow. The station itself carries the Commercial loot tag. The room you want is on the second floor, in the northern part of the building, and it’s packed with metal shelving.
This room pays off even when Radial Press doesn’t show. On a red-zone raid the same shelves can turn up a Laser Level, Insulation Roll, Thermal Shaker, Hand Drill, Steel Cable, and Sheet Metal next to it. On a yellow-zone raid it still rolled a Radial Press, a Hand Drill, and a Calculator. Several of those feed the Outpost expansions you need before Gunsmith IV anyway.
Train cars at Almatera Station and the Railyard
About a third of all Radial Press spots are inside parked passenger cars, mostly the trains running beneath and through Almatera Station. These are available from the first minute of a raid, which makes them the natural thing to loot before Storm Huts open. The Railyard, an Industrial and Mechanical area with a threat level of 1, is the other stretch of track worth walking. The same carriages also hand out Synthesized Fuel, Springs, Epoxy Buckets, and Hand Drills.
Storm Huts after the 25-minute mark
Storm Huts are small shelters that open late in a Pendola Pass raid when a Flash Freeze hits. They start appearing once the match passes 25 minutes and keep popping up every two to three minutes after that. Inside are high-tier gear and hideout materials, and Radial Press turns up there regularly.
Storm Hut markers appear to every raider, making other players likely to show up this late in the match. Put the Radial Press in your safe pocket as soon as you collect it; it will remain yours if you get knocked out.
Key rooms and other maps
Key rooms use loot tables distinct from the open-map spawns described earlier, and Radial Press has appeared in them as well. One has turned up in both the Almatera Station key room and the Old Town key room—the basement beyond the green keycard door. The Cielo Sereno Observatory key room yields related Frozen Trail materials, including Laser Levels, Insulation Rolls, and Epoxy Buckets. If you have the appropriate key, detouring into these rooms is worthwhile.
Off Pendola Pass, Radial Press isn’t a reliable find. Occasional pickups in bags on Riven Tides or in Bird City nests on Buried City come from event or container rolls, not fixed spawns, so don’t plan a farming route around them. Industrial areas on Dam Battlegrounds and Spaceport match the item’s loot tags, but neither map is a dependable source. If you do try them, Night Raids raise high-tier drop rates.
What Radial Press is used for
The Gunsmith III-to-IV upgrade requires 3 Radial Press, 3 Magnetic Accelerators, and 1 Emperor Modulator, a legendary material found inside the Fallen Emperor. Your Outpost must also reach level 4 for the upgrade. Gunsmith IV unlocks amplification, the weapon tier beyond IV.
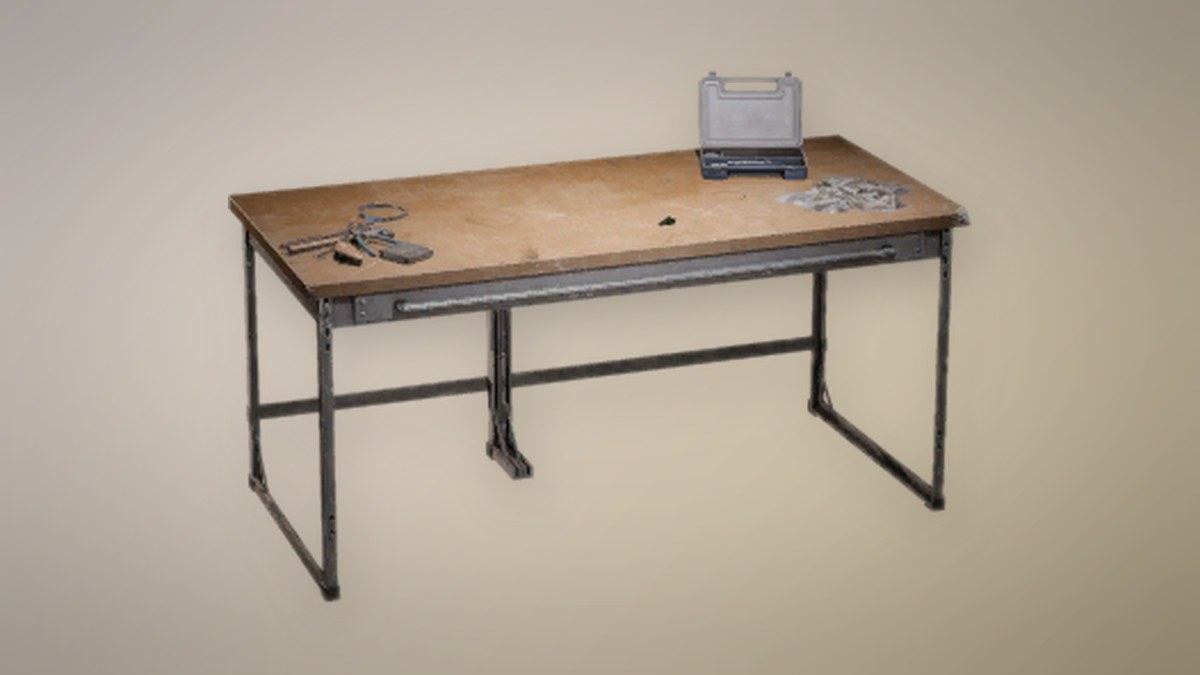
Beyond the Gunsmith, it’s a single-unit ingredient in a handful of furniture recipes. No quests or Projects ask for it.
| Use | Radial Press needed |
|---|---|
| Gunsmith level III to IV | 3 |
 Chambers Nightstand Design | 1 |
| Sturdy Faculty Chair Design | 1 |
 Diner Table | 1 |
 Sturdy Aviary Table | 1 |
Once your Gunsmith is upgraded and any designs you want are built, spares can go to the Recycle Station. Recycling returns one Advanced Mechanical Components, a part that’s much harder to find on its own than the plain Mechanical Components you get from salvaging it in the field.
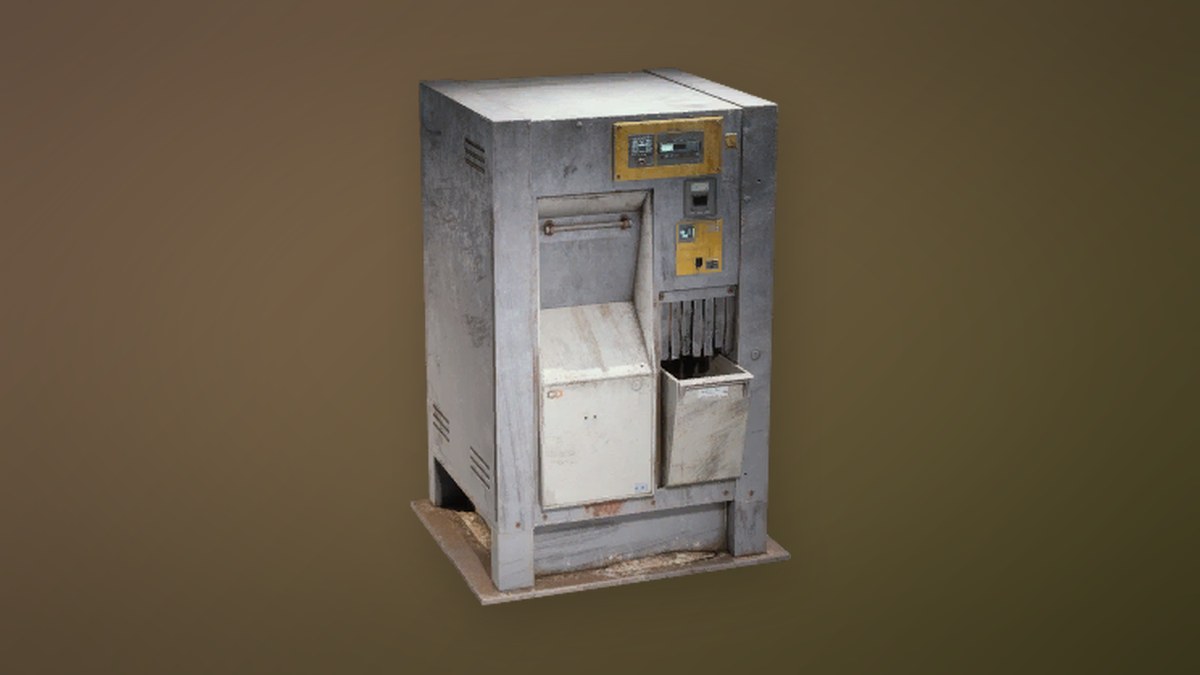
Confirming your Radial Press made it out
A good pickup shows the interaction prompt reading “Radial Press.” The item lands in your bag with an Epic frame, and its tooltip lists it as a Topside Material found in Mechanical and Industrial areas. If your loadout is full, the prompt says so, so make room before you leave the shelf behind.
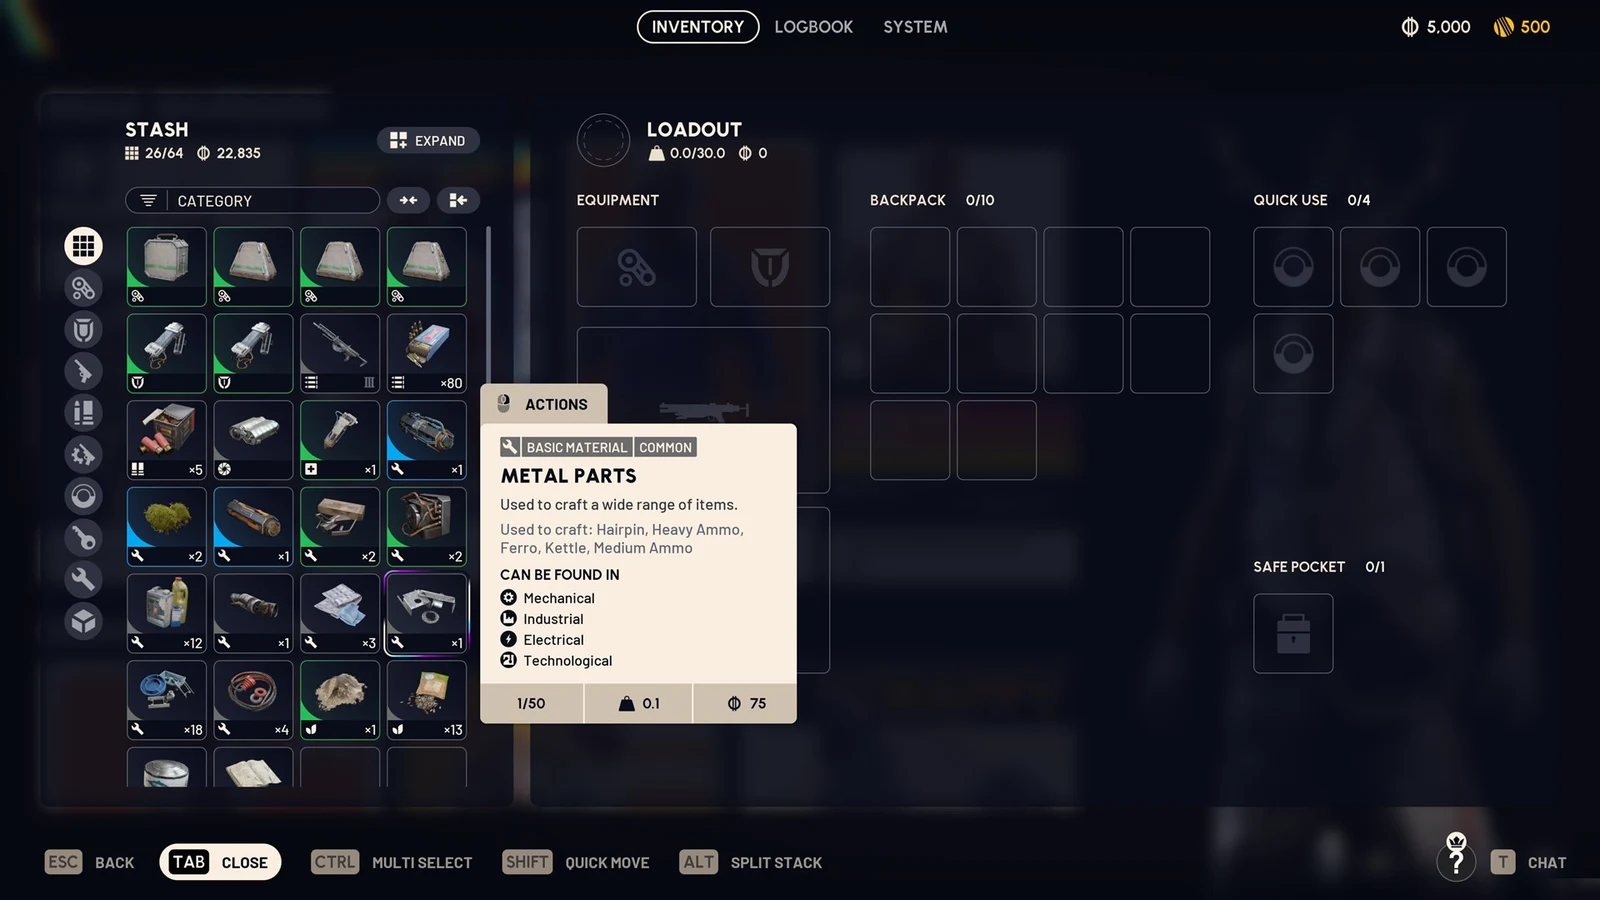
None of that counts until you extract. On Pendola Pass the return points are the Glacial Transceiver, Northern Transceiver, Reckless Transceiver, and Supermarket Transceiver. Reach one with the Radial Press still on you and it moves into your stash, ready for the Gunsmith back at the Outpost. Repeat until your stash shows three, and the Gunsmith IV upgrade button stops being a tease.