The four Glow Up 1 morphs in Backrooms Morphs 2 are scattered across three teleport destinations, and two of them are locked behind keys you have to pick up somewhere else first. None of them require combat or a timed event. Every one is a pickup sitting in a fixed spot, so once you know the route, all four badges take a few minutes.
Quick answer: Grab Green Glow Up 1 from the side table in the Old Hallway, break the Theater vent with the Sledge Hammer for Blue Glow Up 1, carry the Blue Key from Destroyed Backrooms through the portal to the restaurant for Purple Glow Up 1, and take the Red Key from the bottom of the blue slide back to the Theater’s red room chest for Red Glow Up 1.
All 4 Glow Up 1 morph locations and requirements
Two of the four need an item in your inventory before the pickup will do anything. The other two are open collection points you can walk straight to.
| Morph | Where it is | What you need first |
|---|---|---|
| Green Glow Up 1 | Old Hallway, on a side table beside a lamp | Nothing |
| Blue Glow Up 1 | Theater, inside a wall vent | Sledge Hammer |
| Purple Glow Up 1 | Restaurant area through the Destroyed Backrooms portal | Blue Key |
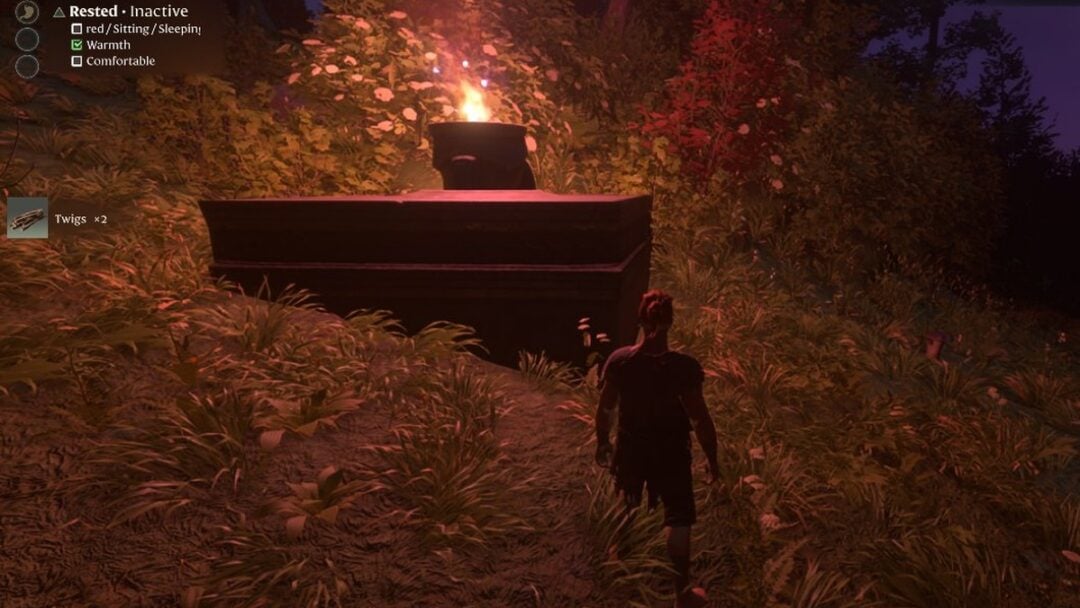
| Red Glow Up 1 | Theater, in a chest inside the red room | Red Key |
Green Glow Up 1: The Old Hallway table
Start with this one. It is the only morph in the set that needs no key, no tool, and no climbing.
Blue Glow Up 1: Break the Theater vent with the Sledge Hammer
The Theater holds two of the four morphs, so it is worth learning the layout here. The Blue Glow Up 1 pickup is sealed behind a vent cover that only breaks with the right tool.
Purple Glow Up 1: Blue Key to the restaurant
This is the first of the two key runs. The key and the lock sit in different areas, so the pickup does nothing until the BlueKey is already on you.
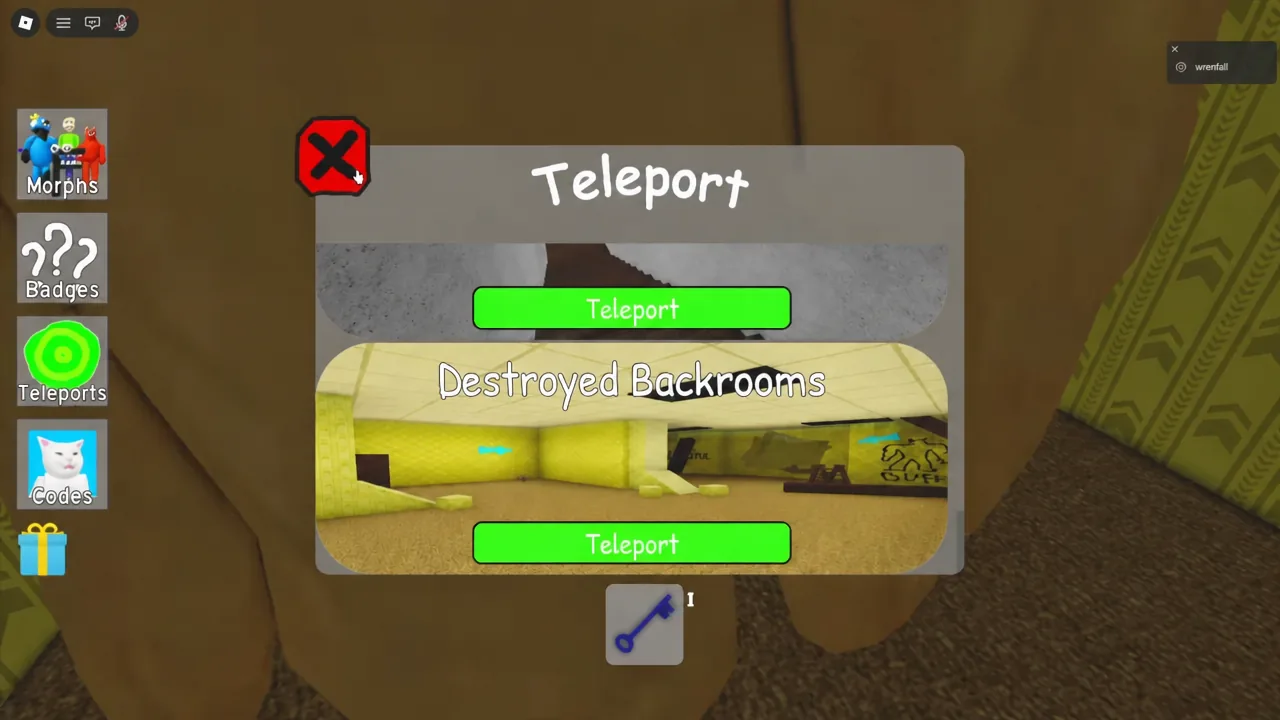
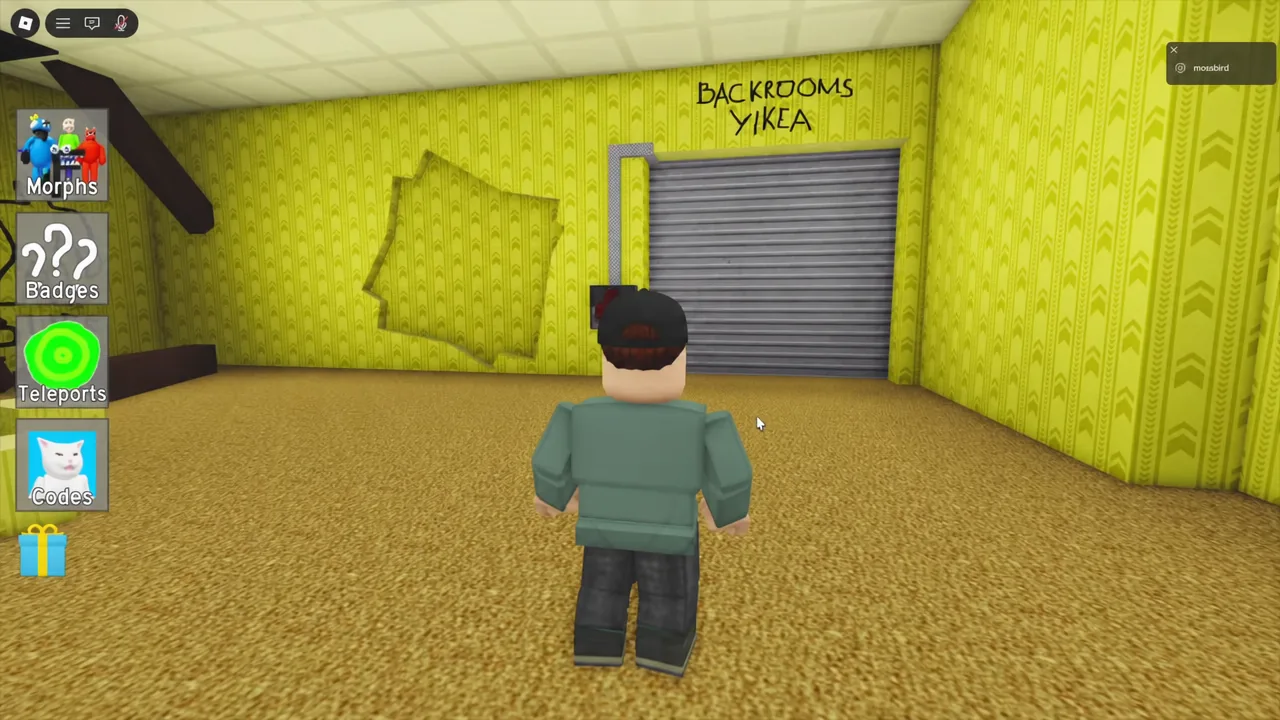
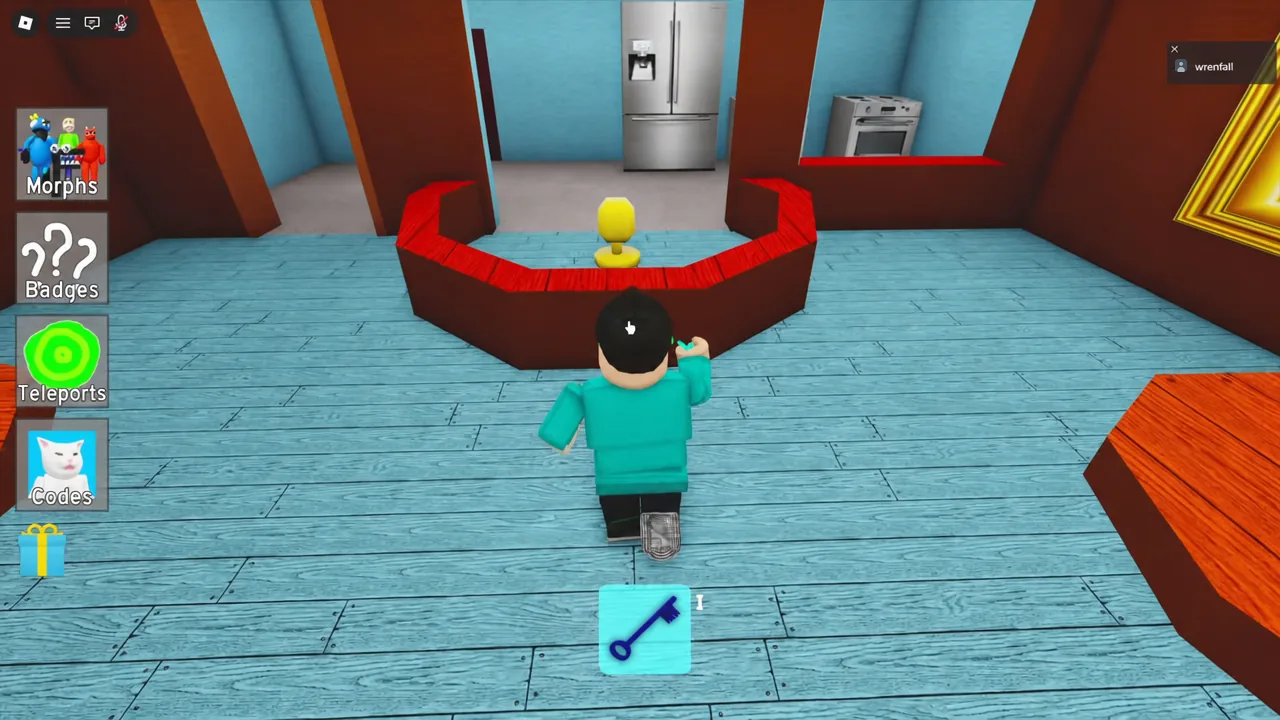
Red Glow Up 1: Red Key from the blue slide to the Theater chest
Save this one for last, because it sends you out to the slides and then back to the Theater you have already cleared.
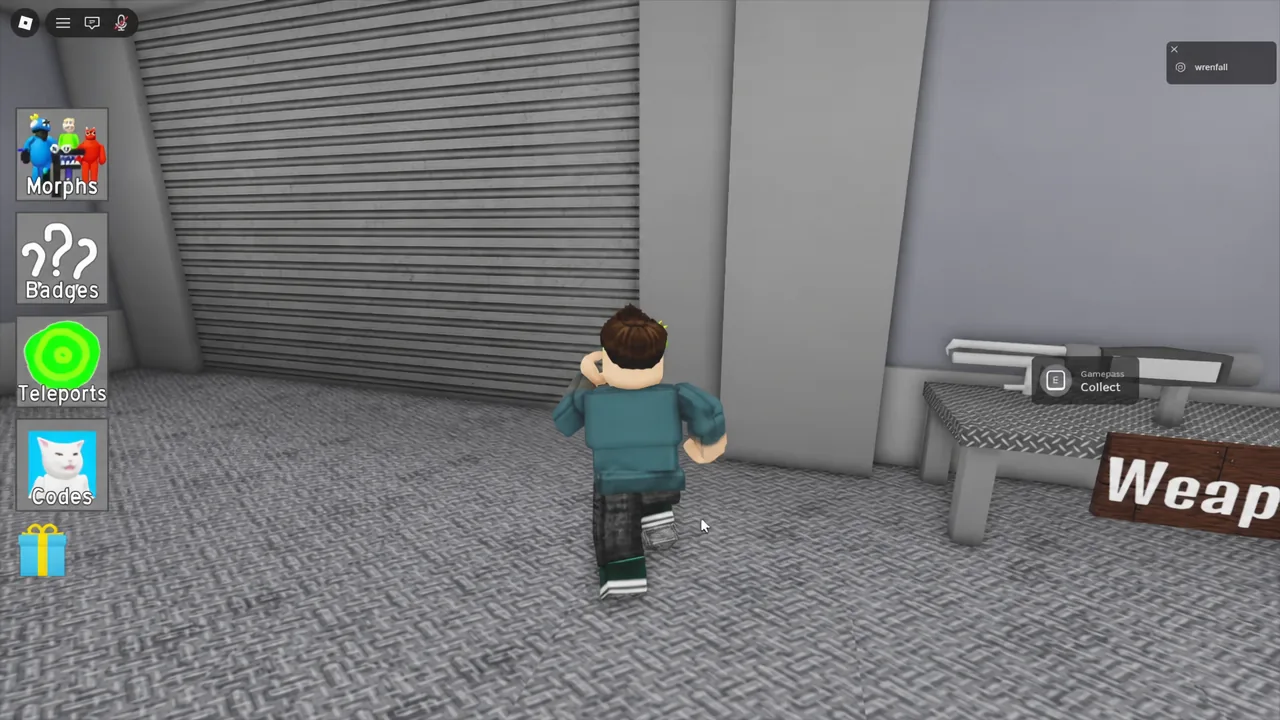
How to confirm all 4 badges unlocked
Each pickup awards its badge the moment you touch it, and the matching skin drops straight into your Morphs menu. Open the Morphs list and look for Purple Glow Up 1, Blue Glow Up 1, Green Glow Up 1, and Red Glow Up 1 as equippable entries. If all four appear and can be worn, the set is done.
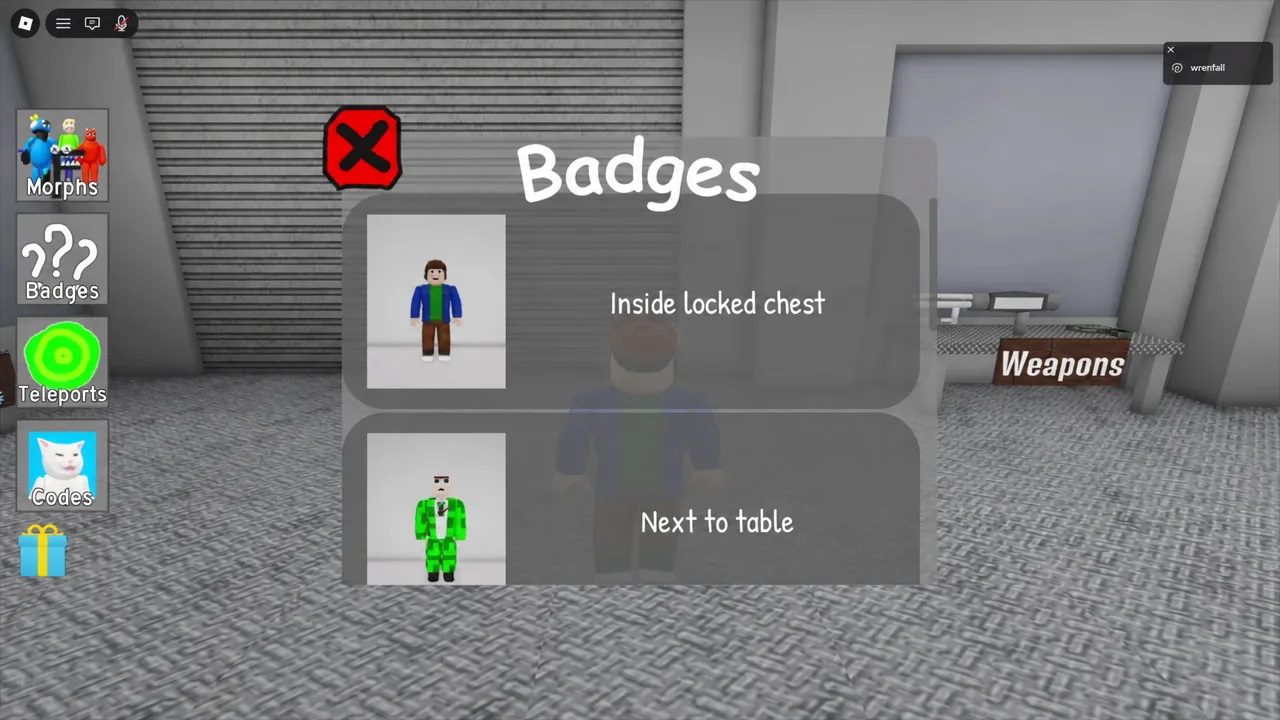
The Badges menu is the faster check when you are unsure which one you missed. It lists each badge with a short location clue next to it, so an entry that still shows its hint is one you have not picked up yet.
Why a Glow Up 1 pickup does not unlock
Nearly every failed attempt comes down to a missing item rather than a bug. The chest in the Theater’s red room will not open unless the Red Key is in your inventory, and the restaurant container behaves the same way with the Blue Key.
The Theater vent is the other sticking point. Punching or walking into it does nothing — the cover only breaks once you are holding the Sledge_Hammer from the nearby side room, and the crawl space stays sealed until then.
Because the keys are carried items, dying or resetting before you reach the lock means going back for them. If a key disappears from your hands mid-run, return to its original spawn point and pick it up again before heading to the chest.
Once all four are collected the badges stay on your account, so you can equip and swap between the Glow Up 1 morphs freely without repeating any of the routes.