

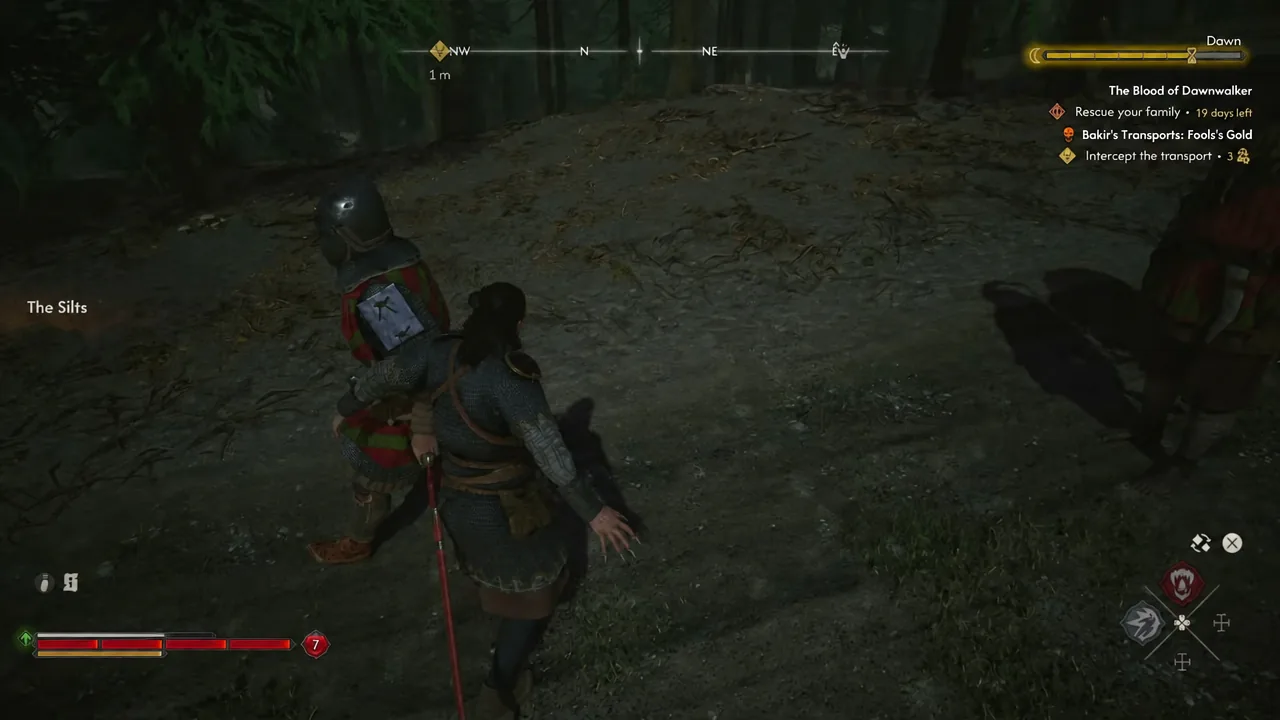
Bakir’s Transports: Fool’s Gold is one of two Payoff Transports tied to Bakir’s court in The Blood of Dawnwalker, and it is the only transport in the valley that can hand you a treasure map instead of just a corpse pile. The activity is short, the escort is the whole encounter, and the single decision that matters comes after the fighting stops.
Quick answer: Find the transport walking the road near The Silts, defeat the escort until the survivors yield, then spare them. They hand Coen a map to the hidden gold, which opens the sub-quest Bakir’s Transports: Ill-Gotten Gains. The activity ends immediately and burns 3 time segments.
Fool’s Gold location and requirements
The transport is a moving group of enemies rather than a fixed camp. It patrols the road near The Silts, in the stretch of country that also holds Turtle Rock, and it drifts along its route, so the quest marker will not always be sitting where you last saw it. Walk the road in both directions until the yellow “!” icon appears.
Bakir’s region is tuned well above the opening area. The activity is available the moment you reach the open world after the prologue, but the escort hits hard enough that you want to be comfortably into the mid-twenties before you take it on.
| Detail | Value |
|---|---|
| Activity type | Payoff Transport (Bakir’s court) |
| Objective | Intercept the transport |
| Area | Road near The Silts |
| Recommended level | 25+ |
| Time cost | 3 time segments |
| Optional unlock | Bakir’s Transports: Ill-Gotten Gains (spare the guards) |
| Companion activity | Bakir’s Transports: Curious Shipment |
Court activities are never pinned on your map by default. They sit in the world as “Unknown Activity” until you discover them, so climbing the valley’s towers first is worthwhile — that converts every nearby activity into a white “?” icon, which turns yellow when you close in on the transport itself.
Clearing the escort
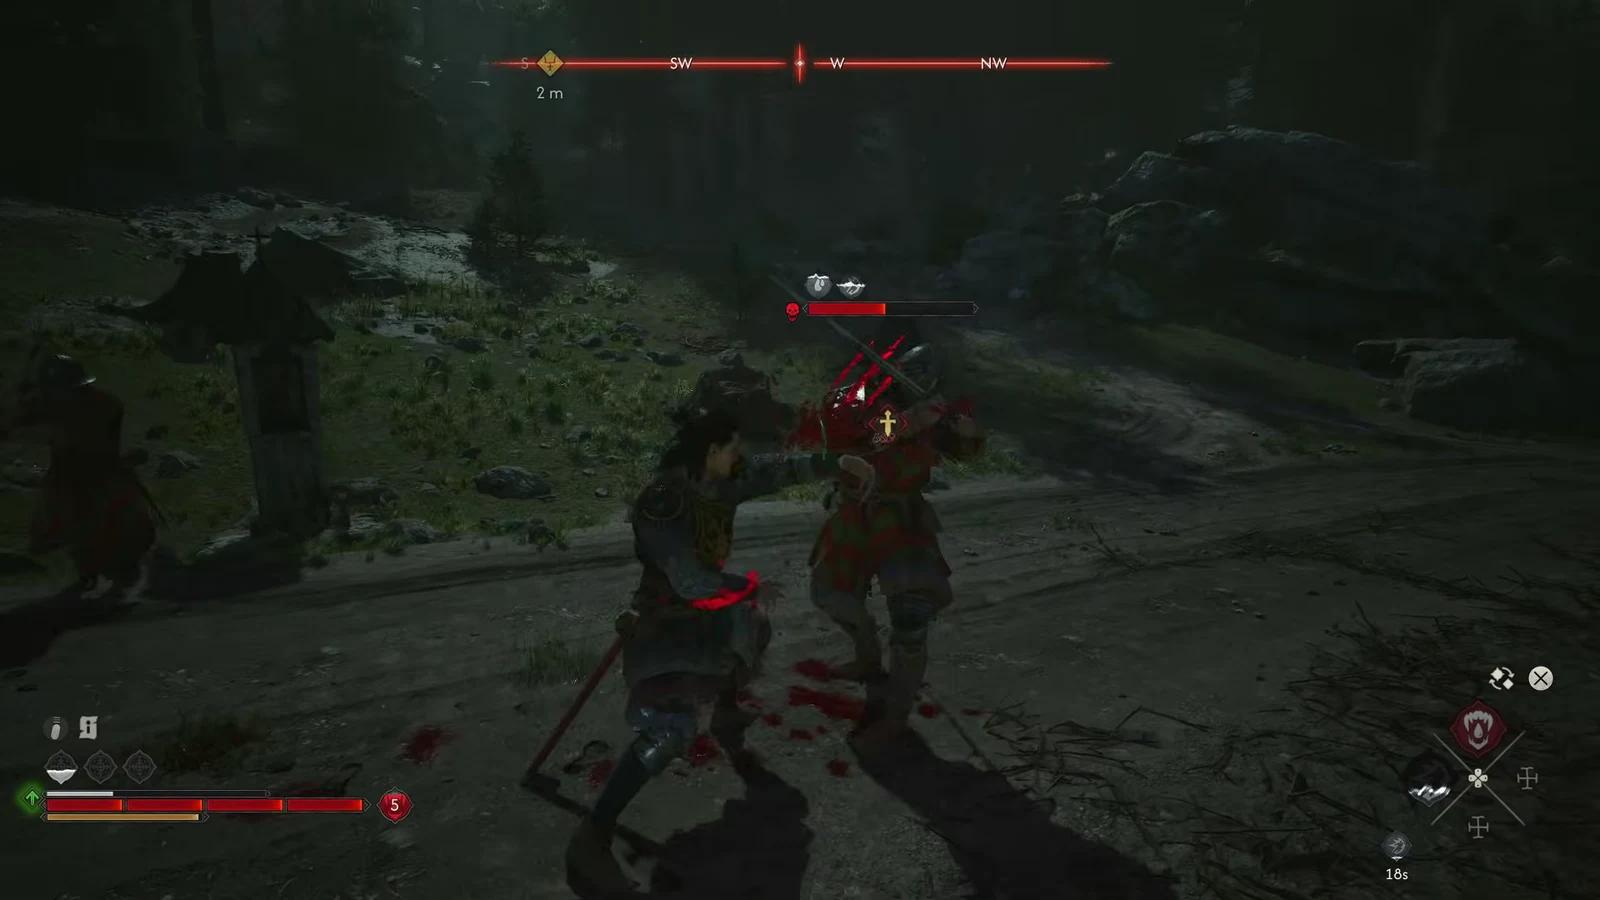
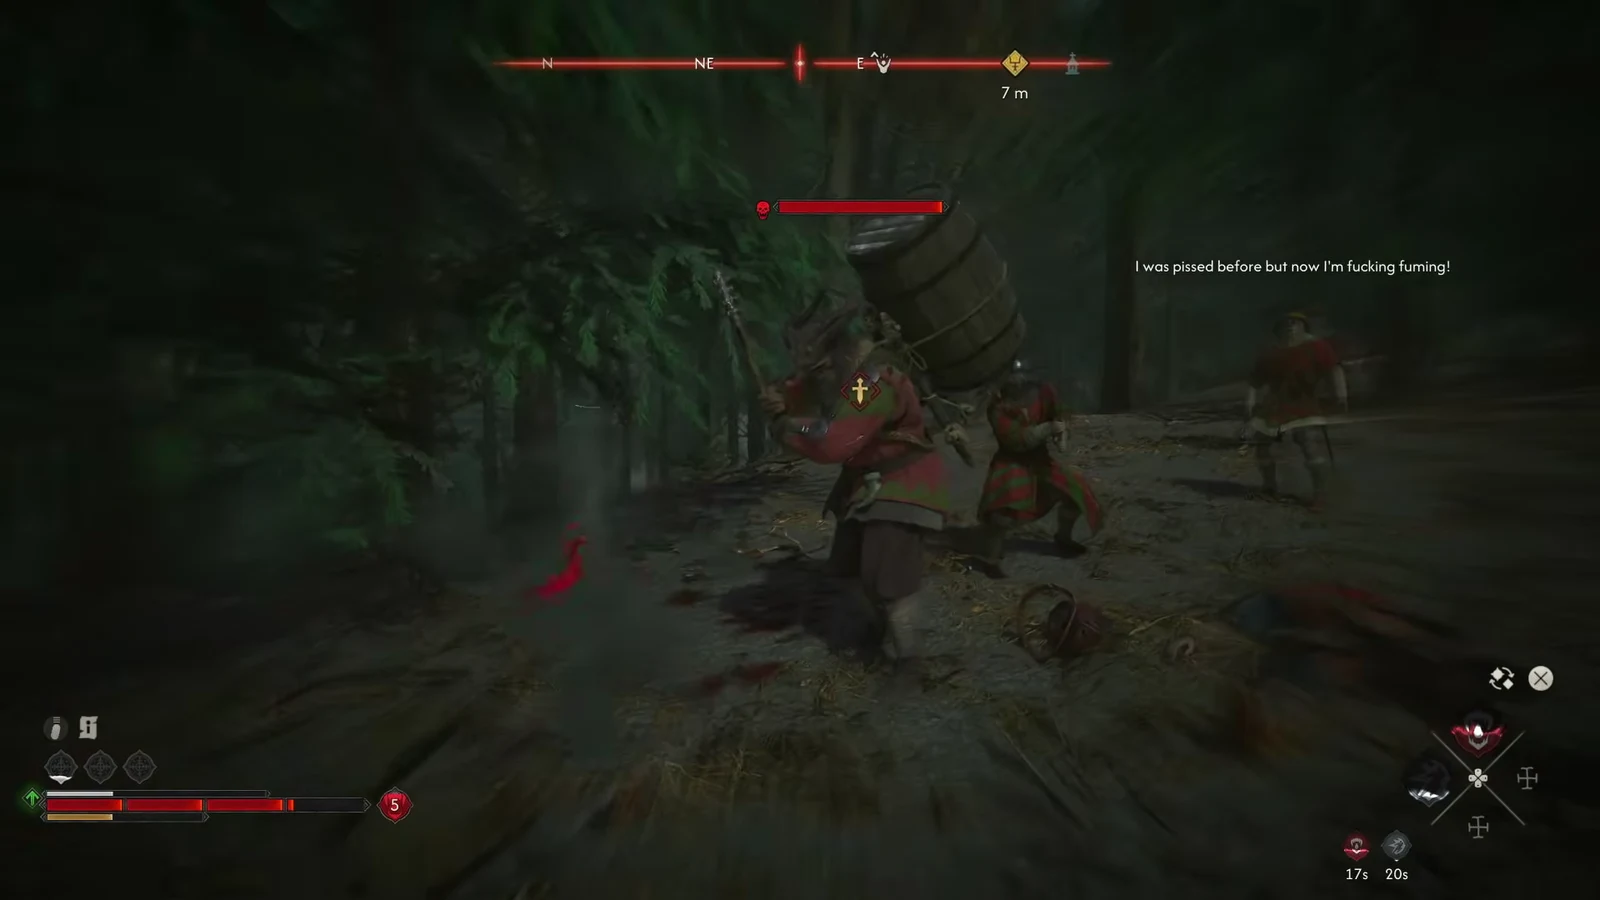
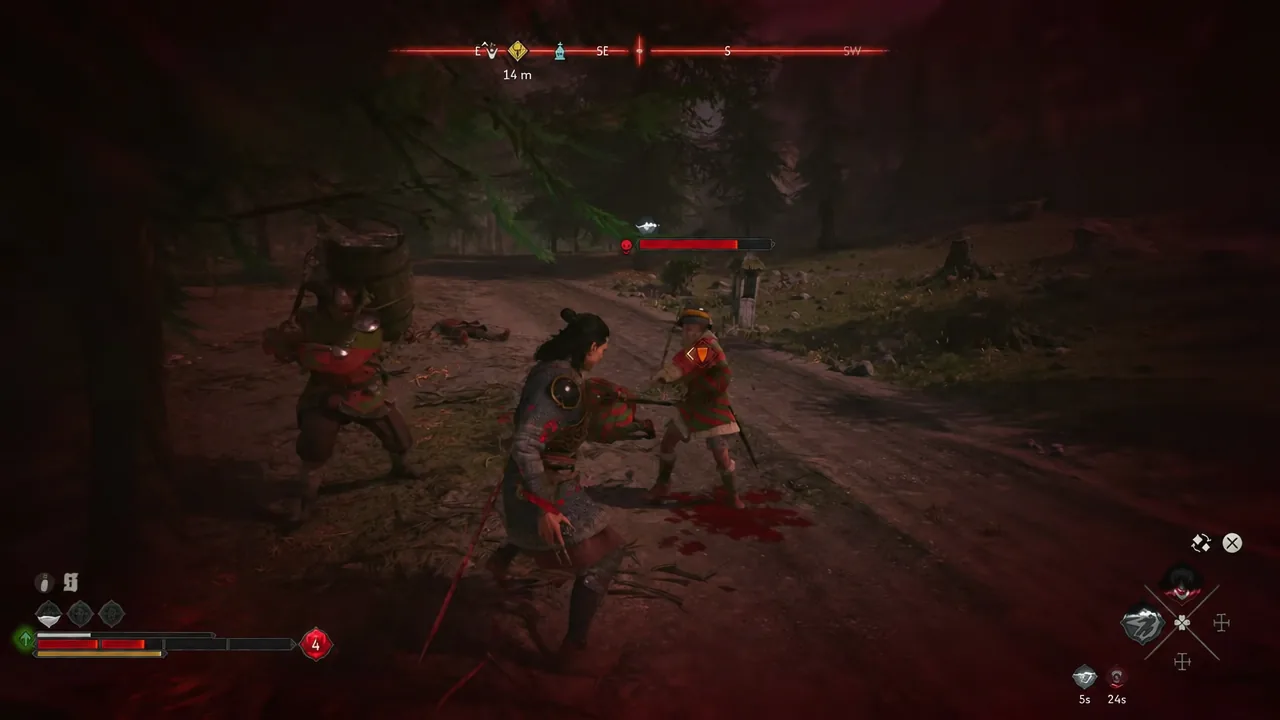
The surrender: spare the guards to unlock Ill-Gotten Gains
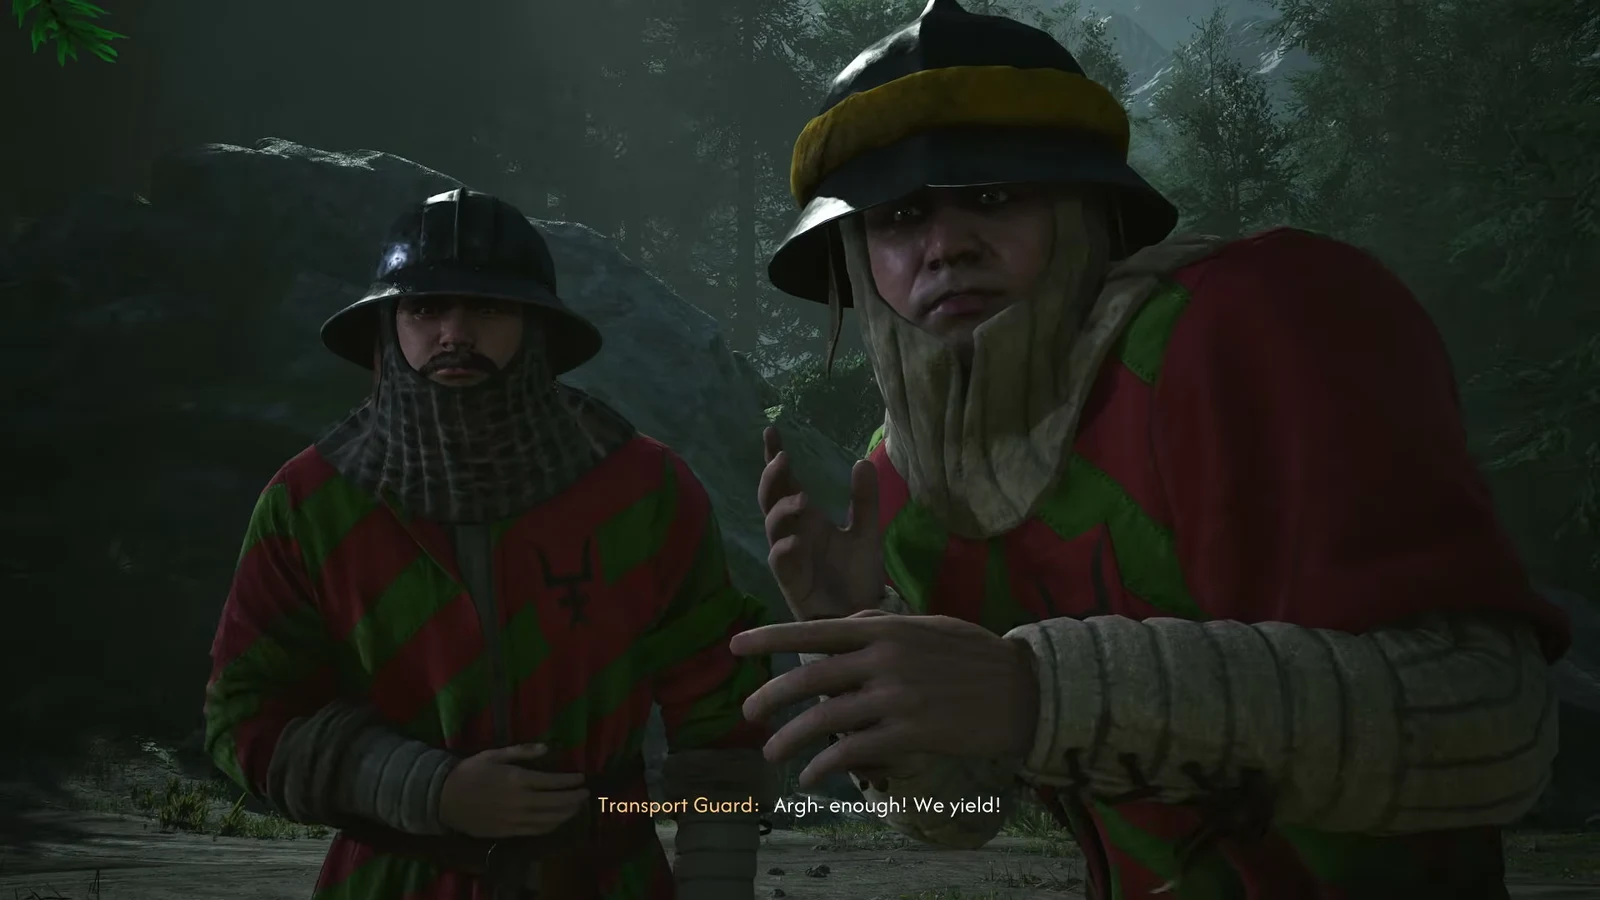
Once enough of the escort is down, the survivors stop fighting on their own and a conversation takes over. A guard shouts “Argh- enough! We yield!” and offers a trade — their lives for the gold they were carrying, money that was meant to be handed over to the uriashi.
Take the deal. Coen asks where the gold is hidden, the guard produces a map marking the spot, and Coen sends them off with a warning. Letting the men walk away is what turns the map into a real objective: it opens the optional sub-quest Bakir’s Transports: Ill-Gotten Gains, with the stash location marked while that quest is tracked. Killing the survivors instead still finishes the activity, but the treasure line never appears.
Rewards and how to confirm the quest ended
After the dialogue, a short loading screen rolls the clock forward — a night interception lands you in the Morning of the following day, with the coronation counter ticking down accordingly. That transition is the clearest signal that the 3 time segments have been spent.
Loot the bodies before you leave. One of them carries a Diplomatic Missive, a readable note issued in the name of Brencis as ruler of Vale Sangora. The “QUEST ENDED” banner then appears with your payout attached: 38 XP and 100 gold in a standard run, on top of whatever the escort drops. Bakir’s court ledger records the activity itself as worth 100 XP toward his anger track.
Note: unlike most Bakir activities, Fool’s Gold does not hand out a skill point. Its value is the treasure map and the progress it adds toward drawing Bakir out.
How this feeds Bakir’s court and your Infamy
Both Payoff Transports together cost 6 time segments and count toward the roughly nine activities you need to push Bakir’s anger to its ceiling and unlock his boss quest. The full Bakir questline runs to 42 time segments once The Lunar Game and The Ring are included, so clearing transports early is a cheap way to bank progress.
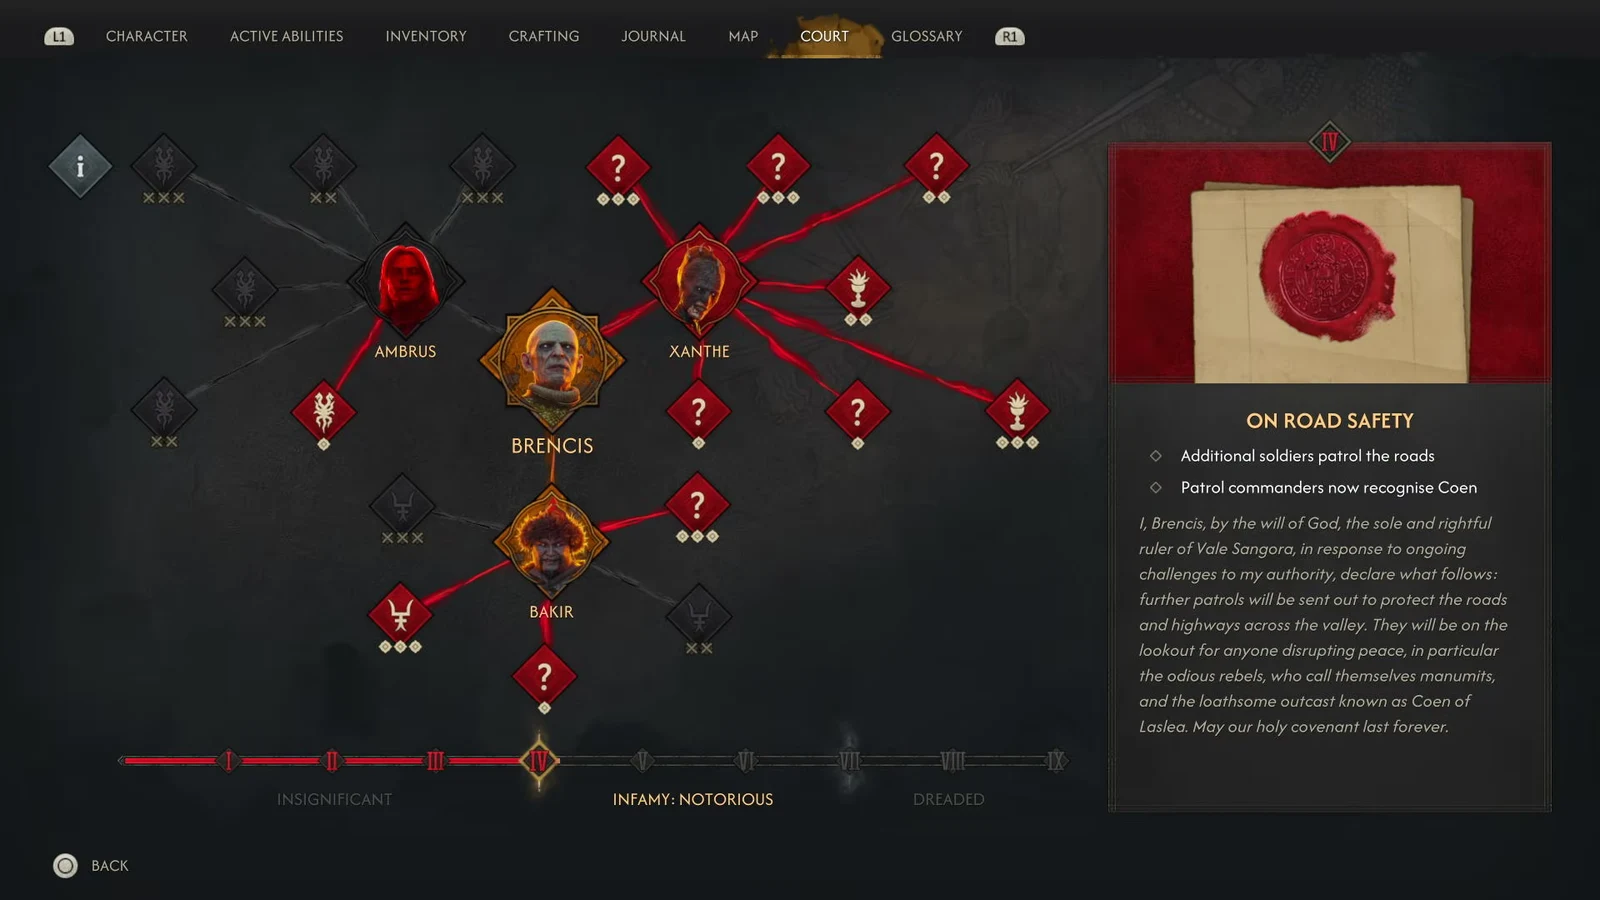
Each completed activity also raises your Infamy rating, and Brencis answers with Edicts that reshape the valley — extra patrols, checkpoints, higher shop prices, and eventually soldiers who recognise Coen on sight. You can check exactly which decrees are active, including road-safety measures aimed at travel routes, from the Court menu.
Why the transport does not show up
- The escort is walking, not parked. If the marker is missing, ride the same road stretch again until the icon pops.
- You have not discovered it yet. Untouched court activities stay listed as “Unknown Activity” and only appear on the map after a tower sweep or a physical visit.
- You killed the survivors. Once the escort is wiped out entirely, the surrender scene cannot fire and Ill-Gotten Gains stays locked for that playthrough.
Fool’s Gold is one of the least demanding entries on Bakir’s board once you are properly levelled, and the map it produces is the only reason to treat it differently from any other roadside ambush. Spare the men, pocket the marked location, and you leave with a second objective for the same three segments of the clock.





