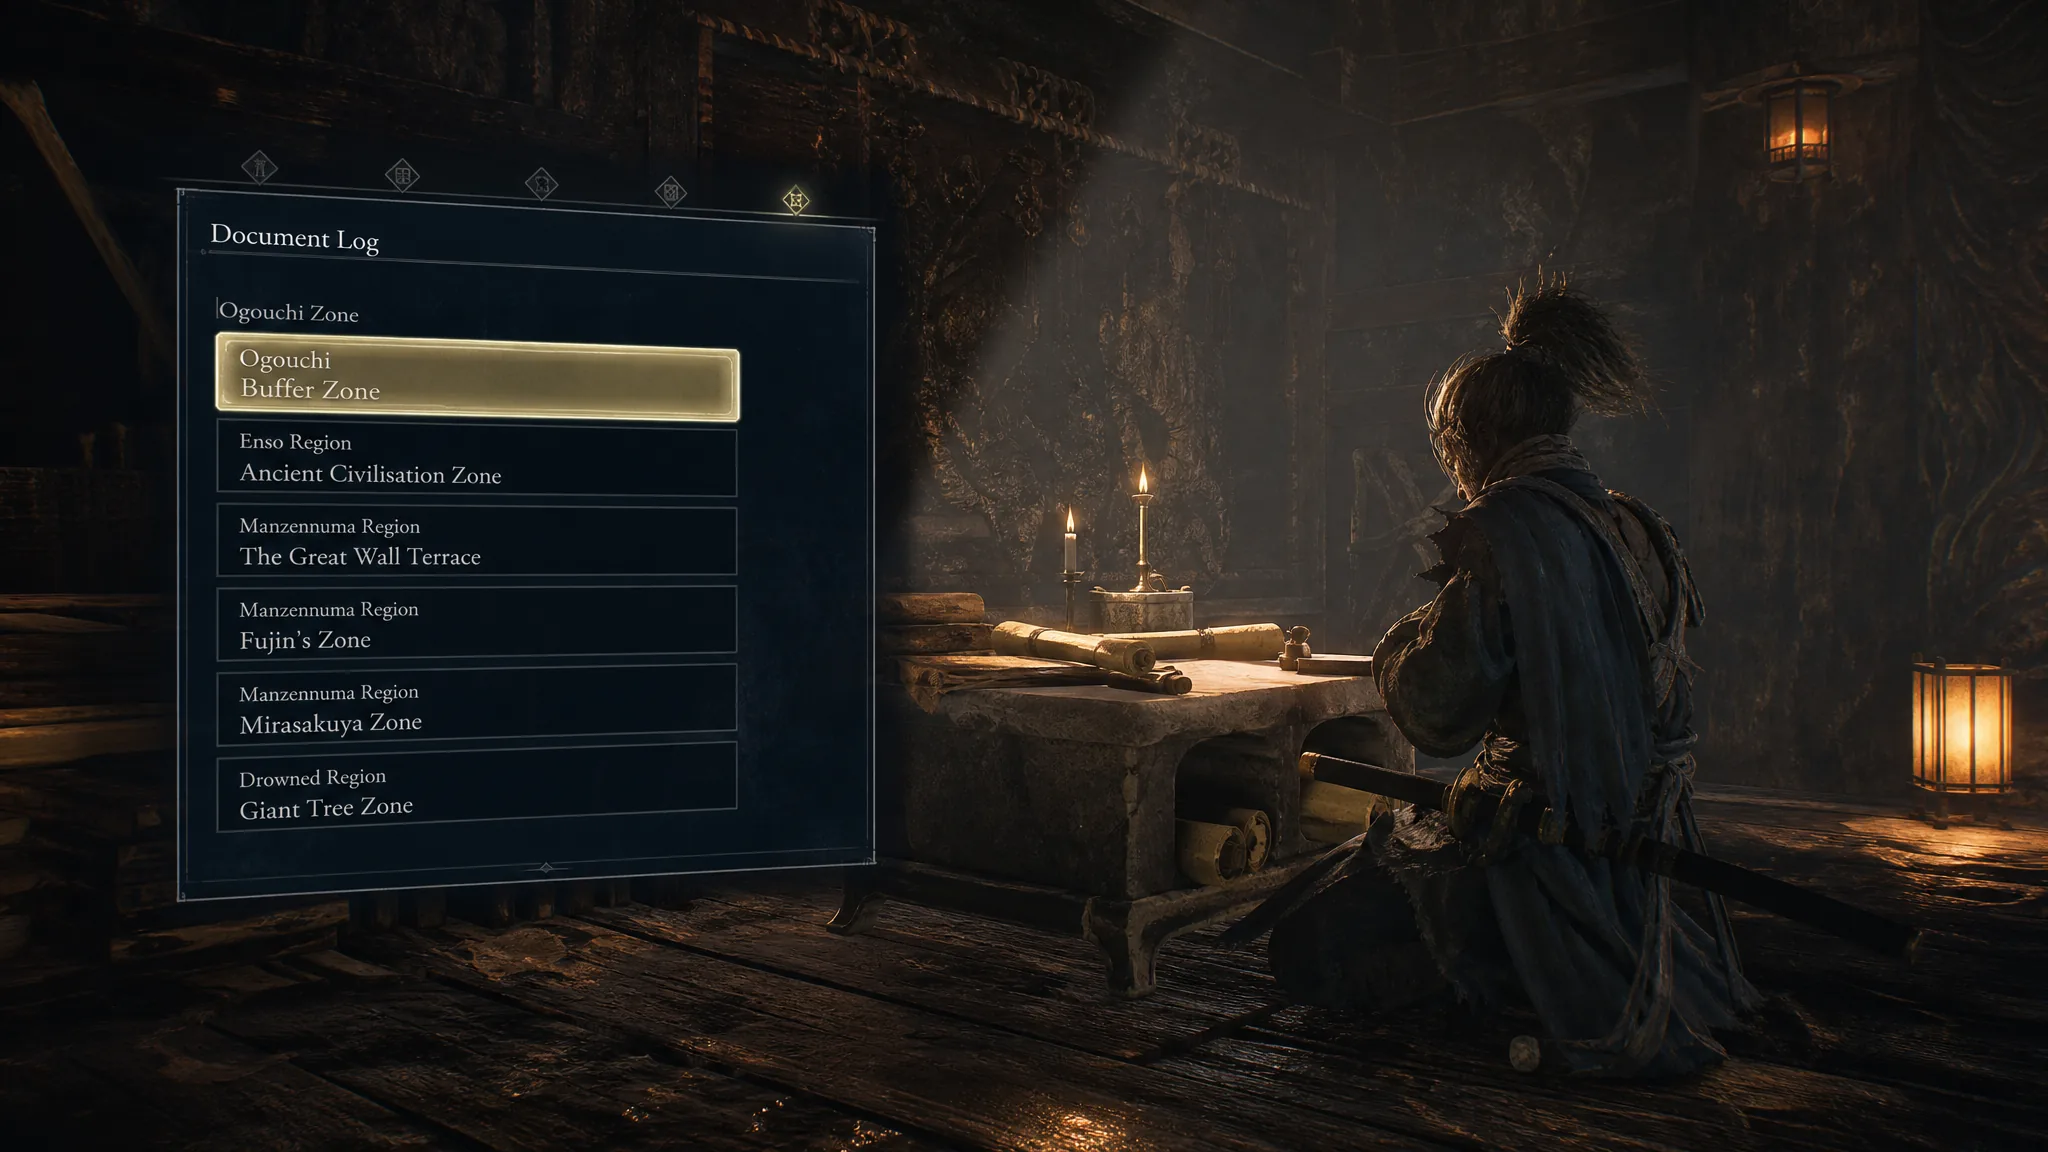
Documents are the readable lore collectibles scattered through Beast of Reincarnation, and reading every one unlocks the Know-It-All trophy. There are 22 in total, spread across six zones tied to the main chapters. They sort automatically into the Database’s Document Log by the region where you found them, so it’s easy to track your progress as you go.
Quick answer: Collect all 22 documents in a single playthrough. They do not carry over into New Game+, and “Taking the Yellow Key” in Subcity 02 can become permanently unreachable, so grab that one on your first visit.
How to track documents and unlock Know-It-All
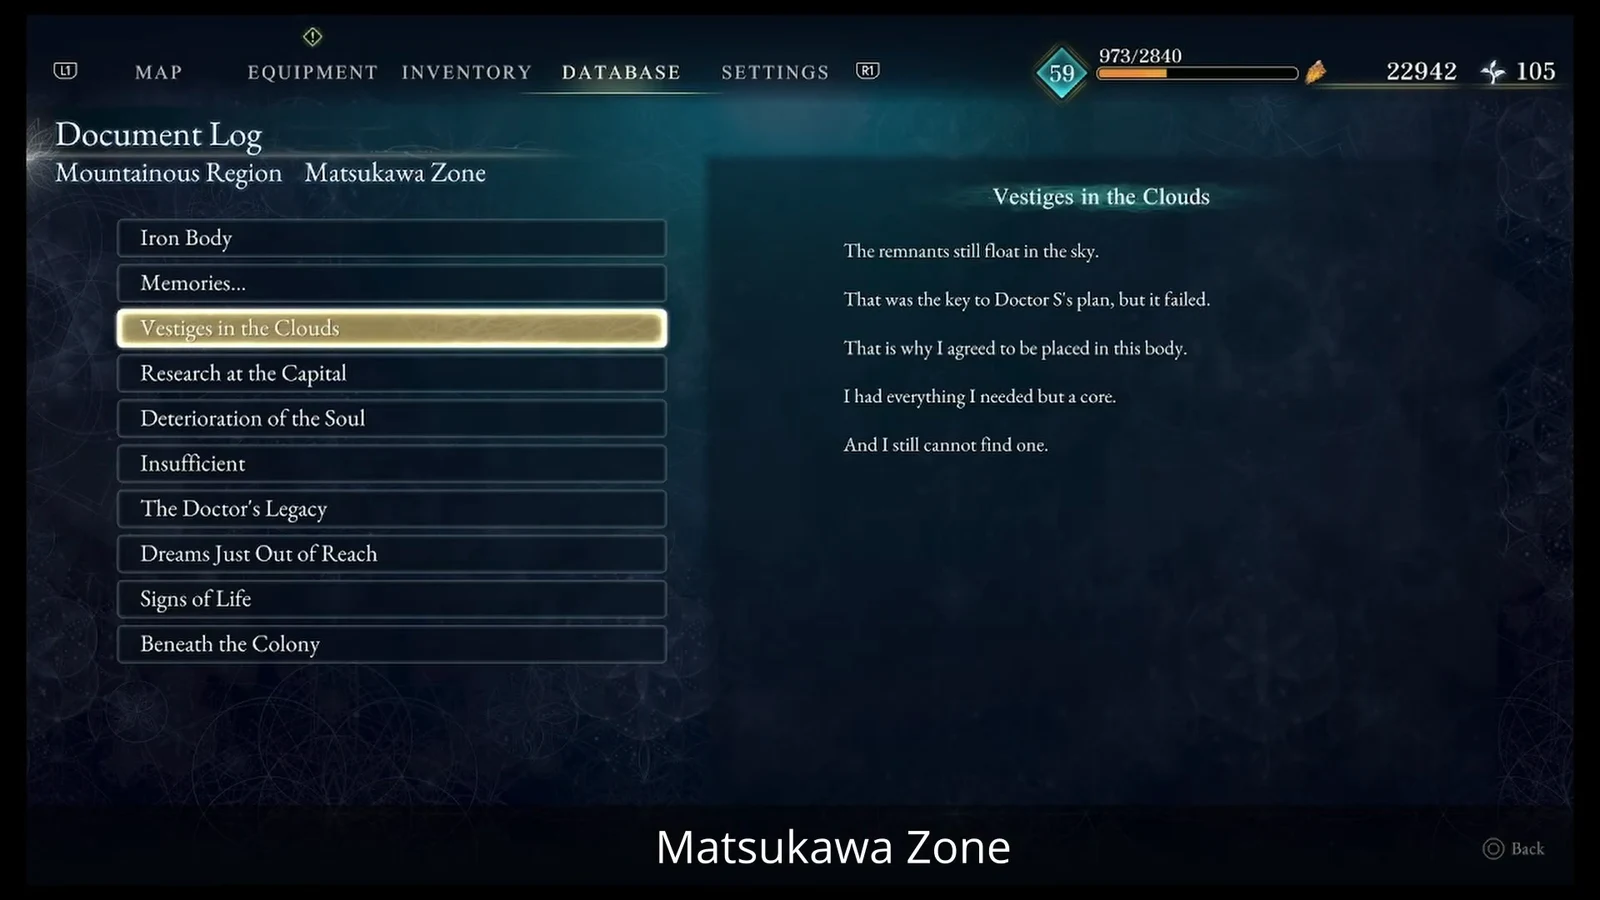
Open the Database menu and select the Document Log. Everything you’ve picked up is grouped under the zone you cleared, so a full zone tab tells you nothing is left behind there. Once every entry is read, the Know-It-All silver trophy pops, and that trophy is one of the requirements for the Platinum.
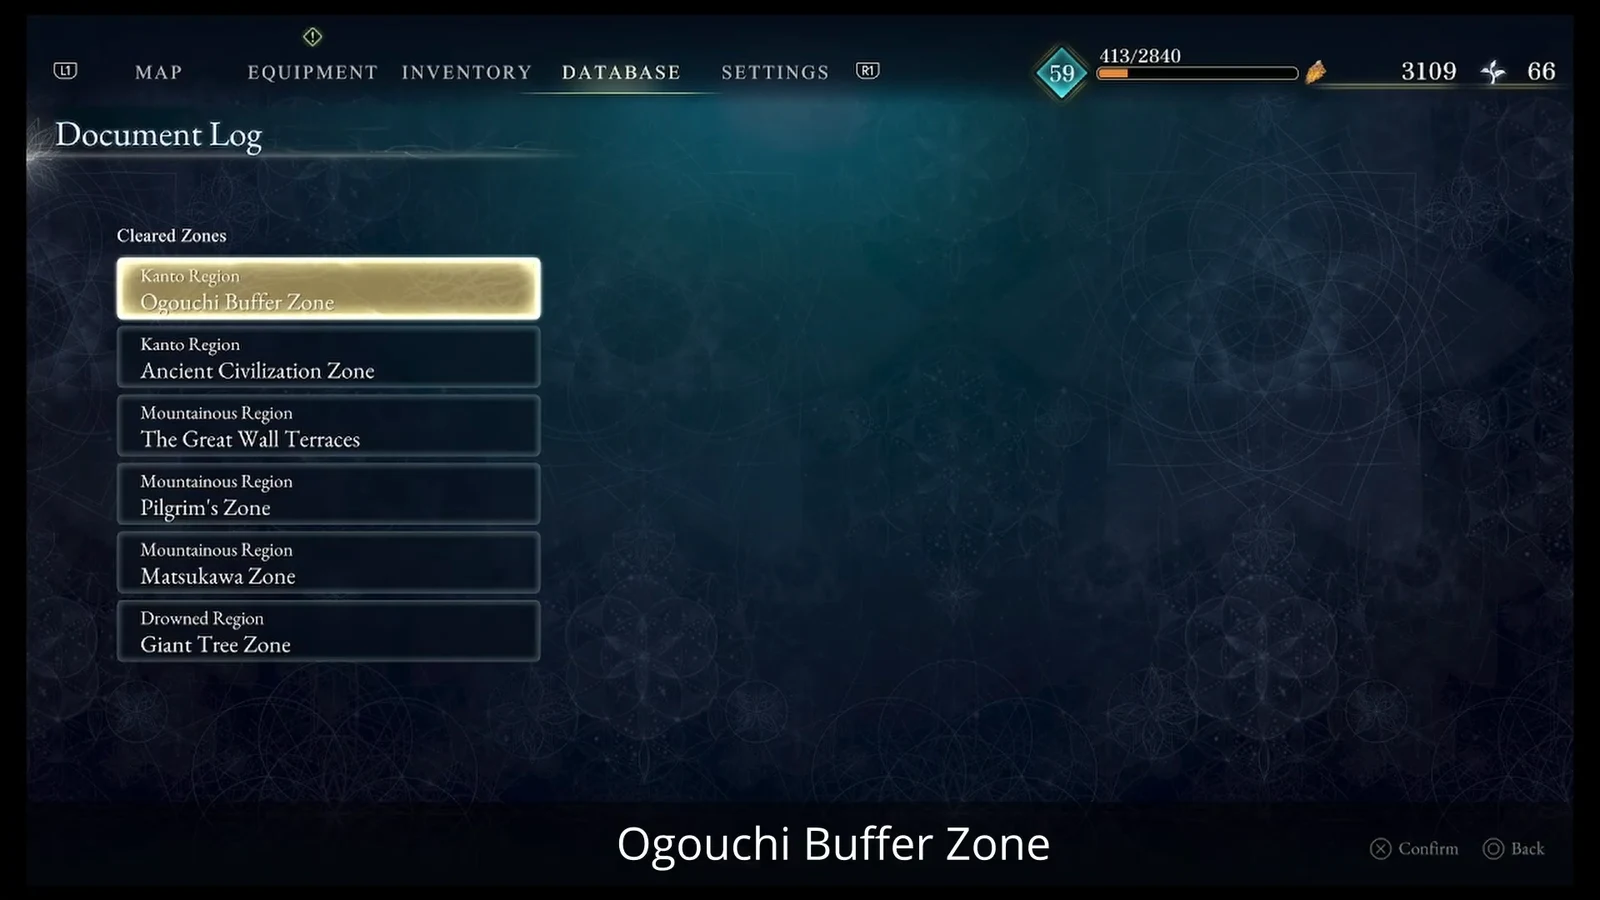
Because documents reset when you start New Game+, treat your first run as the only chance to complete the log. Clean out each zone before the story moves you on.
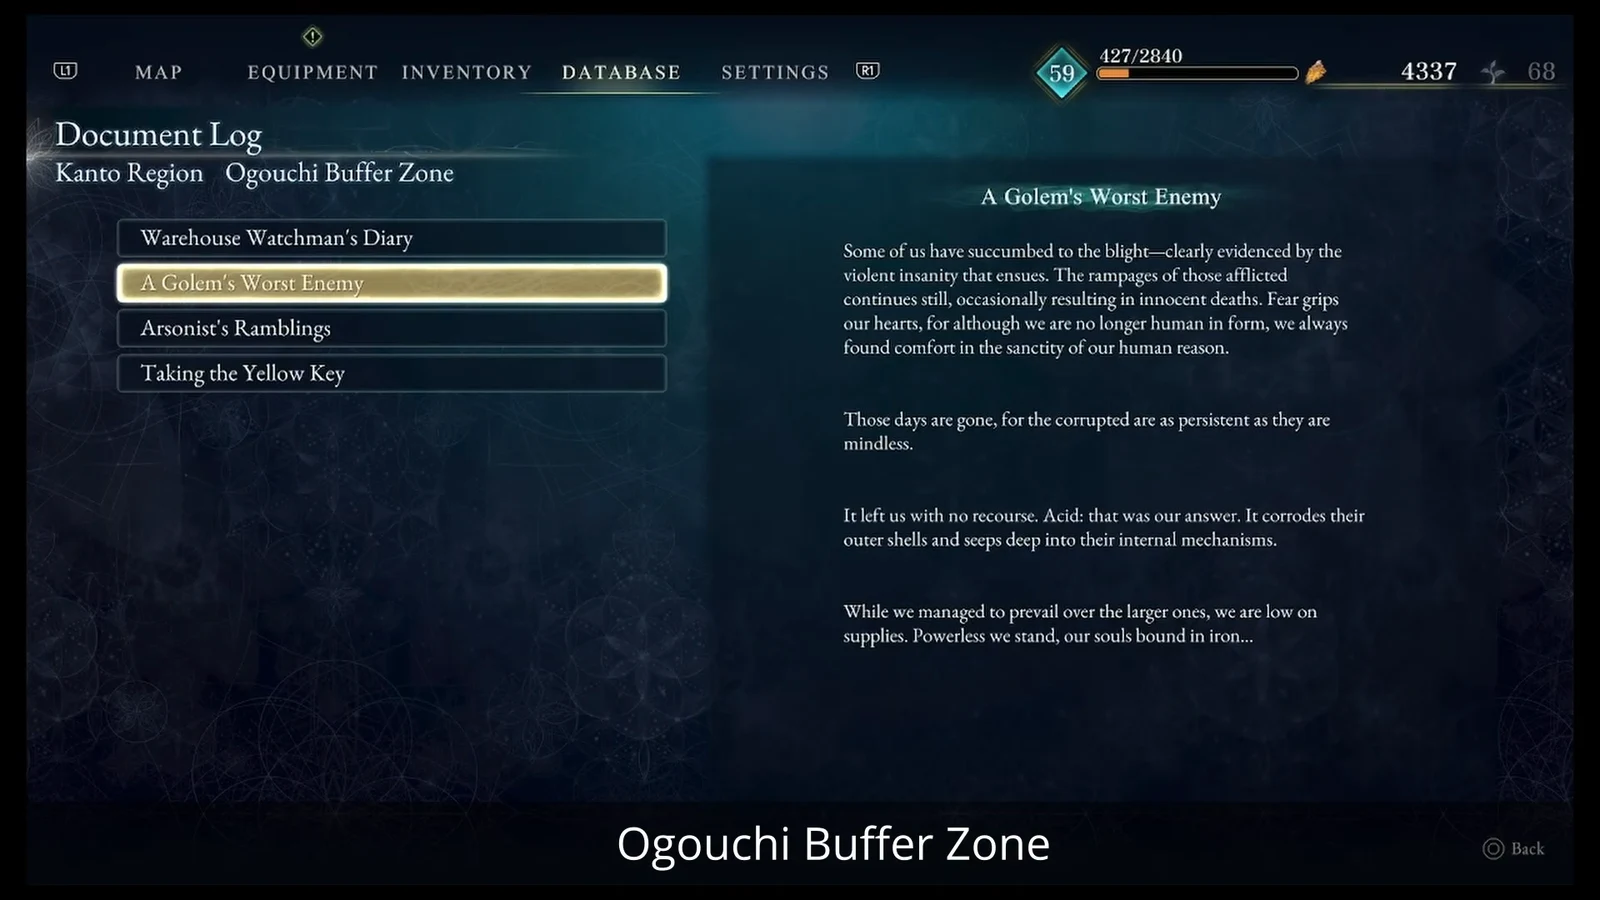
Ogouchi Buffer Zone documents (4)
The opening zone holds four documents. The important one is “Taking the Yellow Key,” found in the final room of Subcity 02 after you clear out the enemies inside. Subcity 02 can lock you out in later saves, so this is the most missable document in the whole game.
| Document | Where to find it |
|---|---|
| Warehouse Watchman’s Diary | On a table inside the metal shack near the River Fork campsite, across the water. |
| A Golem’s Worst Enemy | South of the Quarry Interior campsite. Take the elevator up, then look next to the fallen golem by some sacks. |
| Arsonist’s Ramblings | South of the Cliffside Village Interior campsite, on the back table inside the building. |
| Taking the Yellow Key | In the final locked room of Subcity 02, on a table. Clear all enemies to open the doors. |
Ancient Civilization Zone documents (2)
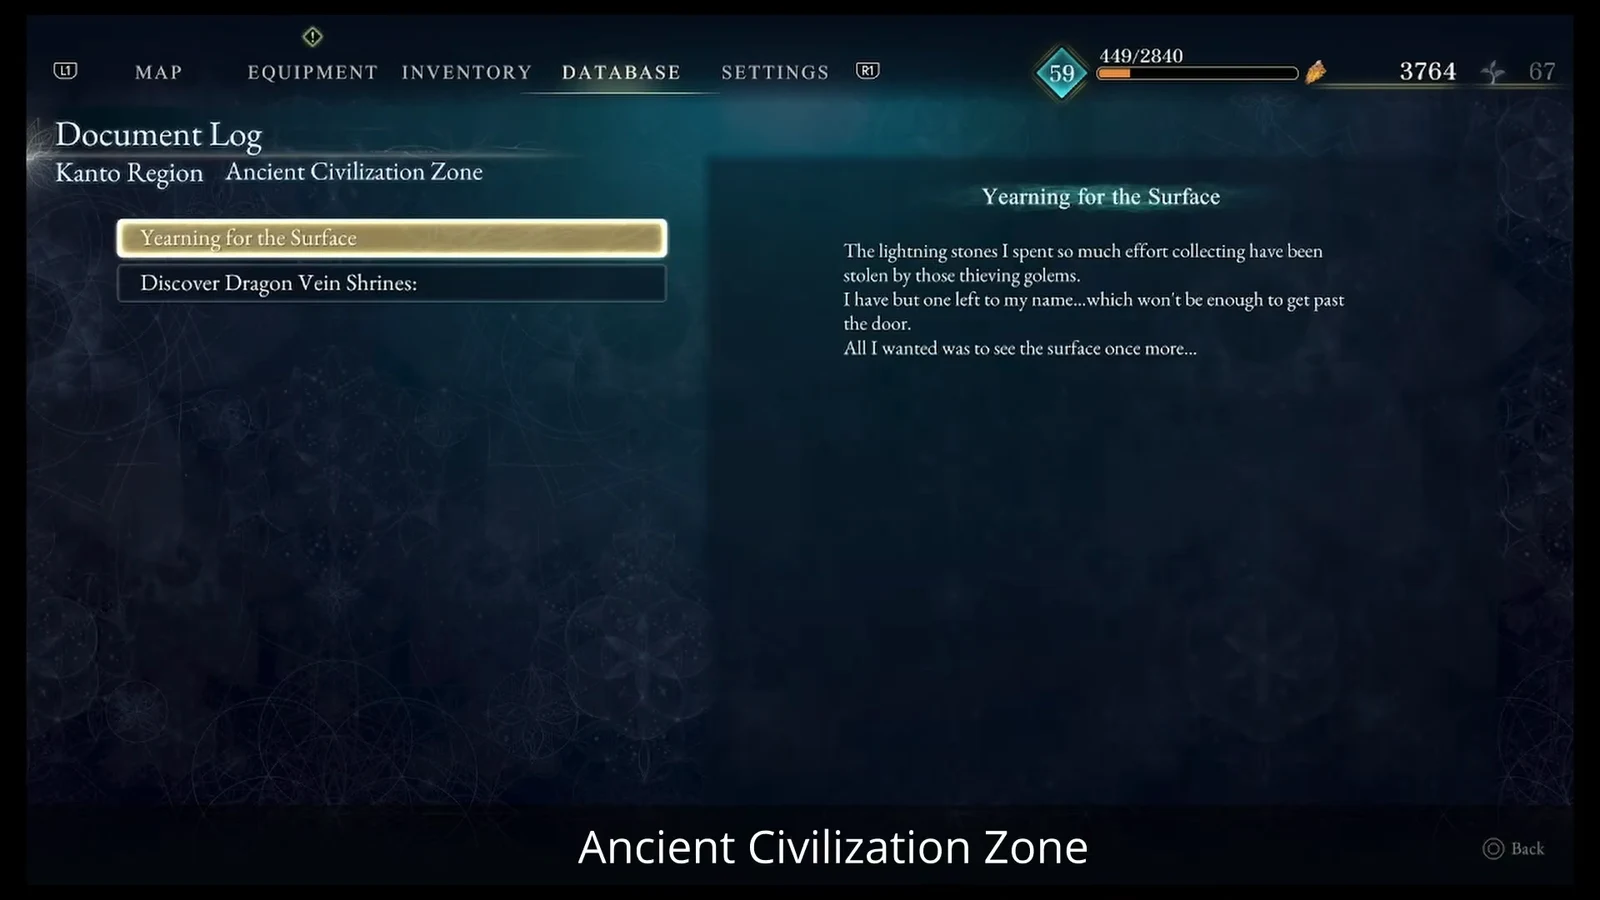
This zone has only two entries, and one of them is free. “Discover Dragon Vein Shrines” is added to the log the moment you interact with your first shrine, so you don’t need to hunt for a physical pickup.
| Document | Where to find it |
|---|---|
| Yearning for the Surface | Inside the reservoir control room near the Reservoir Interior campsite, next to a rusted golem. |
| Discover Dragon Vein Shrines | Unlocks automatically when you interact with the first Dragon Vein Shrine. |
The Great Wall Terraces documents (3)
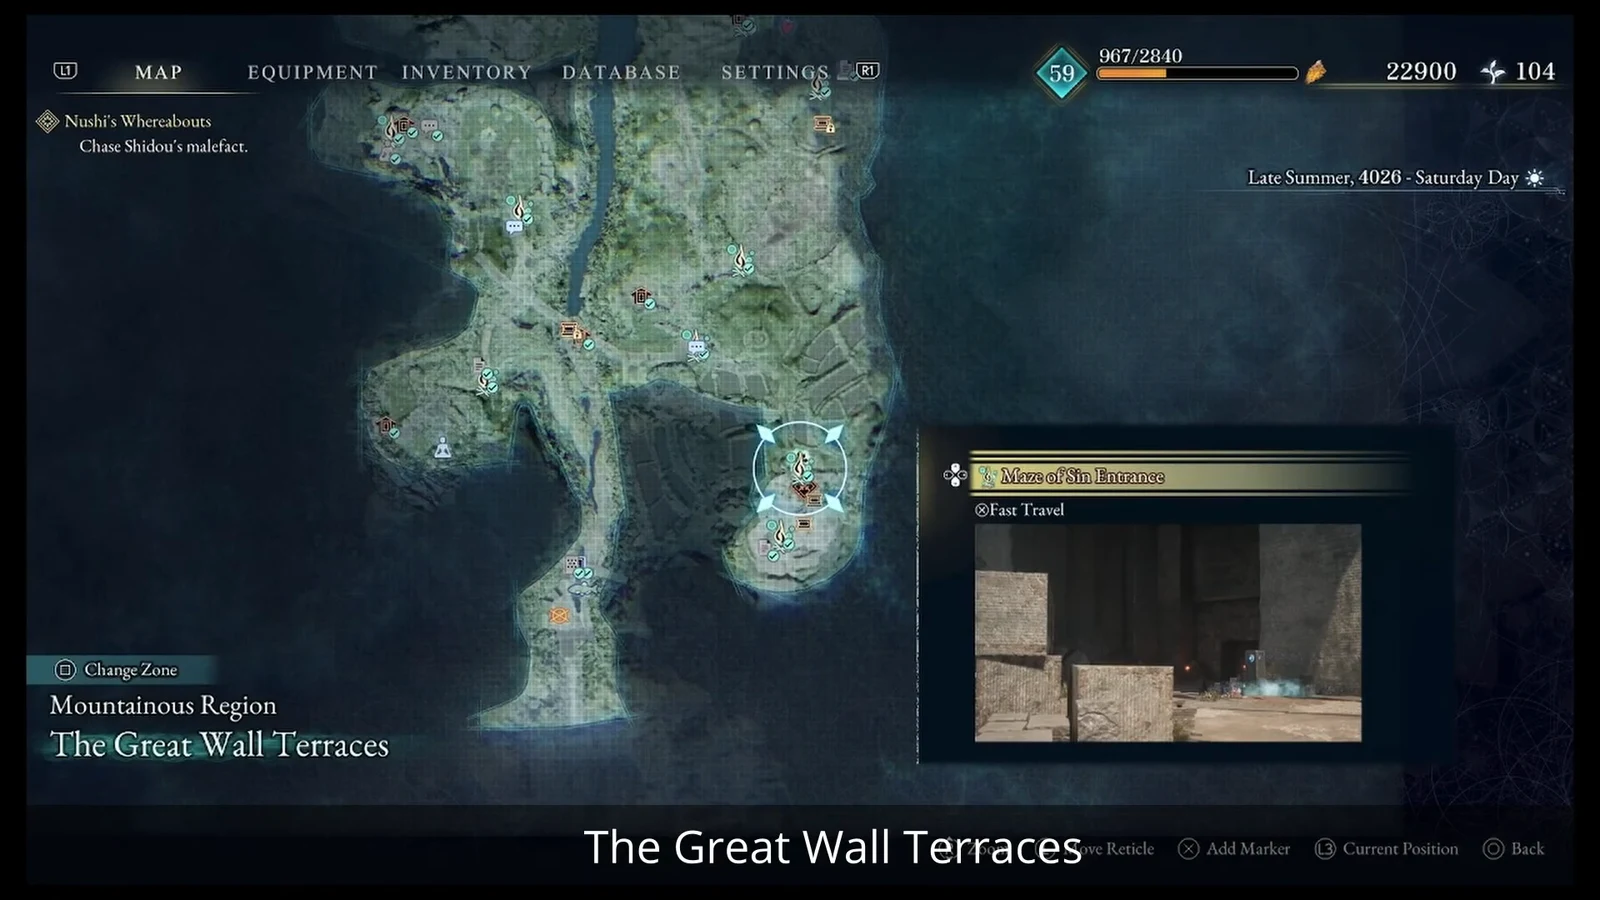
Two of these are straightforward, but “Transgressions” is tucked deep inside the Maze of Sin. You’ll need to destroy walls using the explosive oil containers to open a path to its final room, which sits behind the maze’s Elite Enemy.
| Document | Where to find it |
|---|---|
| What is Sin? | Near the Mountain Village Entrance campsite, on the ground beside a wooden structure and a rusted golem. |
| Diary of a Pilgrim | North of Flower Square Forefront, in the back room of an underground facility, after beating the local Elite Enemy. |
| Transgressions | In the final room of the Maze of Sin, behind the Elite Enemy. Blow up the interior walls to reach it. |
Pilgrim’s Zone document (1)
The Pilgrim’s Zone has a single document. “Light the Pyres” is on the ground floor of the inner Belfry, resting on a bench in the first room between the bell and the large statue.
Matsukawa Zone documents (10)
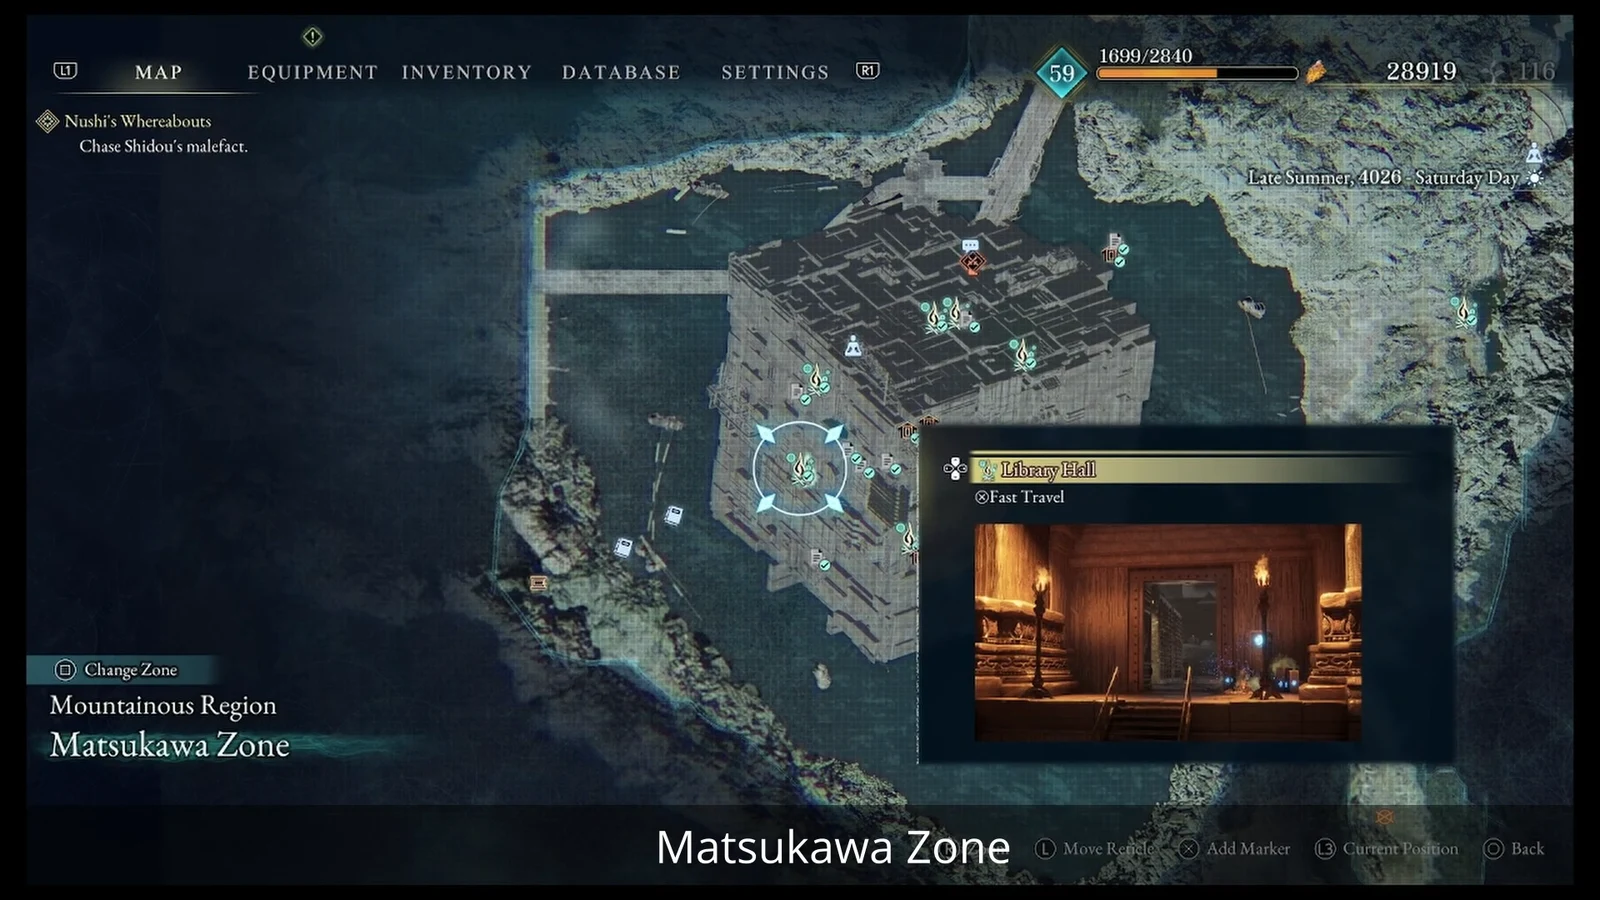
The Matsukawa Zone holds nearly half of every document in the game, so it’s worth planning an efficient route through its stacked openings. Several entries sit near the central openings on different levels, while three more are down in the lower area you reach through the central lift.
| Document | Where to find it |
|---|---|
| Insufficient | At the Library Hall, on the southwest side of the first opening, at the back of the room. |
| Research at the Capital | On the east side of the first opening, in a side room opposite the library. |
| Vestiges in the Clouds | On the west side of the second opening, in a side room near the entrance. |
| Iron Body | On the southwest side of the second opening, in the middle of a side room. |
| Deterioration of the Soul | At the Hall of Silence, on the second level, in the final room on the floor. |
| Memories… | At the Mausoleum, off the third opening, in a side room behind an Elite Enemy. |
| The Doctor’s Legacy | In the lower lab reached by the central lift, on a table in the room before the cells. |
| Beneath the Colony | In the lower lab, on a small table in the jail section hallway. |
| Dreams Just Out of Reach | In the lower lab, on the control panel by the cells. |
| Signs of Life | At the Matsukawa Colony Central Area, on the control panel below the central area. |
Giant Tree Zone document (1)
Starting from the Giant Tree Lair Entrance, “Doctor S’s Report” waits past the second Corvus fight. Follow the secret passage behind the arena to find it on a golem at the end of the Nushi’s lair.
The Capital document (1)
The final document, “A Farewell Gift,” unlocks only after you defeat Kunai in the Administrator’s Chambers as part of the main story. It arrives in the form of the Camellia sword, which appears in the Cleanse Walker once the fight is done.
Confirming the trophy and avoiding a miss
You’ll know you’re finished when the Know-It-All trophy unlocks after reading the last entry. Before that point, open the Document Log and check every zone tab. If a count is short, the culprit is almost always Subcity 02’s “Taking the Yellow Key,” since that area can seal off later in a save. Sweep each zone before the story pushes you forward, keep everything on one playthrough, and the full log will carry you straight to the Platinum.