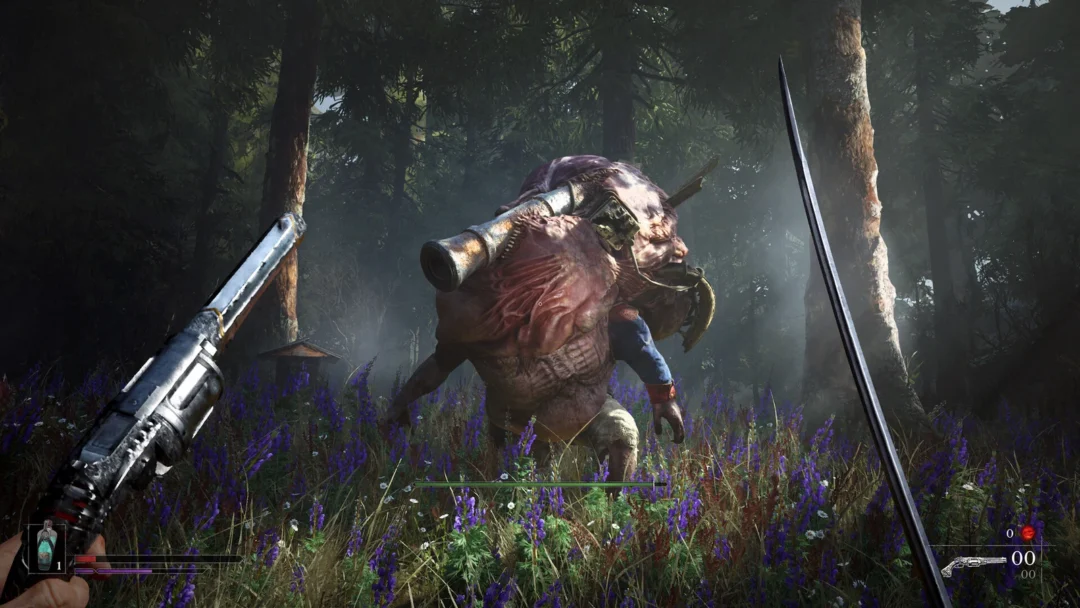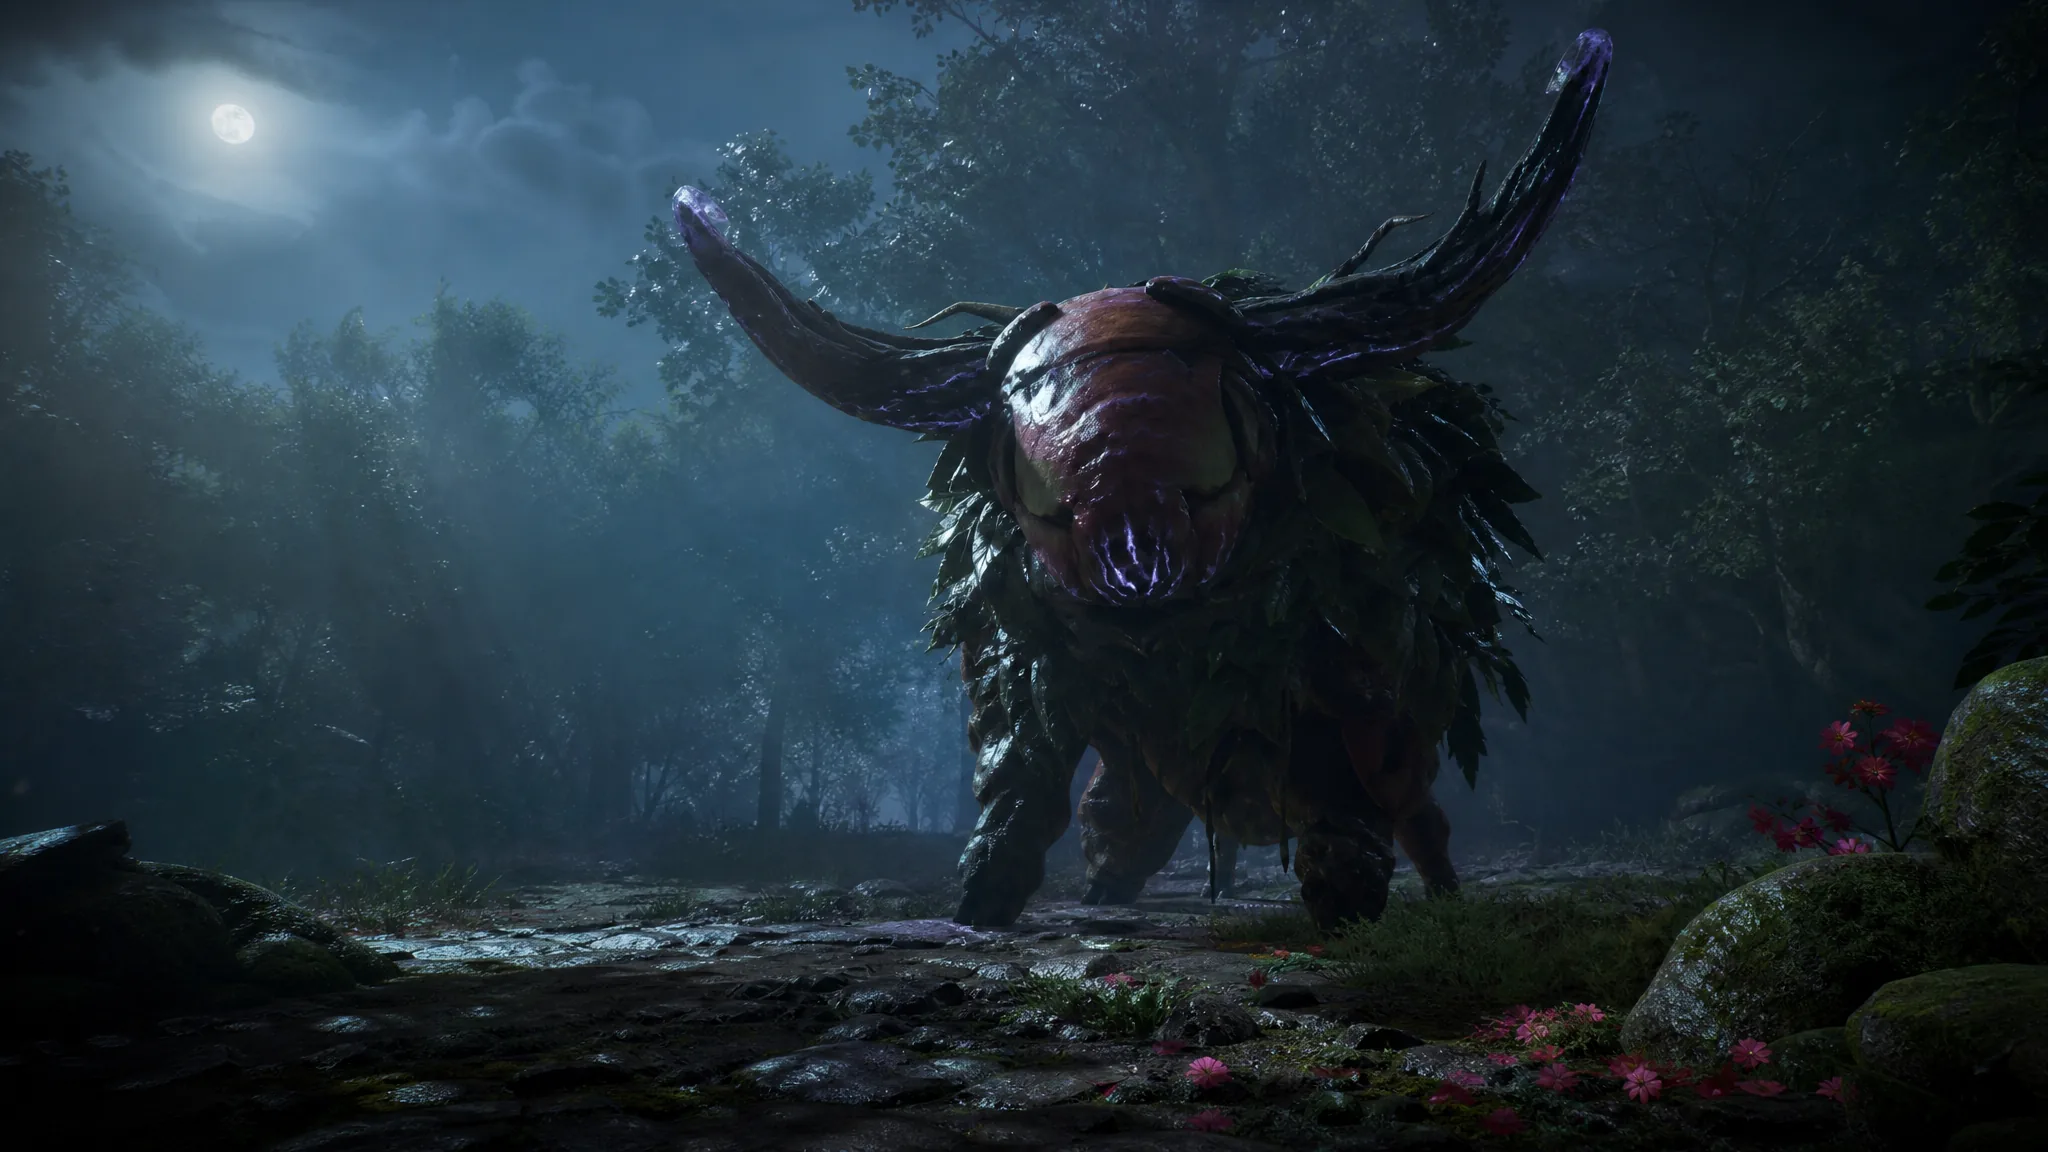
Taurus is the bull-shaped Nushi of the Pilgrim’s Zone in Beast of Reincarnation, and Chapter 4: Stems makes you fight it twice. The first encounter happens near the broken bridge at the start of the zone, where it flees once its health drains. The rematch waits at the far north lair and adds a second health bar plus a pack of Golems.
Quick answer: Equip Acid-element damage on Koo (Corrosive Fang Skill Amber plus Bottles of Acid) and acid arrows/bolts on Emma, parry the Horn Swipes to refill FP, and open the first fight with a Death from Above off the ruined bridge. Beat the first Taurus to unlock Nushi Skill: Charging Botan, then clear the three Golems in the rematch before finishing both phases for the Botan: Chaser Bloom Art and Blade Art: Botan.
Where and when you fight Taurus
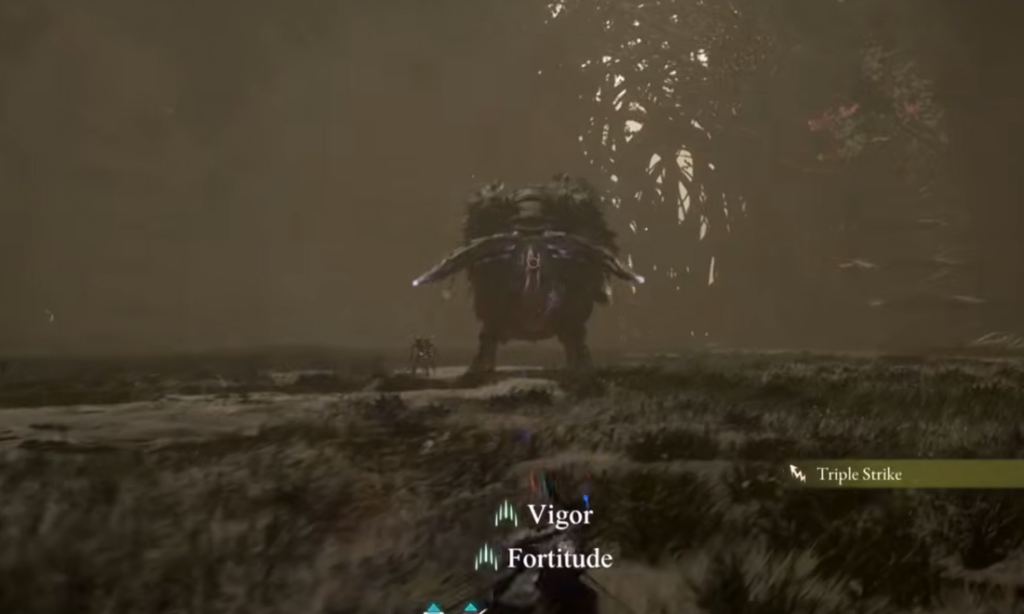
Both Pilgrim’s Zone fights happen during Chapter 4. The first triggers after a bell rings and a swarm of Fanatic Golems attacks near the broken bridge, north of the Sunrise Sword pickup. Taurus appears once the Golems are cleared and runs off when its first health bar is nearly empty.
The second fight is at the Nushi’s Lair at the far north of the zone, reached after passing through the cave system, the Stone Chamber, and the Belfry. This time Taurus is larger, has two phases with separate health bars, and starts the battle with three Golems at its side. The same beast also returns much later in Chapter 8 at the Crater Zone, but that encounter is outside Pilgrim’s Zone.
| Encounter | Level | Notes |
|---|---|---|
| First fight (zone start) | 26 | Single health bar, flees when nearly empty |
| Rematch (Nushi’s Lair) | 29 | Two phases, three Golems join at the start |
Best loadout: Acid damage and ranged pressure
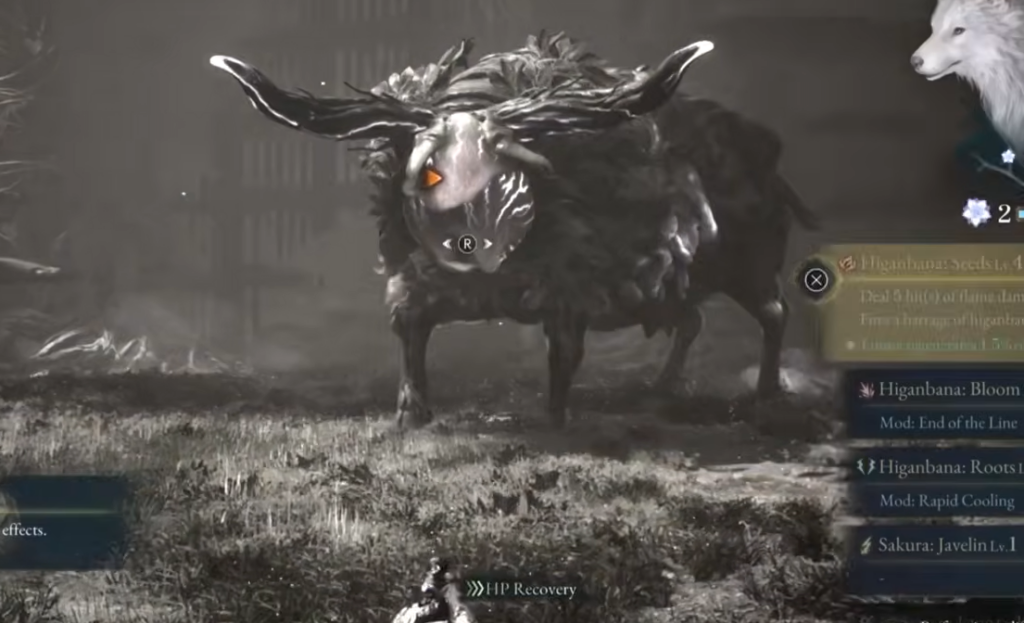
Taurus is weak to Acid-element attacks, so build both characters around that. On Koo, equip the Corrosive Fang Skill Amber (found during Chapter 4) and Bottles of Acid. On Emma, pair a high-damage sword with acid-based arrows and bolts. The video setups used the Hunter’s Sword+3 with acid ammunition in the first fight and the Sunrise Sword+3 (Light of Dawn) with acid bolts in the rematch.
Taurus spends a lot of time galloping around, which makes melee tricky. Keep the Zangetsu Bow and Crossbow with elemental arrows ready to deal damage from range whenever it creates space. When you do go in for melee, wait for its Horn Charge to end, since its head hangs low for a moment afterward and leaves it open.
Parry the Horn Swipes and the projectile bombs to rebuild FP for Koo’s Bloom Arts. These are the safest windows to charge FP without taking a hit.
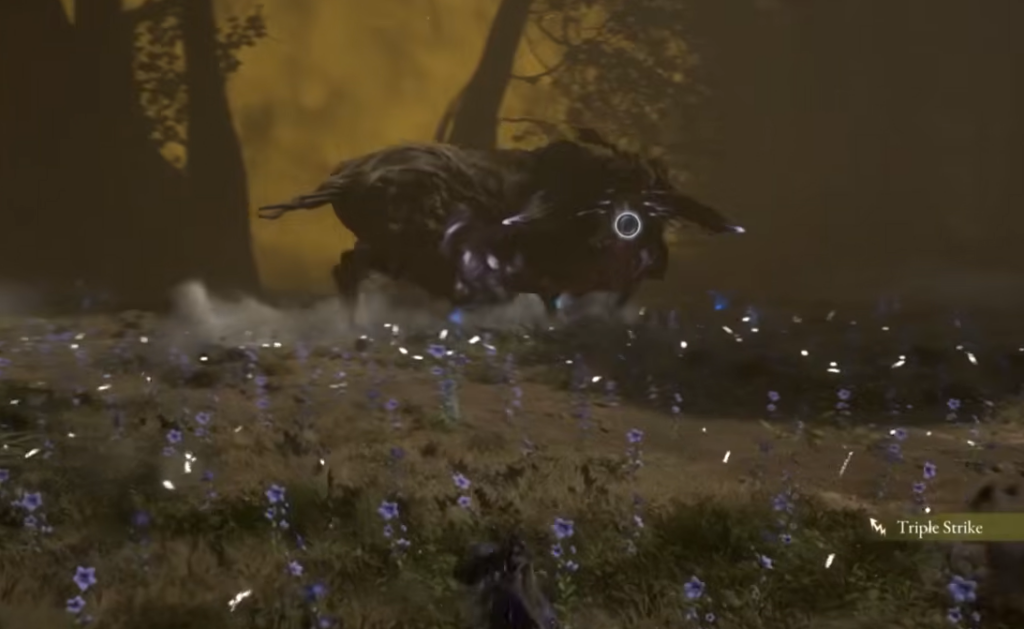
Taurus moveset and how to counter it
The moveset stays consistent across both Pilgrim’s Zone fights, with a couple of extra attacks appearing in the rematch. Learn the parry-friendly moves and dodge the ground-based ones.
| Move | What it does | Counter |
|---|---|---|
| Horn Swipes | Two or three swipes from either side | Parry each one to restore FP |
| Projectile Bombs | Barrage of seed bombs fired from its tail | Parry them or run out of the path |
| Piercing Branches | Branches burrow underground, glow red, then spike up | Run or dodge away from the ground indicators |
| Lunge | Rears up and slams down, summoning horns from the ground | Dodge or run away; the parry timing is tight |
| Horn Charge | Charges forward with a summoned horn | Dodge to the side, then punish the low head |
| Golems | Three run-down Golems in the rematch | Bind and clear them fast with Blade Arts |
| Blight | Second phase; glows pink with much faster swipes | Re-time parries for four to five quicker swipes |
First Taurus fight (Level 26)
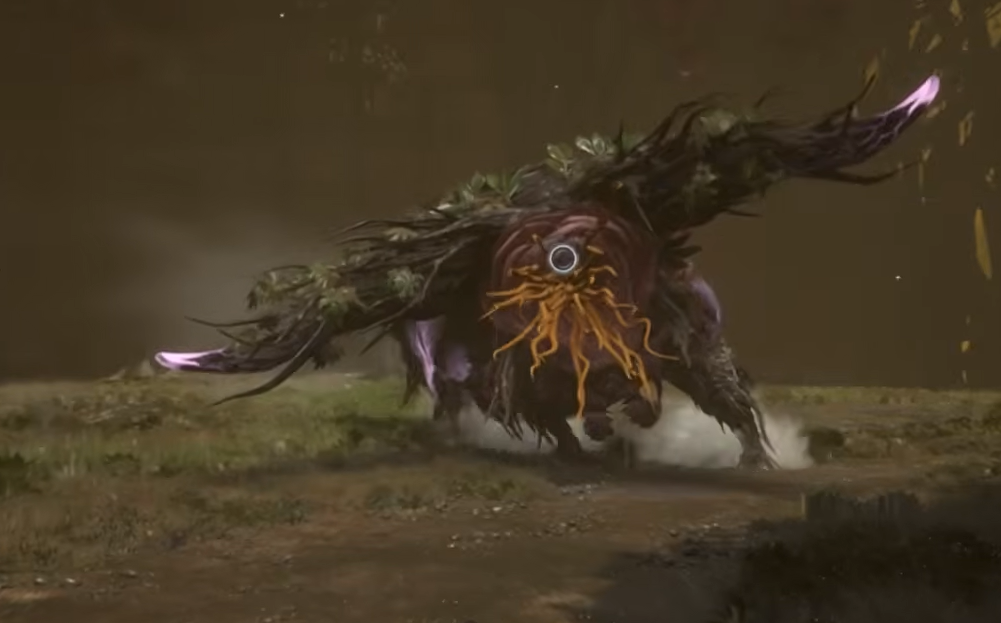
Taurus rematch at the Nushi’s Lair (Level 29)
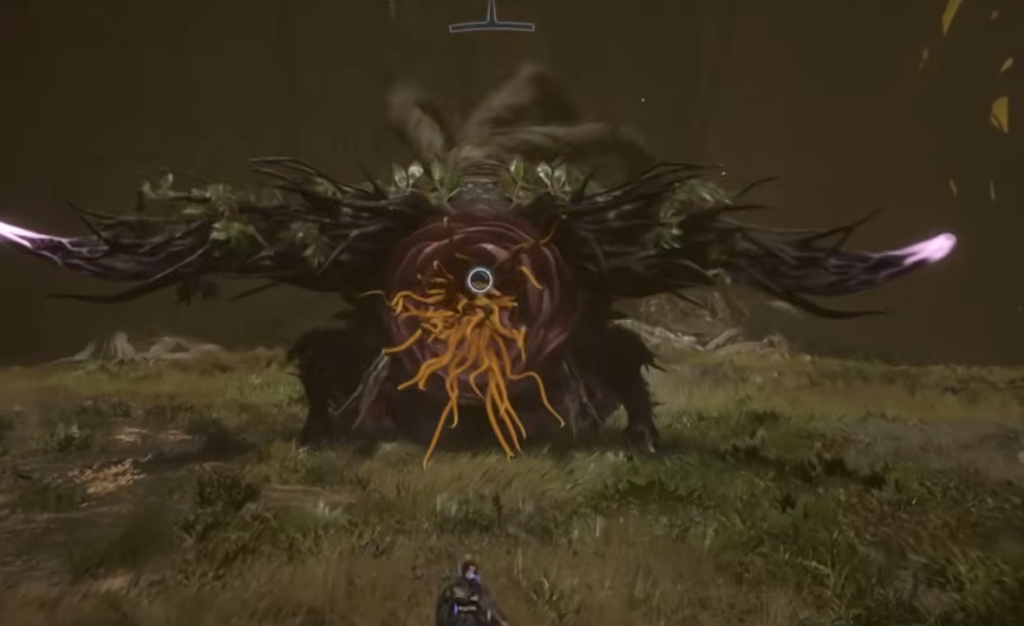
Taurus rewards
Each Taurus encounter hands out different unlocks. The first fight gives a Nushi Skill, and the rematch gives a Bloom Art plus a finisher.
| Fight | Drop | Unlock |
|---|---|---|
| First (Lv. 26) | Taurean Memories | Nushi Skill: Charging Botan |
| Rematch (Lv. 29) | Botan: Chaser Bloom Art | Blade Art / Finisher: Botan |
You will know the rematch is finished when the second health bar empties and the reward screen shows the Botan: Chaser Bloom Art and Blade Art: Botan. That also completes Chapter 4, sending Emma and Koo on to Chapter 5. If the rematch feels like it is dragging, the most common reasons are ignoring the Acid weakness or letting the three Golems stay alive during the opening, so lock down the mobs first and match your loadout to Acid before committing to the boss.