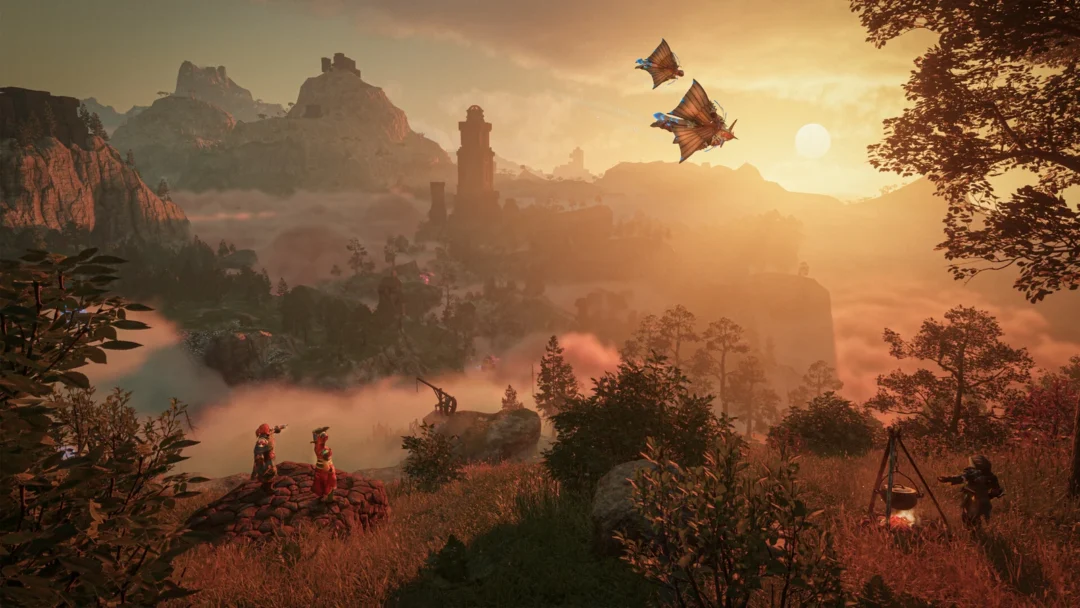
Chapter 4: Stems drops Emma and Koo into Pilgrim’s Rest, a mountainous zone where the Nushi named Taurus announces itself within minutes. The route runs from an open ambush through a long cave, a stone chamber, and a belfry puzzle before a final two-phase boss rematch. Here is the exact order of events and the two rewards each Taurus fight hands over.
Quick answer: Grab the Sunrise Sword, beat the Fanatic Golems, and survive the first Taurus (Level 26). Then push through the cave and stone chamber to the belfry, light the pyres in the order Sun, Earth, Moon, ring the bell, and defeat Taurus again (Level 29) across both of its health bars to end the chapter.
Explore Pilgrim’s Rest and trigger the first Taurus
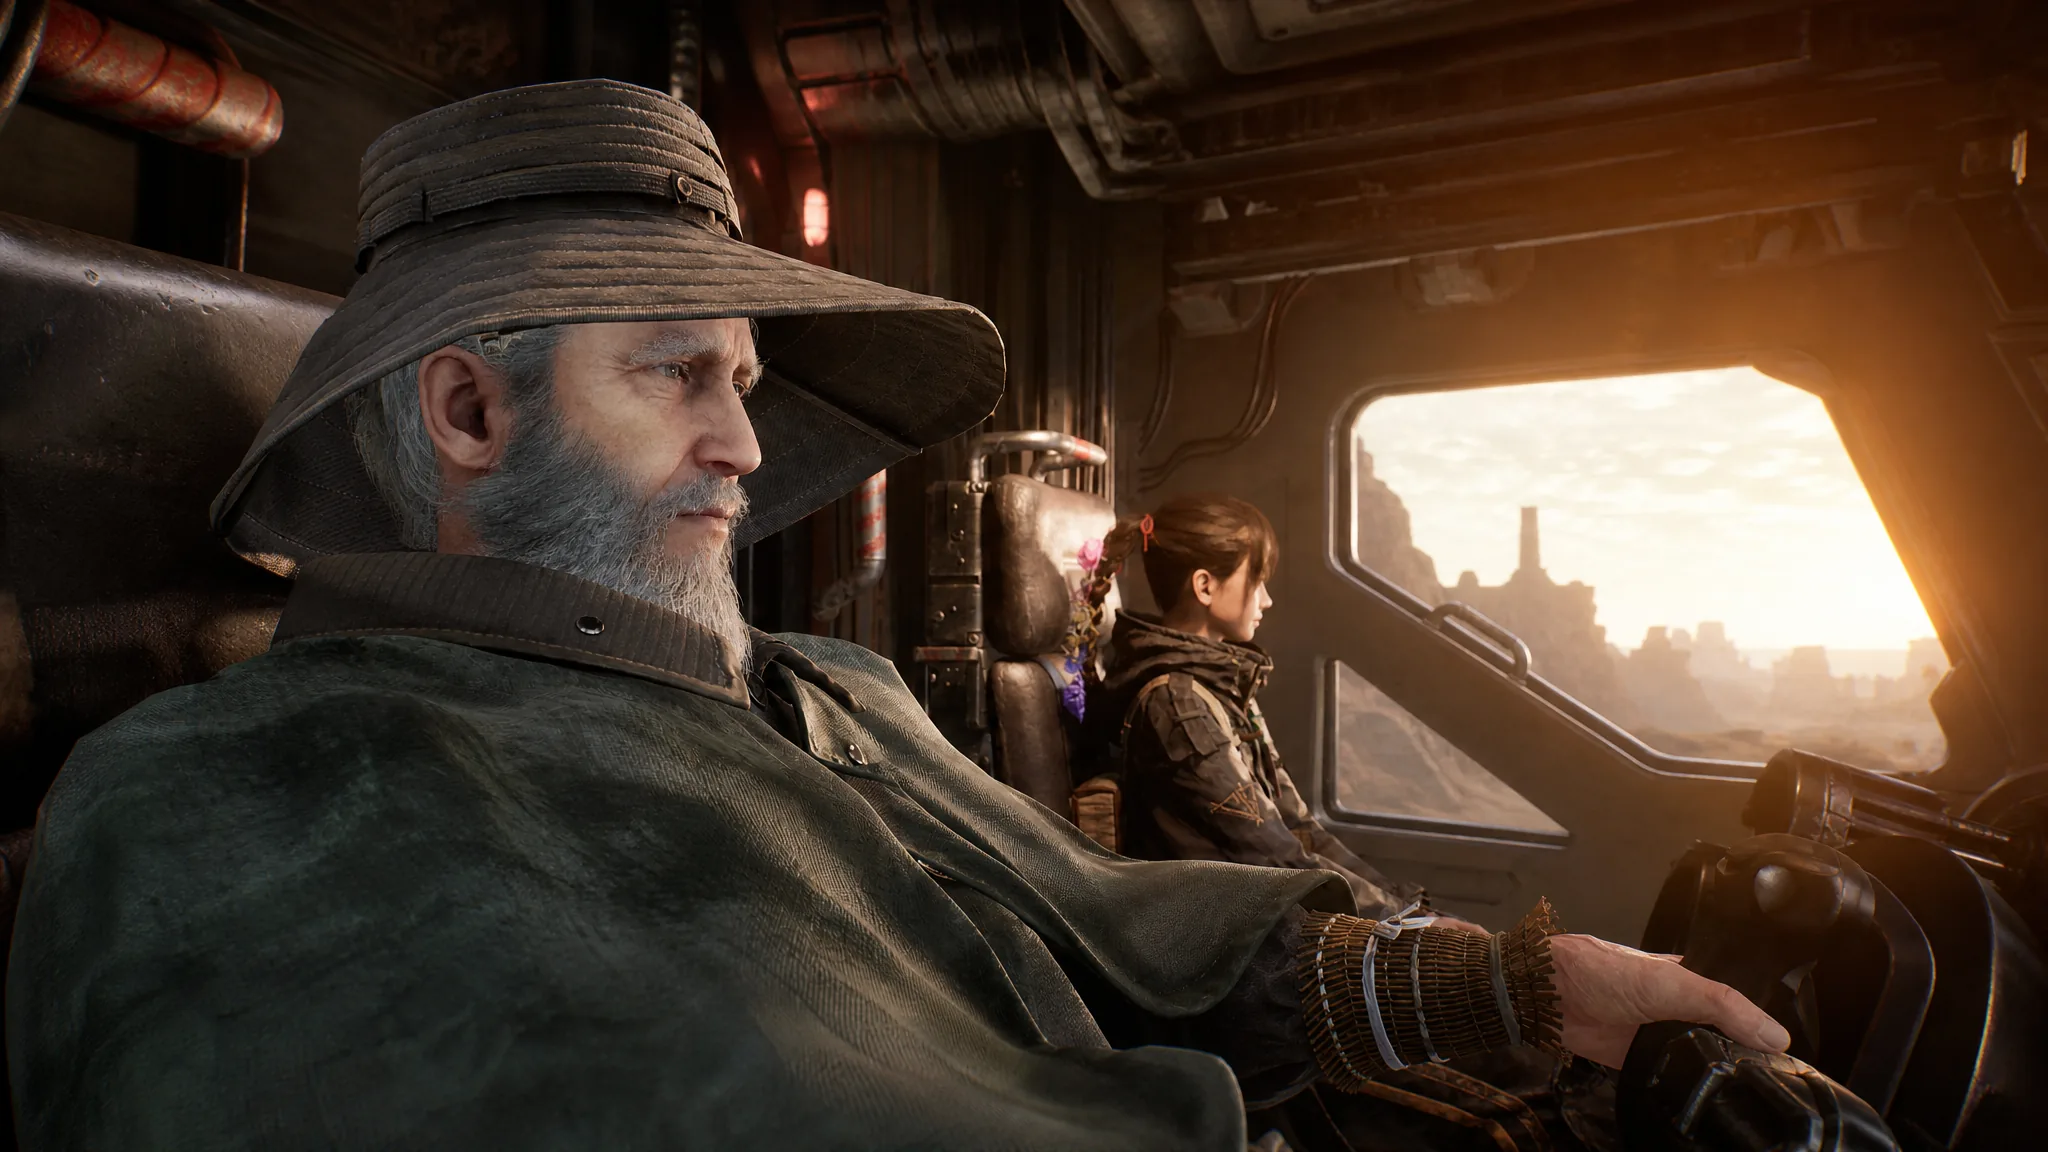
The chapter opens with a cutscene between Brad and Emma. Brad warns that he can’t pin down Nushi’s location, only that it is close, so move carefully.
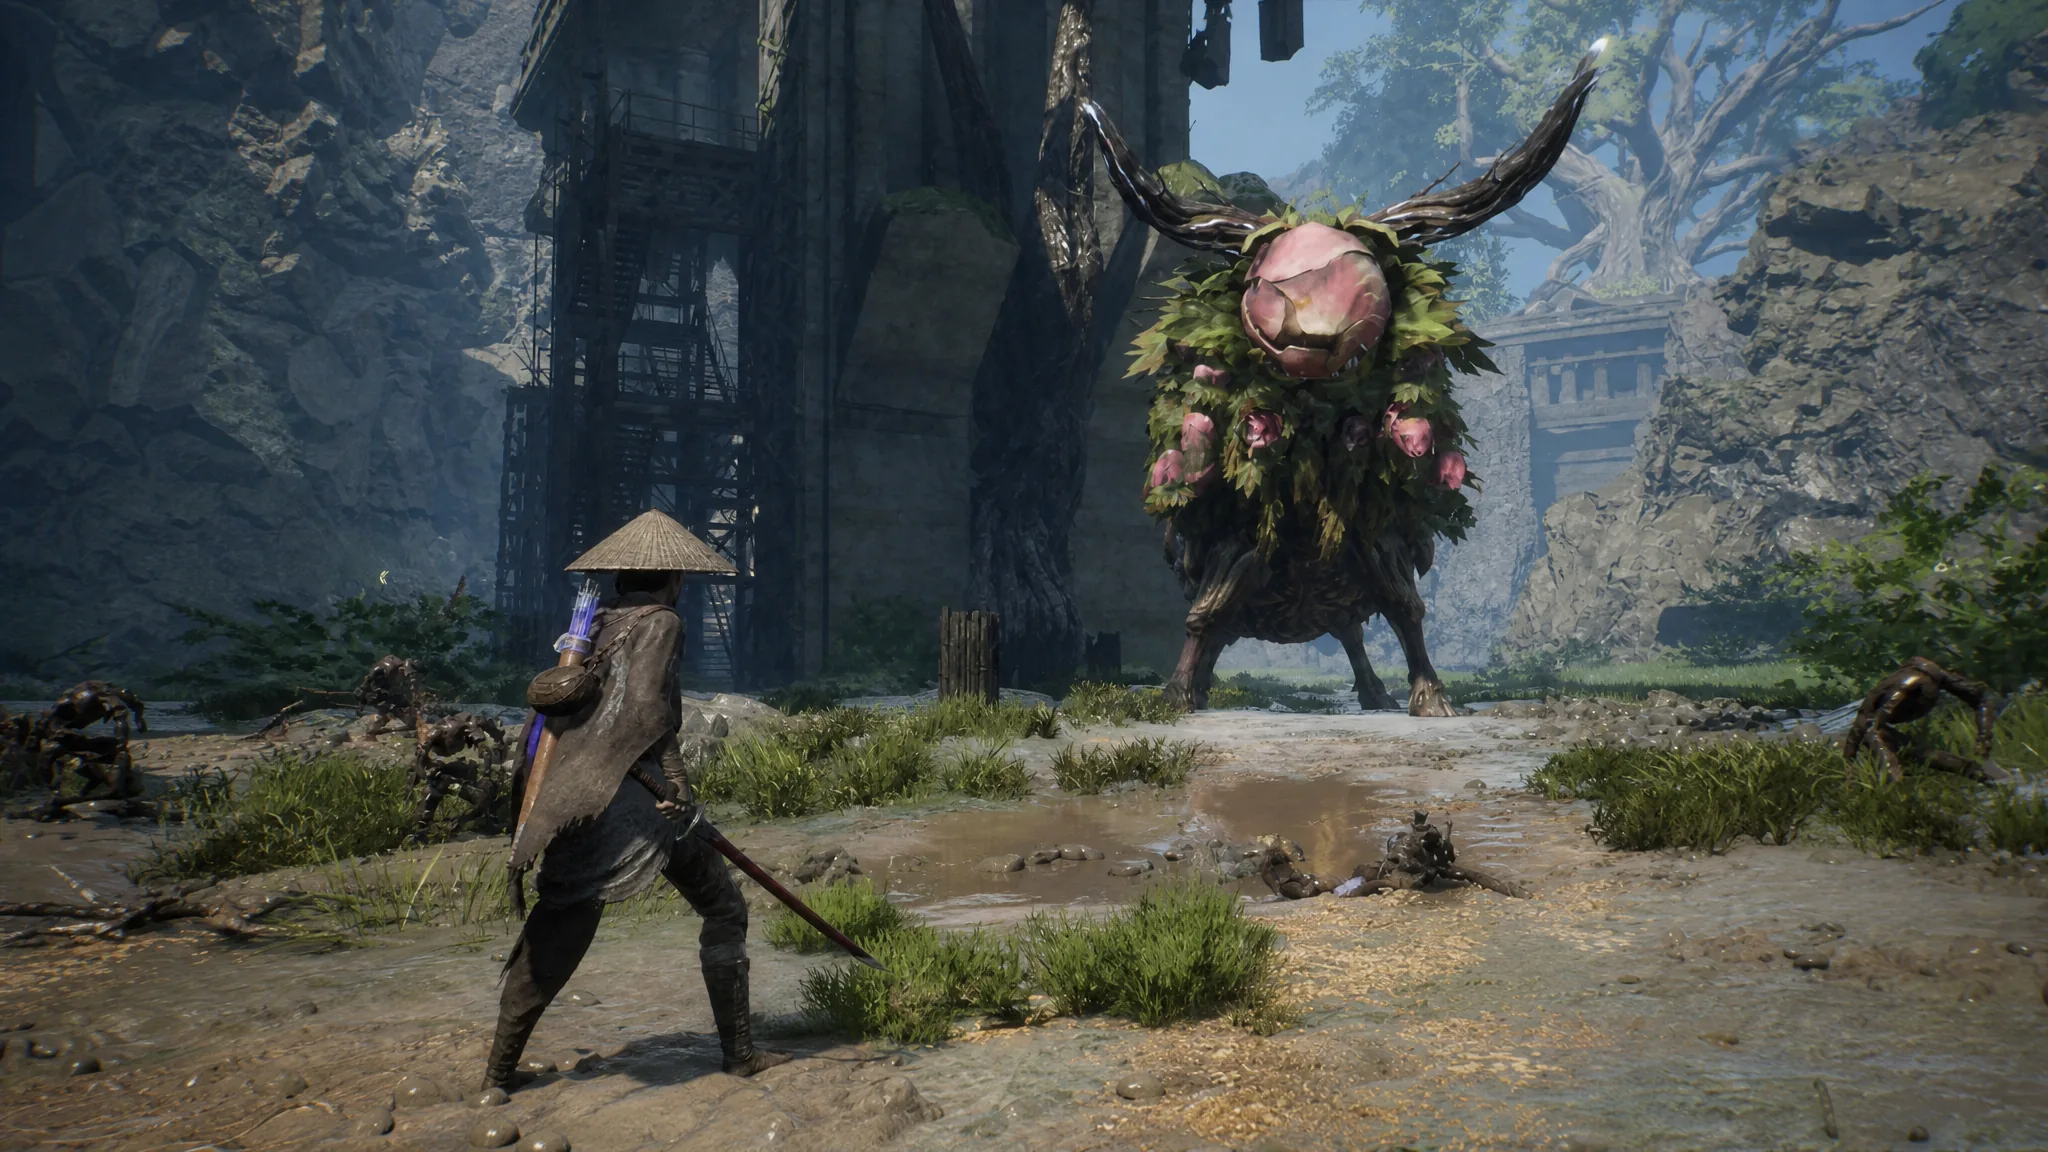
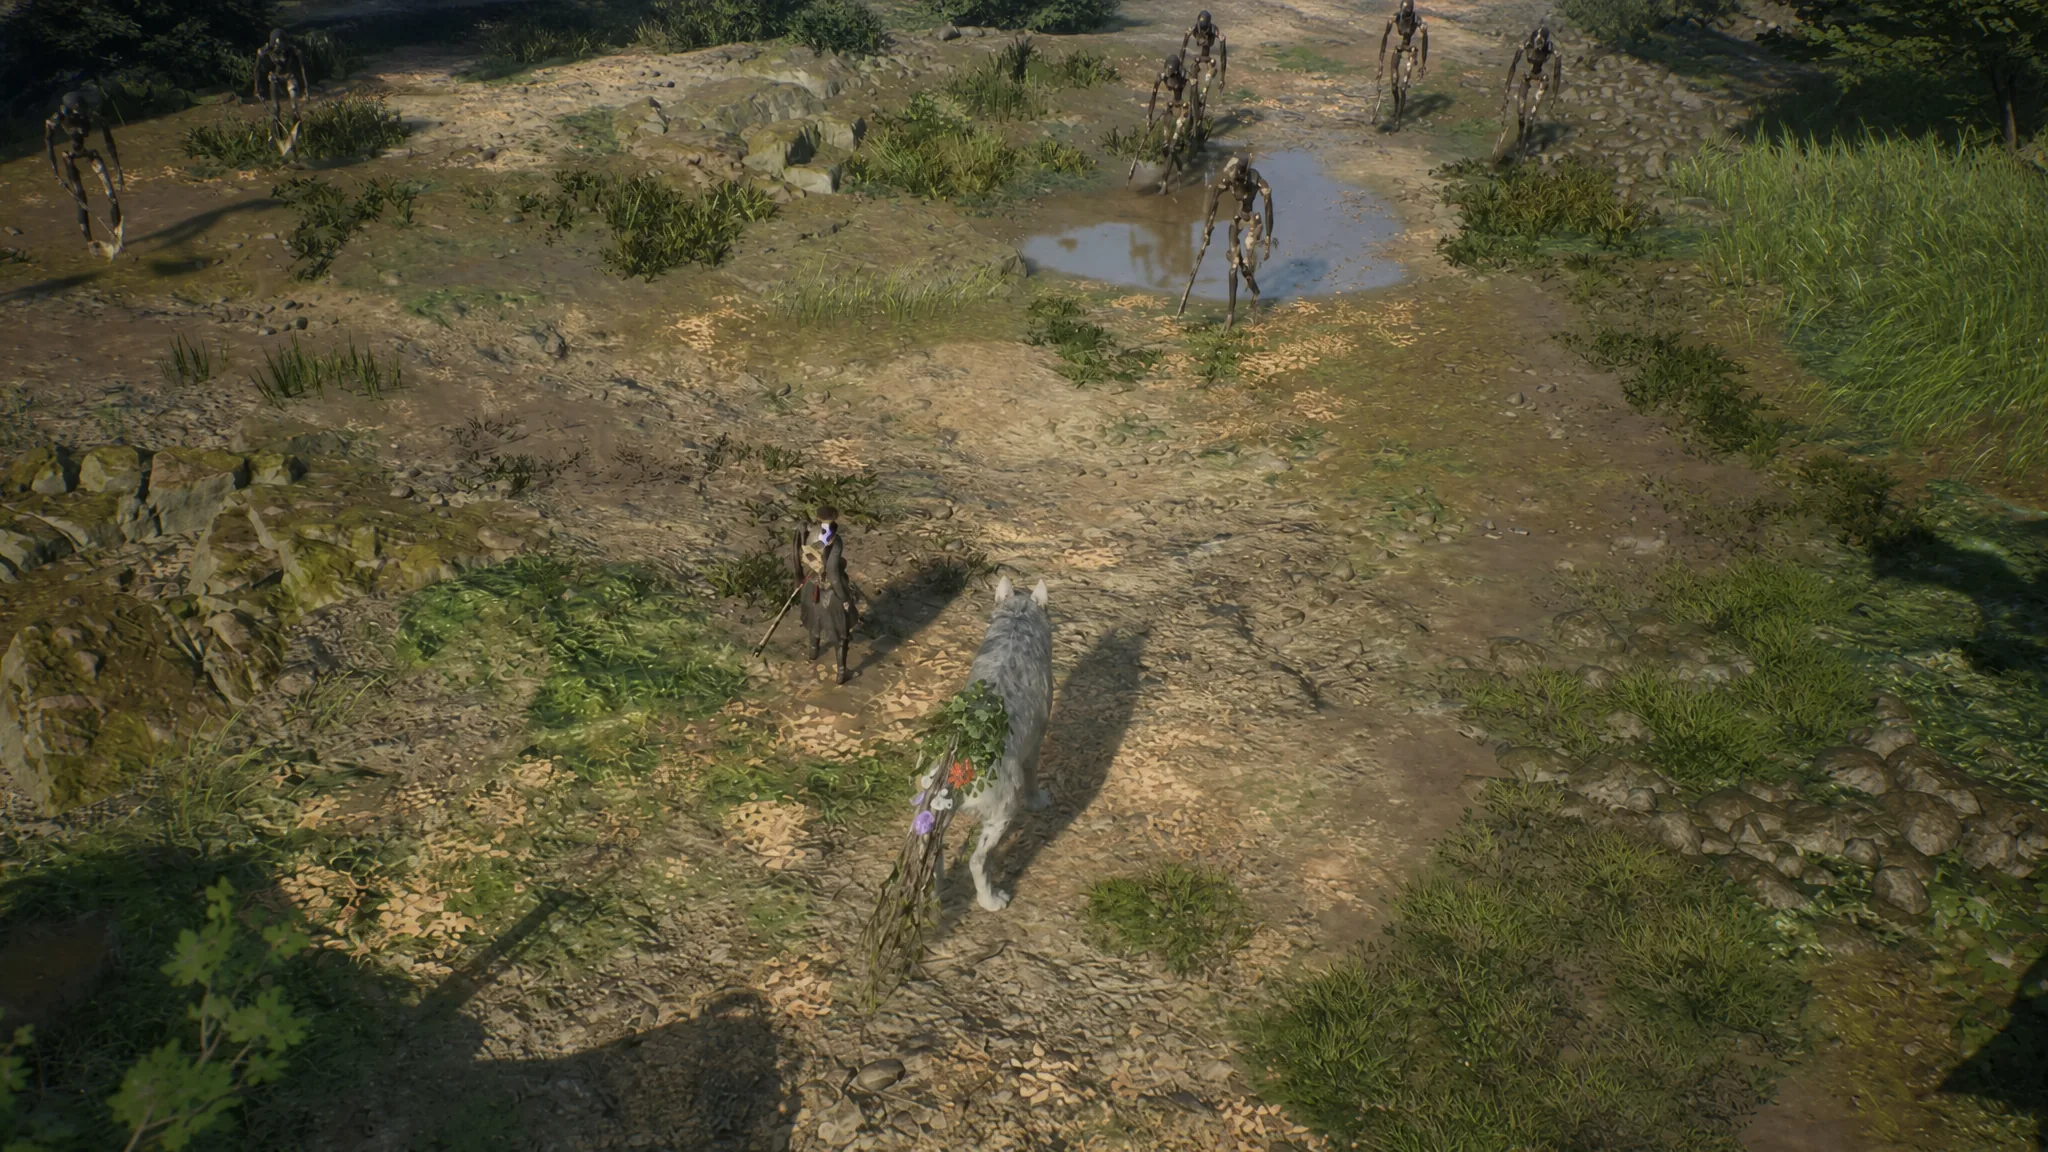
Taurus at Level 26 is fast, closes distance quickly, and mixes body attacks with ranged and area-of-effect moves, which makes dodging its size awkward. Focus on parries and well-timed dodges. If you’re struggling, use the ruined bridges to line up a Death from Above strike. The boss flees once its health bar is nearly empty, leaving behind Taurean Memories and the Nushi Skill: Charging Botan.
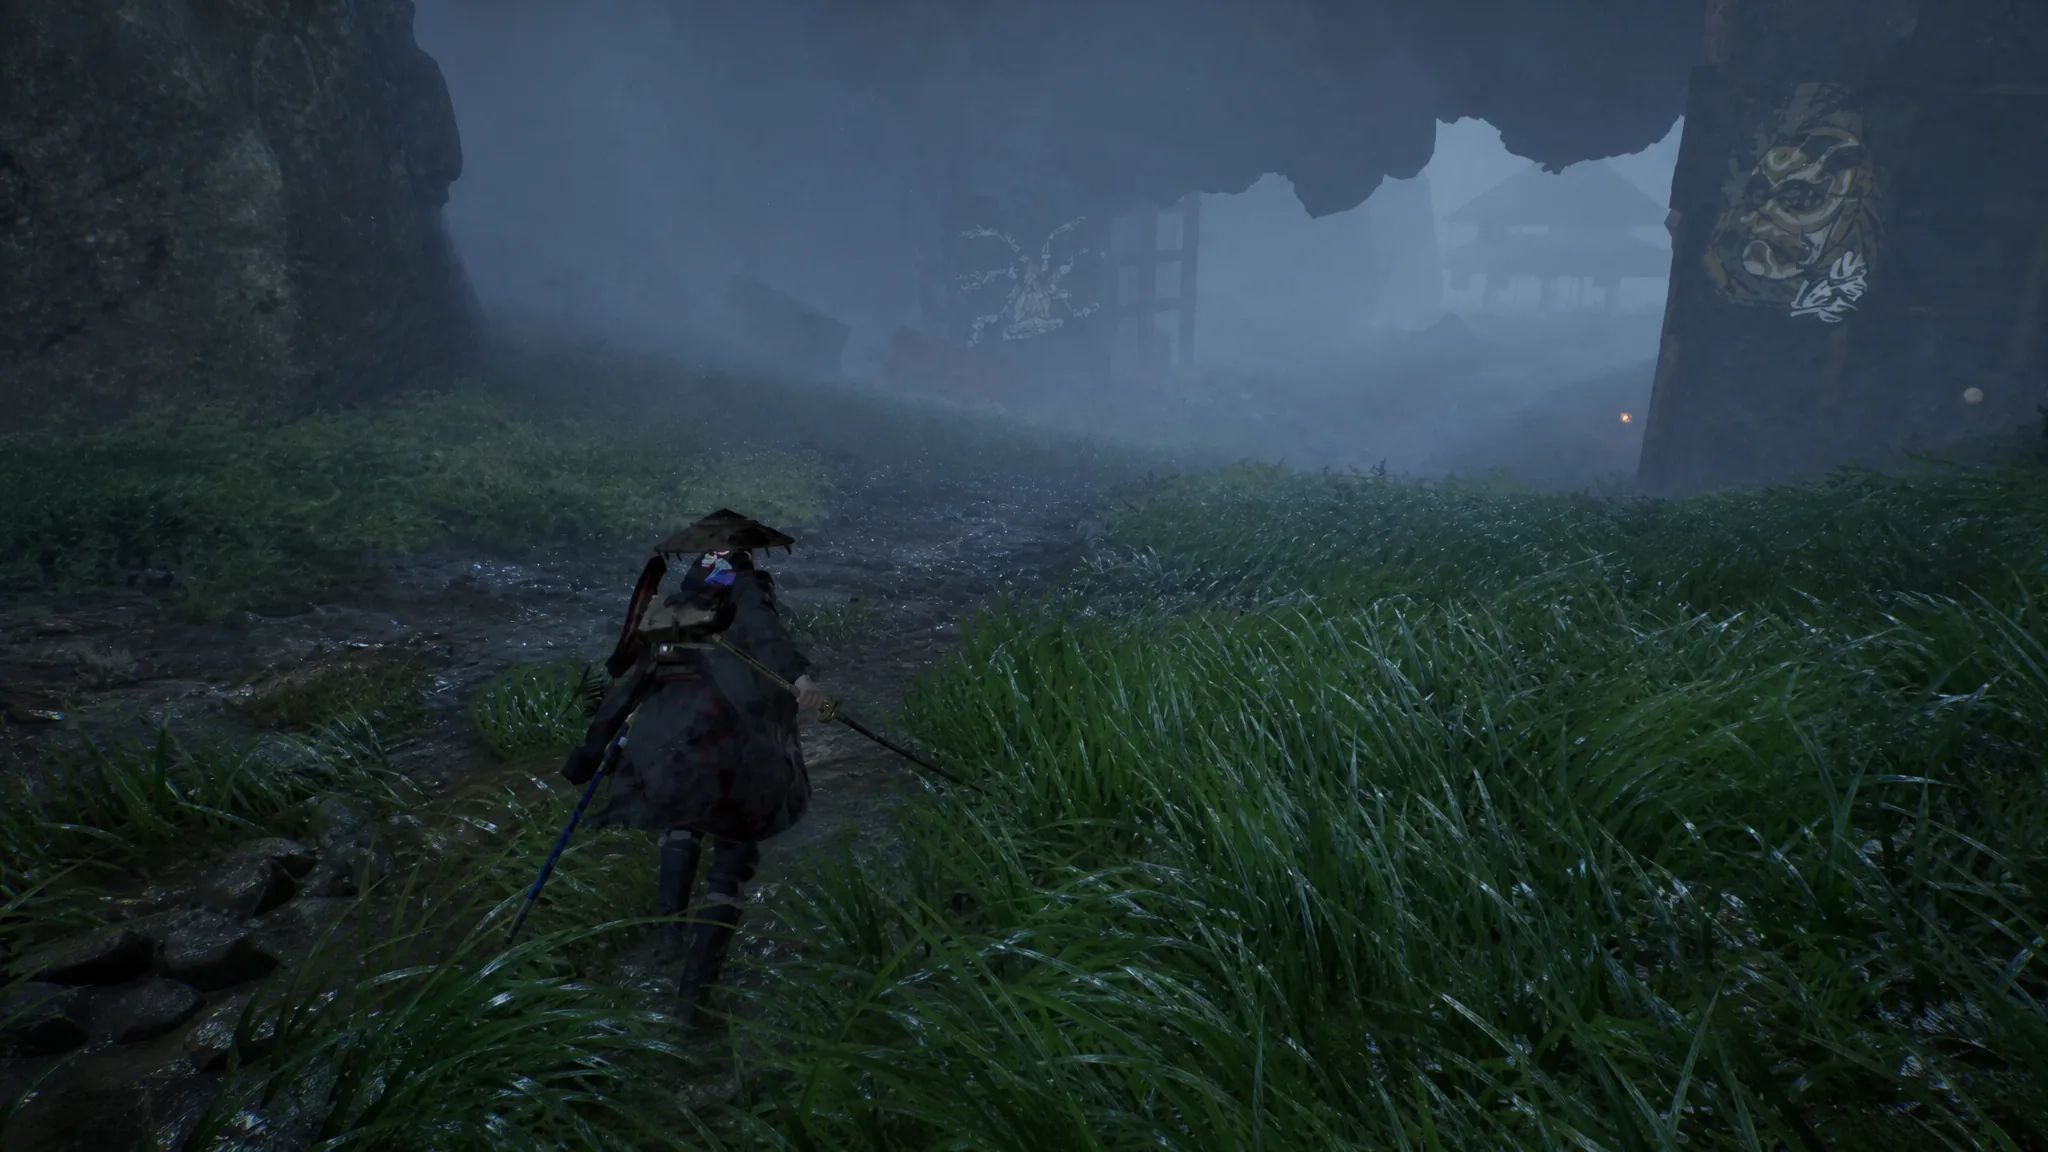
Origin of the Ringing: Pass through the cave
After Taurus runs off, Brad points you toward a nearby cave to find the source of the ringing. Use the short lull to loot the surrounding buildings before the next objective loads.
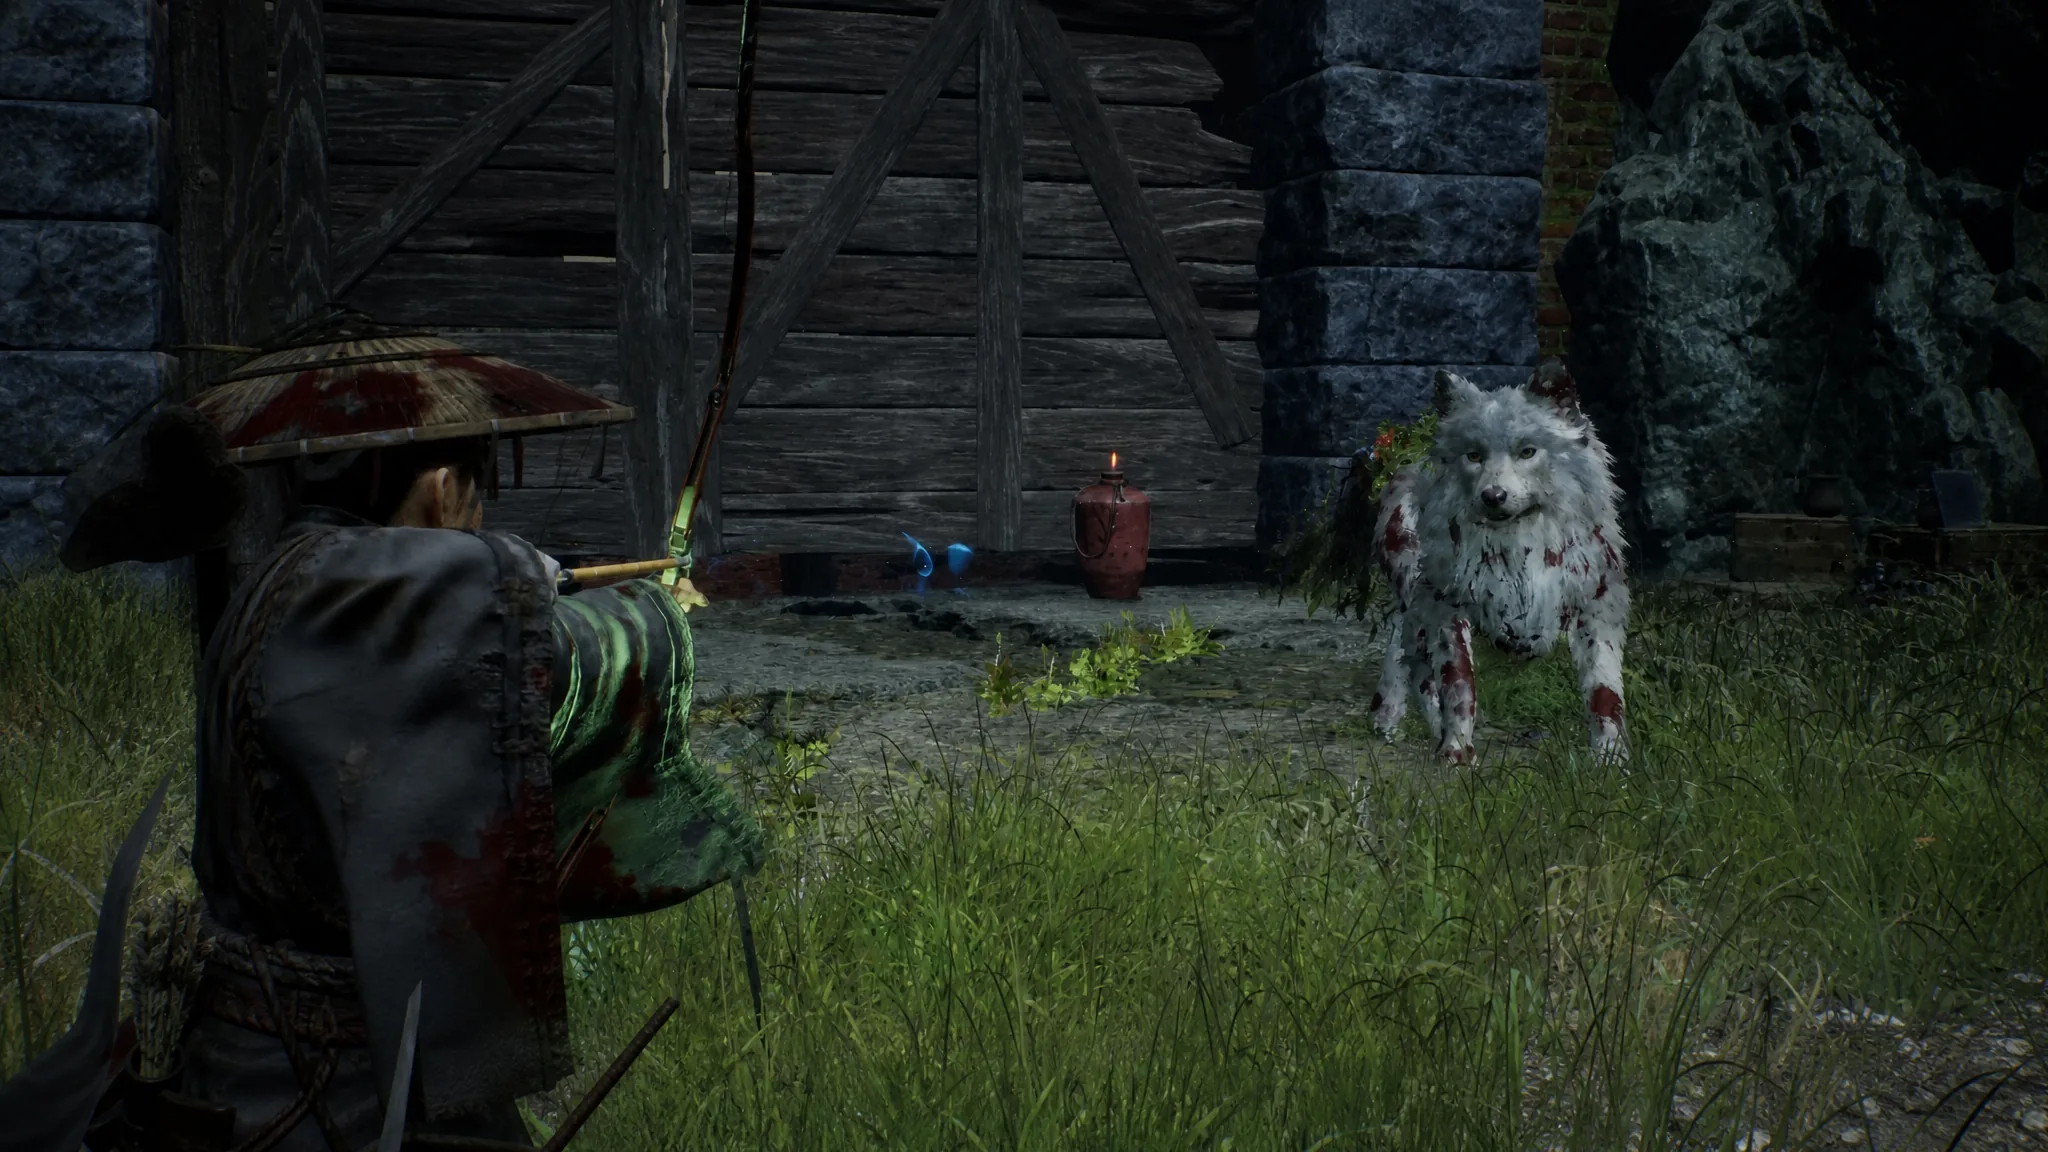
Origin of the Ringing: Cross the stone chamber
Do not drop to the lower levels once you exit the cave, or you’ll have to fast travel back to the camp you just reached. Head into the nearby building instead.
The stone chamber is full of melee and ranged Golems along with a few collectibles worth a quick sweep. To push straight through, use Emma’s hair to reach the second level (the roofless one) and head to the tower on the northern side. You’ll know you’re in the right spot when a camp sits just outside a doorway. Enter the door to its left, step into the dark room, and destroy the Golem inside.
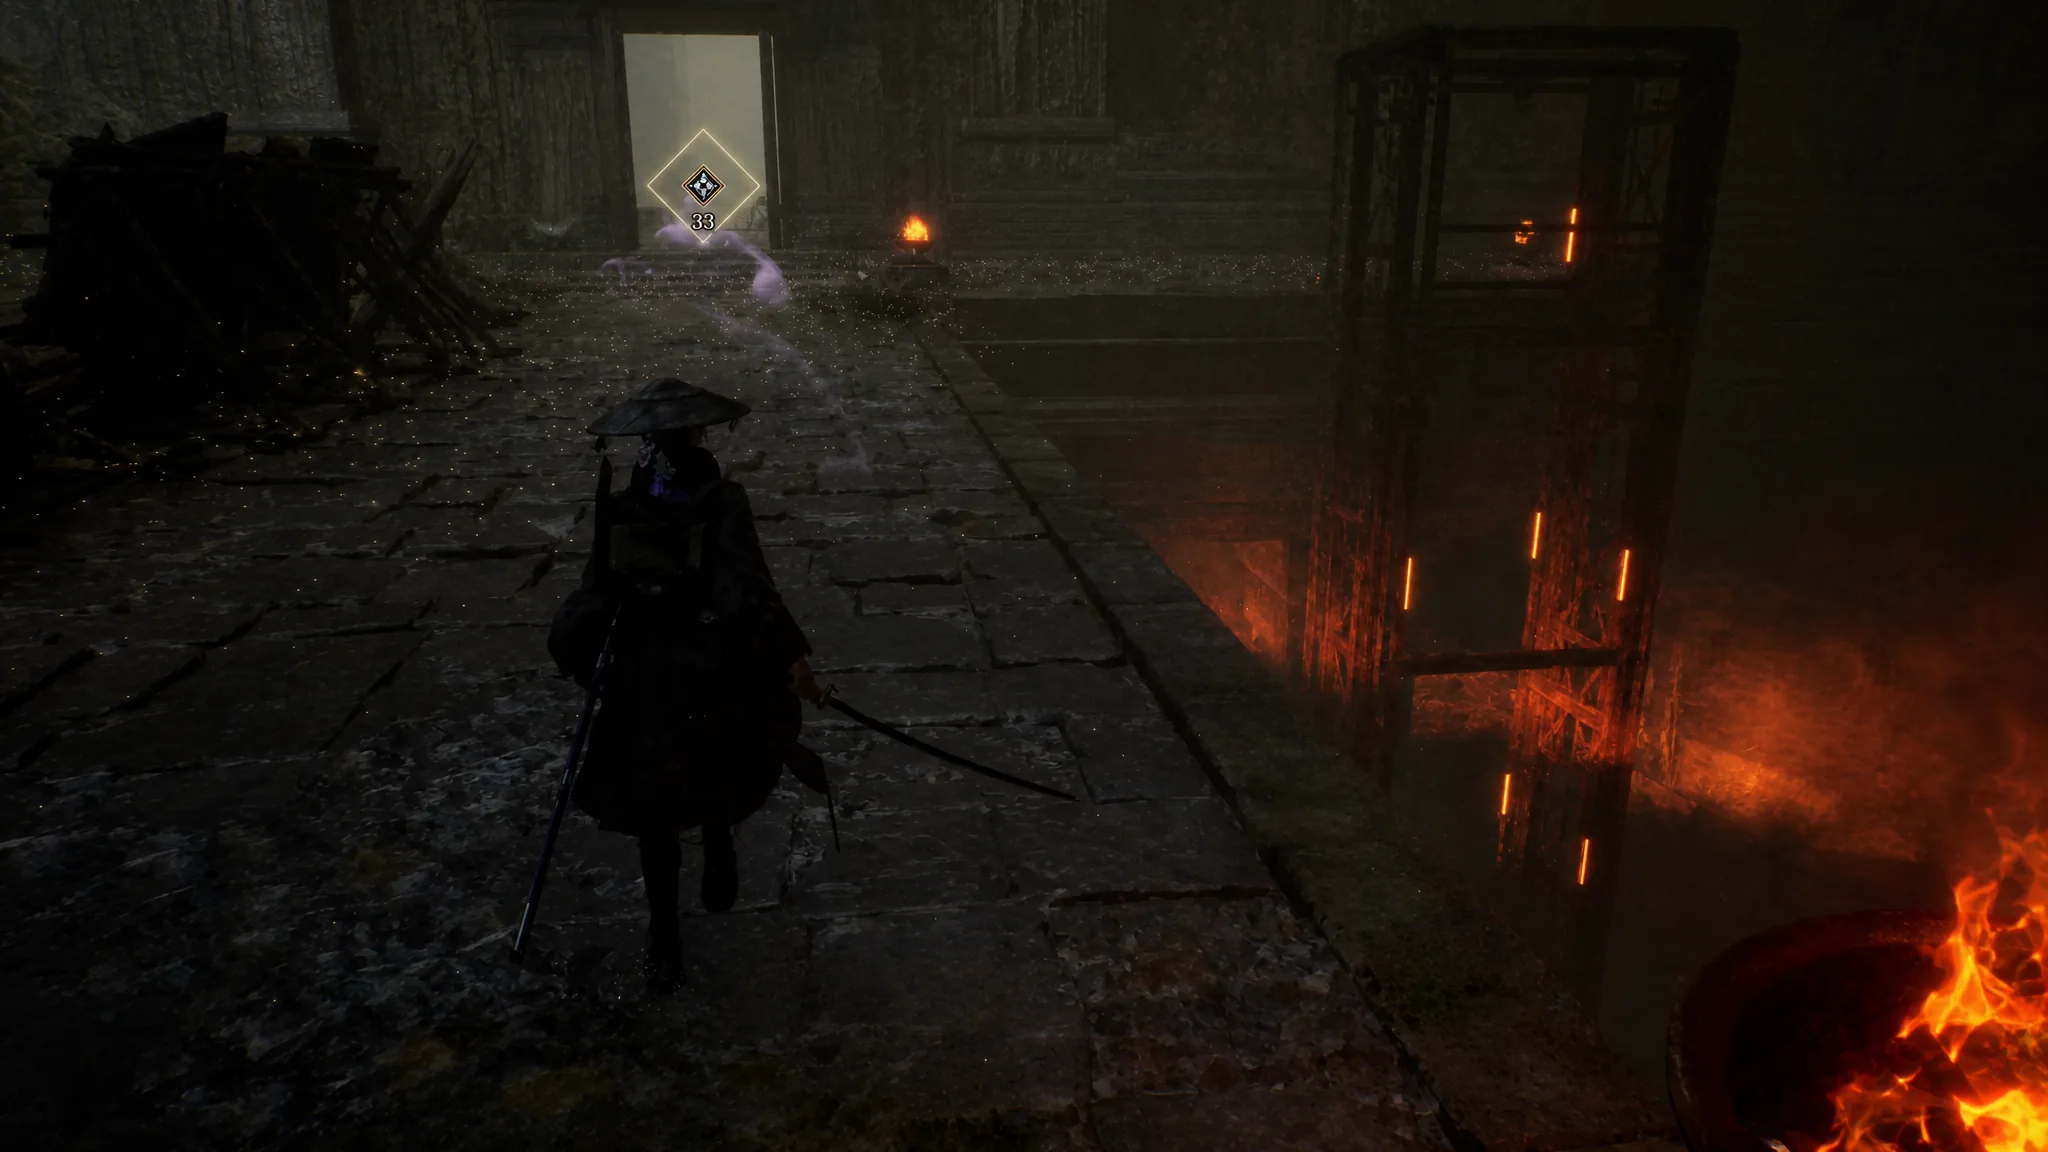
Origin of the Ringing: Reach the belfry
Light the pyres in the correct order
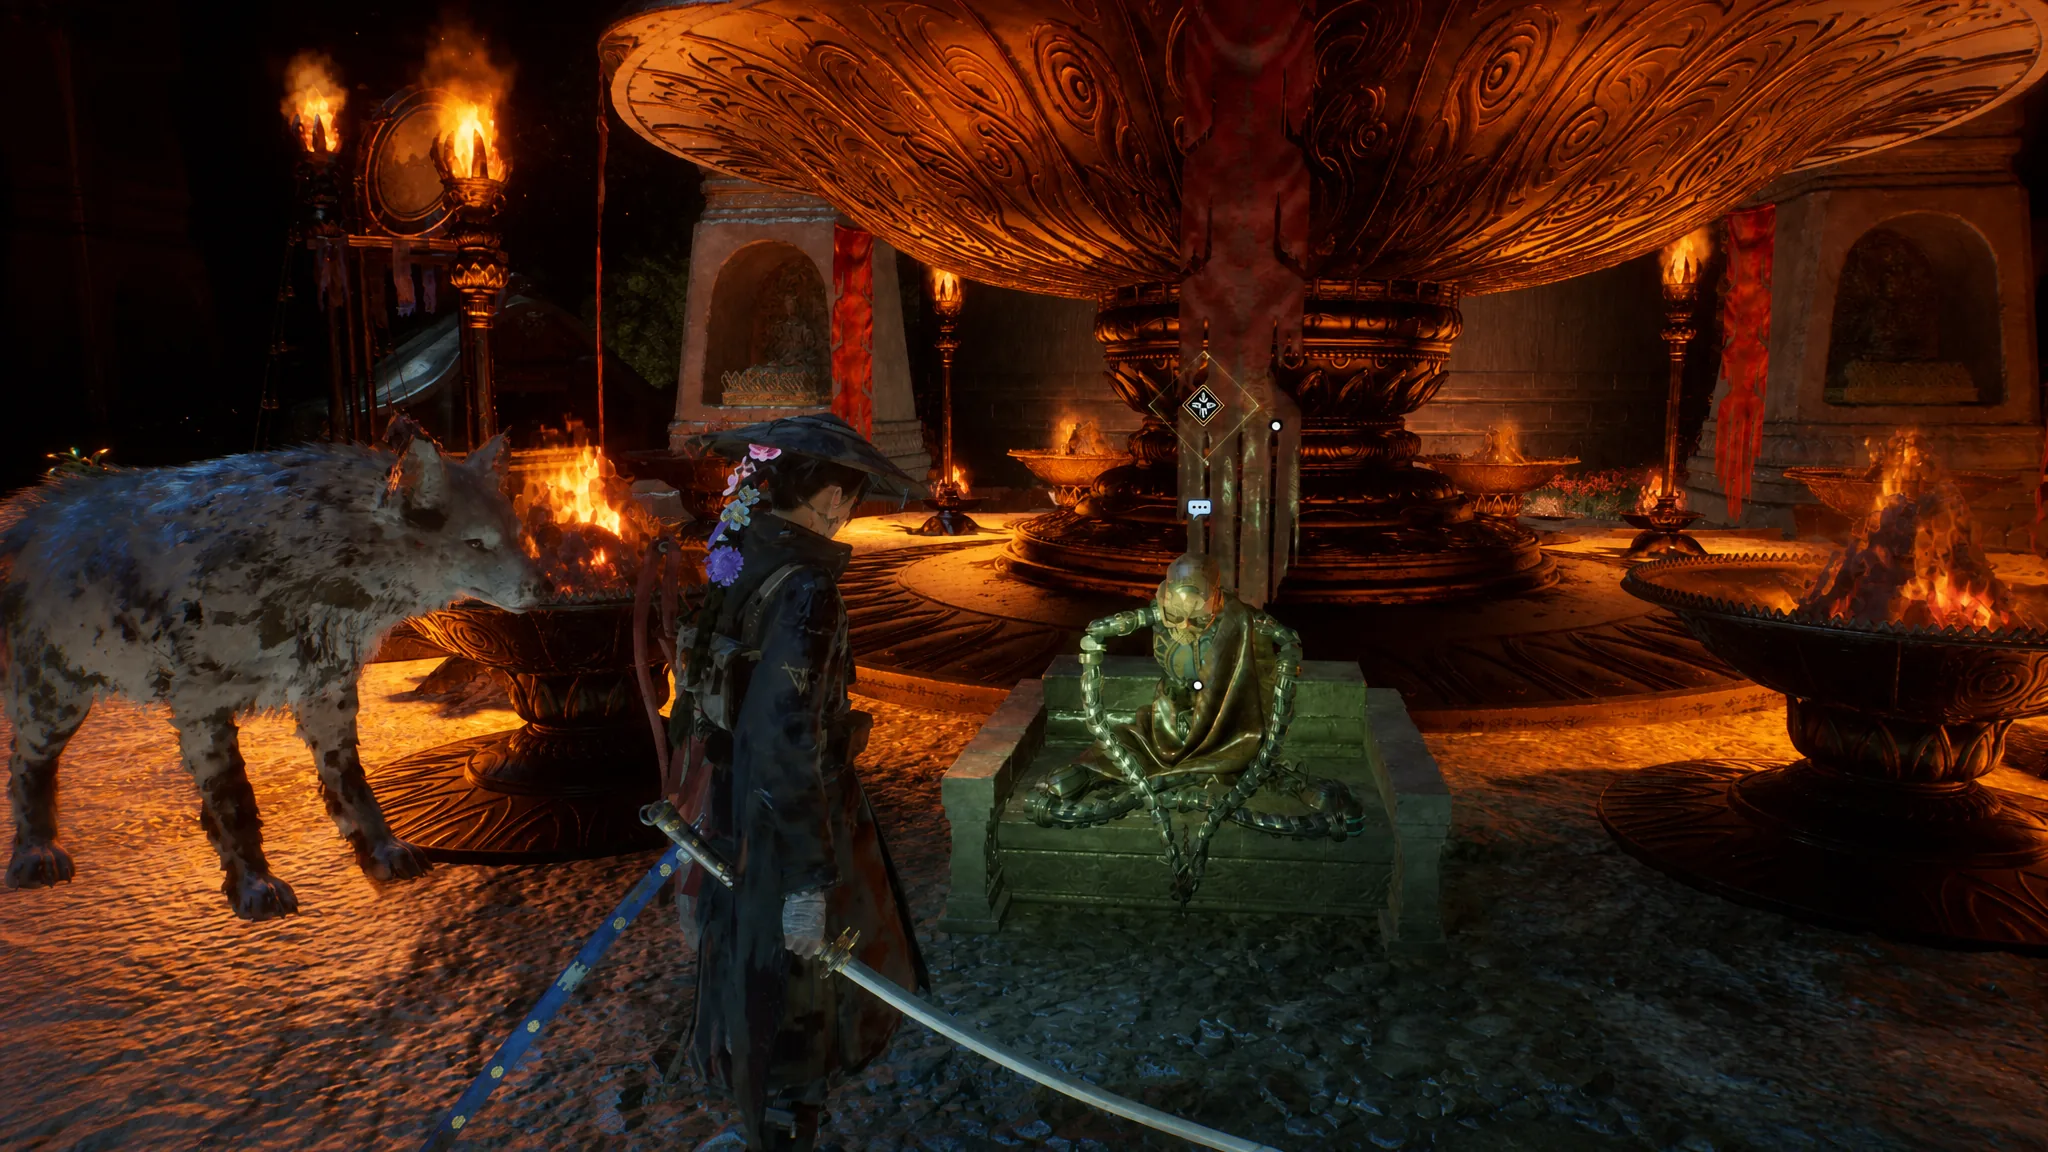
Talk to the Rusted Golem and it will task you with lighting three pyres around the platform, without telling you the order. Read the document on the bench across the platform to learn the rule: light them in the order the celestial bodies were born, which is Sun, then Earth, then Moon. Check the base of each pyre to see which body it represents, then ignite them in that sequence.
You’ll know you solved it correctly when a short cutscene of the bell plays. It’s worth scouting this lower floor for loot before you climb.
Strike the bell
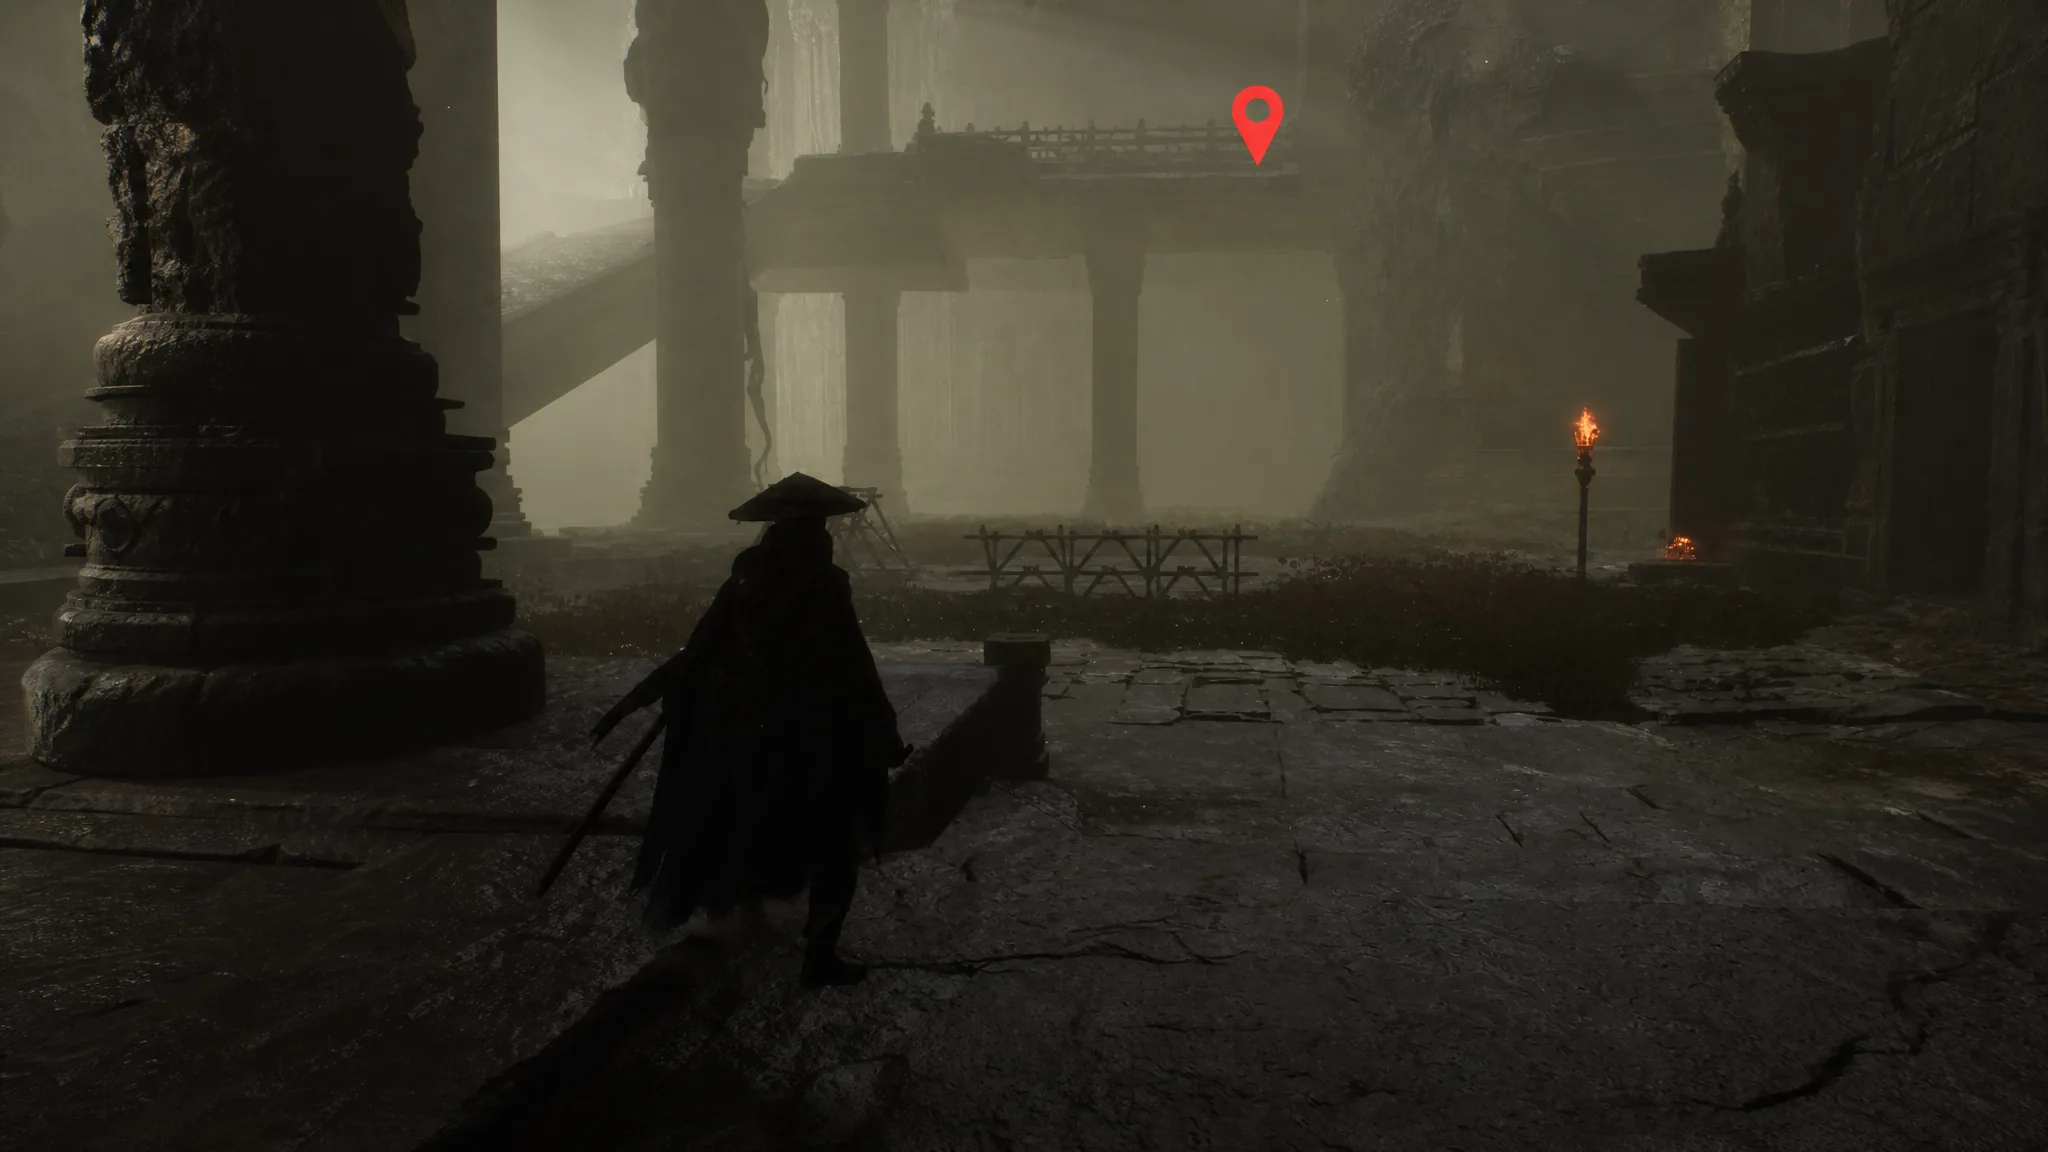
Use Emma’s lift to climb the building on the far right of the pyres and reach the roofs leading to the bell. Clear the Golems guarding the area (there’s a camp here to rest at), then examine the giant log and interact with it to strike the bell. Ringing it opens the way to Nushi’s lair.
Reach Nushi’s lair and defeat Taurus again
Head up the wooden stairs next to the camp opposite the bell, grabbing the items near the table as you follow the tunnel back outside. On the plateau, a Merchant stands near the tunnel exit, so restock if you need to. Take the elevator down, stop at the camp below, and move forward into the lair.
Taurus returns at Level 29 with the same moveset, joined this time by a group of Golems. Take out the Golems first so you can focus on the bull. The strategy is unchanged: parry to the rhythm, dodge its ranged and area attacks, and chip away steadily.
Note: This fight has two phases. When Taurus falls the first time, it absorbs the blight around it to grow bigger and stronger, so hold your ground until the second health bar is gone. Clearing the second phase triggers the final cutscene, which ends Chapter 4.
Chapter 4 boss fights and rewards
| Encounter | Level | Rewards |
|---|---|---|
| Taurus (first fight) | 26 | Taurean Memories, Nushi Skill: Charging Botan |
| Taurus (lair rematch, two phases) | 29 | Bloom Art Botan: Chaser, Blade Art/Finisher: Botan |
With Botan’s arts in hand, Pilgrim’s Rest is done and Emma and Koo move on to Chapter 5. If you die during the rematch and want to shop, remember the Merchant sits on the plateau above the camp rather than right beside it, reached by the elevator.